New Year's symbolic souvenirs made of beads, made by own hands - a lesson
New Year's holidays are getting closer every day! And this means that we have to congratulate and please many people, even if small, but with gifts. Fortunately, thanks to such a convenient name, as a souvenir, everyone has the opportunity to make another person pleasant. But, it will be doubly more pleasant if you work with a gift for a loved one with your own hands. Elegant decoration, which will be an ornament for the owner's house or for its appearance - is the best solution that can be found on the expanses of the network.
New Year's symbolic souvenirs made of beads, made by own hands - a lesson
 Unique and interesting are rightfully consideredcrafts made with beads. Such crafts are extremely easy to prepare with the help of the most minimal set of necessary materials, and also - the handy is convenient for working with children. It is very important in this holiday to explain to the child that he can also prepare gifts for his close people. Fir-tree for Christmas
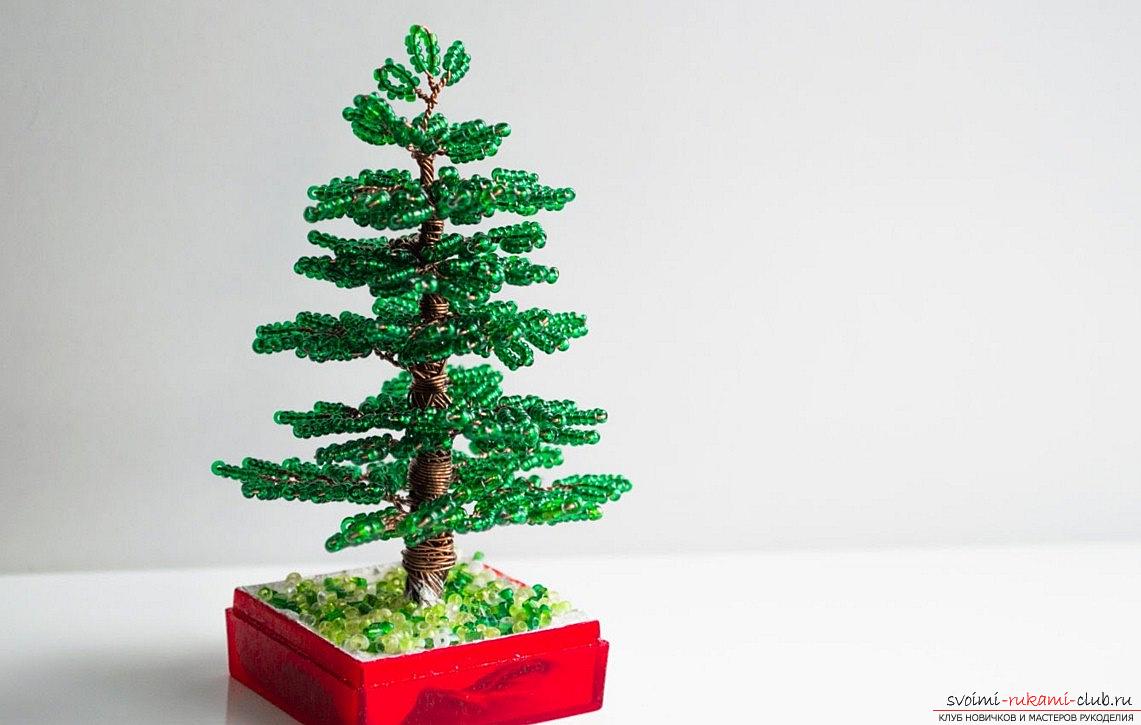
 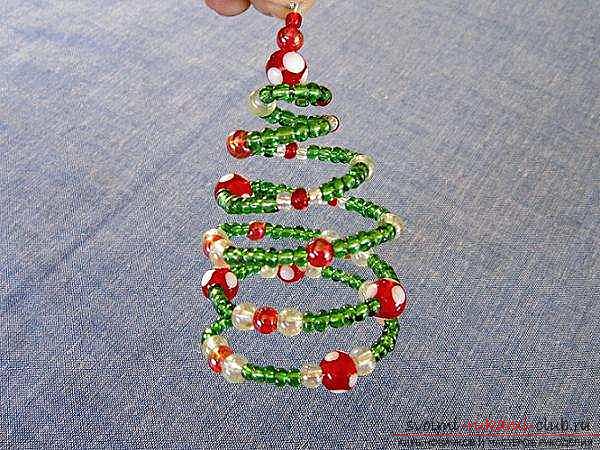 Our first lesson will be related to the main attributeany New Year's holiday - Christmas tree. With the help of beads and a small set of auxiliary materials with tools, we will be able to implement an easy and simple example of a good and high-quality gift solution. A beautiful Christmas tree can be used as a decorating object in an apartment, or decorate it with an older sister (Yelochka, of course!)
- Prepare a large green bead
- Also need beads of different colors and sizes, it is desirable to have three red
- Pliers for material processing
- Cone
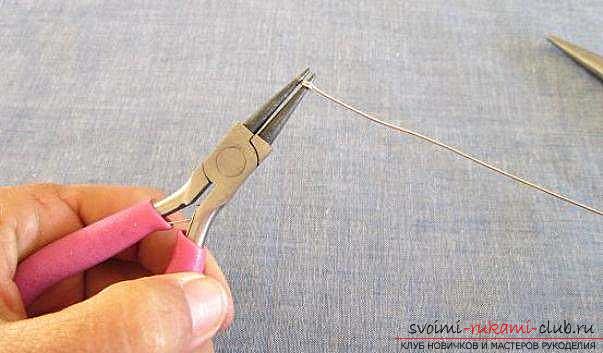 Why do you need a cone? Everything is very simple. Beginners master craftsmen often face the complexity of creating the necessary forms. To make the same craft as in the picture, with the help of a cardboard cone we will make the frame of the product. On it we will form our spiral from wire, so that it has the form that we need so much. Already after our future Christmas tree is formed, it will need to be decorated with beads. We work on the shape of the end of the wire bend, using the services of pliers. Thus, we form a small ring, as in the photo. In order to string red beads on our crown, we take three pieces. Begin with the smallest. After, we begin to weave the product along its main thread, which will be the basis of work on the Christmas tree. We use an arbitrary order in order to string the rows of the color of the green beads on the product, and also randomly use products of a different color of beads to form "toys" on our Christmas tree. As you can see from the photo-instructions, beads can have different sizes, as well as color characteristics.
 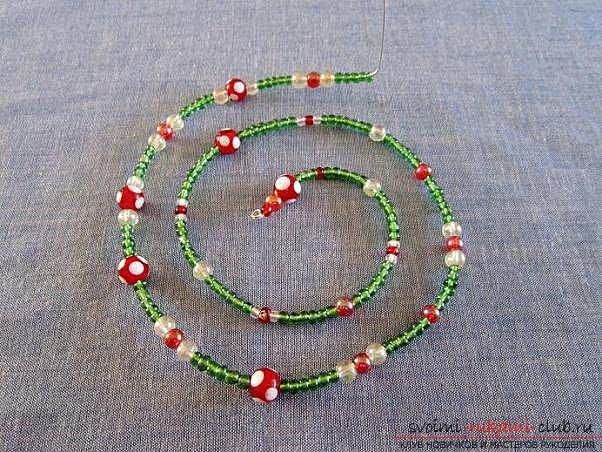 The best selection is a compilation that combinesimagine using beads of different colors, preferably two. In our case, we took color variations of red and white. Also, you can use the remains of our beads from other works to form toys. For those who did not use the cone for the base, the spiral can be twisted by hand. Initially, it is necessary to twist the product on the plane, then - to turn it out behind the top of the product and after, adjust the shape that will be obtained from our product. The end of the wire must be secured using the previous row. It forms several beads. Then, the shape of the product must be corrected. It is necessary to make it so that the Christmas tree was even. Such a cute version of the Christmas tree of beads, or beads can be performed in any color combination that suits you. Here you can also use imagination for work. Also, it is necessary to consider other variants of New Year's toys, with the help of which it is easy and simple to please native people. Christmas Angel Christmas is a family and religious tradition, which also has its own characters. An angel who brings only good, should be in every house! You can make it yourself, using improvised means for needlework. Glass beads, beads and beads are perfect for our work. You can rummage through the old stocks of our material to use them for a new craft
- Prepare a hard wire
- Also need a white bead of a large type for the decoration of the head
- Take the golden beads in large form
- Beads in different sizes and colors are required.
- Take the Bugle for work
- You will need pliers
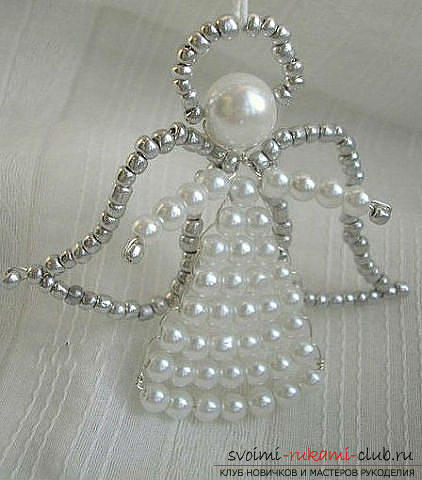 The angel will consist of several elements,connected together. First you need to make the top part of the product. To do this, on a piece of metal rod, which has a ring at the end, you need to string the bead in large form. It will serve as a head for the future angel. The wheel should be tightly pressed with pliers, so that the beads do not fly off the iron rod element. Then, after working on a large white bead, we sew a second large bead in the shape of an oval. It can be made in any color, the main thing is that it is the same size as the first one. So we will form a corset for the angel. Next, you need to thread the beads to create the hands of the figurine. For each hand, we will use two elongated white beads, and also add three gold-colored beads. Hand weaving will be carried out in accordance with such a scheme of work: gold, then white, again gold, white, gold. Between the beads in the amount of two pieces of golden color for the middle of the chain, we insert a bead-free place to hold hands and torso. The endings of the wire for each side are refilled into the beads of white color. Now, time to weave the skirt. It can also be weaved according to the scheme from the photo, or you can use your imagination and come up with your own version. Ideally, you need to form a cone, which consists of arranged chains vertically to each other. Then, take the gold beads to weave 2 chains for the wings. Then, you need to connect the elements and then, build the figure for the Christmas angel. We use pliers, as well as a wire for joints, which are tightly clamped. The ends are hidden inside the skirt. Grandfather frost from beads
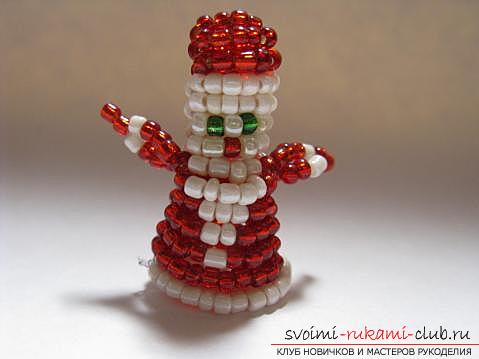
  It will take beads number 11 white, red, beigeand black color. Take one white bead in diameter by 0.6 centimeters. The wire width is 0.2 millimeters by 90 centimeters. To create this craft, you need a technique of three-dimensional weaving. Each series we will create with the help of two tiers. The upper tier will form the side of the transfer, and the lower tier - for the back. Initially, it is necessary to thread a bead of white to the wire, and then place it to the middle of the wire. Next, weaving the rows with beads, we immediately use the weaving of a volumetric type to form the upper and then the lower tier. Forming rows For the upper row, you need to dial 4 red beads on one of the ends of the wire. The other end of the wire is passed through the whole beads. Then, the wire needs to be tightened. This will be the upper tier, 1 row. Then, for the lower tier, we need to dial 4 beads on the end of the red wire. The other end must be passed through each bead back. After, tighten the wire. The series that will be obtained must be placed at the bottom of the previous one - this is the bottom part, the first row. For the side particles, the second and third rows are made the same. The upper and lower tier is divided into five beads of red color. Then, the fourth and fifth rows are again made the same - we use 6 beads of white color. In the sixth row we type one beige, one black, one more beige, one black, one more beige. For the lower tier, make five beads of white color. To form the seventh row, you need to dial the beads in the following sequence on the wire: Take one white, one beige, one red, then beige, again white. The lower tier is formed from beads of white color in an amount of 5 pcs. Then we form the eighth row. We make it with the help of such a set: one red, four white, one red.
