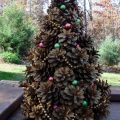
Christmas garland of cones
Decorate the interior for the winter holidays, perhaps,the most fascinating part of the pre-New Year fuss, especially if you decided to make some decorations and Christmas toys with your own hands. We invite you to pay attention to New Year's garlands of cones that will allow you to quickly and beautifully decorate the New Year decor of the room, filling it with a fabulous Christmas atmosphere, warmth and comfort. Content:
An important advantage of creating a garland ofcones with their own hands is that it will cost you almost for free, because the main element of the garland - cones - you can gather in large quantities in a coniferous forest. The basic option is the usual bumps tied or glued to the rope. But even such a simple design can be diversified and make unusual, bright and elegant garlands.
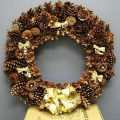
Garlands of gilded cones
 You will need:
- cones (the number of cones and the distance between them determines the total length of the garland) 4
- adhesive PVA or special glue for potali;
- Gold foil for decoration (potal - imitation of gold leaf);
- varnish or spray sealant;
- screws with O-shaped hooks;
- natural rope (twine twine, twine);
- sponge, tweezers, pliers, wide brush, scissors.
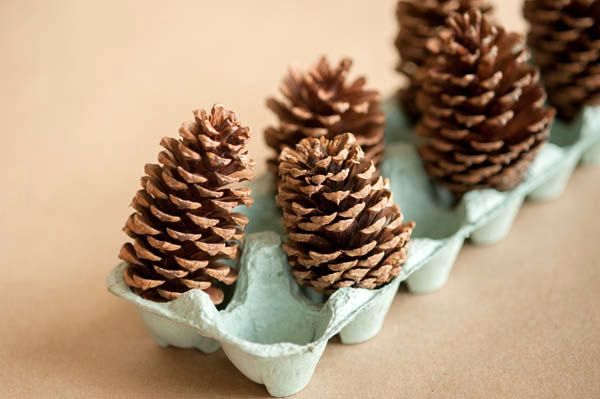
This option is difficult to call budget, becausein the original master class, potal is used - an expensive material for gilding in the form of the finest sheets of gold foil. If desired, potal can be replaced with ordinary metal foil, golden paint in a can or gold glitter. Clean the cones from the ground, dust and dirt.  If you use gold for gilding,it is better to buy special glue. Apply sponge glue dense layer on the surface of all cones. Carefully read the instructions for glue. As a rule, it is necessary to allow the glue to dry before gilding. Cones can be dried conveniently in a cardboard tray from eggs. While the cones dry, you can paint the hooks in gold using spray paint.
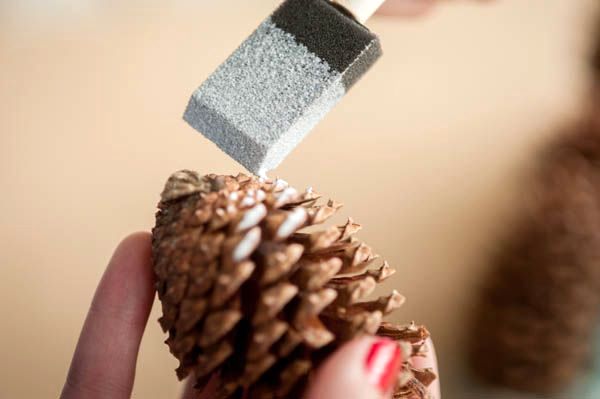
 Now you can do gold! Gently take the first layer of foil and wrap the cone completely. Then, with a clean wide brush or sponge, walk well along the surface of the foil. In places where there is no glue and emptiness, the foil will be showered with "rags".
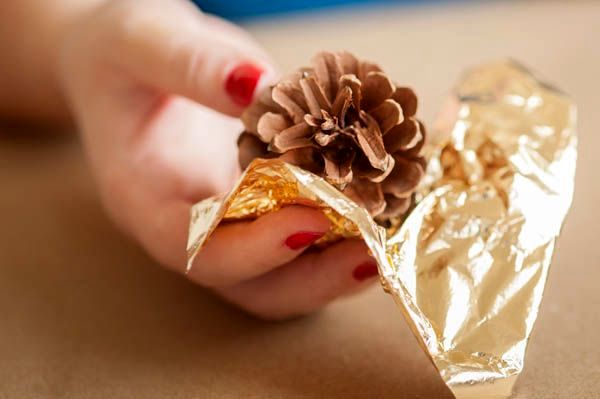 These pieces of gold foil carefully sprinkledother cones. In the places where you applied glue, the foil should be glued. This method of gilding with foil makes each bump more textured, as if covered with flakes of golden snow. If you use spray paint or sequins, the effect will be completely different.
 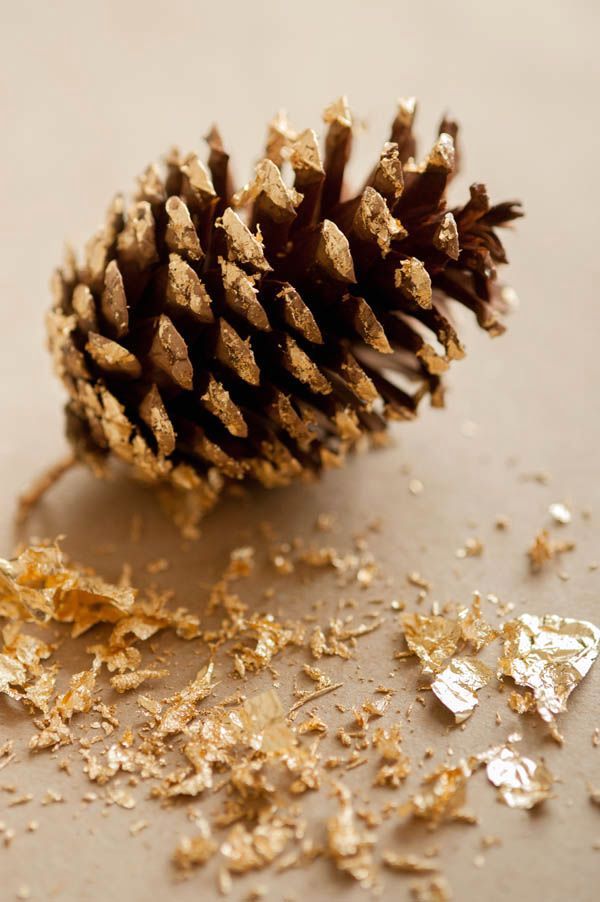 After gilding, bumps should be covered with varnish or spray-sealant, allow to dry.
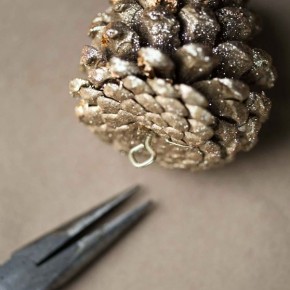
 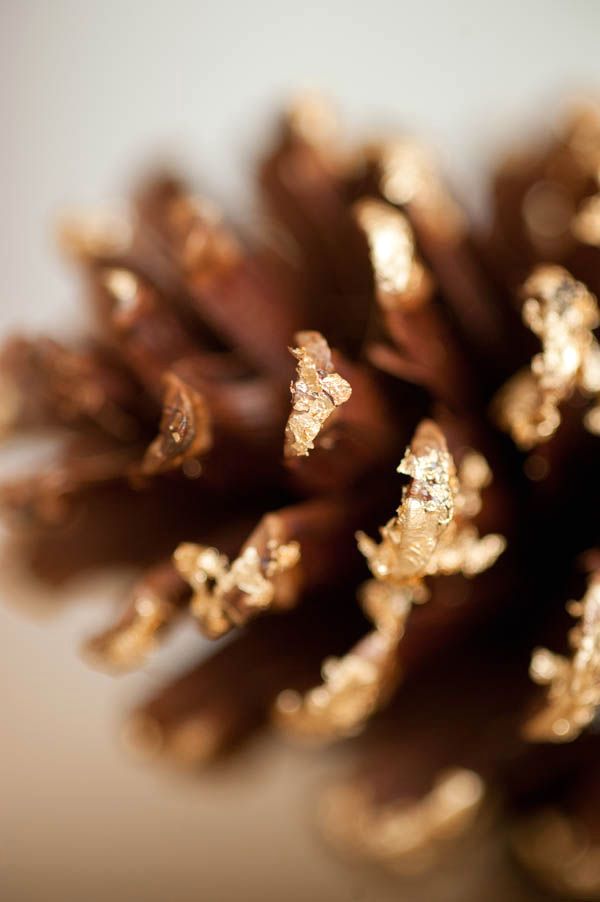 Using a pair of pliers, screw the screw with the hook into the center of the base of the cone.
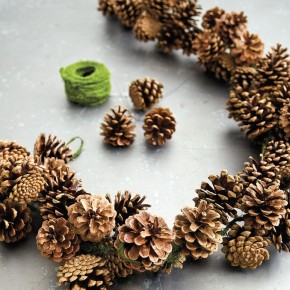
 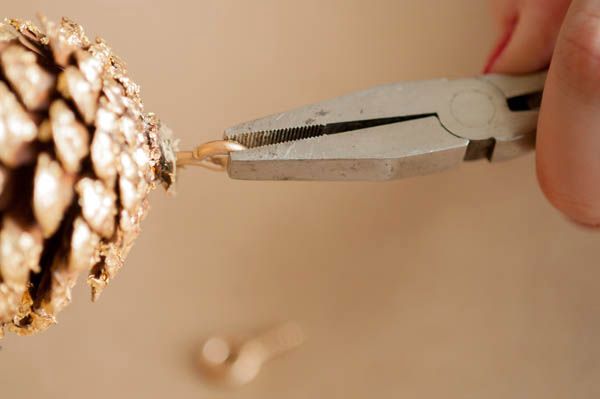 Take the rope from a natural material, cut a piece of the desired length and begin to string the cones.
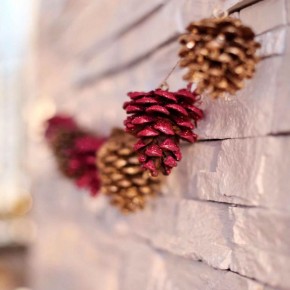
 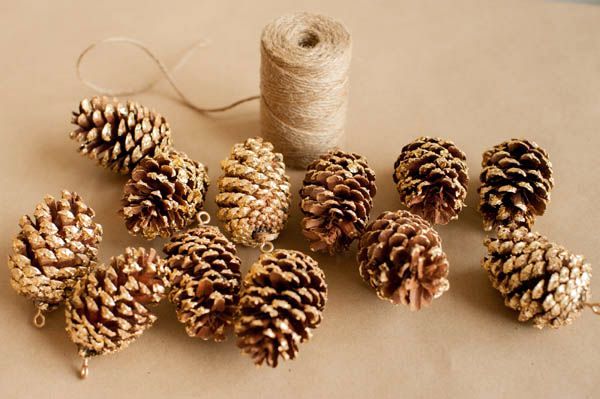 It will be convenient to start with the central bump and move to the edges of the rope. Pass the rope into the O-shaped hook and fix it with a knot.
 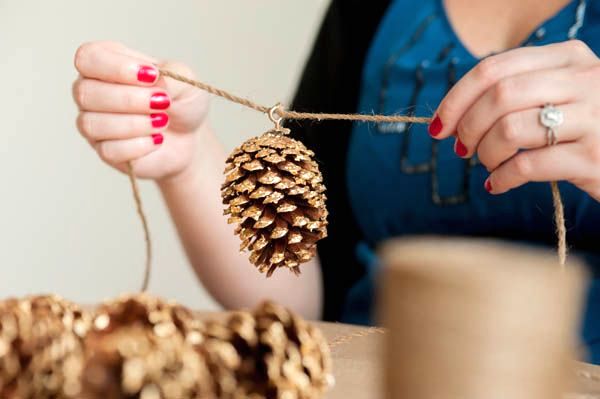 Further, based on the number of cones and lengthgarlands, alternately add one bump at equal distances, fixing knots. You can strengthen the cones in groups of 2-3, alternating with single. Hooks can be decorated with ribbons or small coniferous branches.
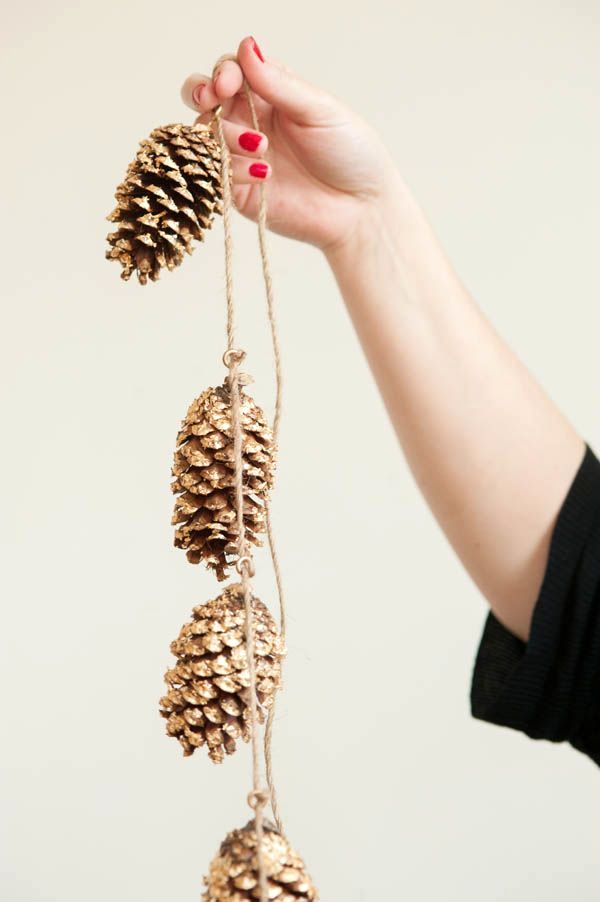
Garland of cones with foil, spray-paint and sparkles
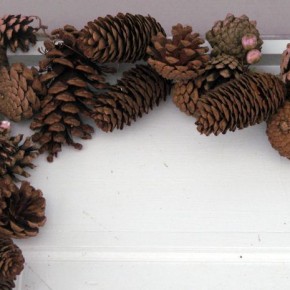
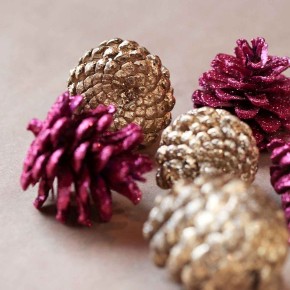
This version of the New Year's craft of cones is a very hike to the previous one, but in this case we will add to the decor of cones golden and pink spray-paint, as well as scattered pink sparkles. 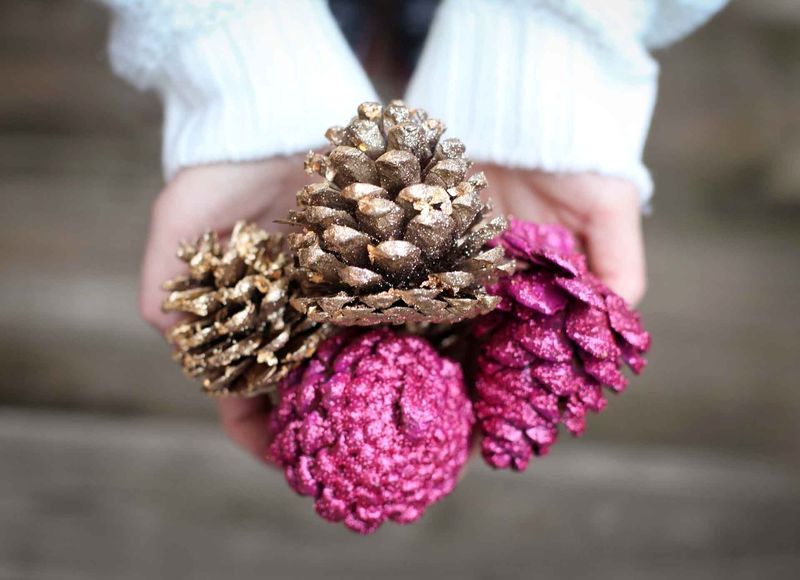 The course of work is identical, only first, aftercleaning the cones from dirt, we paint them with a spray-paint: half of the cones - in gold, half - in bright pink. Please observe all safety precautions when working with a can. Allow the paint to dry for 10-15 minutes, but not completely. We use a slightly moist surface of cones instead of glue. In this case golden foil was covered with golden cones directly on a slightly moist layer of gold paint, and pink ones were sprinkled with pink sparkles. More details can be found in the photos below.
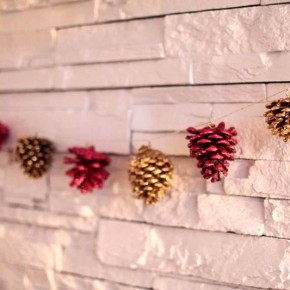


Colored garlands of cones
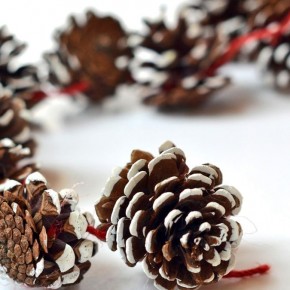
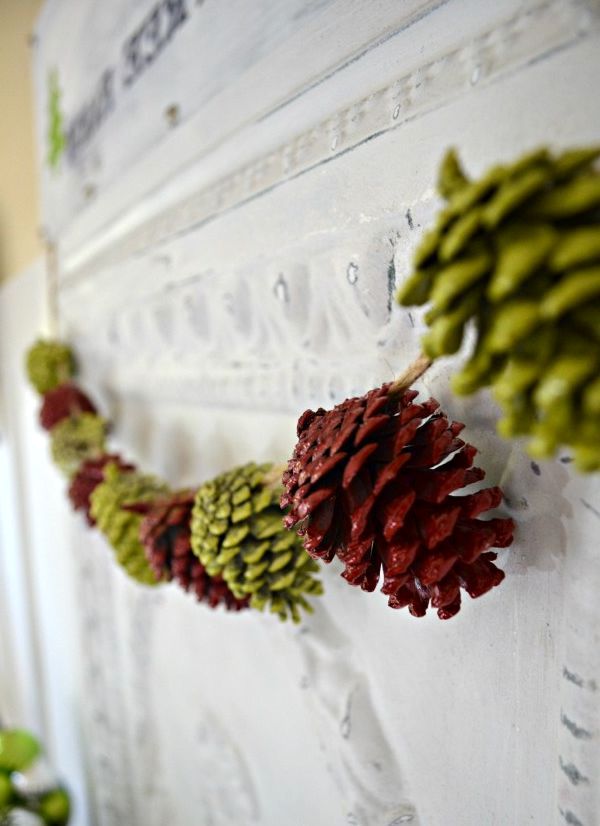 Bumps can be painted in any color with the help ofspray-paint from the can. We recommend that you first apply a layer of white paint, then for a bright, saturated color, 1-2 layers of colored paint will suffice, otherwise to achieve the desired shade, you may need to apply 4-5 layers of paint from the can.
 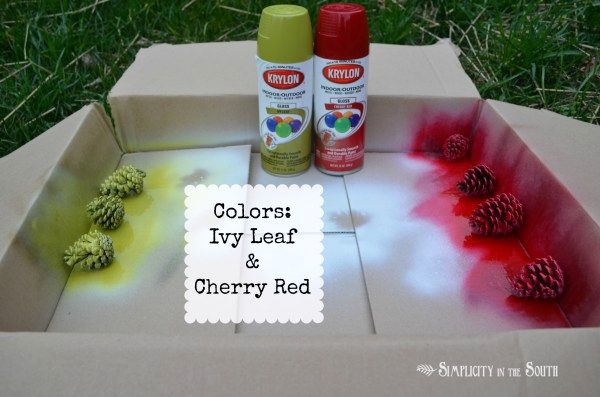 After the paint has completely dried up,apply hot glue under the upper row of scales at the base of the cone. Then hold a rope in this place and glue the cone. In the same way, glue the other bumps in the same way.

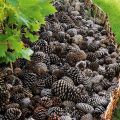
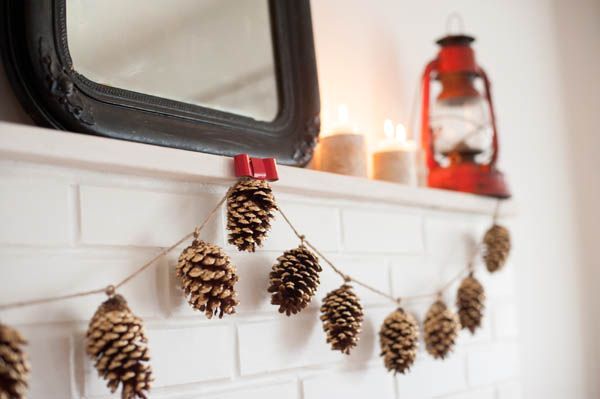
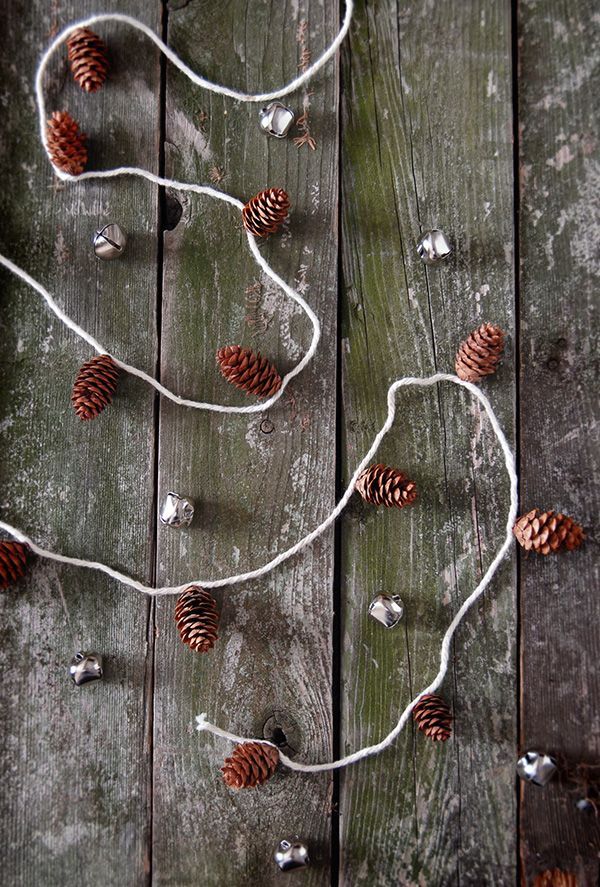
Simple natural garland of cones
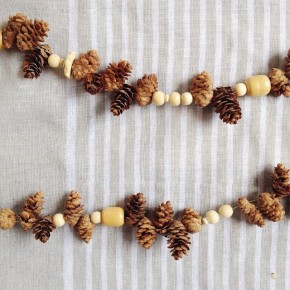
A natural, simple garland of cones will beit is superb to look and without gilding, sparkles and bright colors. Especially such a natural decor is suitable for interior, decorated in eco-style, Scandinavian style, country or loft. Minimum of materials and effort! This garland can be done literally in ten to twenty minutes, depending on the length. You will only need cones, rope, ruler and glue. The authors also used a painting tape on which marks of the distance between the cones were made. 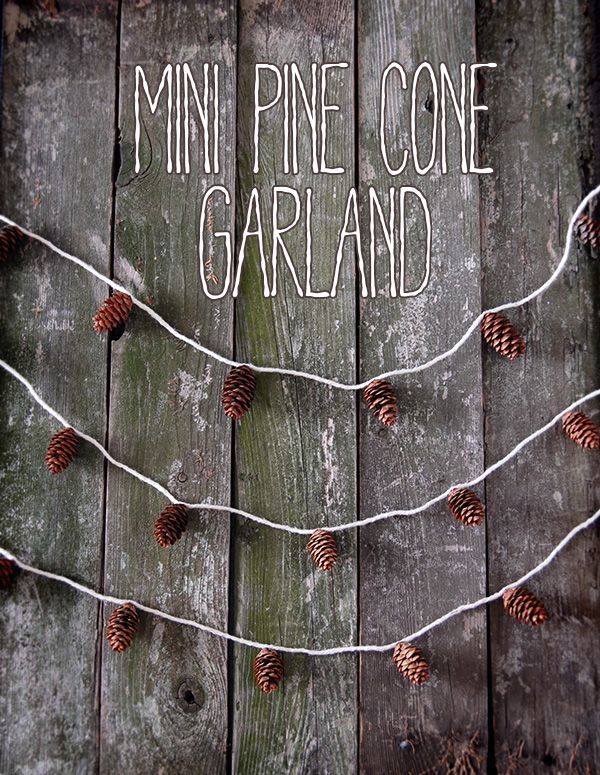
 Glue the paint tape on the table and mark on it two segments - the distance between the cones. Instead of tape, you can attach a sheet of paper with marks.
 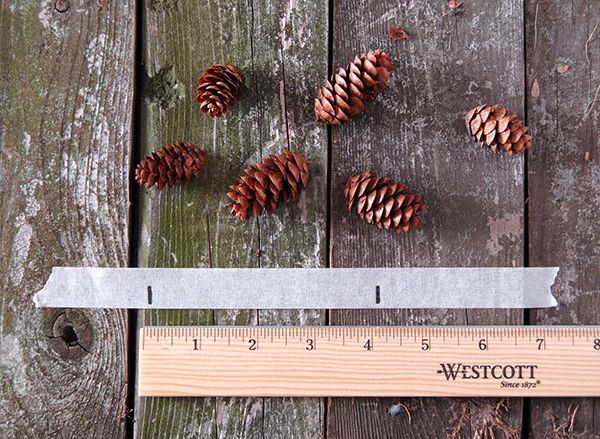 Take a skein of rope, twine or woolenyarn, leave a tail of 10-15 cm in order to tie a garland. Place the rope along the ribbon with the marks. Apply a drop of glue on the base of the cone and press it firmly onto the rope for 5 seconds. Do the same for the second bump. Move the rope and glue on the cone. But it seems to me that a more reliable method of sticking cones is described in the section above - under the upper scales of the cones.
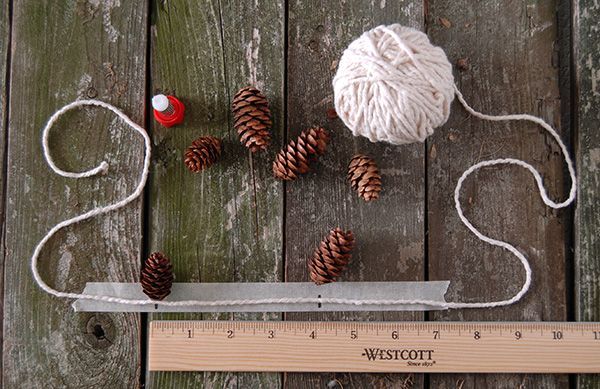
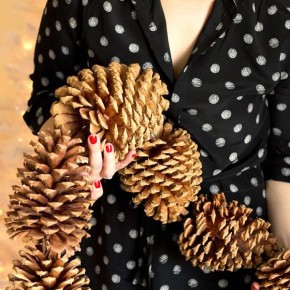
Garlands of cones with a dense arrangement
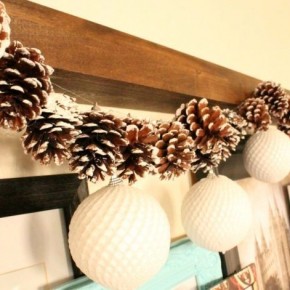
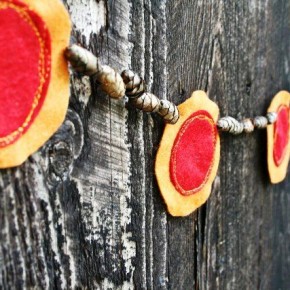
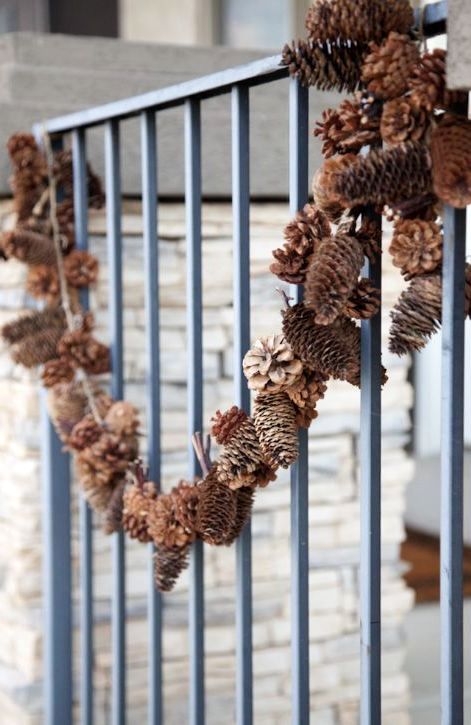 Cones can be placed very tightly, especially if the garland is small. To do this, you can use thin ribbons or ropes. Like this:

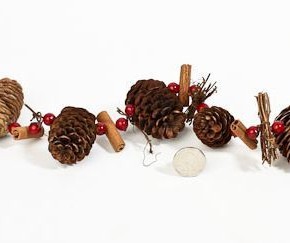
Photos of different garlands of cones
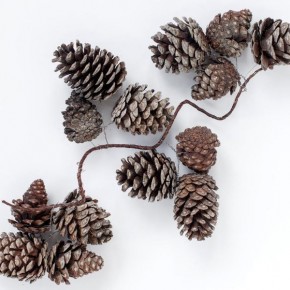
Of course, the four master classes presented abovehow to make garlands of cones - this is not all that you can think of. You can experiment with the arrangement of cones and their color solution, decorate a garland with Christmas toys, tinsel, ribbons and rain, combine cones with coniferous branches, nuts and even fruits, for example, with apples. Give free rein to fantasy! And you should prepare to make garlands right now, slowly gathering pine and fir cones in the forest for a walk.