Simple bead embroidery with your own hands - tips and instruction for beginners
Basic techniques of embroidering drawings with beadsused by needlewomen a very long time and are not too complicated. It is enough to study the types of stitches and choose the most acceptable option for yourself. It is better for beginner embroiderers to apply the "Monastic" seam, which is one of the simplest. Embroidery with beads is quite a popular kind of needlework. Many craftsmen use it to create paintings, as a decor for clothes or household items. Finished products are a real masterpiece and an excellent gift for loved ones.
Work with embroidery beads
 To work needed:
- beads (it is better if it will be the same size);
- the cloth;
- scissors;
- needles;
- thread, preferably synthetic, since it has good strength.
Most often, two techniques are used in this type of work, each of which is characterized by certain seams. The main techniques for embroidering drawings with beads include:
- ribbon or linear (monastic and vertical seams, seam forward needle);
- circular (line, stalked, arched stitches, stitching).
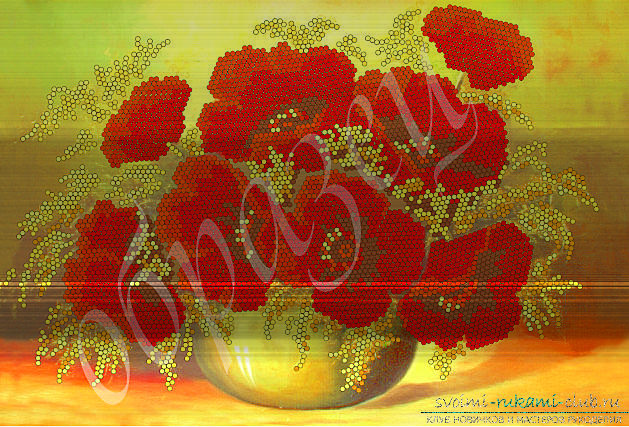
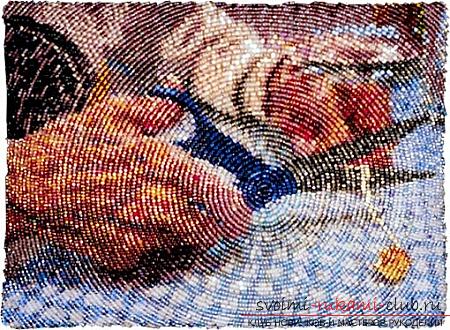
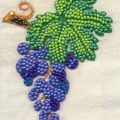
Linear Embroidery 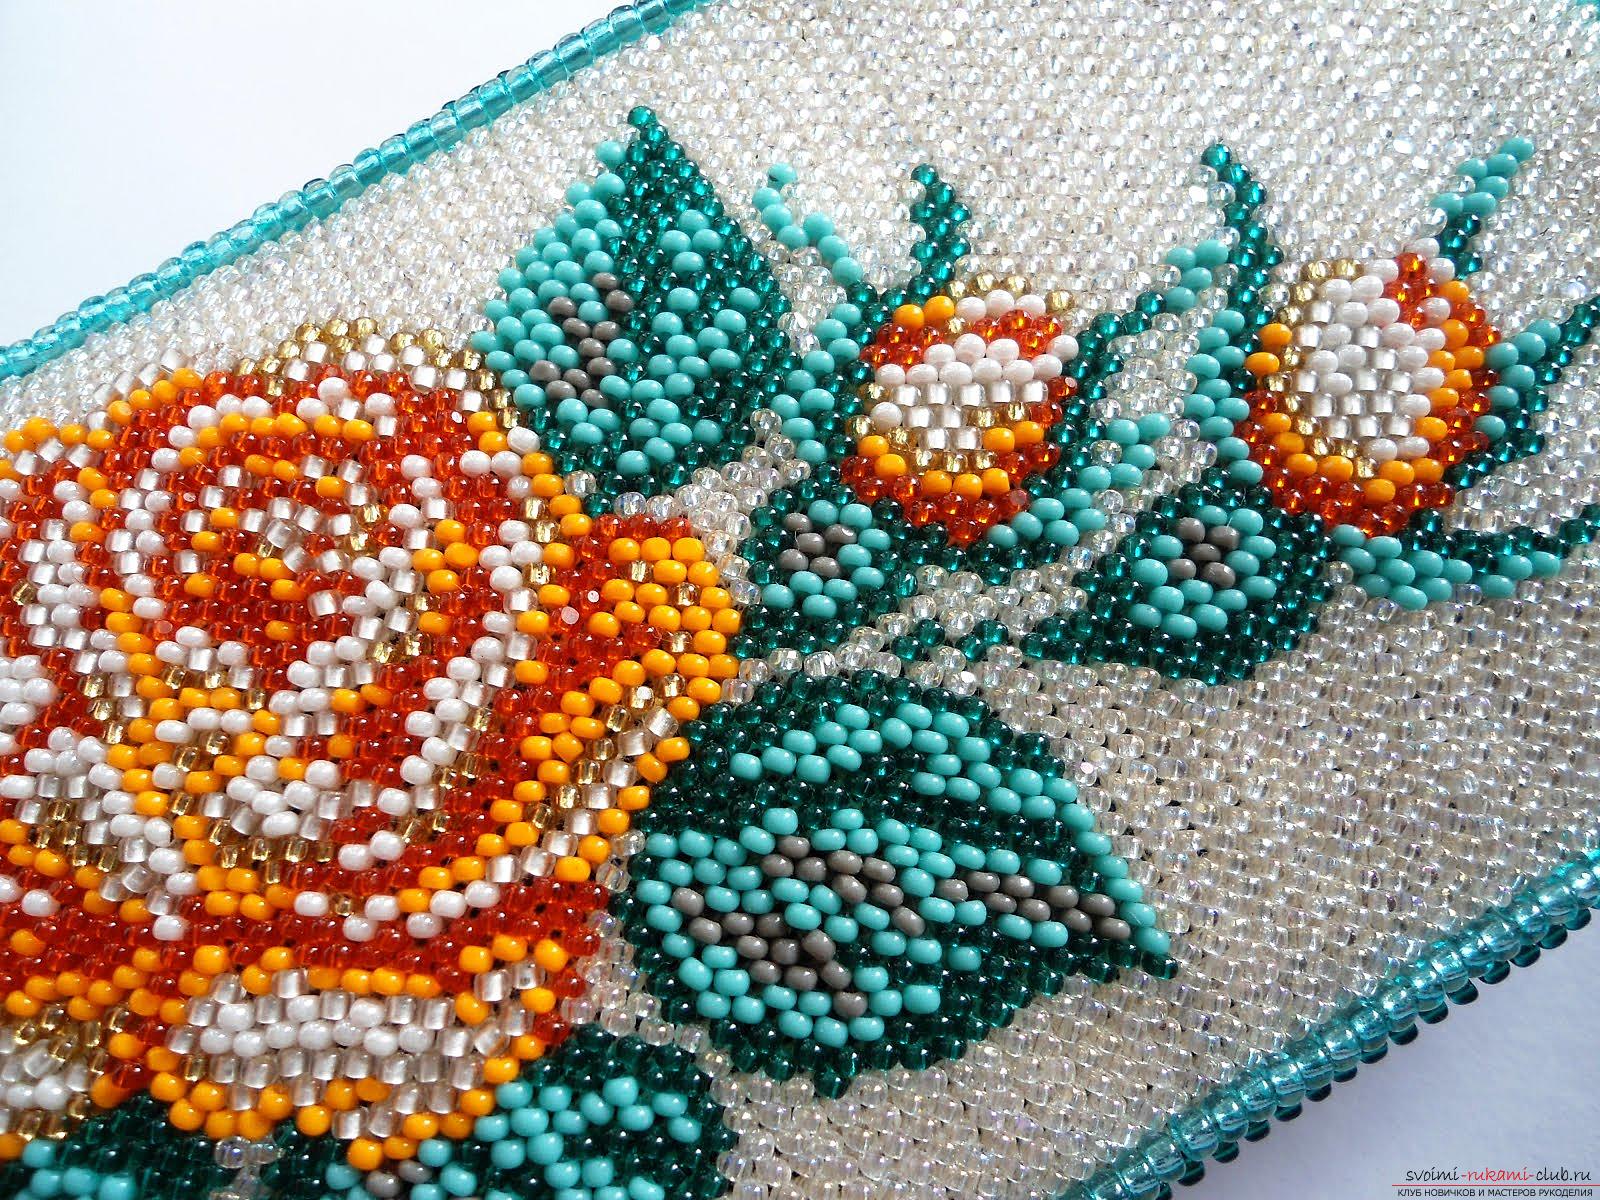 It is used to get patterns. Which are applied in rows. Most often use "monastic stitch". On the wrong side of the fabric, the needle is inserted into the lower left corner of the cell, a bead is threaded onto the stretched string, then the needle is inserted into the upper right corner of the cell. Similarly, embroider the whole series, fixing the first and last beads by sewing them twice. We go to the second row, performing the actions in reverse order - the needle is inserted in the upper right edge and is output from the lower left edge. The third row is repeated, like the first. Vertical suture No less simple than "monastic". We start from the upper left corner, alternating direction - top-bottom and vice versa. The direction of the needle with the thread can be seen in the diagram below. The "forward needle" seam is as simple as possible - the needle is inserted into the canvas, the thread is stretched, the bead is threaded, the needle is inserted again into the fabric (very close to the bead), a small stitch is made from the wrong side. Then the thread is again displayed on the face and the actions are repeated. Circular embroidery This technique of embroidery with beads is performed in a spiral, circle, from where it got its name. The diameter of the circle gradually increases during operation. When the diameter reaches the edge of the blade, there are unoccupied beads on it. Should go to the half-bent seams. Best for this purpose is suitable "arch suture". In a circle, embroider a "stalk" or "line" seam. The most dense of all the known joints is "stalked", as beads in the row are sewn with a double thread. The essence is as follows: a bead strings are threaded onto a fixed thread, the needle is put into work and displayed behind a sewn bead, the thread is once again inserted into the same bead and then the next one is sewn. So repeat to the end of the series. In the photo below you can see the embroidery schemes by all the listed seams. All existing seams are not complex. Each needlewoman chooses for herself that variant of the basic techniques of embroidering a picture with beads, which is most convenient for her personally and the technique that is optimal for this or that product, pictures, ornaments. A little patience and desire to learn, as well as the fulfillment of the elementary rules set for this type of needlework, and a wonderful product will be ready. The result will surpass all your expectations.
Comments
Related posts:
 A lesson on embroidery beads with their own hands, advice for beginners with embroidery beads with photos and descriptions.
 Embroidery of icons with beads in the technique of beading and beading
 Embroidery with beads paintings or icons, detailed master-class with diagrams, photo, for beginners
 The scheme of the embroidery of the icon "Vladimirskaya" with beads, embroidery of icons with beads, detailed master classes with diagrams and photo for beginners
 How to sew by linear embroidery. Tips for embroidering beads with your own hands.