Italian set of loops - description of knitting in different ways
Content
Among the basic techniques of knitting stand outVariants of a set of knitting needles. This is one of the opportunities to decorate, make it more elastic or strengthen the edge of the product. There are many options for original design. One of their most popular is the Italian set of loops. This method makes it possible to make an elastic and beautiful edge of the product, which is very similar to machine knitting. If you need to perfectly handle the cuff or bar - it's an excellent choice. Let's look at this topic in more detail in our article.


Ways to recruit
The Italian way of dialing loops can be performed:
- With an additional thread;
- Without its application.
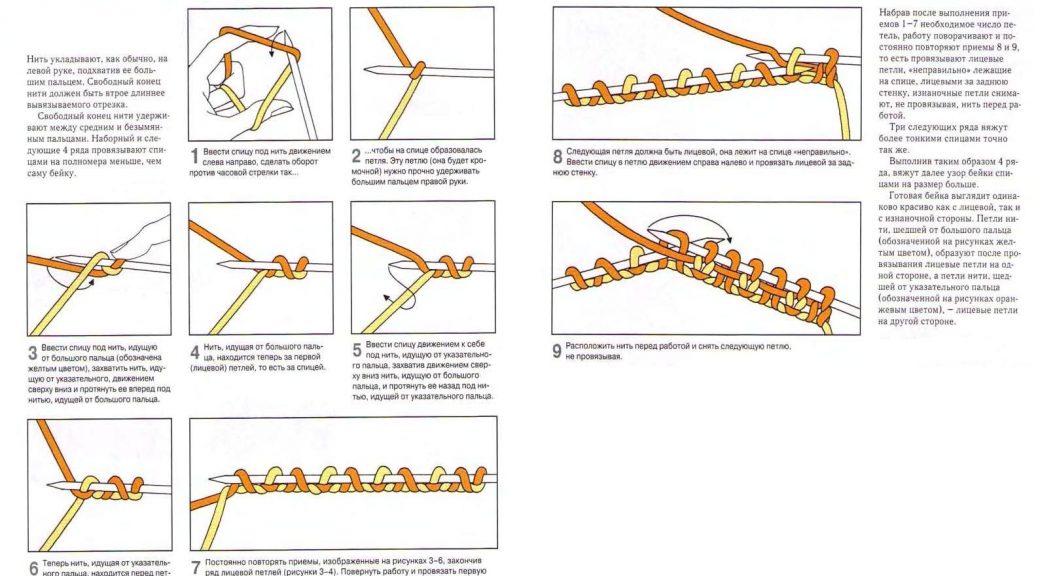
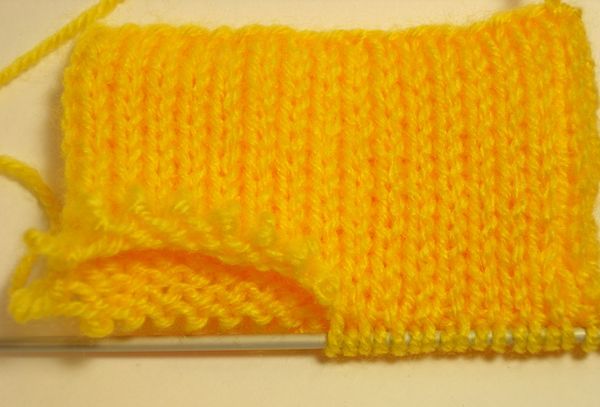
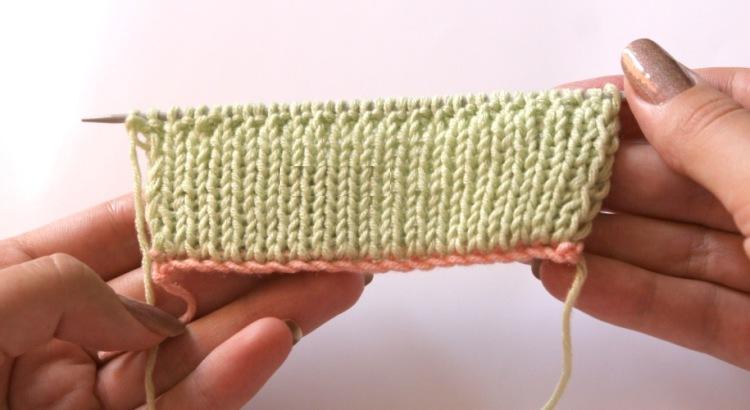
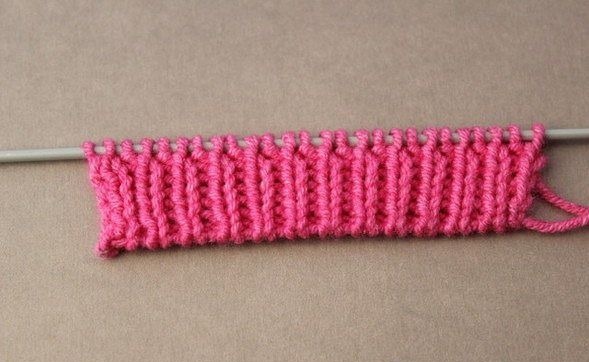
There is no particular difference in the technique of the set, but forThe first option will need an additional thread. When it is required that the elastic band 1x1, 2x2 or double look neat and aesthetic, an Italian set of loops is used. It provides one more important characteristic - the resulting edge will be very elastic, will not pull the cuffs or the bottom of the product. Suitable for knitting on two spokes, as well as on circular knitting. In the second case, you need to carefully monitor what kind of loop you are knitting, front or back. With circular knitting there are no turns of the fabric. This must be taken into account. The method is also used when it is necessary to close the loops neatly.
Set without additional thread 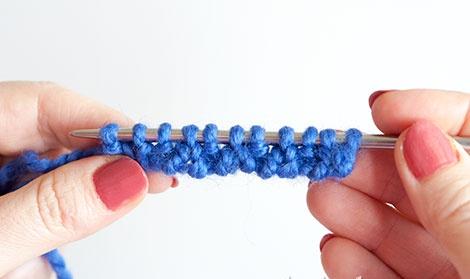
This version of the set is made with one spoke. Its diameter can be less than half the size of a full-knuckle. This technique will ensure greater accuracy of the edge of the product. Spokes do it according to the description, but with some nuances in mind:
- The first loop (hereinafter referred to as the AP) is performed by the classical method;
- The latter is tied with a facial.
The process takes place using a spoke and two strands that go from the thumb and index finger. In this case, depending on the variant of their crossing, either a front or a backplate is obtained.
After they are typed, knittingContinue to be identical to a hollow (double) gum. Two rows are performed, removing the purl with the crochet (the main thing is to make sure that the thread remains before work), and the front ones are sewn with the "grandmother's" method (behind the back wall).
The transition to knitting conventional 1x1 gum is veryplain. Continue to knit alternately one purl and one facial P. To go to the 2x2 pattern, you need to perform some manipulations with P. They are rearranged in places to get to the desired pattern. More clearly, the whole process can demonstrate a video tutorial.
Video: How to dial loops with an elastic edge
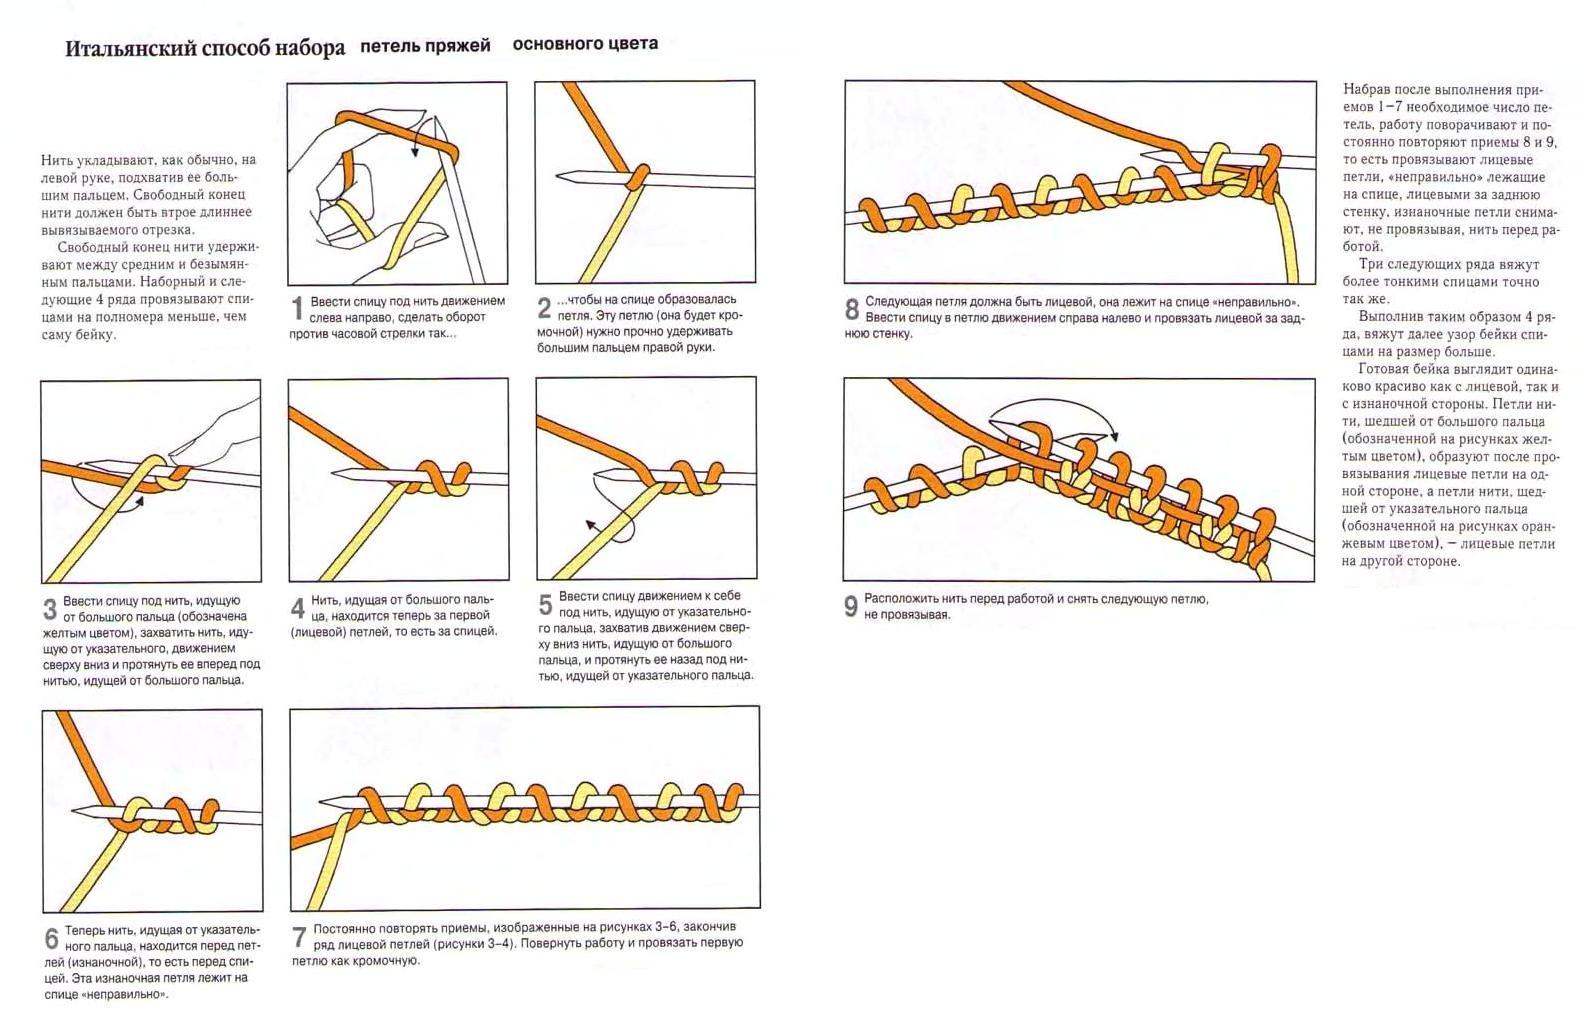
Option with an additional thread 
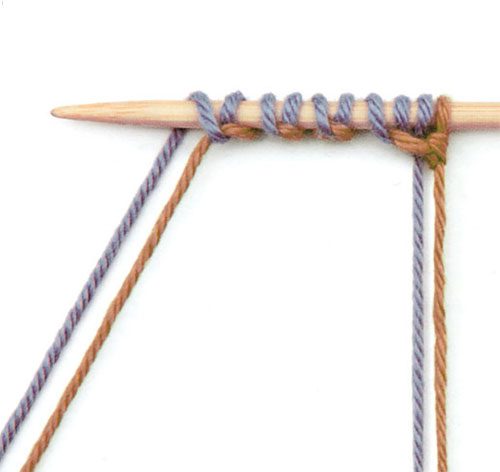
This method differs from the previous one in the presence ofAdditional thread, the shade of which can differ significantly. This does not play any role, because after the end of work, it can be pulled (removed). Some craftsmen use an elastic band. It is either removed or left. In the second case, the end is tightened and fixed.
The first P. is gaining the main thread classically. It is placed on the index finger. The auxiliary is placed on the thumb. The process of the Italian set continues as in the previous version, but with the use of two colors. Having typed the necessary quantity of PI, check that only the main color is located on the spoke. The auxiliary thread should go under the spoke, simultaneously twisting the dialed pencils. If at the end of the job it is easily removed, then the whole process of the Italian set is correctly made with spokes. Video to help knitters.
Video: Learning to type loops with an additional thread
Original type of gum
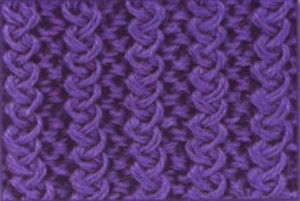
Excellent and fresh looks on knitwear Italian gum. Some knitters also want to learn this variation. It is performed on the basis of two familiar patterns:
- Ordinary gum, which is knitted using the 2x2 method;
- Crossing P.
To perform the pattern begin with the third row. Before that, knitting the first two rows is performed as for the usual (2x2). Then, in the third, the inferior P. knit without change, and the facial crosses - first the second facial knit, and then the first one. Turn the canvas and on the purl (4th) row continue: two facial as usual, purl cross. The third and fourth rows are repeated to the desired height. The Italian rubber band looks very original both on children's things and on models for adults.
The Italian way will help to carefully close P. Hollow gum or 1x1 on the collar. In order to close the P. Italian way you will need a needle and attention when connecting P. It's good to see a video on this topic.
Video: Close the loops in Italian
Selection of photo MK

Comments
Related posts:
 We are exploring a cross-shaped spokes set of loops on the photo and video
 Subtlety and methods of knitting crossed hinges
 Mittens with two spokes: a diagram and a detailed description of knitting
 Full photo-video description of knitting patterns "Zvezdochki"
 Pearl spoke pattern: a description of the scheme and the video lessons knitting