Izon circle: Learning to fill in the circle
Content
The first mention about
date back to the 16th century. It was invented in England. To do this, using simple tools: a plate with a hammer a nail, which stretched the skin. Patterns, we obtain as a result of weave, it was so beautiful that immediately became very popular. Modern masters were able to replace the boards with nails on thick cardboard paper and velvet.
At first it may seem that the creation of technologyizonityu paintings, very difficult job. But this is only at first glance. In order to get started in the art Izon, you must learn to fill the circle.
Master-class range of filling in the art Izon
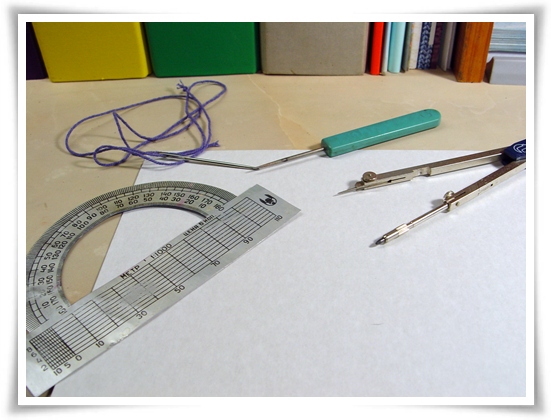
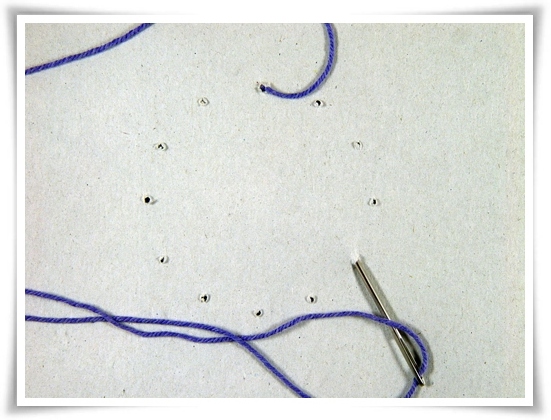
For the small tutorial needed some materials. Here is a list that will be needed in the work:
- sheet of cardboard;
- protractor with the compass;
- colored yarn floss and toffee;
- needle with an awl;
- PVA glue and pencil.
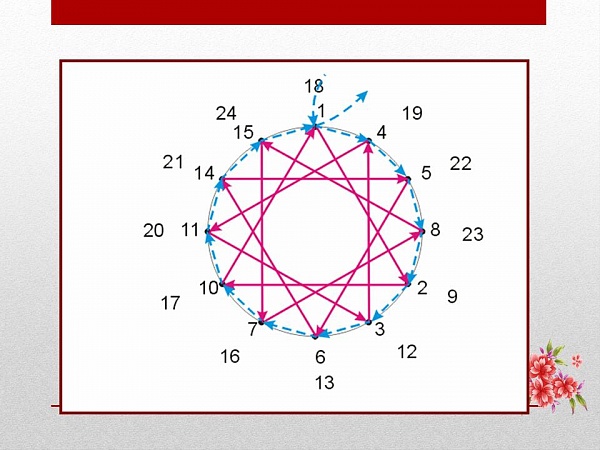
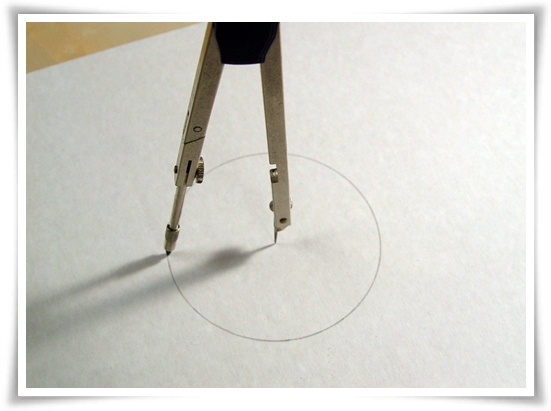
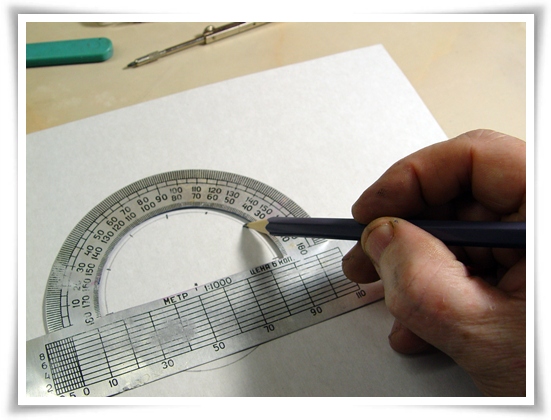
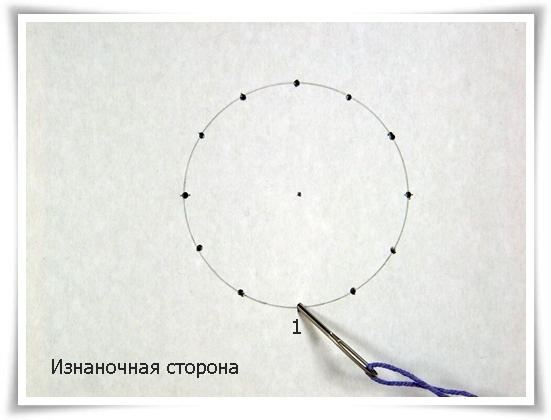
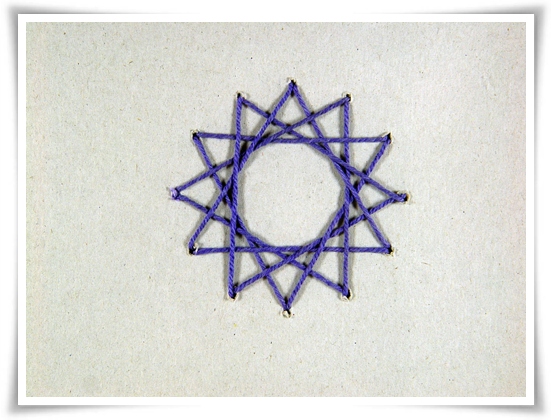
Draw a circle on the wrong side of the cardboard,using for this purpose the compass. Protractor divide the circle into an even number of the same cuts. For example, put a point on the drawn figure of thirty degrees.
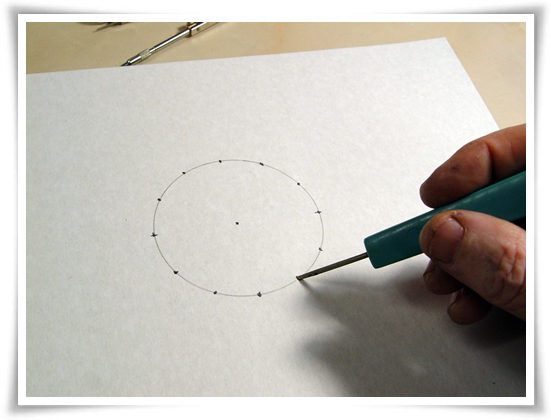
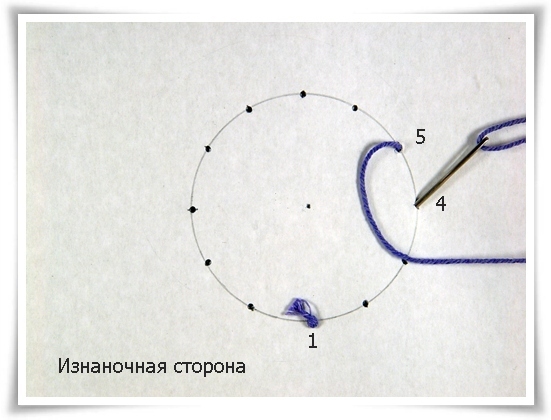
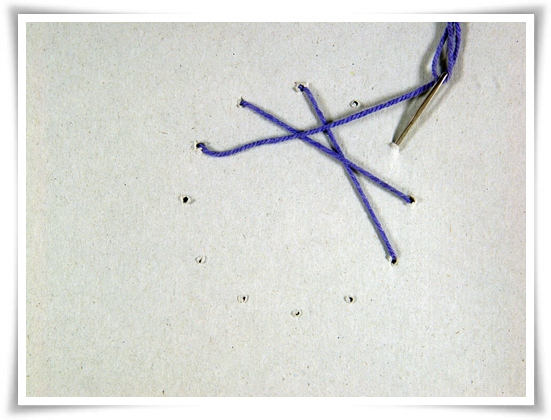
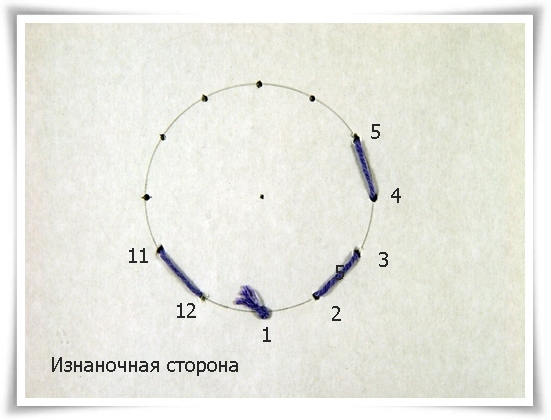
At these points, you said Pierceawl holes. Number the range of numbers. Getting to do a master class with the first numbering in the photo is the number 1. Now insert the needle in point number 5.
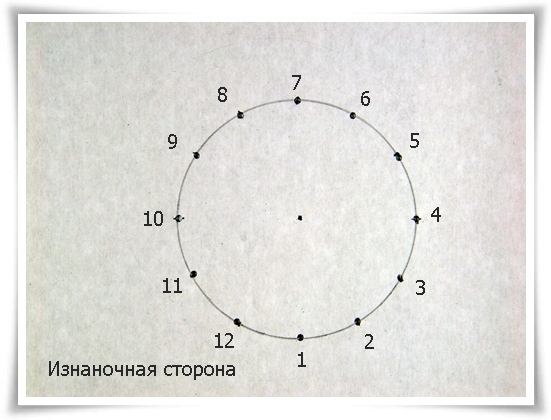
We are working on the wrong side and filling in the circle,needle sticks from point 5 to point 4. On the front side of the circle, holding the needle in the hole number 12. From it, then head into the hole at No. 11 on the inside, and then again on the front side in the hole number 3.
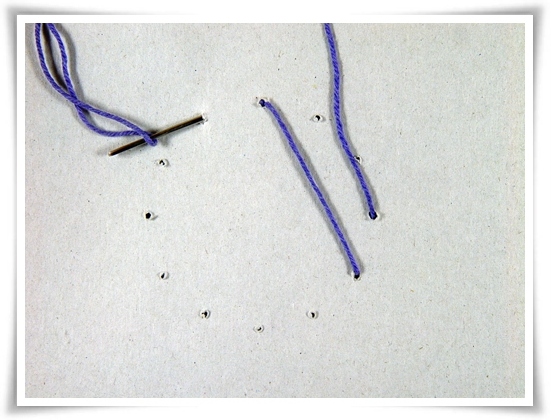
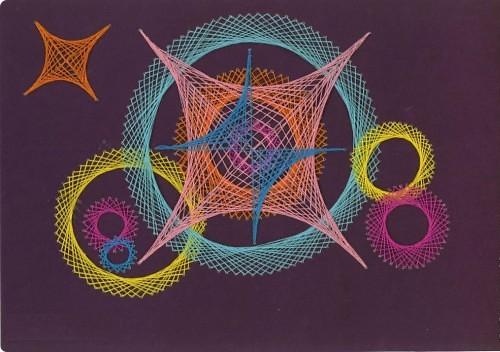
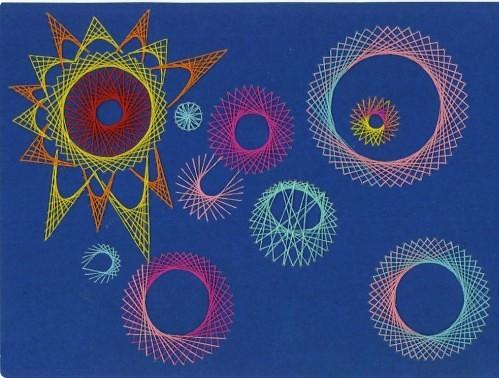
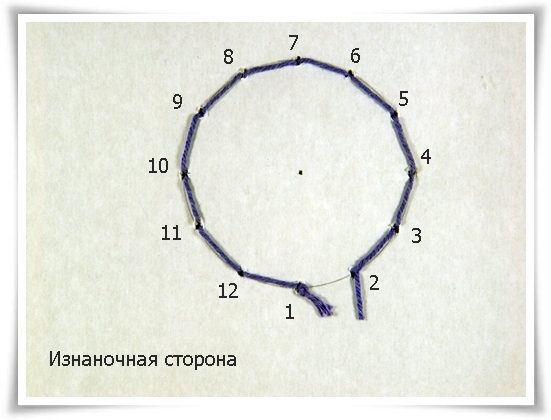
The picture shows how should look like a circle on the right side when it embroider in Izon technology. And on the reverse side, the picture is quite different.
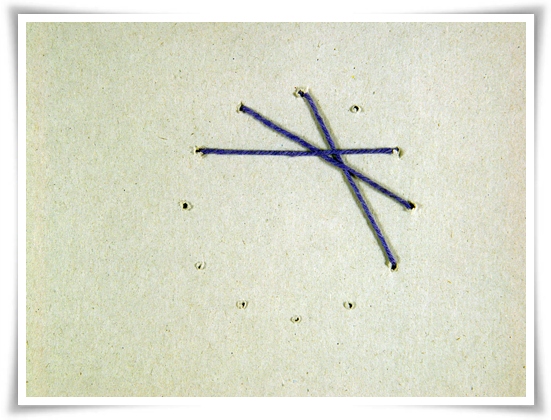
Fill the circle method izoniti for the scheme,which has been demonstrated above, it turns out a perfect circle, which is depicted in the photo on the reverse. And on the other side, we got an interesting flower. The tip of the thread that remains secure a small drop of white glue. In this master class range of filling izonityu completed.
Tips for beginners
If you're just starting to learn crafts such as Izon, then these tips for you:
- at the end of embroidery knots on strings are not made. The tip is glued with white glue or a small segment of the adhesive tape on the wrong side;
- the circle is drawn and markings on the inside;
- do fine needle holes on the inside of a colon on the opposite side;
- the less you'll make the holes, the softer and finer the picture will look like;
- thin needle and thread is needed in case of a small-sized image;
- segments must be strictly equal length.
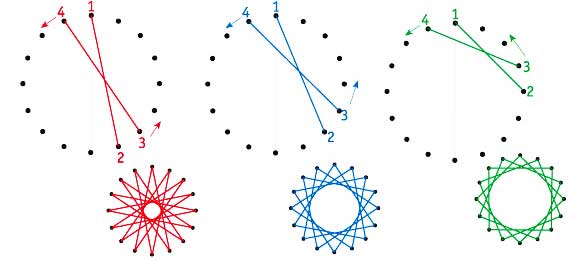
At the moment when you will understand izoniti technology, you can create your own schemes and make shapes of varying complexity of multi-colored threads.
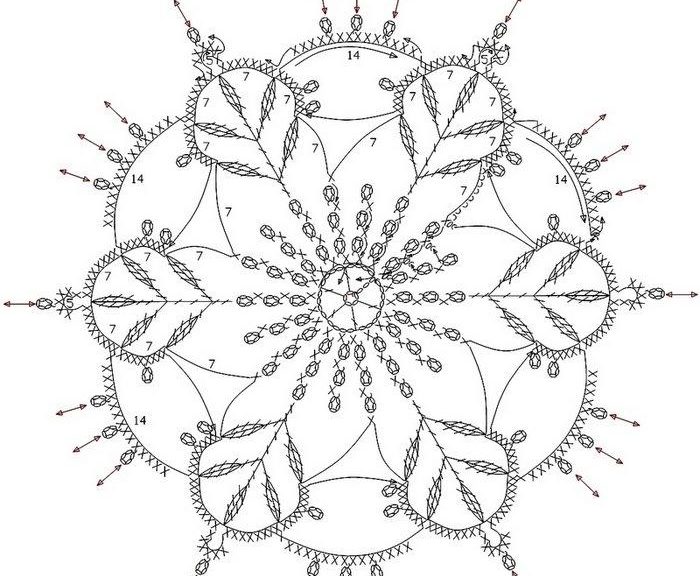
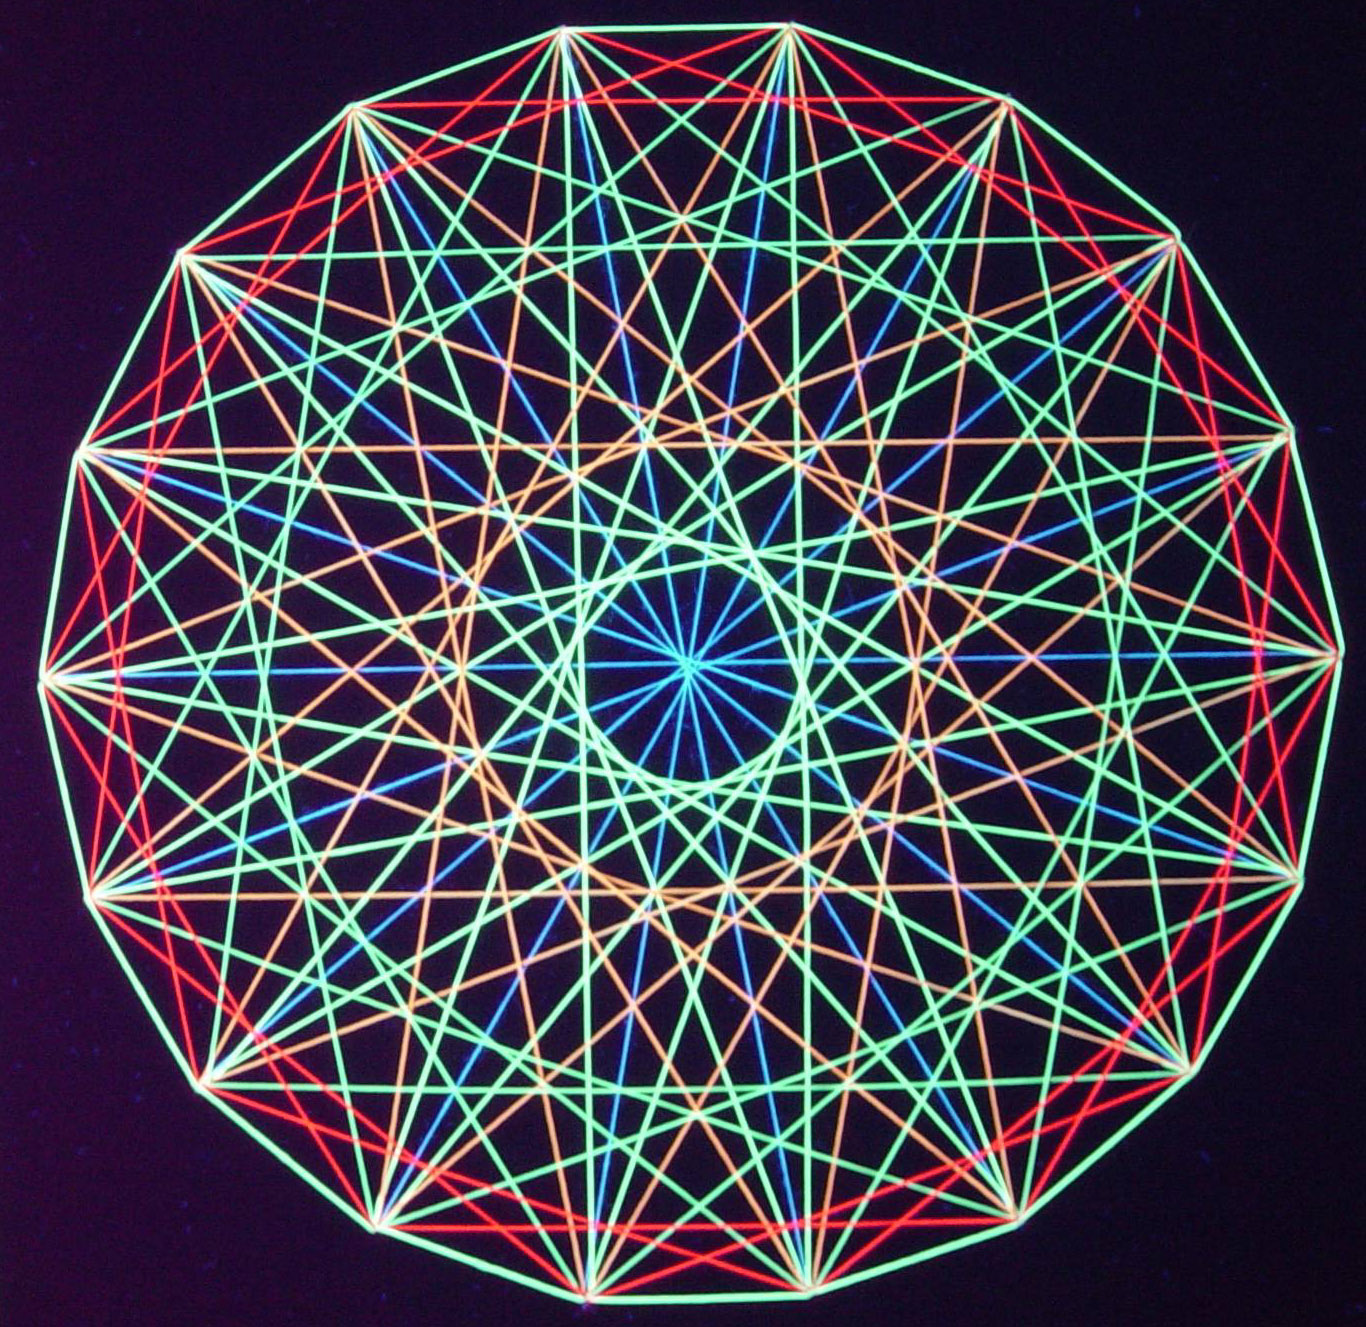
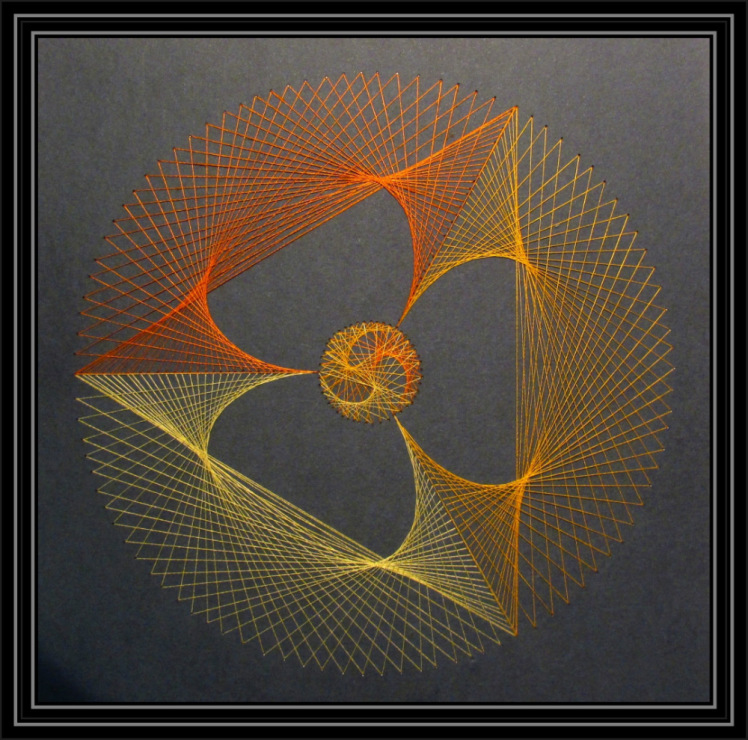
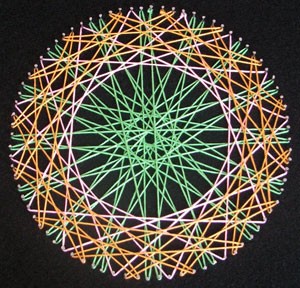
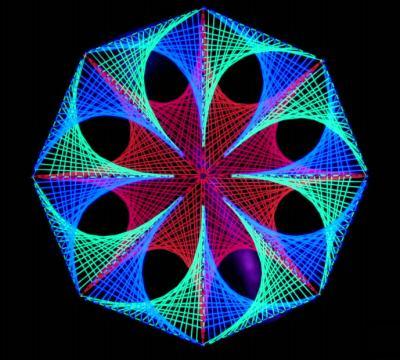
Schemes range of embroidery