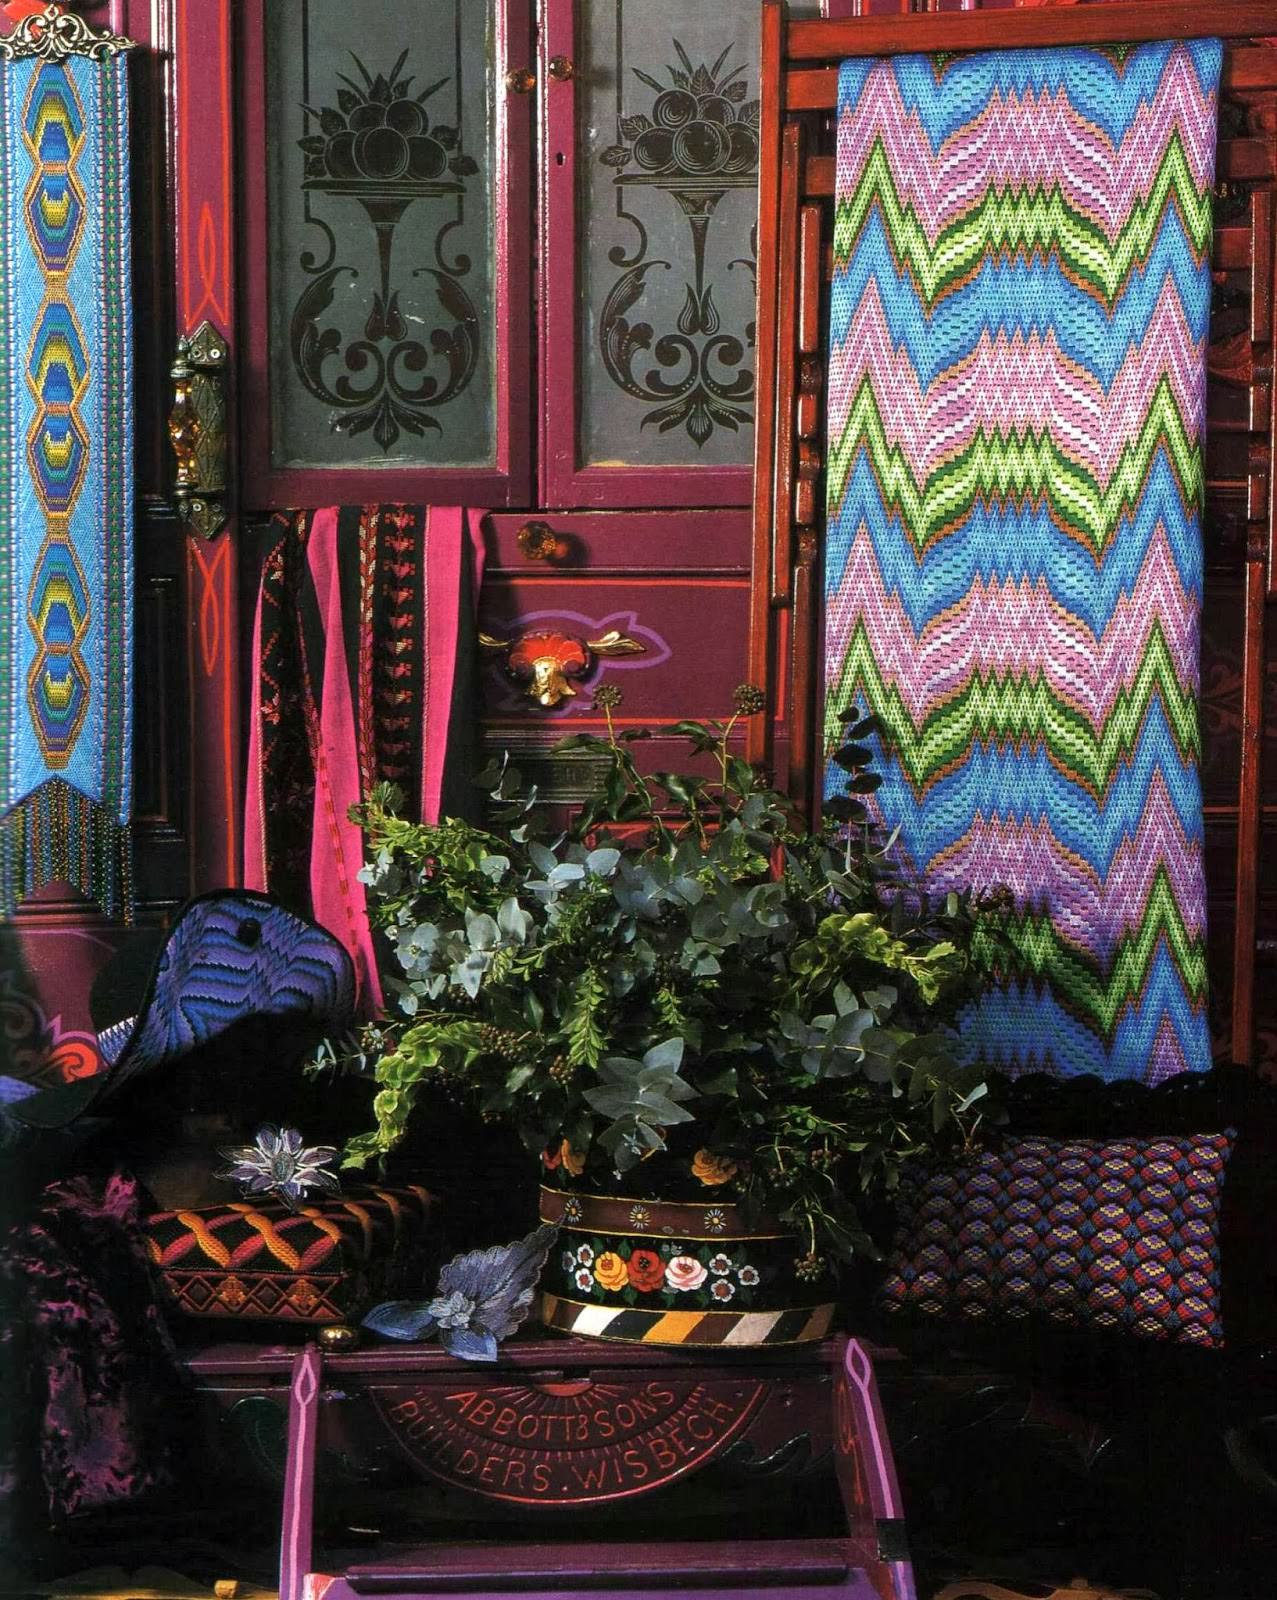
Japanese art of sashiko embroidery and satin (photo)
Content
- The main stages of work in the technique of Sashiko embroidery
- Little tricks and rules of Sashiko's embroidery
- Technique of Japanese smooth surface
- Video: art of Japanese Sashiko embroidery
The country of the rising sun is mysterious andIs attractive. Masters of Japan with their unusual forgeries, attitude to life have always admired and excited imagination. Japanese art in embroidery is unique in its variety, uniqueness. Such art, as temari, sashiko, satin smoothness in the technique of drawing stitch is known to very few people. But modern needlewomen never stop, mastering all new and new techniques, creating their own unique masterpieces.
Sashiko - an unusual and refined art of embroidery
Simple and original Japanese manualNeedlework - sashiko. Delicate, exquisite embroidery, which if translated into its name literally means a small puncture, which completely reflects the essence of the whole technology.

The main stages of work in the technique of Sashiko embroidery
Before proceeding directly to the embroidery process in the Japanese style, it is necessary to understand its main principles:
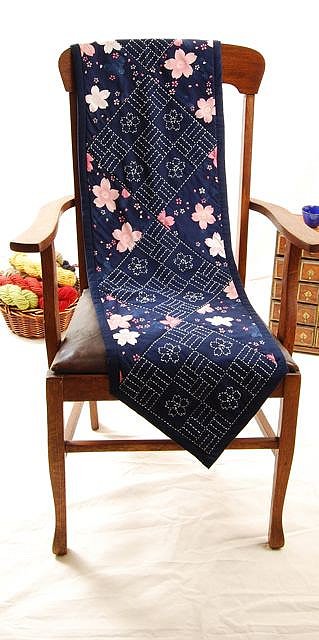
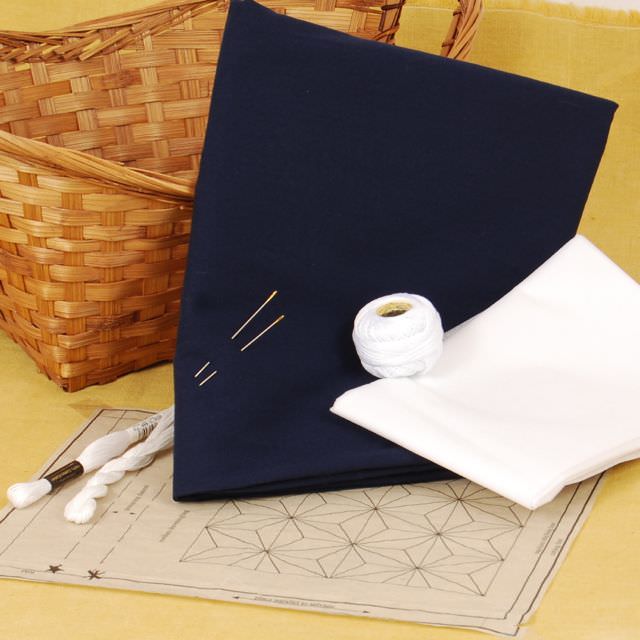
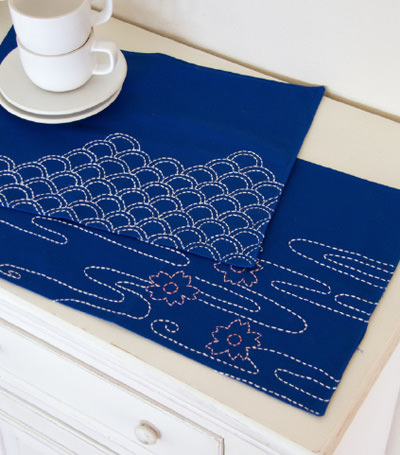
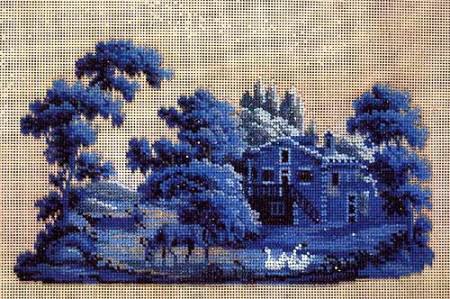
- Contrast of thread and matter. Japanese embroidery prefers traditional saturated blue with all its shades. Threads are white or black, but this is not a strict rule, the main thing is to achieve contrast;
- Stitches go vertically, horizontally or parallel to each other. They can not cross into sashiko. Between them there should always be a small distance;
- Each seam is exactly the same. The distance between the stitches is uniform.
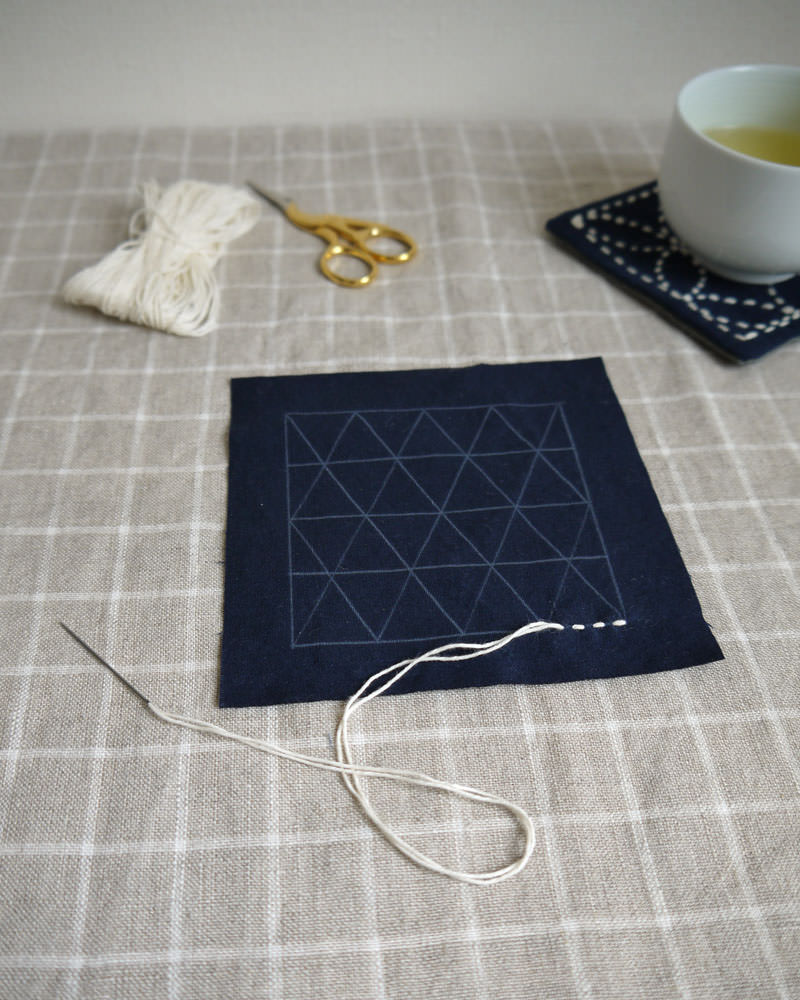
The most important before starting to create any Japanese embroidery in Sashiko technique is to come up with or find your own pattern, pick up fabric, thread.
The first stage is the creation of a sketch. Having chosen a favorite pattern, draw up his scheme. The design of the pattern is easy, because the basic principle of embroidery is simple enough. The main thing is to observe the style of Japanese Sashiko embroidery.

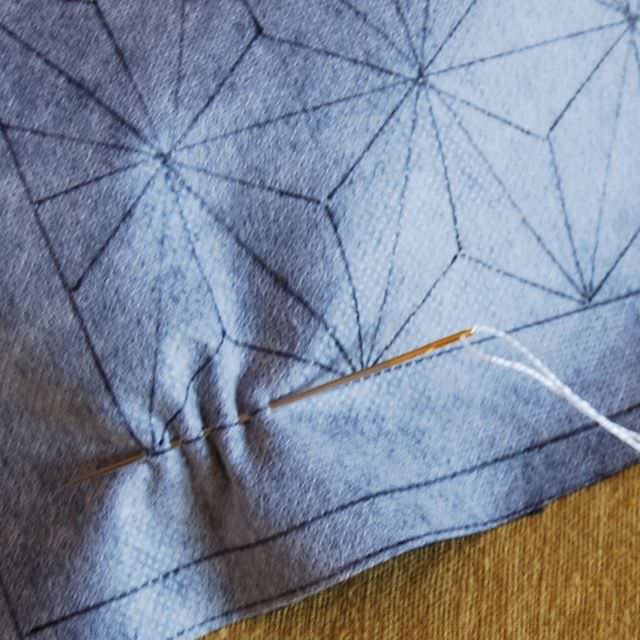
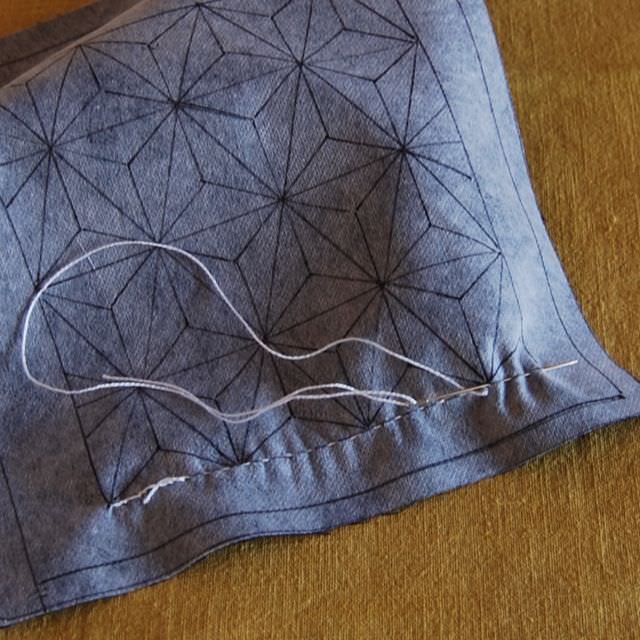
The second stage is the transfer of the picture to the fabric. You can apply any scheme to the material in several ways:
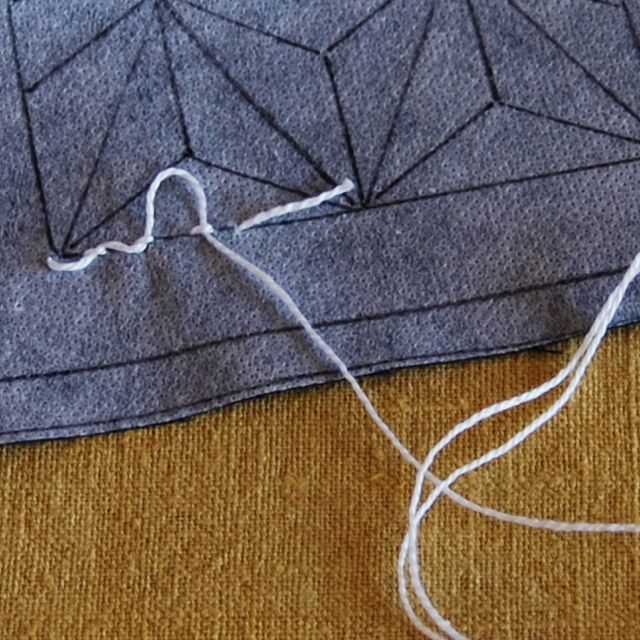
The third stage is fixing the thread. When the inside of the finished product is hidden, you can make a knot to fix the thread. But, if the created Sashiko patterns are visible from both sides, then the first side stitches the first few stitches, leaving the tail so that you can return and fix it with these repeated stitches. There is another option - the quintus. The thread is wrapped twice around the tip of the needle and stretched, creating the first stitch.
The fourth stage - the creation of stitches in technologySashiko. Stitches are carried out in the simplest way - a seam forward with a needle. But it's just just at first glance. Each stitch is laid exactly the same, keeping a uniform distance. To the fabric in the process of embroidering sashiko was not pulled together, after five to ten stitches make a quintup. It should be done carefully, so that there are no knots visible on the front side. Stitches on the front side should be almost several times longer than from the inside. Alternating quads depends on the selected pattern. If these are geometric patterns, then it is possible to make such a knot at each corner transition. In general, each skilled worker herself calculates when and where they should be done.


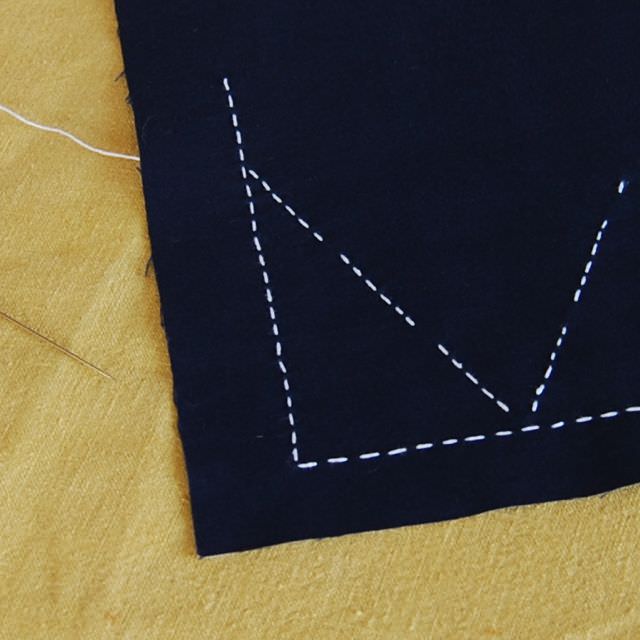
The fifth stage is sashiko - transitions in patterns. When the line of the picture shows a sharp turn, the needle that executes the stitch is pinned to the top of the created corner, it is withdrawn from it again to the front side, heading to where the drawing provides. If several patterns intersect, there should be a small distance between the seams, overlapping one another is not permissible.

Japanese Sashiko embroidery mainly consists ofGeometric figures, patterns of horizontal, vertical lines. Smooth lines and their intersections, it is not famous. The main task of a beginner is to develop his own pattern of movement in the process of embroidery. Convenience of the Sashiko technique is that it is always possible to finish a certain section and go to another one, having correctly secured the thread.
The sixth stage is the final stage. During Sashiko's embroidery, according to the chosen scheme, they move along a certain diagonal trajectory. When the internal drawings of geometric and other figures are embroidered, then complete the pattern with small broken lines from corner to corner. You can move around the perimeter in the process of Japanese embroidery, but the main thing is that the thread ends in the corner. This will facilitate the process of fixing it.
Little tricks and rules of Sashiko's embroidery
Sashiko Japanese art of embroidery hasBeautiful exquisite and refined appearance. Its main advantage is simplicity. But, despite the simple technique, like the Japanese culture, it has its own characteristics:
First of all, it is necessary to choose the right fabric forEmbroidery in Sashiko technique. Fabrics loose or too thin are not suitable for sashiko. But, too dense, such as a mixture of polyester and cotton, the wool will not be pierced with a needle. Best Japanese Sashiko embroidery will look at natural cotton fabric, since it has the desired density, does not get too crushed on the edges, does not decrease when washing and does not shed;
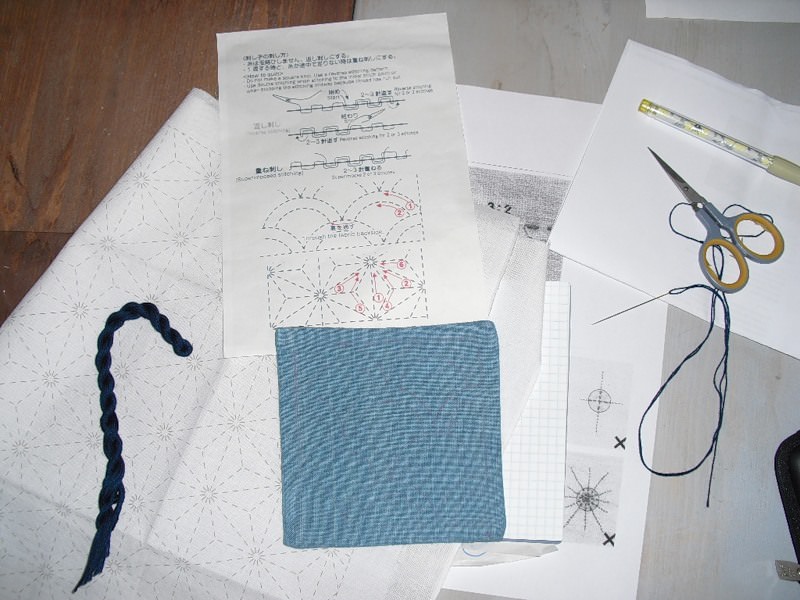
Beginners should spend extra time onCreate a scheme of drawing, and only then transfer it to the fabric. After the necessary experience is available, you can transfer the pattern directly to the fabric. It is not necessary to hurry, as the Sashiko embroidery depends on the qualitative drawing. Patterns with straight and long lines are much easier to embroider and faster, but gross errors can occur. In drawings with patterns, where the lines are small and curved, the various defects that appear can be hidden better and unobtrusively. If Sashiko embroidery does not provide geometric patterns and similar constructions of flowers, birds, insects and so on, then in the preparation of the drawing it is much easier to observe all the necessary compositions and proportions. Schemes in the geometric style are more complex. But in both cases it is better to use a millimeter paper when creating a schematic image. In each cell, you can make a stitch, recreating any drawing. Different patterns in the form of bends and arcs can be created using ready-made patterns and a circular. Various coins, lids from bottles and what fantasy will prompt can become patterns;
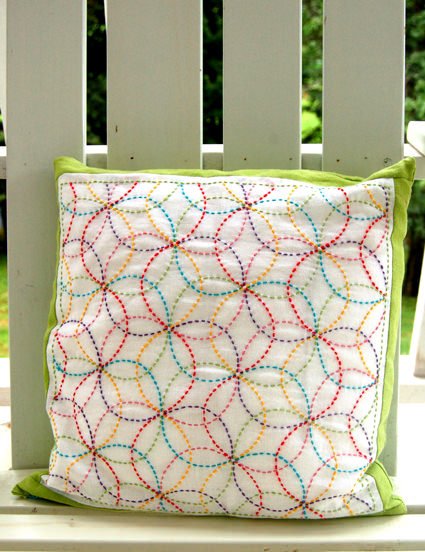
To create stitches in Sashiko's embroidery, they are even and equal, you can make stitches, following cross threads or strictly oblique;
Japanese Sashiko embroidery is a beautiful decor for pillows, towels, cards, clothes, tablecloths and other items.
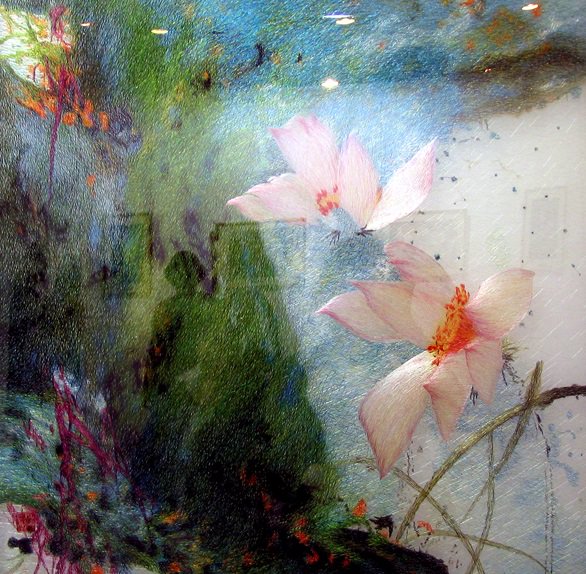
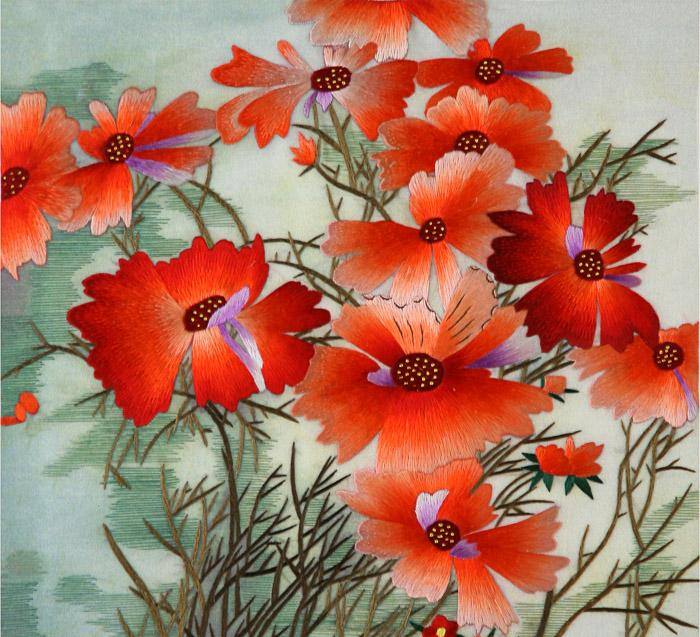
Technique of Japanese smooth surface
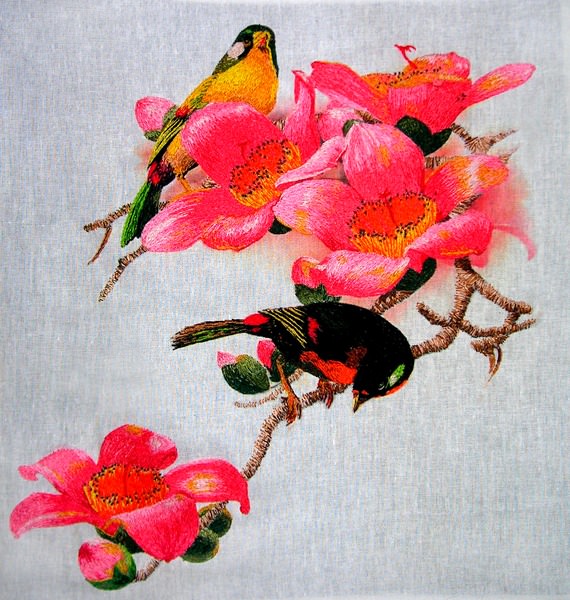
Japanese art of embroidery attracts manyCentury. Modern masters thanks to the materials that appeared in the sale and various master classes, descriptions of technology can create masterpieces as good as Japanese women. At the heart of the technique of the Japanese smooth surface is such a concept as a drawing seam, which is performed by a silk thread on a satin or silk fabric. Silk thread and fabric were a measure of prosperity in Japan, so only noble people were embroidered in this style, unlike the Sashiko technique.
Embroidery with silk thread in Japanese manner is no different from ordinary
. Japanese embroidery technique is very similar toA well-known shady surface, which Russian craftsmen used for a long time. Smoothing in this style is embroidered on the same principle, but in a more skilful manner, since it is believed that such embroidery is similar to the painted picture by a professional artist.
Smooth in the Japanese manner can be embroidered with several techniques:
- Three-stitch drawing;
- Shadow.
How to embroider in a three-stitch drawing techniqueSomething between the Poltava technique and the semi-smoothness is a three-stitch drawing surface. It is carried out by three stitches from here and this name.
Technology implementation
After the pattern is applied, its contours are pre-finished with any kind of stitch: a stalk, back or forward needle.
Begin with the outer edge of the pattern, performing stitchesTightly positioning them to each other, making them of different lengths and delimiting the edges of the picture. The technique of the three-stitch smoothness involves performing it out of three stitches: the first is the longest, then a little shorter, and the third is the shortest. The direction and bias of all stitches is the same. Each executed stitch grabs the edge of the skin a little. Needle passes as it were under the skin, creating an edge of a more voluminous shape.
When the outer row of seams is finished begin the second. Perform it, as well as the previous one, but take another tone of thread. The second row is covered by the lumens of the first, making stitches in such a way that they are poured in color. Then comes the third row of seams with a new color or shade, and so do until the pattern is filled. All the tone of the threads must correspond to each other, go smoothly and not roughly.

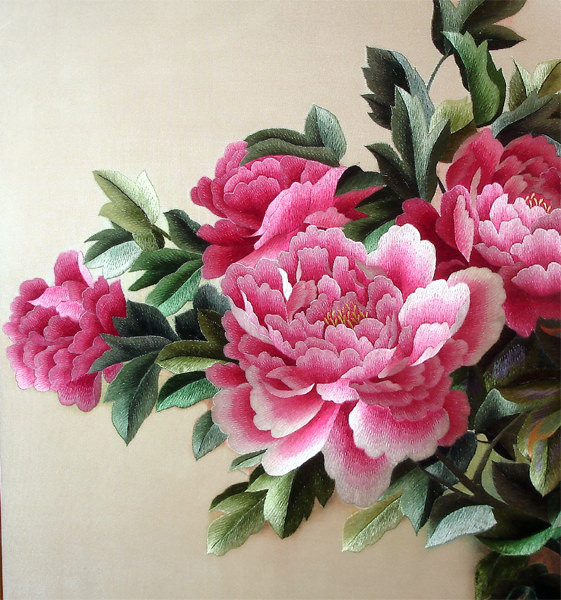
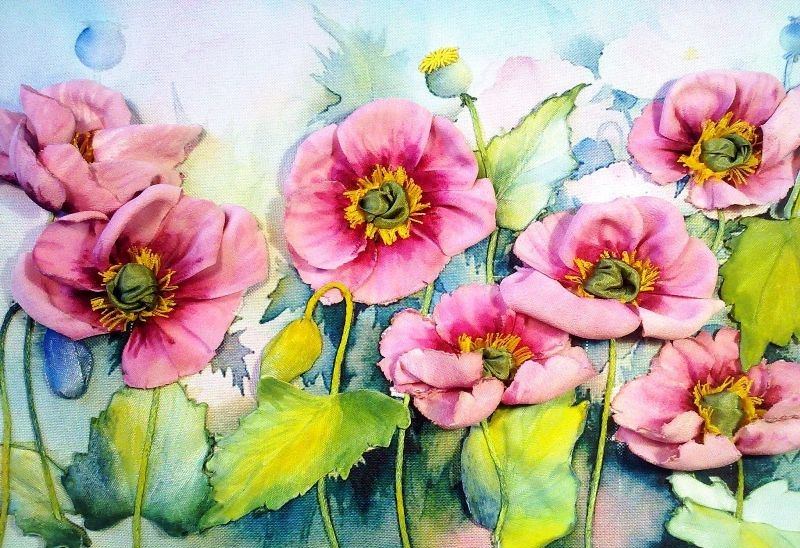
Three-stitch drawing surfaceIf necessaryEmbroider such a smooth flower petals, then all stitches are performed in the form of a fan, and in such a way as to repeat the contour of the curved petal, and in the center becomes straight. With the stitch of a needle, the contour of the petal is laid ahead to its middle, and also it passes to the next edge of the petal.
If a piece of a flower is embroidered, its contours andThe core is stitched with a conventional stem stitch. Then, using a three-stitch technique, the seams are made, beginning with one half of the sheet. To embroider is better from below from a handle of a leaf, moving in a direction to an external edge of the embroidered contour, it is grasping a little.
The tips and denticles of the leaf are embroidered veryCarefully. All the veins make different tones. Those that are larger and drawn by darker shades, and those that are less luminous. When one half of the leaf is finished in the same way, embroider the other. In the center of the leaf, a clear boundary and small lumens are formed, which can be filled by placing new streaks on them with a stalk suture.
Shadow smoothnessFree style on a contour drawn with threads of different shades without a distinct border between different colors. The effect of the shadow is obtained through the transitions of one color to another by means of stitches of different lengths. In general, this technique of the surface is very similar to that of the stalk, but it does not use a stem stitch, leaving the boundaries vague.
Japanese style of embroidery in some detailResembles the familiar for many skilled workers technique. Therefore, for beginners who want to try their hand at creating Japanese-style paintings, there will be no special difficulties. The main thing is a desire, a good mood and a little time.
Video: art of Japanese Sashiko embroidery
Comments
Related posts:
 Canvas for embroidery with beads types and ways of creating (photo)
 Trapunto embroidery technique of bulk products (photo)
 Bargello: Florentine embroidery technique (photo and video)
 Tambour seam for embroidery crochet and needle (video and photo)
 Schemes of embroidery zigugu cross: master class (photo)