New Year's decoupage of bottles with their own hands - a gift to friends and a master class of decoupage
A series of favorite New Year holidays makesus to think about how to do different crafts and the opportunity to create unique gifts for loved ones. Many people know that the very best gift for a loved one is the one to which you put your hand and, therefore, you need to engage in a variety of activities, with the help of which the present will look even more beautiful.
New Year's decoupage of bottles with their own hands - a gift to friends and a master class of decoupage
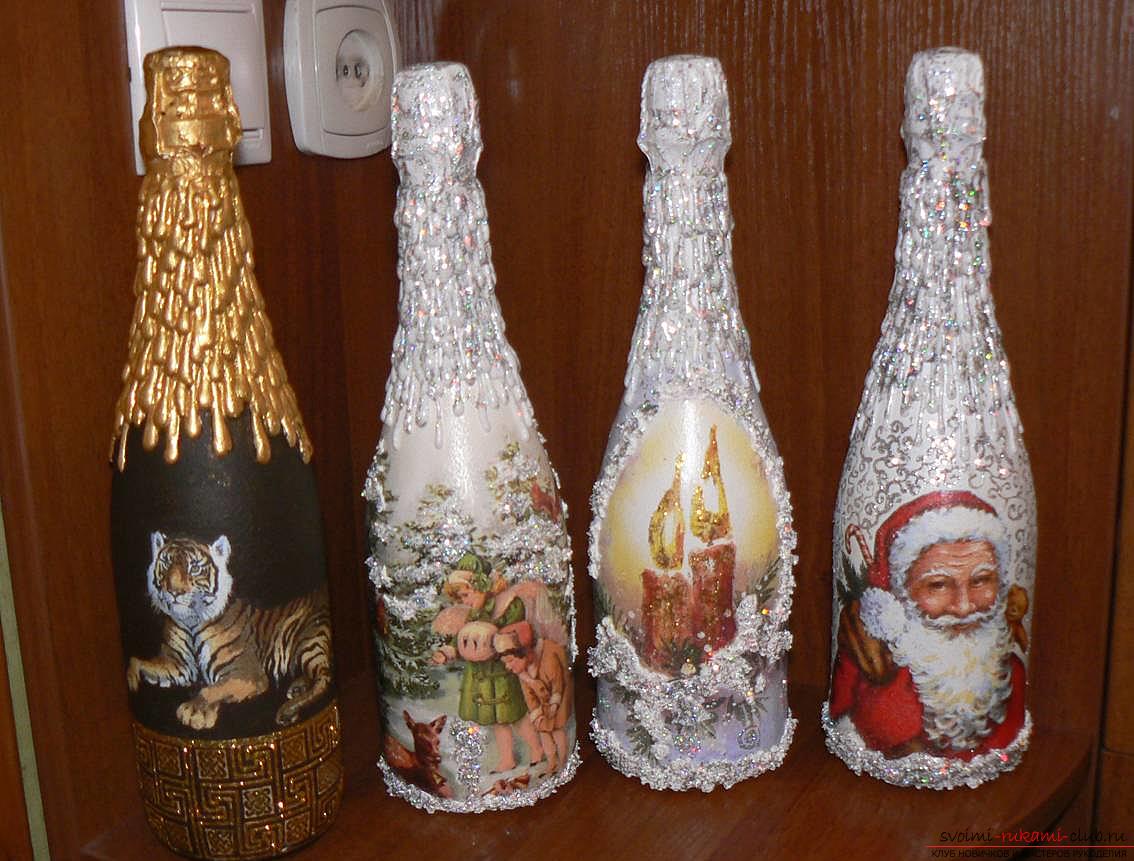
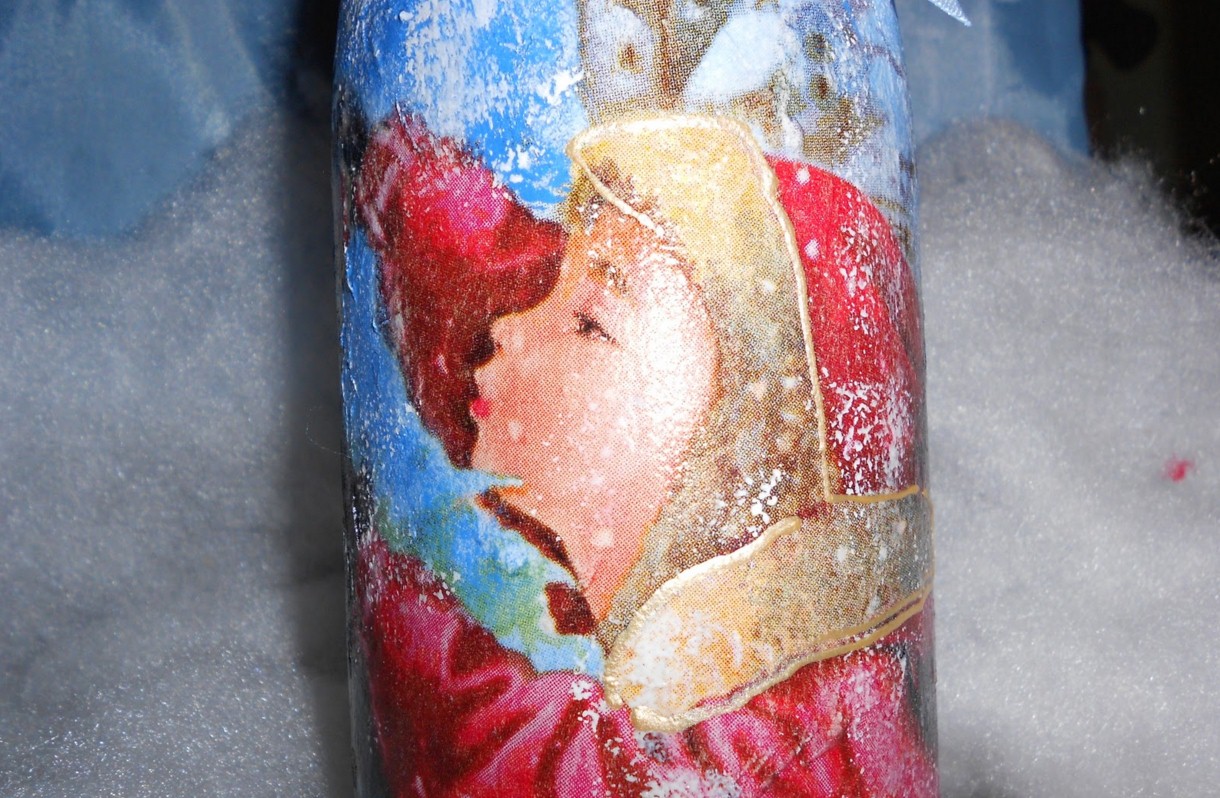 Gathering to your friends on a New Year's visitholidays, I want to surprise them with some modern and new hand-crafted article, which will have to go. In particular, a bottle of beautifully designed champagne can become the very handicraft that you can give to your friends. Especially if it has associations with New Year's holidays and observes all the necessary canons in order to please relatives and friends with a beautiful and universal presentation. How to work on a New Year's bottle? Decoupage technique as never before falls into place and therefore, we will try out new and modern ways of bottle design. As you know, this technique can use a wide variety of design methods, including the way of reverse decoupage, with which glass surfaces are much easier to decorate. There are a number of necessary materials and special tools with which help to make such a craft for any master will not be difficult. To begin with, we will understand this list, we will add all necessary and necessary things so that our product can meet future expectations. Questions about the thematic design of the bottle can be solved in this way: If you are going to go to celebrate the new year, it is enough to choose as a symbol the option of presenting a bottle with a suitable beast by the calendar.
- Prepare sticky substance PVA
- Take the acrylic paints
- You will need images with a multi-layered coating and the desired pattern, or a decoupage map
- liquid with alcohol
- contours for universal work
- Scissors for manicure
- Special brushes made of synthetics in the appropriate diameter
- Sponge or sponge, synthetics
- Packages from cellophane
- Gloves for surgery
- Cardboard foam
- Knife for breadboard cutting
- Tampons from cotton material
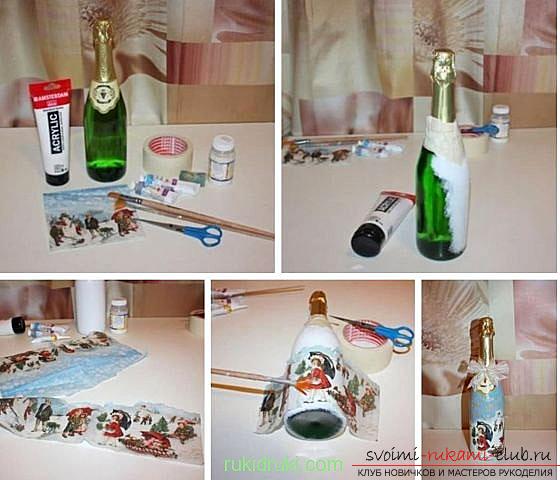
Step 1 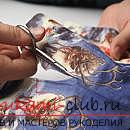 take the selected motifs from a swipe or cardDecoupage, which must be cut using scissors for manicure. Hard-to-reach areas and subtle moments should be left to prevent the image from losing its integrity. In case the work goes with a napkin, after each cutting, remove each white layer, leaving only the upper layers where the pattern is located. It is with this element in the future that you need to work. Step 2
 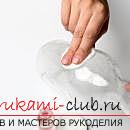 Before applying on our subject stickysubstance, the surface should be treated. Using a cotton swab in a liquid with alcohol. Also, there is a special adhesive for decoupage, but it can not be used, since it is expensive. Therefore, the alternative in the form of conventional PVA glue is ideal. It must be diluted with water. The liquid should resemble a liquid sour cream. Step 3
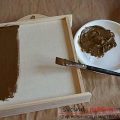
  First of all, a bottle of the future candlestickshould be decorated with the help of decoupage reverse type. On the other hand, we are working on a direct decoupage method. We perform reverse decoupage, applying the picture on the front side. Using a synthetic brush, we apply a small drop of glue to the middle of the product. Small smears will allow to distribute the adhesive base from the central part, to the edges of the future application. It is very important that the smears are not sharp, otherwise you can tear the napkin. Step 4
 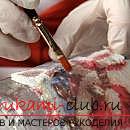 While you are approaching the edge of the application,different frills will appear. They can be processed with a brush or a finger. The adhesive is wiped using a cotton swab. White coat of paint is applied after the surface dries. after, outline the contours of the future "window" on the product. There will hide the picture that is inside the product. Here we work on the technique of direct decoupage. In order to make the picture brighter - similarly, add more white primer. After the paint dries, we work on decoupage. On the contour we put the picture, the bright side is on top. Step 5
 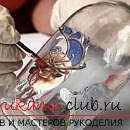 Next, we form the decor of the product. In this we will help the painting in the form of asterisks. Accordingly, take the stencil. Make a square measuring 15 by 15 centimeters. It folds in half 2 times and then, on the diagonal of the triangle, we spread the star. Every time the fold line needs to be worked out. Now, we open our stencil, put in a cotton swab and collect the kulis again, we put the picture.
 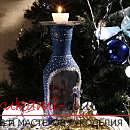 On the palette we place colors of white, silver andBlue color so long as they do not mix. The stencil box must be dipped in colors of different colors and applied to the bottle. The window should remain transparent. After that, wait until the paint dries. We apply the last layer of a small amount of colors of silver and violet hue, blue shades. A piece of a clean sponge will help you to get the right amount of colors. Then, with the help of a silver contour, we'll set up a window. Inside the product sprinkle with snow (artificial). With the help of foam board we form a stand for the neck of the candlestick. Step 6 If for work you have chosen a bottle with a wideneck, you need one more detail to turn it into a full-fledged candlestick. We will decorate it with a silver star from a foam board, on which it will be possible to put a candle. On the foam card, circle the neck of the bottle along the contour. The resulting circle should be entered into the square, having receded 3 mm from it. Give the sides of the square a little arcuate shape, bending them slightly inward, and the corners slightly "sticking out" outward. To do this, we connect along the ruler the opposite angles of the square and draw straight lines through them. On each line, lay 1cm outward. Now these points are connected by smooth lines with the middle of each of the adjacent sides.
Comments
Related posts:
 Master class with a description and photo will teach how to make decoupage of a bottle of champagne with your own hands
 The master class will show you how to make a craft from a bottle, decorated in the style of decoupage with your own hands.
 New Year's decoupage of a Christmas cup for a gift - a master class of decoupage
 New Year's motive for tin cans - a master class of decoupage by own hands
 Decoupage of housekeeper with their own hands - master class and photos for decoupage

 Now we prepare the bottle itself for the process of itstransformation. Since the bottle should be clean, first we will remove its surface from labels, labels and excise stamps. It's very simple to do. Enough, first, put it in a container of cold water and leave it there for a while. Paper easily lags behind the glass. Only make sure that there are no traces of glue that the paper has been glued to. After the bottle dries, we thoroughly degrease the entire surface. For this purpose, we will need, prepared in advance, an alcohol-containing or acetone-containing agent. The bottle is ready. You can start working with it.
 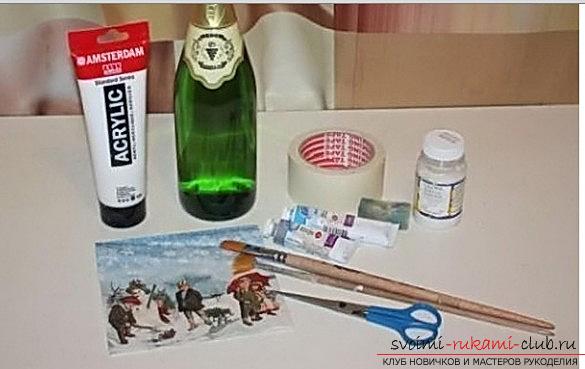 The first stage we will have application for the wholethe surface of its PVA glue. The glue must dry before we continue to work. It is necessary to cover the glass very carefully. Glue should not fall on the label, which we have left on the cork and the neck of the bottle. If you are not sure that you will cope, wrap this site with scotch tape and work quietly. Subsequently, tape is very easy to remove. So, the layer of glue is dry. Now you can start creating a background. For this we will need acrylic paints, which we have prepared. Regarding color, there are no restrictions. It all depends on your desire and imagination. The main thing in this matter, the tone should be in harmony with the pattern that you have chosen to apply to the bottle. To make it more convenient and easier to apply paint, use a sponge made of foam rubber (the usual kitchen sponge will do). The paint should be applied with dotted movements, which impregnate. New Year's decoupage can be done not only with napkins, but also greeting cards. In the first case, the drawing or a fragment of it can be pulled out neatly. The second option is somewhat more complicated. On the postcard it is necessary to put a layer of glue, while the glue is applied to both the front side and the purl. Then we immerse the postcard in a container of water and wait until it is well saturated with moisture. After the postcard is completely soaked, we will quietly disconnect the top layer of the postcard on which the picture is located, from the base. After the drawing is prepared, we paste it on the selected section of the bottle. You can glue both with glue PVA, and varnish. Above the picture, we apply a layer of clear lacquer. On the picture and on the background you can add a little sparkles, then the product will take a more colorful, vivid appearance, will find the inimitable spirit of the New Year.
 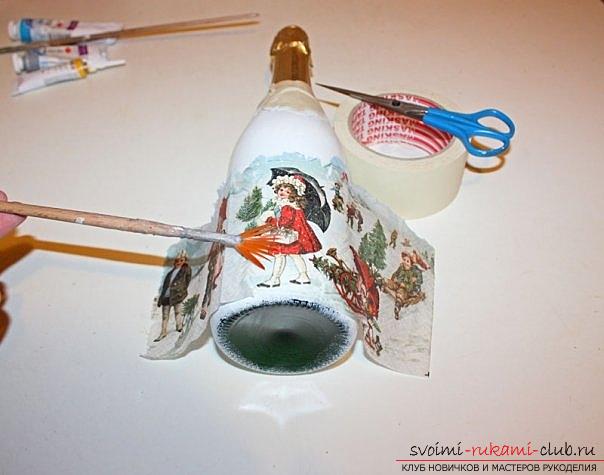 Our next task will be to tint the transitionbetween the picture depicted on the bottle and its background. The color of the tint should be close to both the background and the picture itself. Then our product will look holistic, and the contrast will not catch your eye. On the rest of the bottle, we can make the decor at will. You can draw beautiful patterns, flying snowflakes, decorate them with sequins or decorate with rhinestones. There is no limit to your imagination. Our work of decorating a New Year's bottle in the technique of decoupage practically came to its logical conclusion. It remains only to put the finishing touches on. We need to open our product with lacquer. Do this in several layers, each of which must first be dried and only then the next layer is applied. The neck of the New Year's bottle we can decorate with the help of multicolored ribbons, small Christmas-tree toys, shiny decorative threads, beads and so on. The decoupage technique for the New Year's bottle decor, which we applied in our work, allowed us to make very beautiful bottles of champagne in a short time. Similarly, we can decorate any drink. If you celebrate your friends and people close to you with such an original gift, you will not lose money. It will long be a bright reminder of the fun fairy days spent together. In the future, such a bottle can become an excellent element of the interior decor or a beautiful bright container for home wine. We proposed in this article, just one idea for the New Year's decoupage of bottles. Using this technique and using your imagination and creativity, you can make your own, not less original, bottles.