cake stand
If you often hold gala dinners,organize weddings, events, or just like to make friends happy tasty cakes and cakes, you probably know that the appearance and design of the dessert are no less important than the taste. And for an interesting presentation, a one- or multi-tiered cake stand that can be made with your own hands from spilled wood is perfect. Content:
Master-class "A multi-tiered cake stand with your own hands"
 Necessary materials and tools:
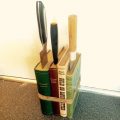
- log and thick branch;
- chainsaw;
- grinding machine (nazhdachka);
- natural oil for wood (wax);
- drill and screws.
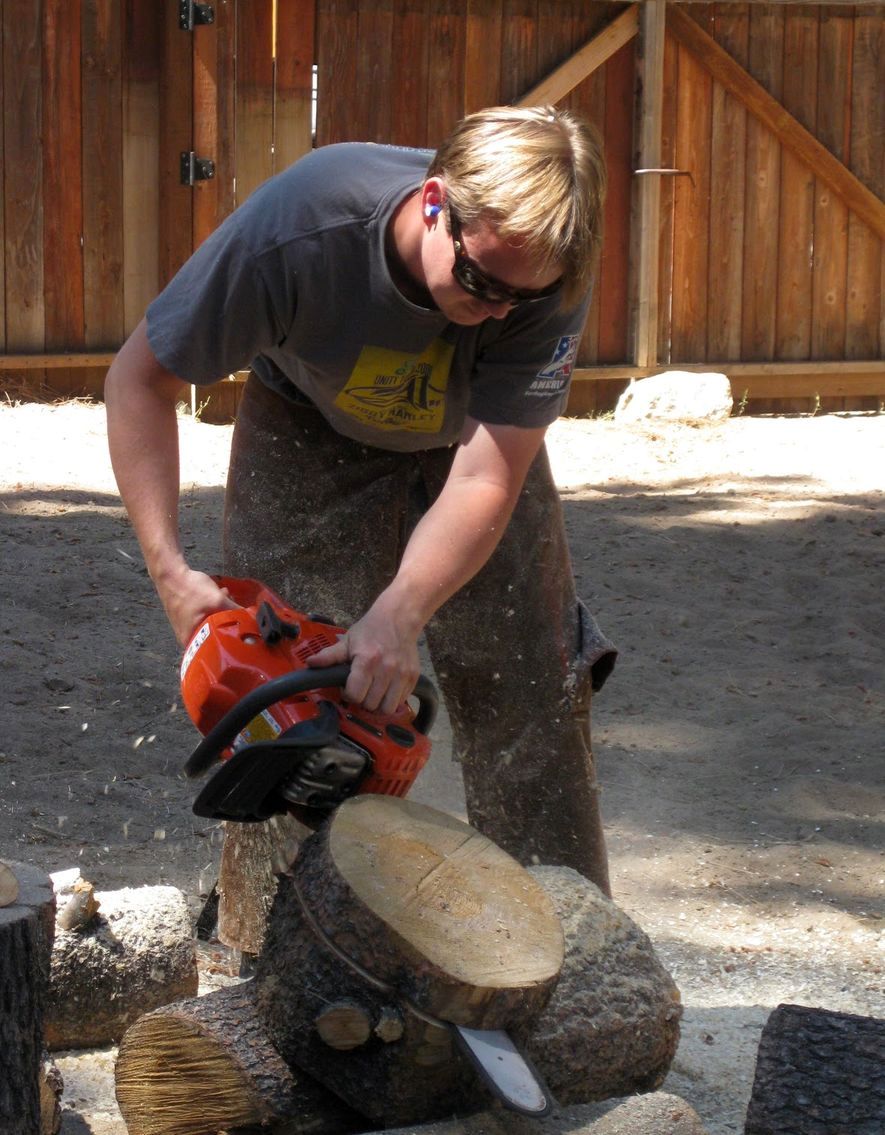
⇒ Step 1. Prepare the wood. You can buy ready-made cuts on the Internet, a construction supermarket, a store for crafts and crafts, and also in a sawmill. If you have a chainsaw and a forest nearby, you can make a walk with your husband, find a fallen (not rotten!) Tree and ask your husband to saw a log into several parts. In advance, think about what the stand will look like, or proceed from the materials found. For this project, you need three spills of different diameters, as well as two "pillars" - parts of the trunk or branch. 
 ⇒ Step 2. If the tree has recently fallen and is still green - it is advisable to leave the logs to dry in the sun. If the tree is dry enough, then cut the sections well with a grinding machine or coarse-grained sandpaper. You can either remove the bark or leave it. But if you decide to leave, make sure that it does not live bugs, and also take care that there is no tar.
 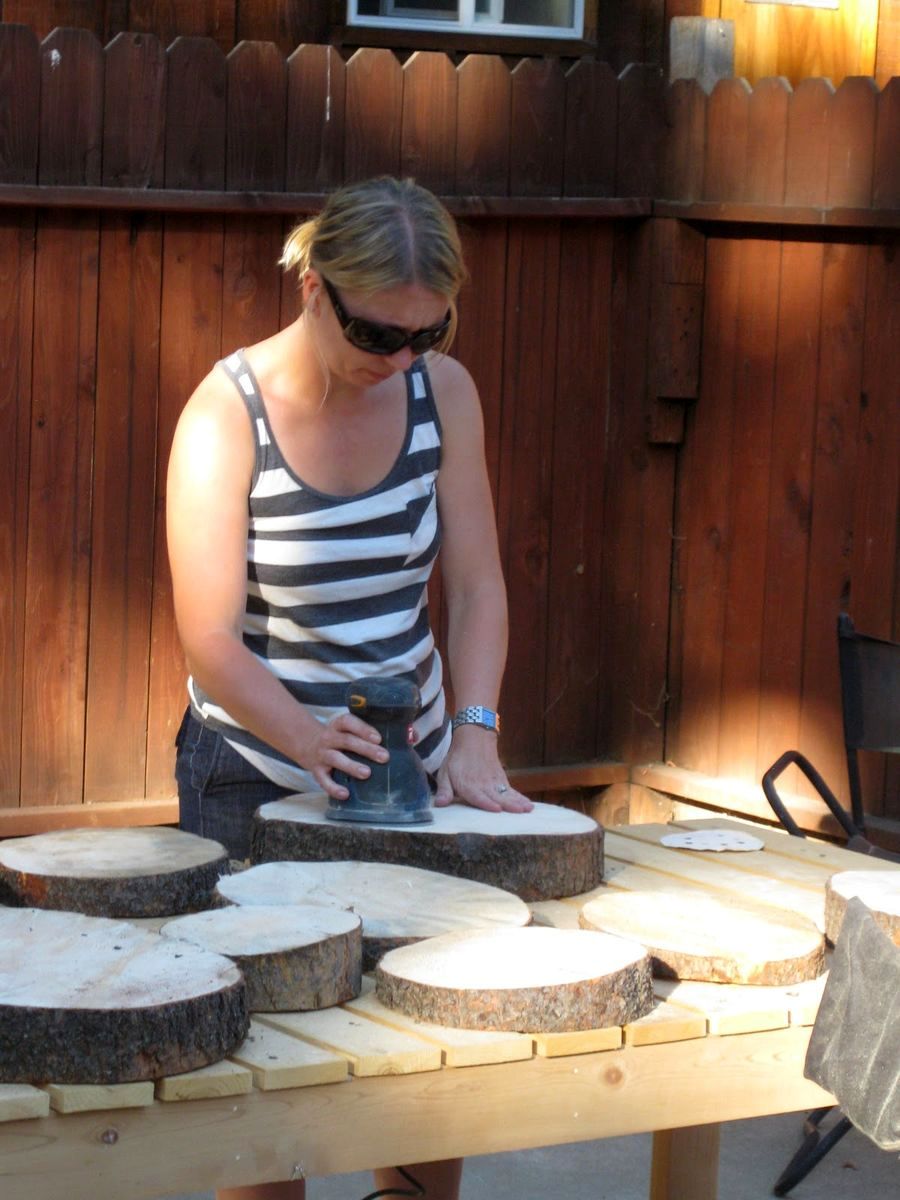 ⇒ Step 3. The surface of the sections can be processed with natural, environmentally friendly oil or wax.
  ⇒ Step 4. Assemble the tiers in a single structure. Intermediate posts between the saws are fixed with screws, screwing them diagonally into the saws.
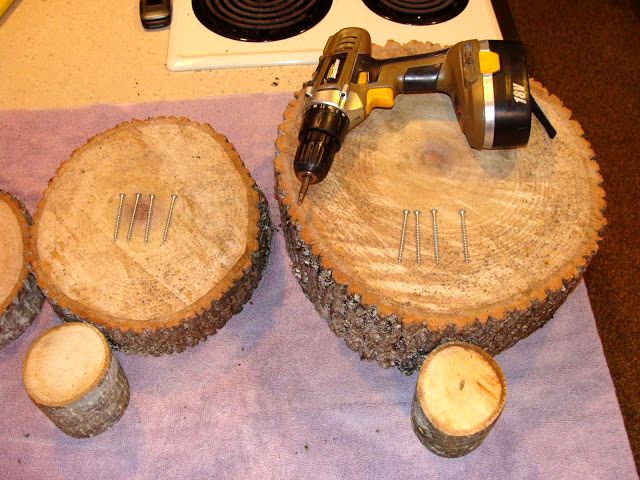
 If you have not slept very thick, then you can attach a column, having gone through the top down through the self-tapping screw.
 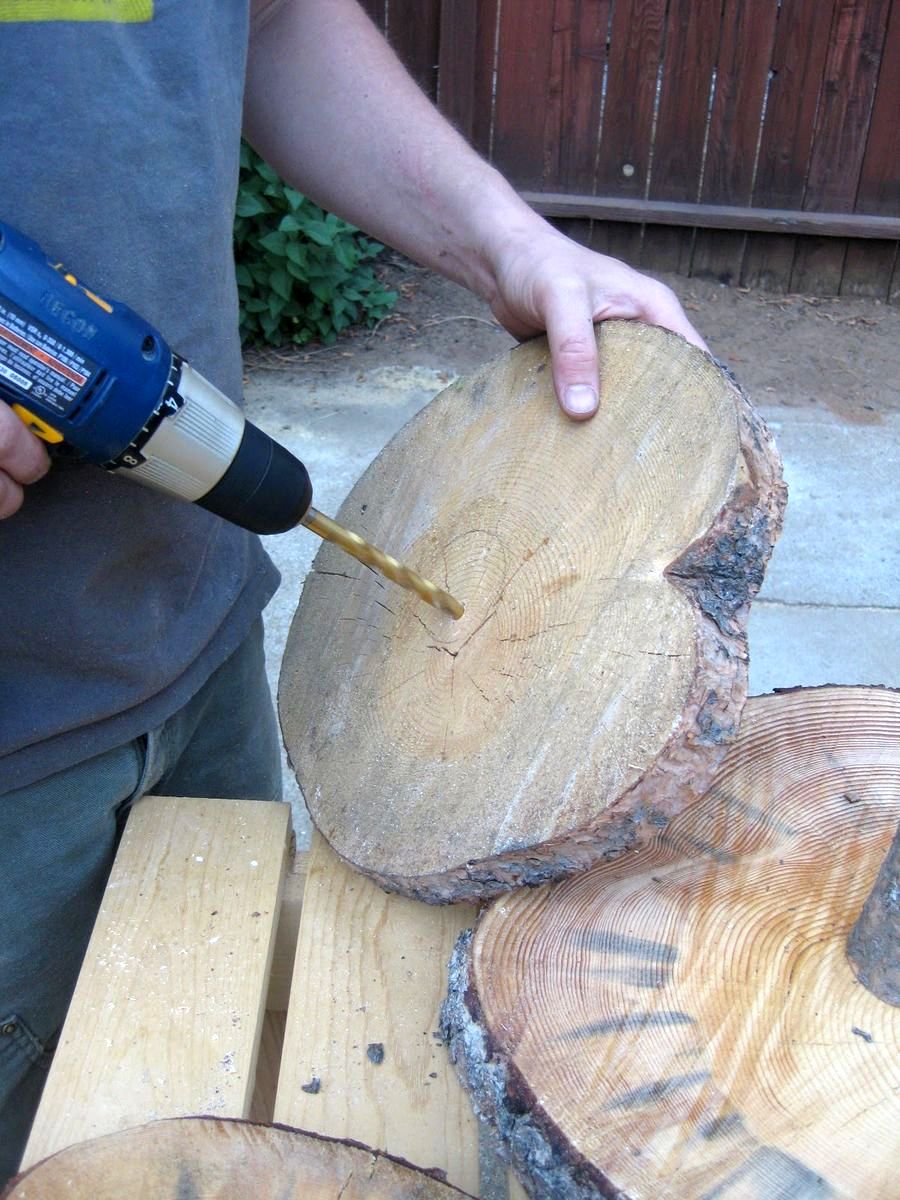 Here's what should happen:
Master-class "Stand for a cake made from spits of wood on a glue"
If you do not have the desire and the opportunity to tinker with screws and drills, you can simply glue the spili. 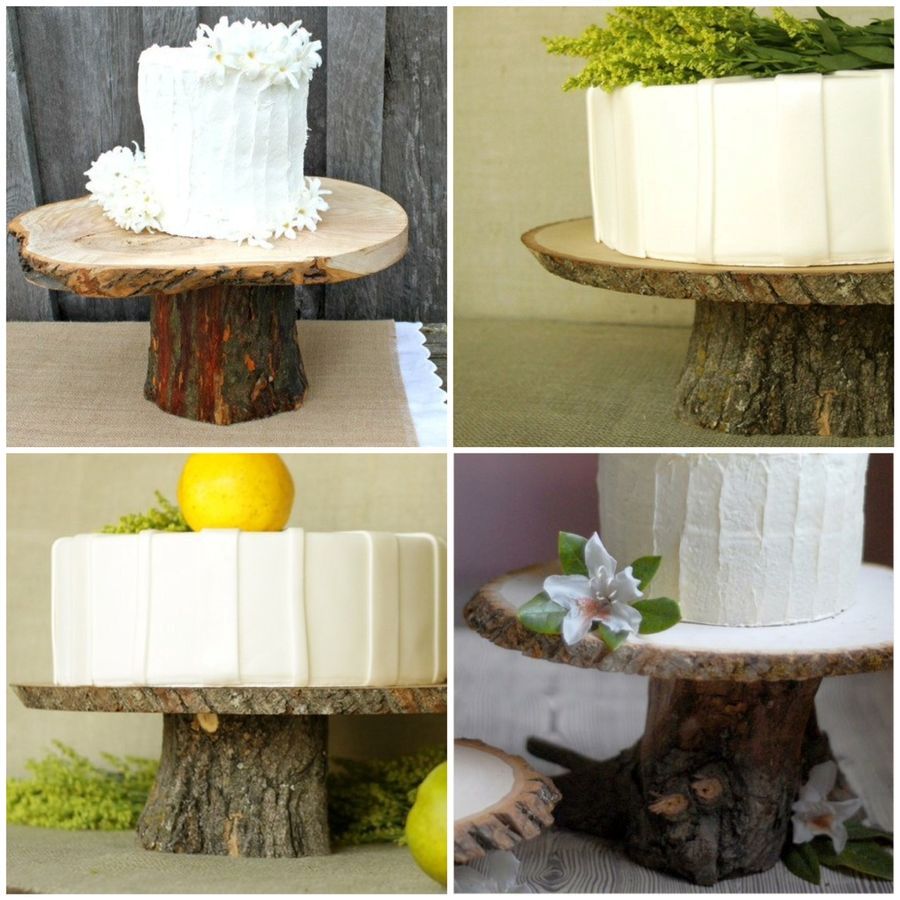 The whole set of materials and the course of work are similarthe previous master class, but instead of a drill and screws prepare a joiner's or mounting glue. At the stage of collecting the stand, apply glue to the clean ground surface of the saw, leave it for 5-10 minutes (or follow the glue instructions), then firmly press the surfaces to be glued and place them in a vice. You can just squeeze well with heavy books or dumbbells.
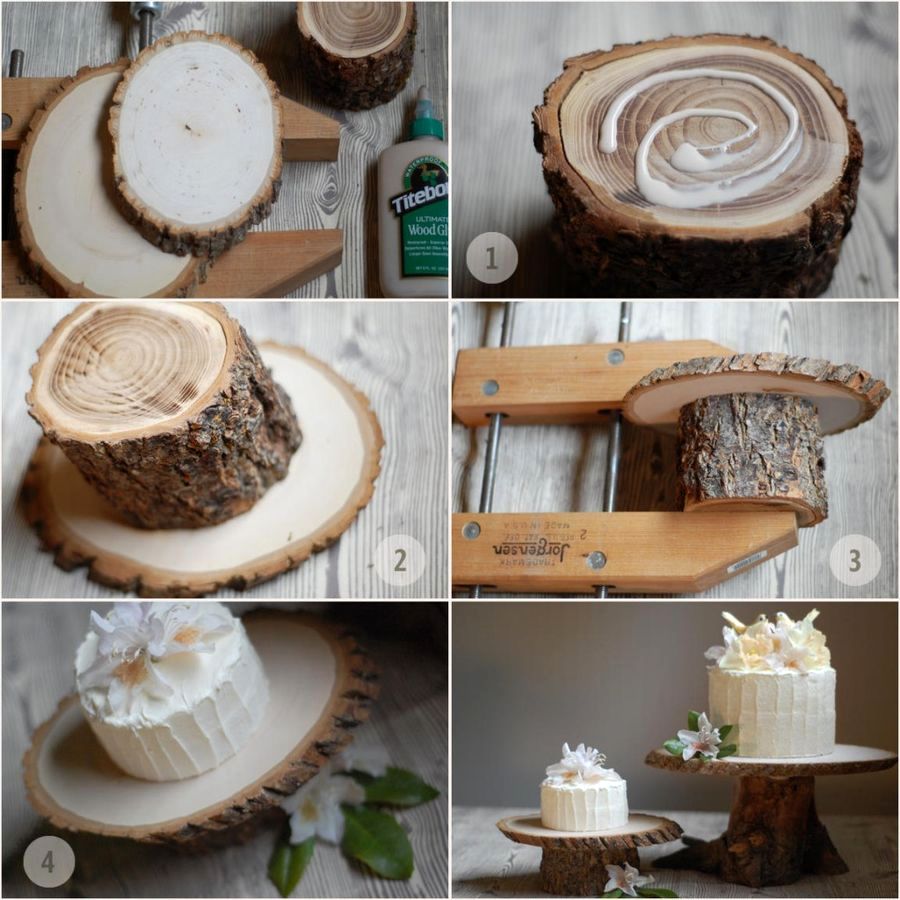
Master-class "Stand for a cake made from spits and wooden sticks"
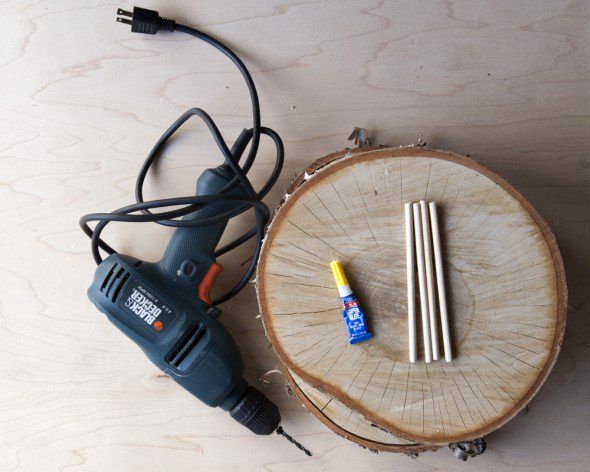
 Necessary materials and tools:
- spits of trees;
- grinding machine (nazhdachka);
- natural oil for wood (wax);
- drill;
- wooden sticks (pencils);
- glue.
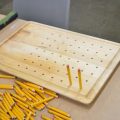
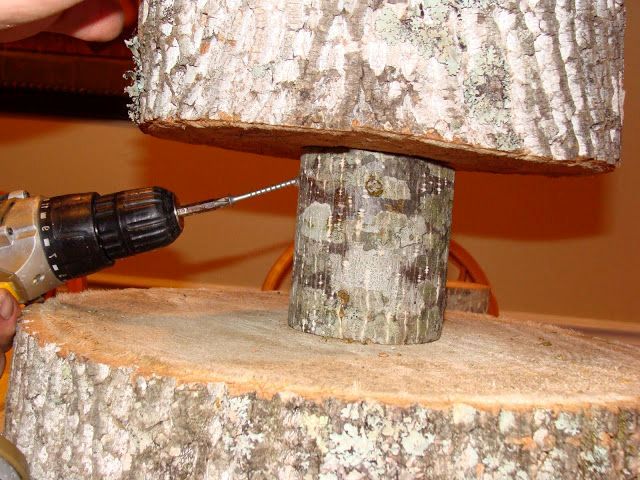
 Skip the first stages of the work, since theysimilar to the previous master classes. Let's dwell on how to create the effect of "hovering" of one cut above the other. ⇒ Step 1. Mark the pencil point where you will insert the sticks into the saw.
 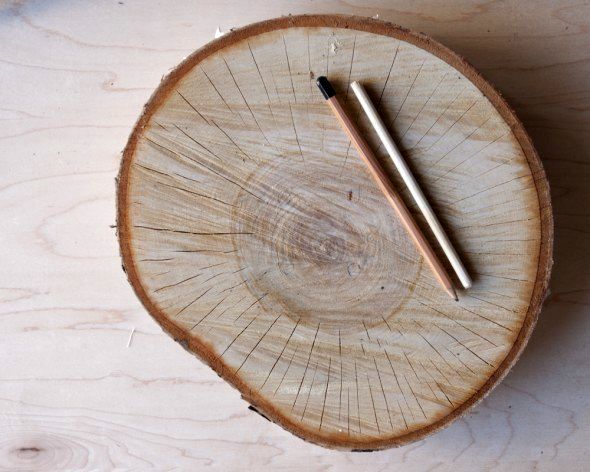 ⇒ Step 2. Drill four holes of a suitable diameter. Walk around the surface to remove the bumps.
 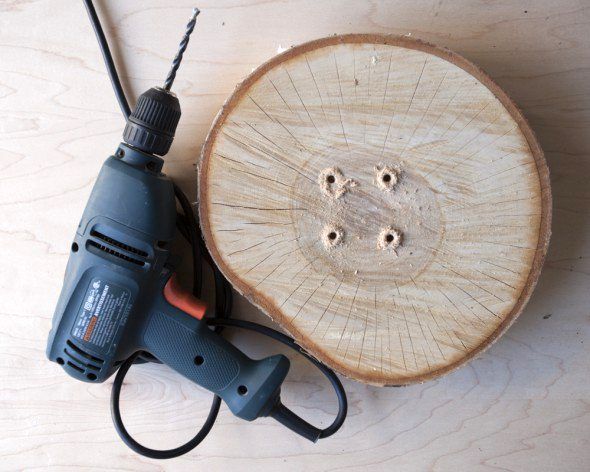 ⇒ Step 3. Pour a little glue into the holes, then insert the sticks evenly.
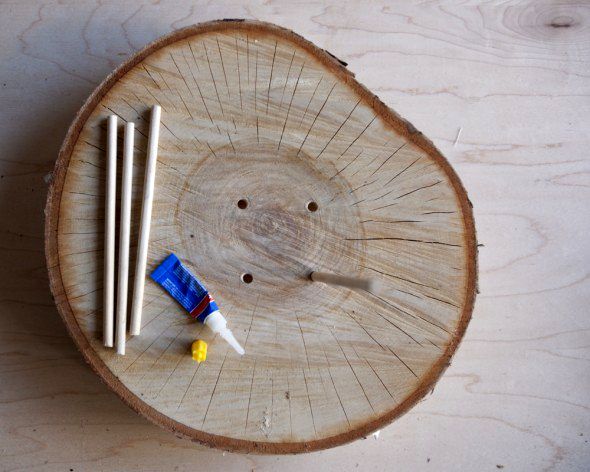
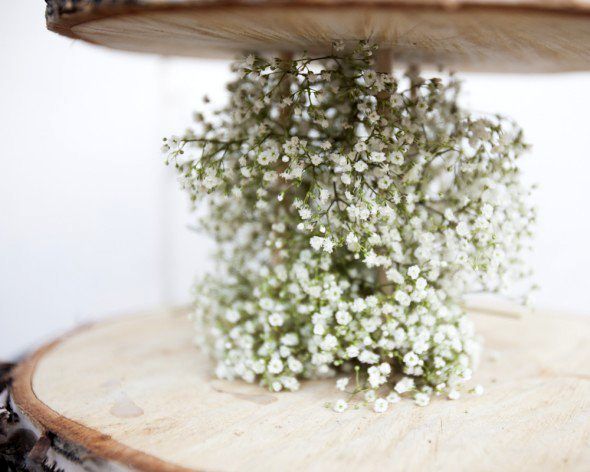
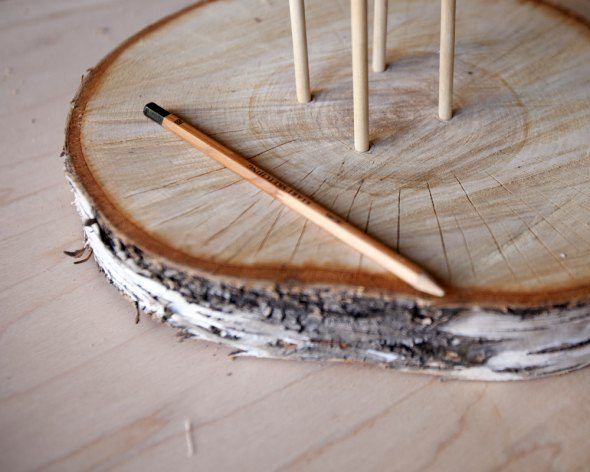 ⇒ Step 4. After the glue dries and the sticks are securely fixed, attach a smaller-diameter cut from above to the sticks and mark with the pencil the points of contact with them. Drill holes in the upper cut.
 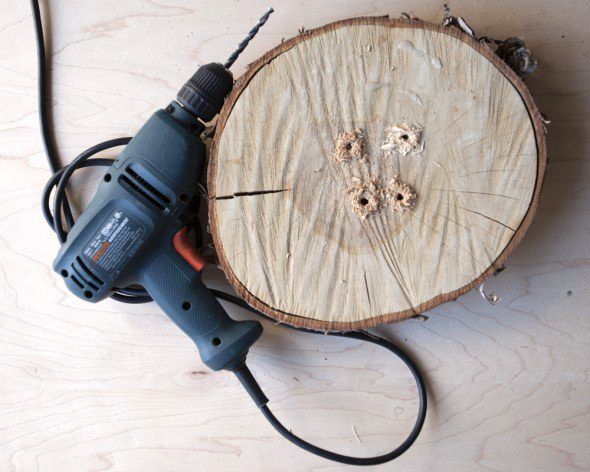 ⇒ Step 5. In the same way, pour the glue into the holes and insert the sticks with the lower spil.
  Such a thin connection of the slices of the tree looks refined and original, besides, it can be decorated with fresh flowers, lilies and lace.
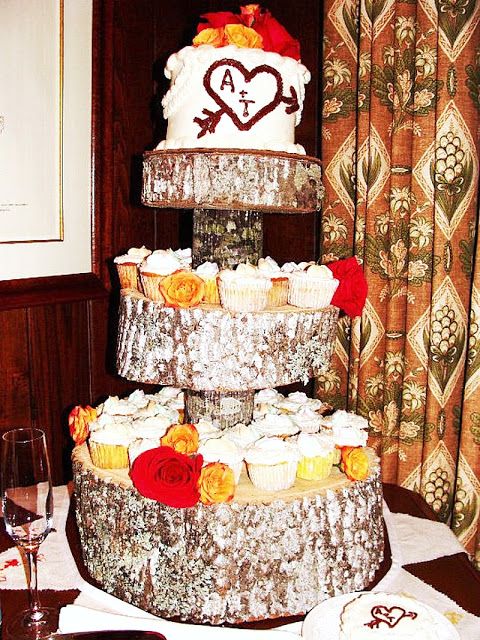
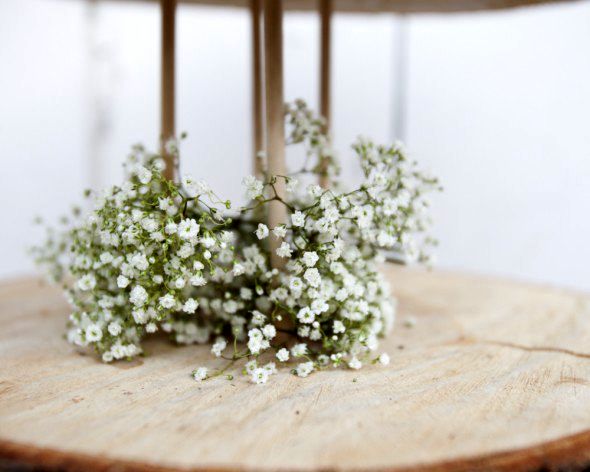
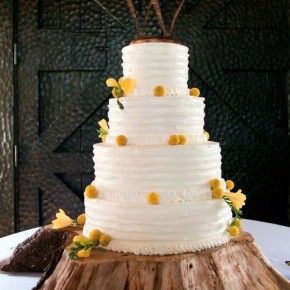
Photos of cake and cake supports from logs


 The article uses materials from http://dtv-instrument.com/produktsiya-stihl/benzopili/ms-361.html