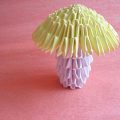
This master class will teach how to make step-by-step modular origami from paper - turtle.
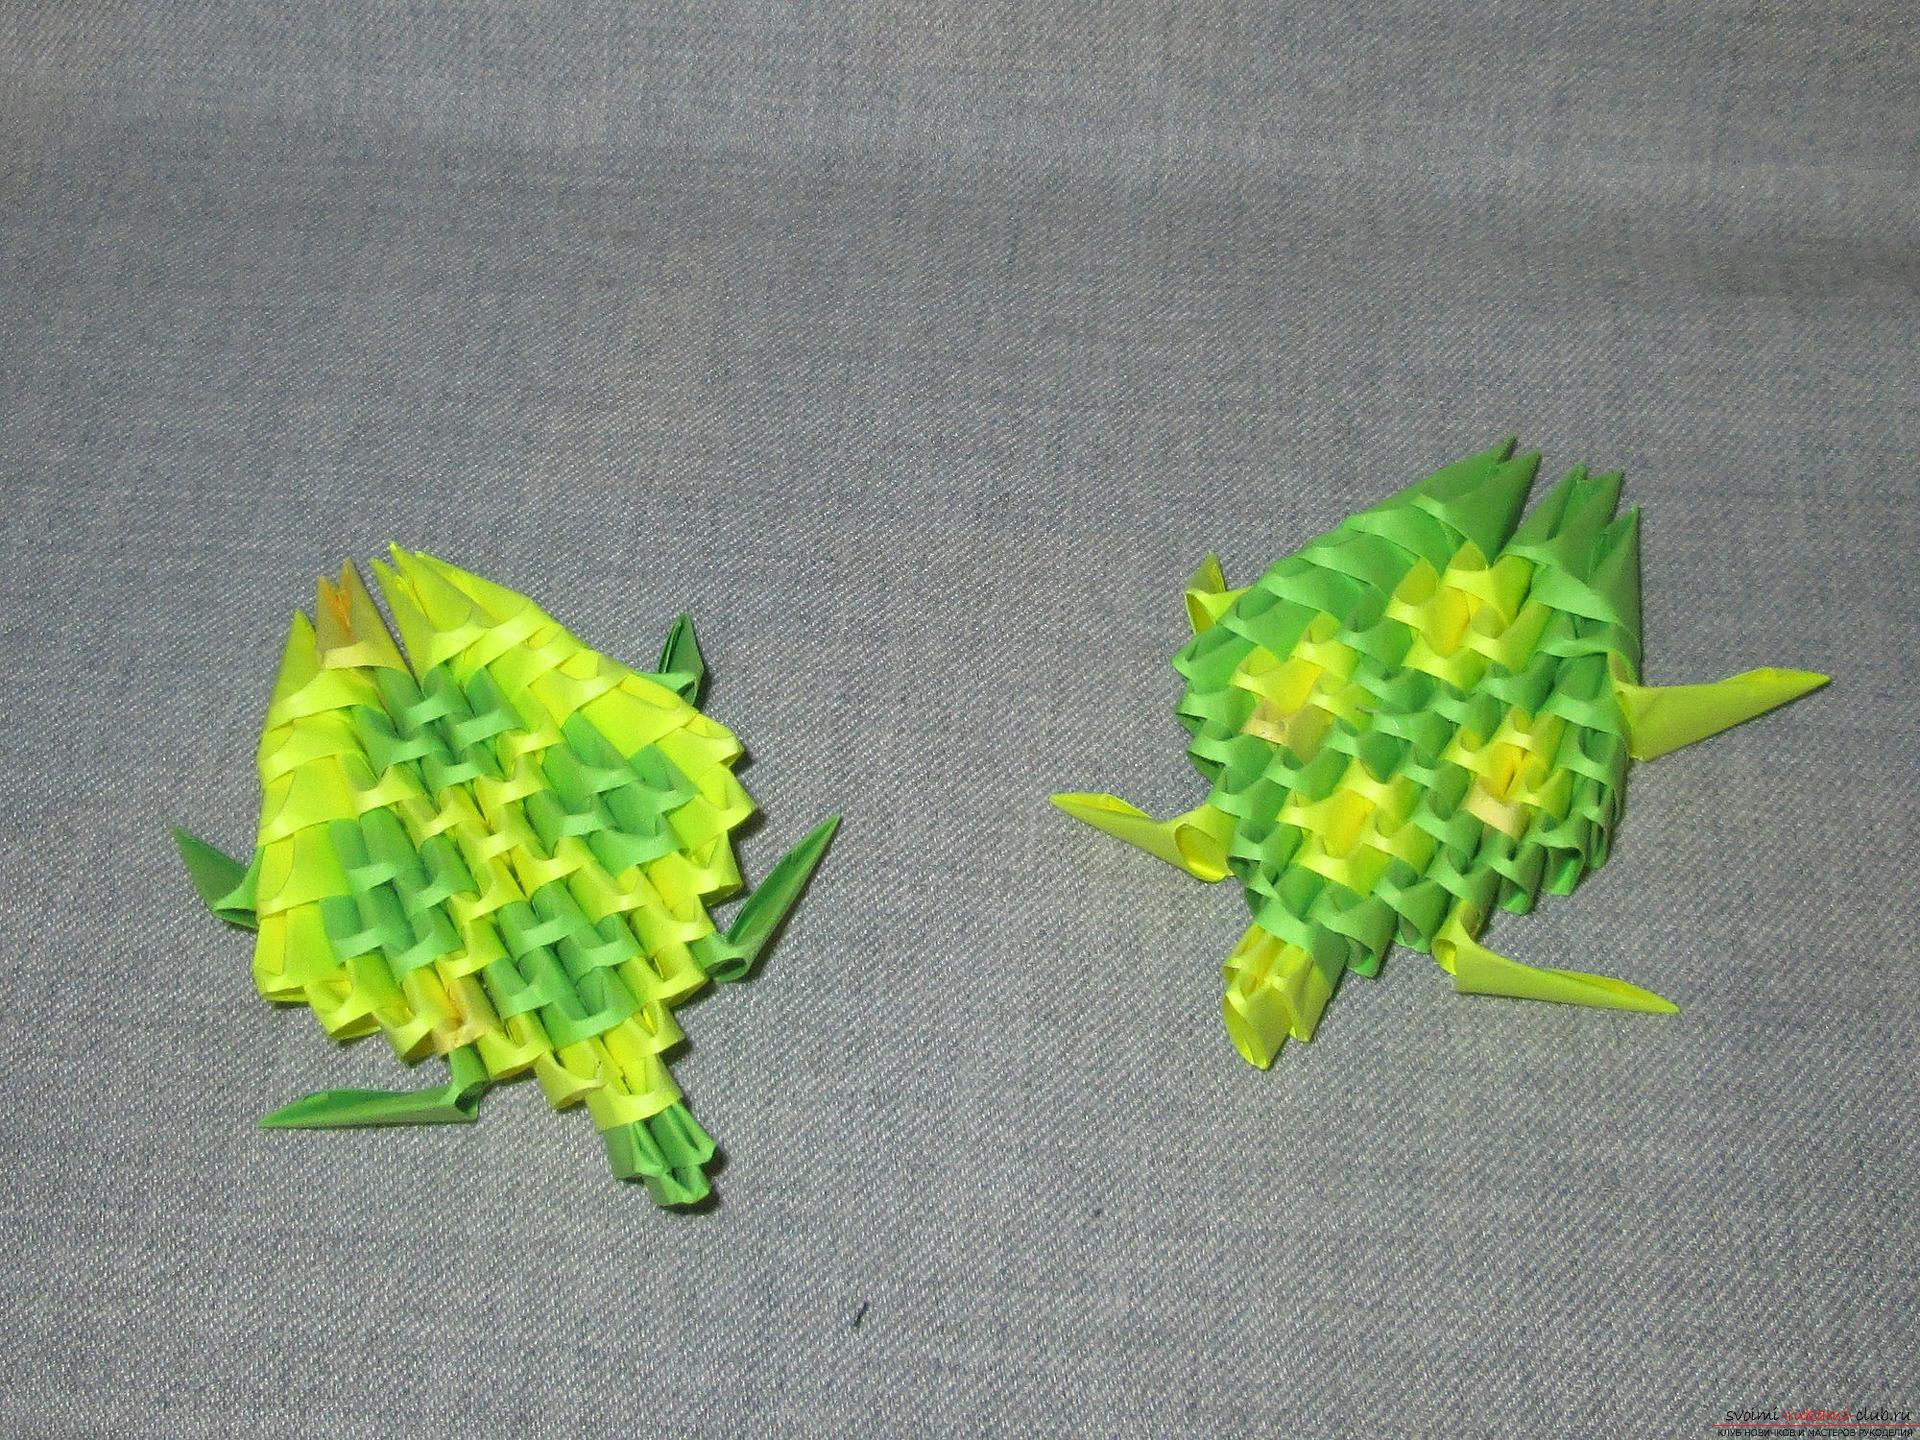 To immediately from the first steps not to discourage the hunt forthis interesting activity, you should start with small crafts. In today's master class, we suggest that you collect a small turtle. For its manufacture, the following materials will be required:
- green sheets of standard size (A4),
- yellow sheets of standard size (A4).
Required Tools:
- scissors (stationery knife).
Description Module sizes are standard, i.e. from a sheet of A4 format 16 modules are obtained. In total for such a bug you need to collect green and yellow modules. Color modules, by the way, you can choose your own. We start to collect from the head. 1st row - 1 zm (green module). 2nd row - 2 zm. 3rd row - 1 xm (yellow module), in the pockets of which we place all the corners of the modules of the second row. 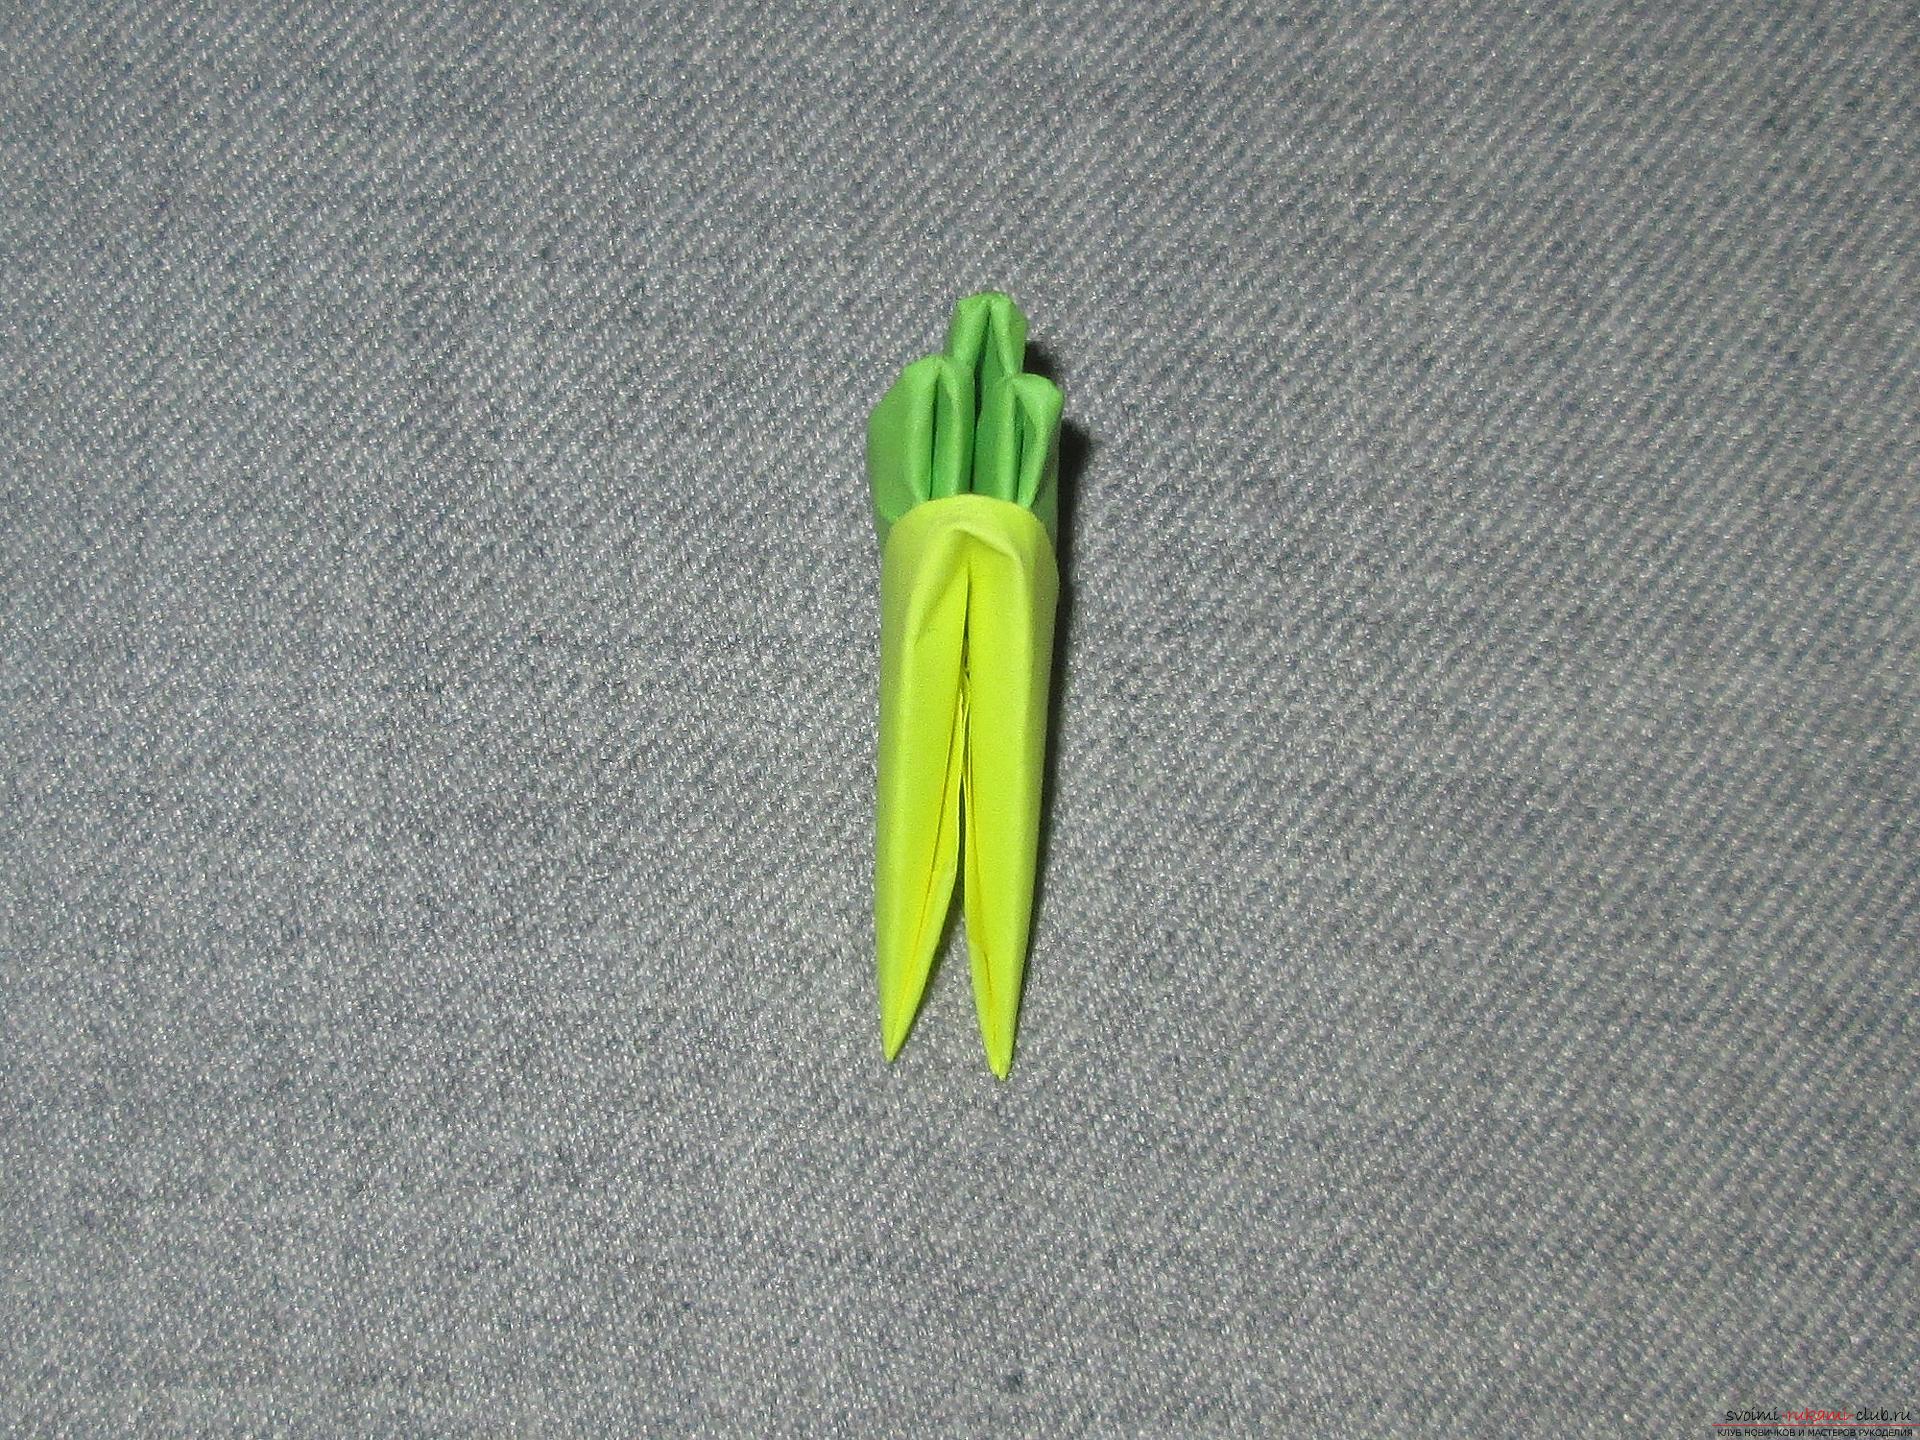 The 4th row is 2 m. 5-th row: 1 zhm, 1 zm, 1 zhm. 6th row: 1 click, 2 zm, 1 click. 7th row: 2 m, 1 zm, 2 mh.
 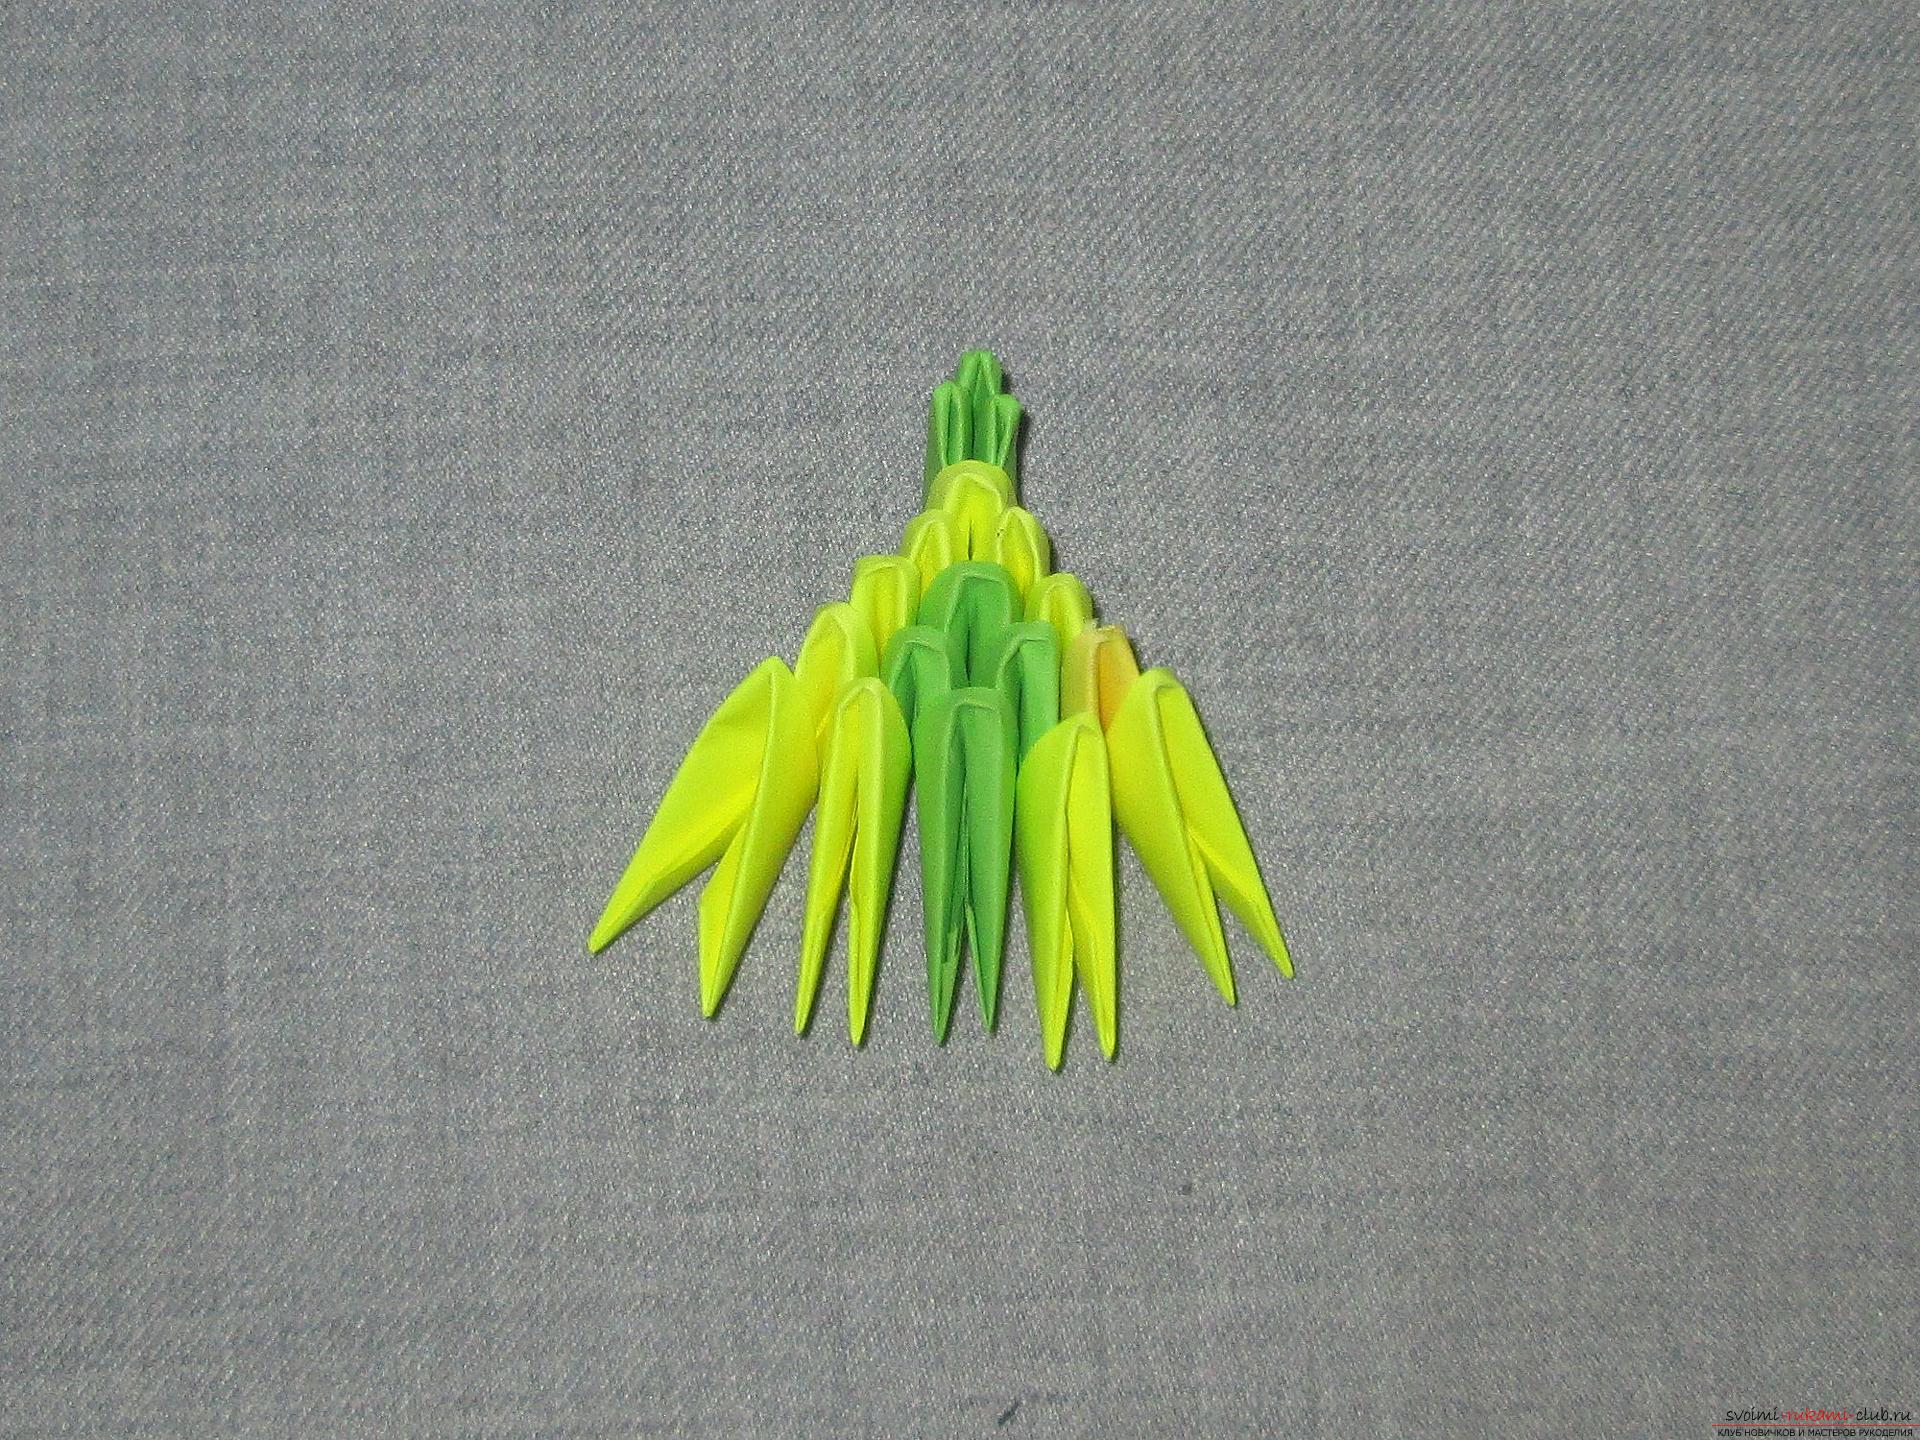 8th row: 1 xm, 1 zm, 2 m, 1 zm, 1 mh. 9th row: 1 click, 2 zm, 1 click, 2 zm, 1 click. 10th row: 1 click, 1 zm, 2 click, 1 zm, 1 click. 11th row: 2 m, 1 zm, 2 mh.
 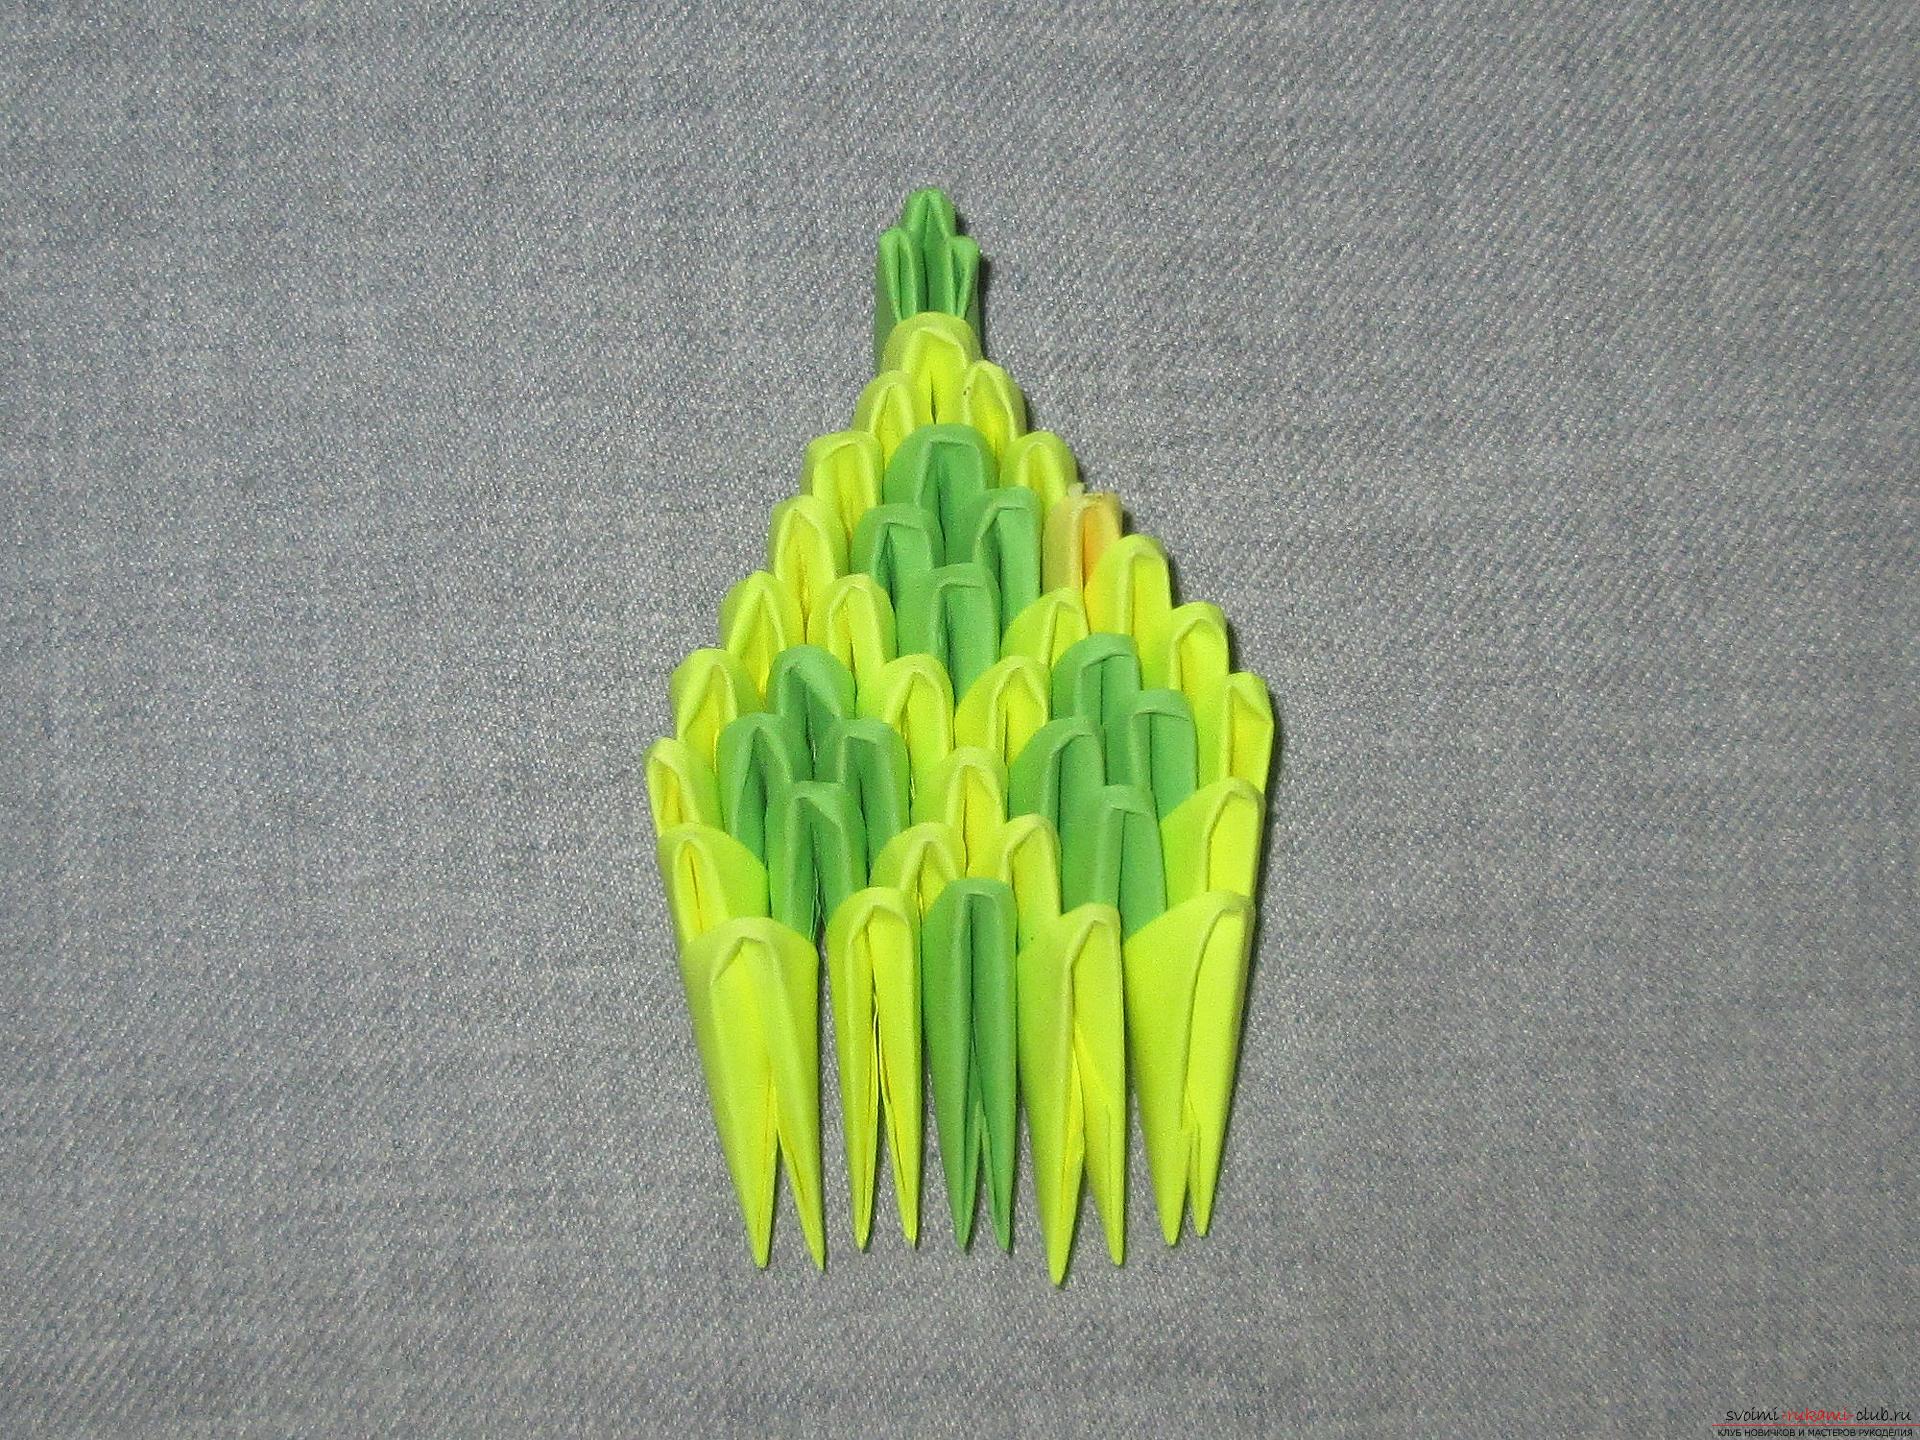 12th row: 1 click, 2 зм, 1 жм. 13th row: 1 mh, 1 zm, 1 mh. 14th row: 2 click.
 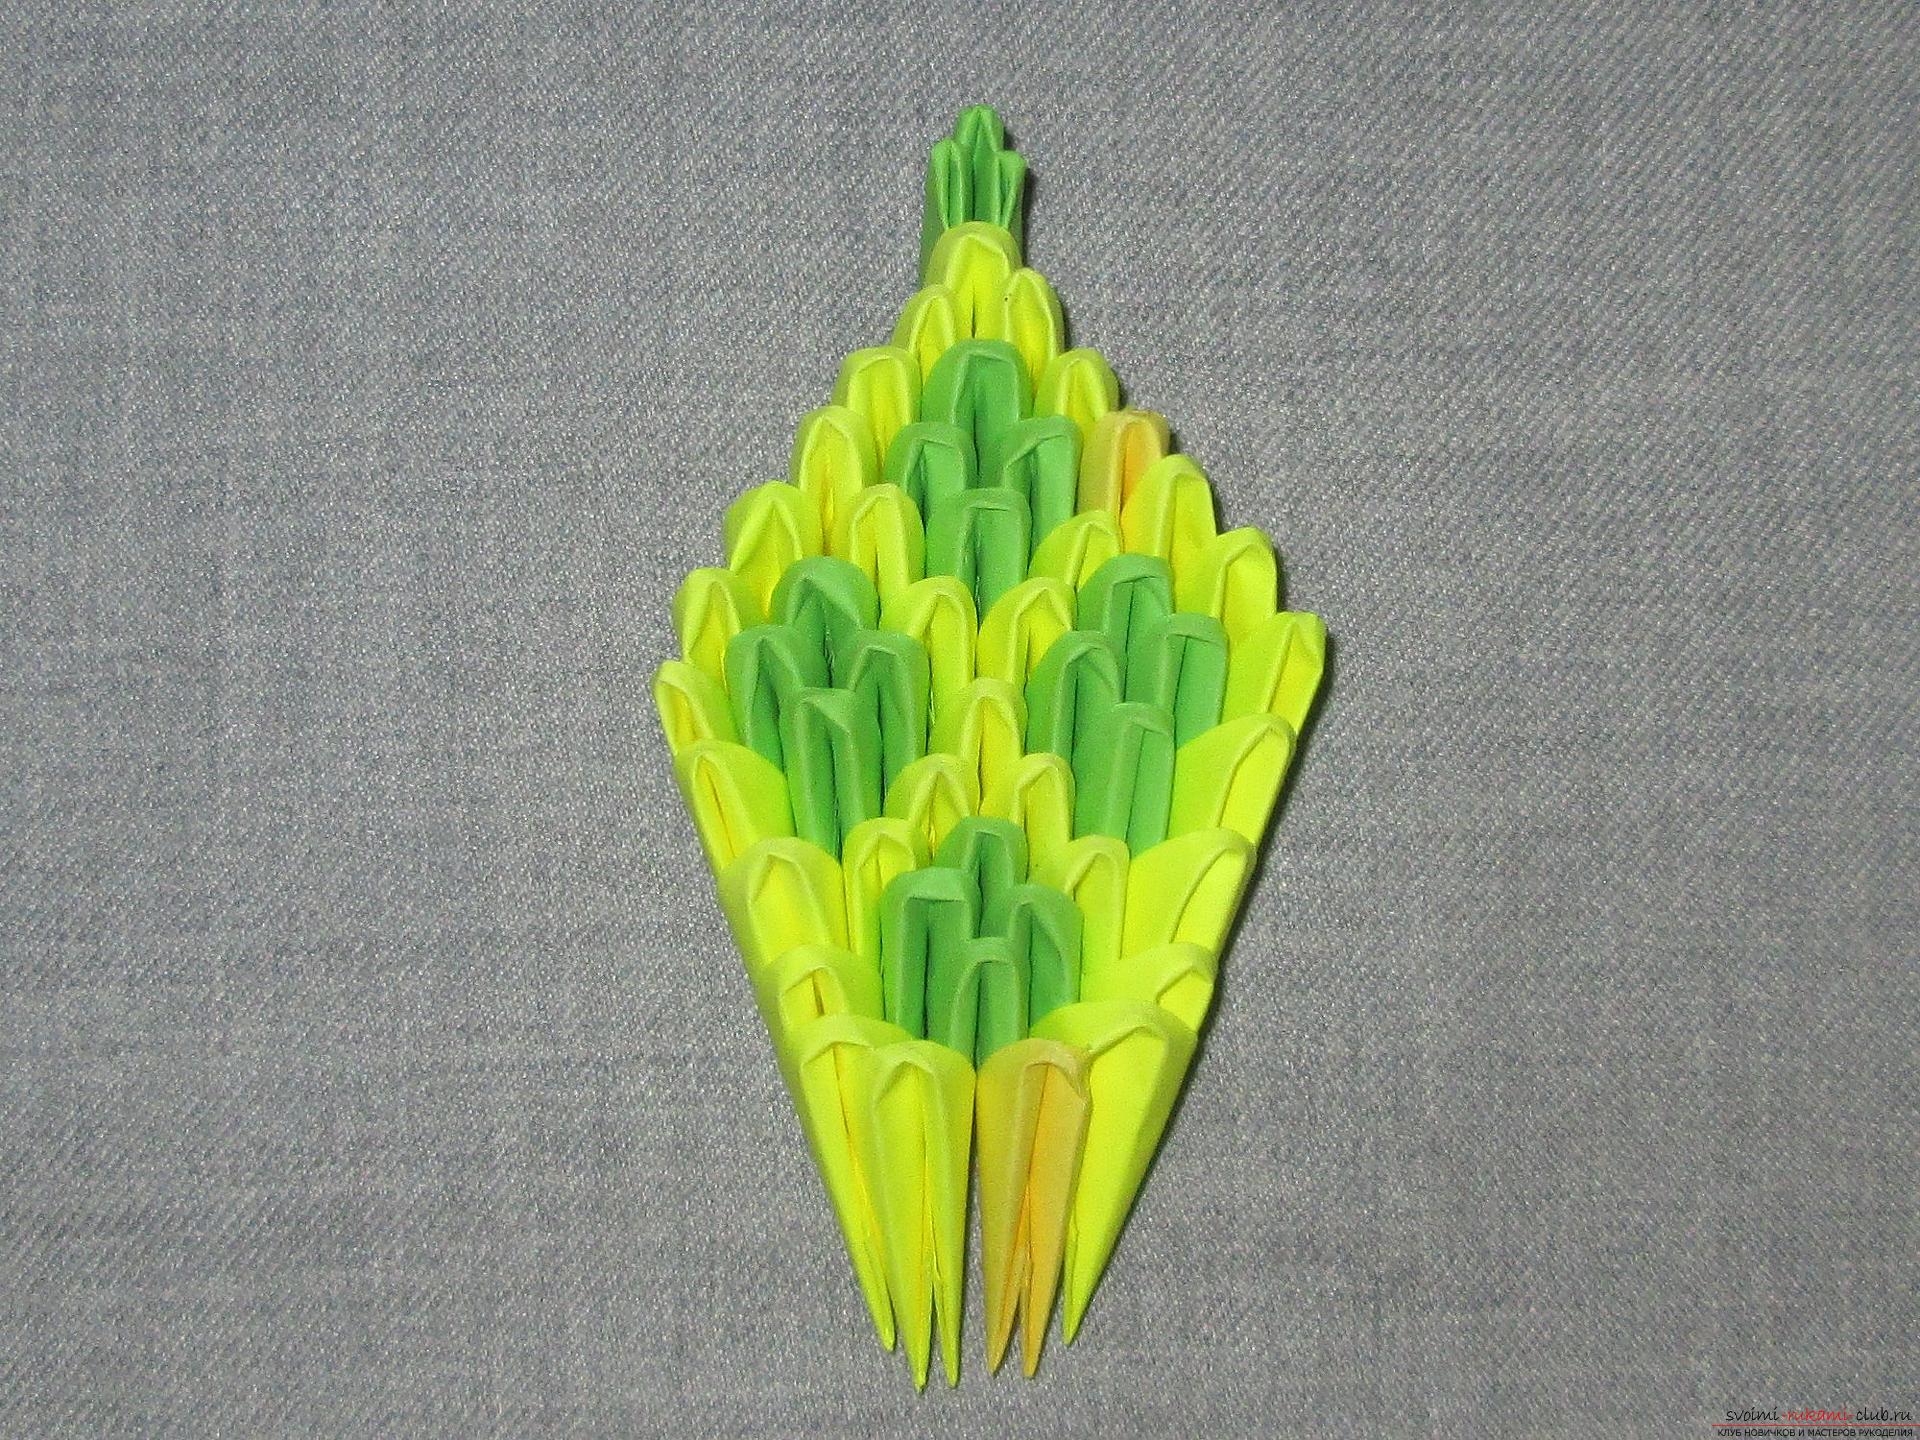 Paws: four green modules are inserted from the sides of the bug symmetrically one corner into the pocket of the side module.
 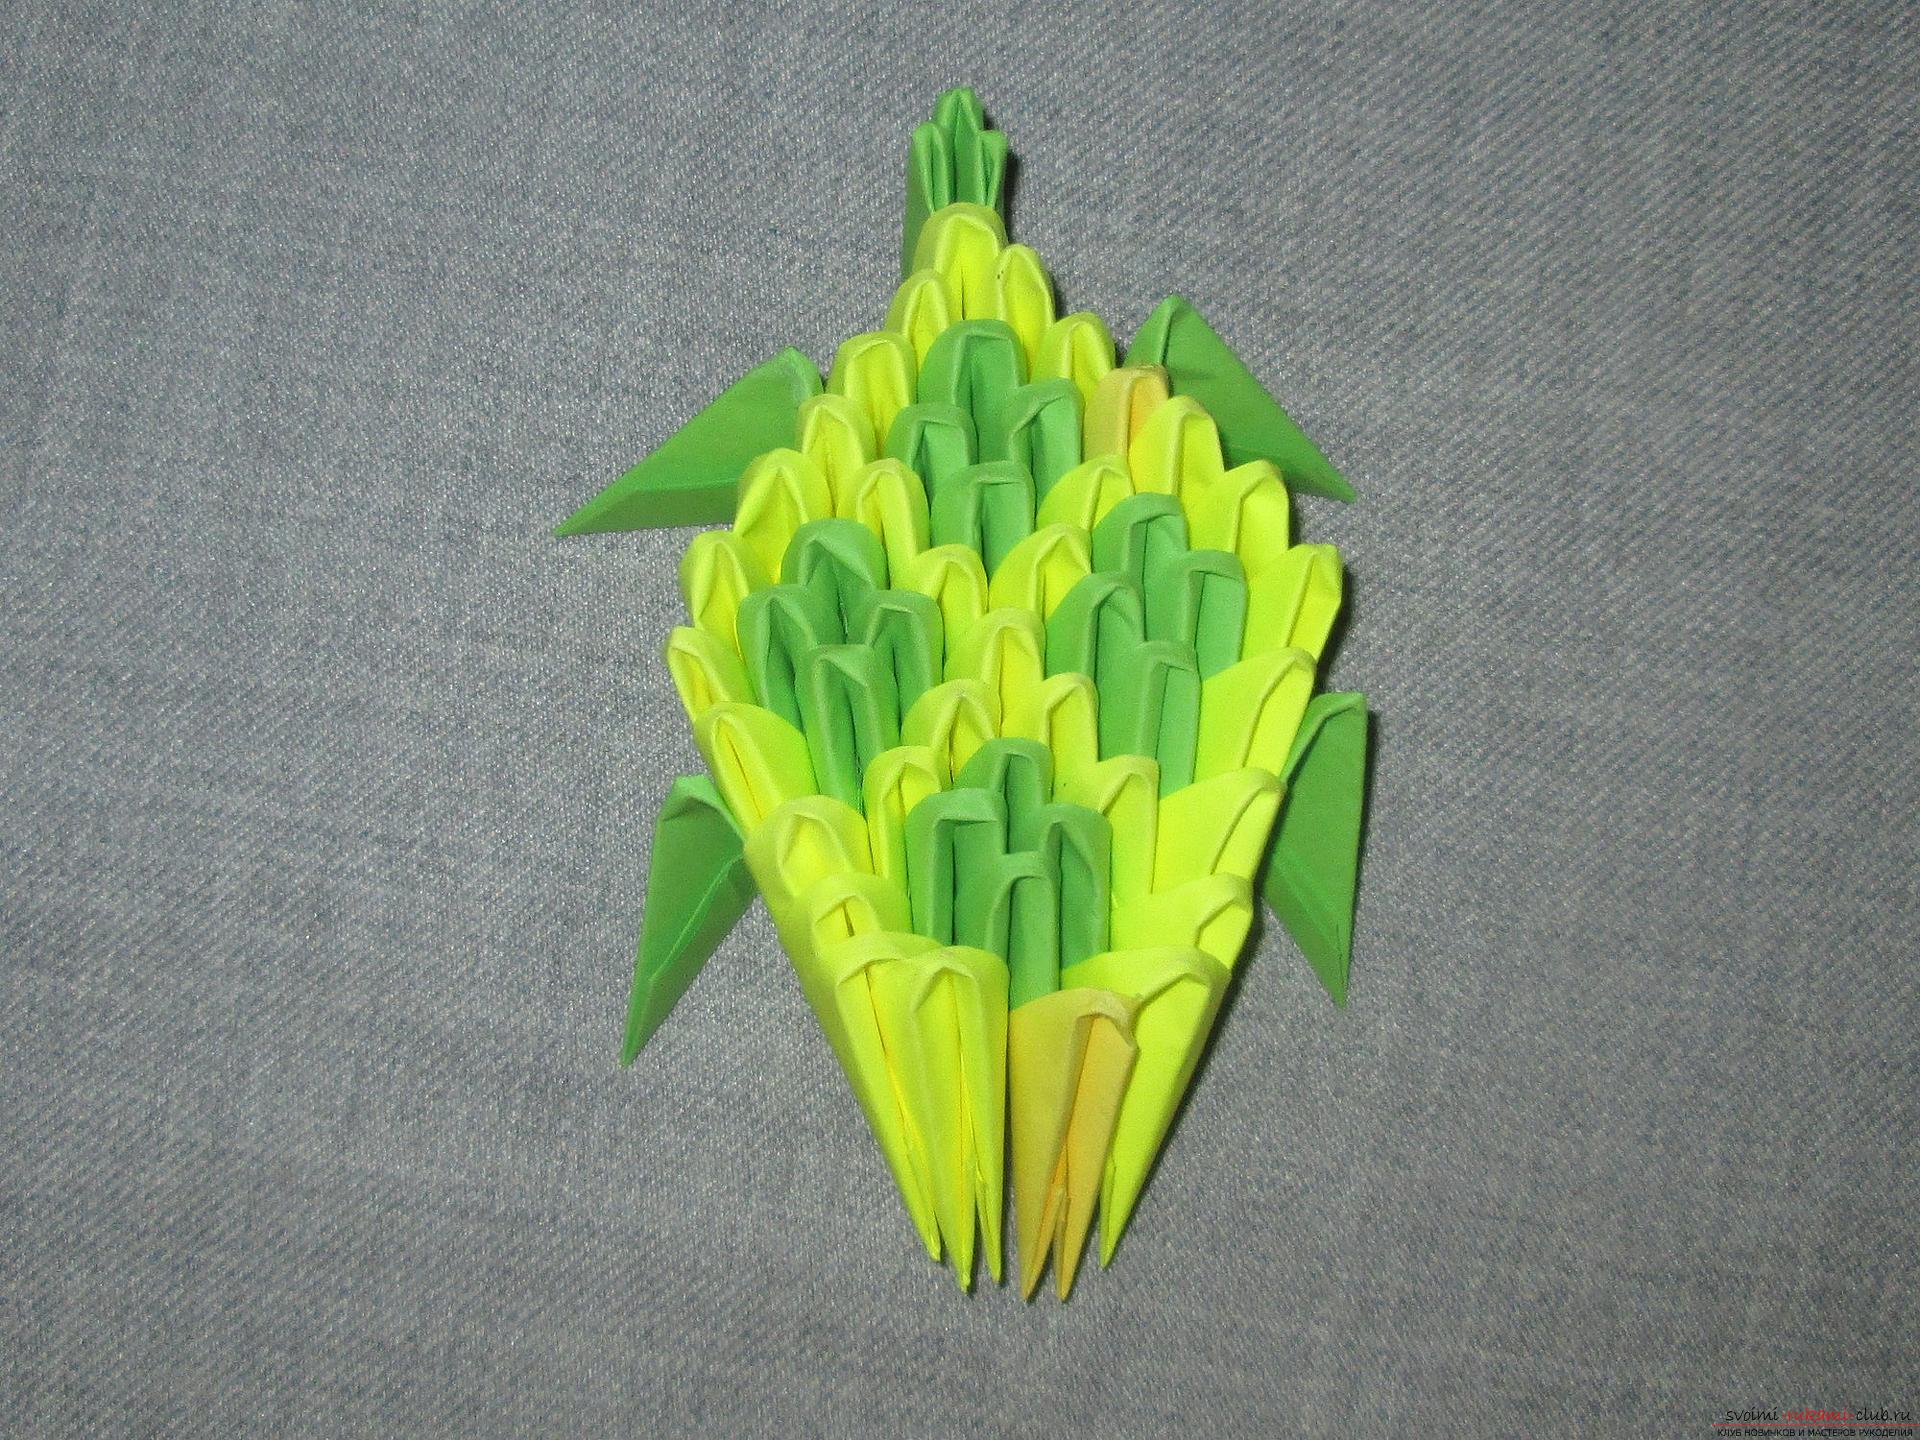 To one bug was not boring, we will collect a girlfriend or a friend for her.

