This master class of weaving from gum toys will teach you how to create your own bunny with your own hands
As a result of the work you will get such a charming bunny! 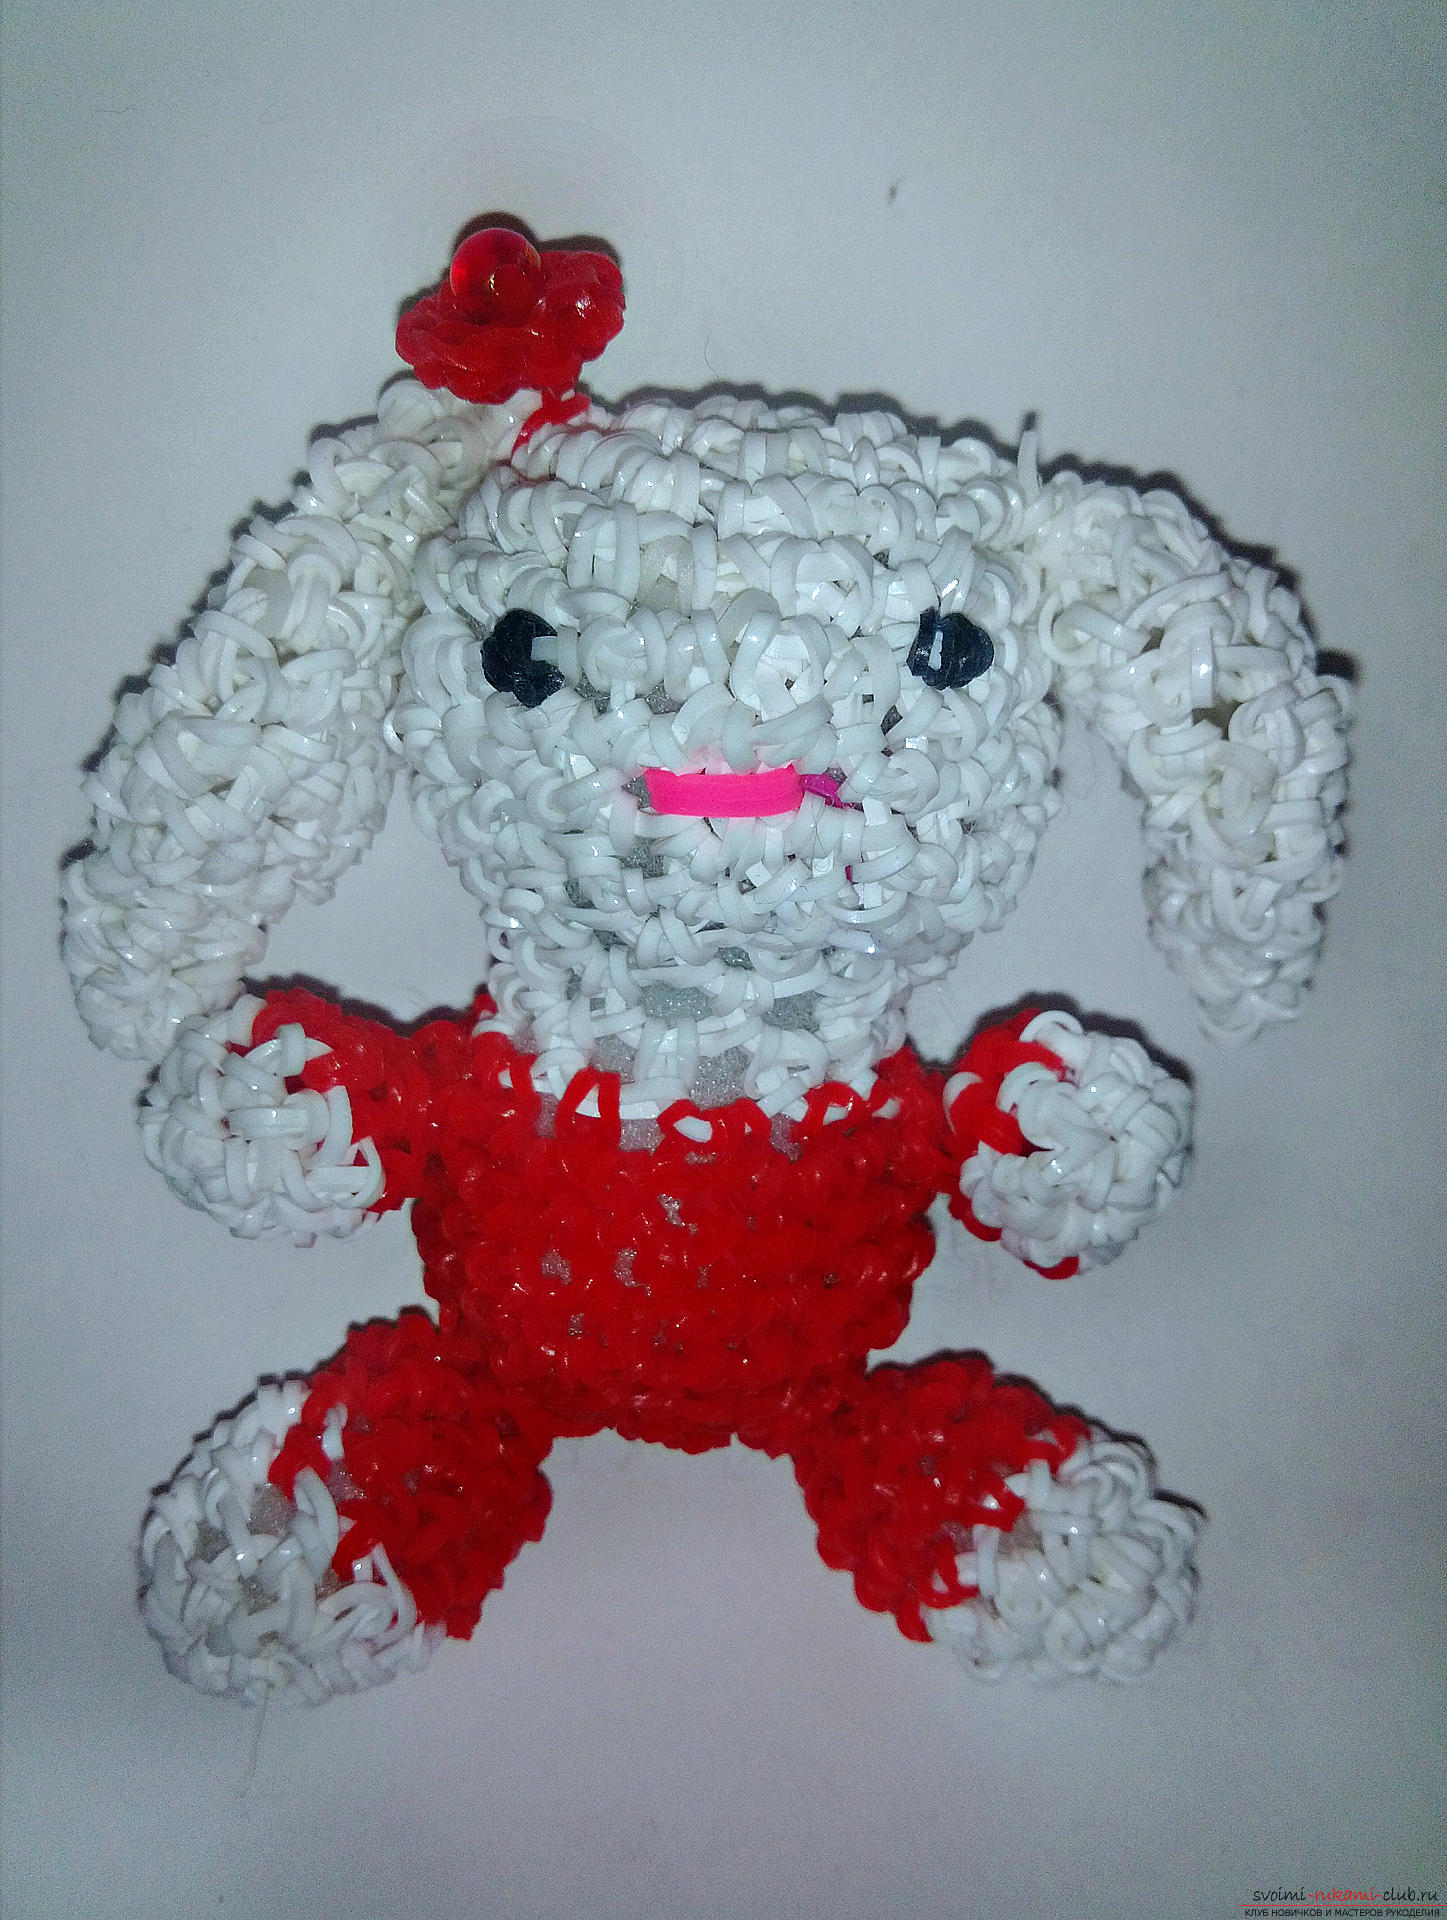 Materials and tools:
- red, white, black and pink;
- hook;
- filler;
- bead.
Stages of work: We collect a ring with Lumigurumi from 6 loops. In the second ryadochke weave two rubberies through each loop, that is, we add to each loop. 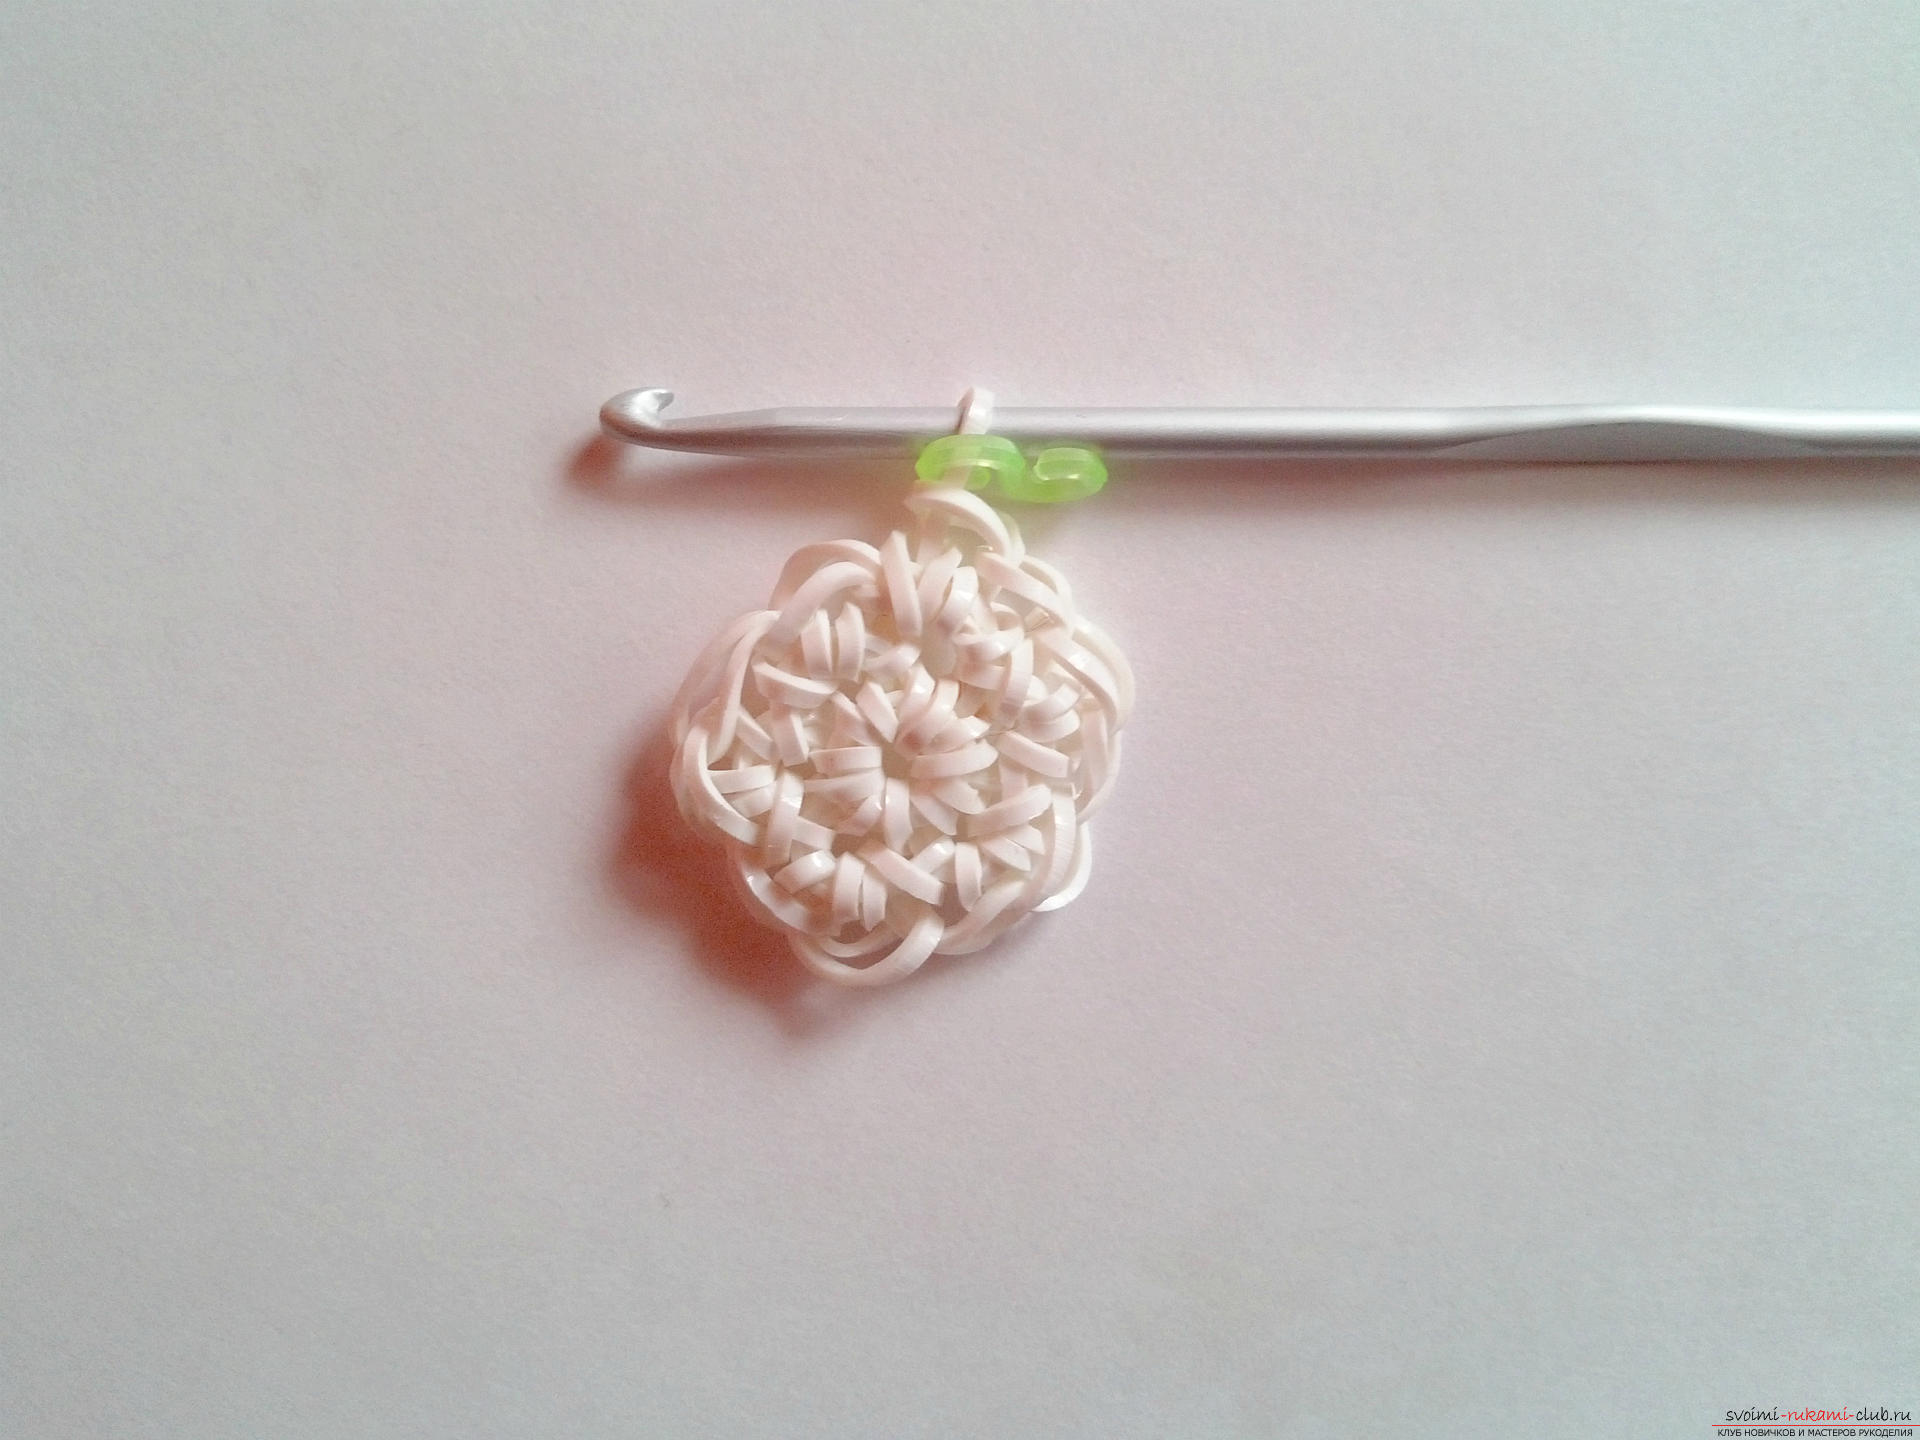 In the third ryadochke we will weave according to the scheme: 1-2-1-2. In the fourth ryadochke platem according to the scheme: 1-1-2. Next three ryadochka, that is, from the fifth to the seventh we will weave one rubbery through each loop.
 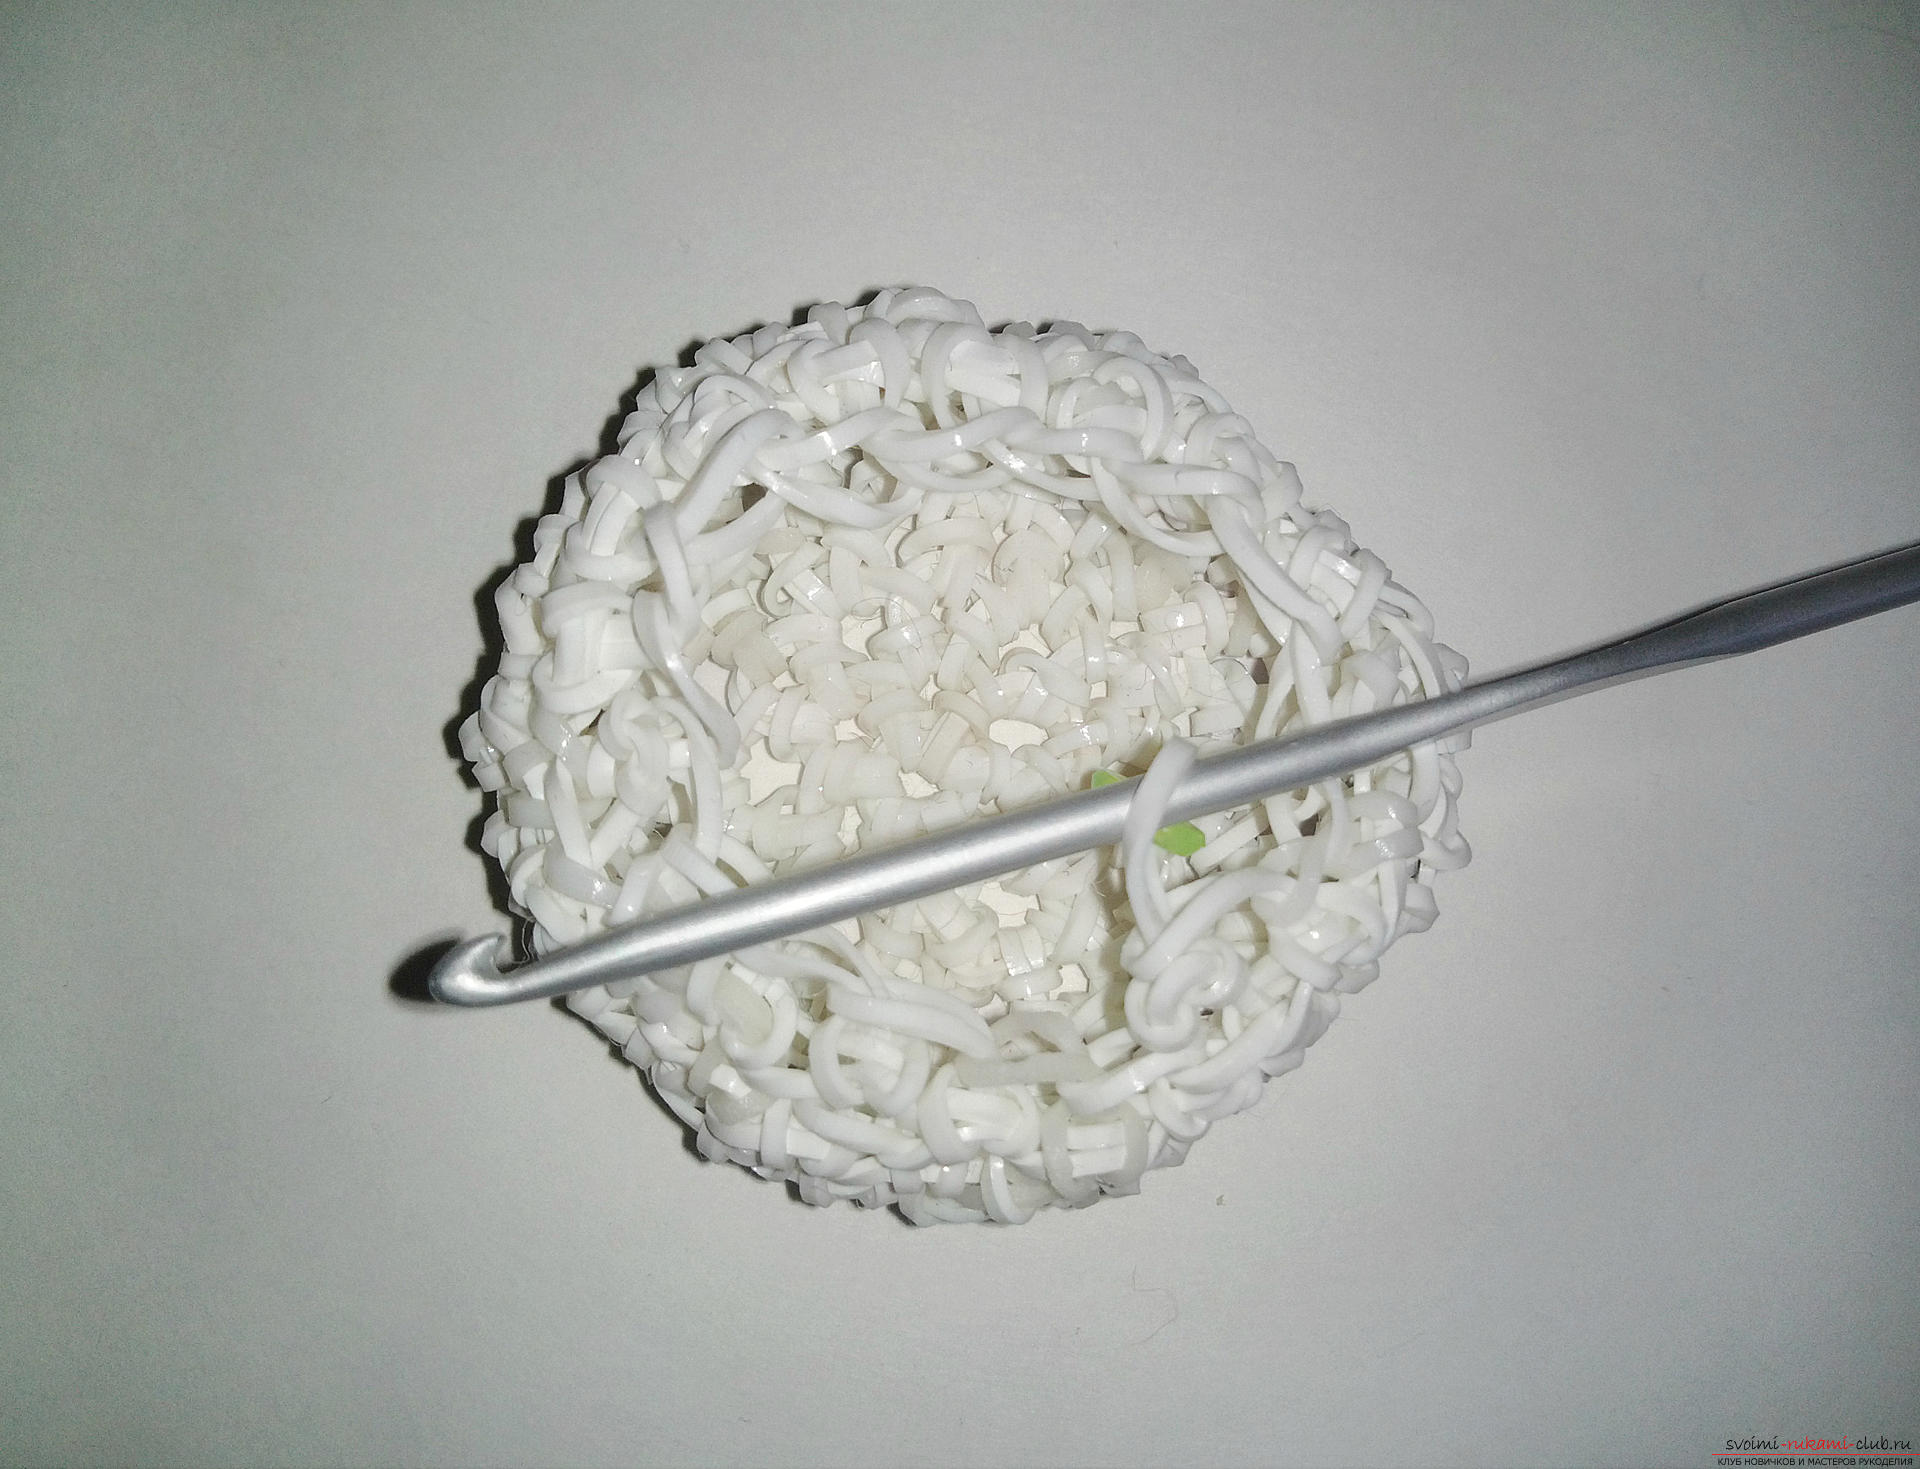 In the fifth ryadochke we subtract. We rub one elastic band through the first loop, one elastic band through the second loop, and the third and fourth we connect with one elastic band. And again we weave two loops along one rubber band. And so to the end of the ryadochka. In the sixth row we reduce through one loop. We have twelve loops. Shave two ryadochka one rubber through each loop. At this stage, we fill the head.
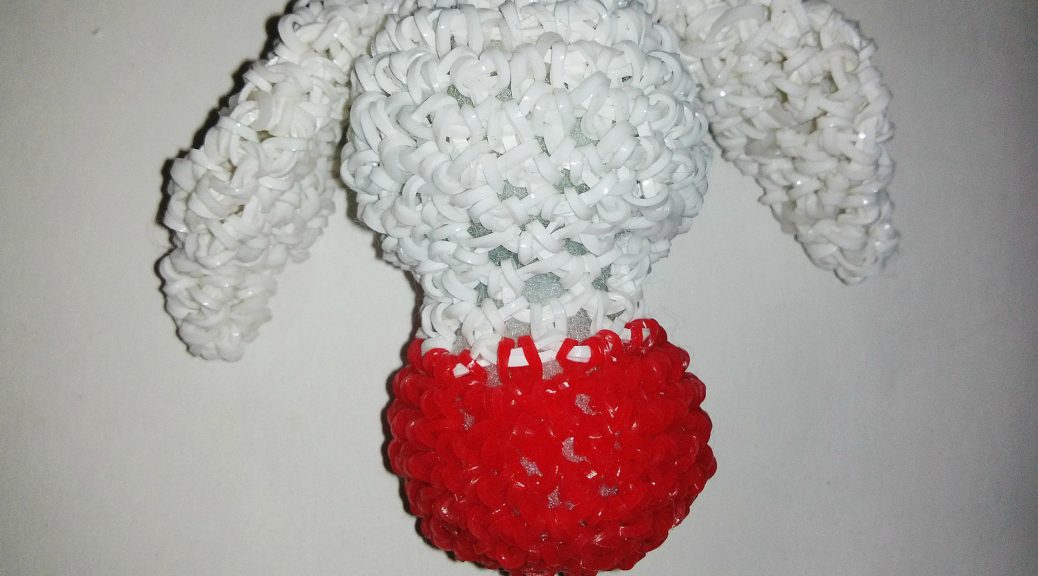
 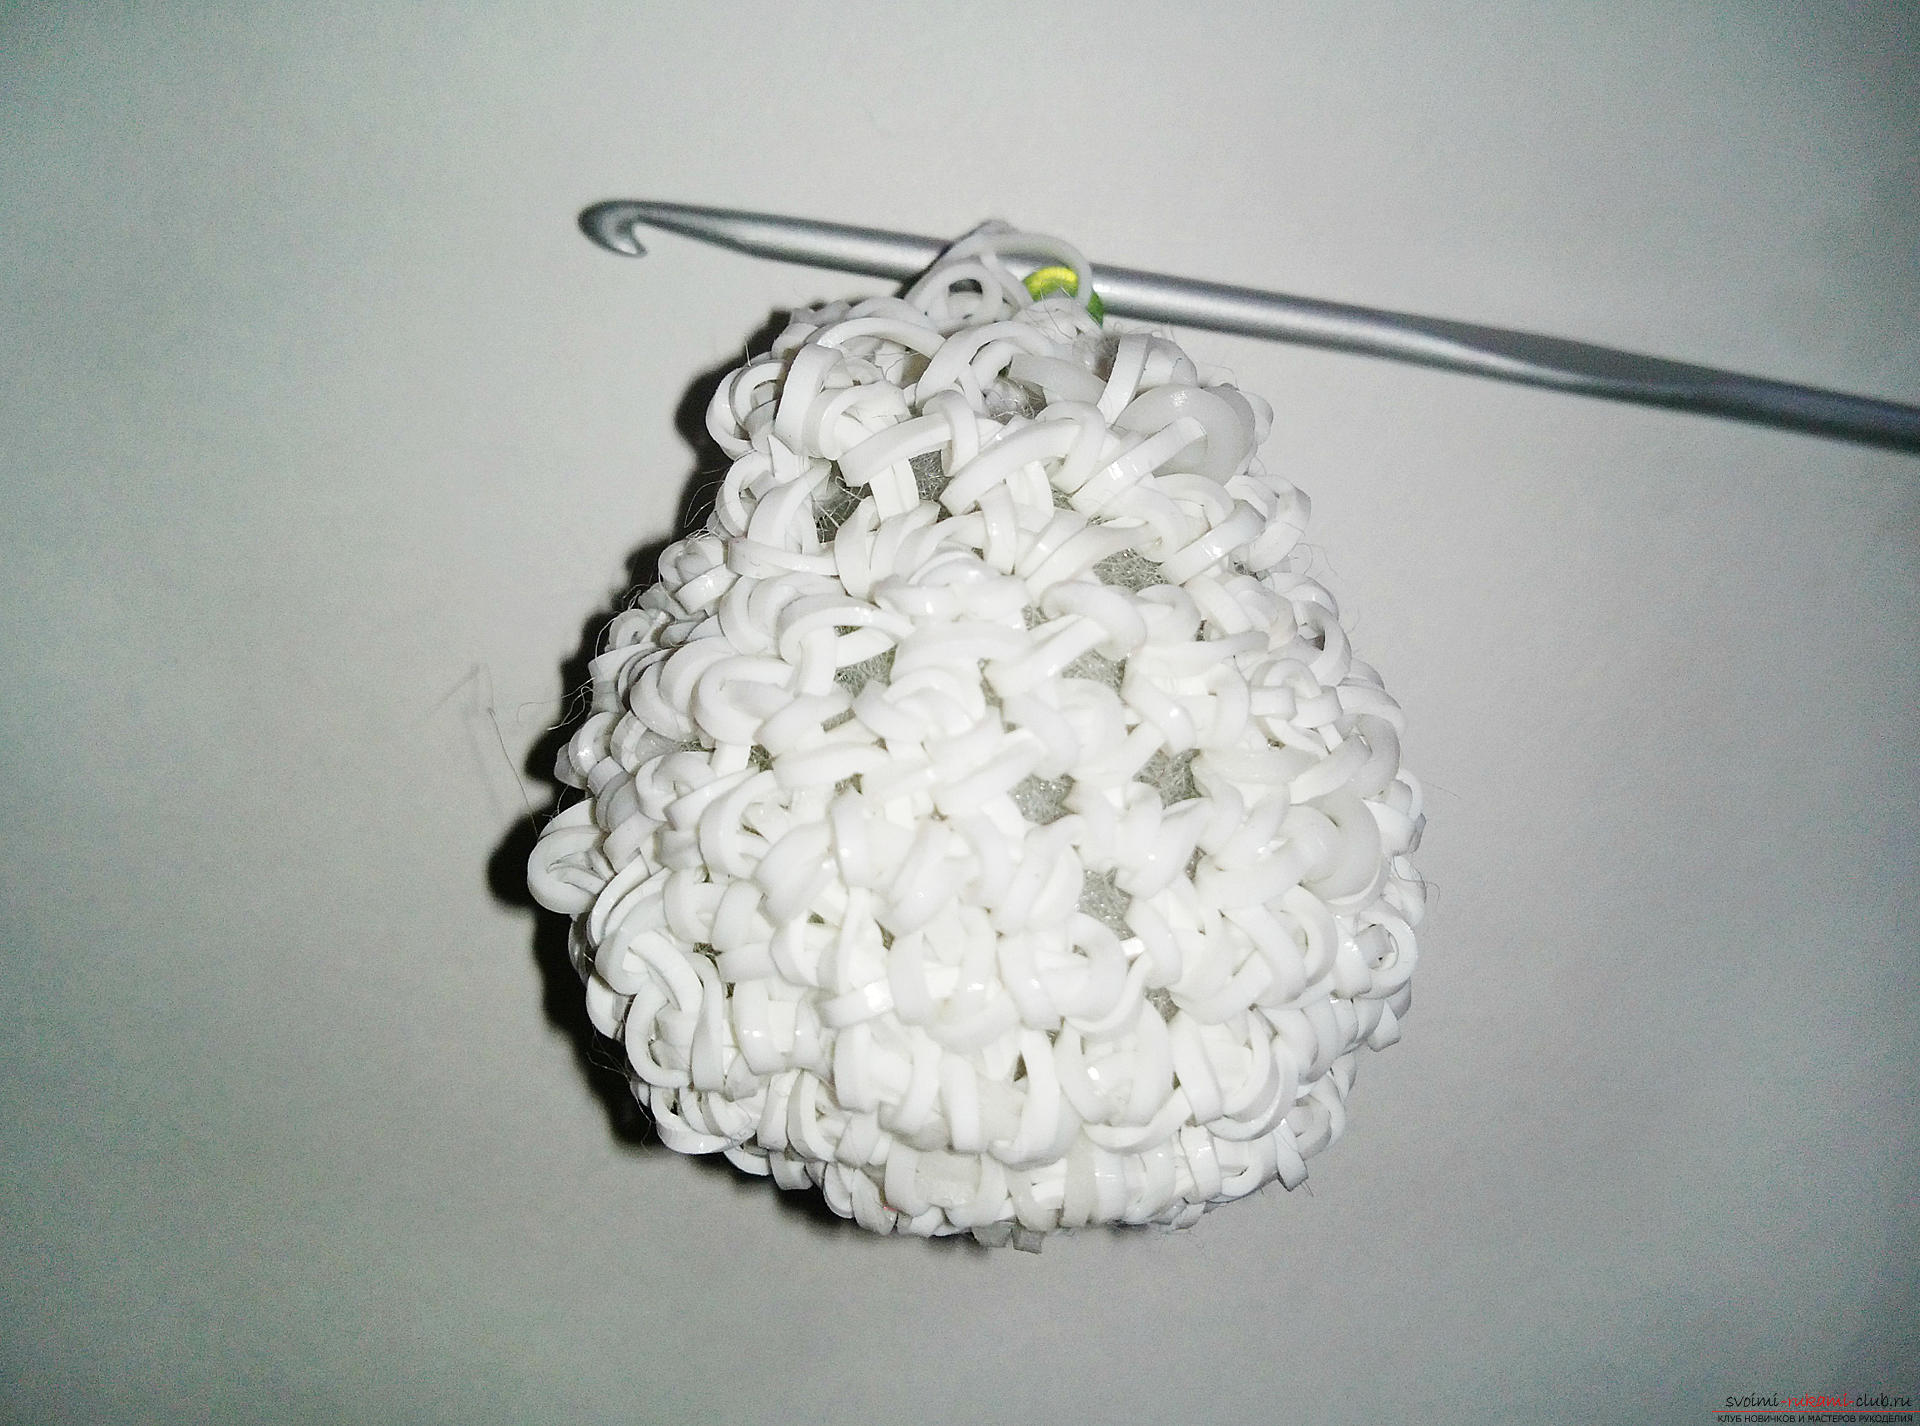 Now we change the rubber bands to reds and weaves onerow according to the scheme: 1-2-1-2. That is, through the first loop we weave one gum, and through the second loop - two and so on. In the tenth ridge of the plait, according to the scheme: 1-1-2. Next, two ryadochka we weave one rubber in each loop. We start to reduce. In the eleventh row, we cut off every two loops. In the twelfth ryadochke we will reduce through each loop. We stuff a hare. Further we subtract into all the loops until the hole closes. The last elastic band make a knot and hide it in the bunny body.
 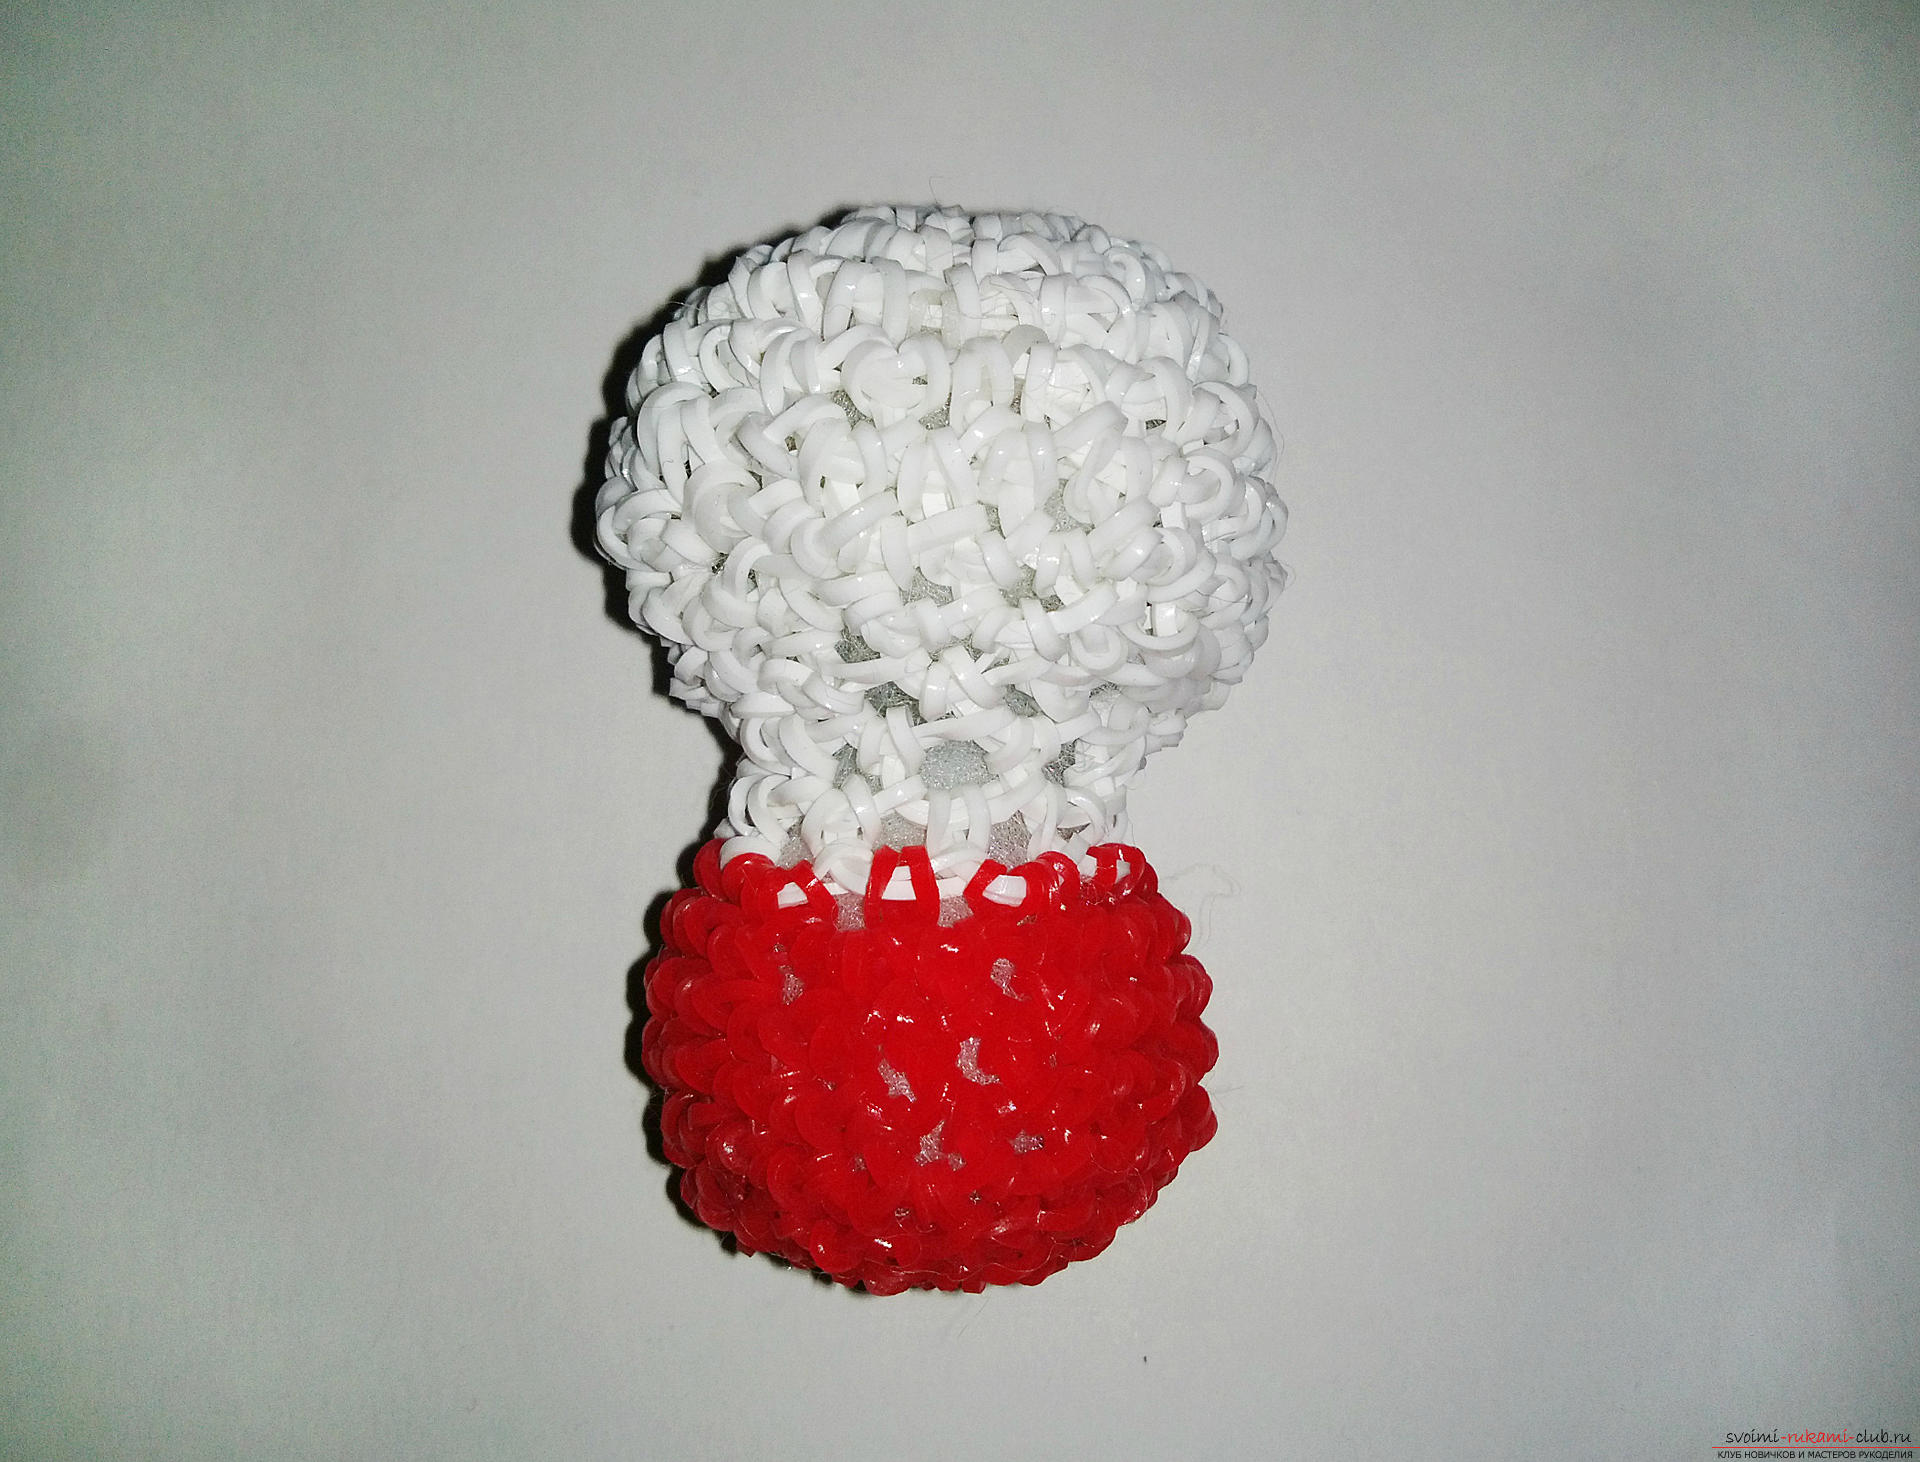 A shave of the ears. Again, use white rubber. We collect a ring with lumigurumi from five loops. Then two ryadochka plait one rubbery through a loop. The fourth row is a plait with an addition to each loop. That is, we weave two rubber bands in each loop. Then four ryadochka plait one rubbery through each loop. The ninth row of the plait, subtracting into each loop. So weave until the weaving closes. The last loop makes a knot.
 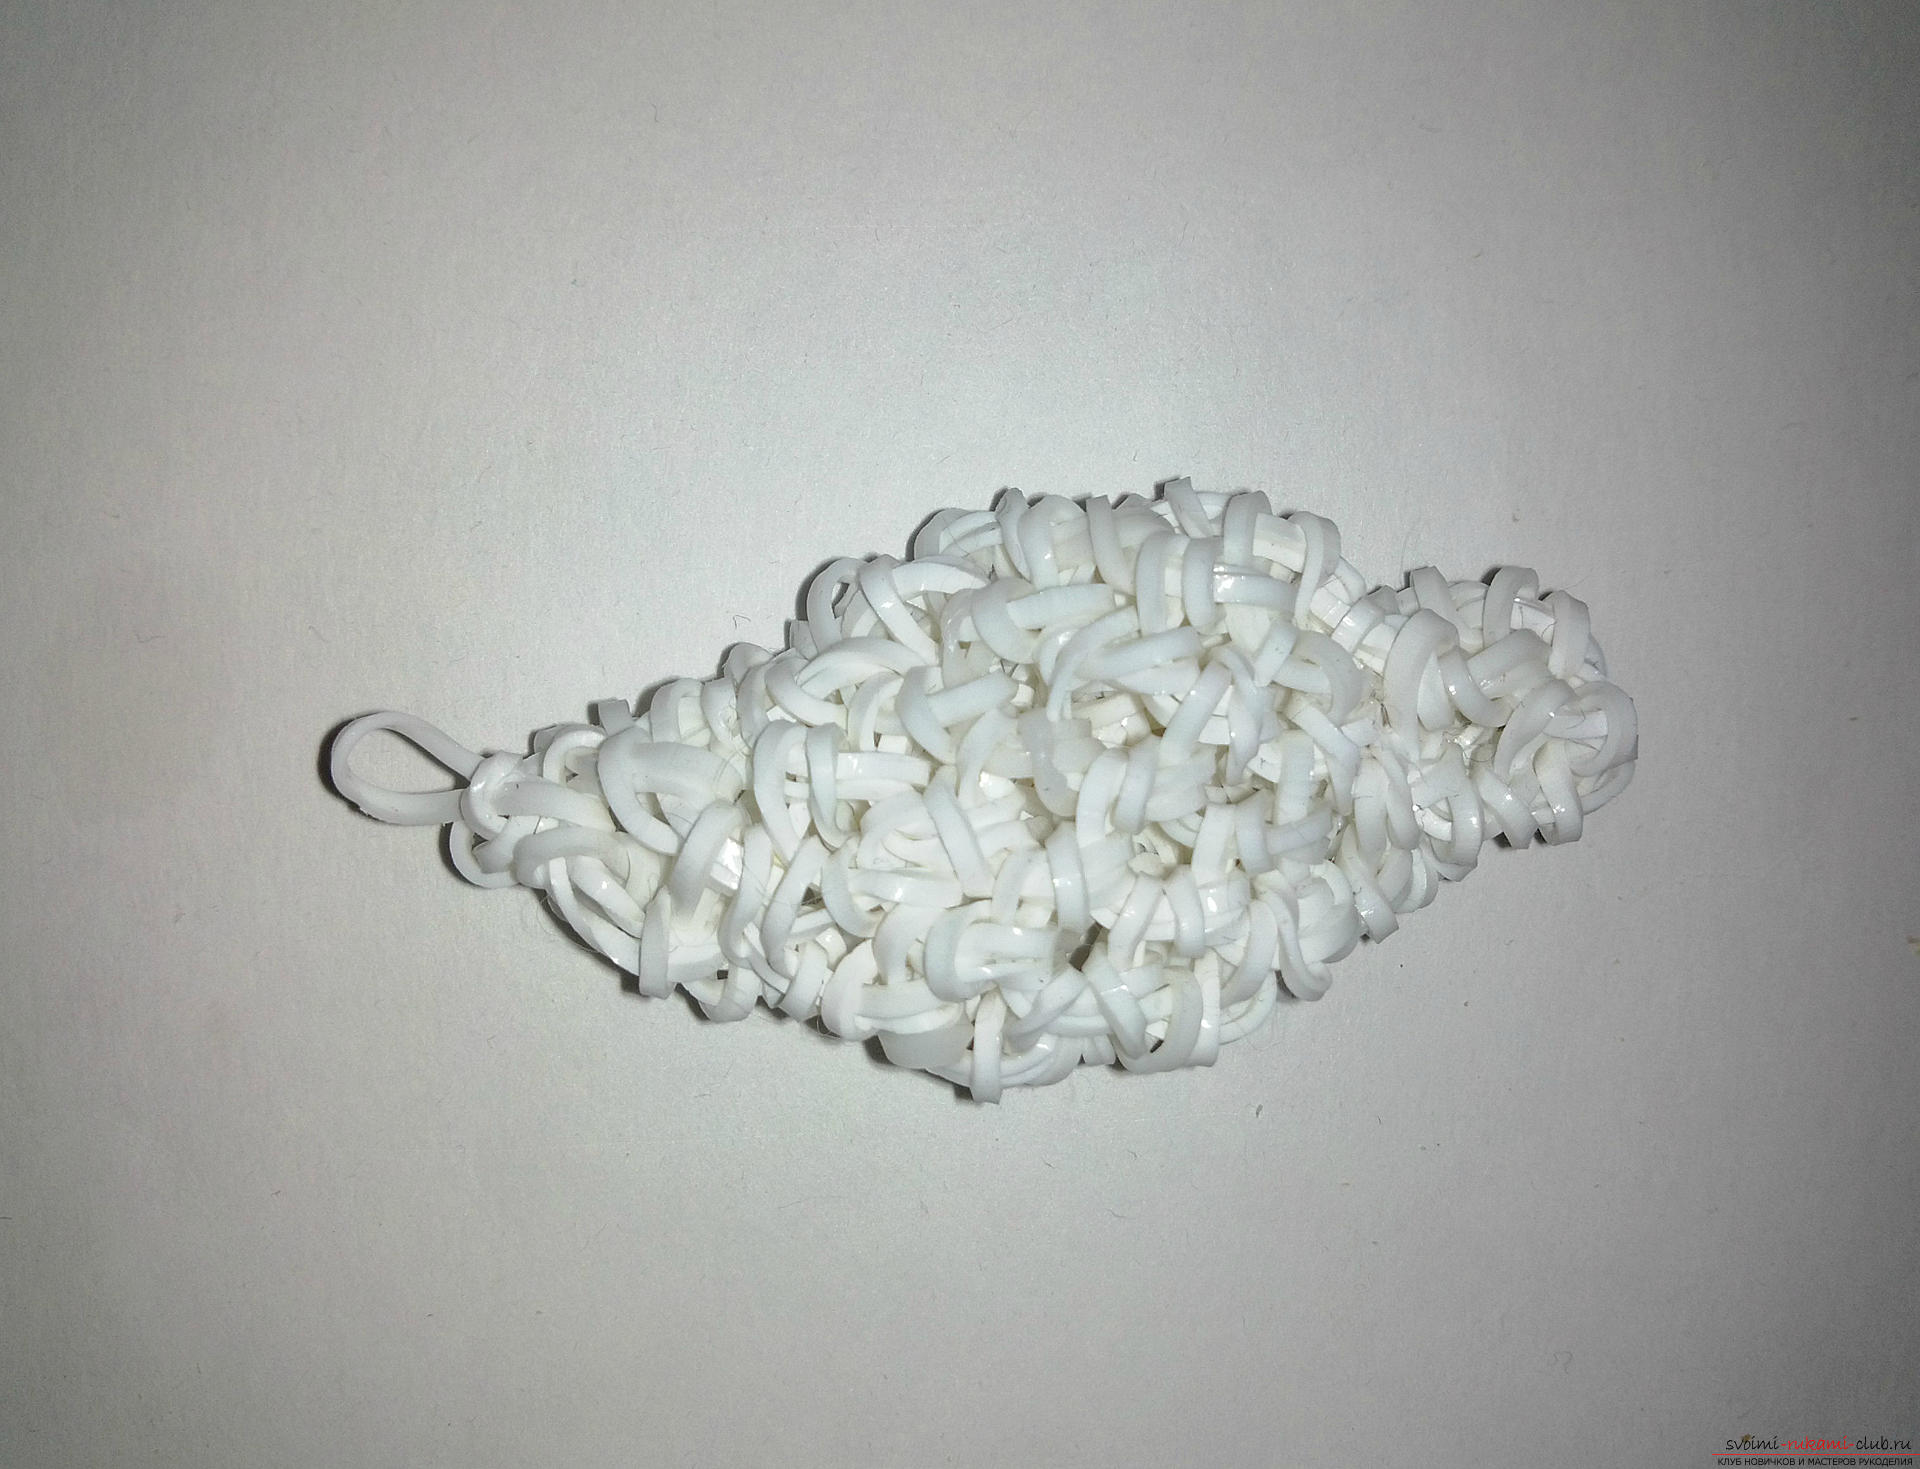 Padded one more ear. We pass to the weaving of the hind legs. We dial a ring of six loops. The second row of plaid one rubber in each loop. The third row of the plait is according to the scheme: 1-2-1-2. Next, we change the rubber bands to red ones and weave one row of one rubber through each loop. Further we subtract into each loop to the end.
 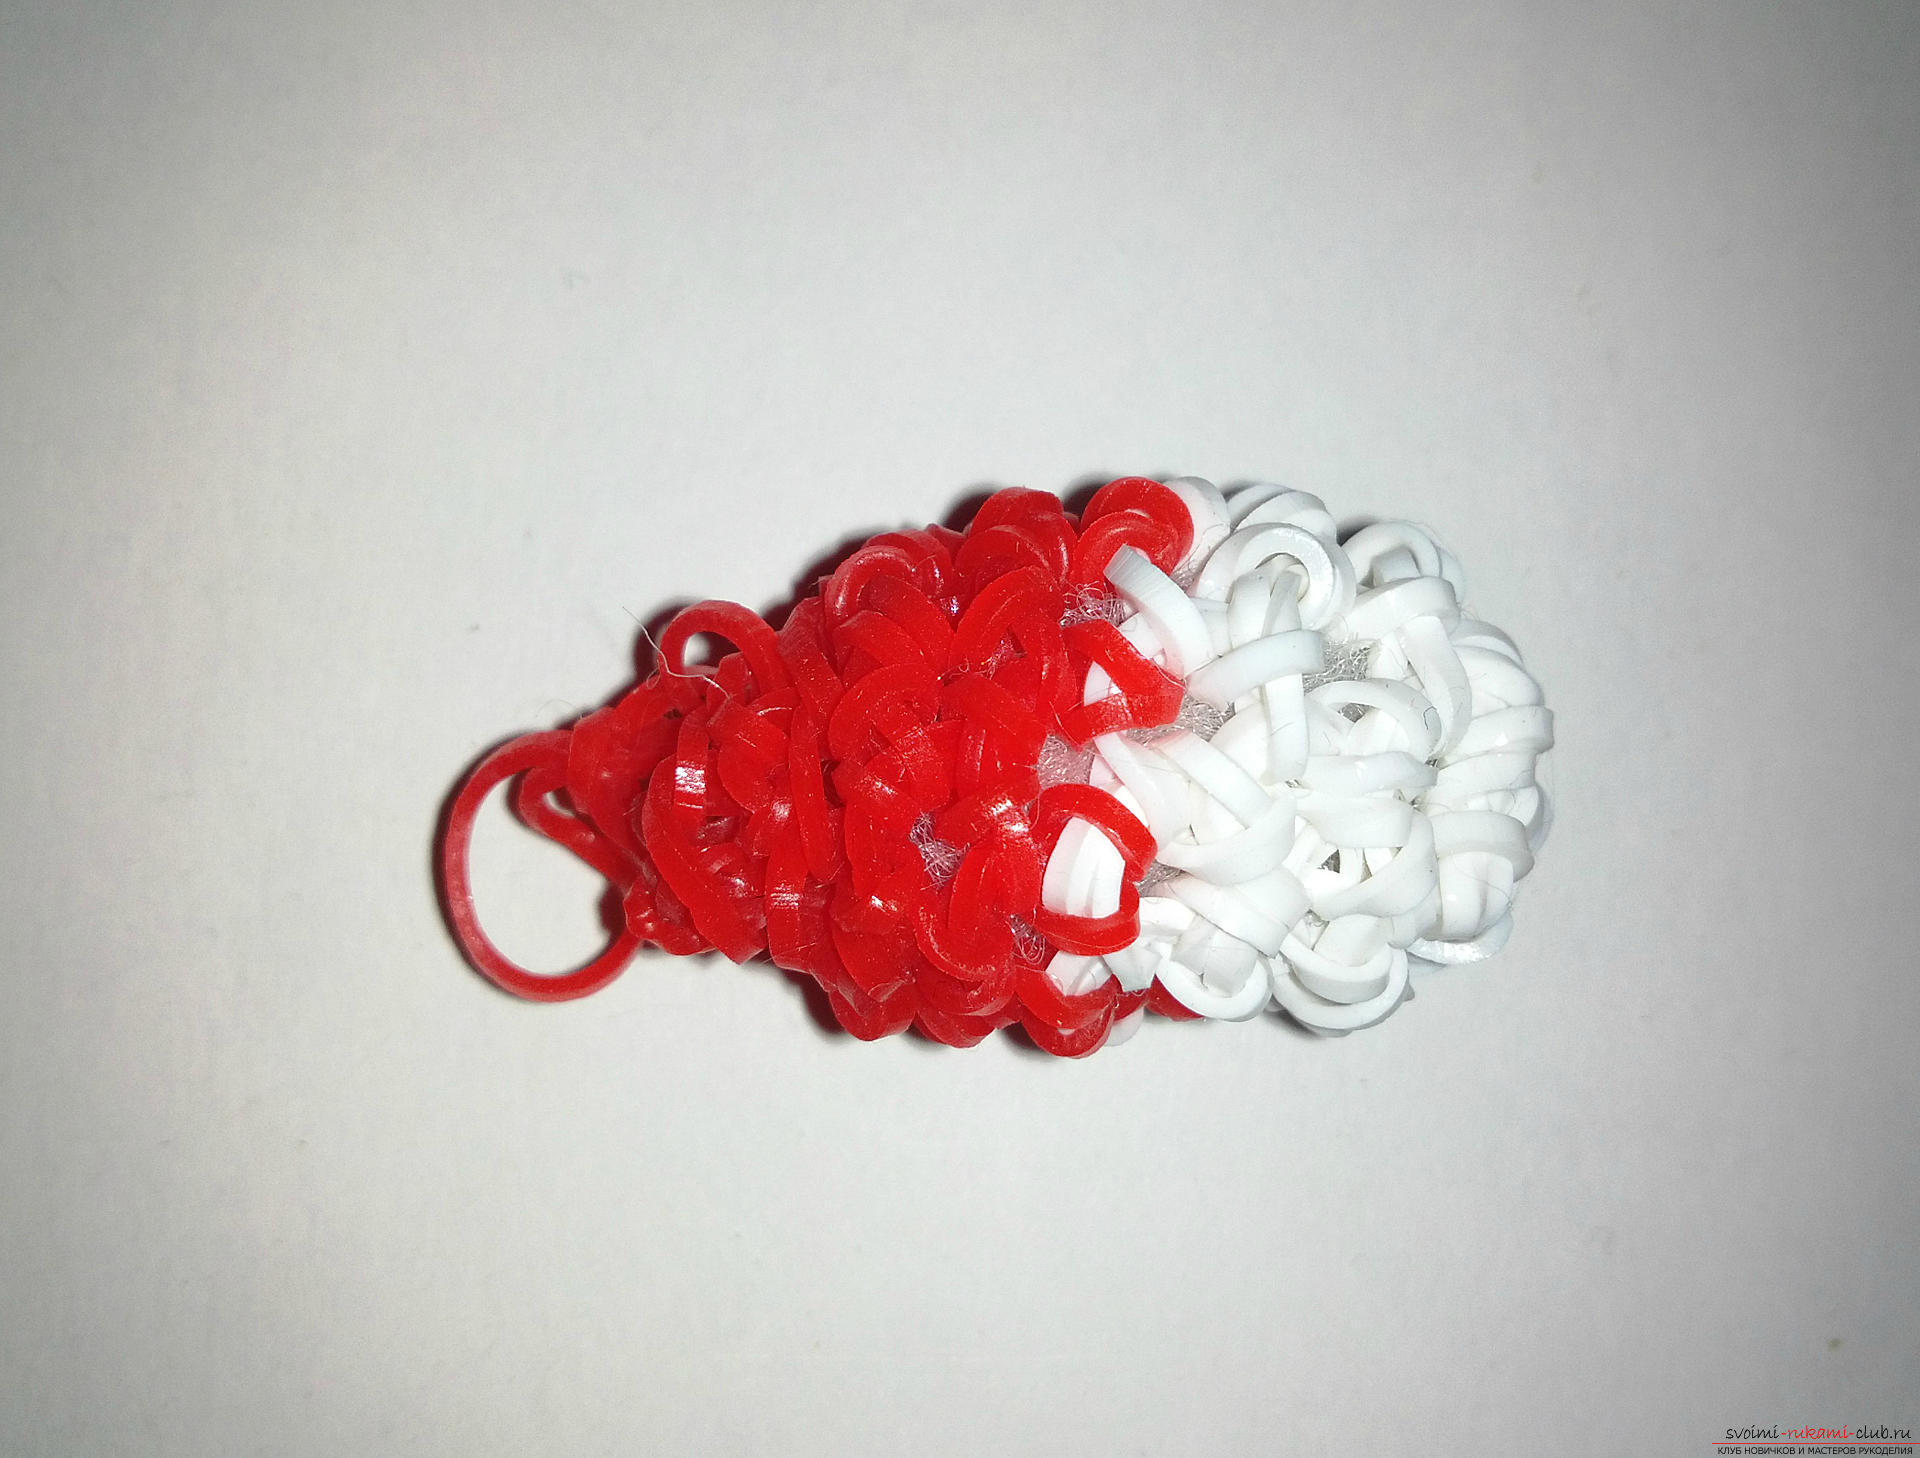 Shave another one's same foot. Pretender the front paws. We collect a ring from five loops with white elastic bands. The second row of the plait, one by one, through a loop. We change the rubber bands to red ones and subtract them into each loop until the weaving closes.
 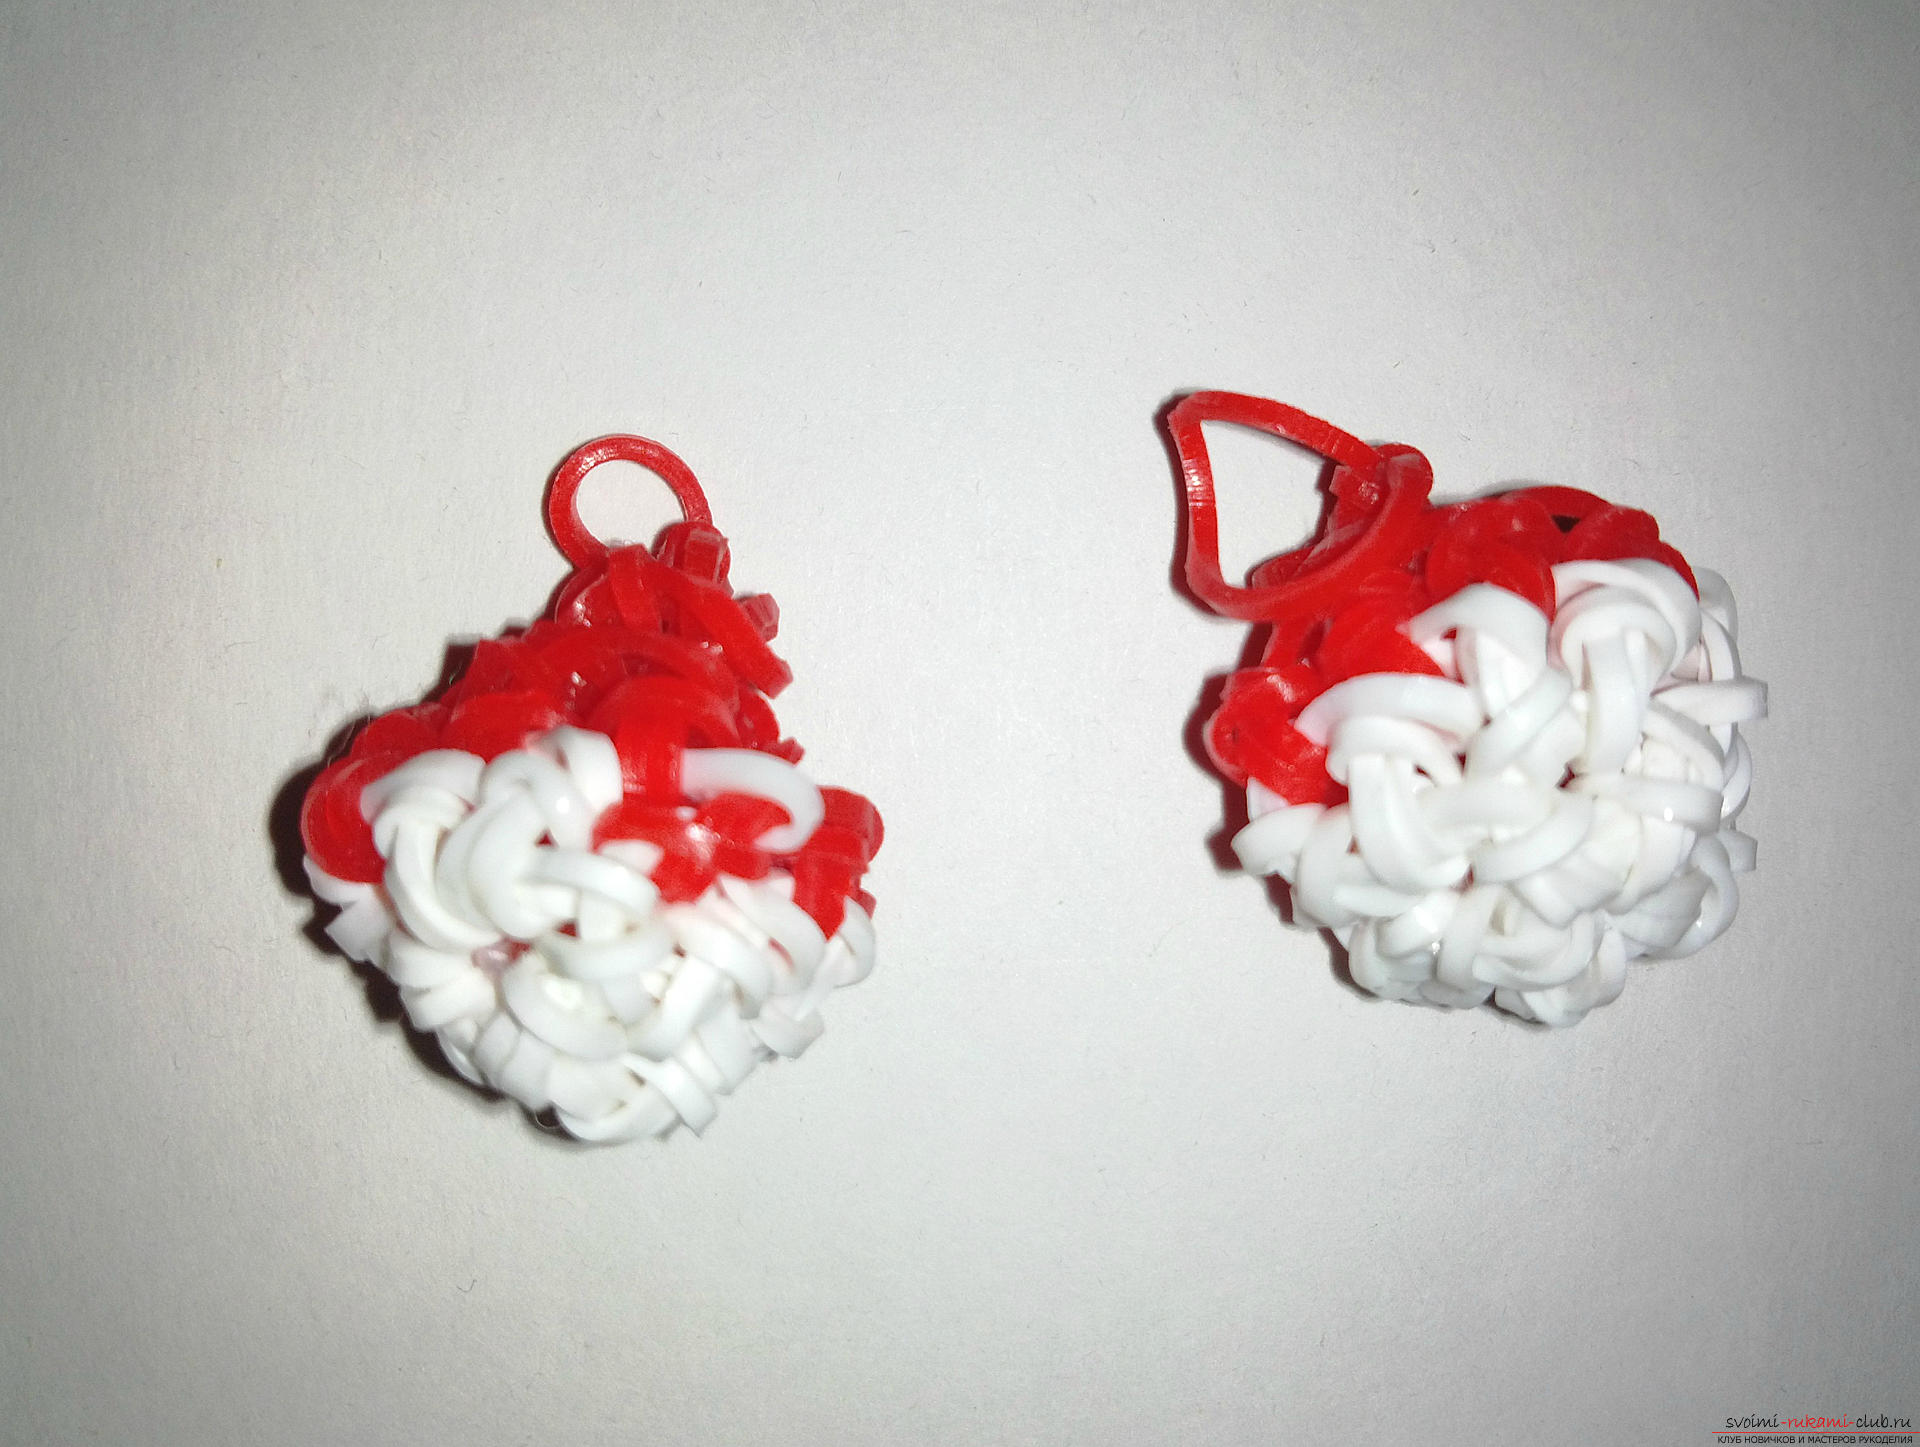 Now we have to add the details. First, attach the ears. We find in the center of the head the very first ring and count from it two loops to the side.
 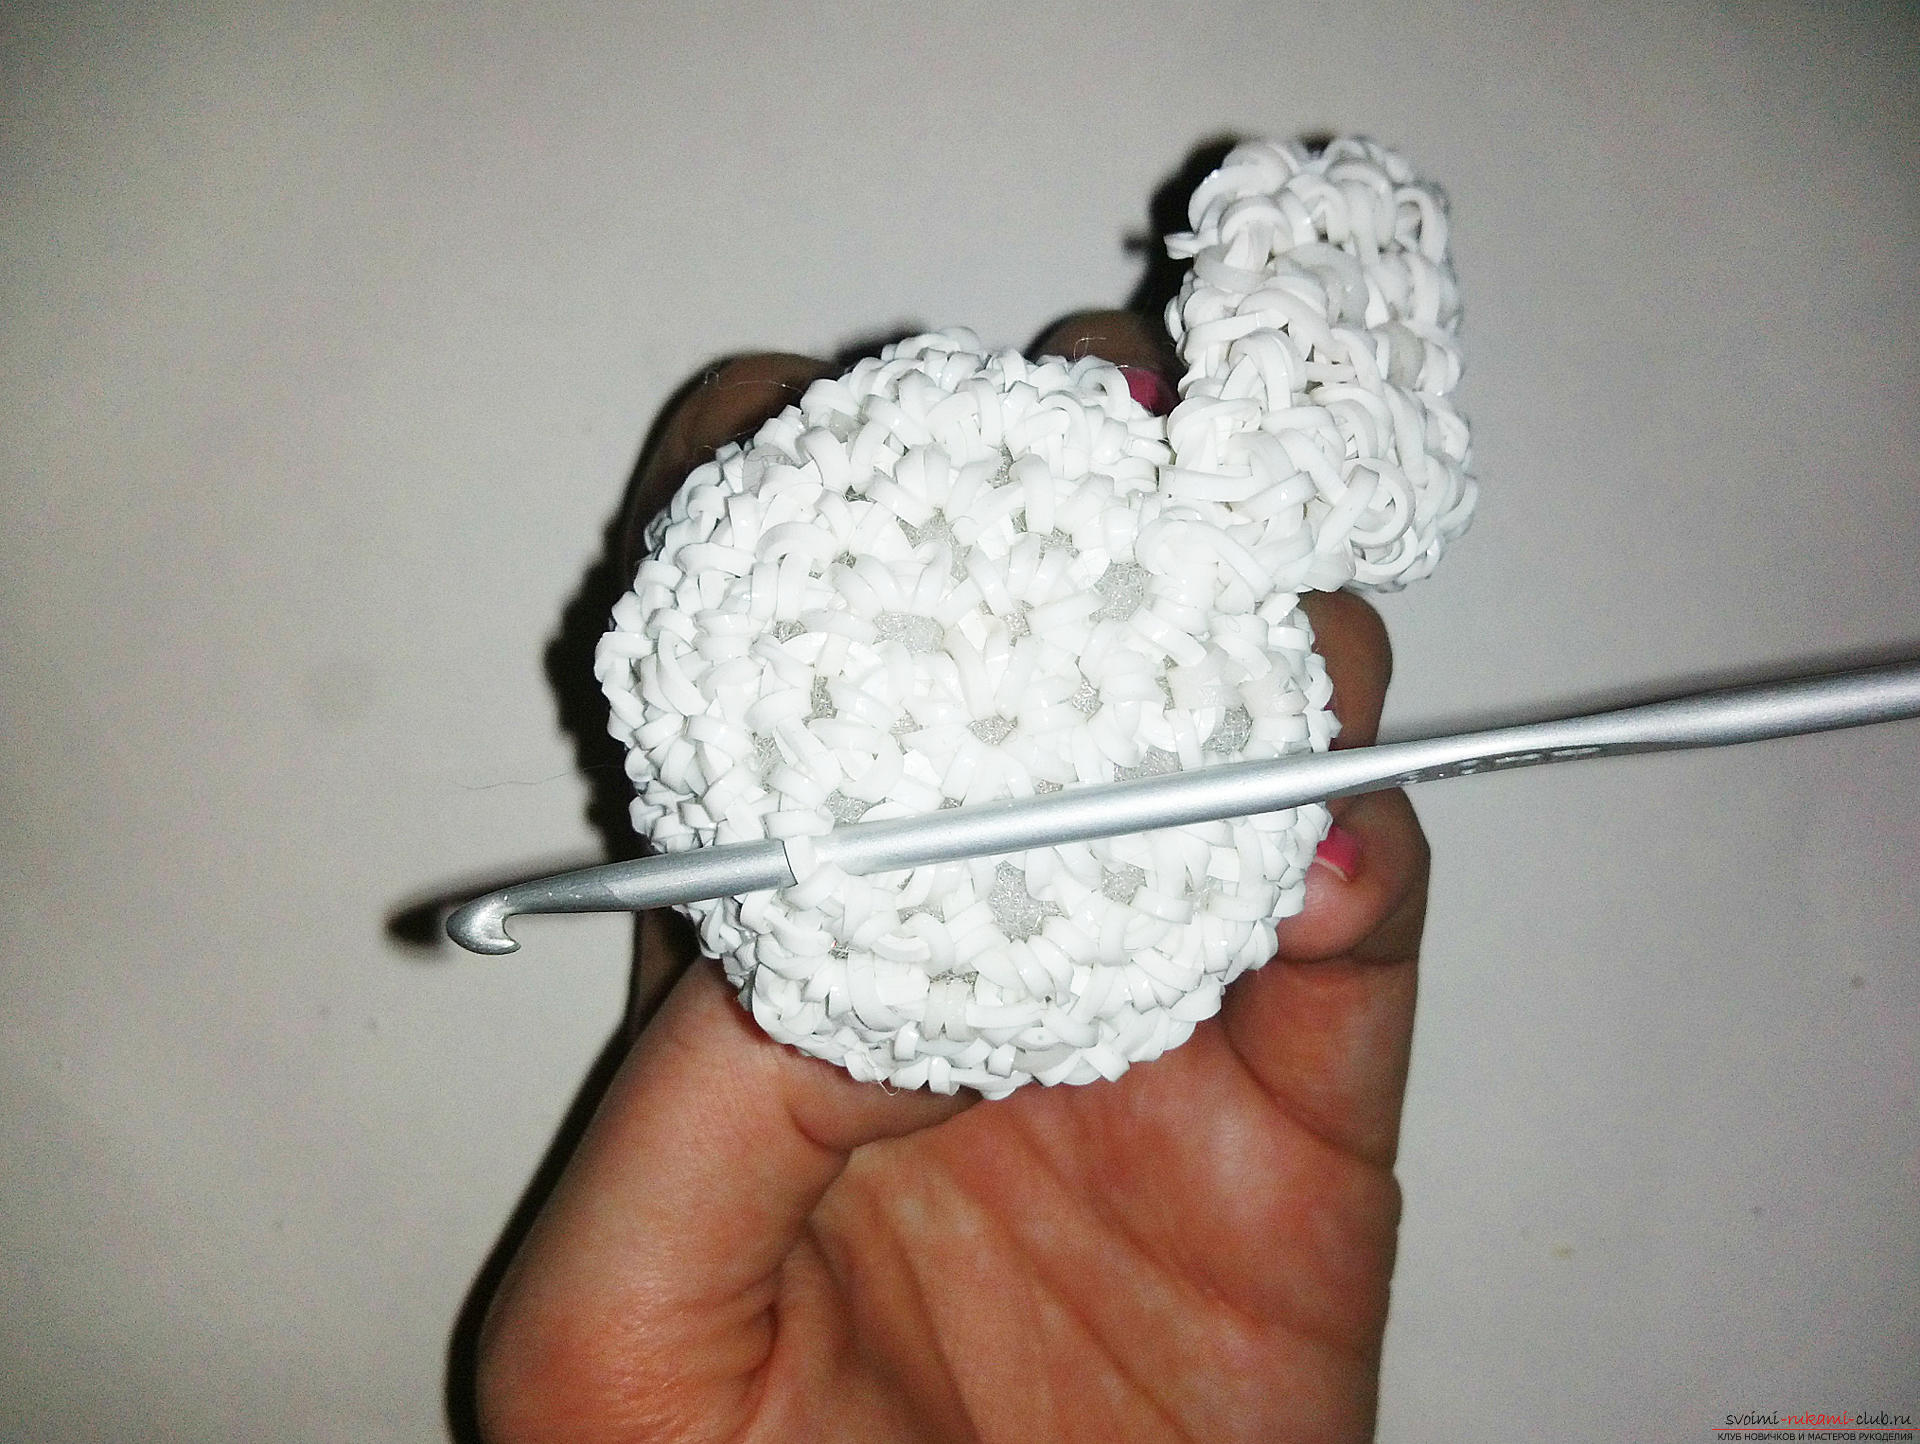 We draw a hook under a loop, we catch a bundle on the ear and drag it through the loop.
 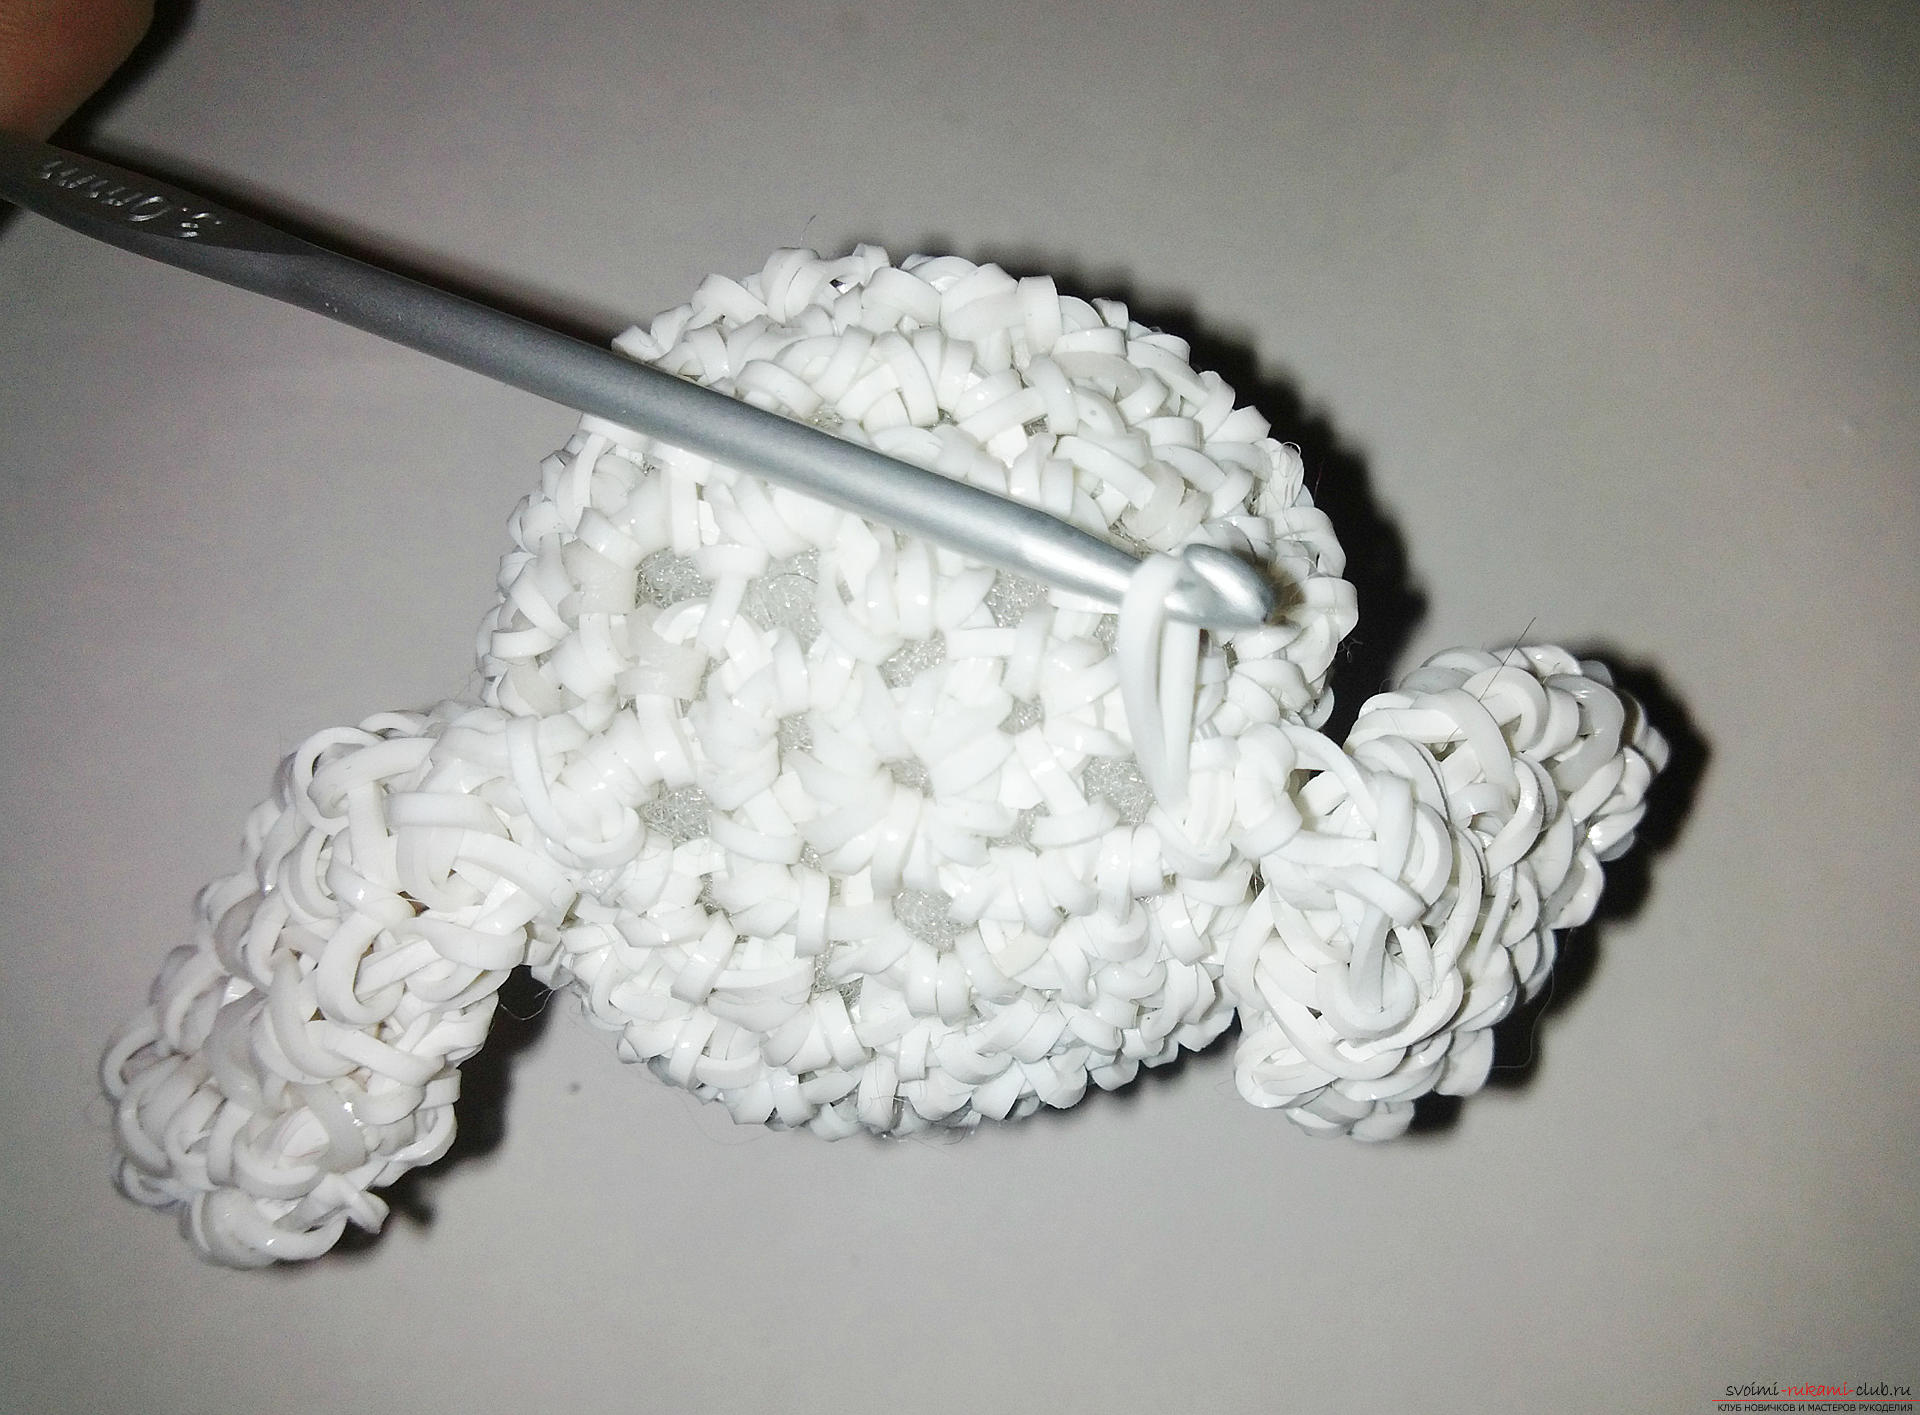 We pull off the bundle and wrap the ear several times.
 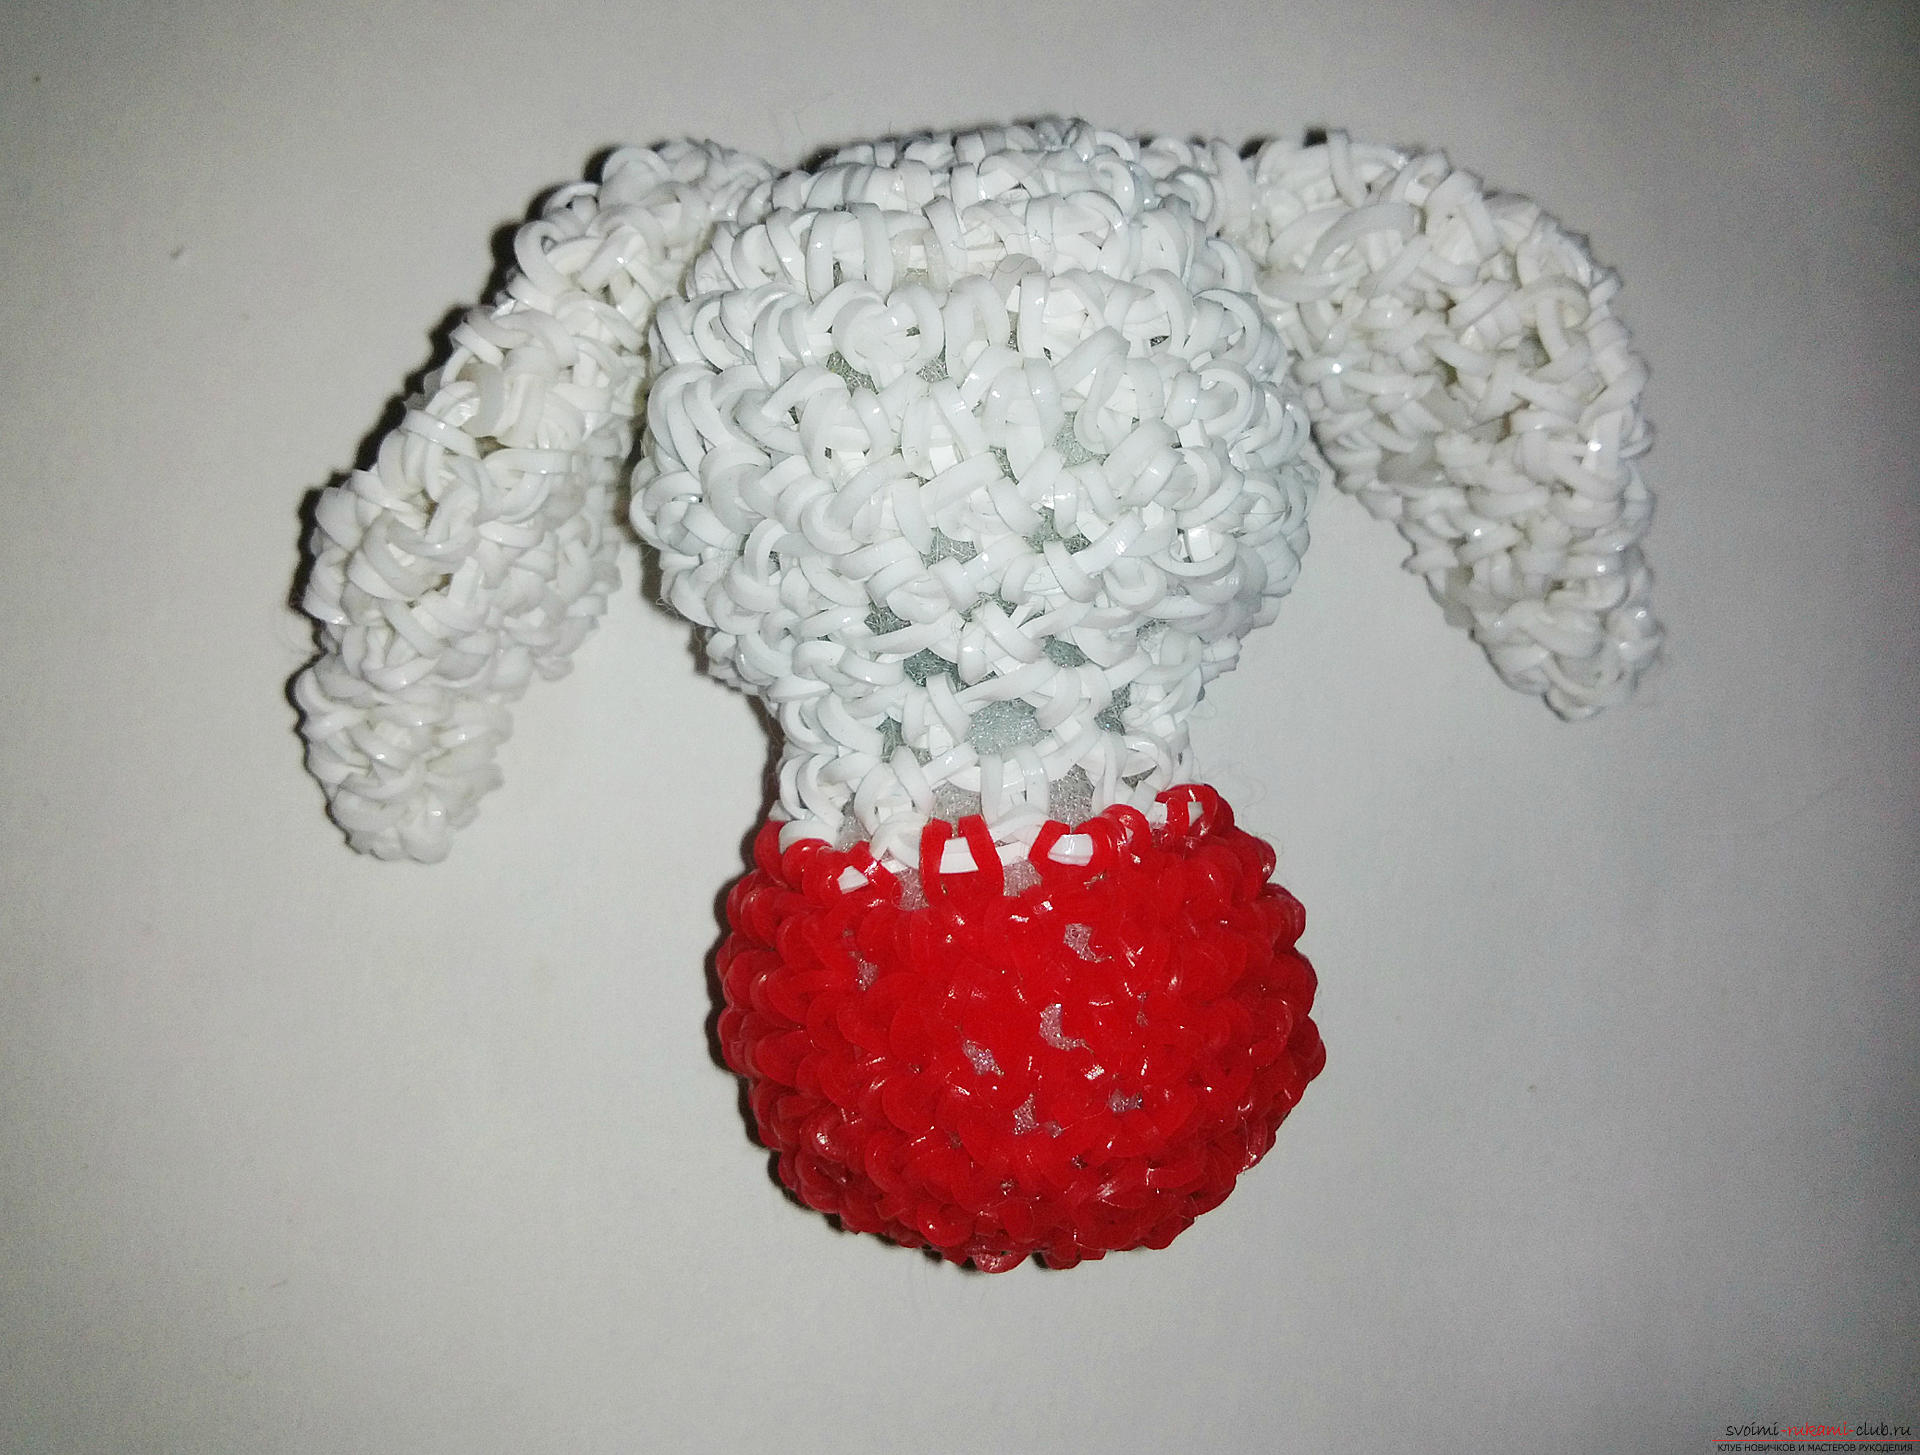 Similarly, we attach the legs, defining themplace on the body. Let's decorate the face. Turn the black rubber band four times onto the hook and place it on a white elastic band. Determine the place for the eye, draw a hook through the loop on the face and stretch one side of the white rubber. We grasp the second side and draw it through the first one. Tighten and just push inside, straightening the eye. Also attach the second eye. For the spout, take the pink gum. We stretch it through two loops on the face and fasten it with one white rubber band. We tighten the resulting bundle and also push inside the crochet until the bundle is hidden, and the spout does not get the desired look. Let's make a flower on the head. We will pick up a ringlet from four loops of red rubber bands. We will weave one row with the addition to each loop. Pass the bead through the rubber bands. A rubber band will pass through the central ring. We will pull it back and just put the eye in it. That's such a cute bunny!
Comments
Related posts:
 This master class of weaving crafts from rubber bands will teach the creation of a rubber toy - an animal.
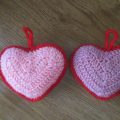
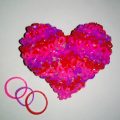 Master-class on weaving from elastic bands will teach how to weave hearts with our own hands
A detailed master-class toys made of rubber bands are weaving from the owl's rubber bands with our own hands.
Master-class on weaving from elastic bands will teach how to weave hearts with our own hands
A detailed master-class toys made of rubber bands are weaving from the owl's rubber bands with our own hands.
 This master class will teach you how to create your own valentines - a gift for February 14
 This master class will teach you how to create your own hand notebook in the scrapbooking technique