Detailed master class on sewing a baby quilt
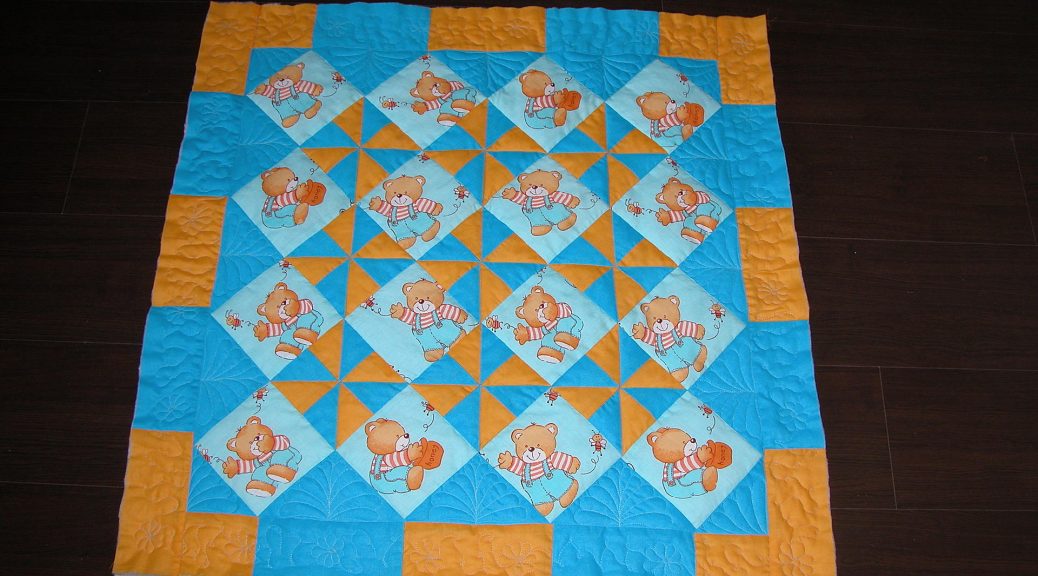
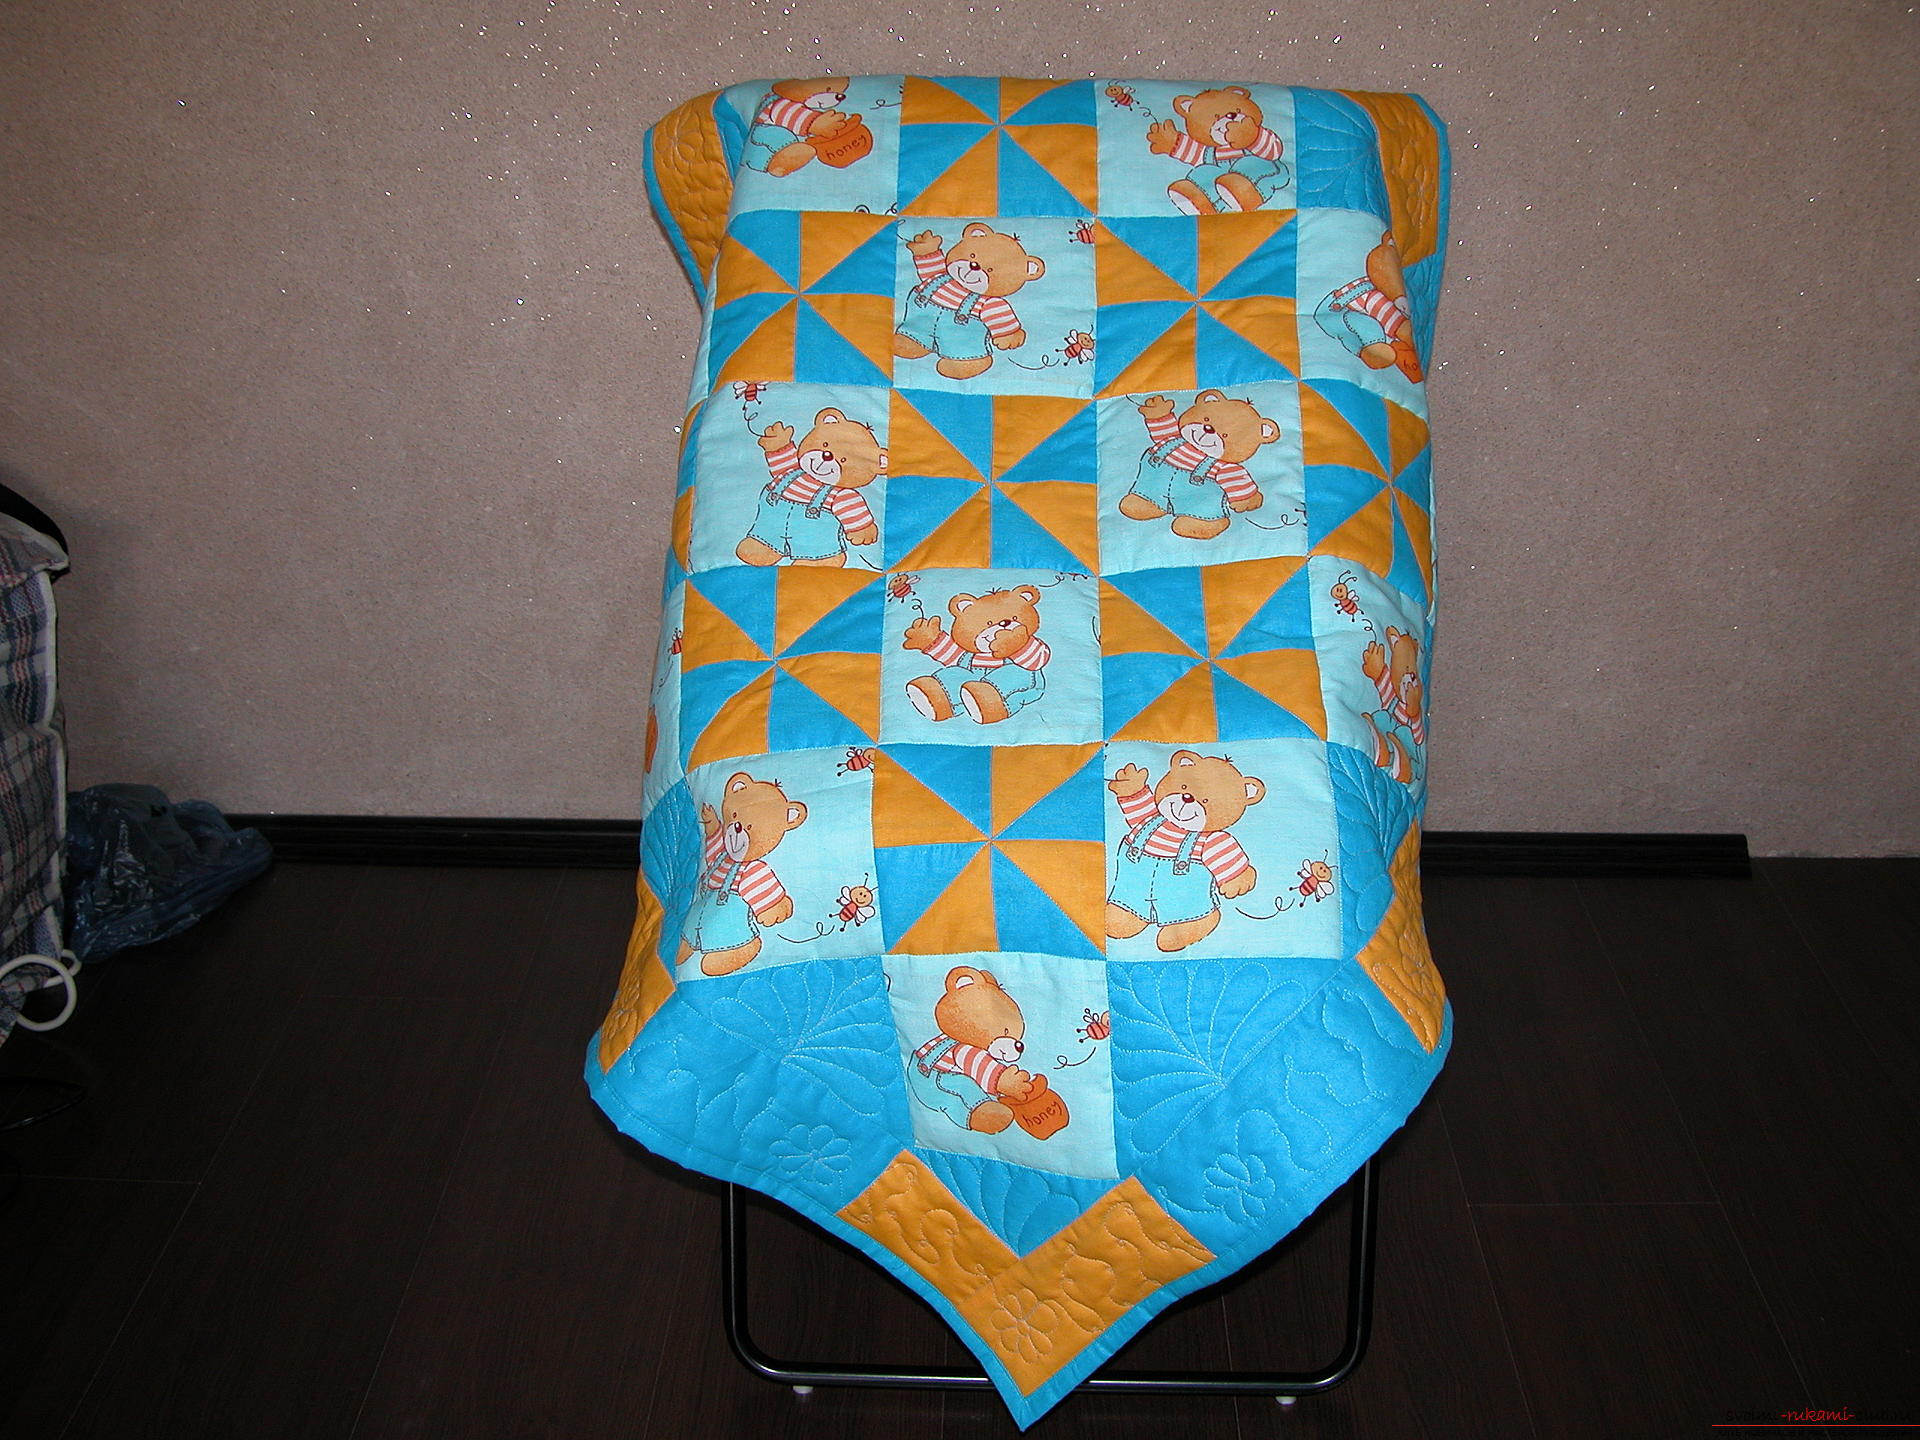 Size 88 x 88cm
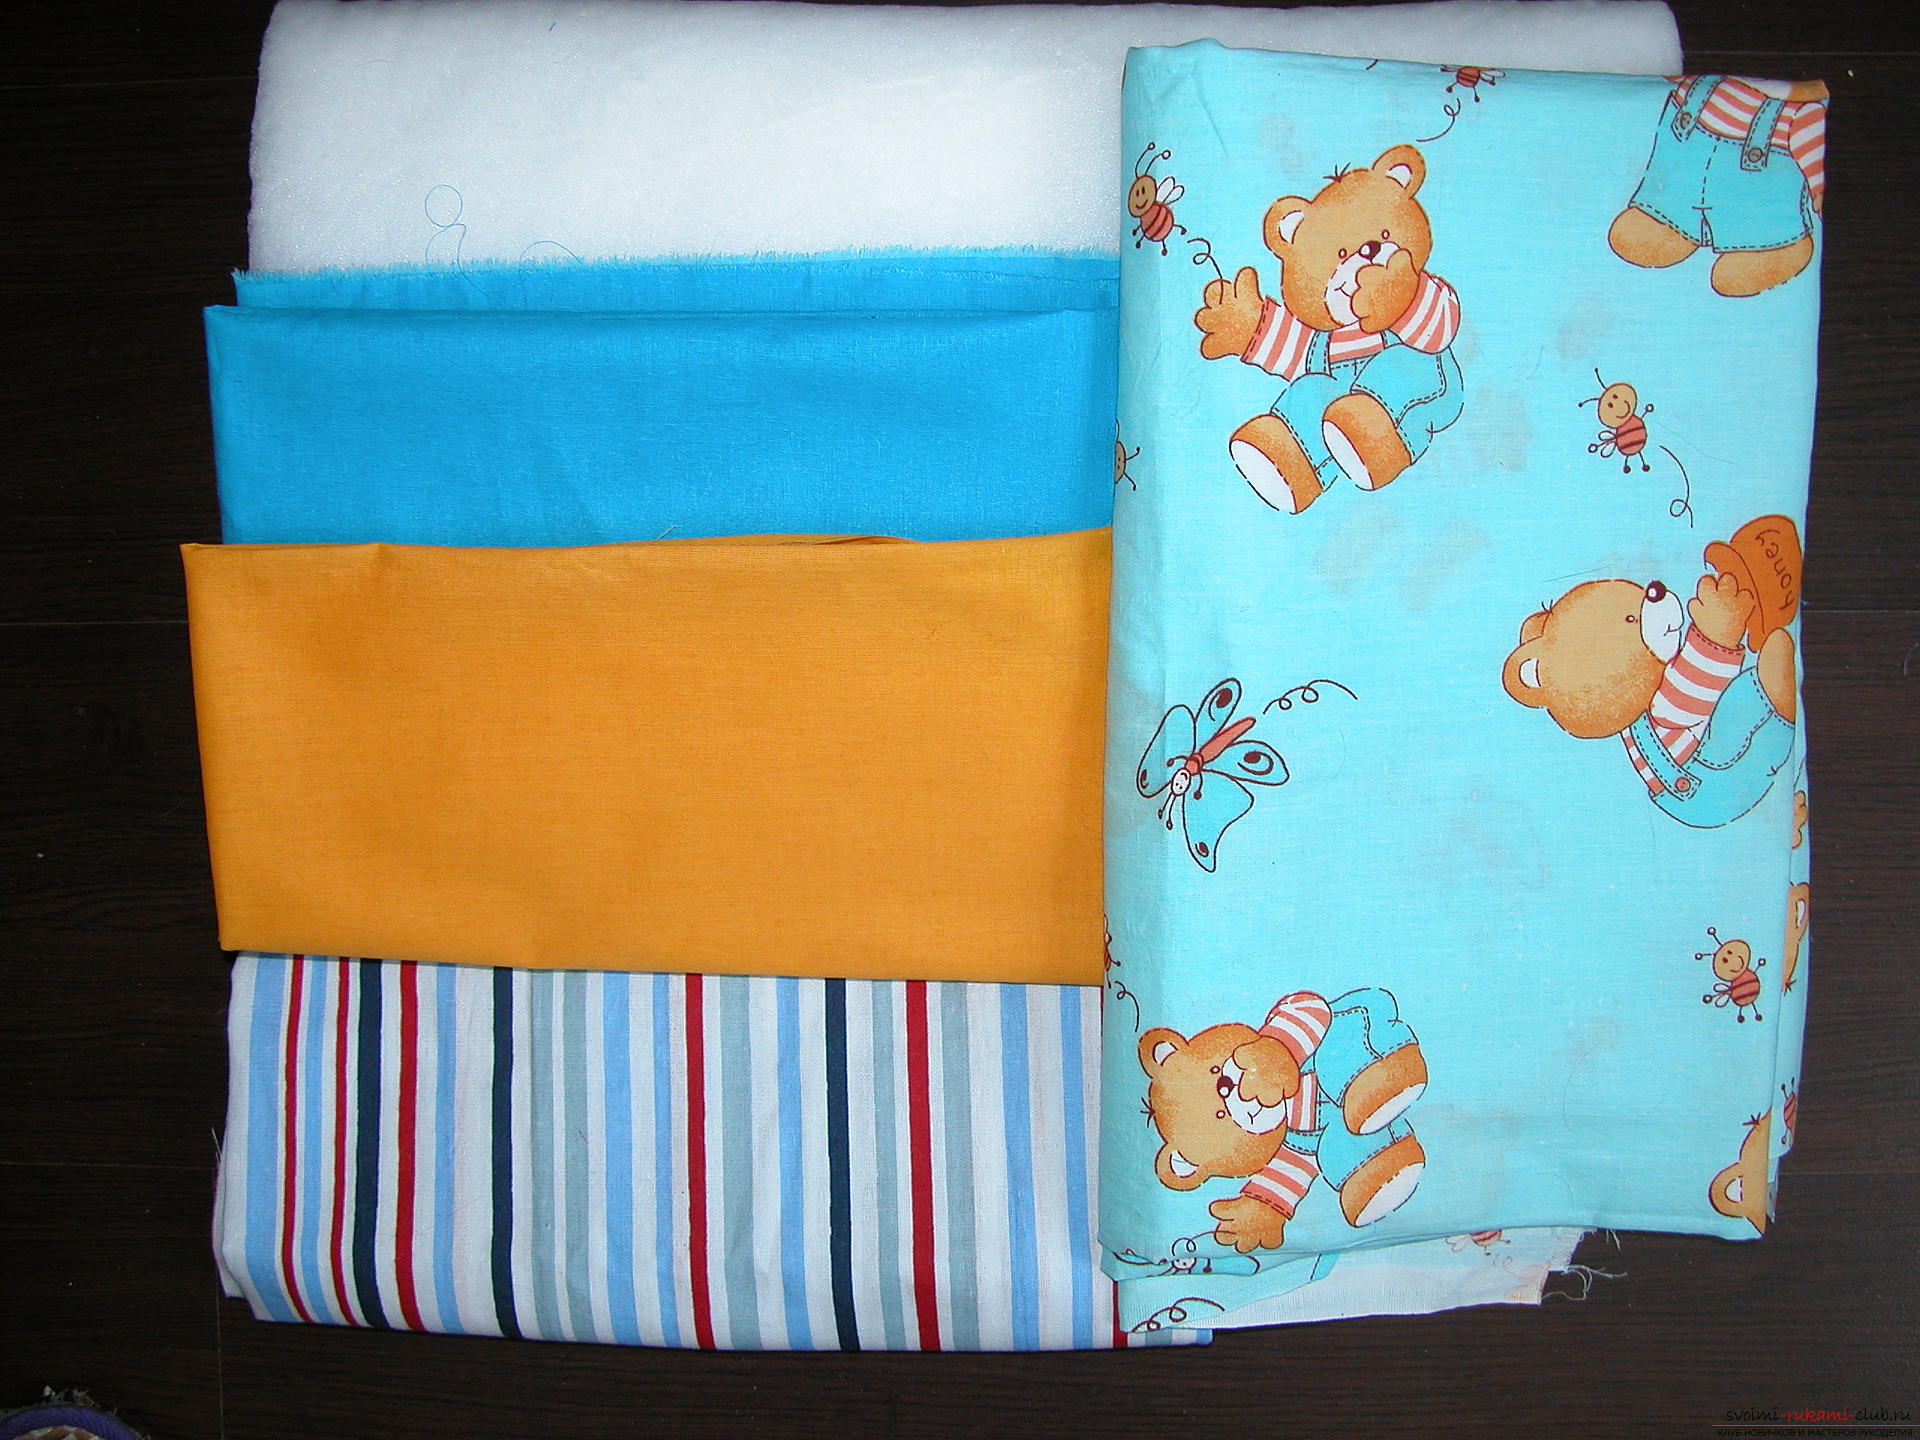
Materials:
From the tissues of companions we cut out the bands 9.5cm wide  Fold them with faces, cobble together. Straighten the stripes into squares, the side of the square is 9.5cm. Draw a diagonal line from corner to corner. This is the line of the cut.
 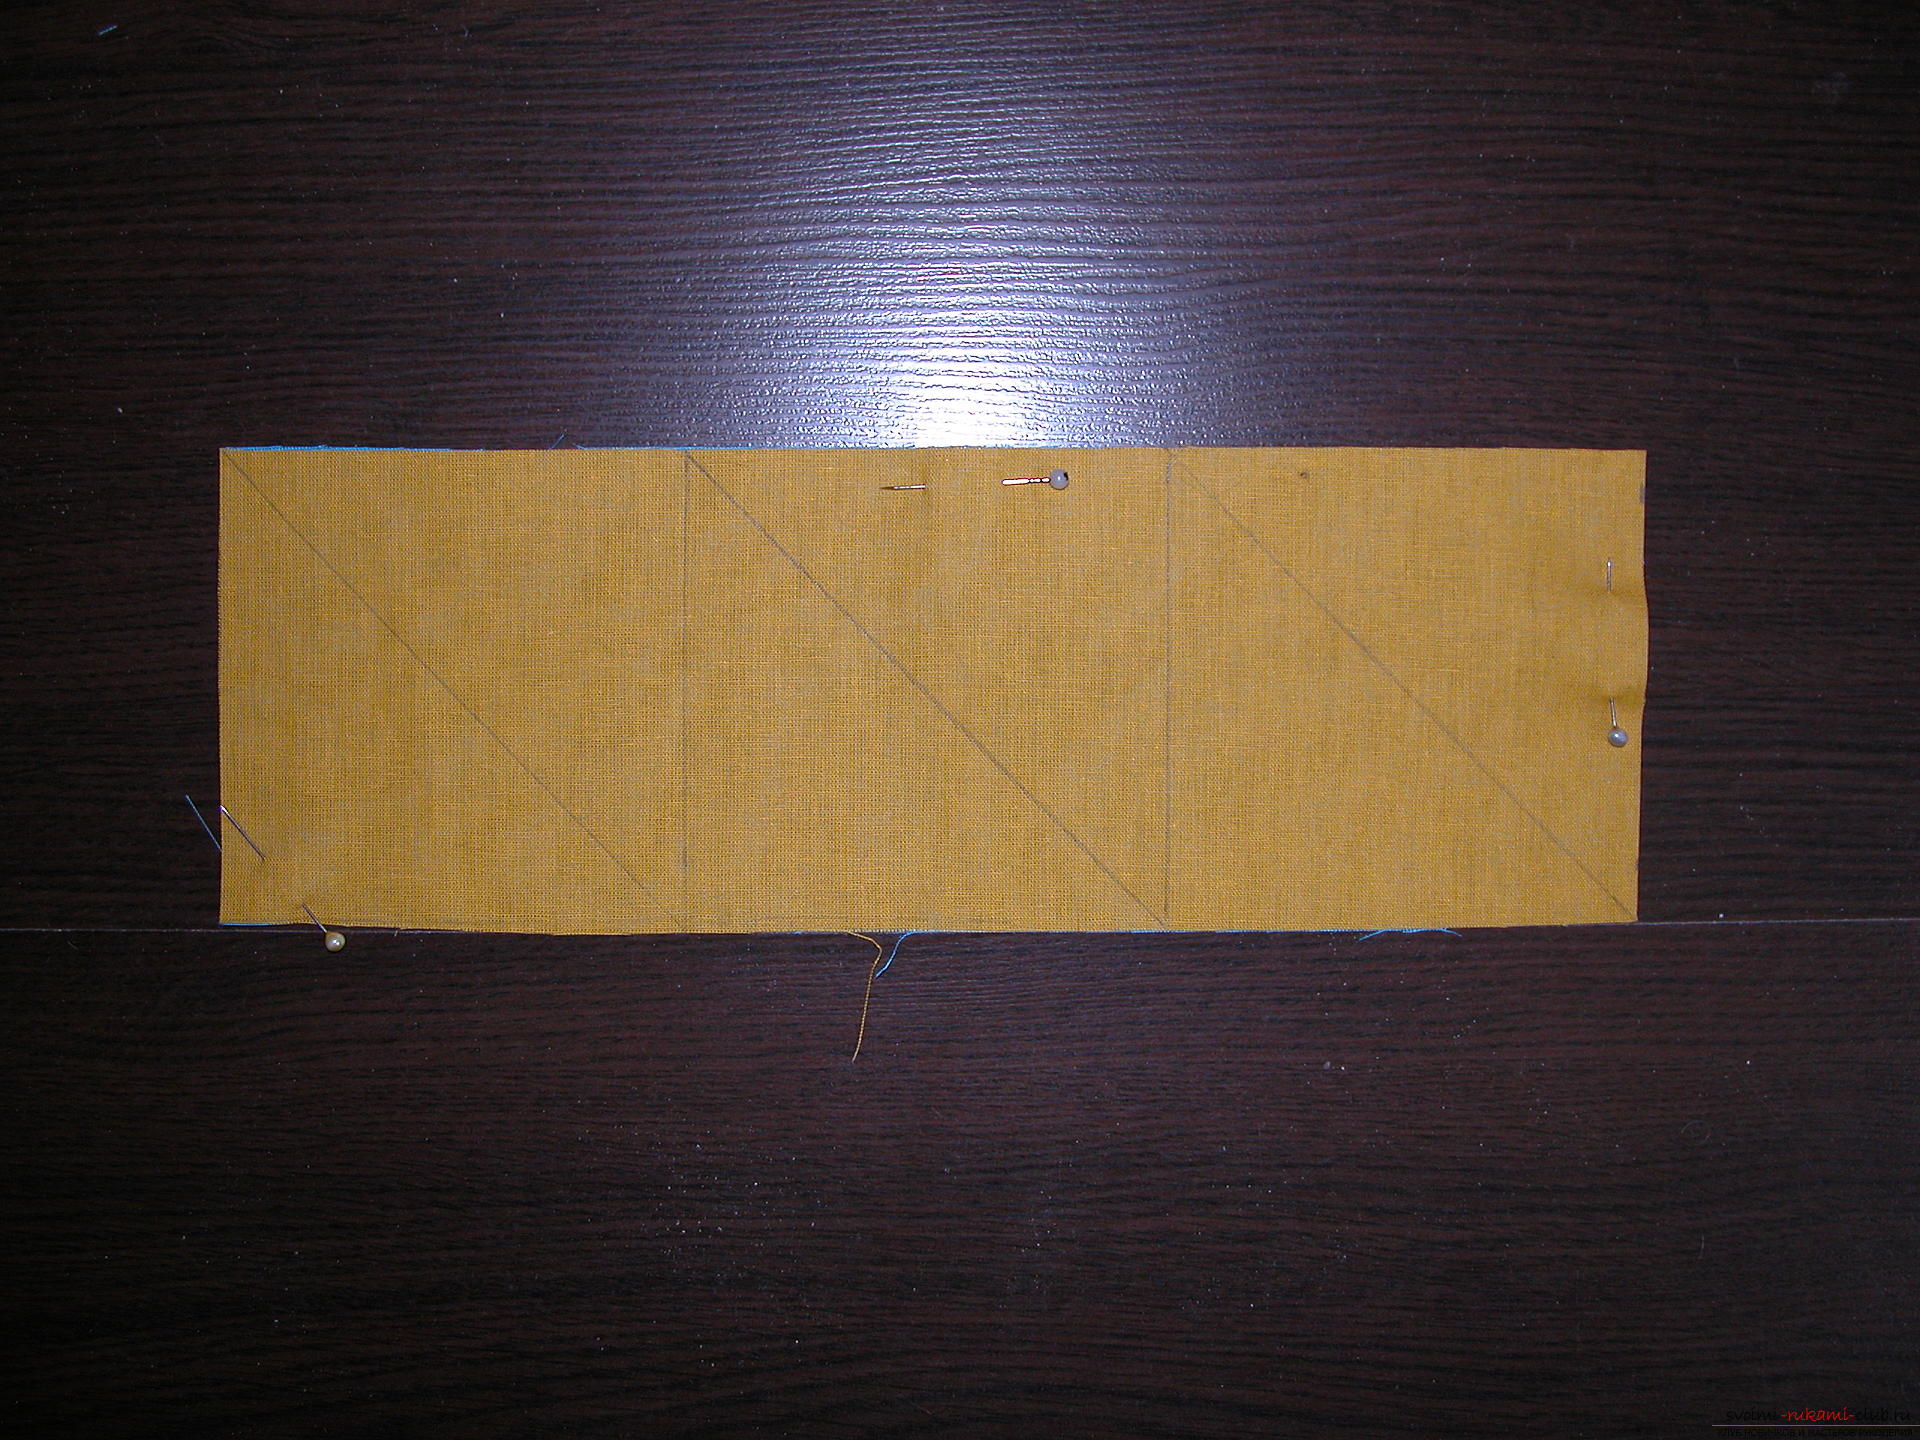 Straighten on both sides of the diagonal by the width of the allowance
 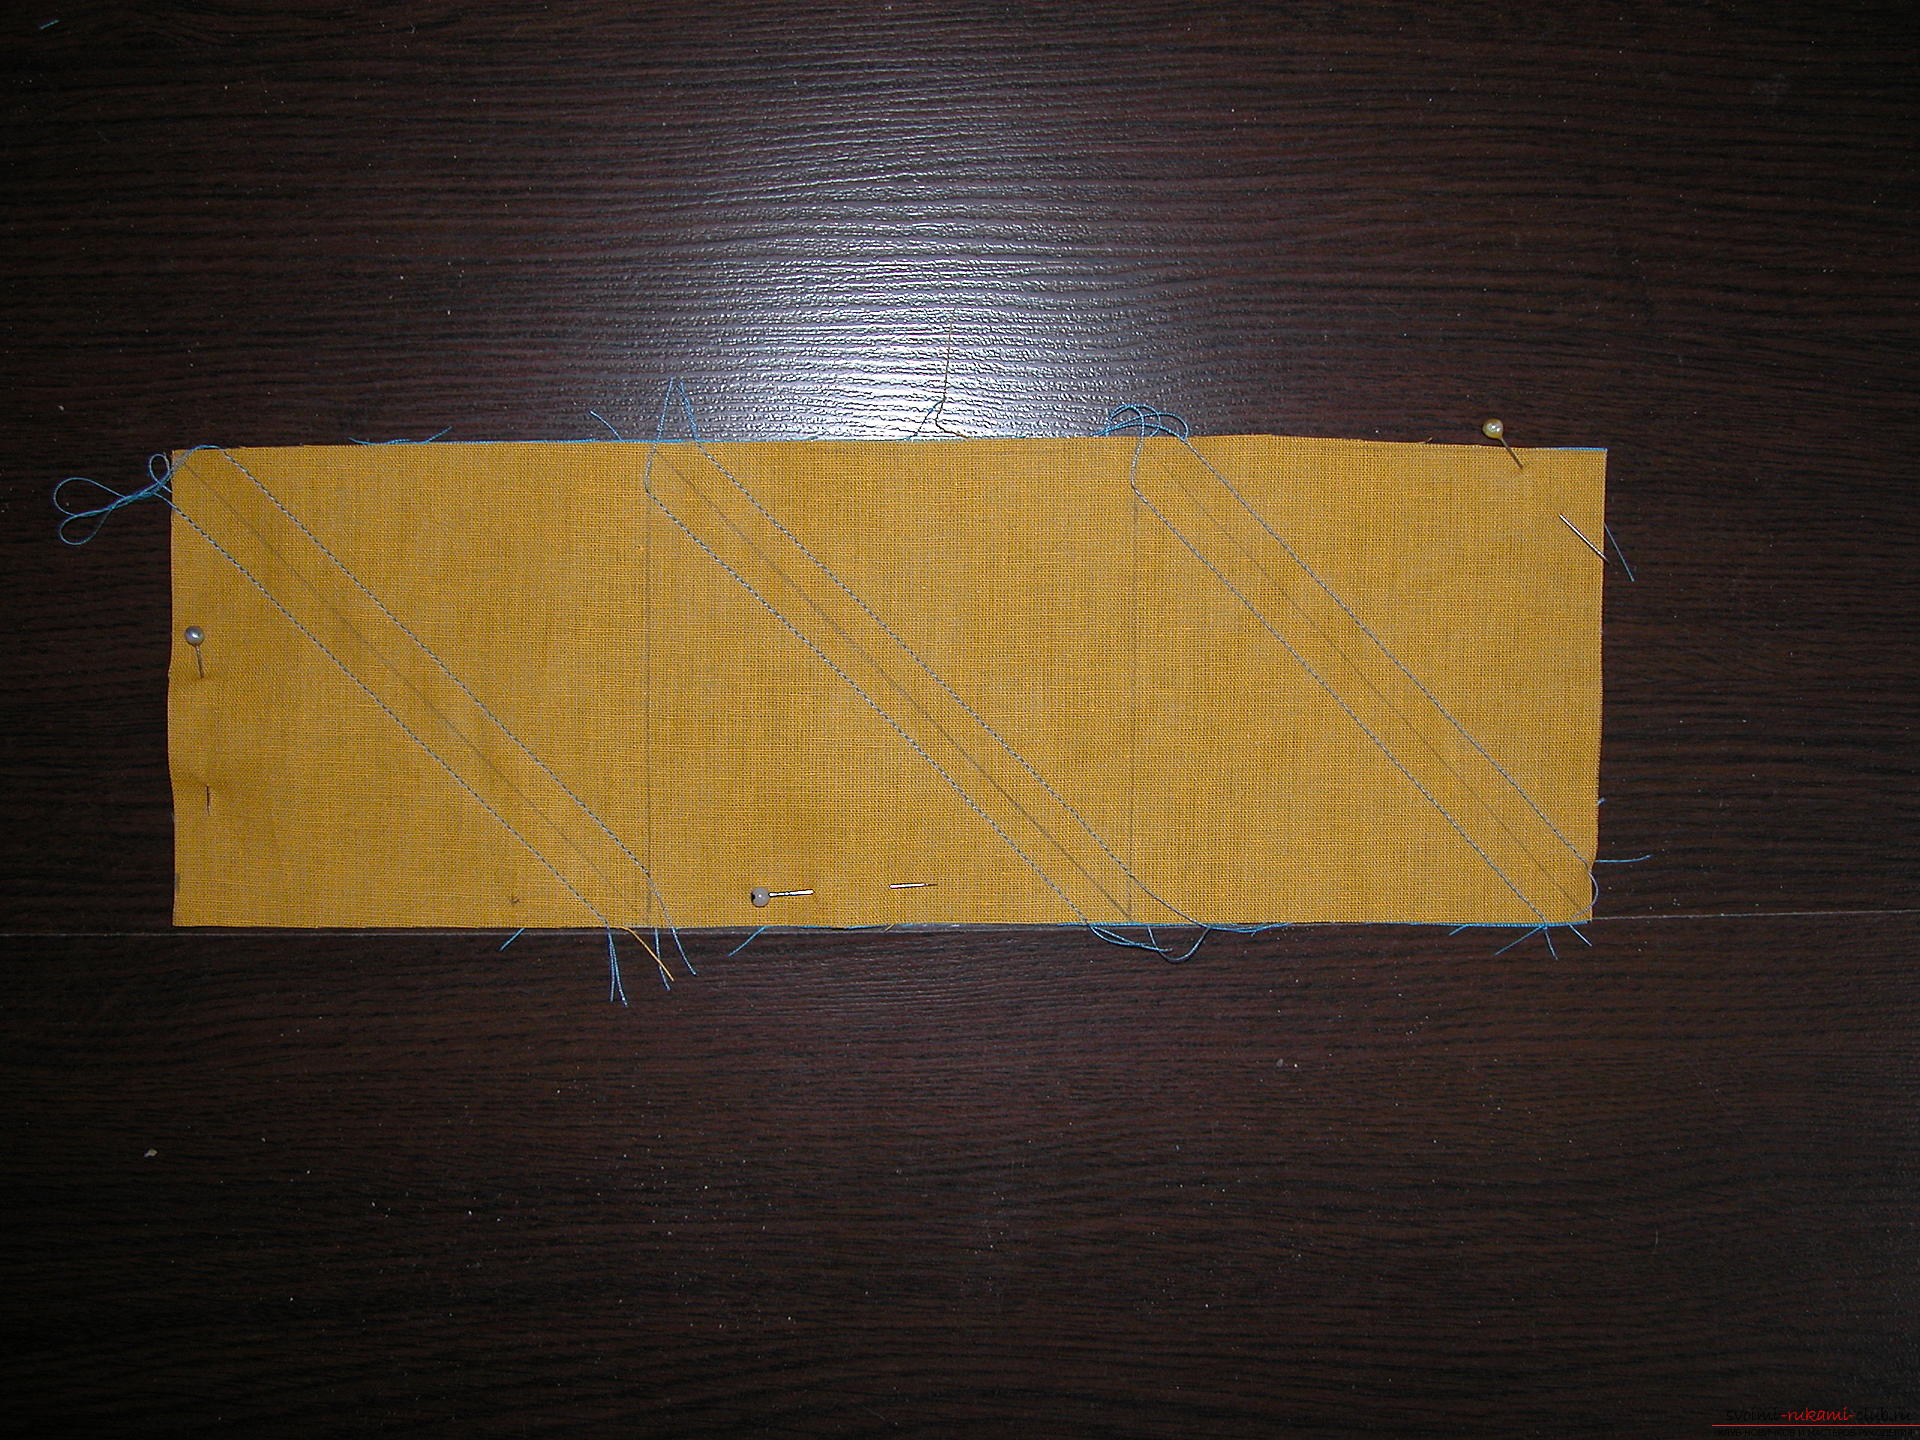 Cut the strip into squares, cut the squares in a diagonal line into triangles
 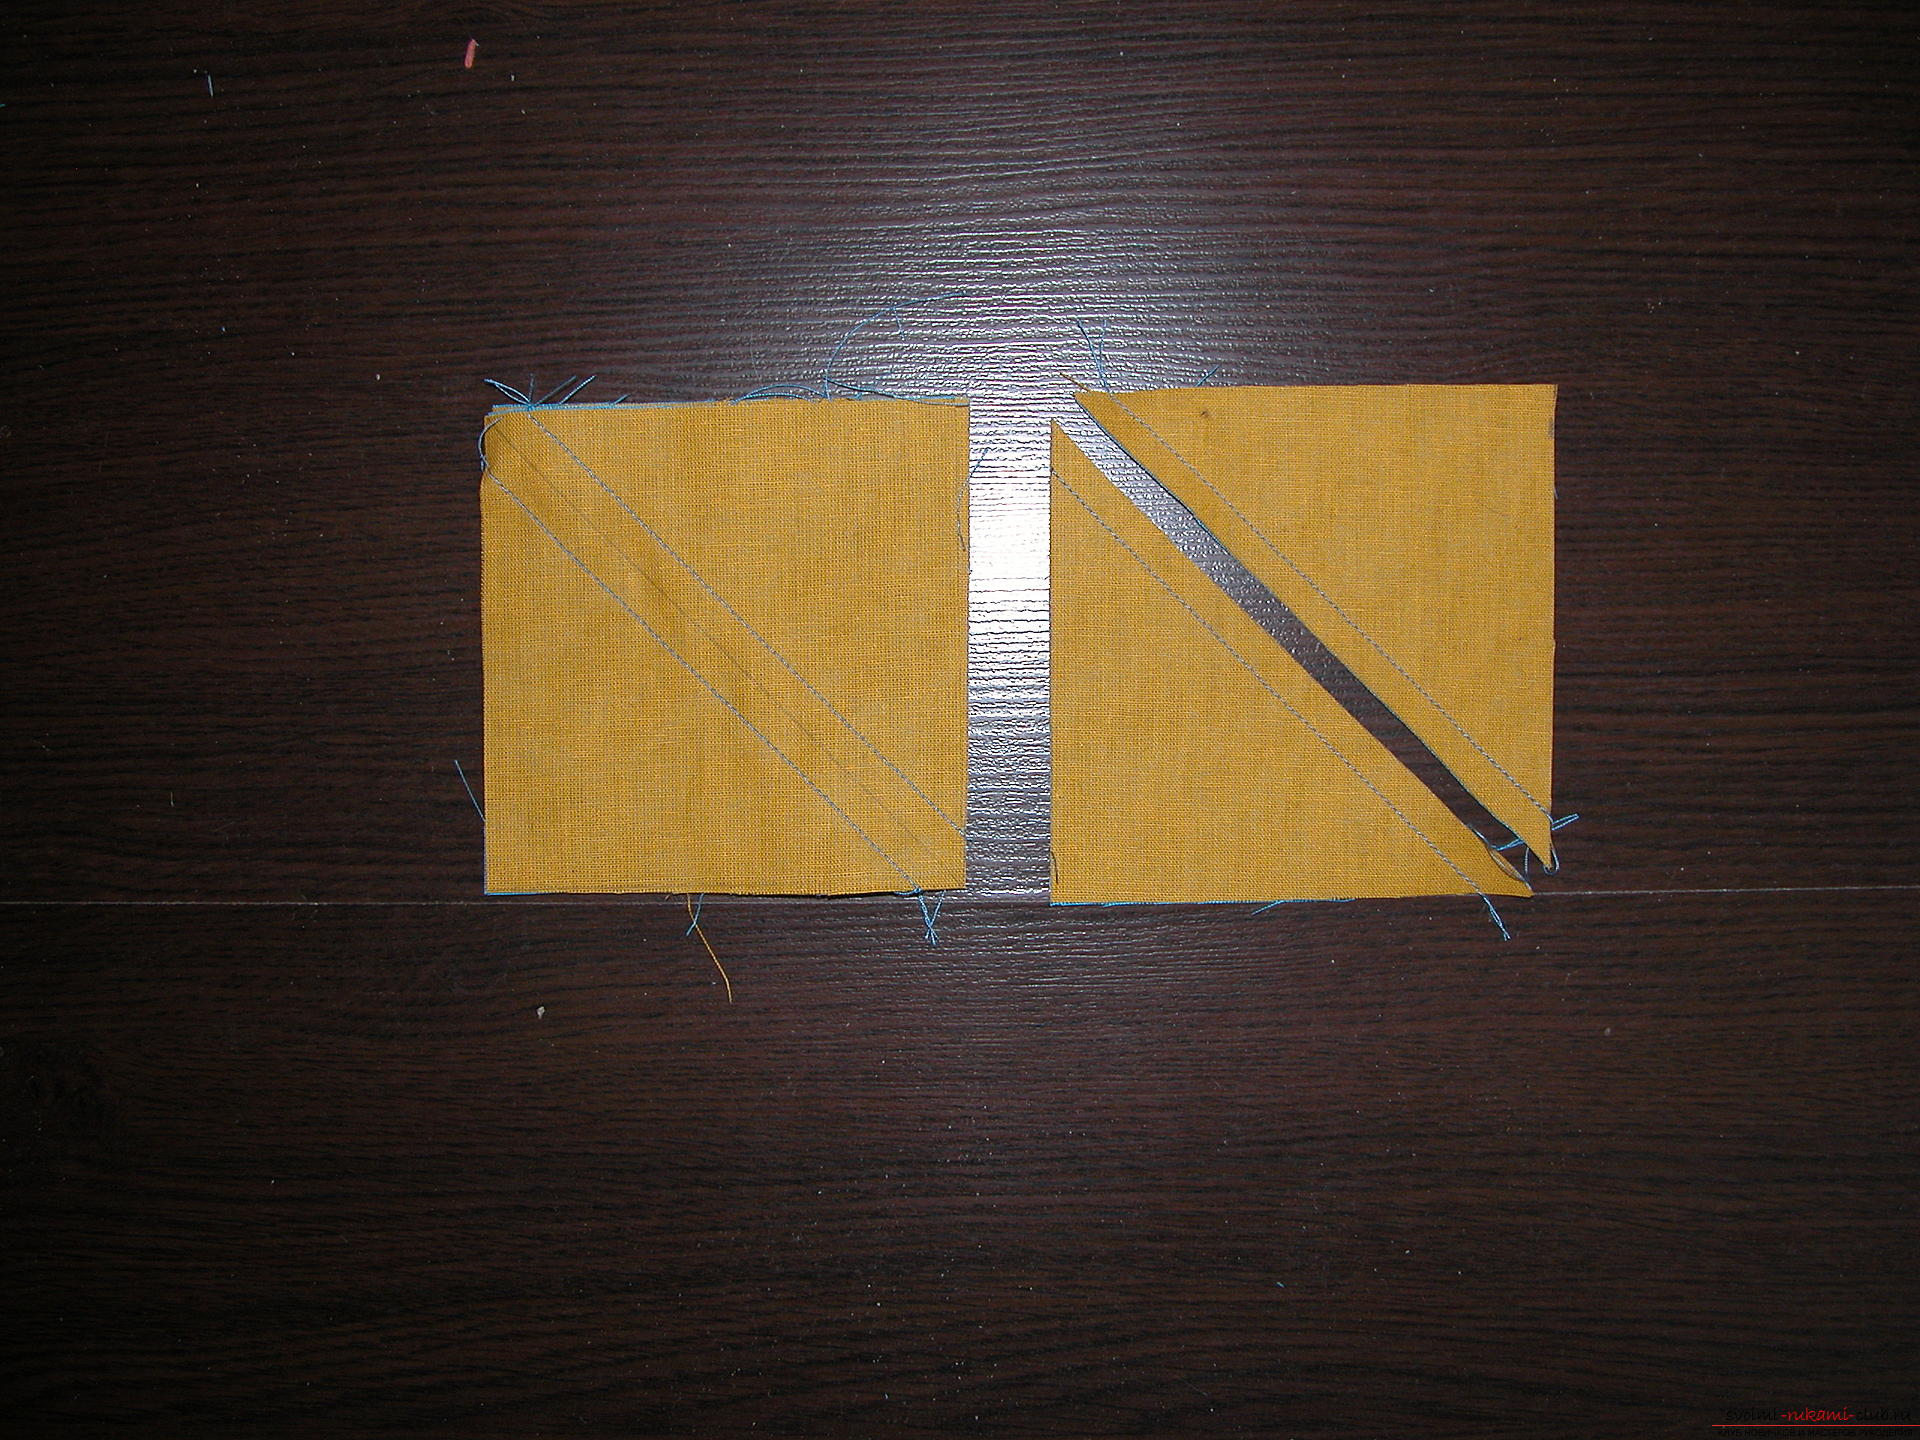 Iron, cut off the corners. Two-colored squares were obtained. Expand the squares as in the photo
 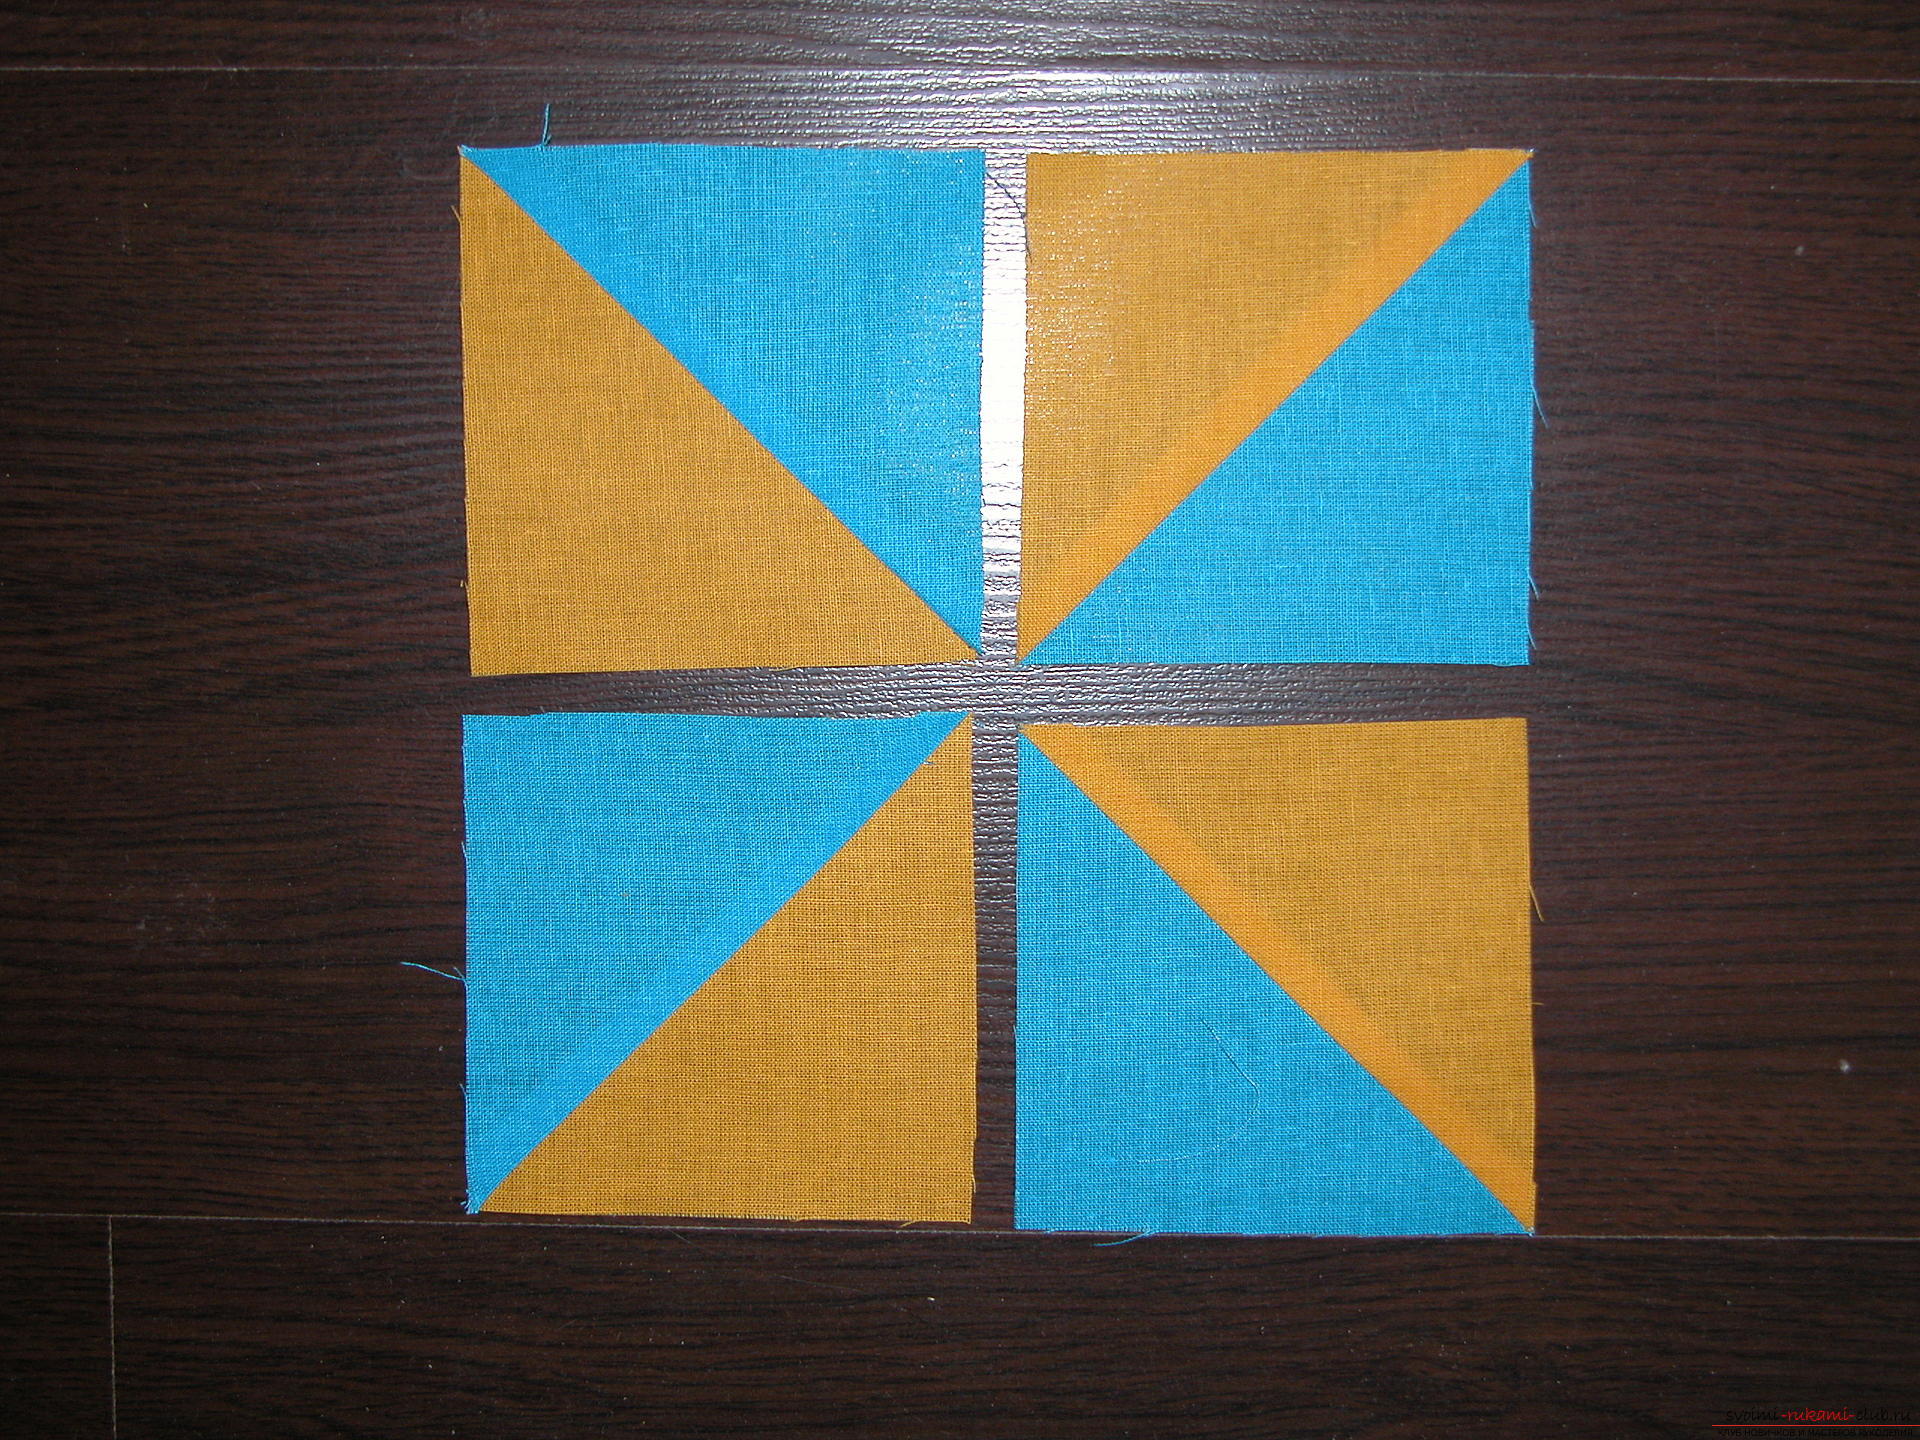 Sewing squares in a block Such blocks need 9 pieces. When all the blocks are ready they should be aligned to one size, I have 15 x 15cm. From the tissue with pictures and one of the companion's fabric, cut 16 squares in size as the "Spinner"
  Prepare the blocks for stitching, spread out as in the photo
 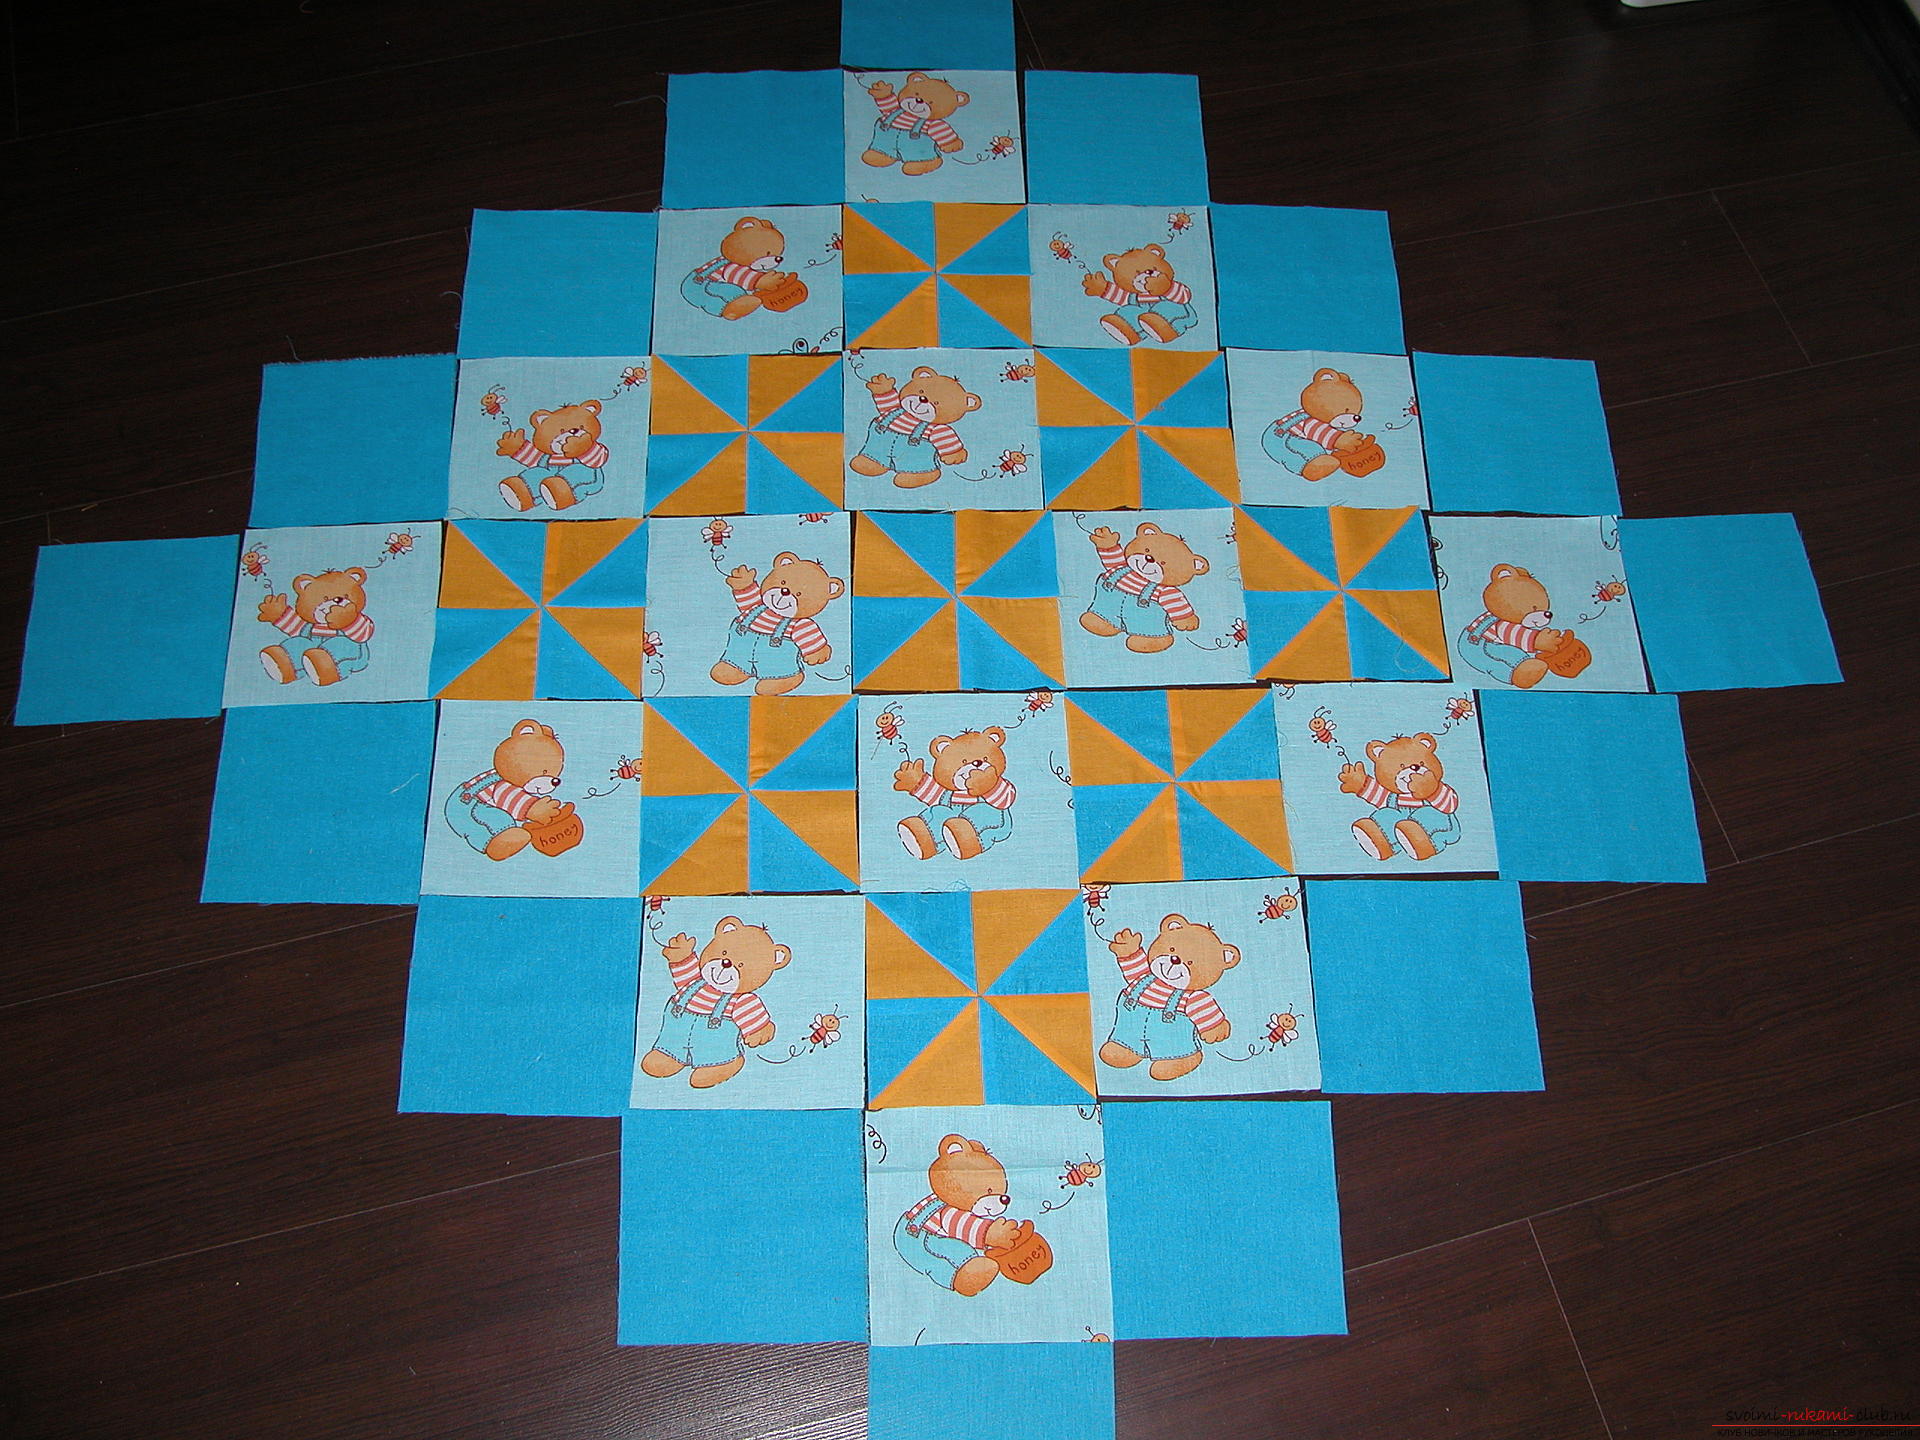 Sew first blocks into strips, stripes into the canvas Sew a border.
 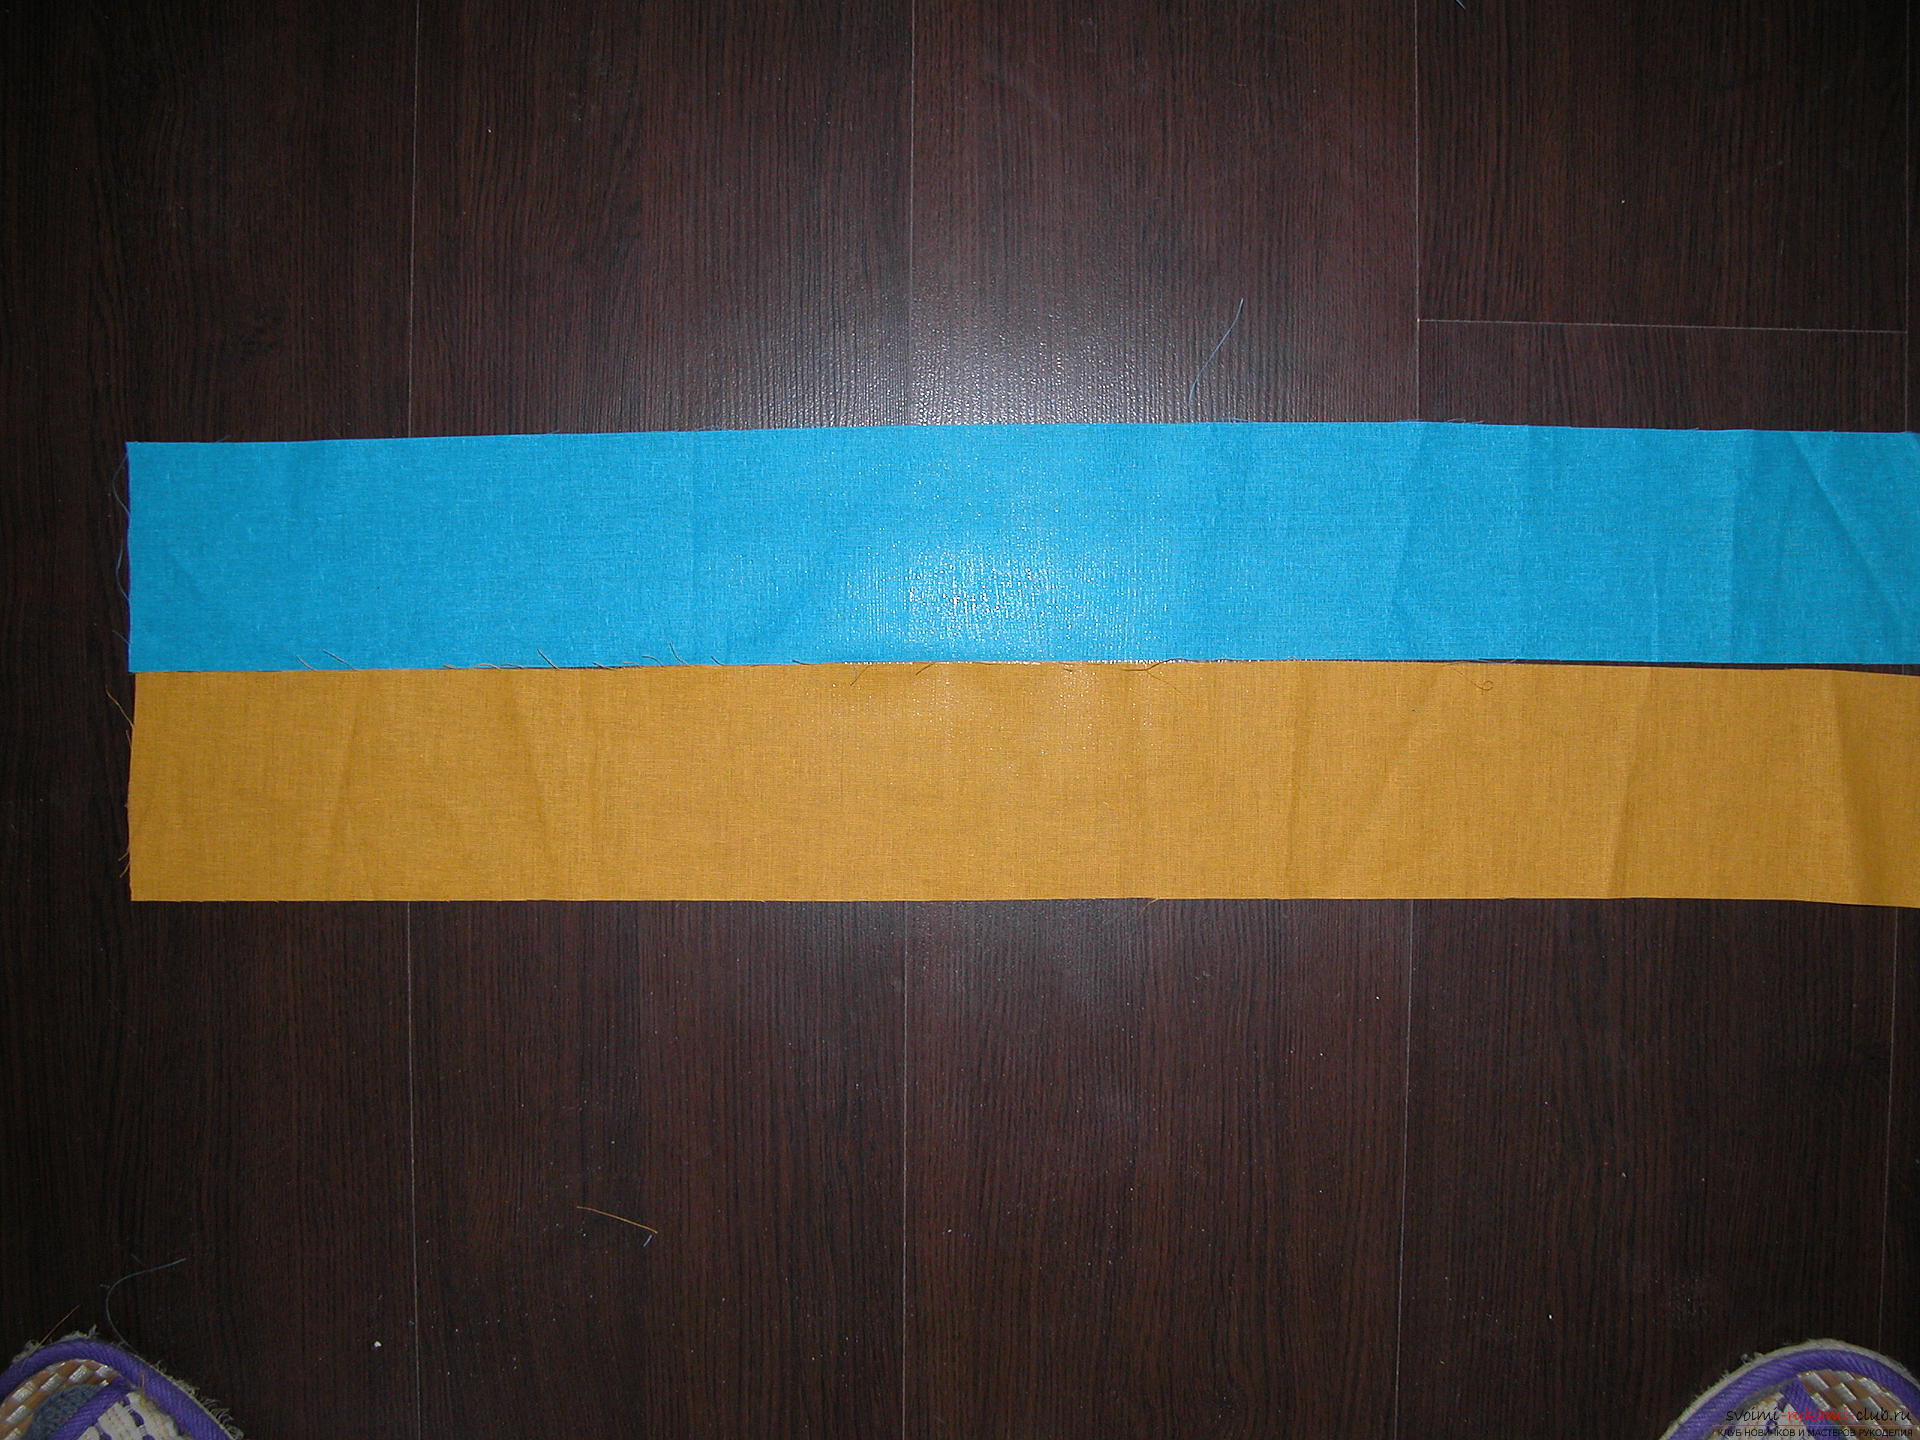 I decided to make the team border, you can domonotonous. It all depends on your imagination. For the fringe cut the strip width of 9cm. I cut the stripes into rectangles 11 and 20 cm. Here again the choice is yours, you can make a rim of squares.
 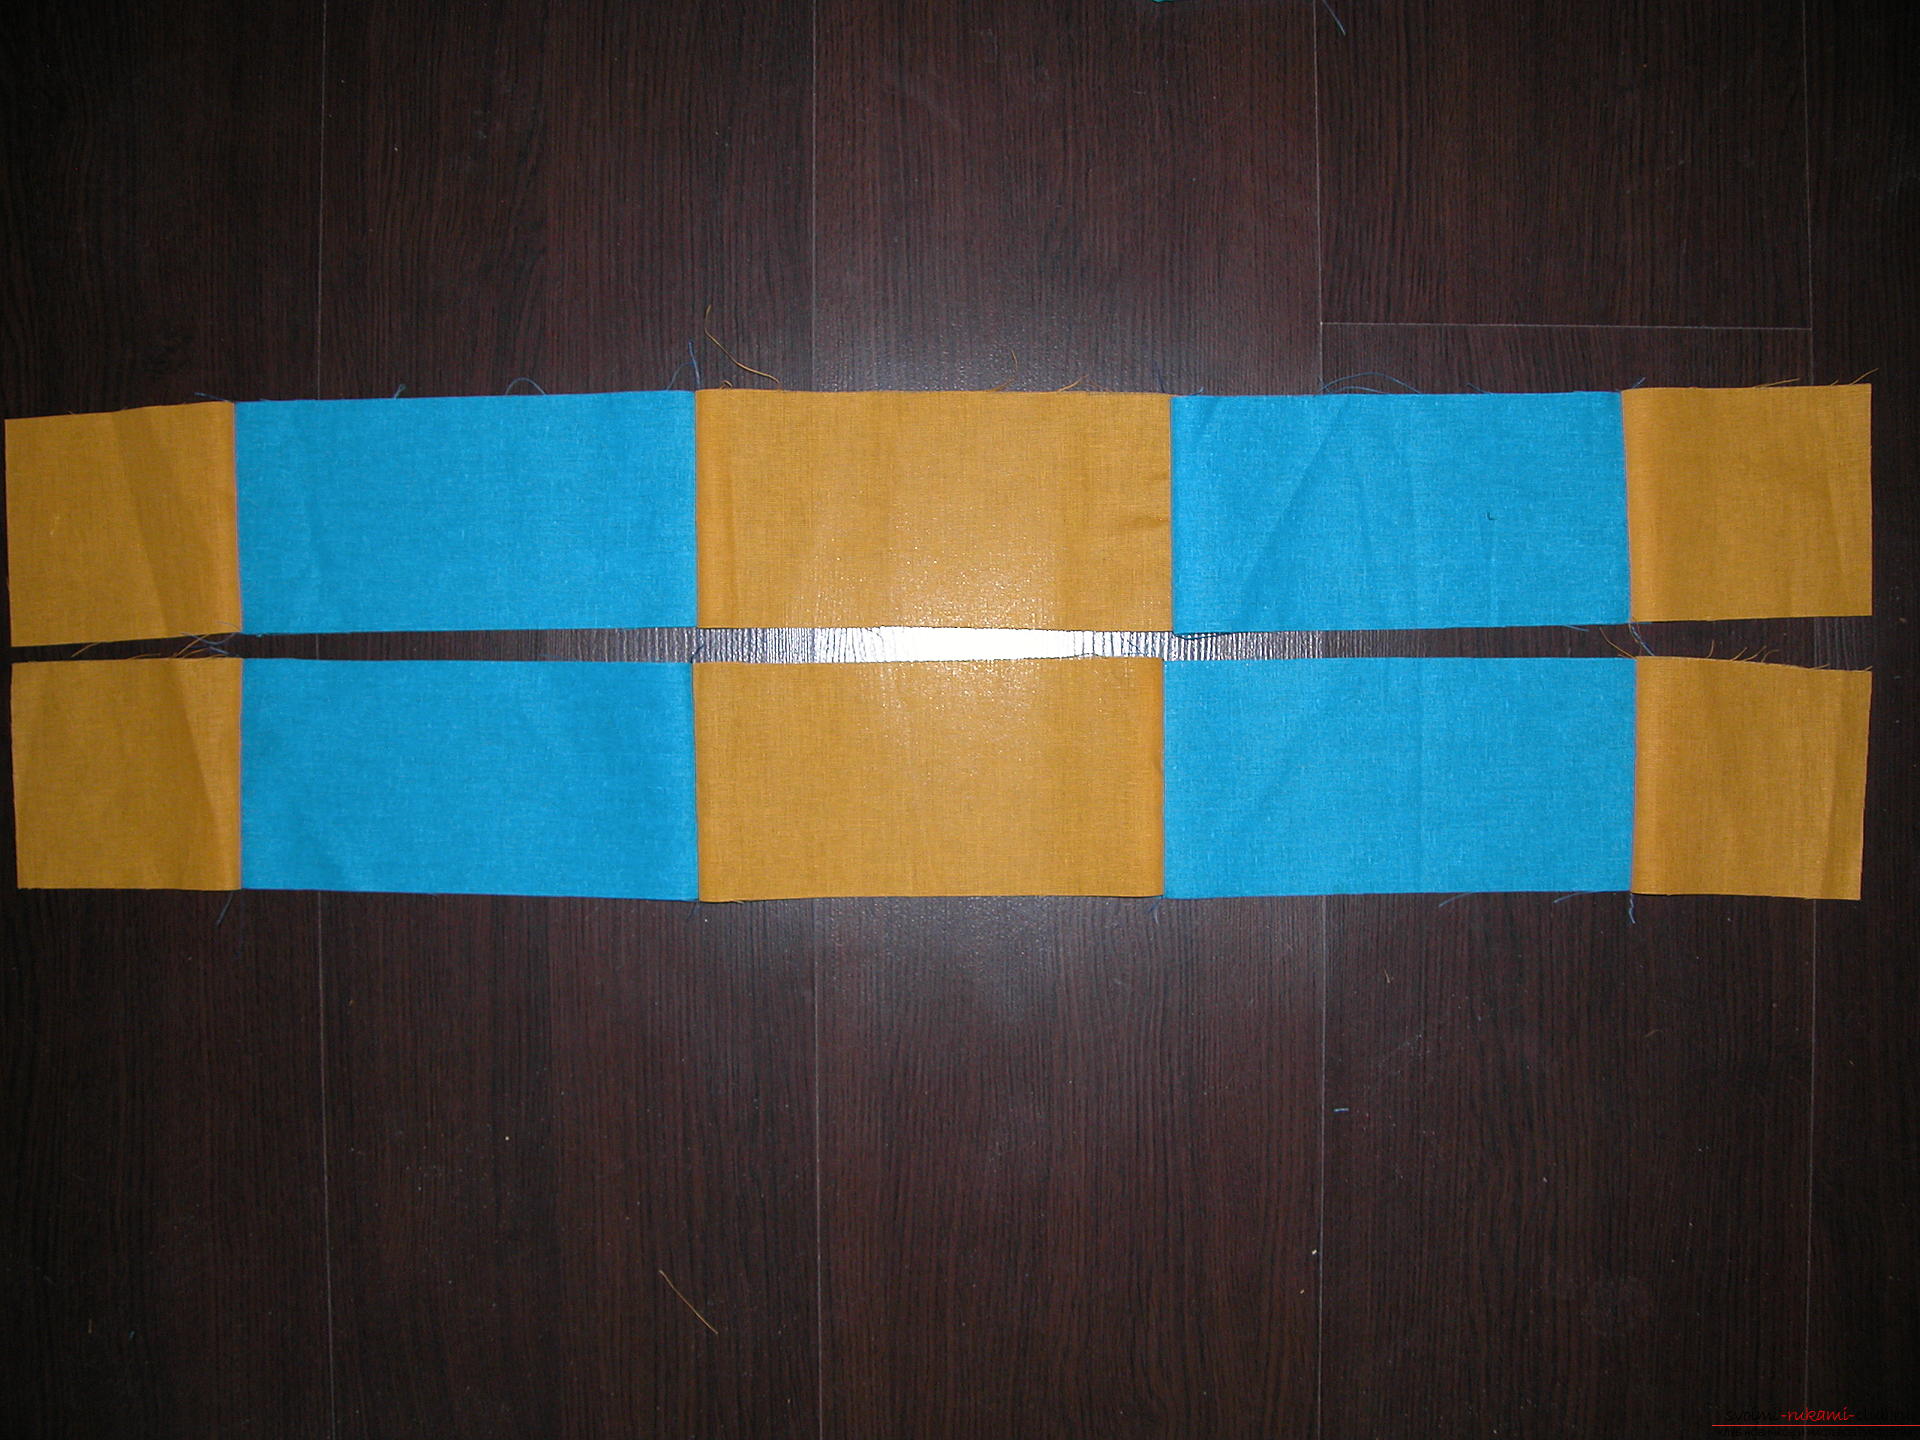 Sew a border to two opposite sides (we do not cut off excess fabric yet)
 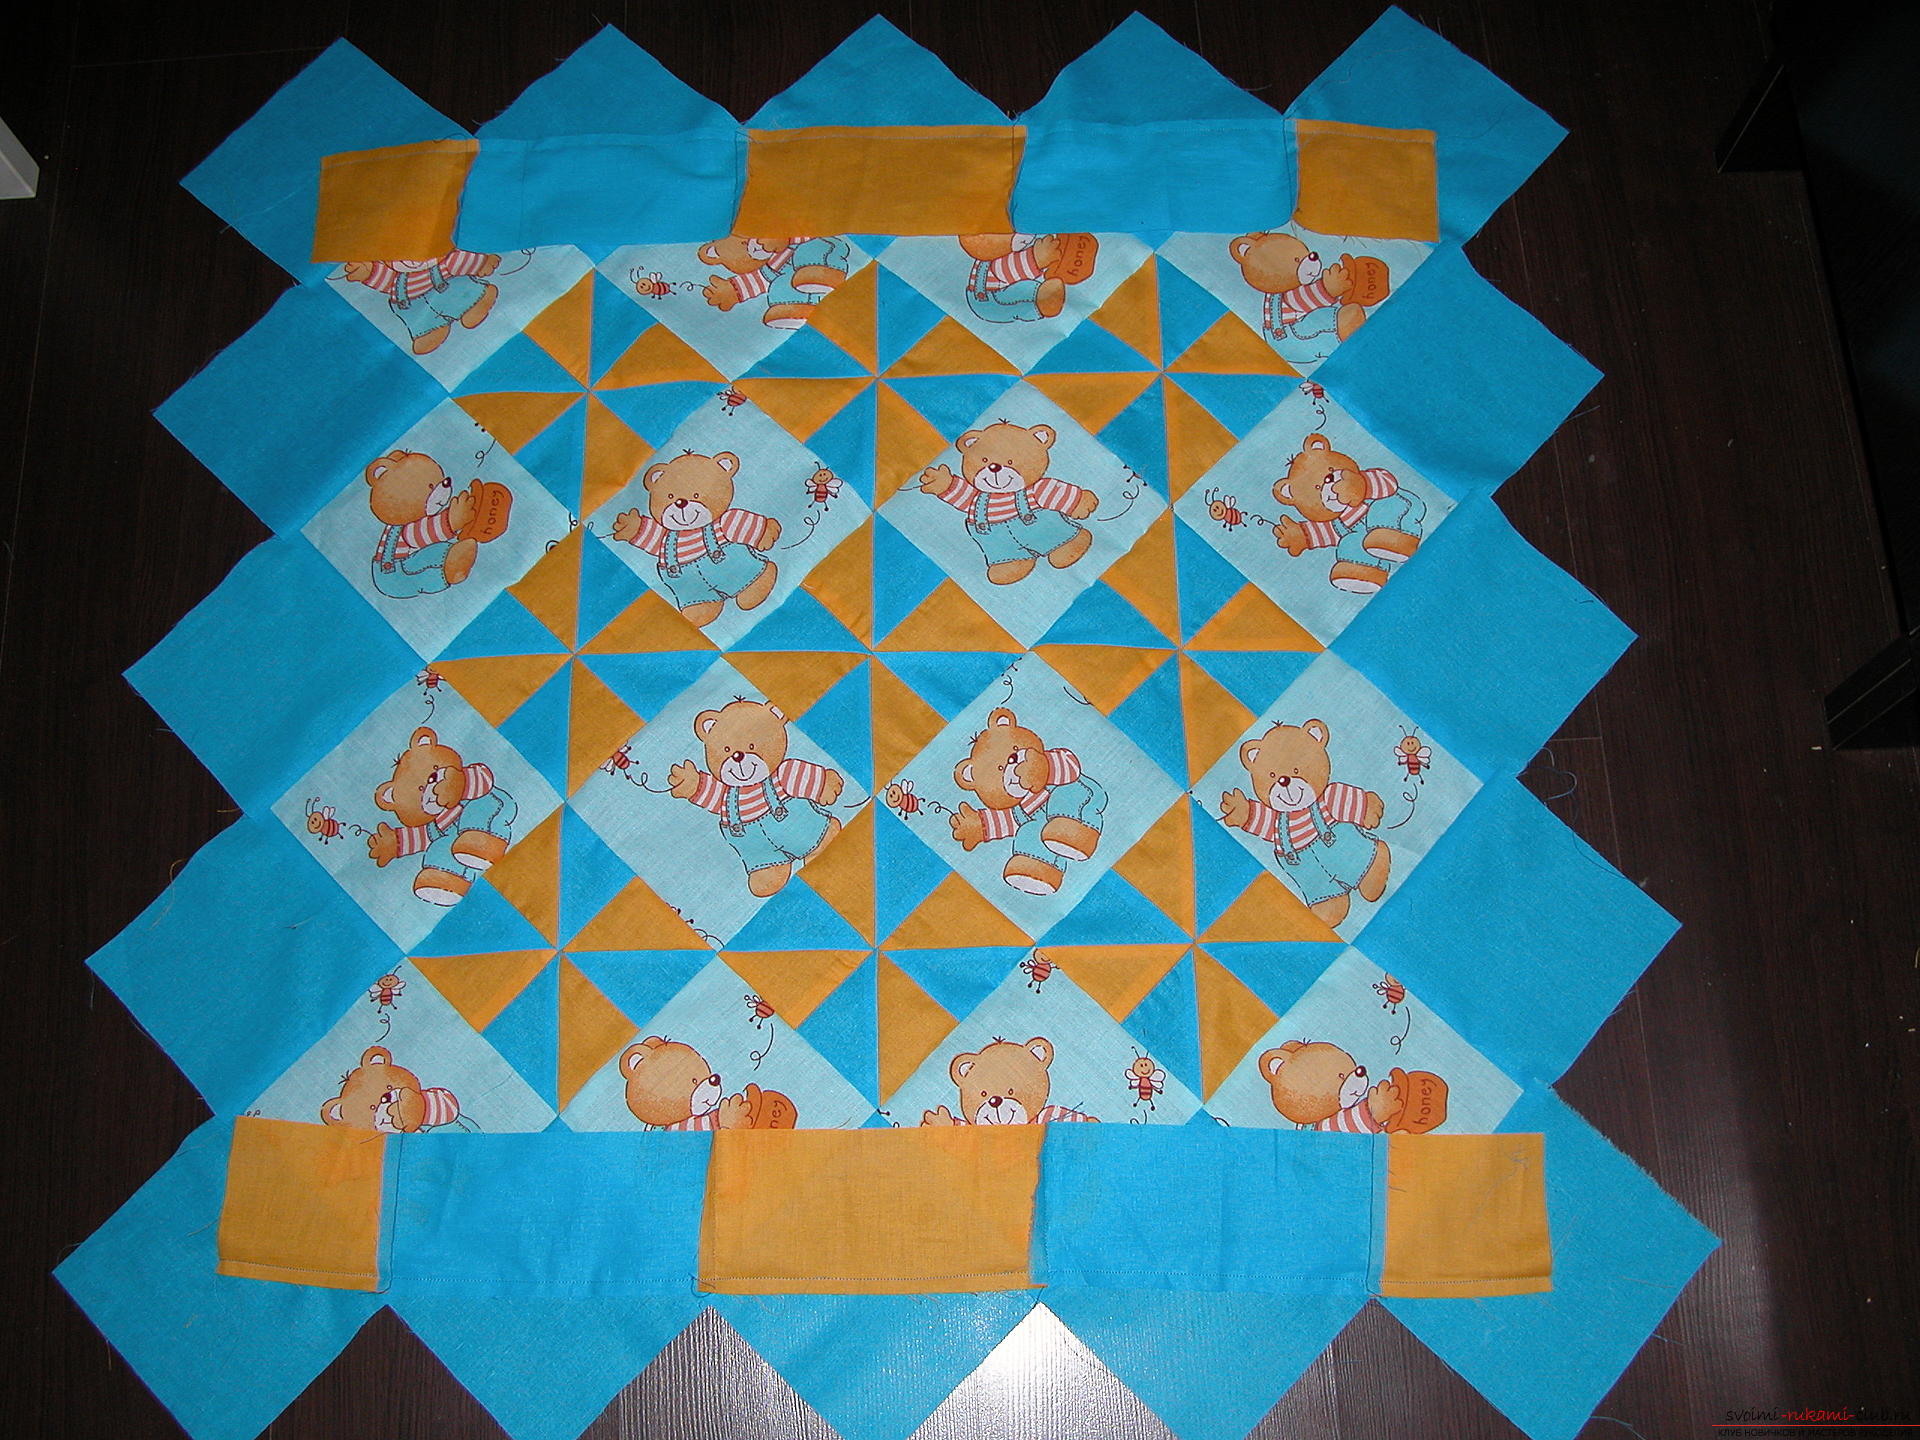 Unscrew, iron
 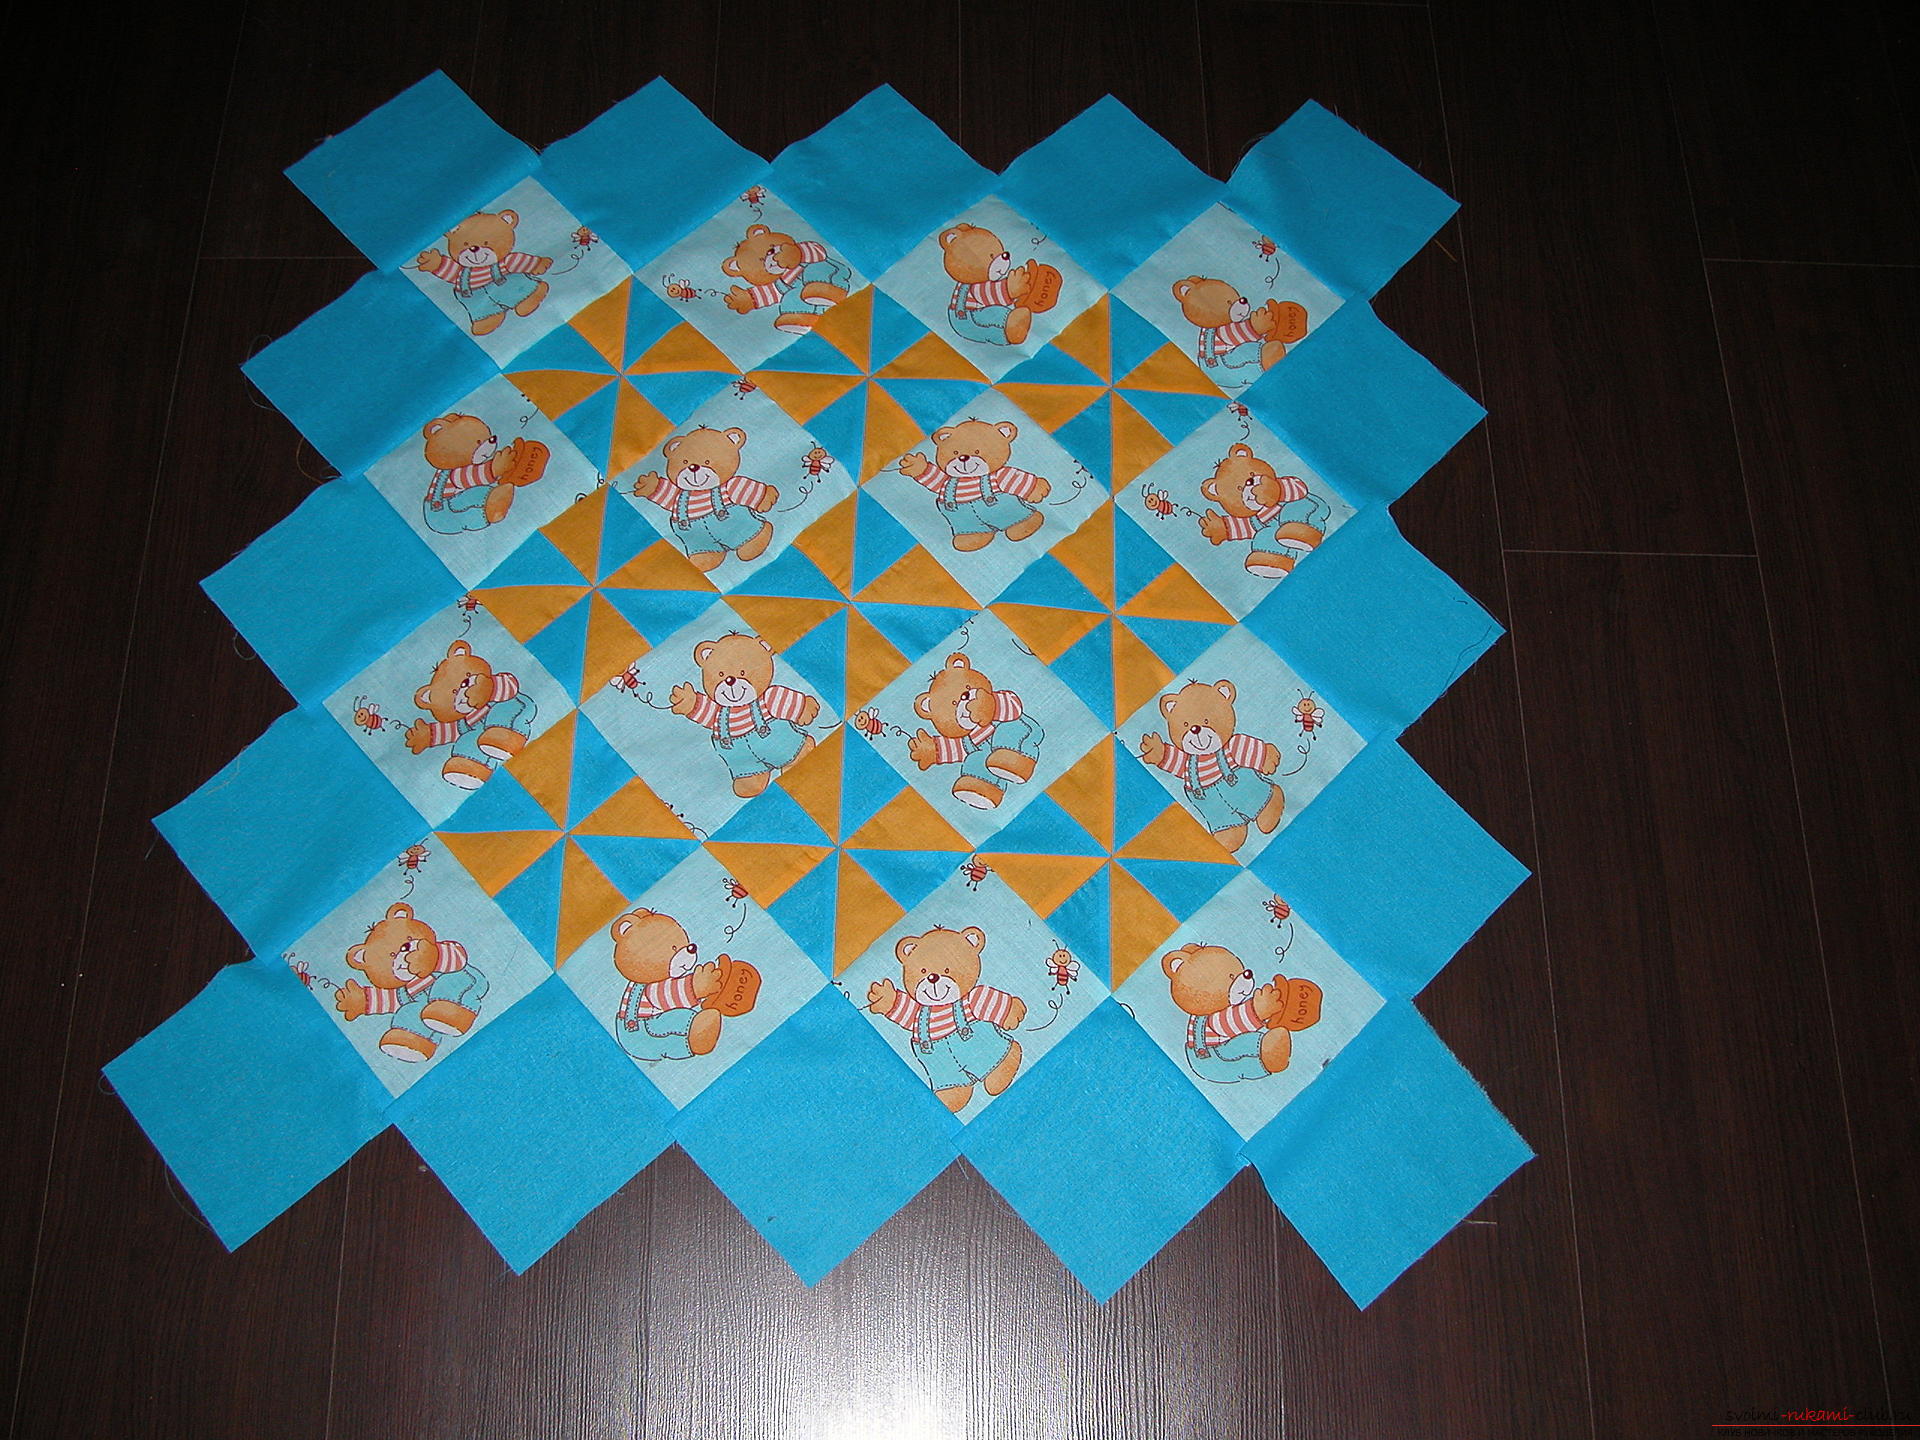 Sew the rim to the other two opposite sides, first cut off excess fabric at the corners. After the fringe is sewn and ironed to cut off the extra triangles
 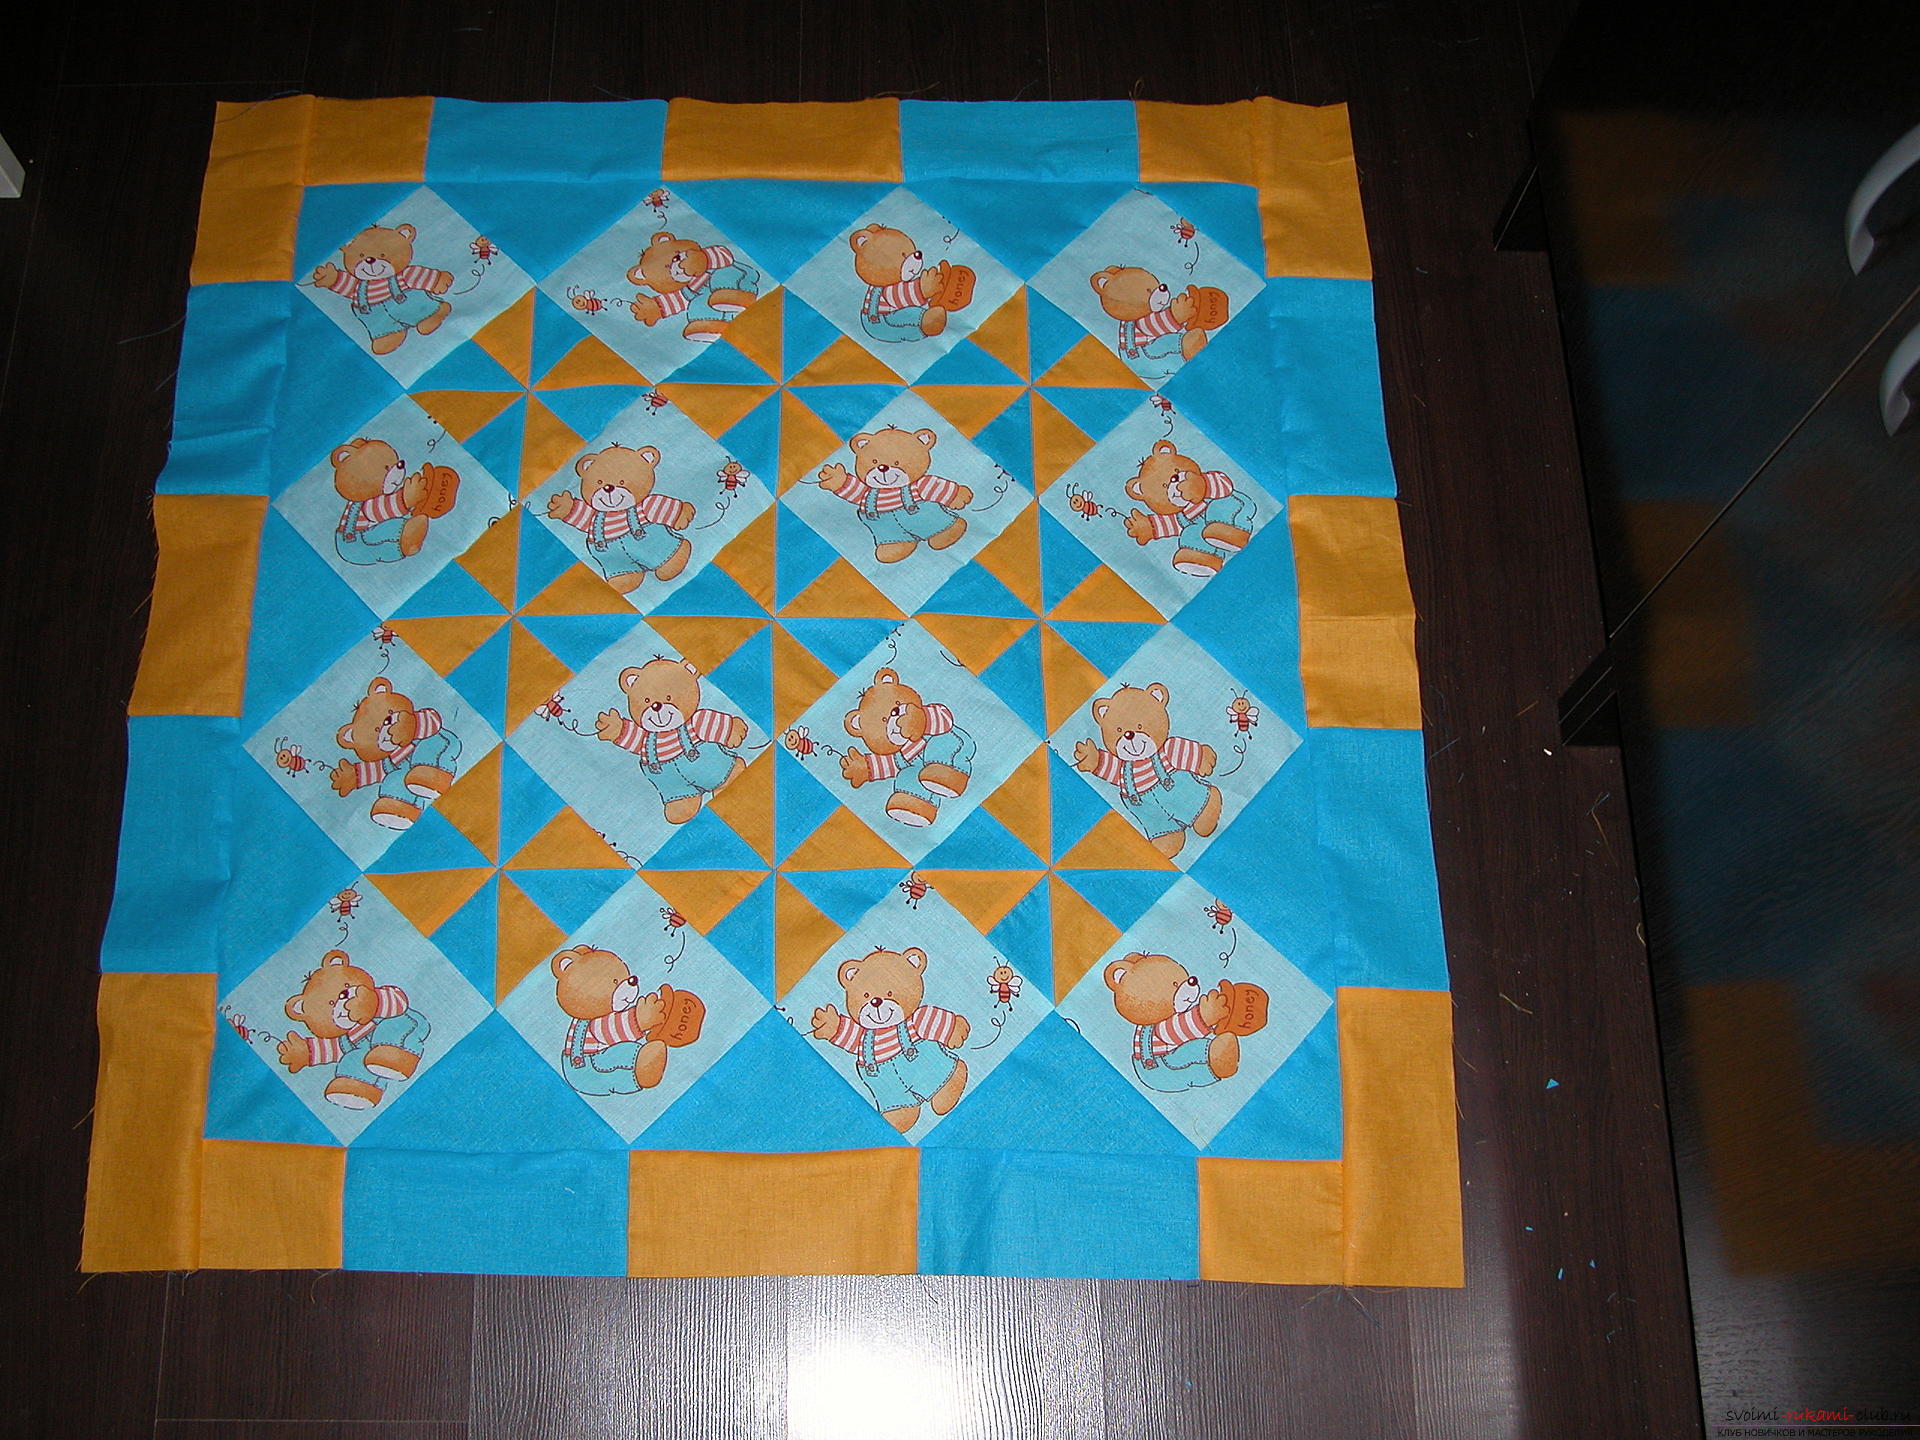 Lay out the fabric for the wrong side facing down
  Top filler
 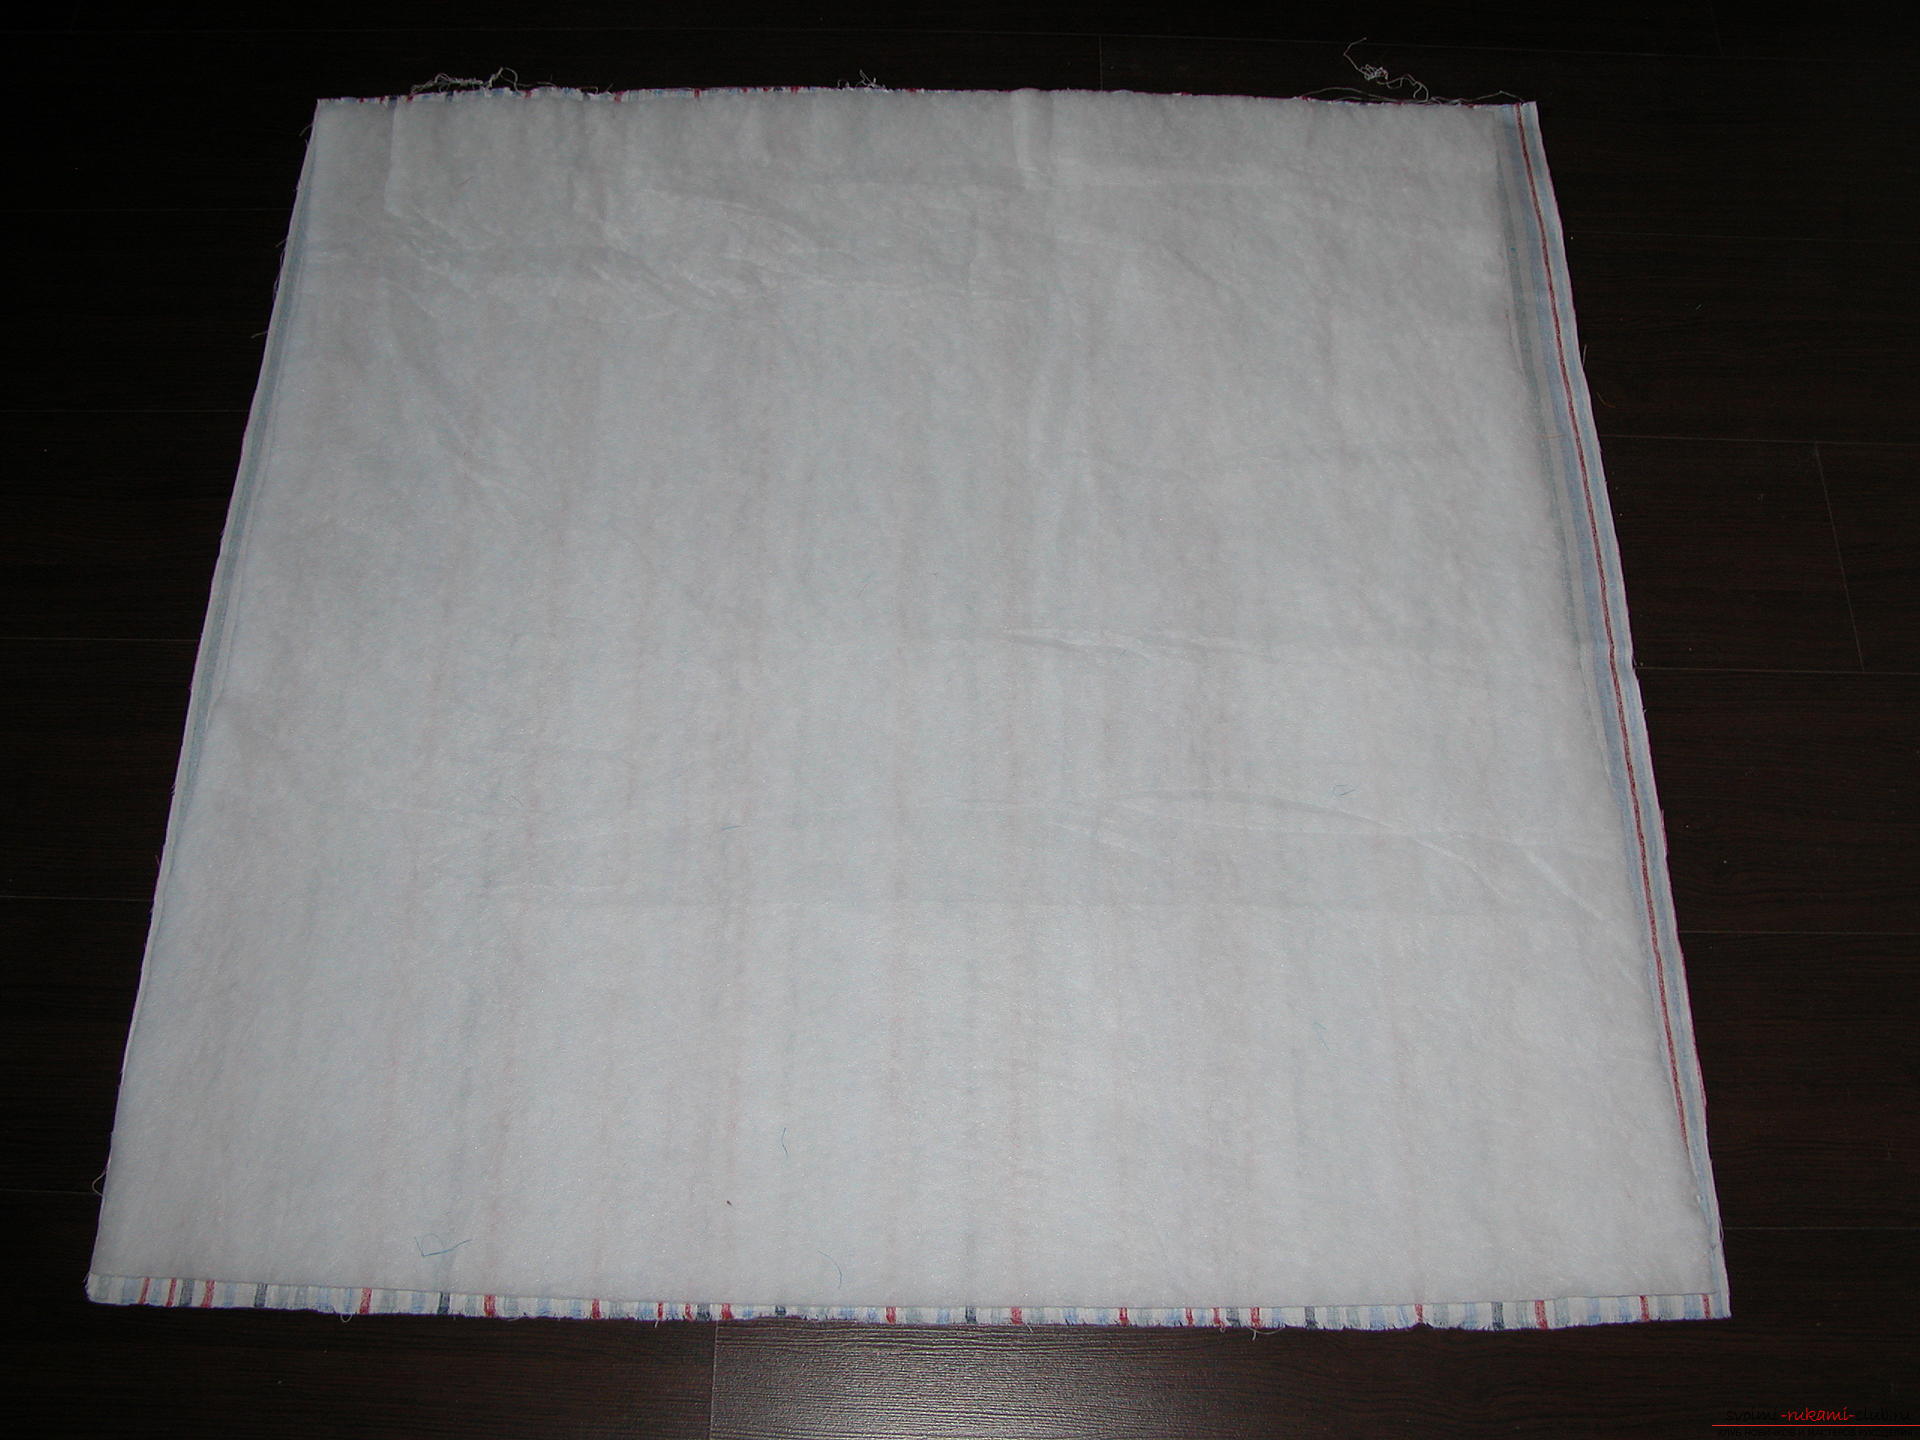 On the filler we lay out the ready top of the future blanket
 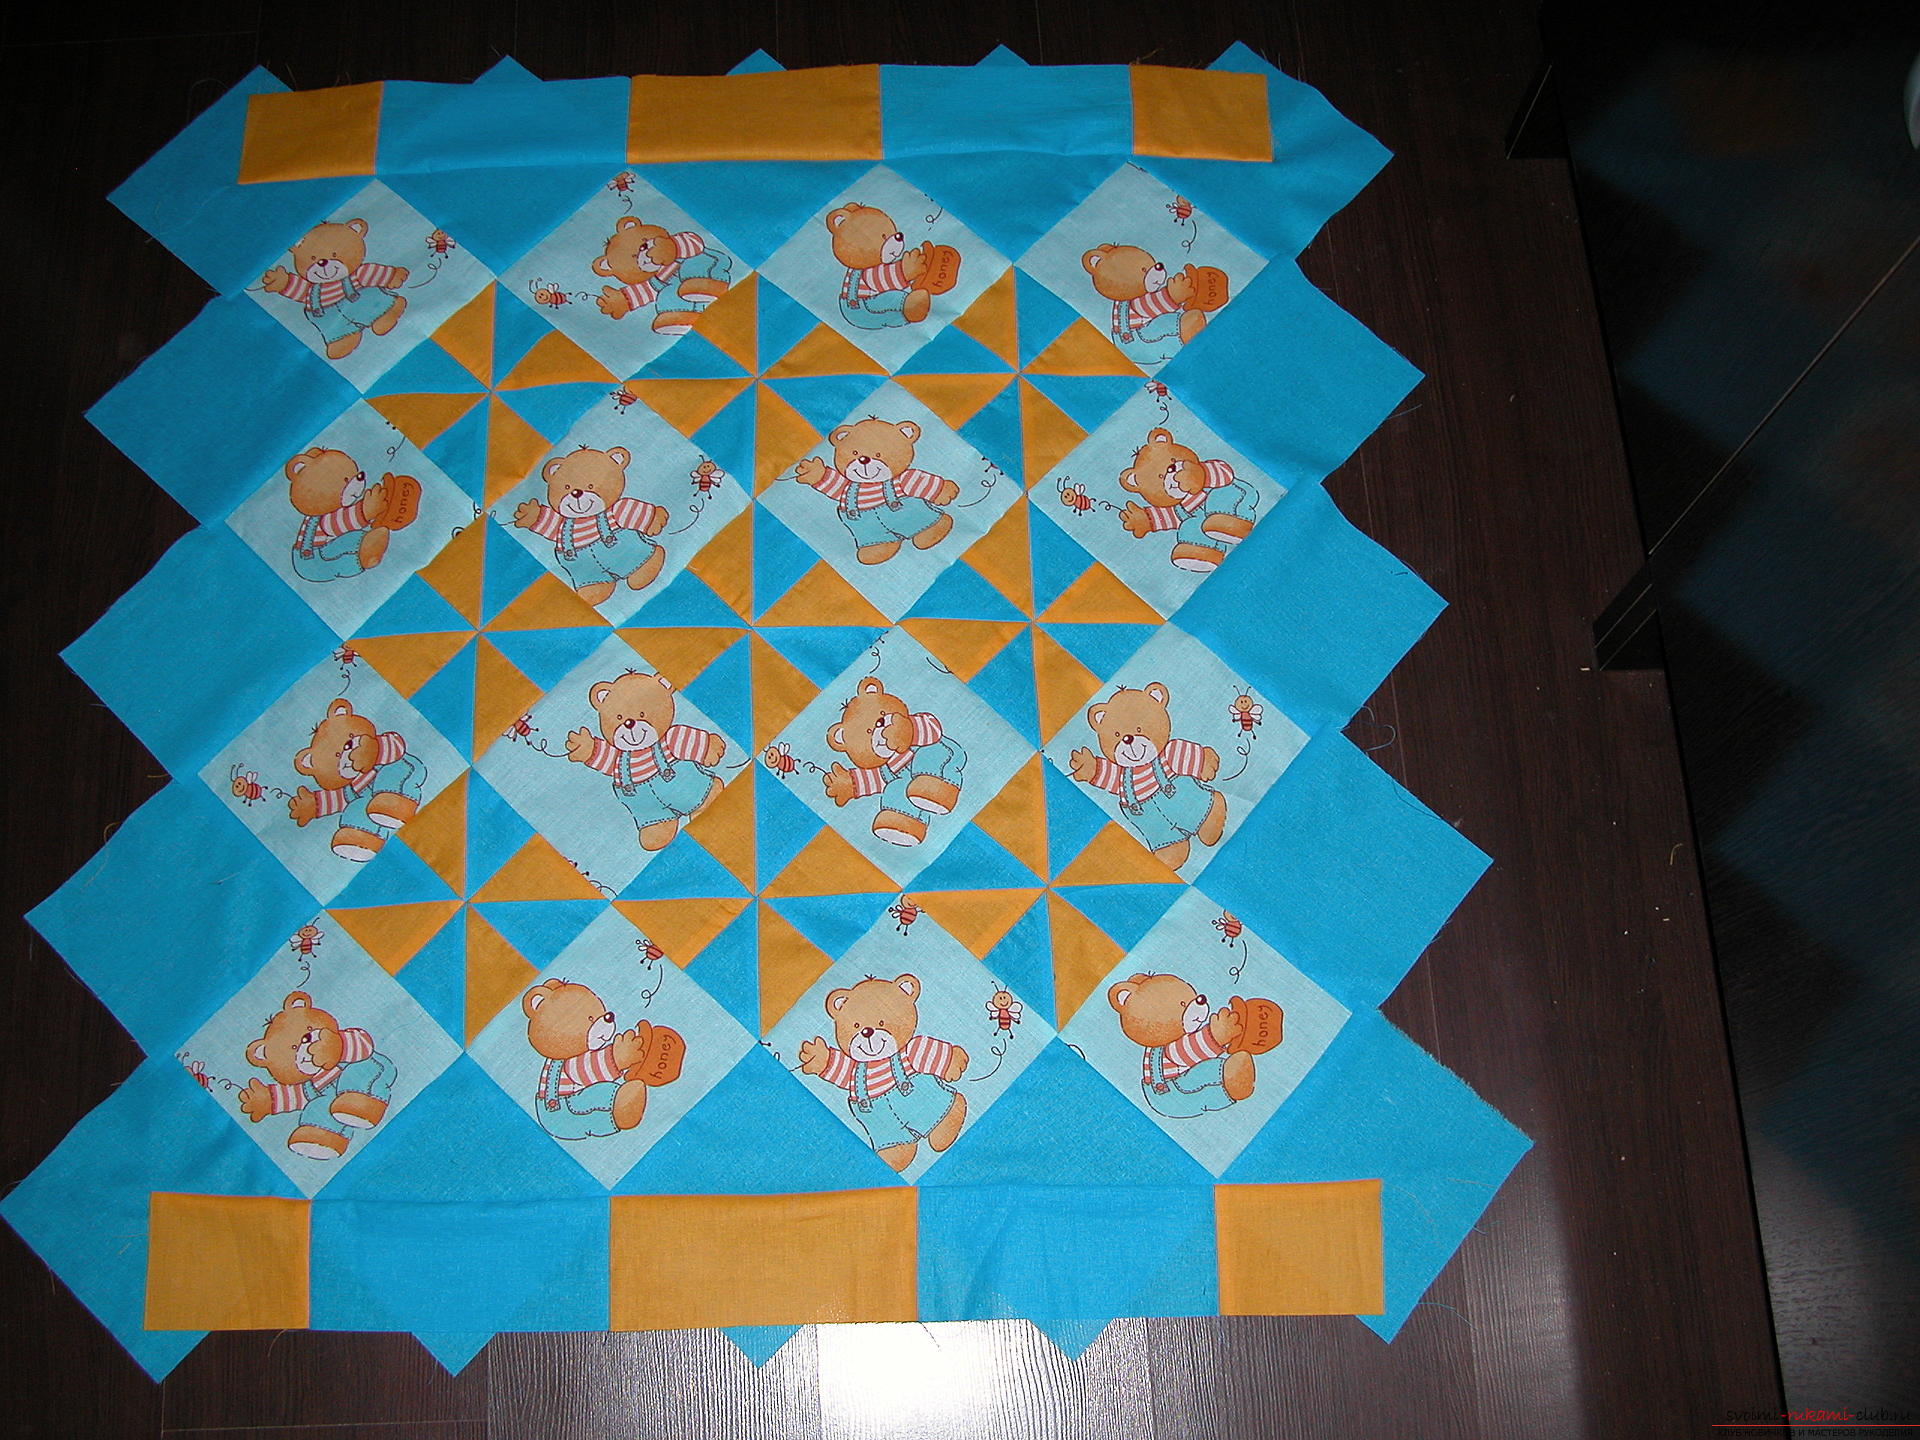 It is necessary to fix all three layers, pins orsweep away. Now you have to quilt all three layers, that would be a blanket that served you for a long time and was not deformed during washing. The easiest way to quilt the product, if you do not own an empty stitch, is the stitch in the seam.
  Sew the blanket at all seams. I trussed the triangles and the rim with a free art stitch, but the stitch in the seam would be enough. You can use a straight edge or a diamond to whip the edge, first making a marking with chalk or a vanishing marker.
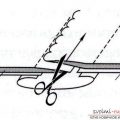
 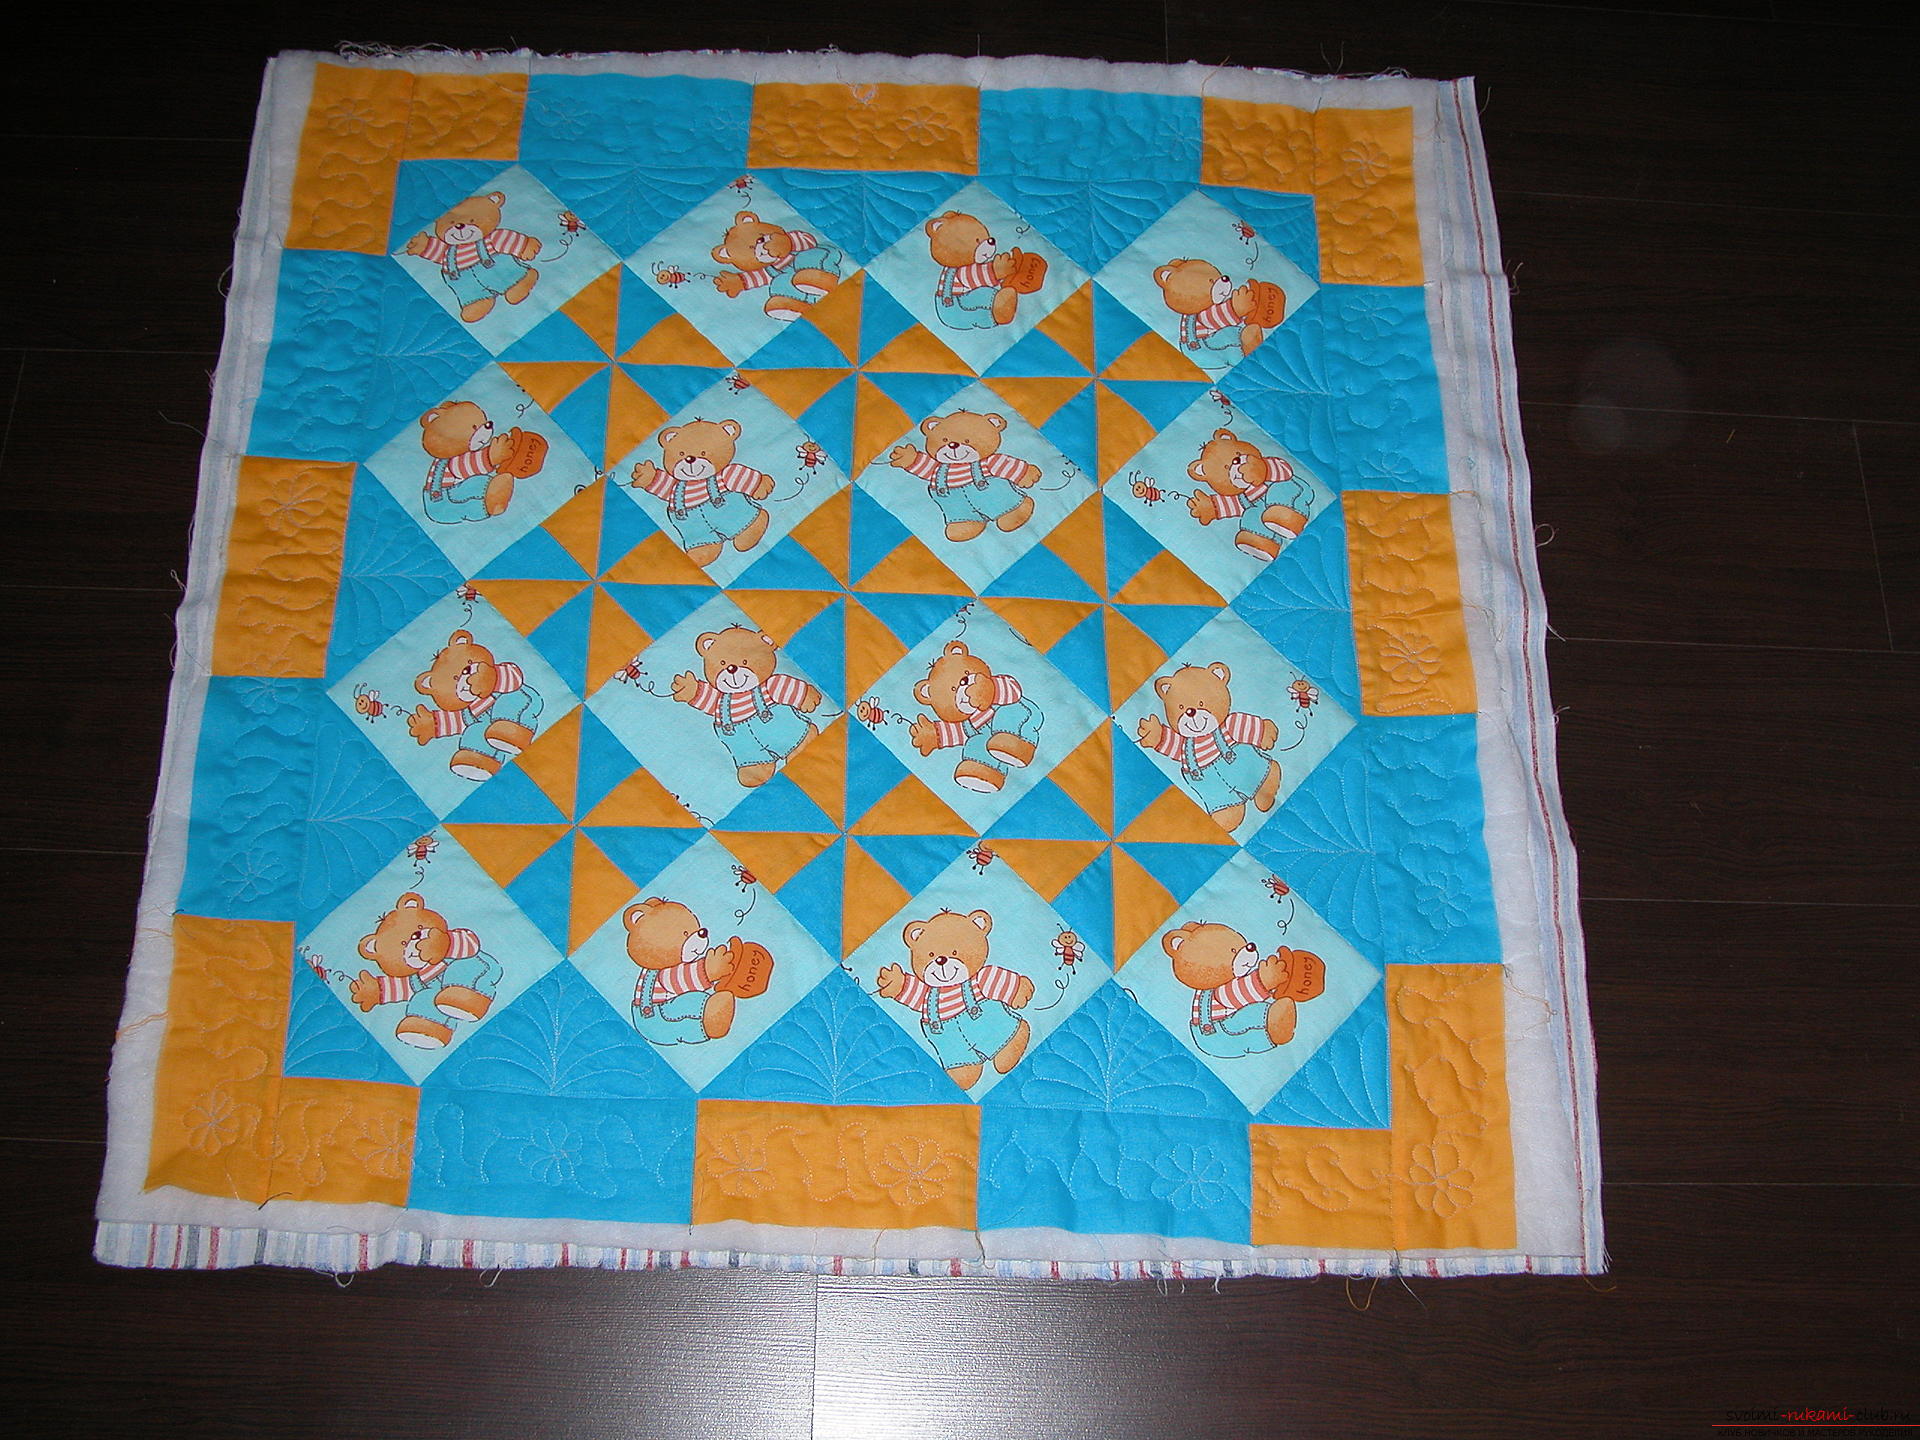 Trim excess fabric and filler
 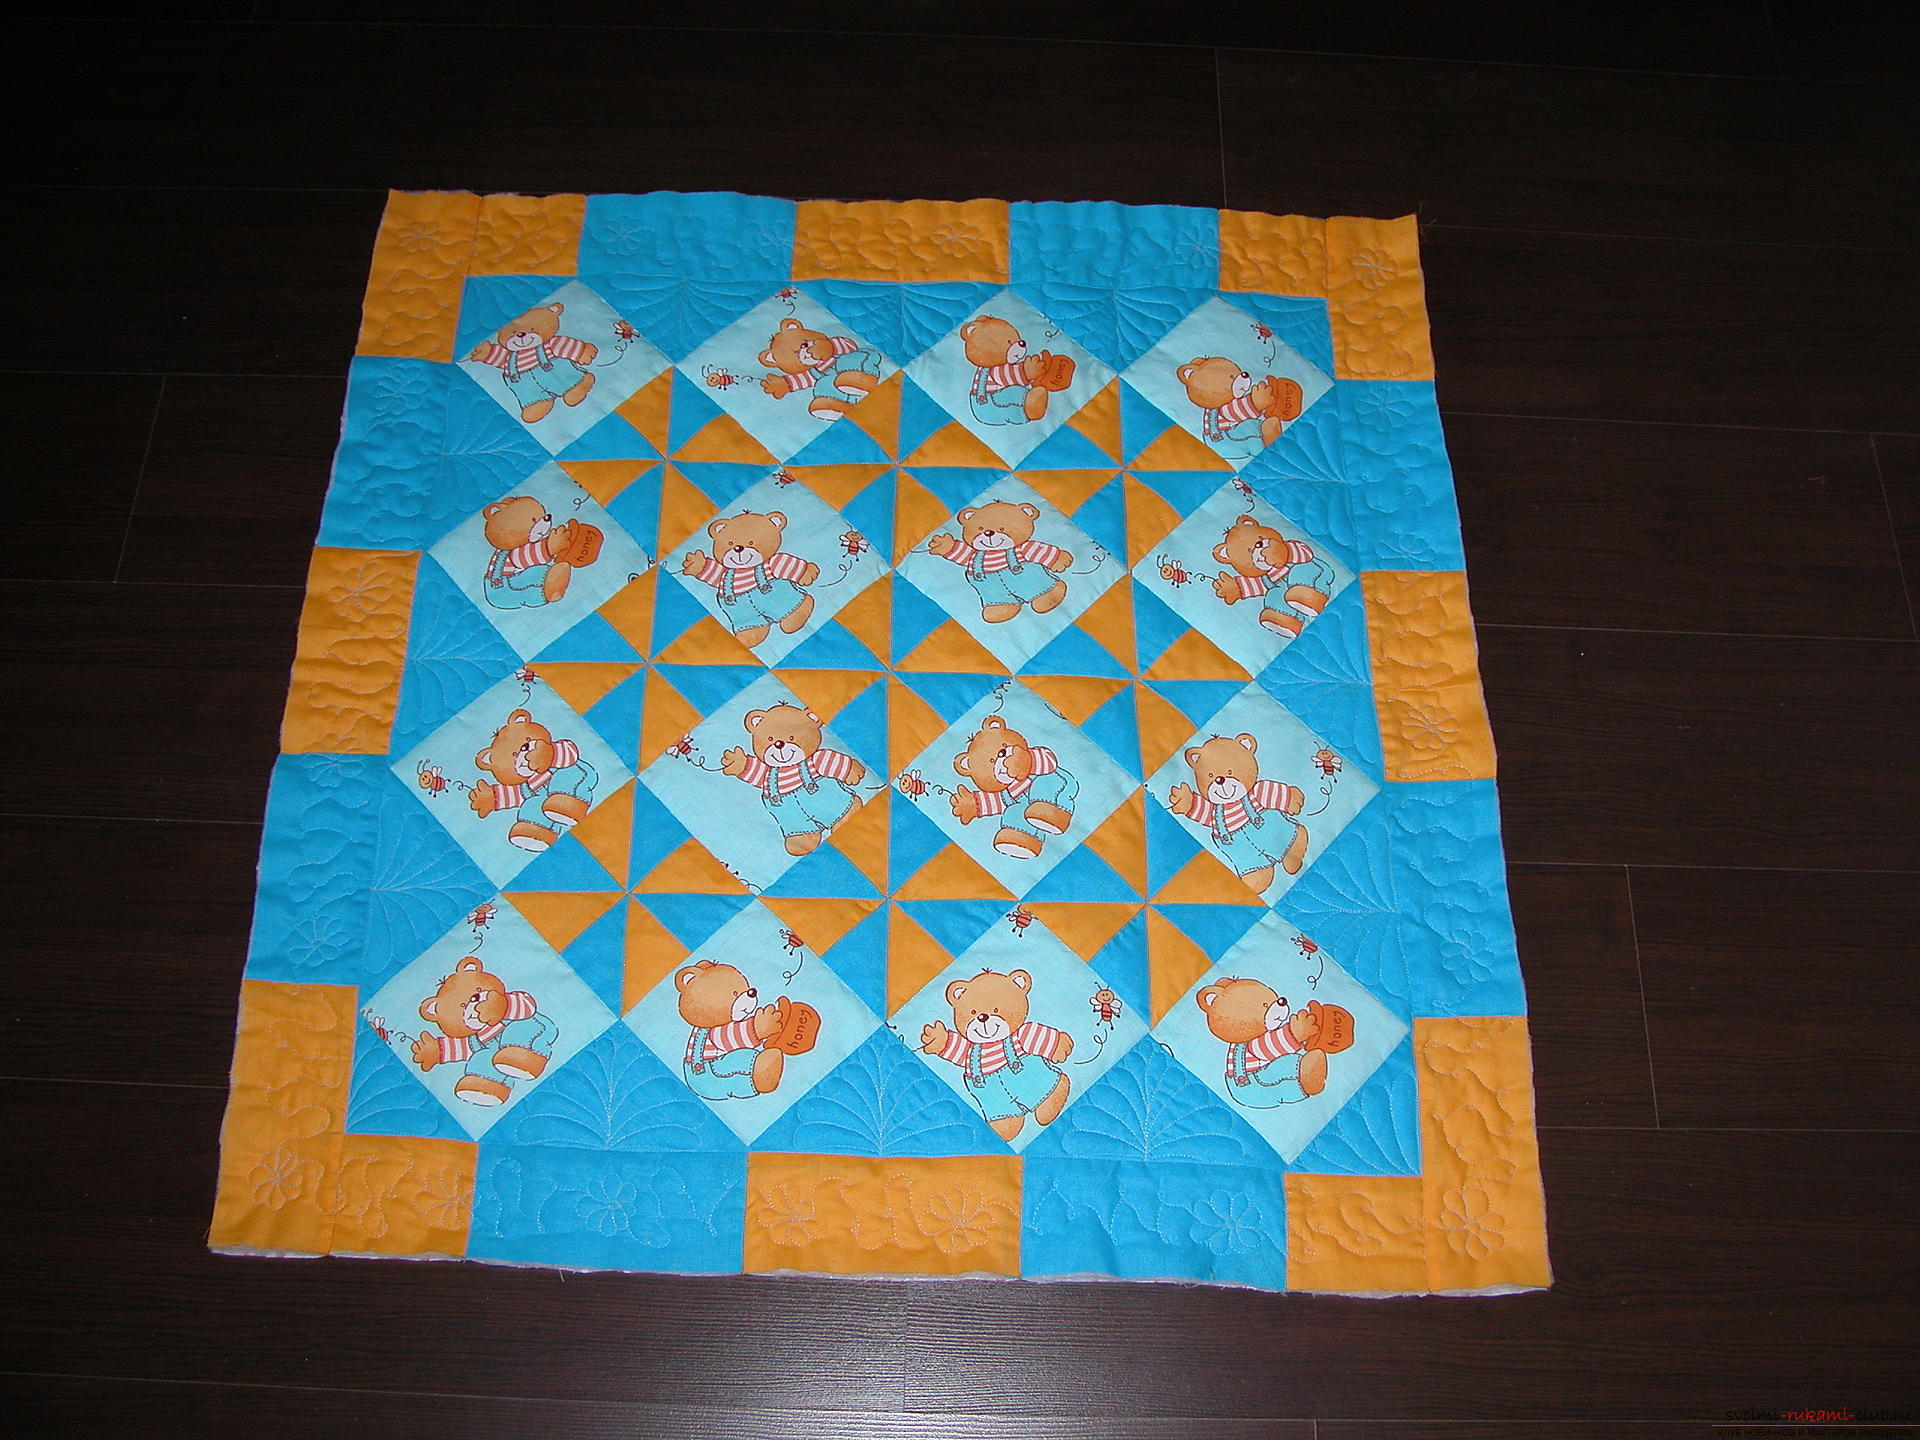 The blanket is almost ready, it remains to turn it around. To trim, strip the entire length of the selected fabric, 5 cm wide. You will not have enough of one strip, so we sew the strips in this way: Put the first strip face up, put perpendicularly the beginning of the second strip on it, the wrong side up. Sew on the diagonal from corner to corner Cut the extra, leaving the allowance Length of the edging - multiply by 4 the length of the sides of the blanket to add 30cm I have sides of the blanket 88cm, 88 x 4 = 352 +30 = 382 cm Sew first to the front side. At the end of the strip lay the corner, start the line retreating 15cm from the beginning of the strip Sewing, not reaching the corner 0.5cm to stop We form the corners. Long strip back up at an angle of 45 Turn the strip on itself and down, align the slices Start the stitch from the edge So sew the fringing around the entire perimeter, before reaching the beginning of 10-15cm stop. I'm sewing the last corner and stopping after 5cm, when the ends of the fringing are long, they are more convenient to sew. Sewing the ends as well as sewing the strips for the edging Cut off the excess, leaving the allowance and sewing. Sew the border to the wrong side, I make a note, then I add it. Lay on the underside of the corners as in the photo. That's how the corners look on the front side. You can sew a fringing seam on the wrong side seam, I always sew on baby blankets for strength. Here's what happened:
Comments
Related posts:
 Master class for sewing blankets in the technique of patchwork sewing "Card trick" - a simple way to tailor the product
 An interesting master class on sewing a baby blanket from triangles will help you learn how to sew from shreds
 This detailed master class of sewing and sewing for beginners will teach sewing a summer sarafan.
 A simple master class on sewing a dark mask for sleeping will help yourself to sew a useful thing
 Master-class on knitting knitting blankets for dolls for beginners