
A detailed master-class with a photo will teach how to make a hand-made book for a book
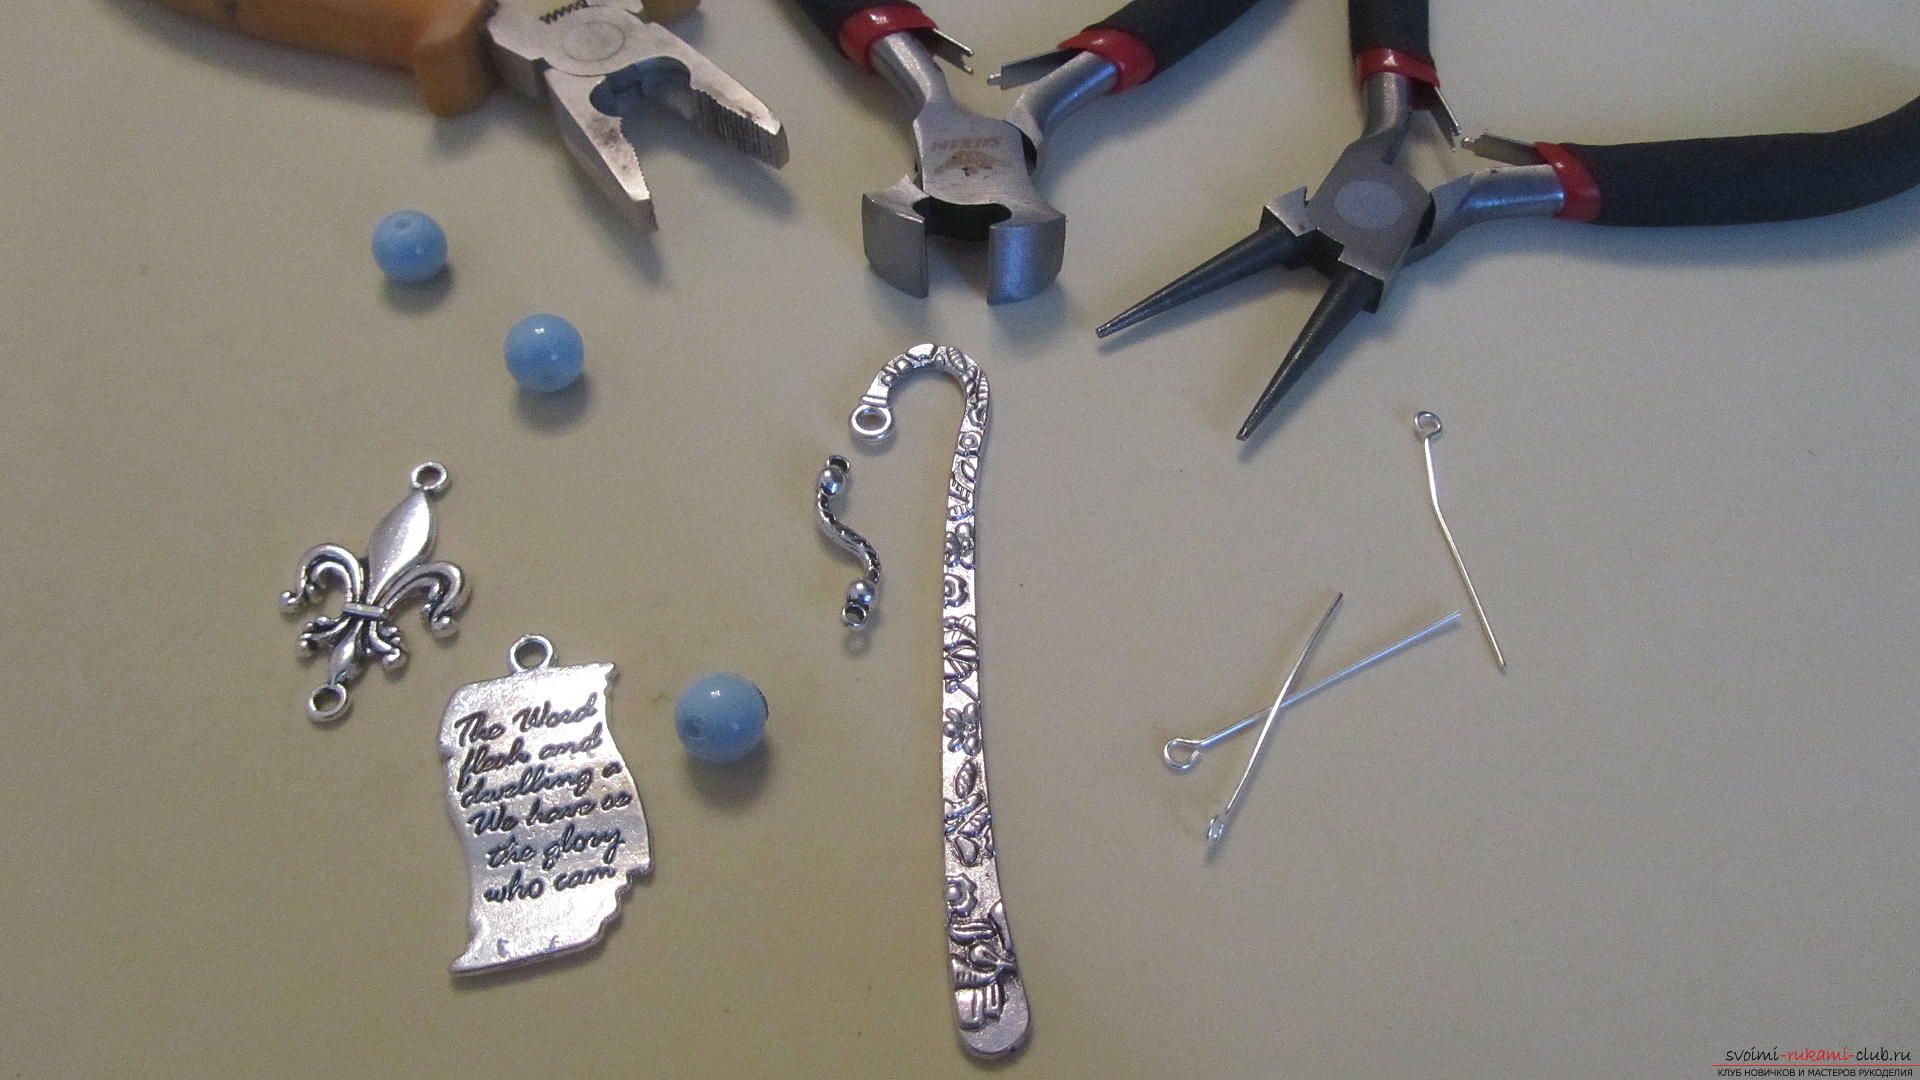
Now more and more people are giving upordinary paper books in favor of modern gadgets. Undoubtedly, to carry in an electronic book, tablet or phone the whole library is more convenient - always at hand and takes up little space. But anyway, reading paper books is much more pleasant. The rustle of pages, the smell, and the unique feeling of contact with a living book ... The book has always been and remains the best gift. And you can supplement such a gift with a handmade bookmark. How to make such a bookmark yourself, will tell this master class. Having everything you need at your fingertips, making a bookmark will take no more than 10-15 minutes. We need:
- metal base for bookmarking;
- three beads;
- two connecting elements that have hinges for fastening on both sides;
- three pins with loops;
- one suspension-letter;
- instruments.
 It is advisable to first think over what will bea tab, from which it will consist, how elements will alternate. We will collect the bookmark from the bottom of it. With the help of round-nosed pliers, we'll open a loop on one of the pins and attach a letter-suspension to it.
  We put a bead on the free edge of the pin.
 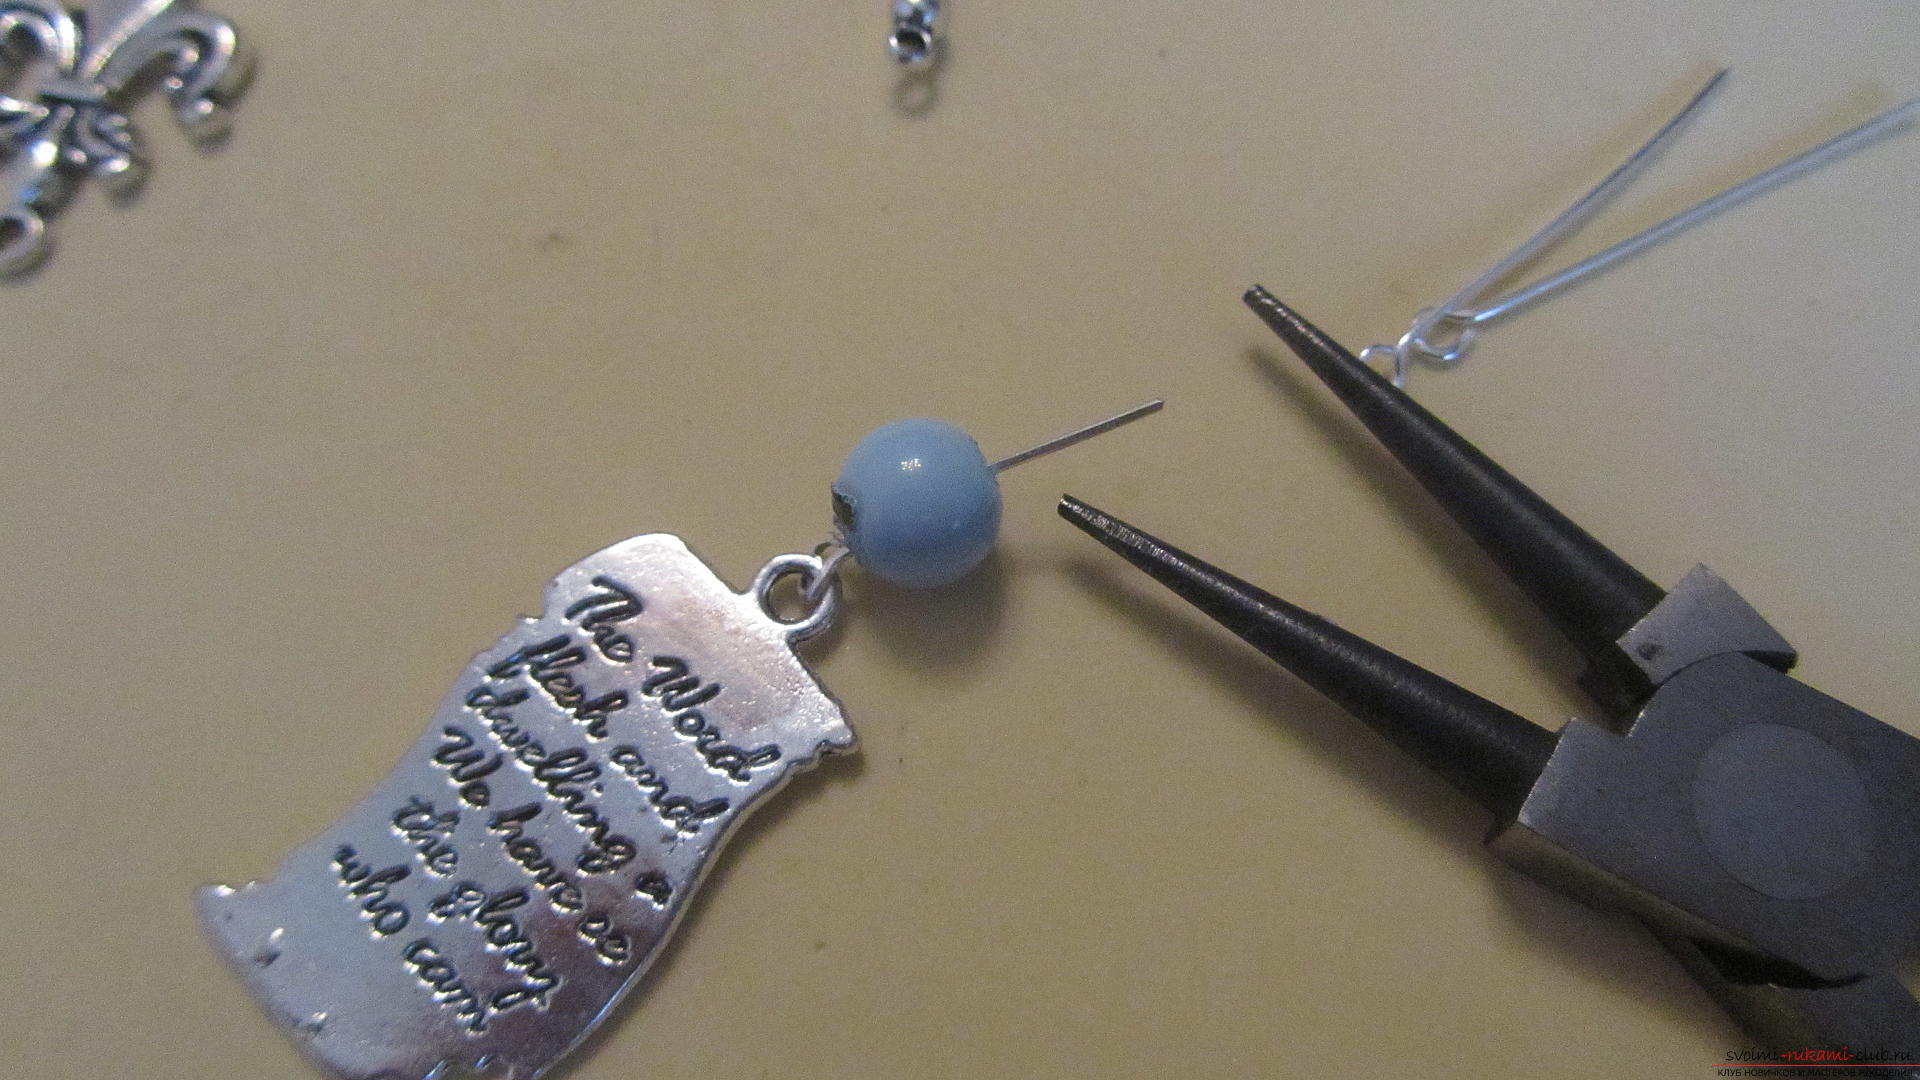 Again, use the round pliers and make the loop on the end of the pin. In it we insert the lower ring of the connecting element in the form of a lily.
 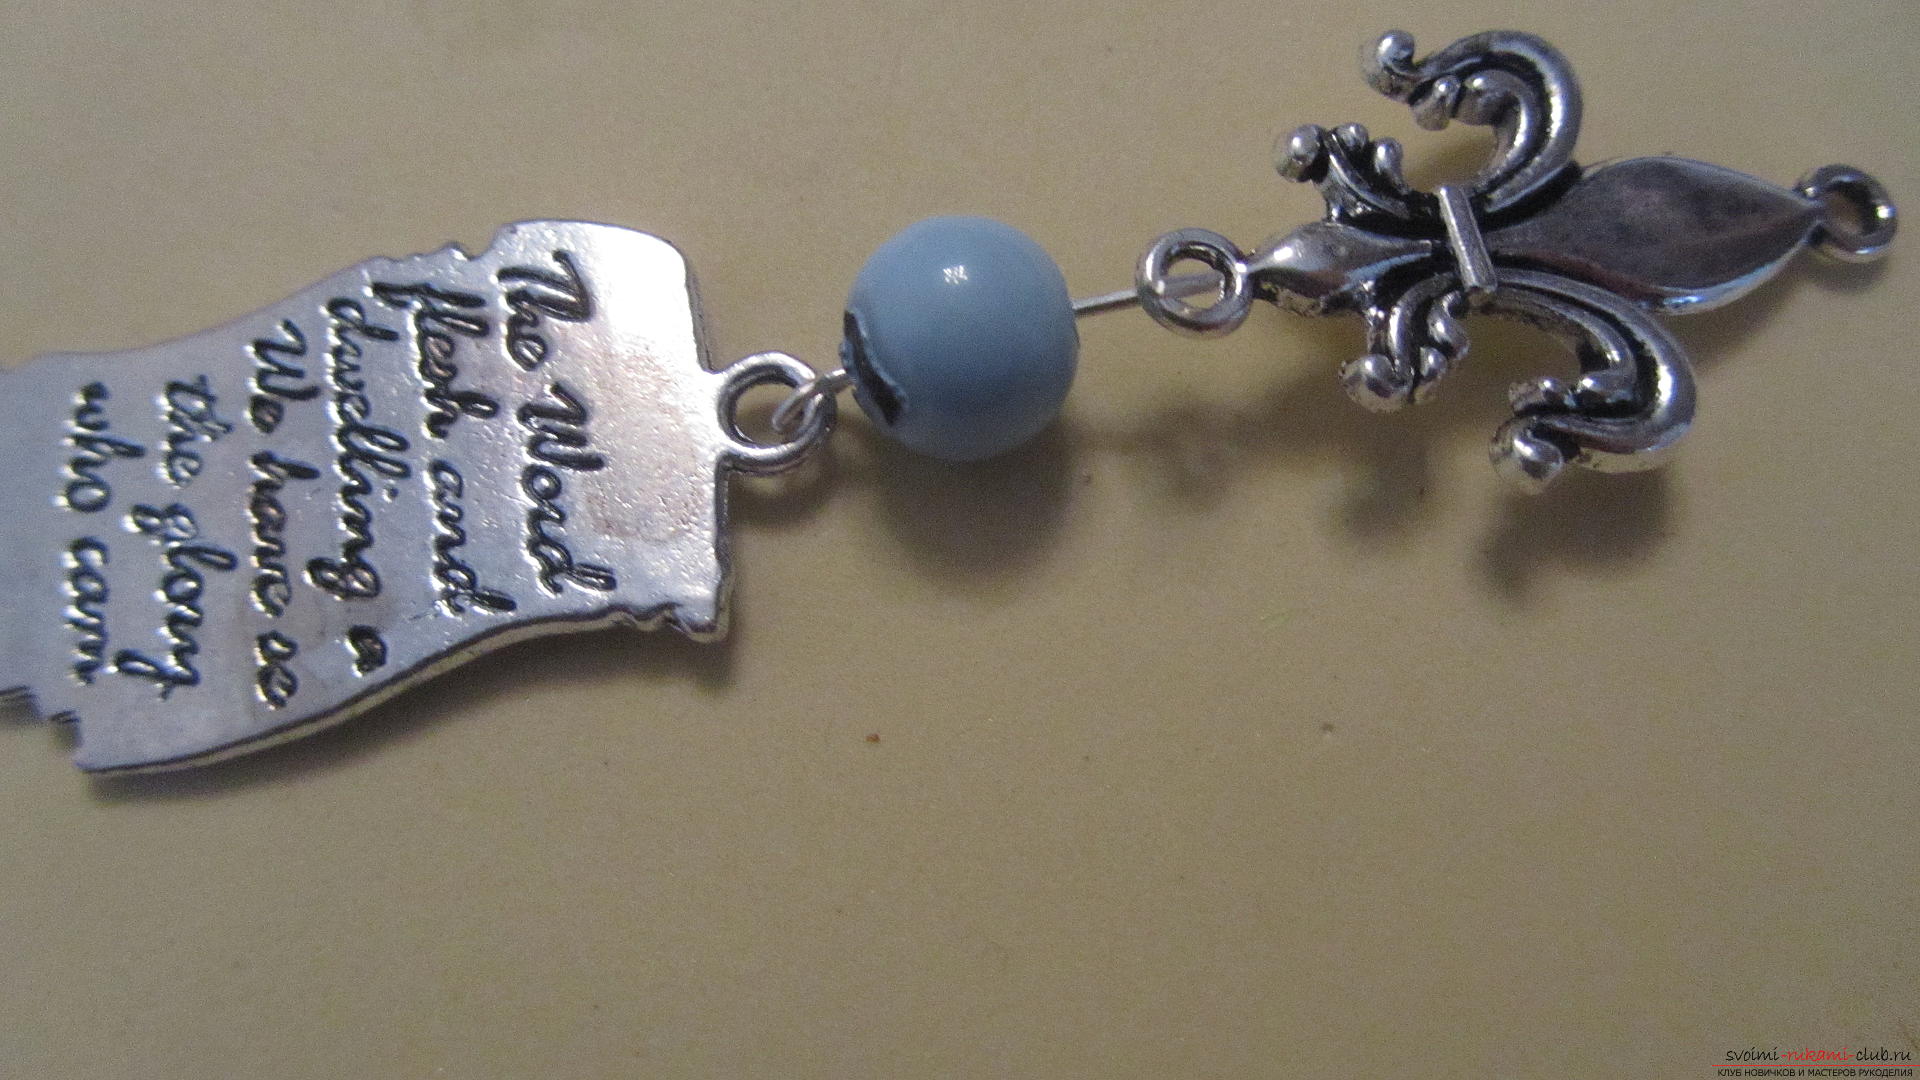 Close the loop with the lily in the ring.
 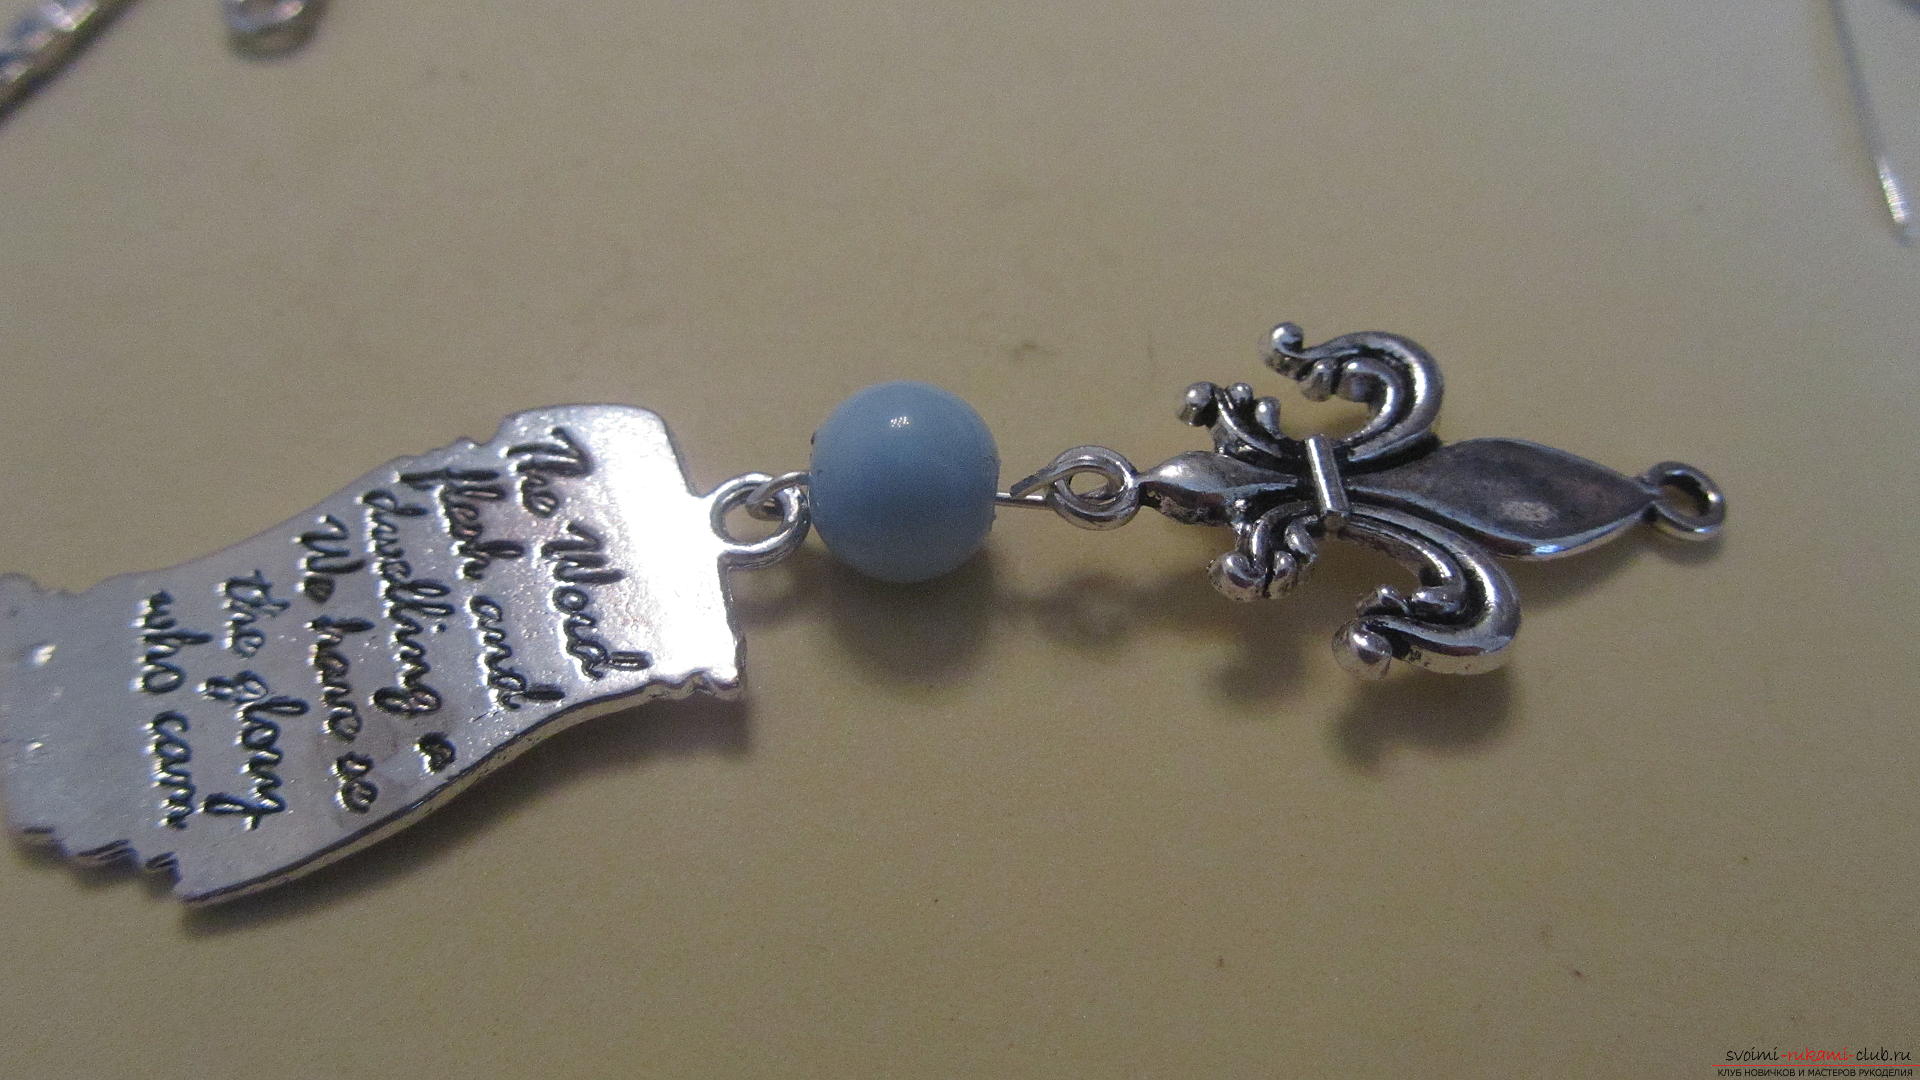 In the upper free lily ring we will pass the next pin. Preliminary on it, just slightly open the ring.
 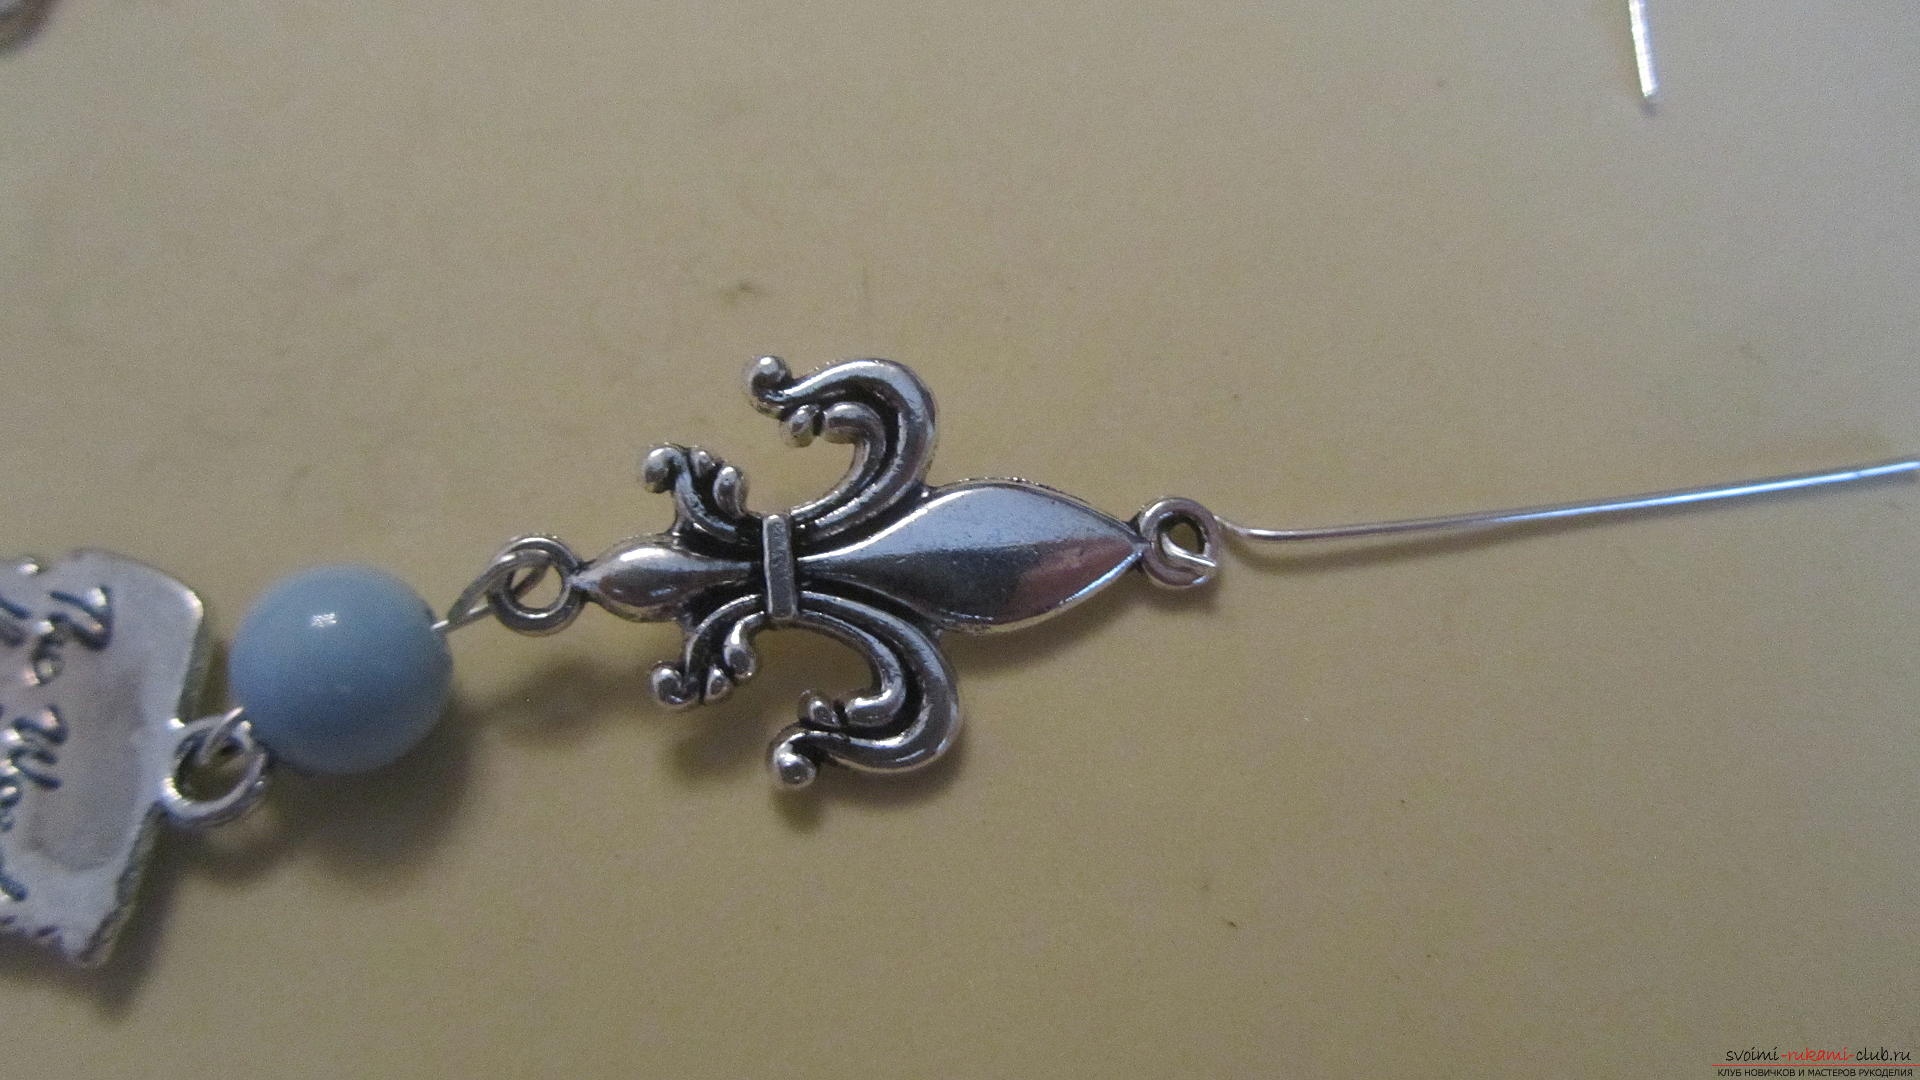 And we will close it back.
 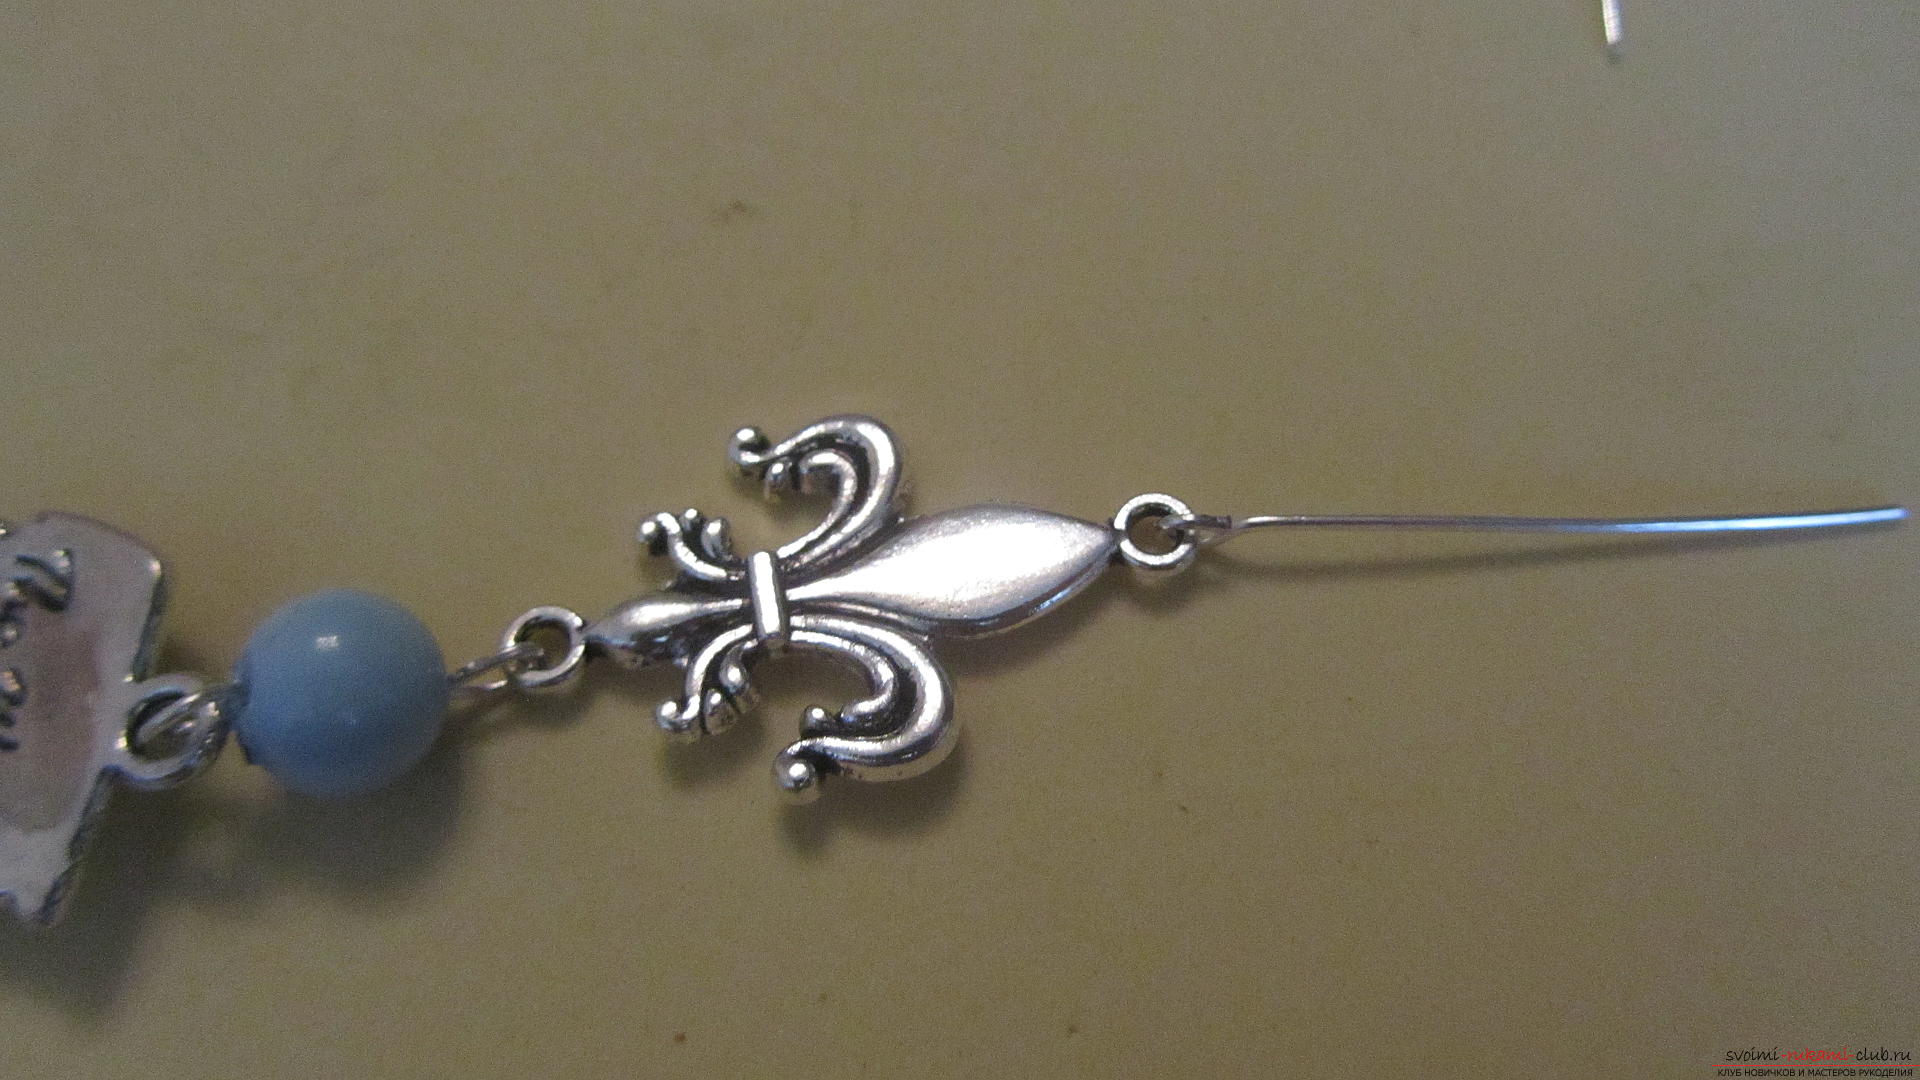 Again, put on the bead.
 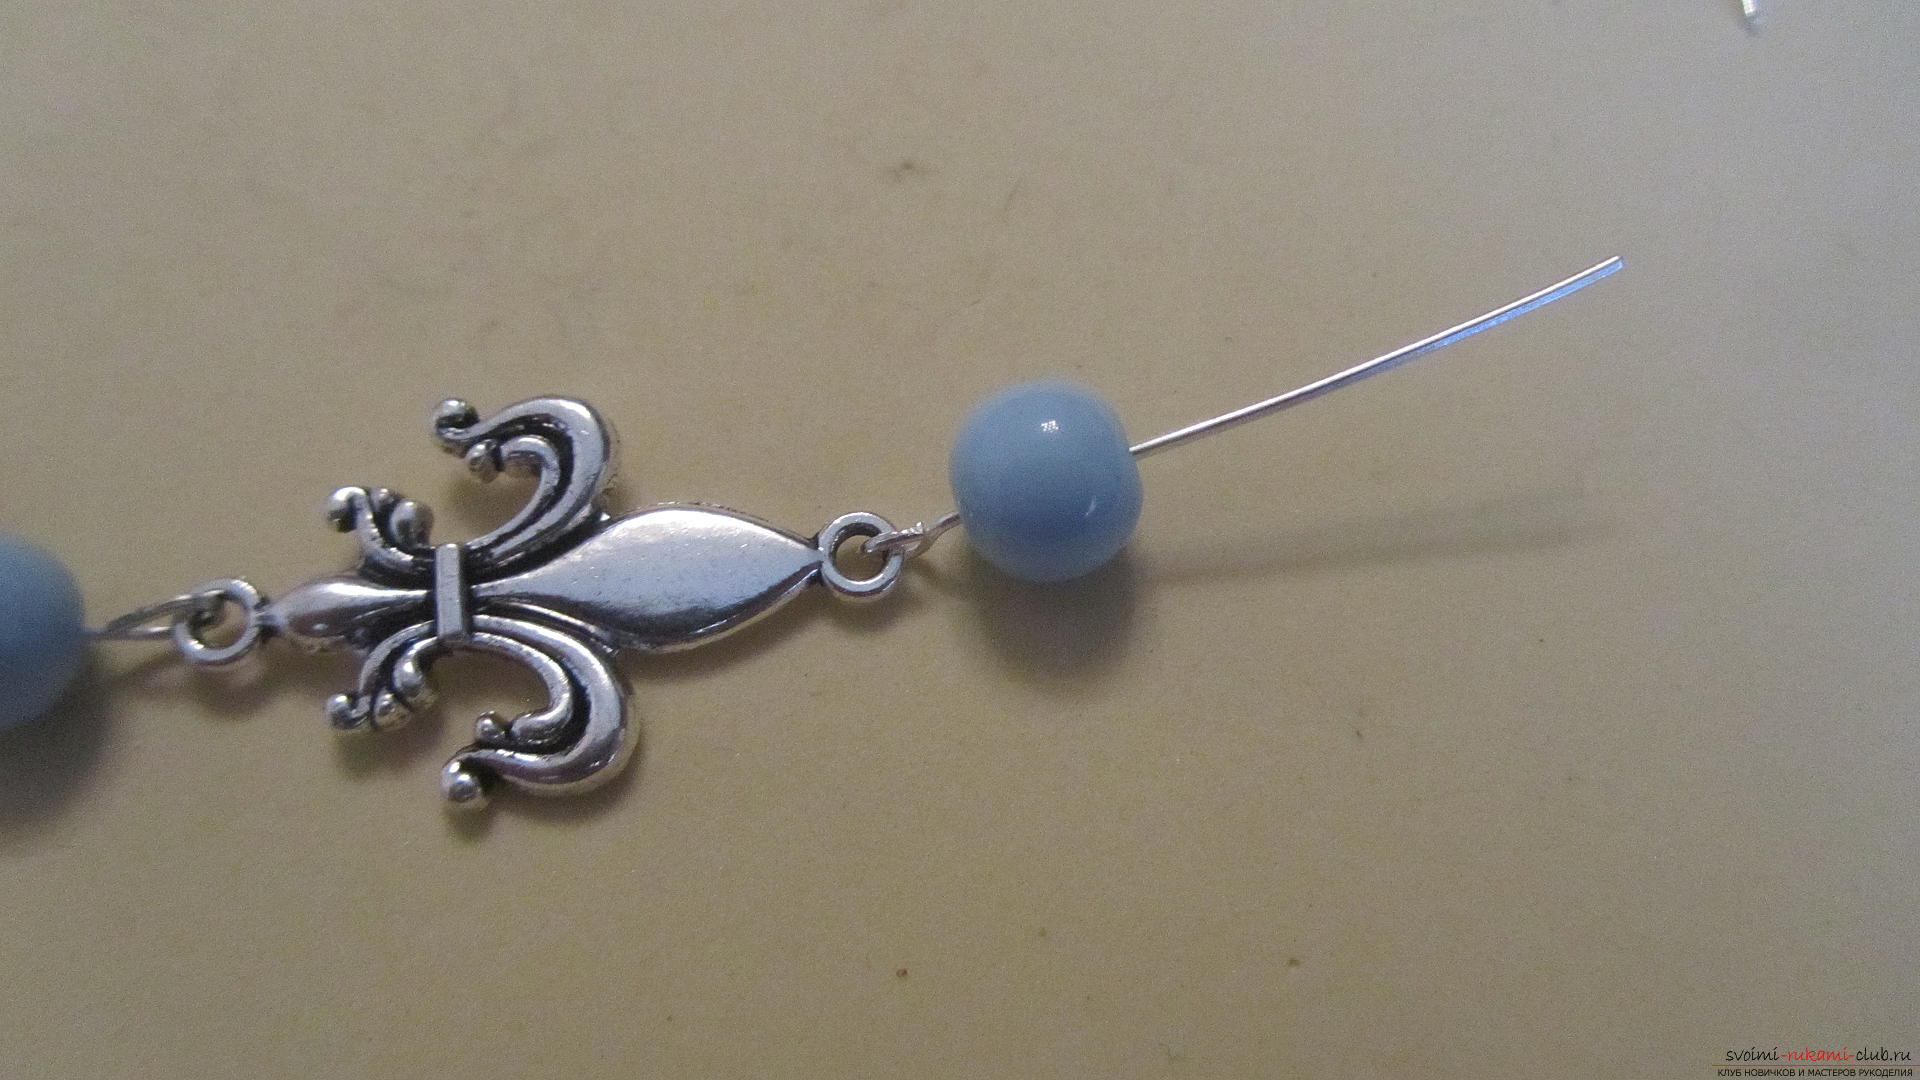 Slightly shorten the pin with wire cutters.
 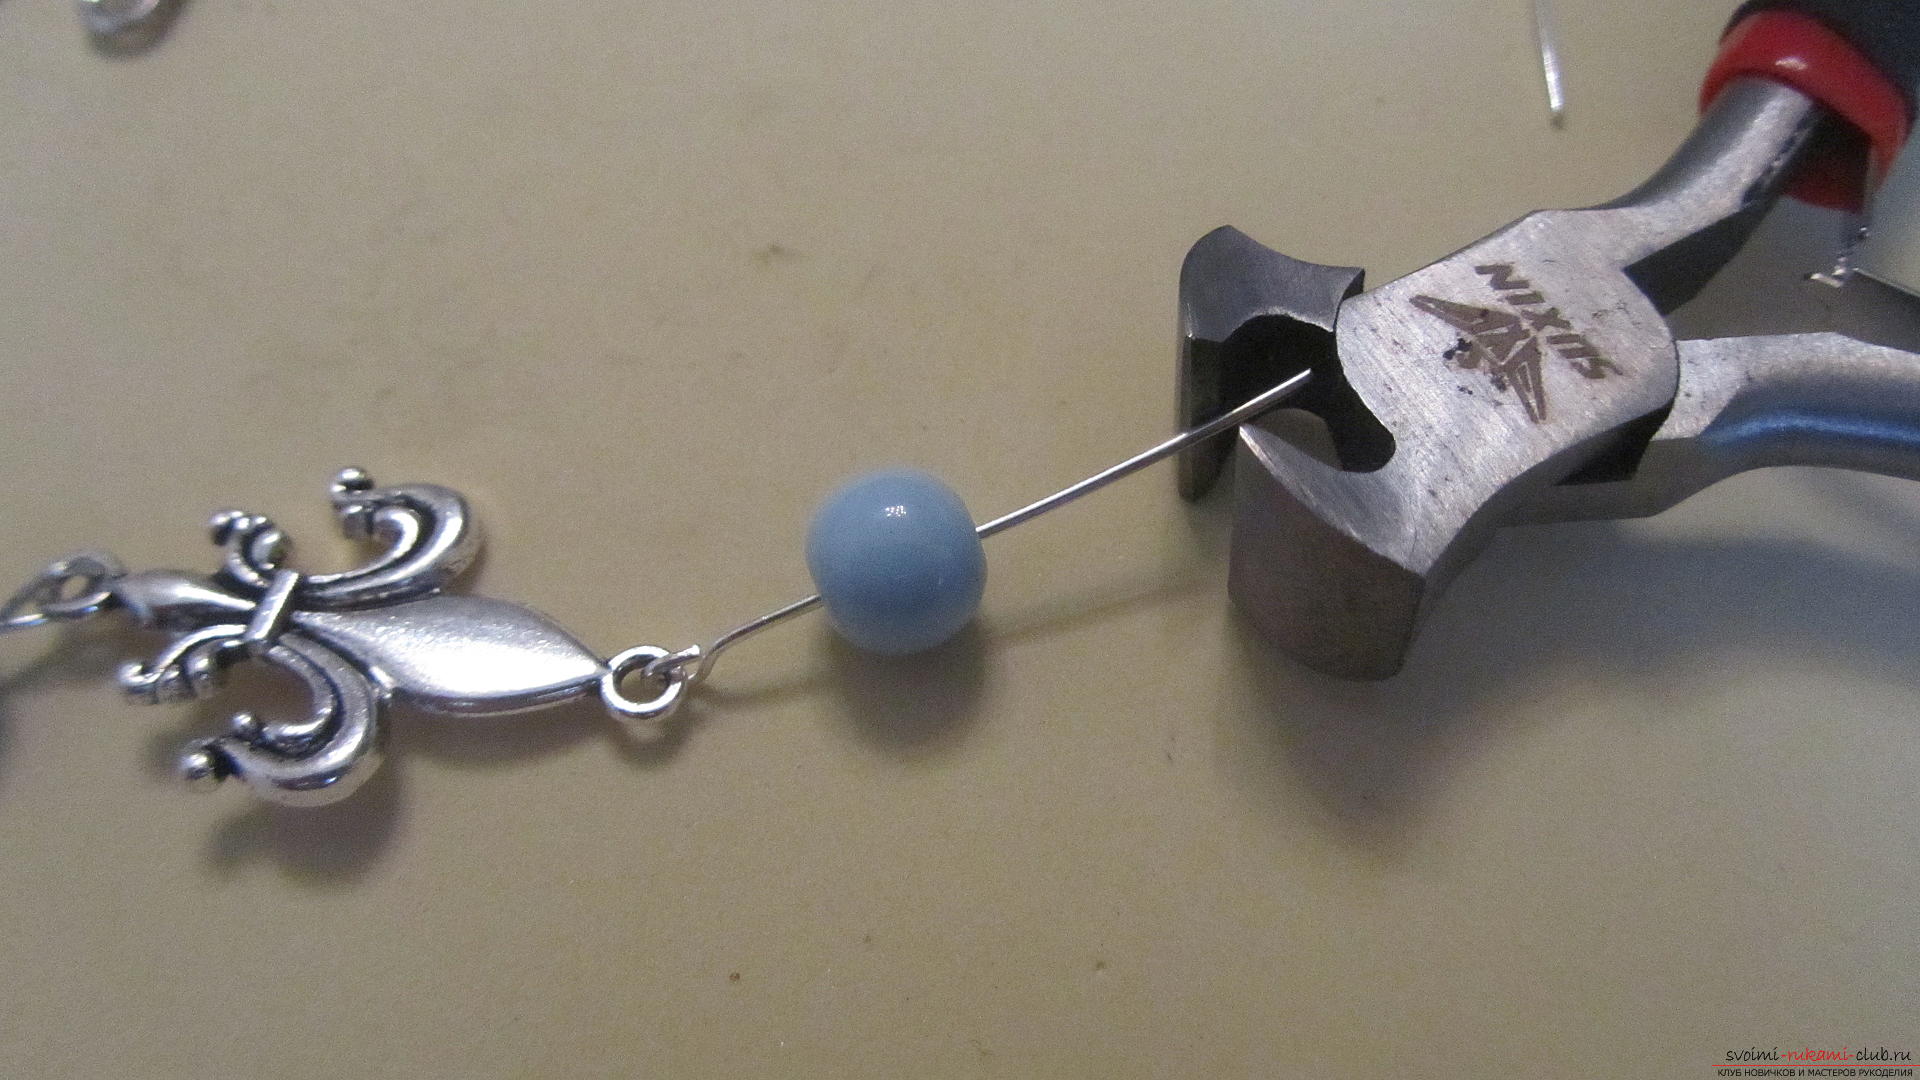 And first making a loop, and then, connecting it into a ring, attach the next element.
 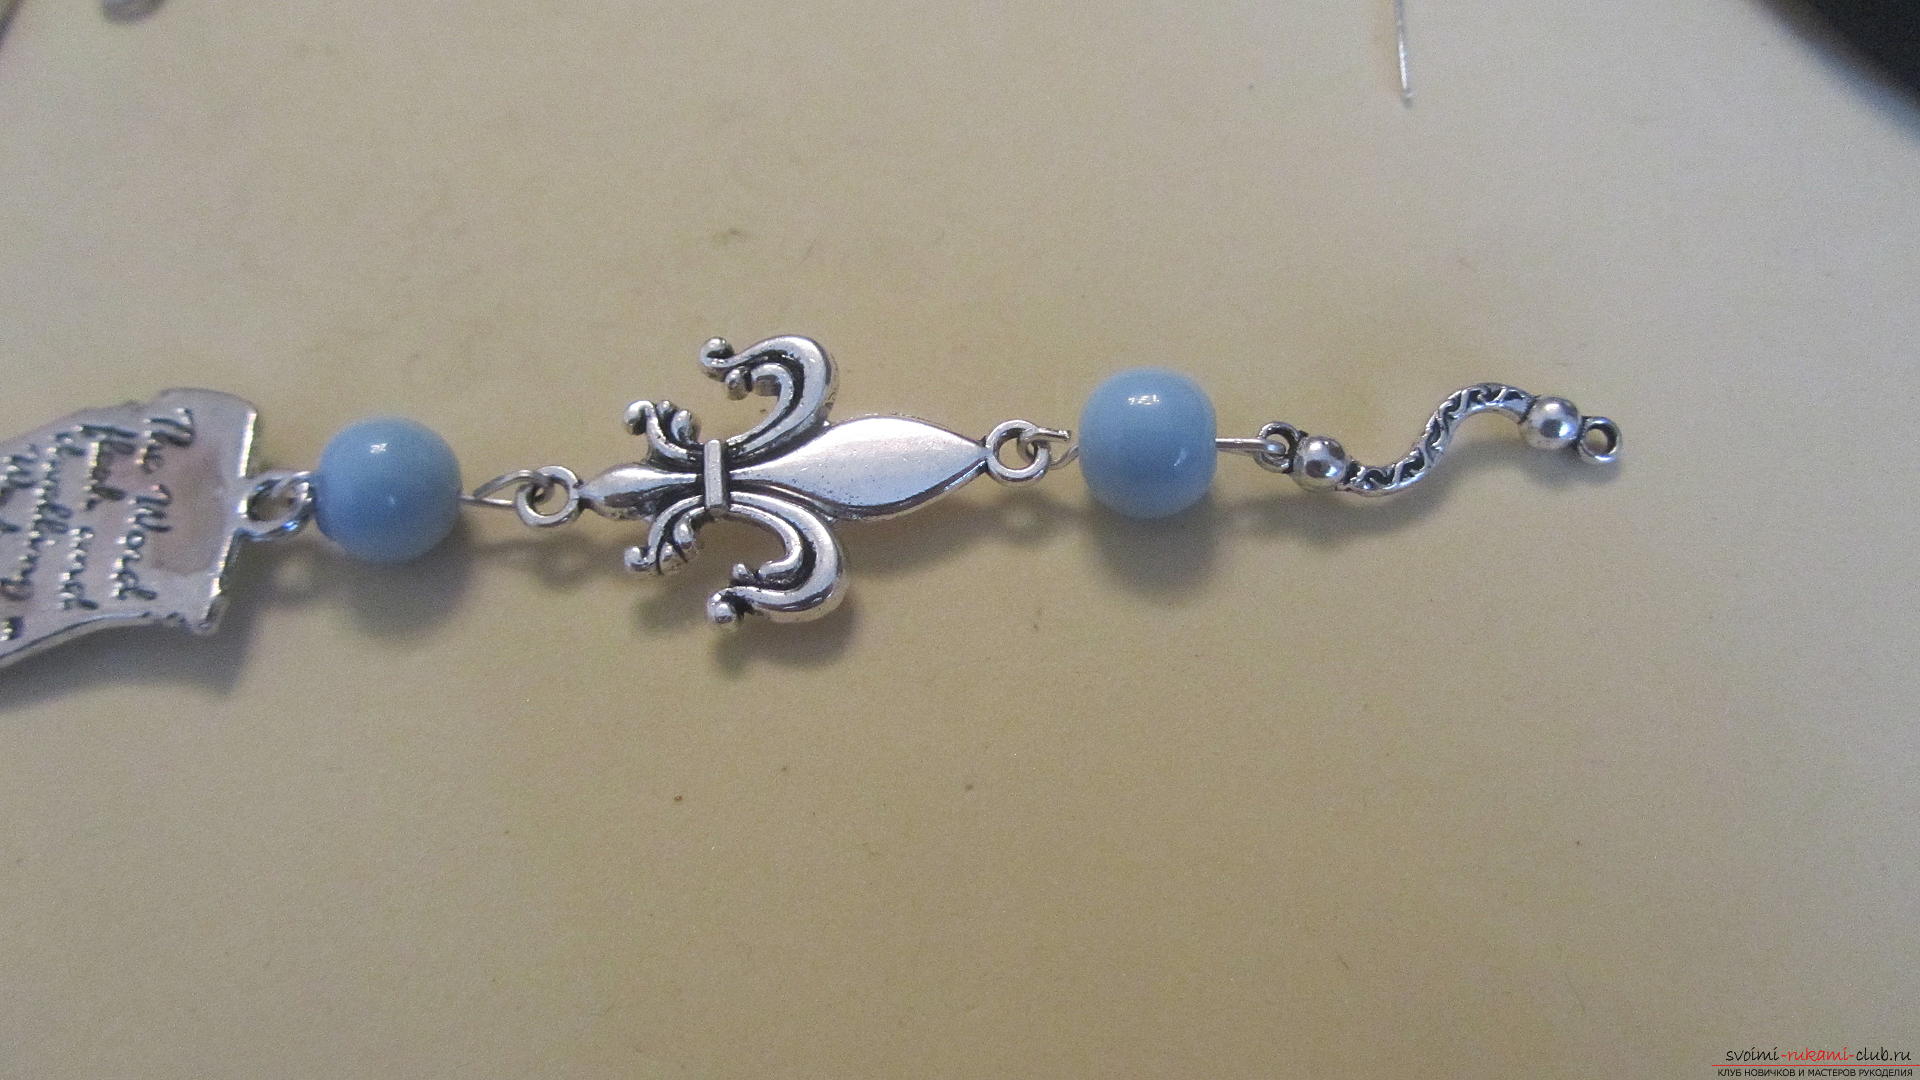 To the free ringlet on the extreme element we attach a pin, on which we put the last bead. Cut off the extra length from the pin, connect it with the base for the bookmark.
 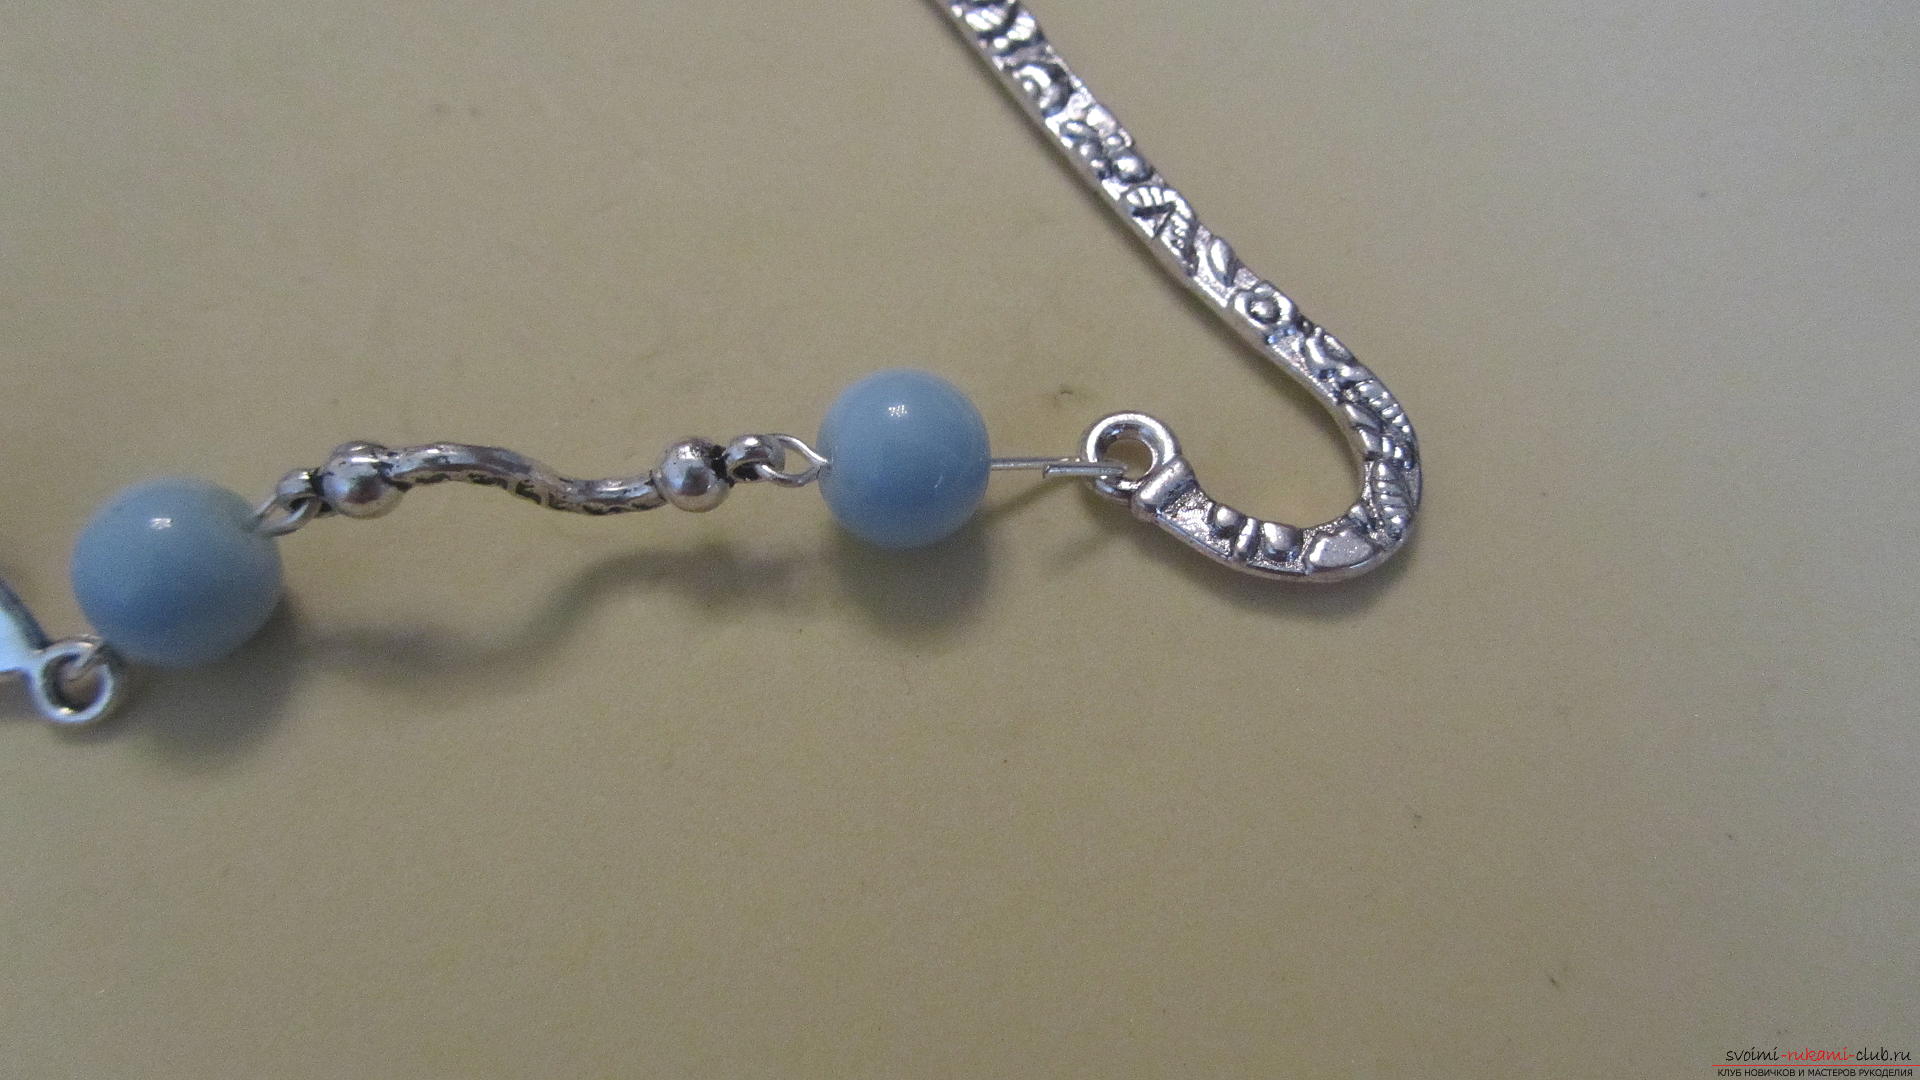 All is ready! You can give or use yourself.
 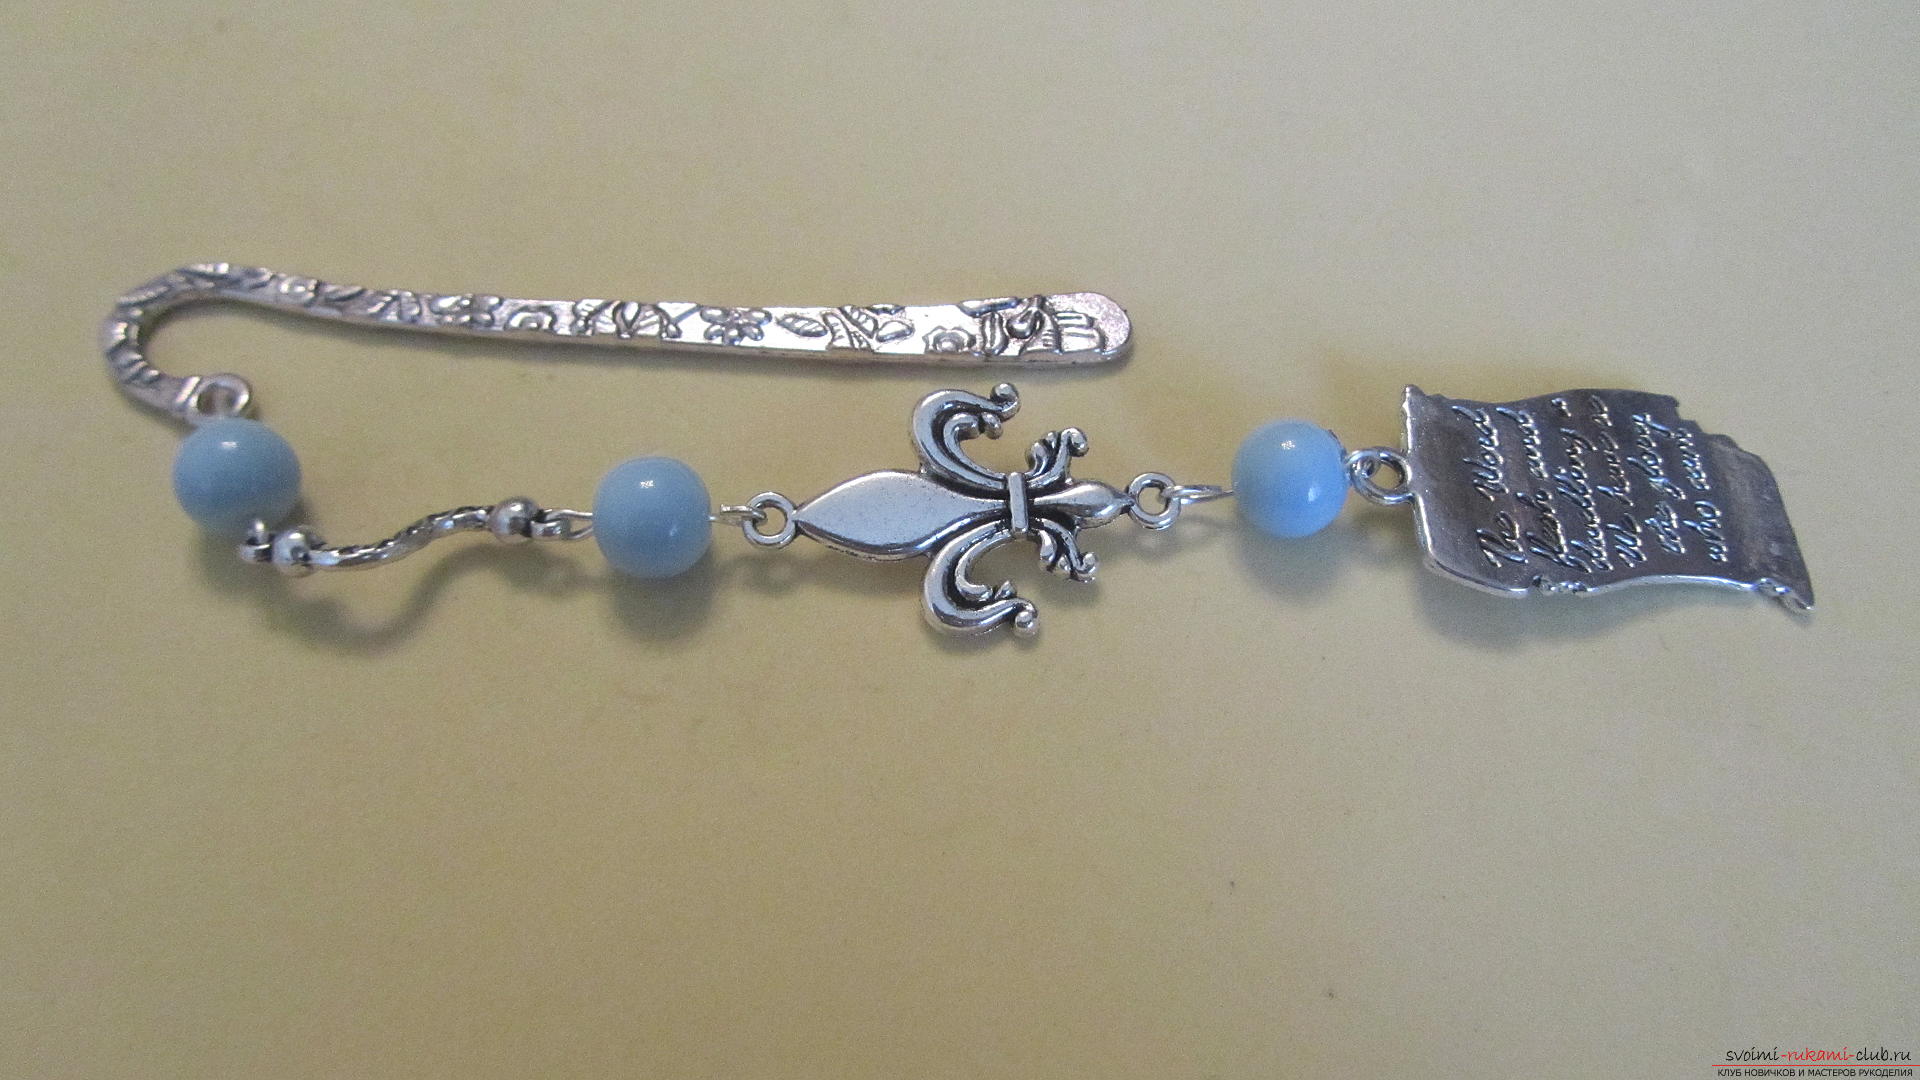 Undoubtedly, such a bookmark will not only be convenient to use, but will also become an interesting decoration for the book.
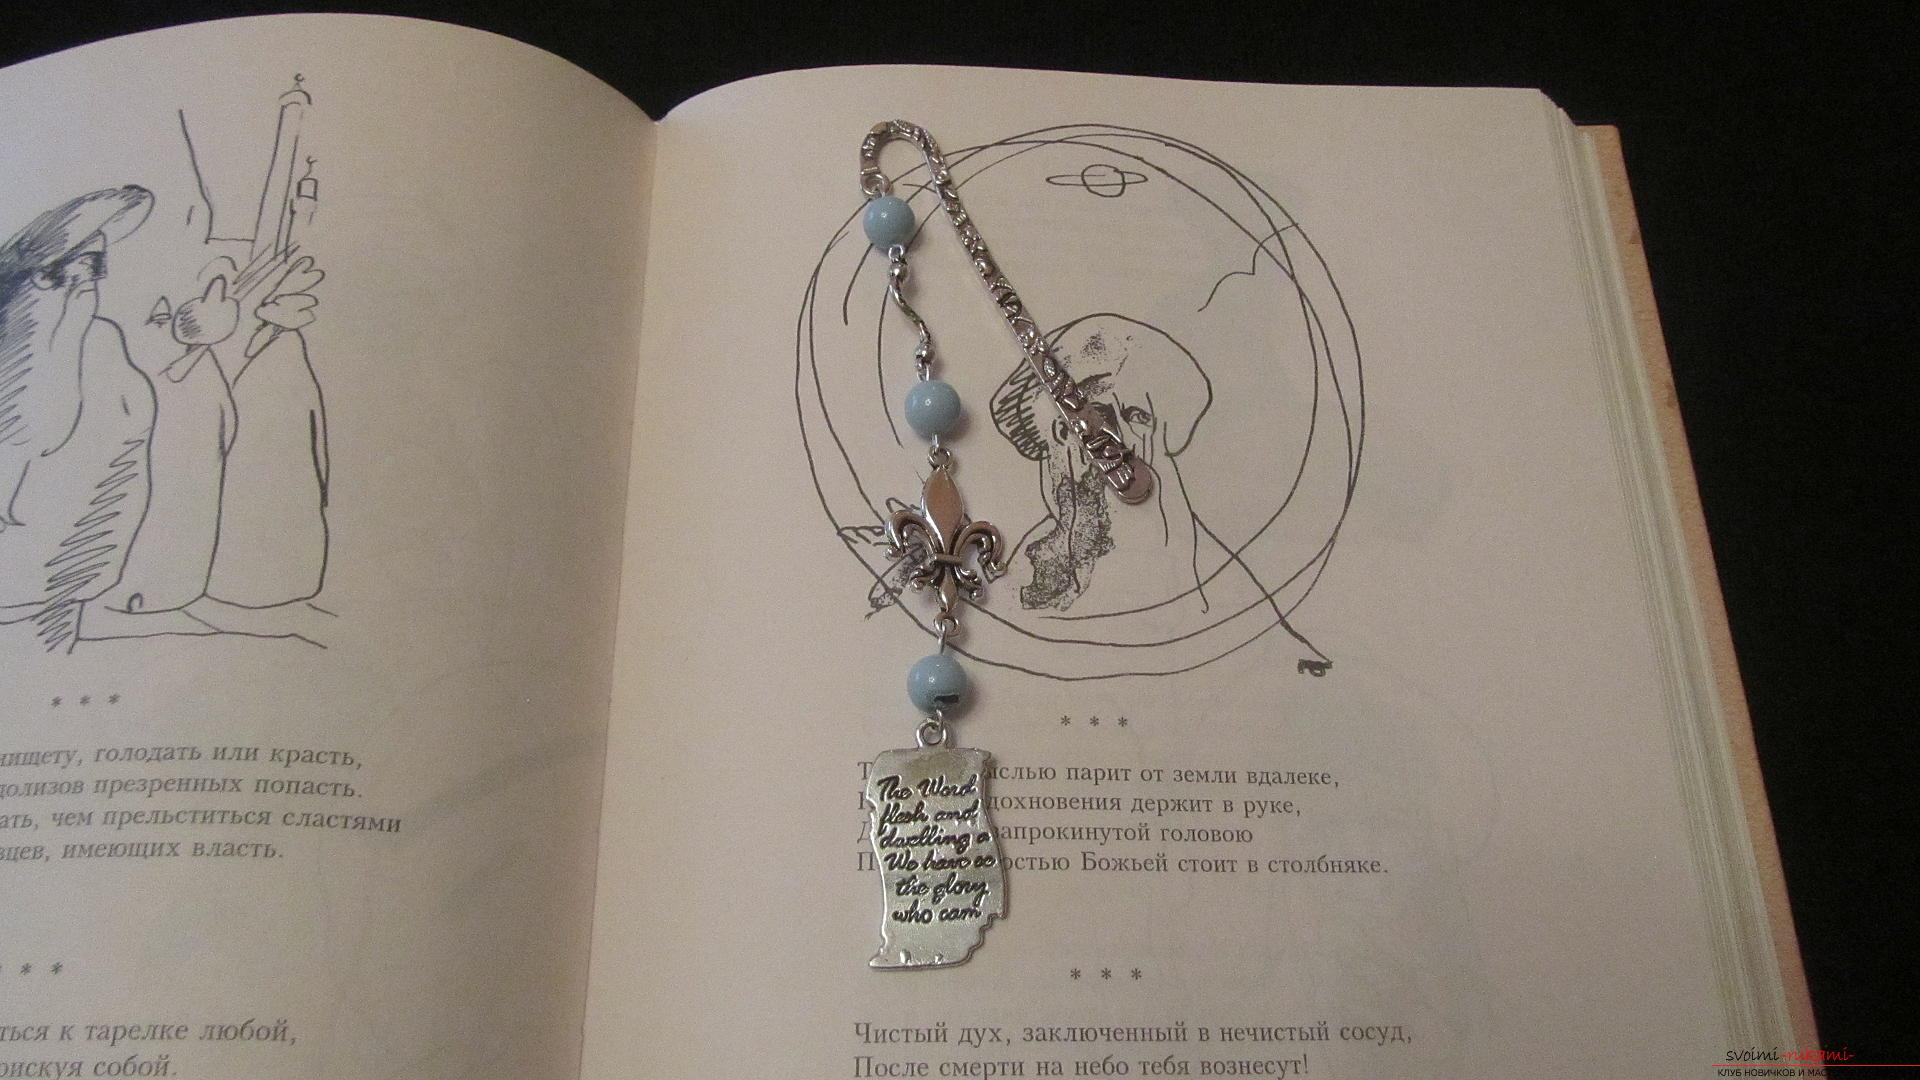
Comments
Related posts:
 A detailed master-class will teach how to sew a children's jacket for a boy with an applique
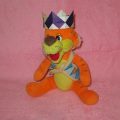 This detailed master class with a photo and description will teach you how to make origami for beginners - an origami-crown made of paper.
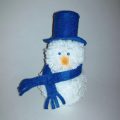 Masterclass with photos and descriptions will tell you how to make your own hands a children's hand-crafted snowman
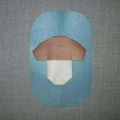 This detailed workshop of origami for children of 8 years will teach how to make an origami-mushroom from paper.
 How to make earrings from polymer clay in the form of snowmen, detailed master class with photo and description