
Detailed master classes on diamond embroidery with step-by-step description and photo.
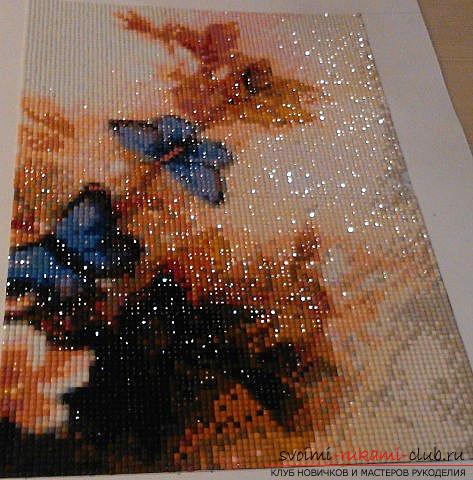
The essence of the technique of diamond embroidery iscreation of various plots by fixing on a glue base specially designed for this crystal stones. Despite the fact that this needlework is called embroidery, neither needles nor thread are required here. Externally, diamond embroidery is like a product that is embroidered with beads. As you know, diamonds in this technique are also not used, and the name was born because of the brilliance that gives the faces of stones similar to the gleam of precious stones. 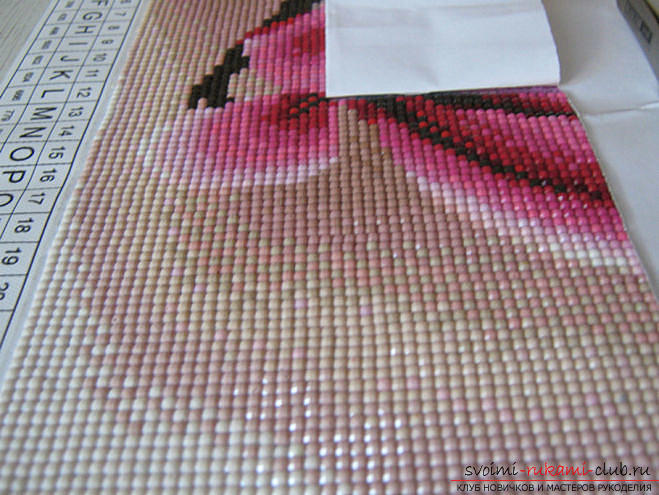 Description of the progress: 1. Start by choosing the subject and color solution, and then, according to this, purchase the required set. In addition, you will need a ruler and a container with compartments, a kind of sorting tool, it will help to simplify the work. It is worth noting that quite often mosaic manufacturers put it into sets.
 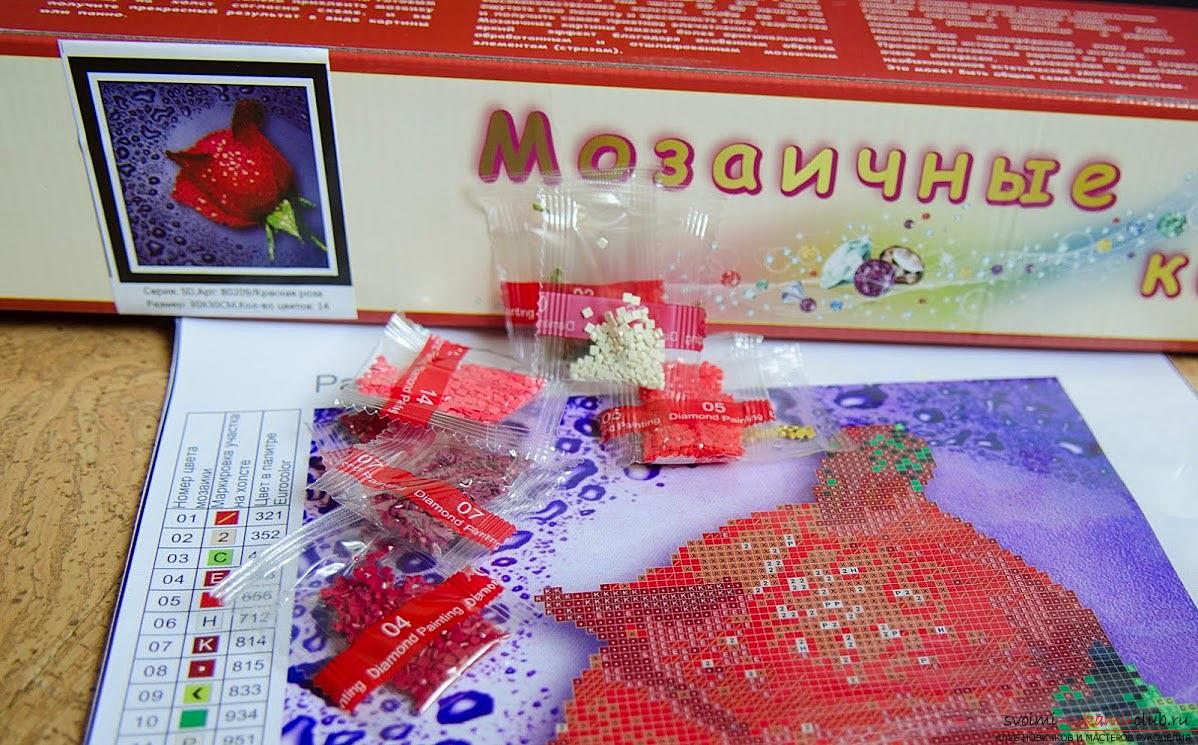 2. We proceed to unpack the set and extract all the contents from there. Adhesive canvas with a printed circuit manufacturers offer in the form of a sheet of high-density paper or fabric material. On this basis, subsequently, crystals will be glued, packaged by packages and numbered accordingly to the key. There are large schemes on a paper basis, which do not fit on one sheet. In this case, you can not do without additional matching of the two ready-made halves. If the base is fabric, then there is no need for docking. For a triptych, all 3 elements are executed separately.
 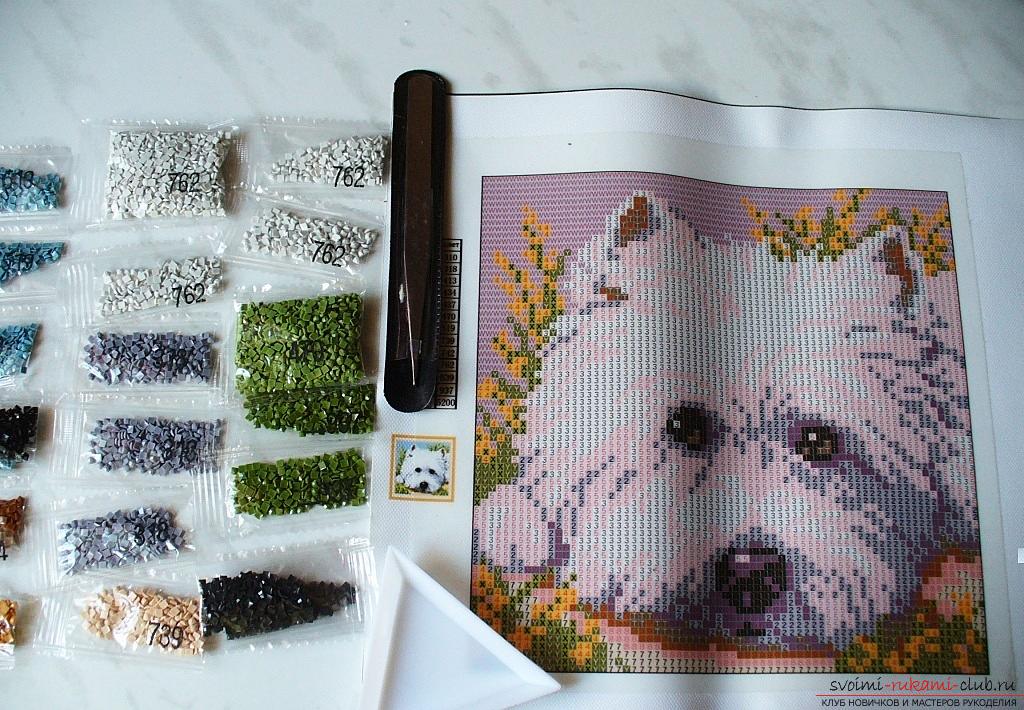 3. Pour a little bit of rhinestones from the bags into the sorting container. 4. Remove a small portion of the protective layer from the adhesive canvas and glue them one by one with tweezers or pencil. Do everything according to the scheme, putting the key in front of you and constantly checking with it.
 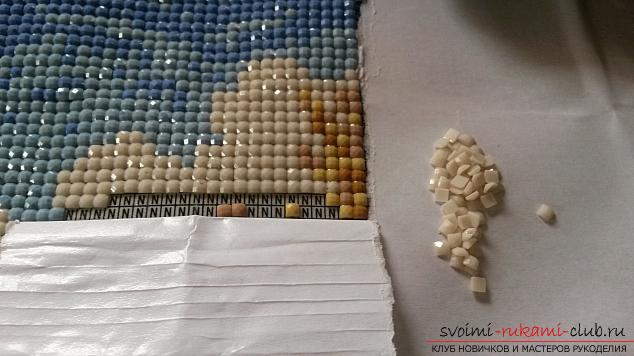 5. To improve the quality of the future product, completing each individual row, level it with a ruler. 6. When the base is made of paper, and there are several sheets, then they are fastened like this:
- in the end we leave two or three last rows,located near the border of the junction, unfilled. Take the cardboard, which by size can accommodate all sheets of work. On the cardboard they are glued exactly to the back;
- then we seal the closing rows with the crystals.
 After the styling has been completed,gently walk several times over the surface (preferably through some fabric material) with a rolling pin, pressing the crystals to the base. To fix it was safer, you can spray the product with a simple varnish or apply silicate glue.
 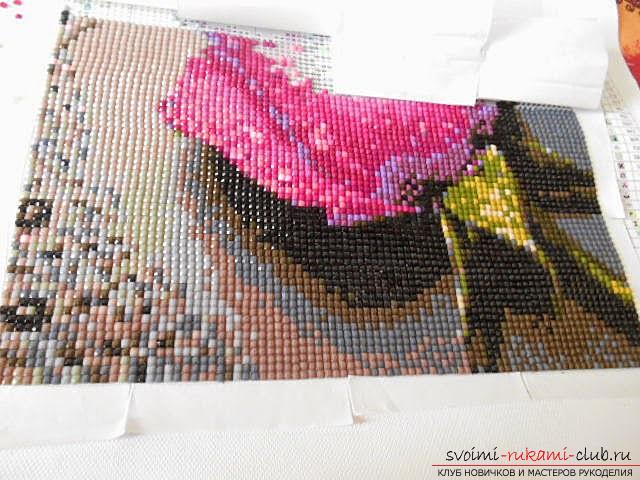 The design of the picture in the frame under the glass will also benot superfluous, because due to the tight abutment to the finished product will be strengthened fixation, which will not allow falling stones. Note that in addition to the standard crystal stones for mosaic embroidery, there are also thermal inclusions. For them, the base is made solely from the fabric material, to which this kind of rhinestones are applied by means of a special thermo-applicator.
 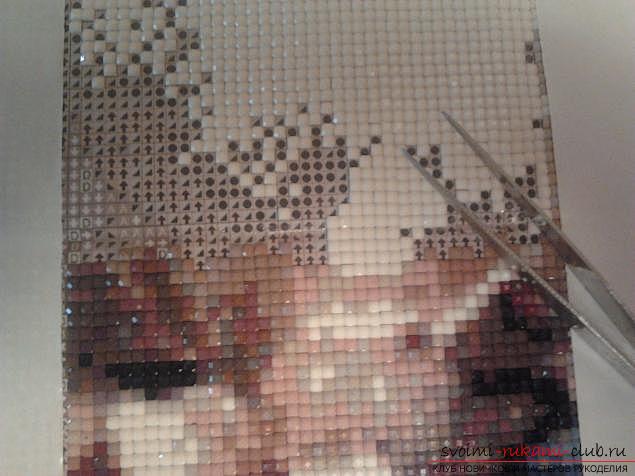 We tried to tell you as detailed as possibleabout diamond embroidery, so that your first work is the most smooth and successful. On the problems that sometimes arise when diamond embroidery. 1. In the process of working on products, the possibility of getting defective rhinestones is not excluded. It is not worth it to get frustrated because the consumable material is much larger than the required number of crystals for laying out the mosaic. On average, spare parts are 15%. 2. It happens that small parts of the canvas are not sufficiently treated with a glutinous mixture or it has dried. In such a situation, you can go through the silicate glue again to such places. The technique of diamond embroidery will be an excellent tool for you in creating bright masterpieces and the most real works of art. As a rule, kits for this handicraft are brought to us from the Middle Kingdom, which allows us to reveal its multi-faceted culture. It is possible that this is due to the popularity of oriental themes, with its peacocks, deities, dragons, oriental beauties, etc.
  Spending not much of their freetime, you will in return receive a unique masterpiece from simple acrylic crystals, capable of causing admiration of loved ones and friends with spectacular colors. In addition, such a product can be found in almost any interior, as it revitalizes and decorates it. This is the end of the master class on diamond embroidery. We hope that you have seen that this handicraft is an interesting activity that does not require a lot of free time.
Comments
Related posts:
 To make embroidery a diamond mosaic for beginners with step-by-step description, photos and diagrams.
 Master-class with detailed photos and step-by-step description will teach how to crochet a toy minion
 This detailed master-class crafts made of paper with his own hands with a photo and description will teach you how to make a daisy with wishes.
 We make a Christmas tree from ordinary macaroni, a detailed master class with a step-by-step photo
 Master class for decorating wedding glasses for newlyweds with step-by-step description and photo