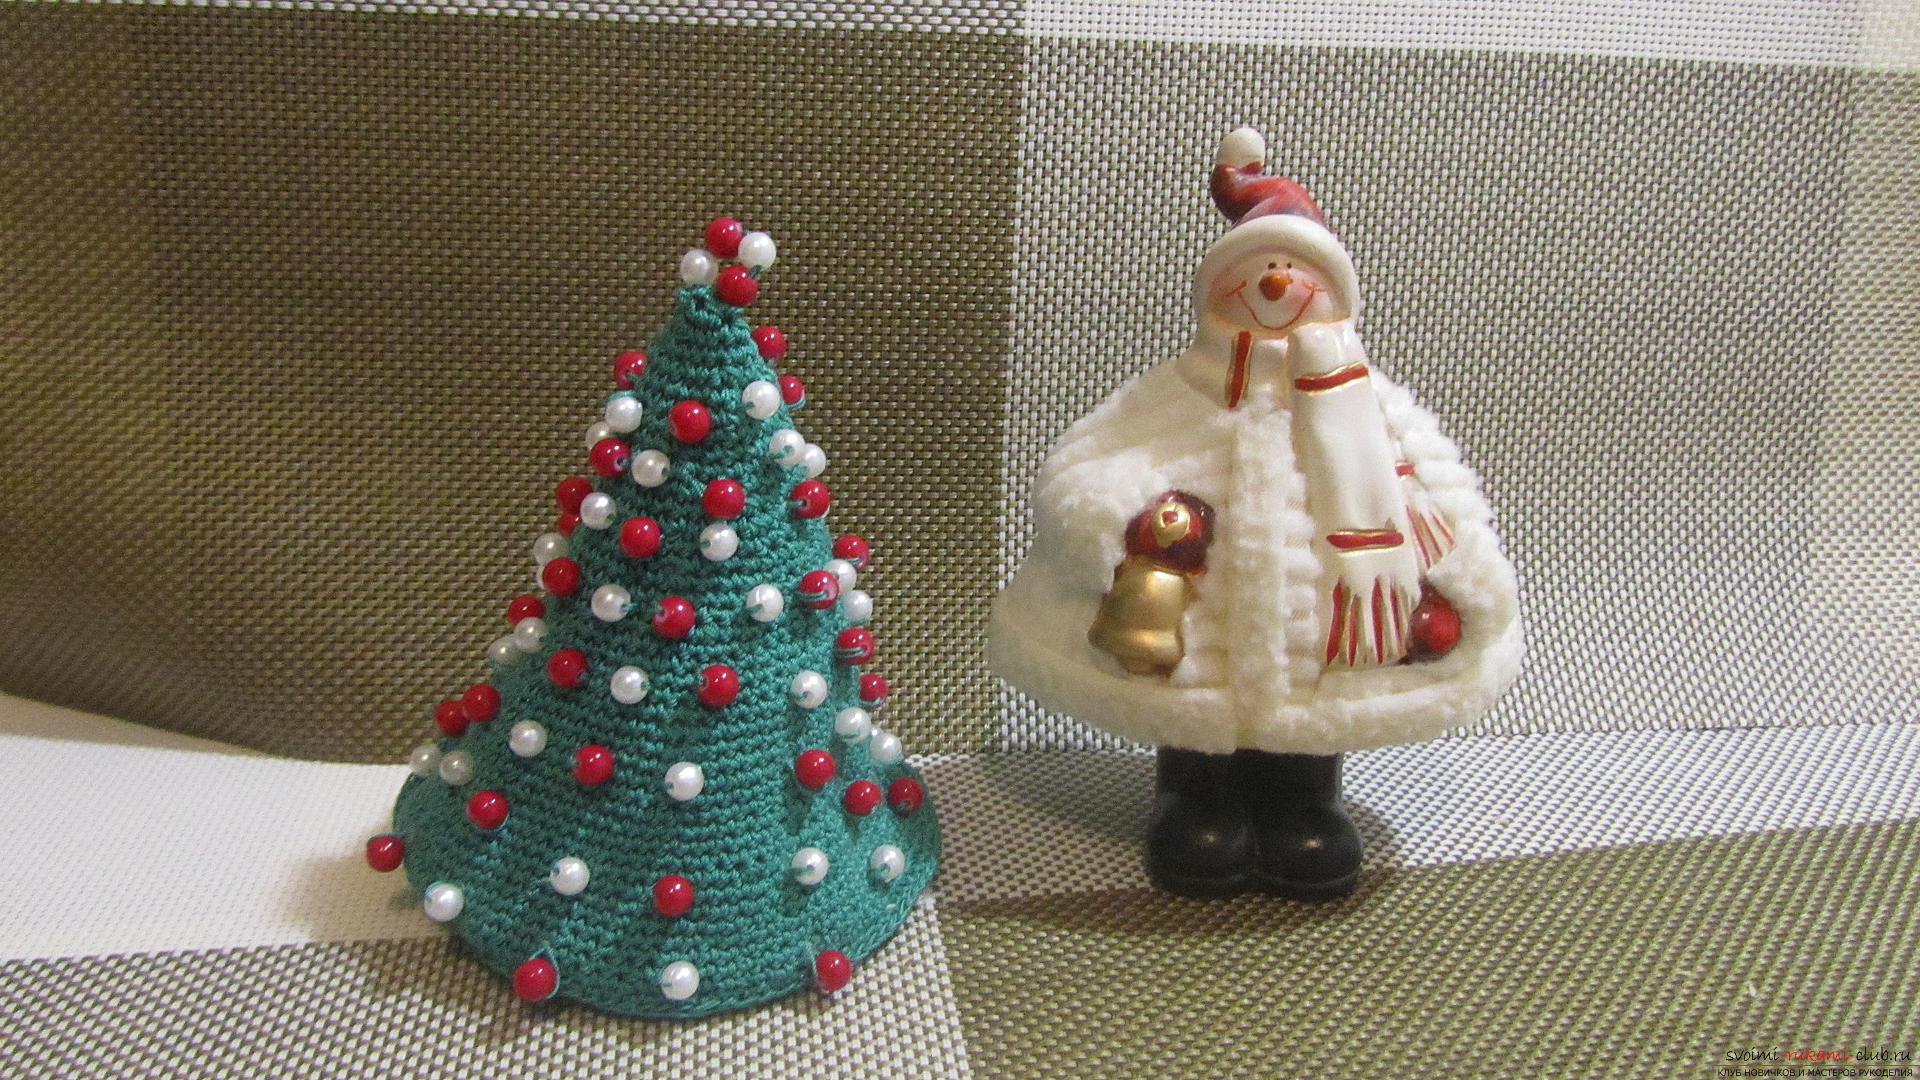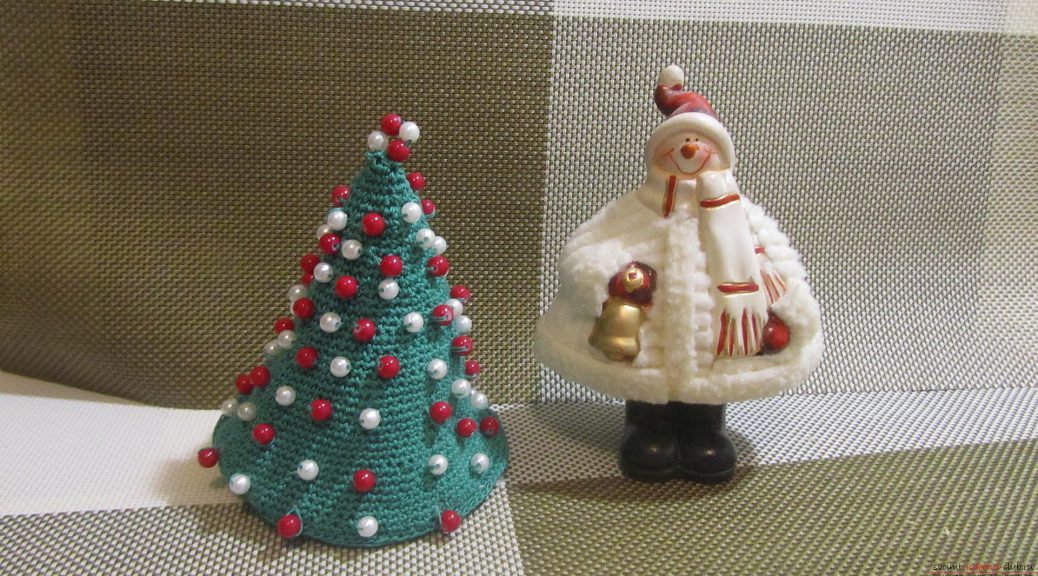
This master class contains a description of a crocheted Christmas tree - the original crafts for the New Year with their own hands
Soft Christmas tree, tied in the form of a cone and decoratedbeads of bright colors, it can become an ornament of a New Year's table or a workplace. It can be put in a car or on a dressing table. And you can give it to guests or take it with you as a souvenir. How to tie a Christmas tree - this MC will tell.  For the Christmas tree, we will need:
- cotton threads of green color;
- hook, suitable for threads in thickness (1-2);
- red and white beads;
- needle;
- wadding or sintepon for packing a Christmas tree.
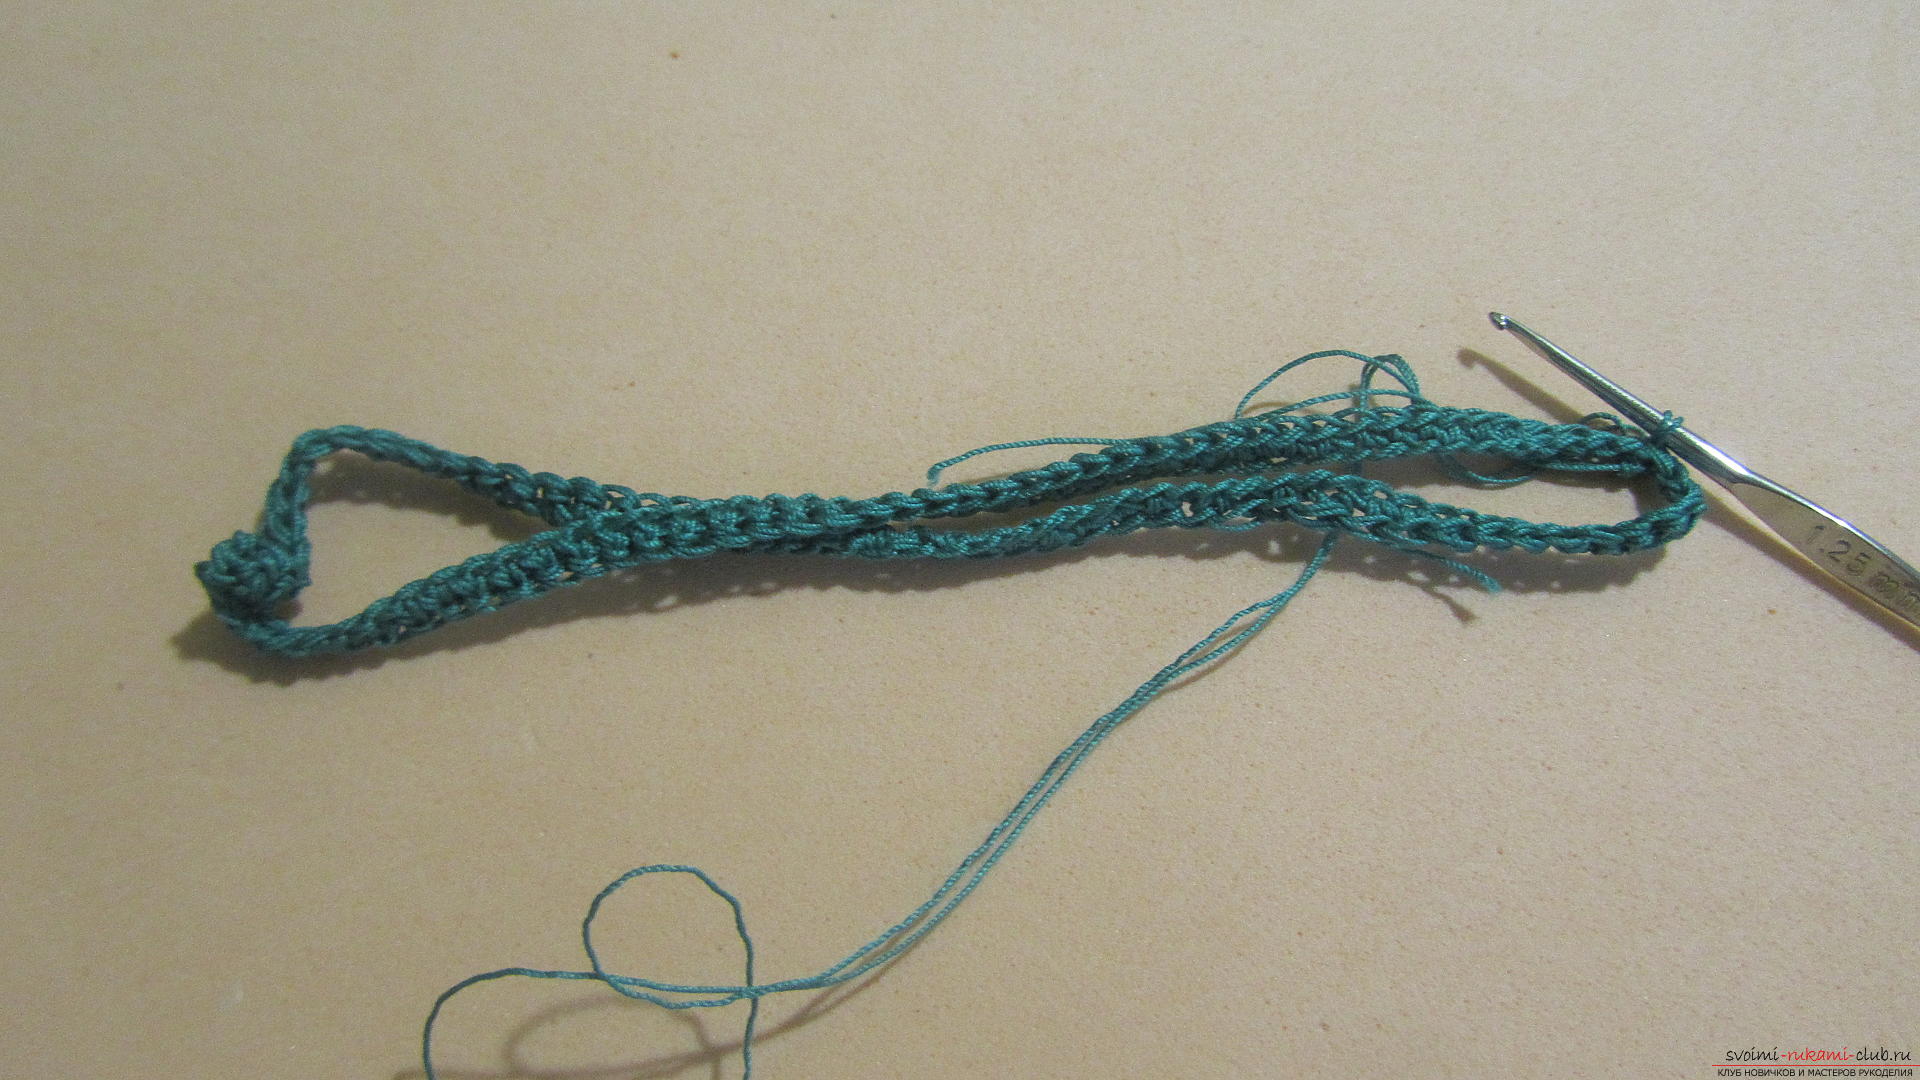
The tree will consist of two parts - a cone and a circle-base. Let's start knitting with a cone. To do this, we will type a chain of 100 loops. 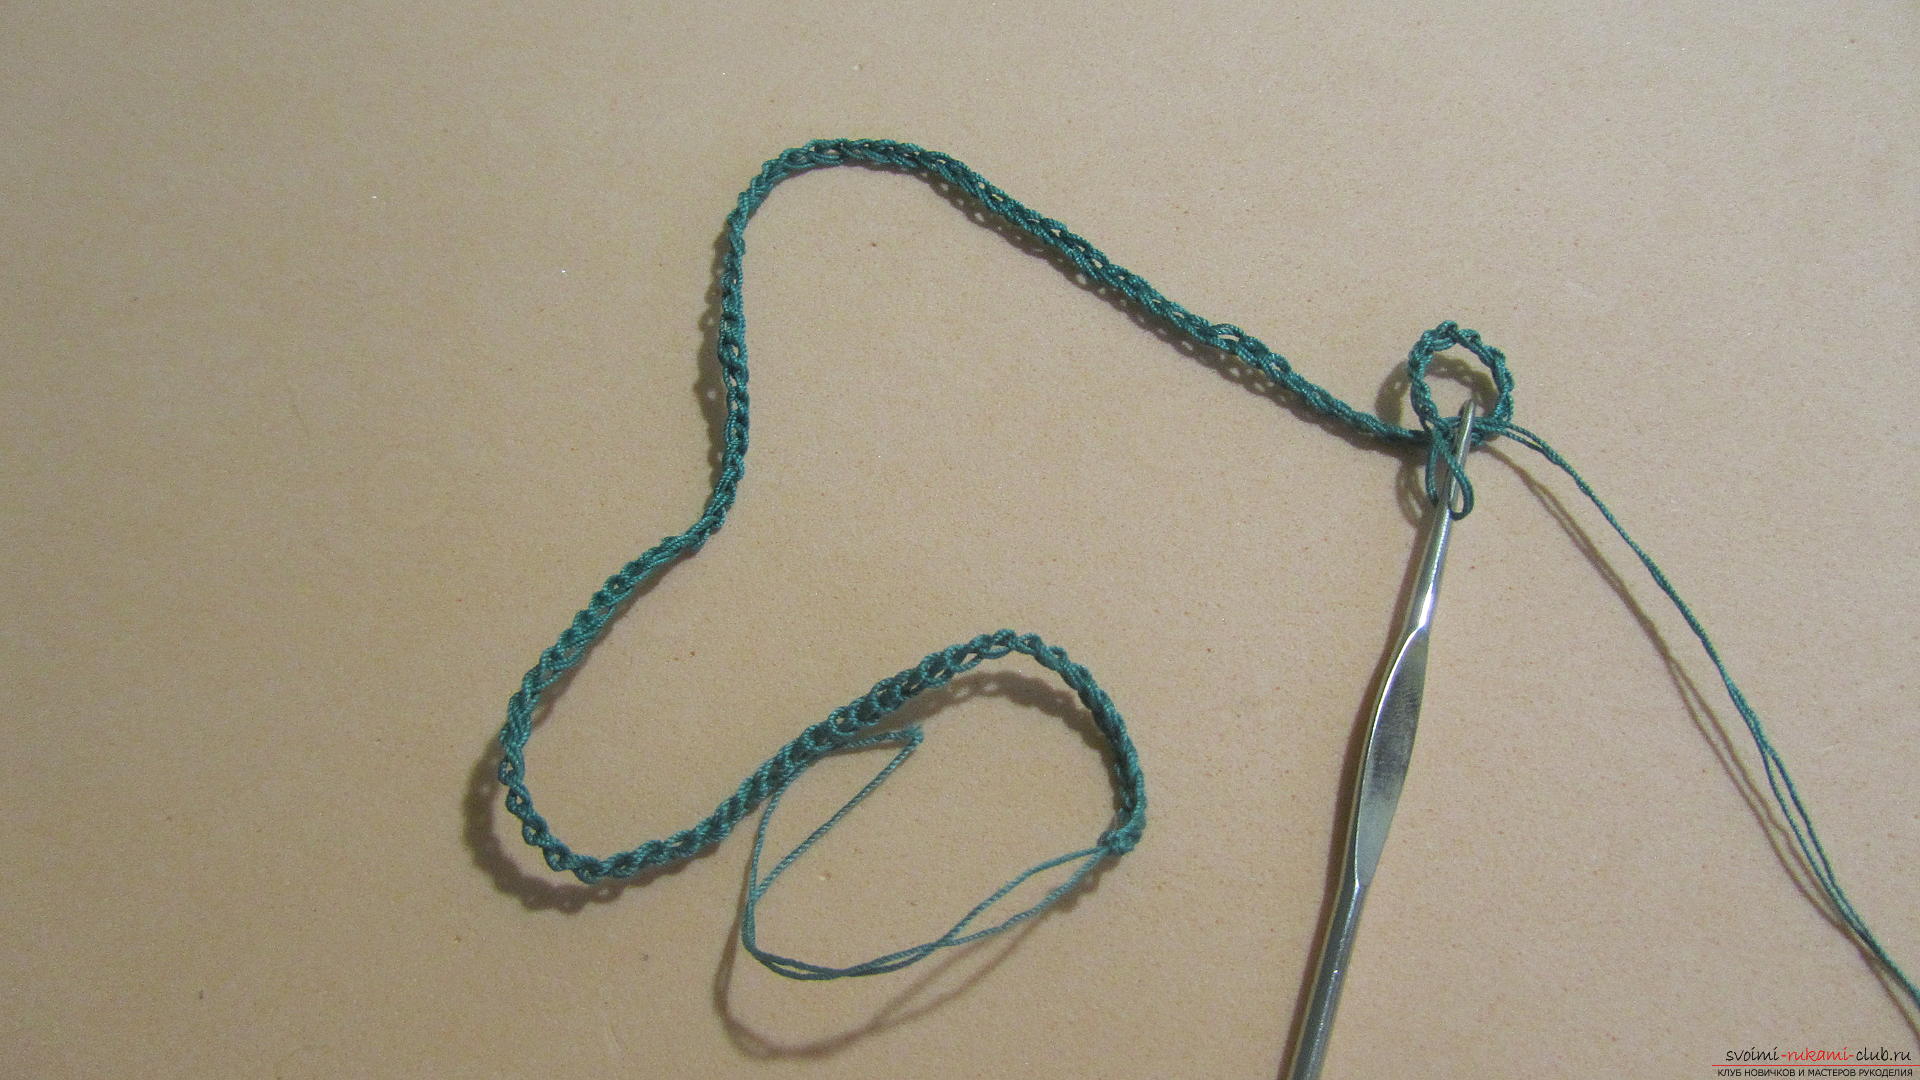 We connect the first and last loop of the chain. We chain the chain with simple columns without a crochet. In the first row, do not make any increases or increases.
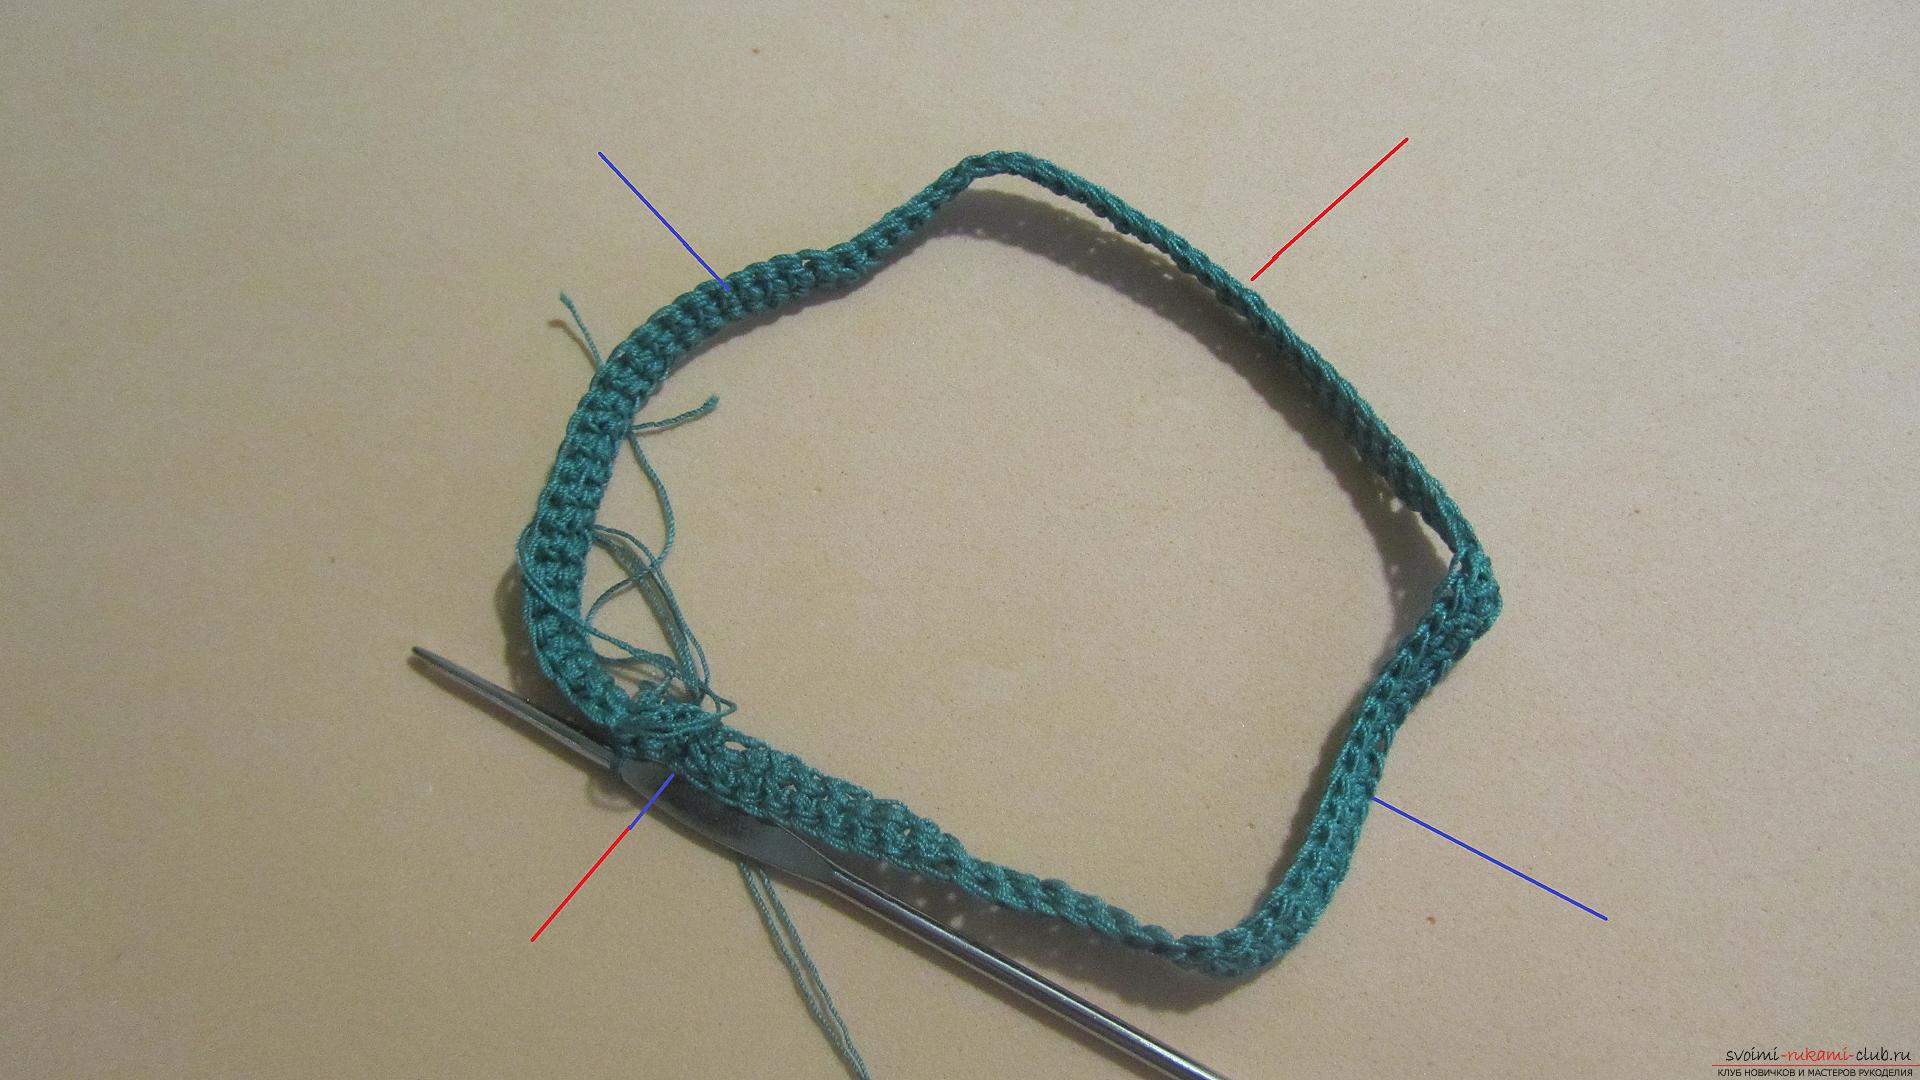
  In the second and all subsequent series we will decreaseon two loops. But you need to reduce them in different places. In even numbers - in the beginning and middle of the row. And in odd ones - in the first quarter and in the third. Red in the figure marked the reduction in the even numbers, blue - in odd.
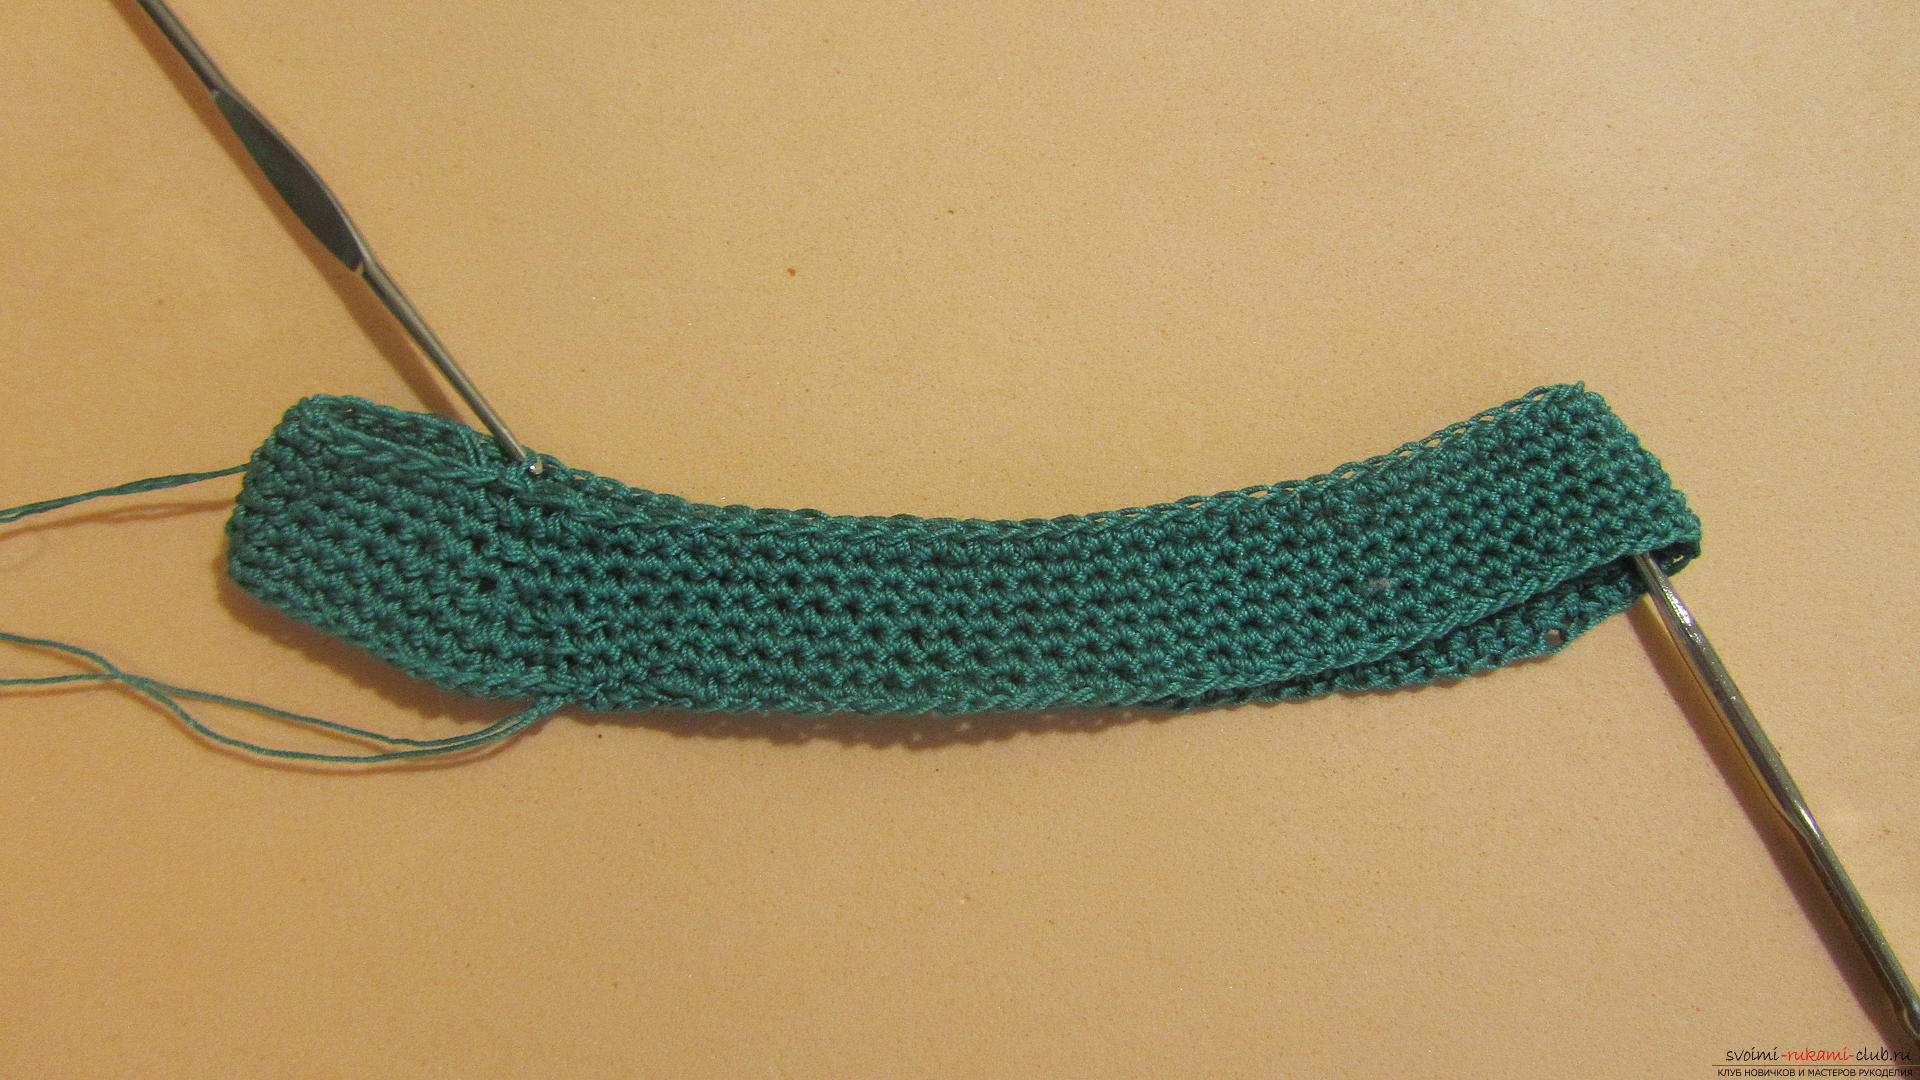
  After a few rows, the decrease becomes noticeable.
  When half of the hinges are already removed, and the row consists of 50 bars, the tree already looks like a cone.
 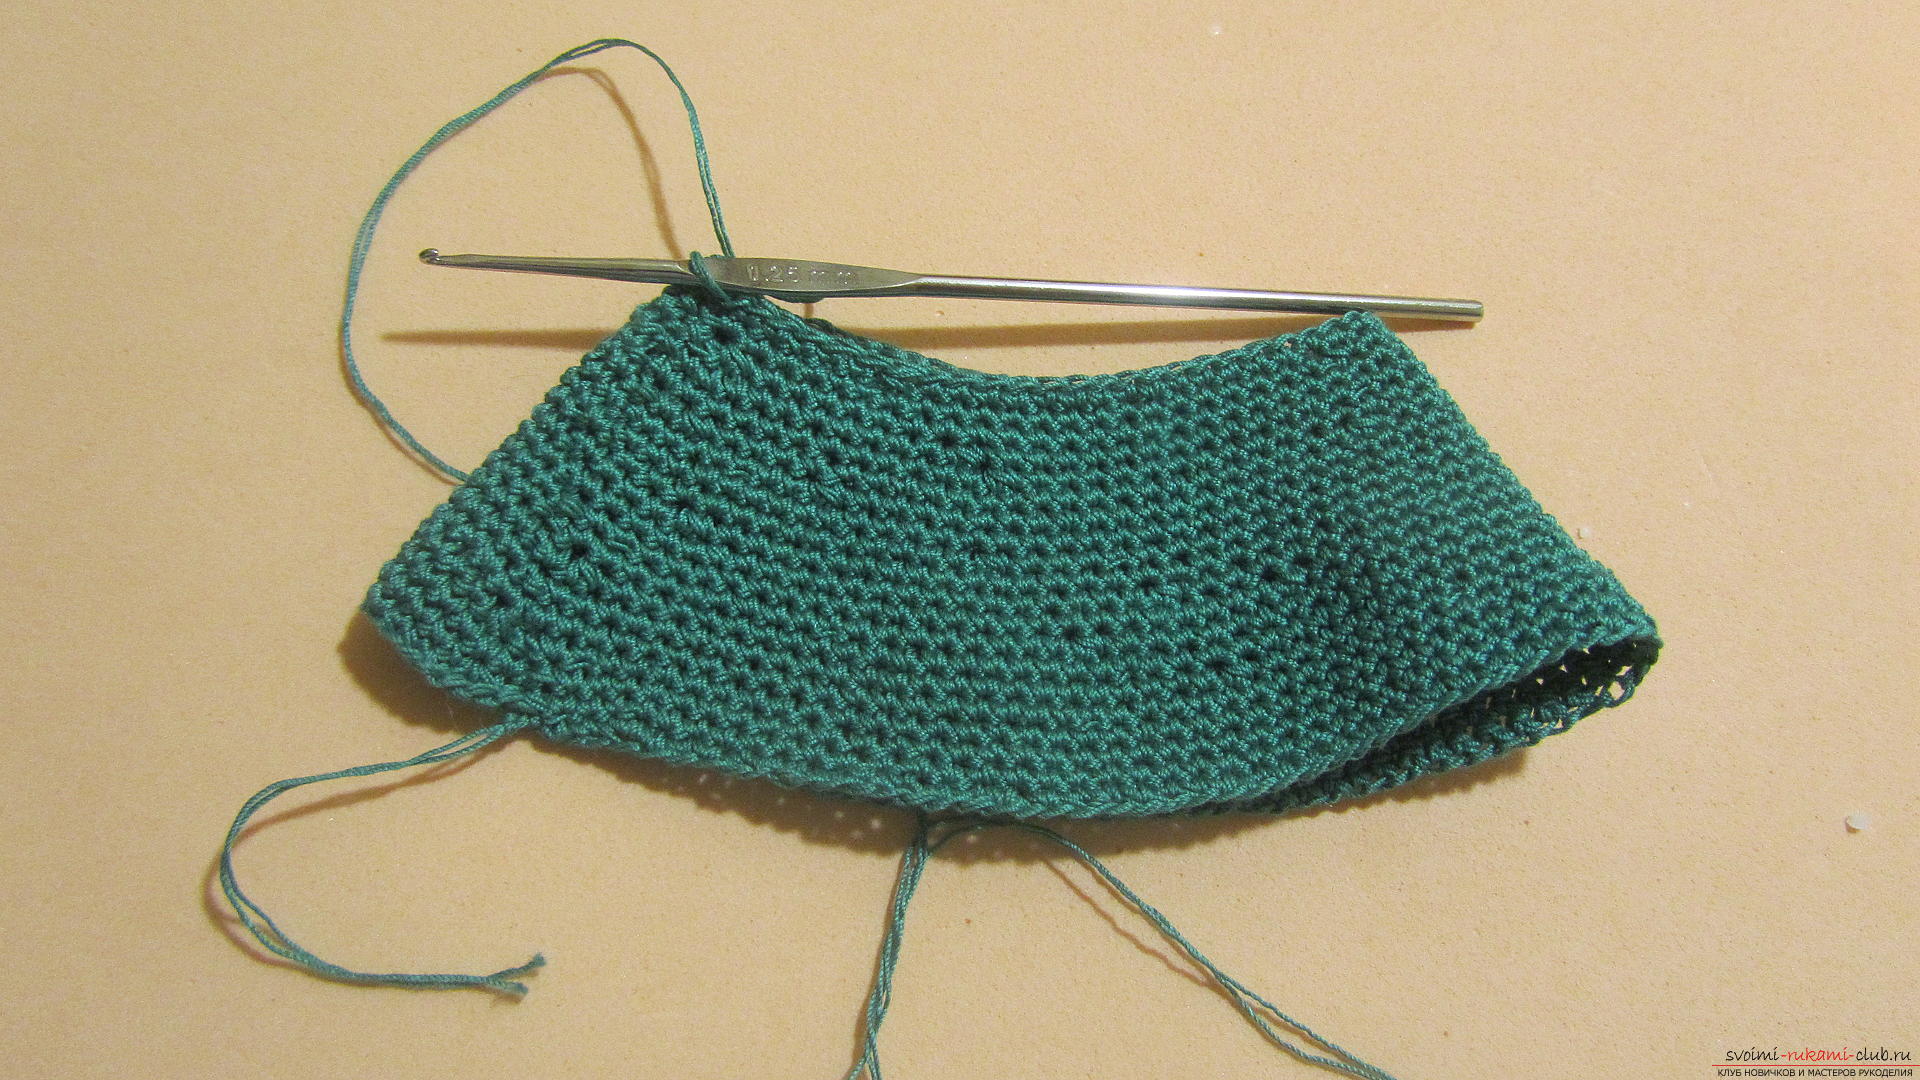 We continue knitting, so the tree looks like when it is left to tie one third.
 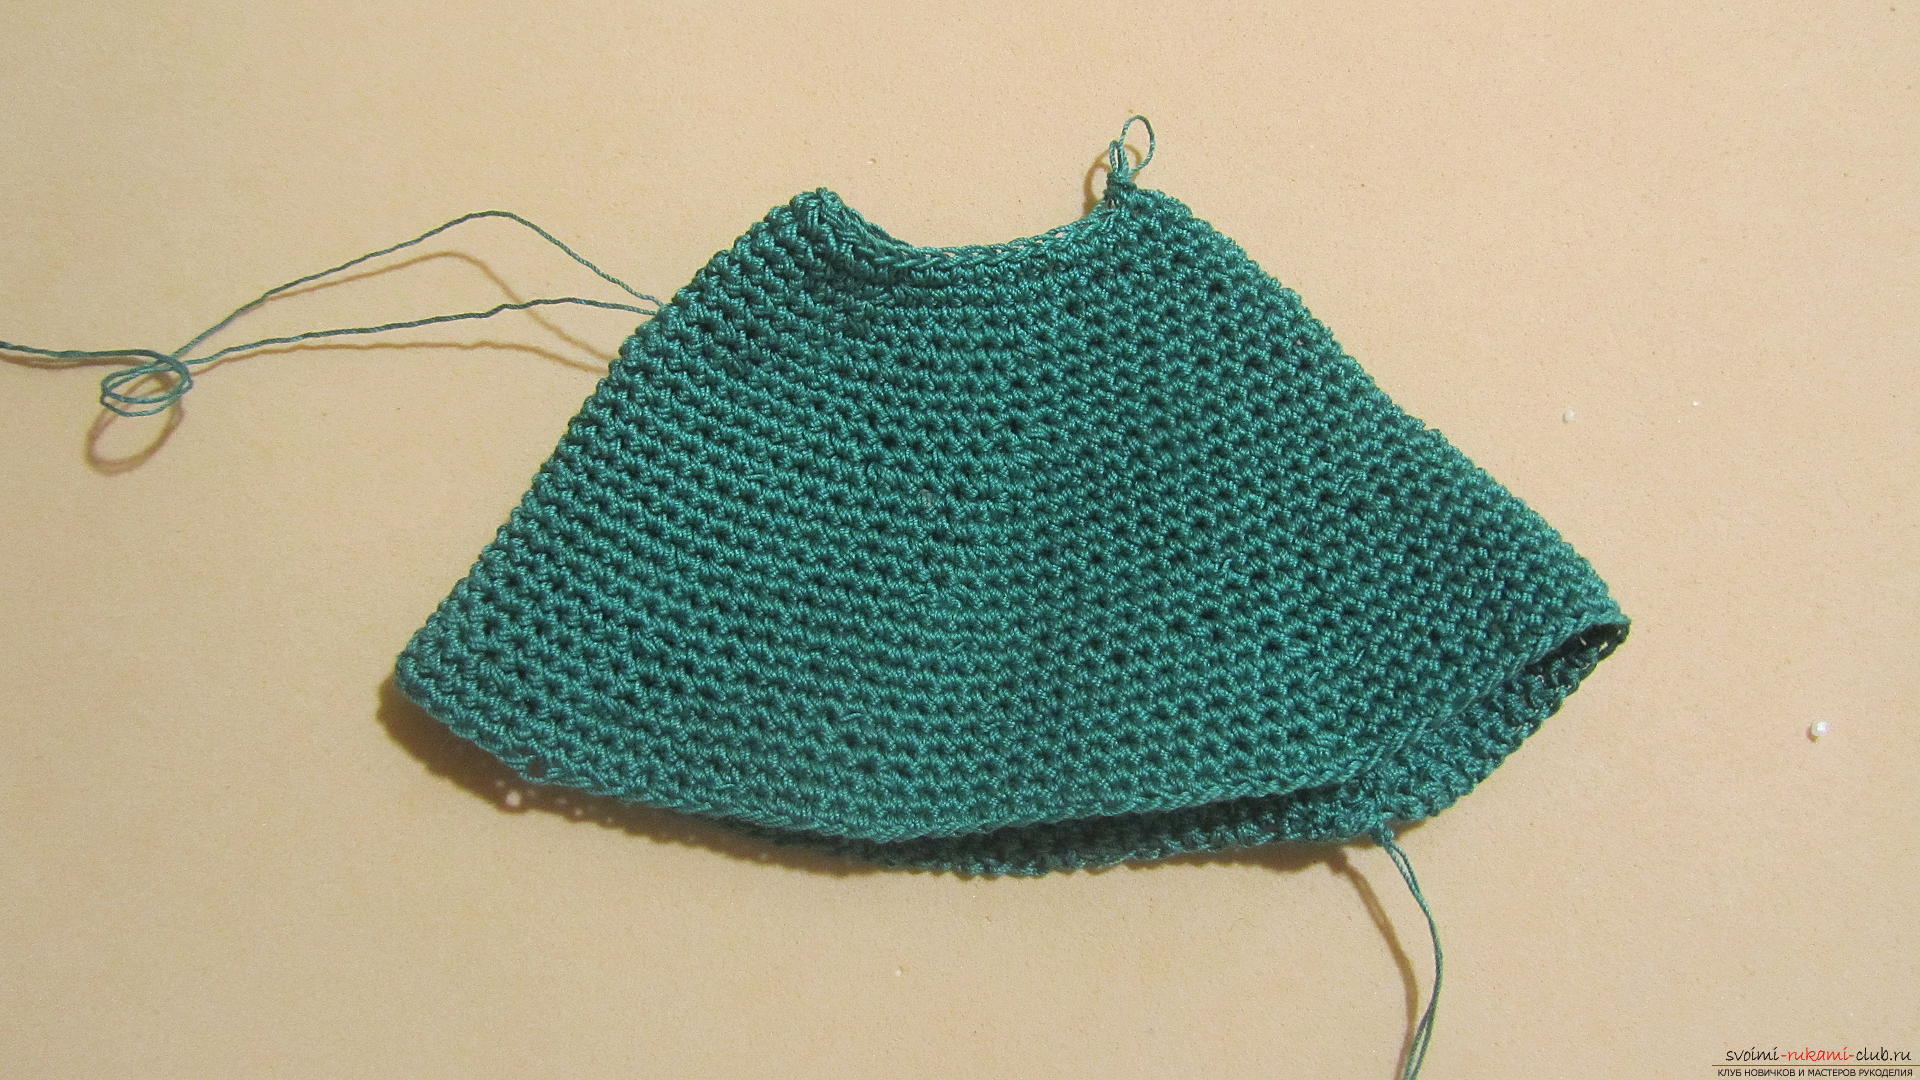 We continue to loosen the loops until there are only 2 left in the row. We tie them together. The first part of the Christmas tree is ready.
 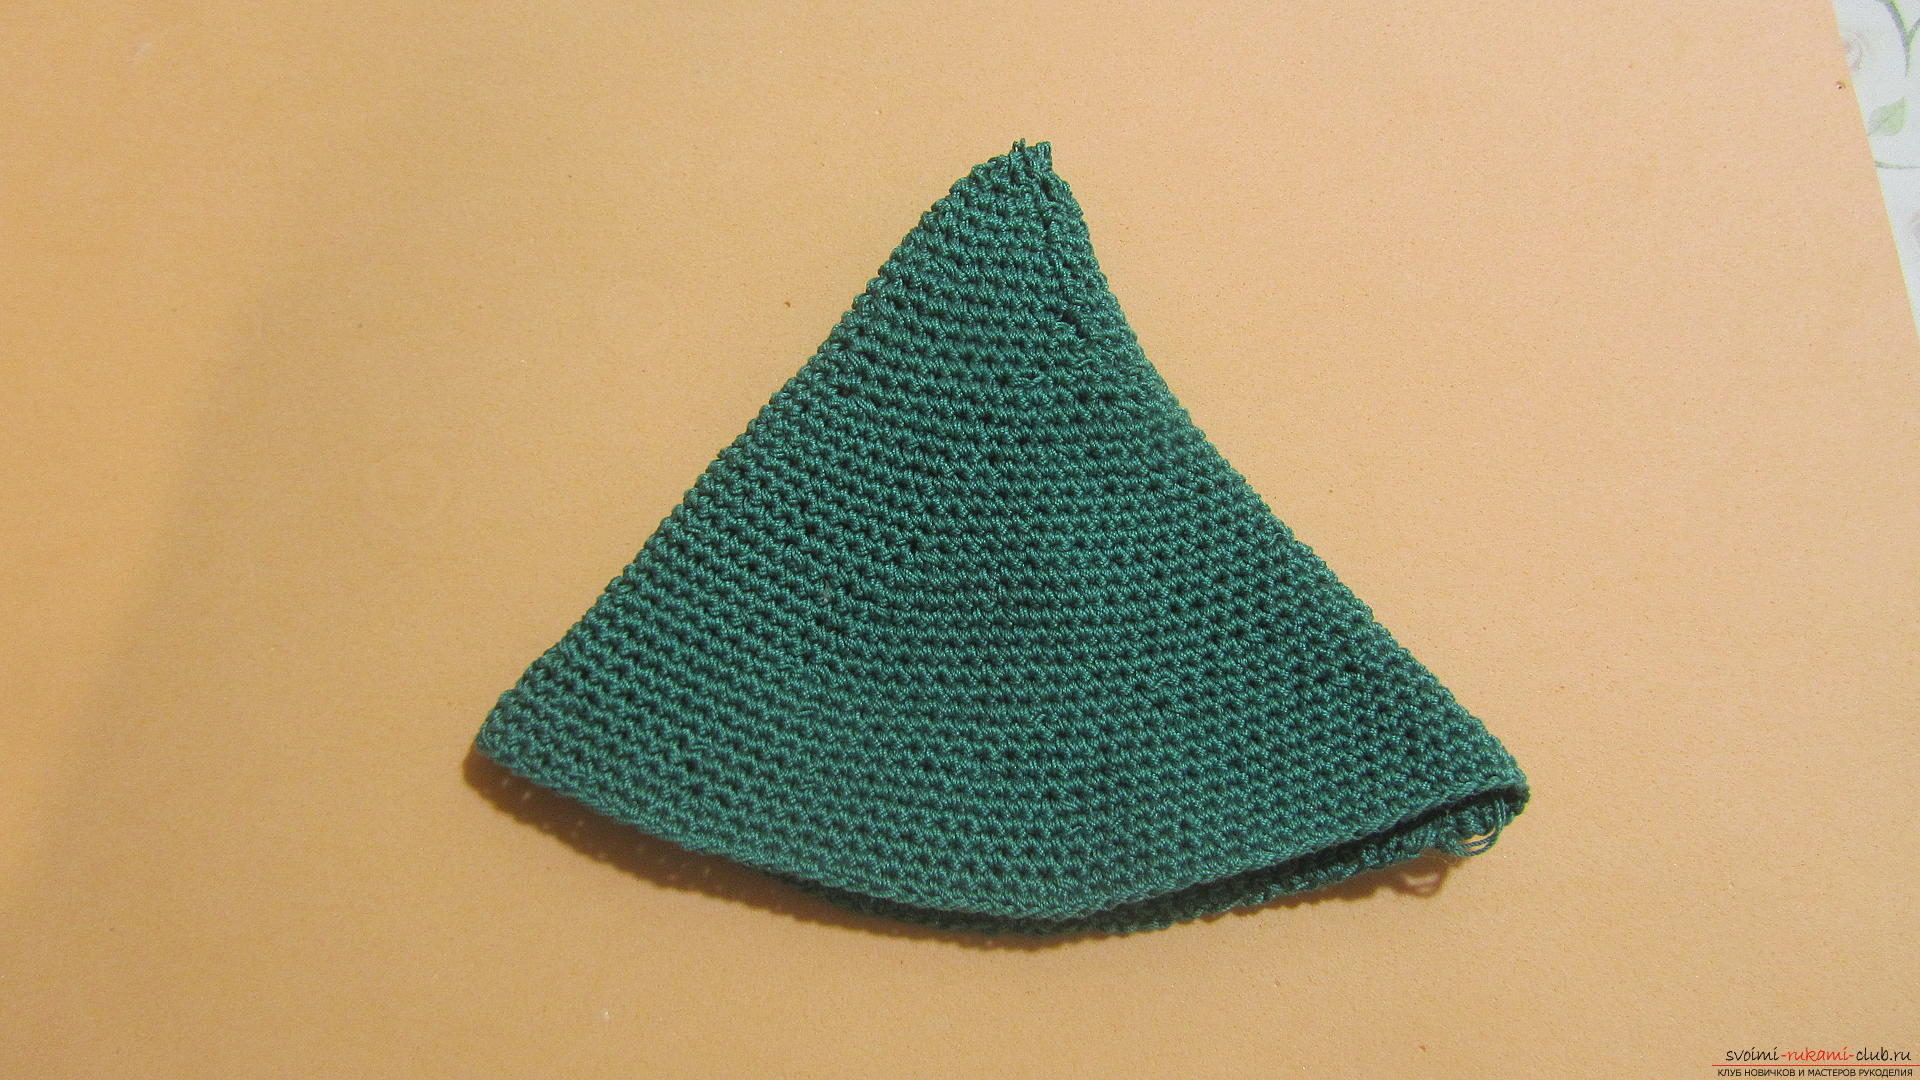 Now we will connect the round base. For him, we will dial 4 loops and connect them in a ring.
 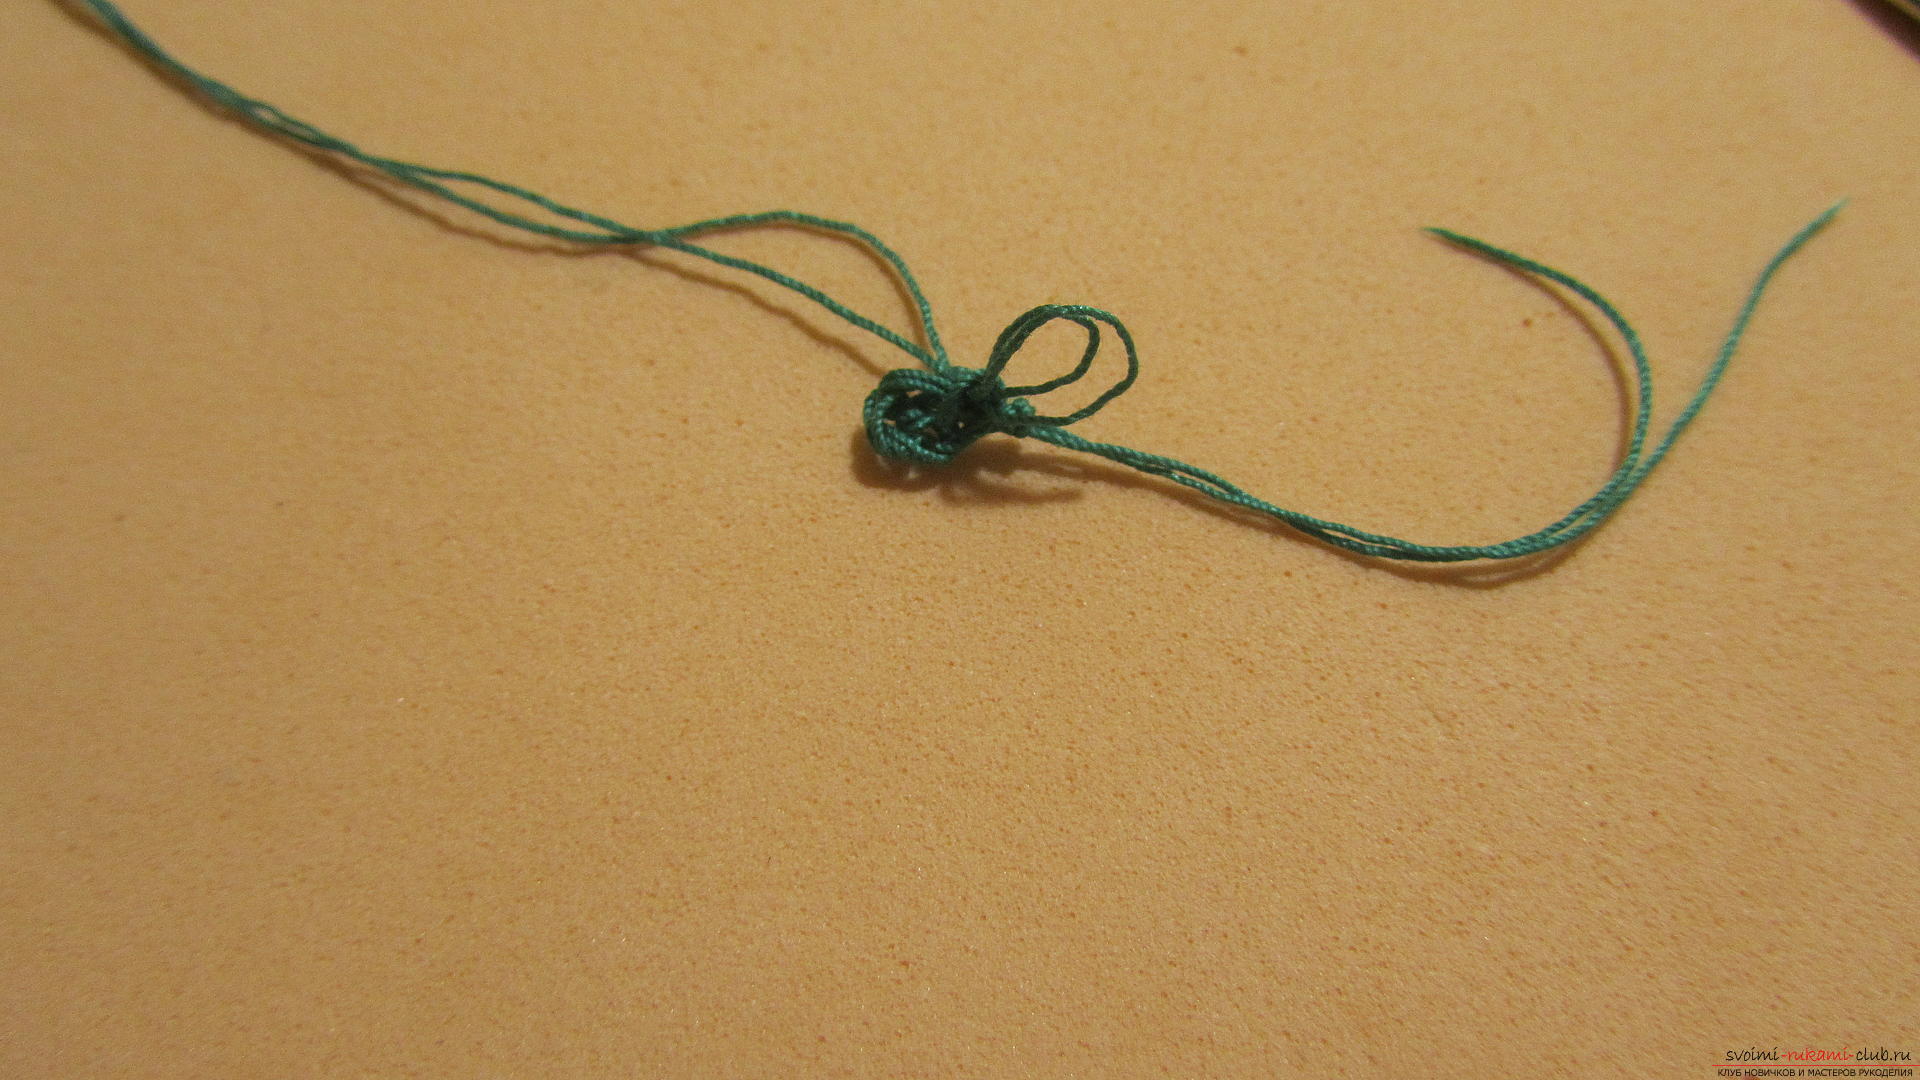 The base will be knitted in a spiral, adding loops as necessary.
 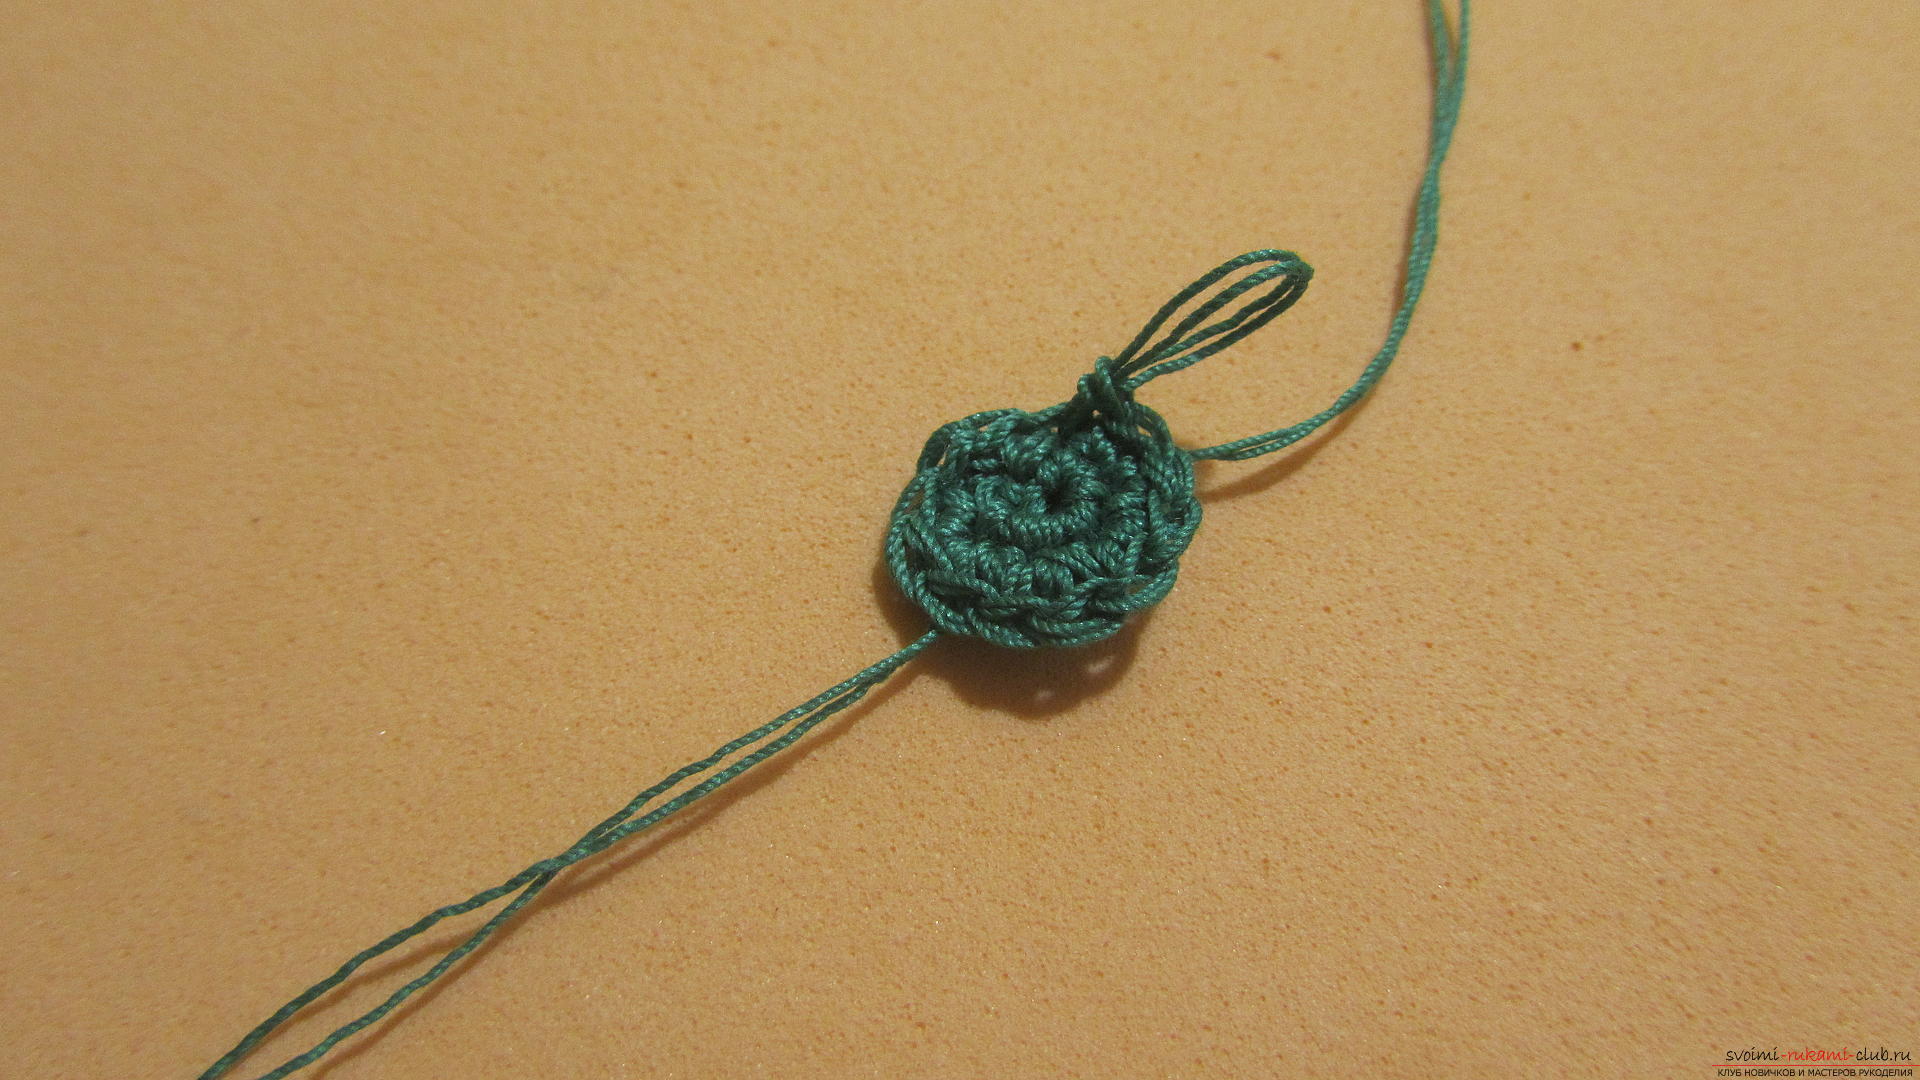 How to understand that you need a loop increase? If you put knitting on a flat surface - the circle should be flat. If the edges became wavy - added unnecessary. If, instead of a circle, a cone is formed, then they add little.
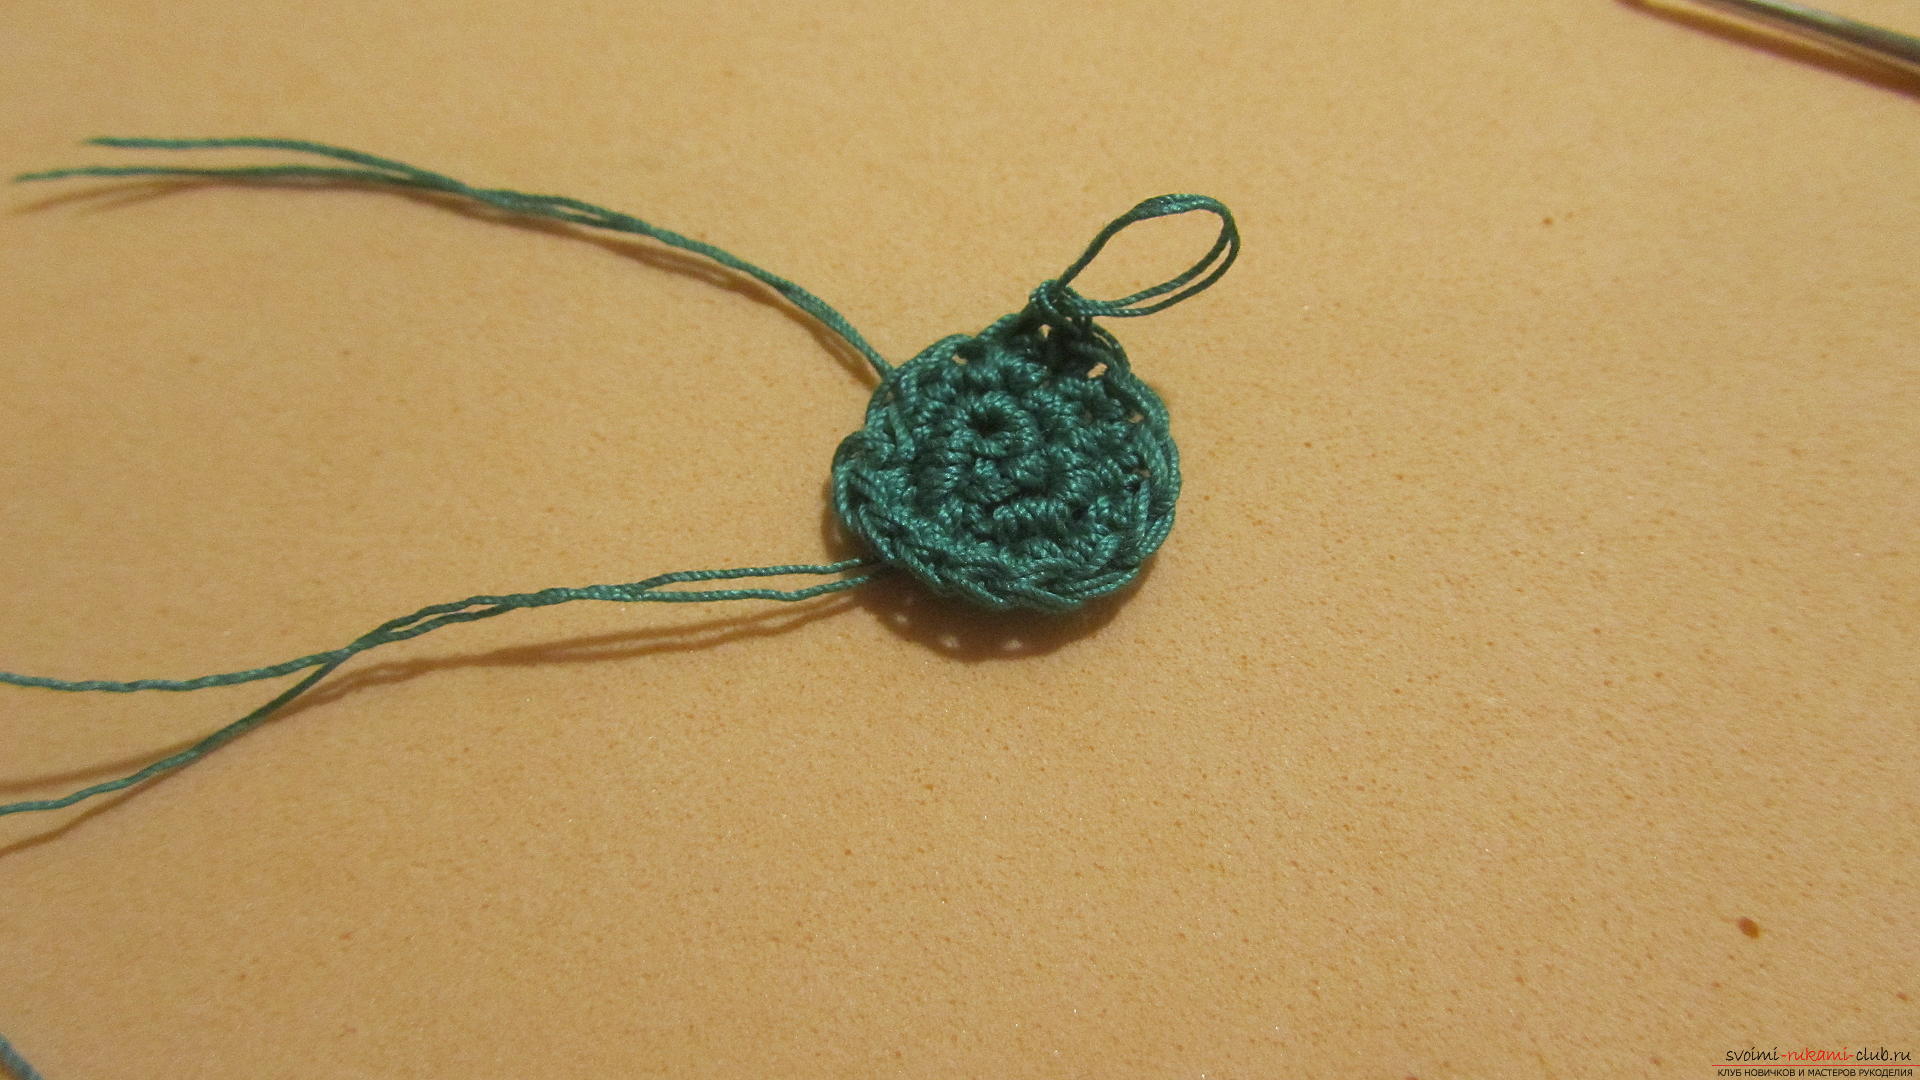
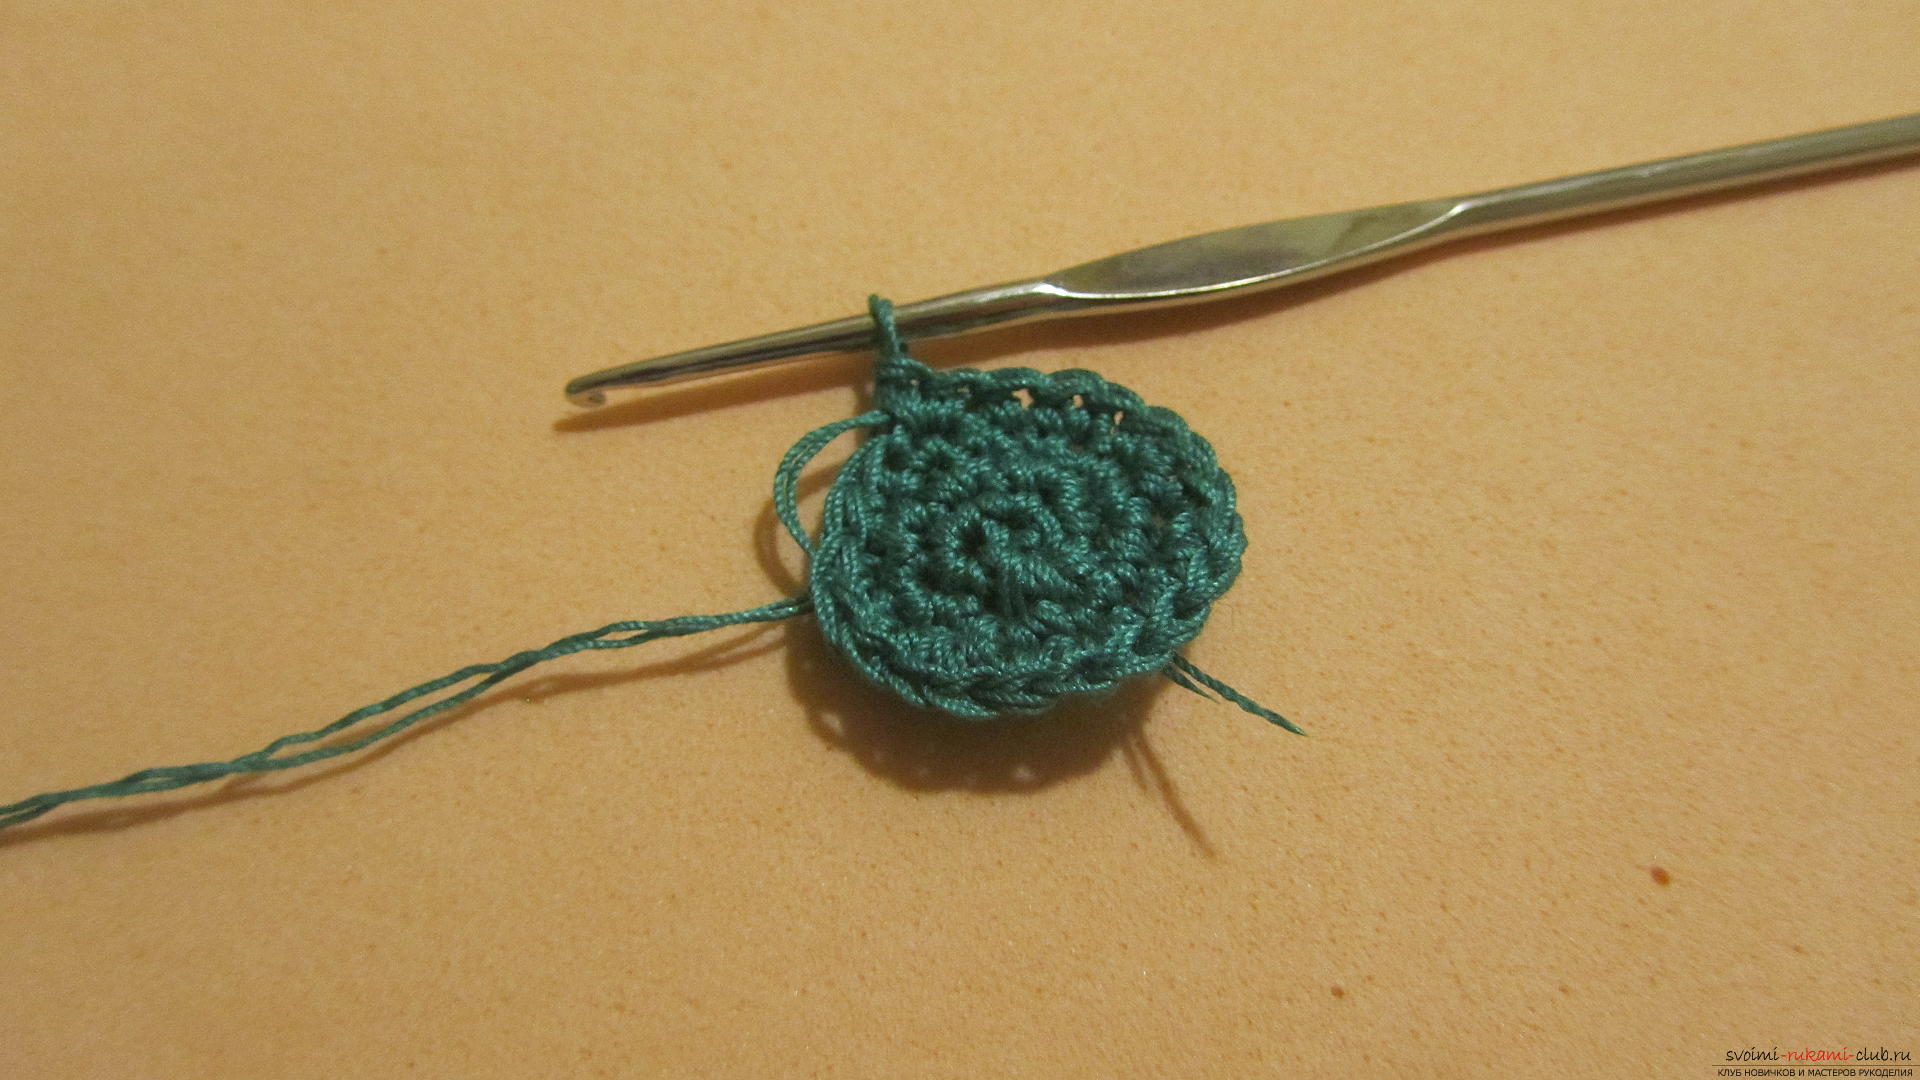
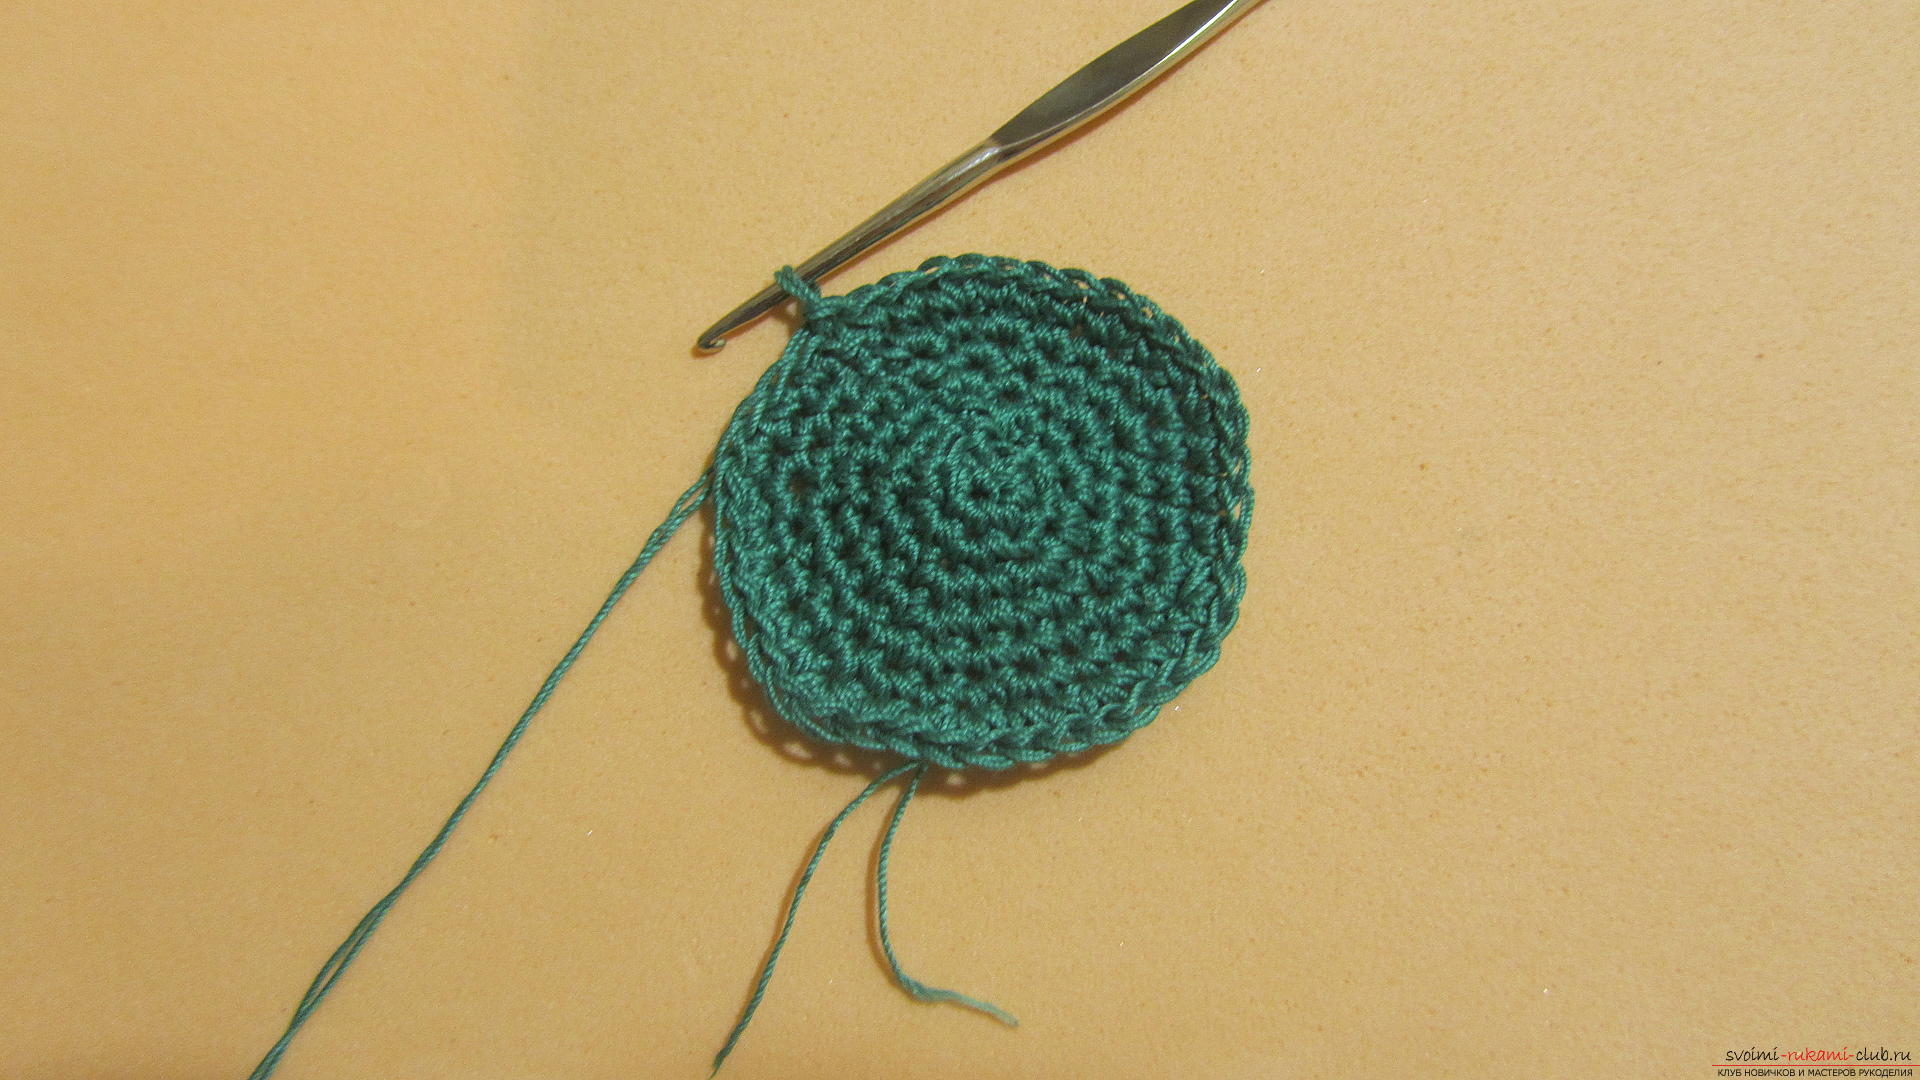 We finish the knitting of the circle when the number of loops reaches 100.
 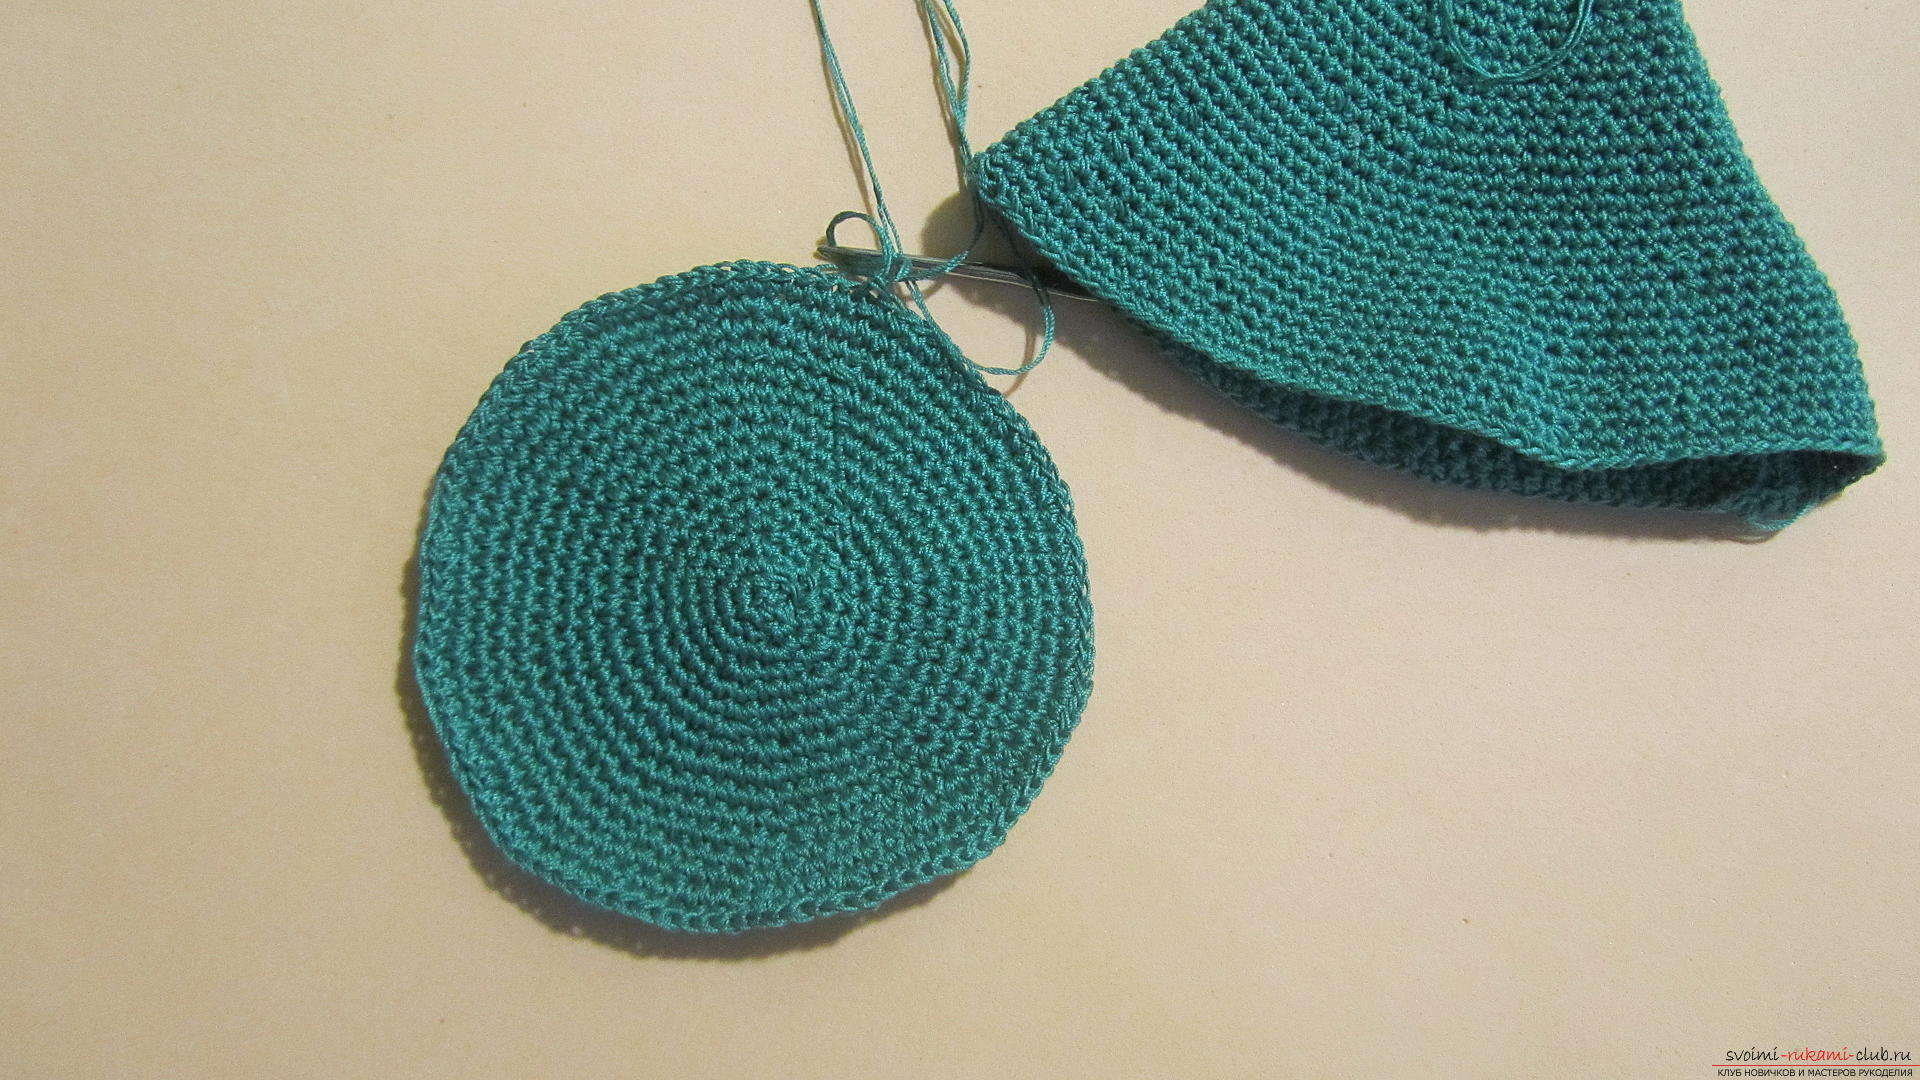 Now, without cutting off the thread, we connect our two parts. We connect them with simple columns.
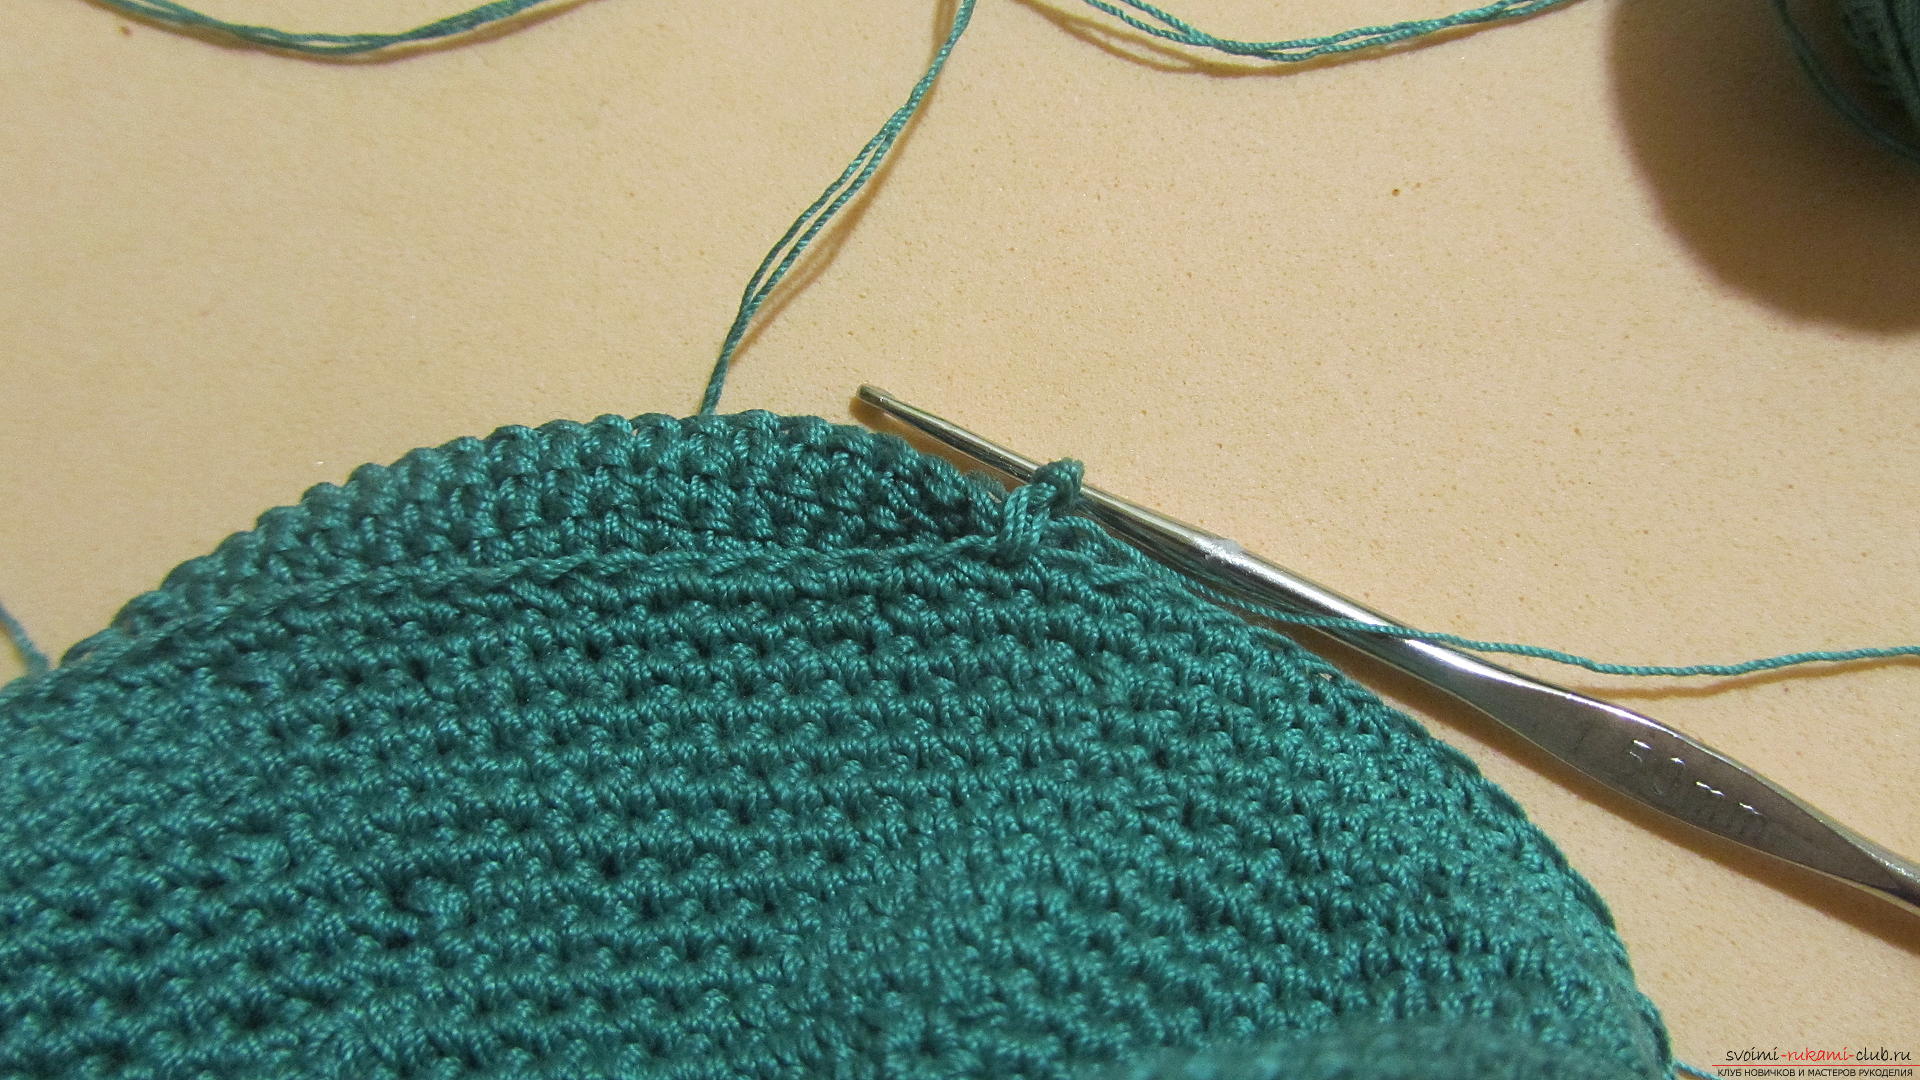
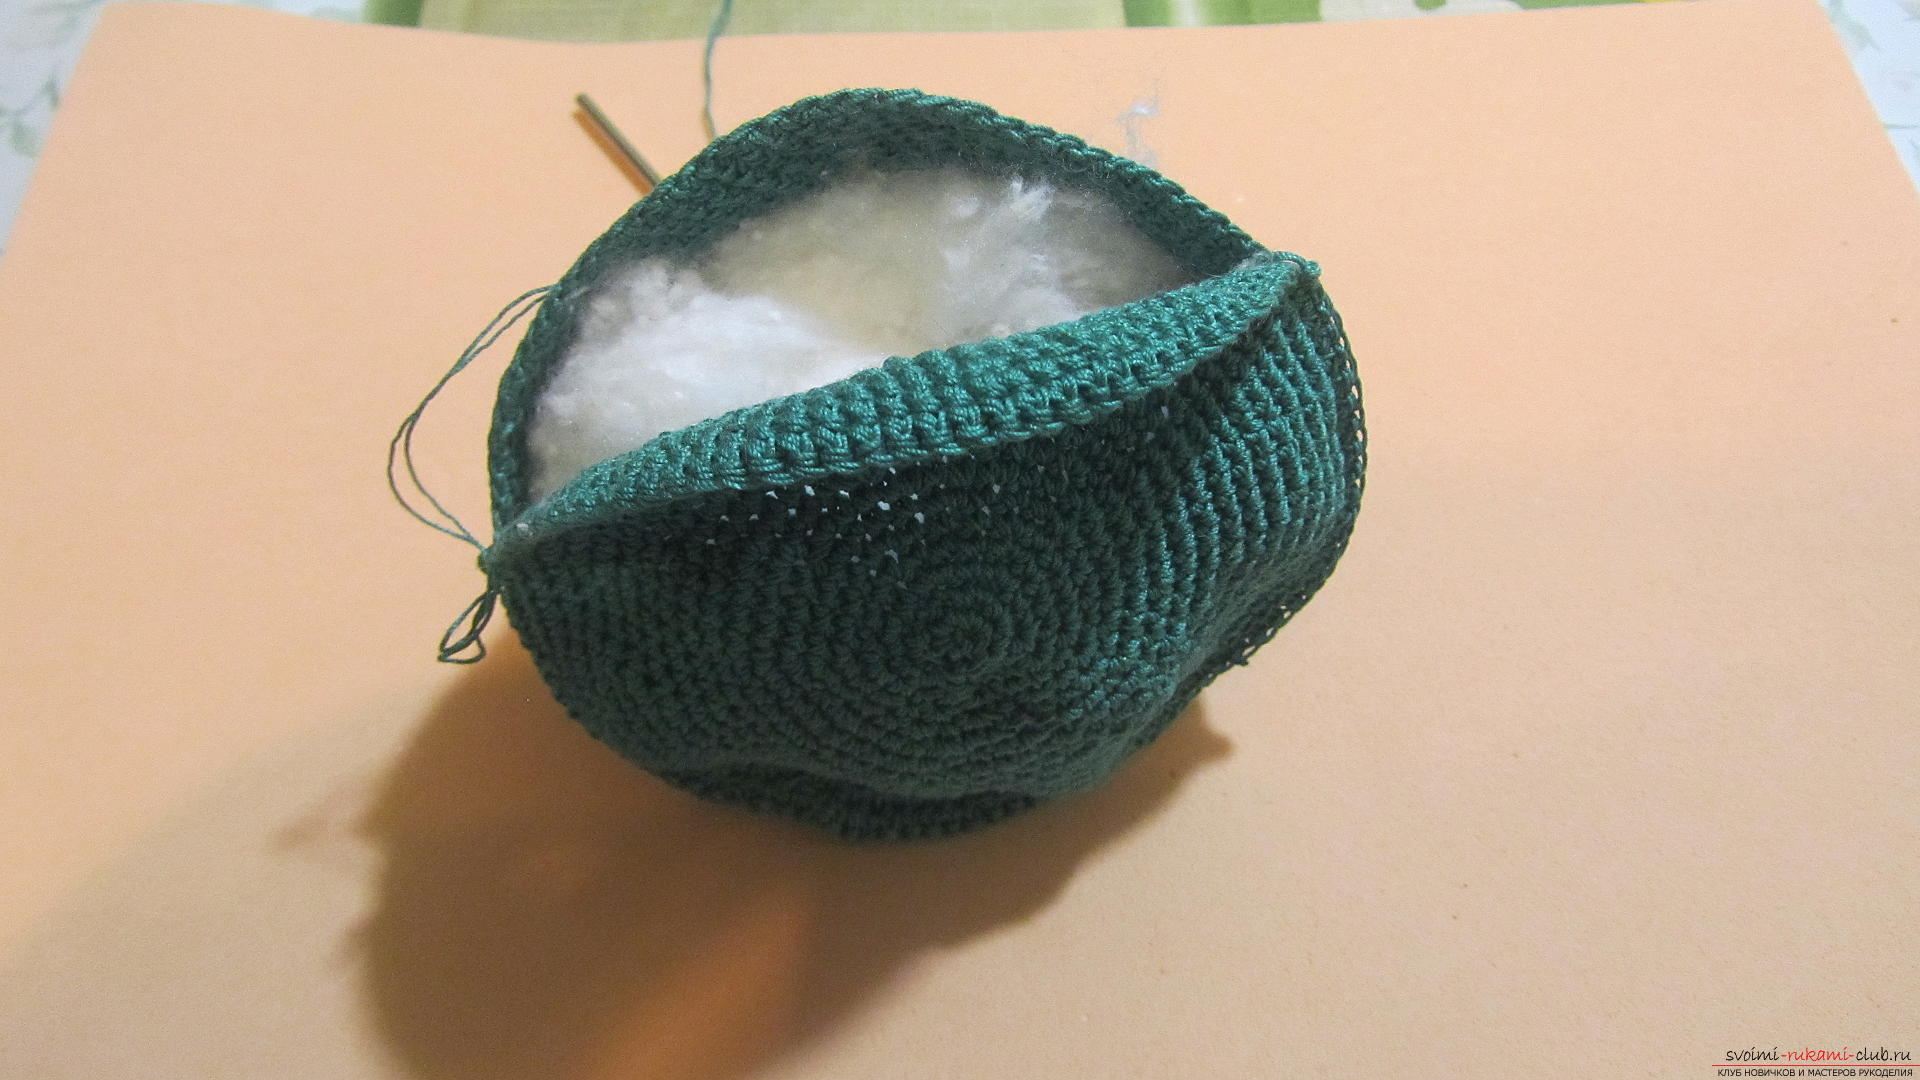
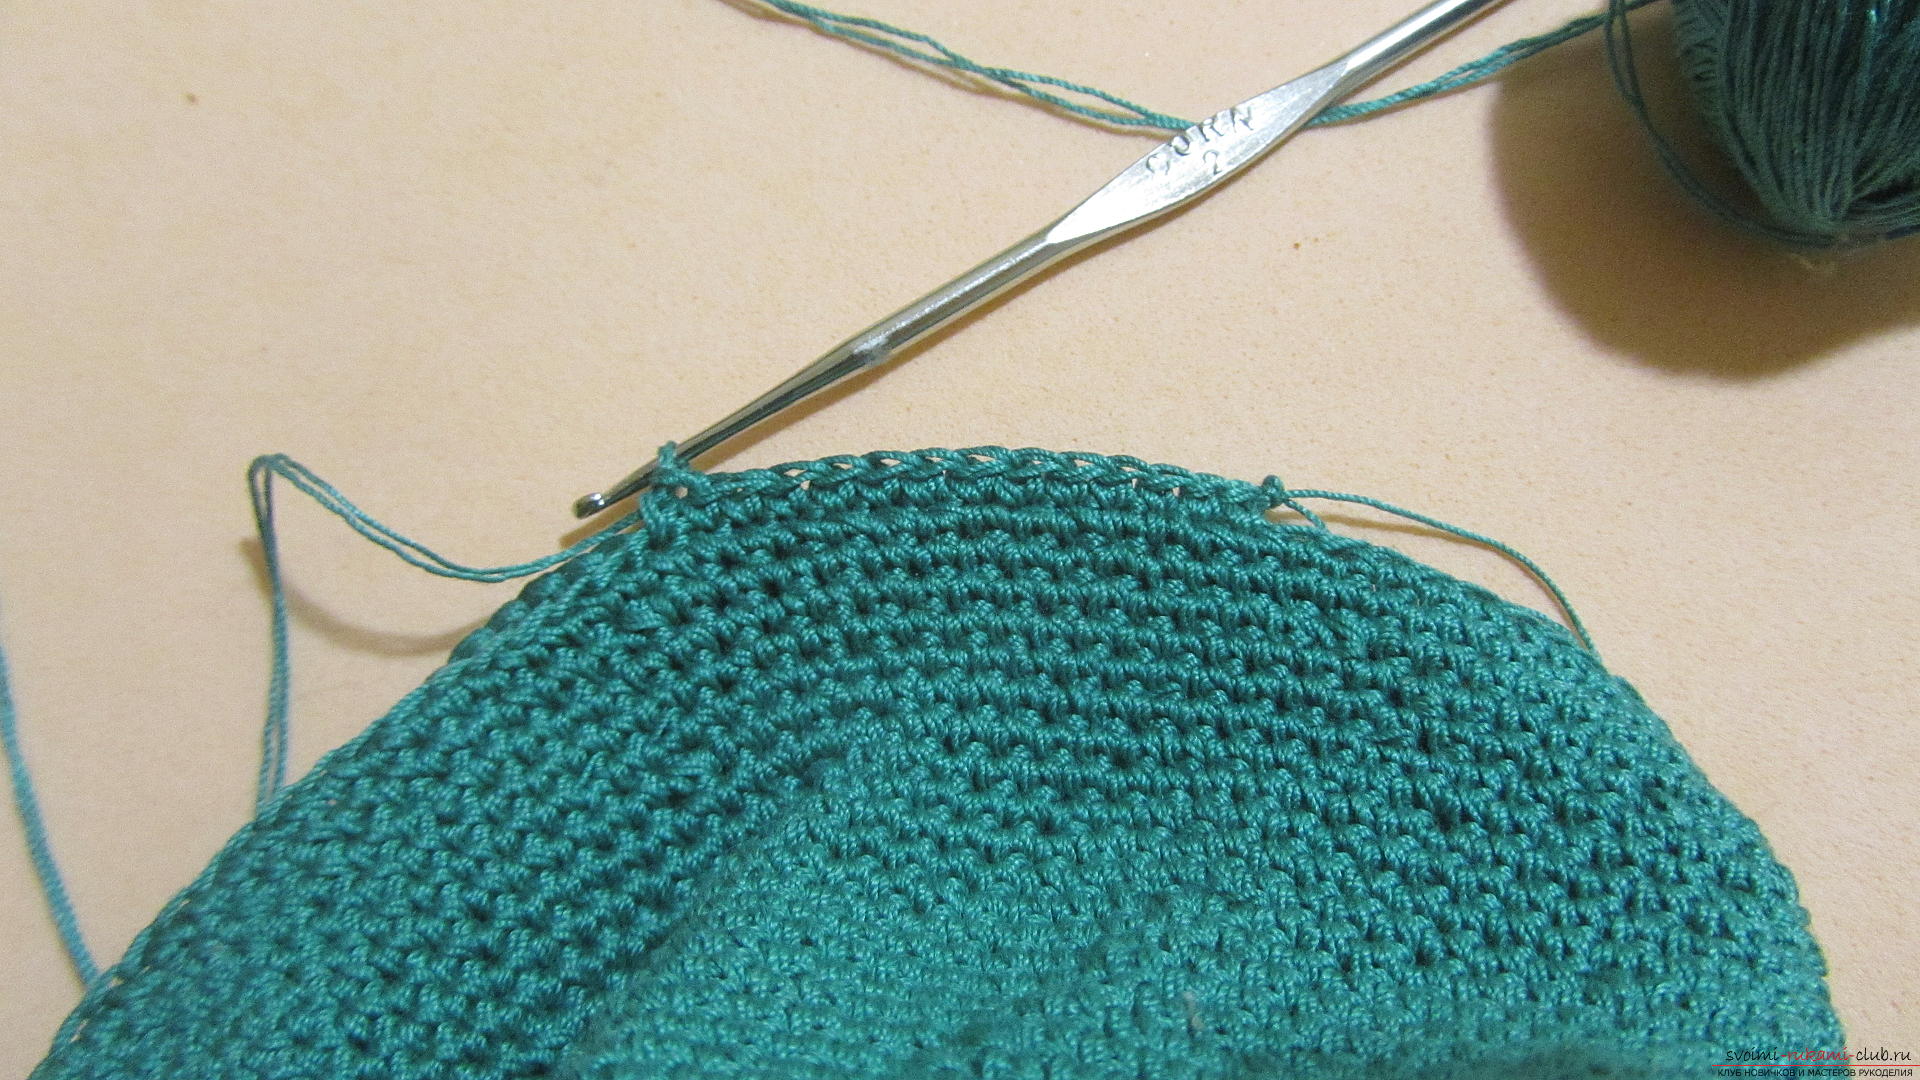 Having copied the most part, we fill our Christmas tree with cotton wool or synthetic sintepon.
  Now decorate. For decoration we use small beads of two colors - red and white.
 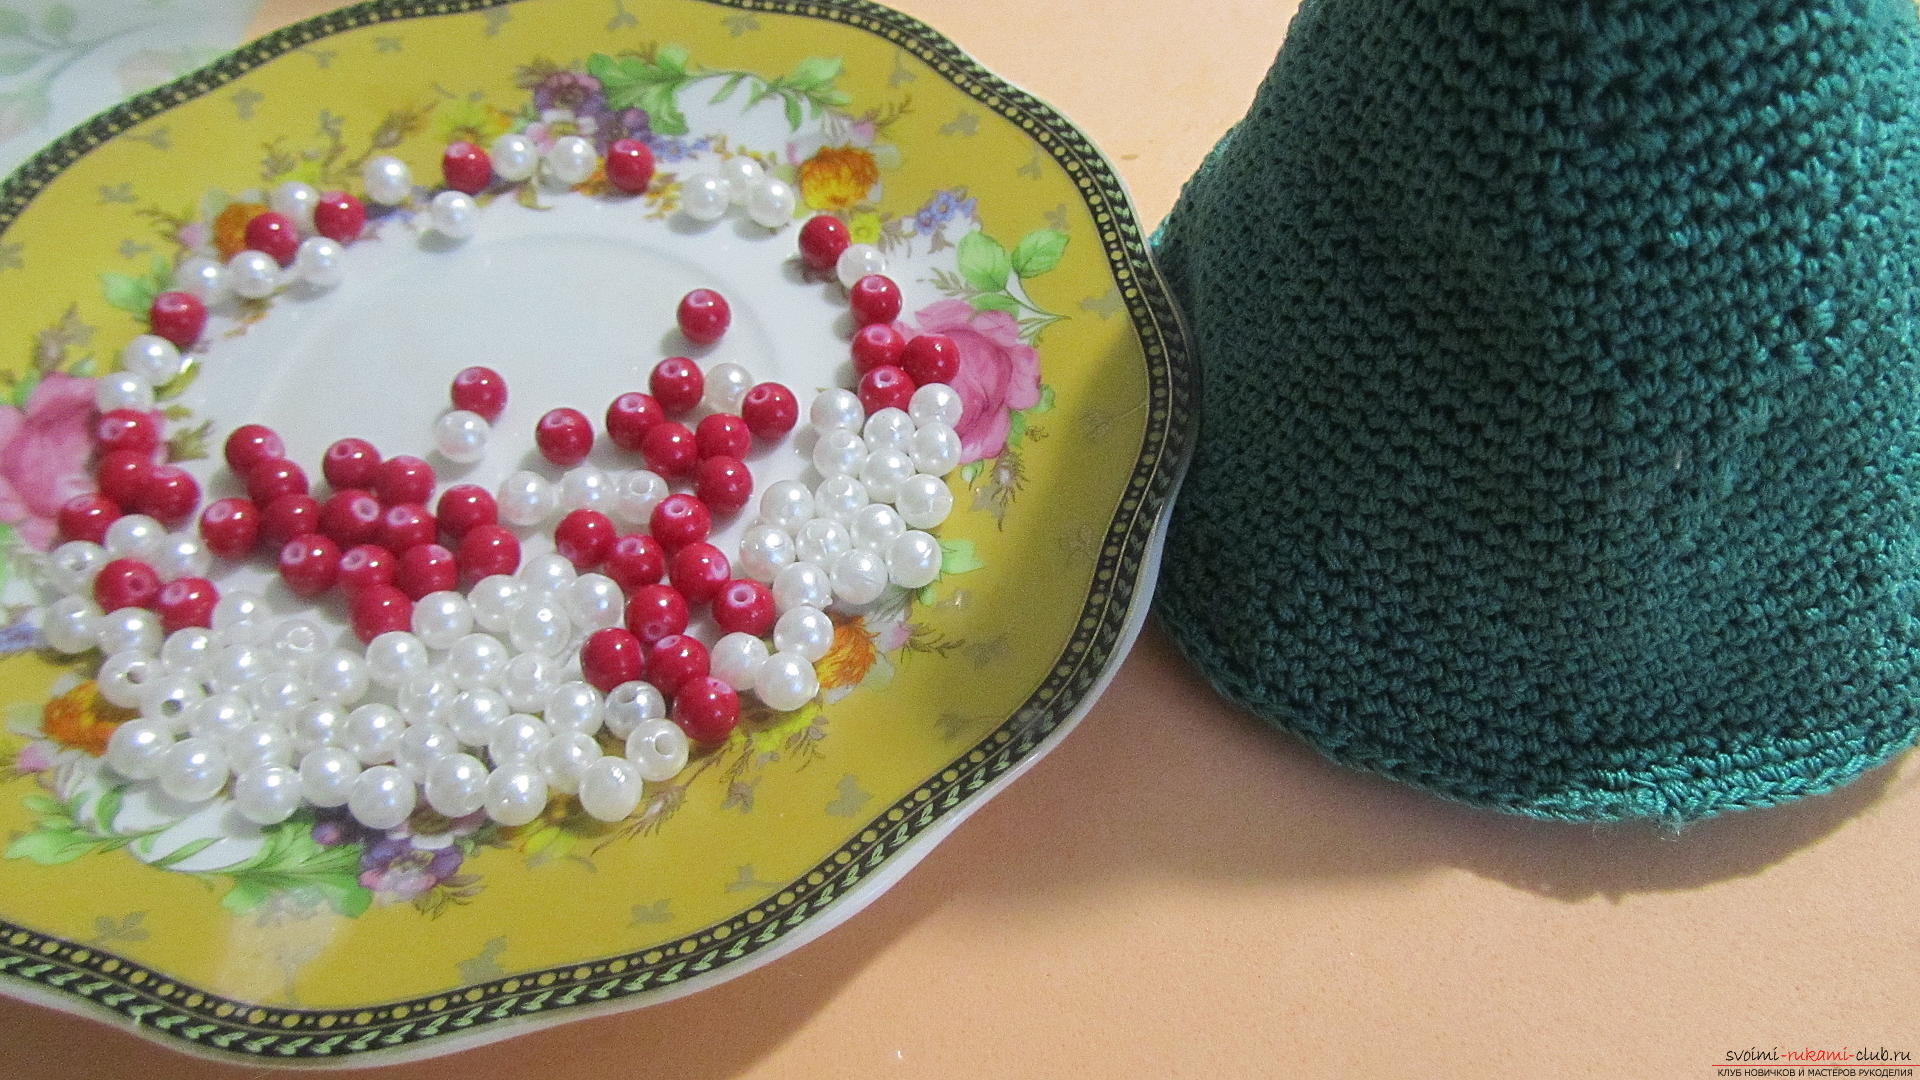 Sew the beads in a circle, at the same distance from each other, alternating colors throughout the Christmas tree.
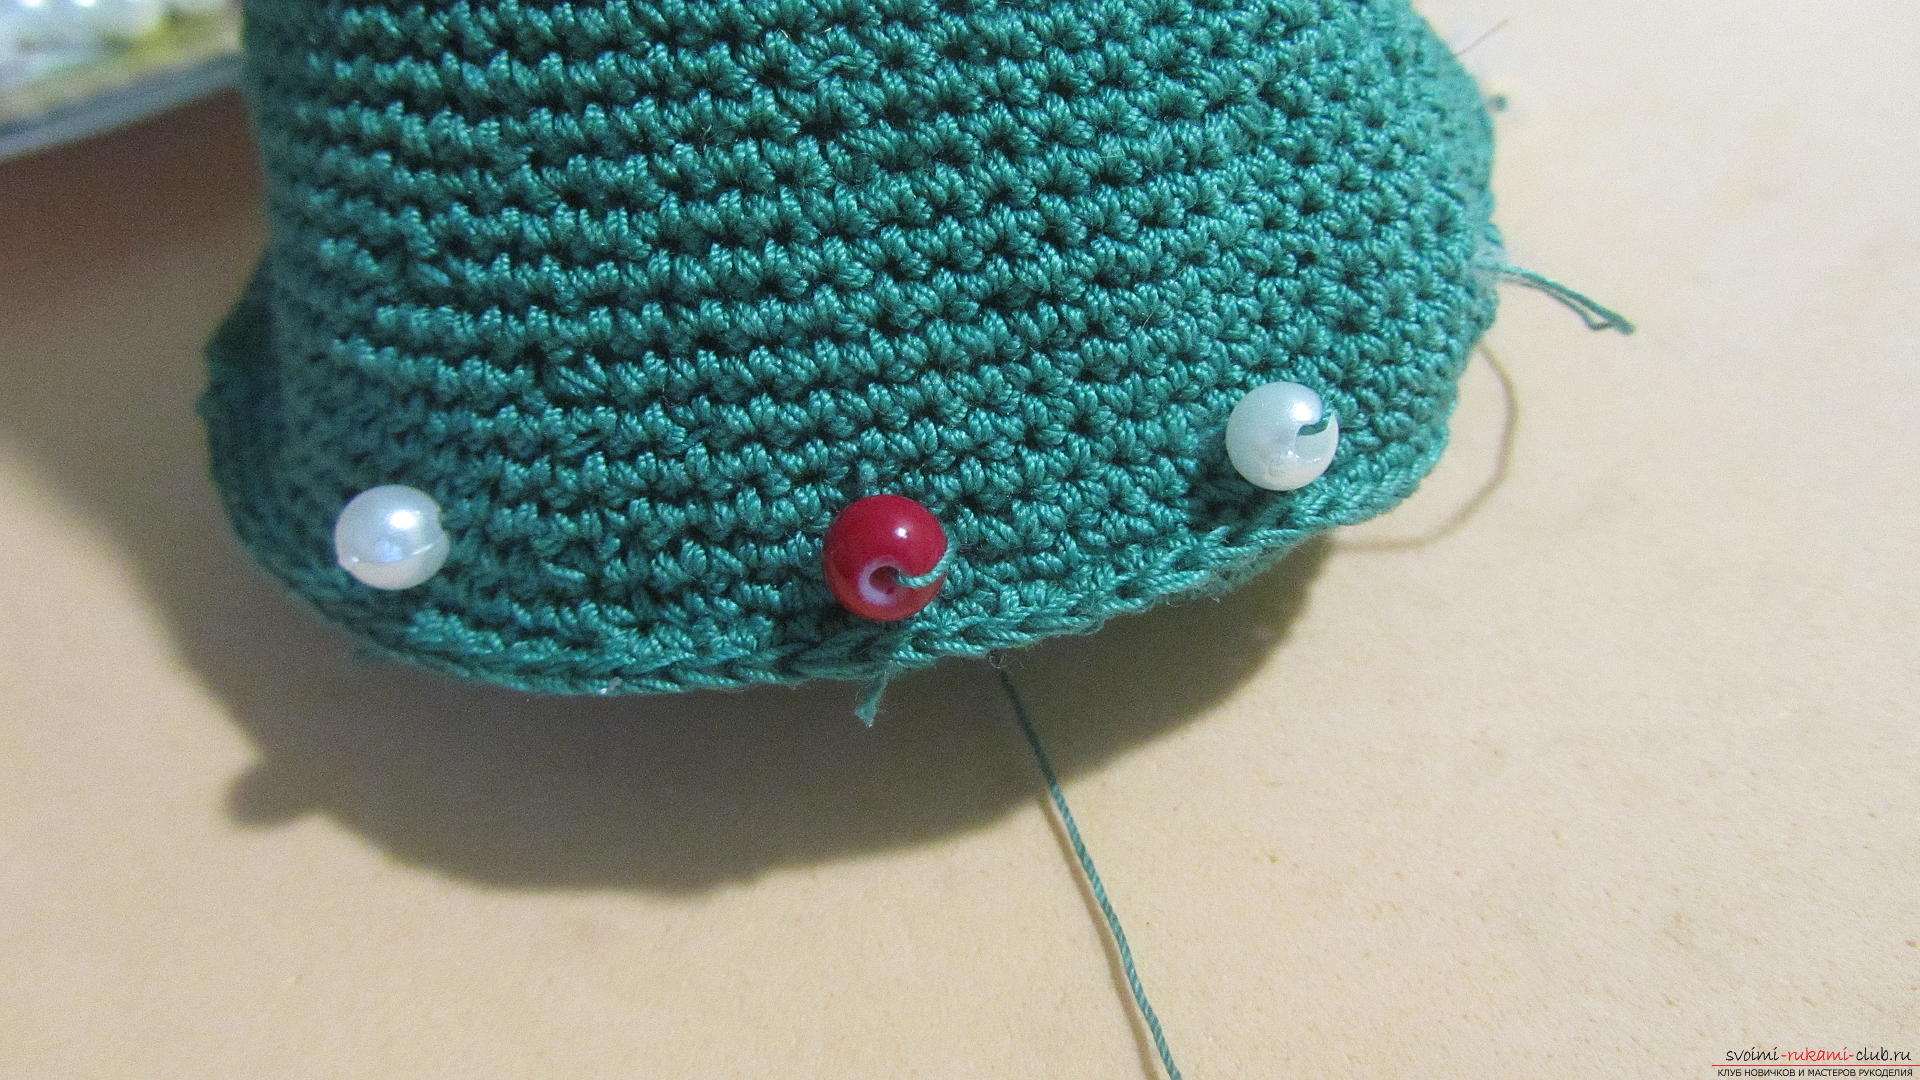
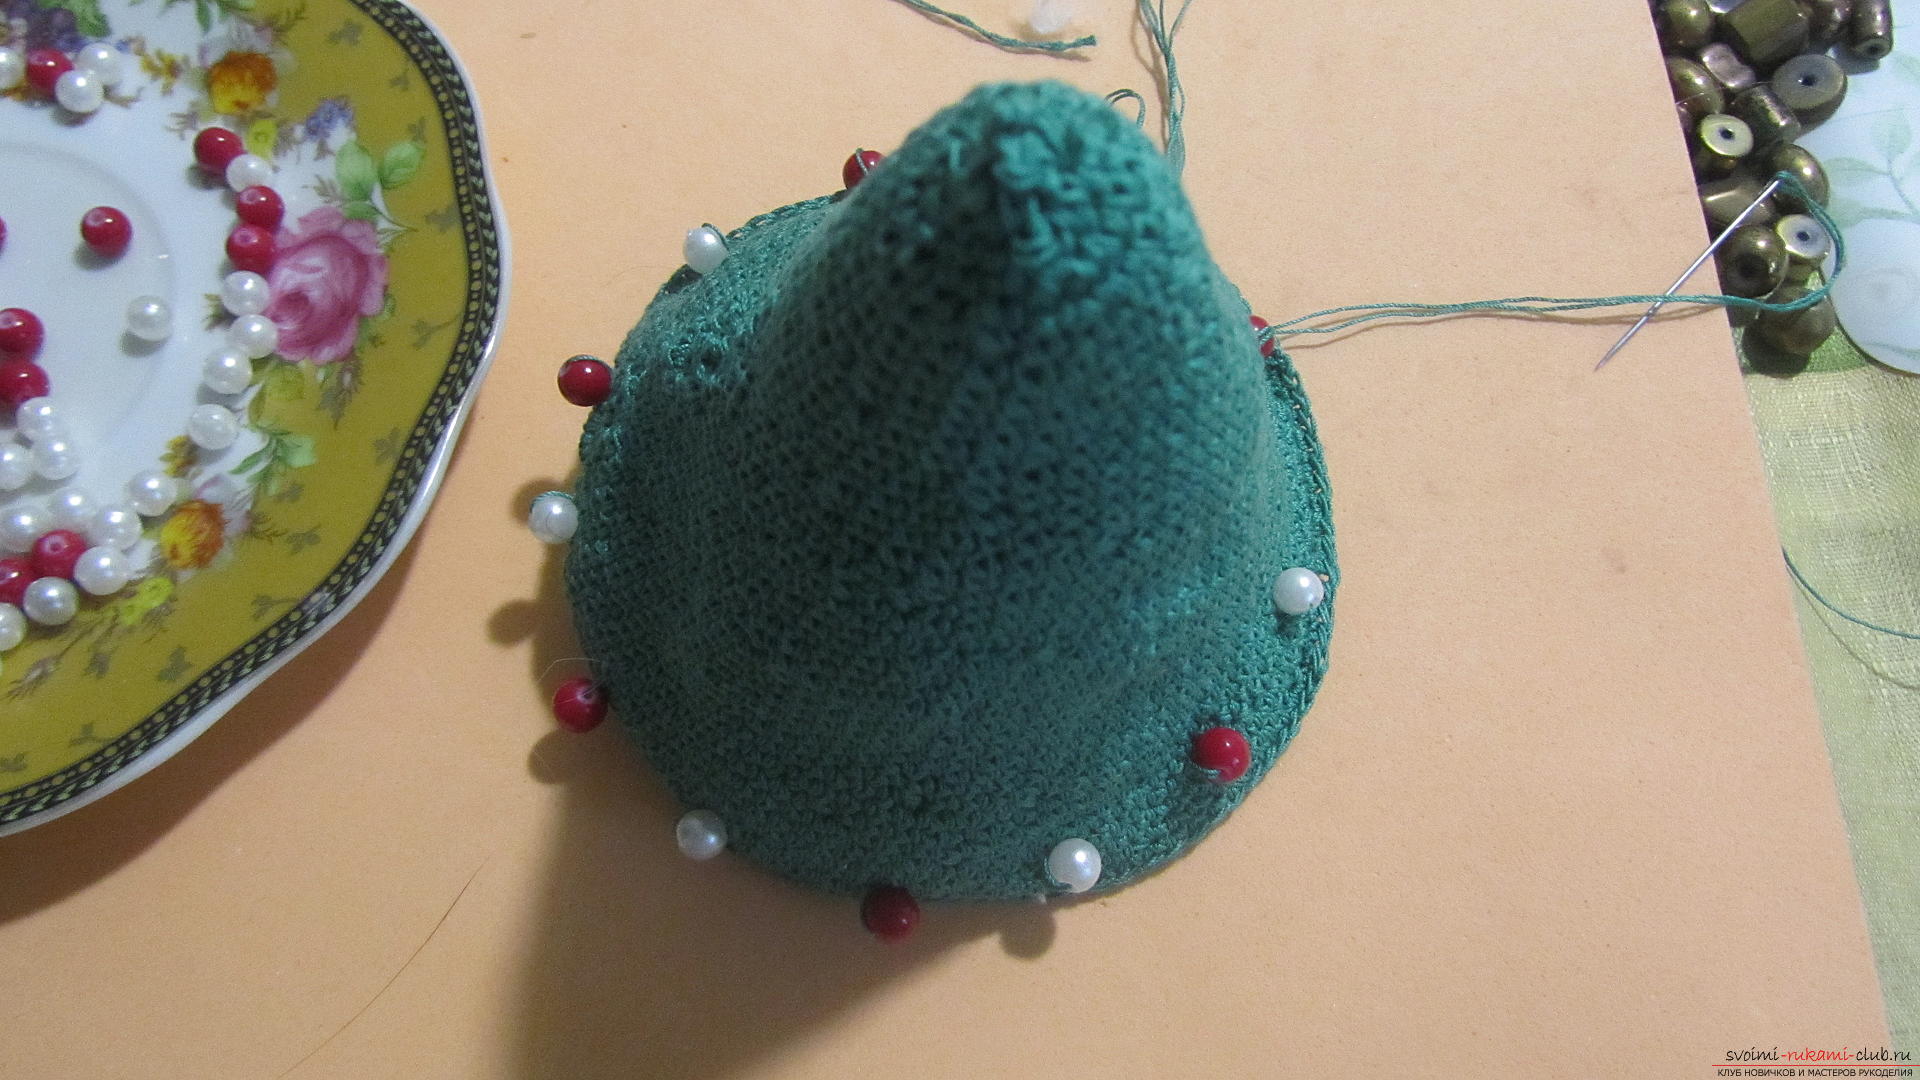 Having finished the first row, proceed to the second. Here, above the red bead we will sew white and vice versa.
 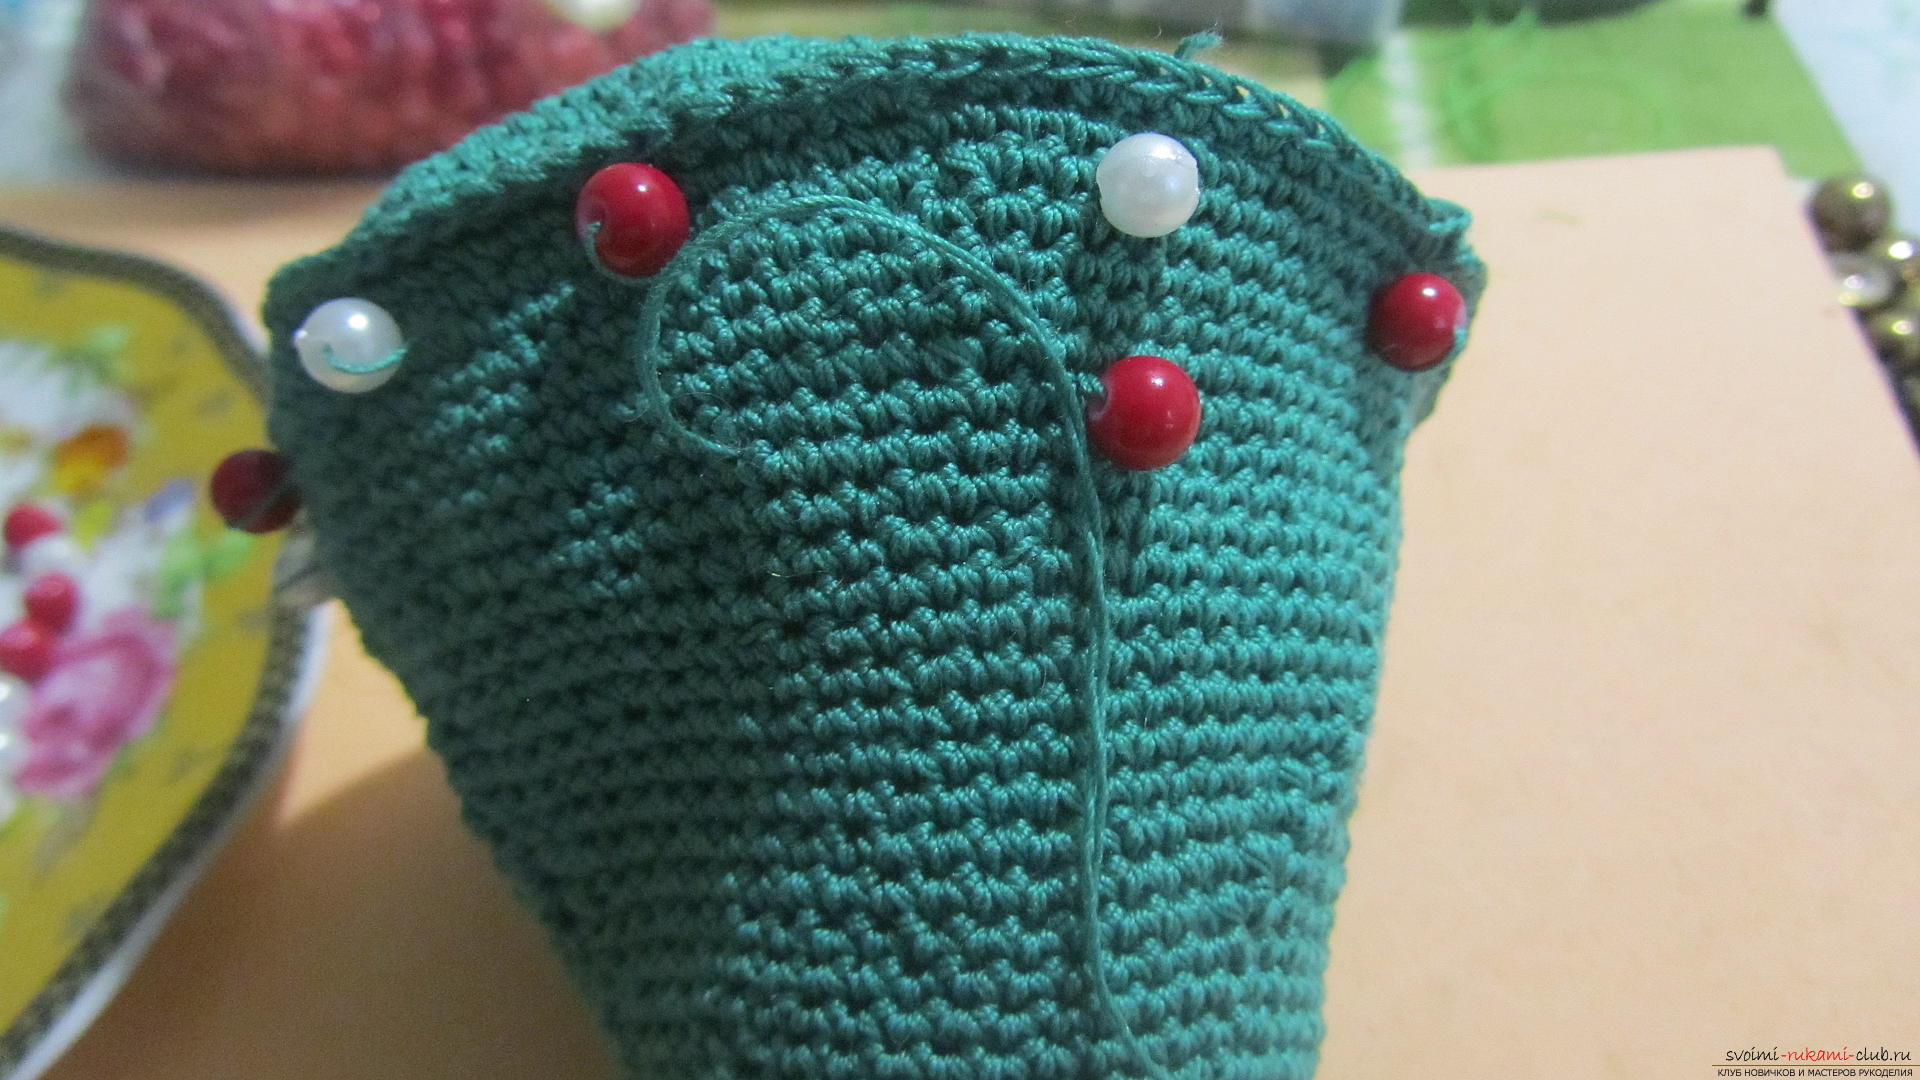 The distance between the beads in the second row will be slightly smaller.
  And so we sew the whole tree.
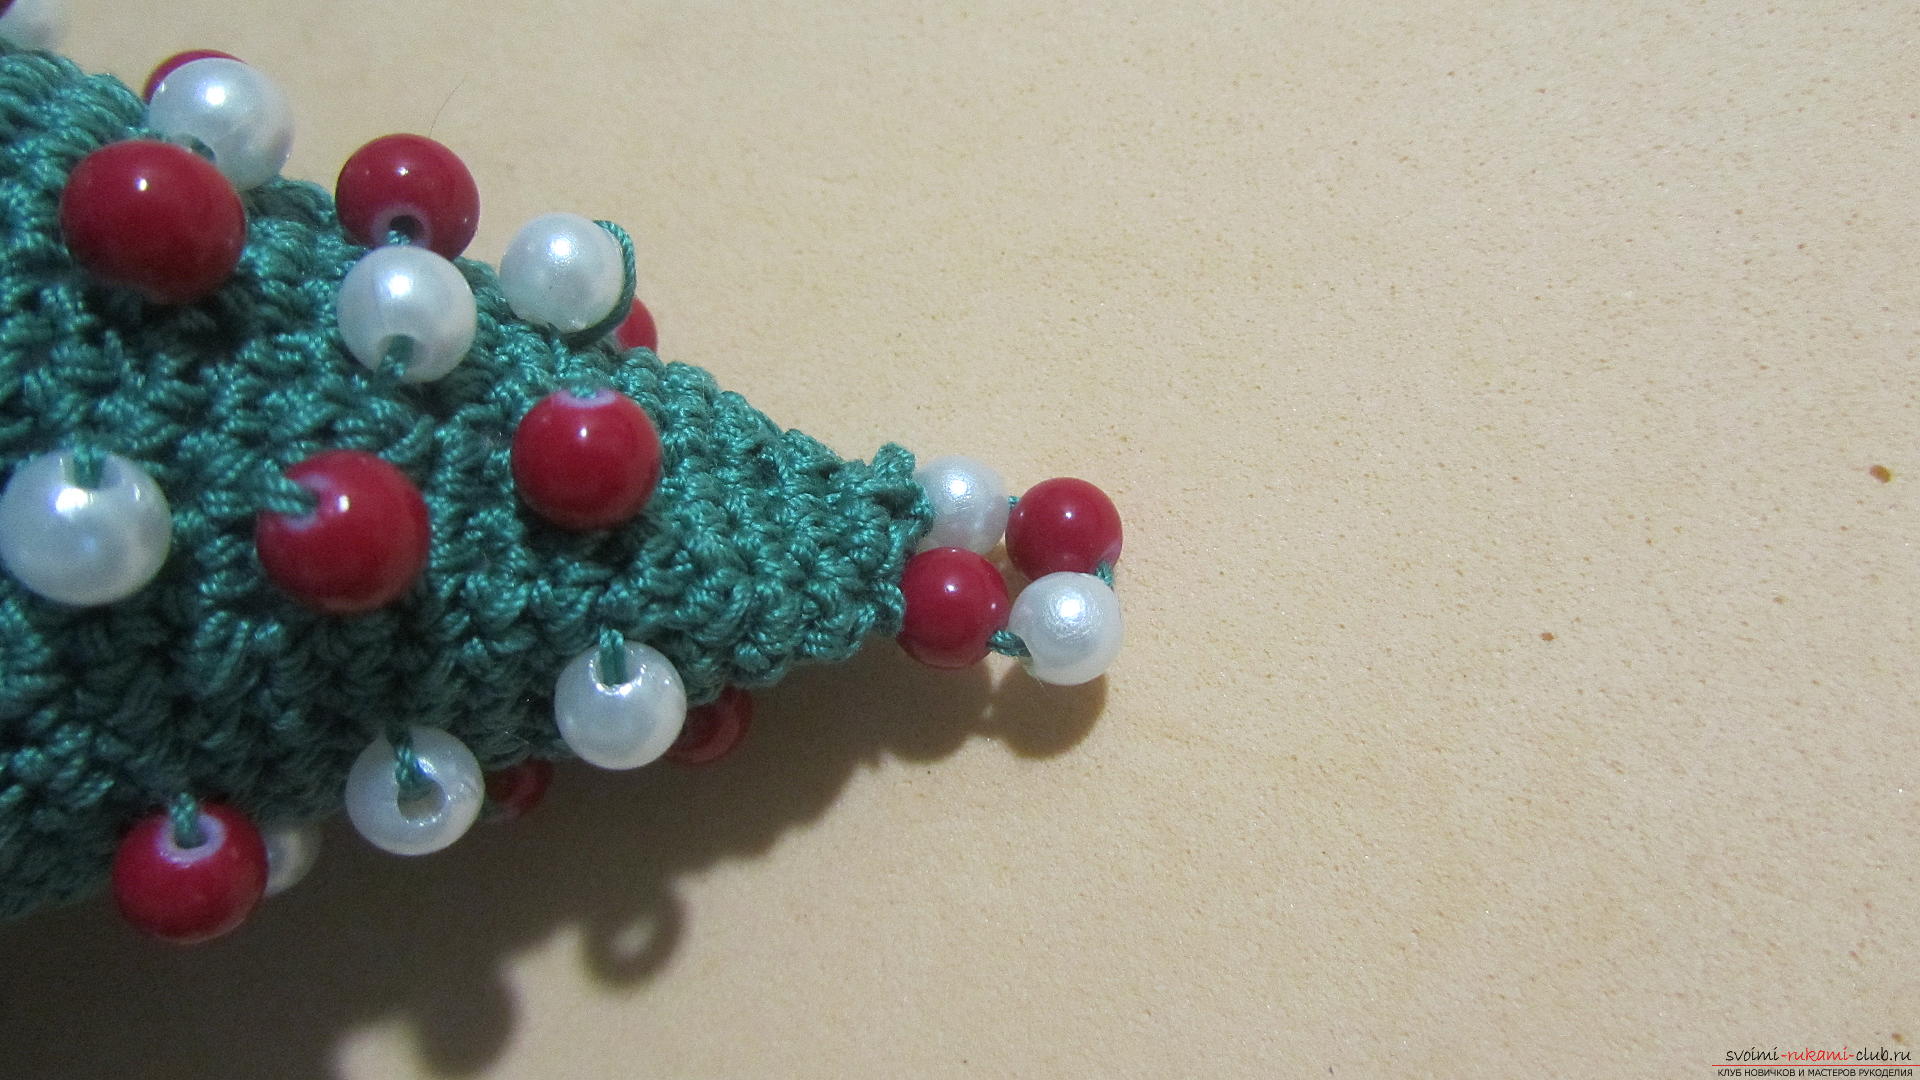
 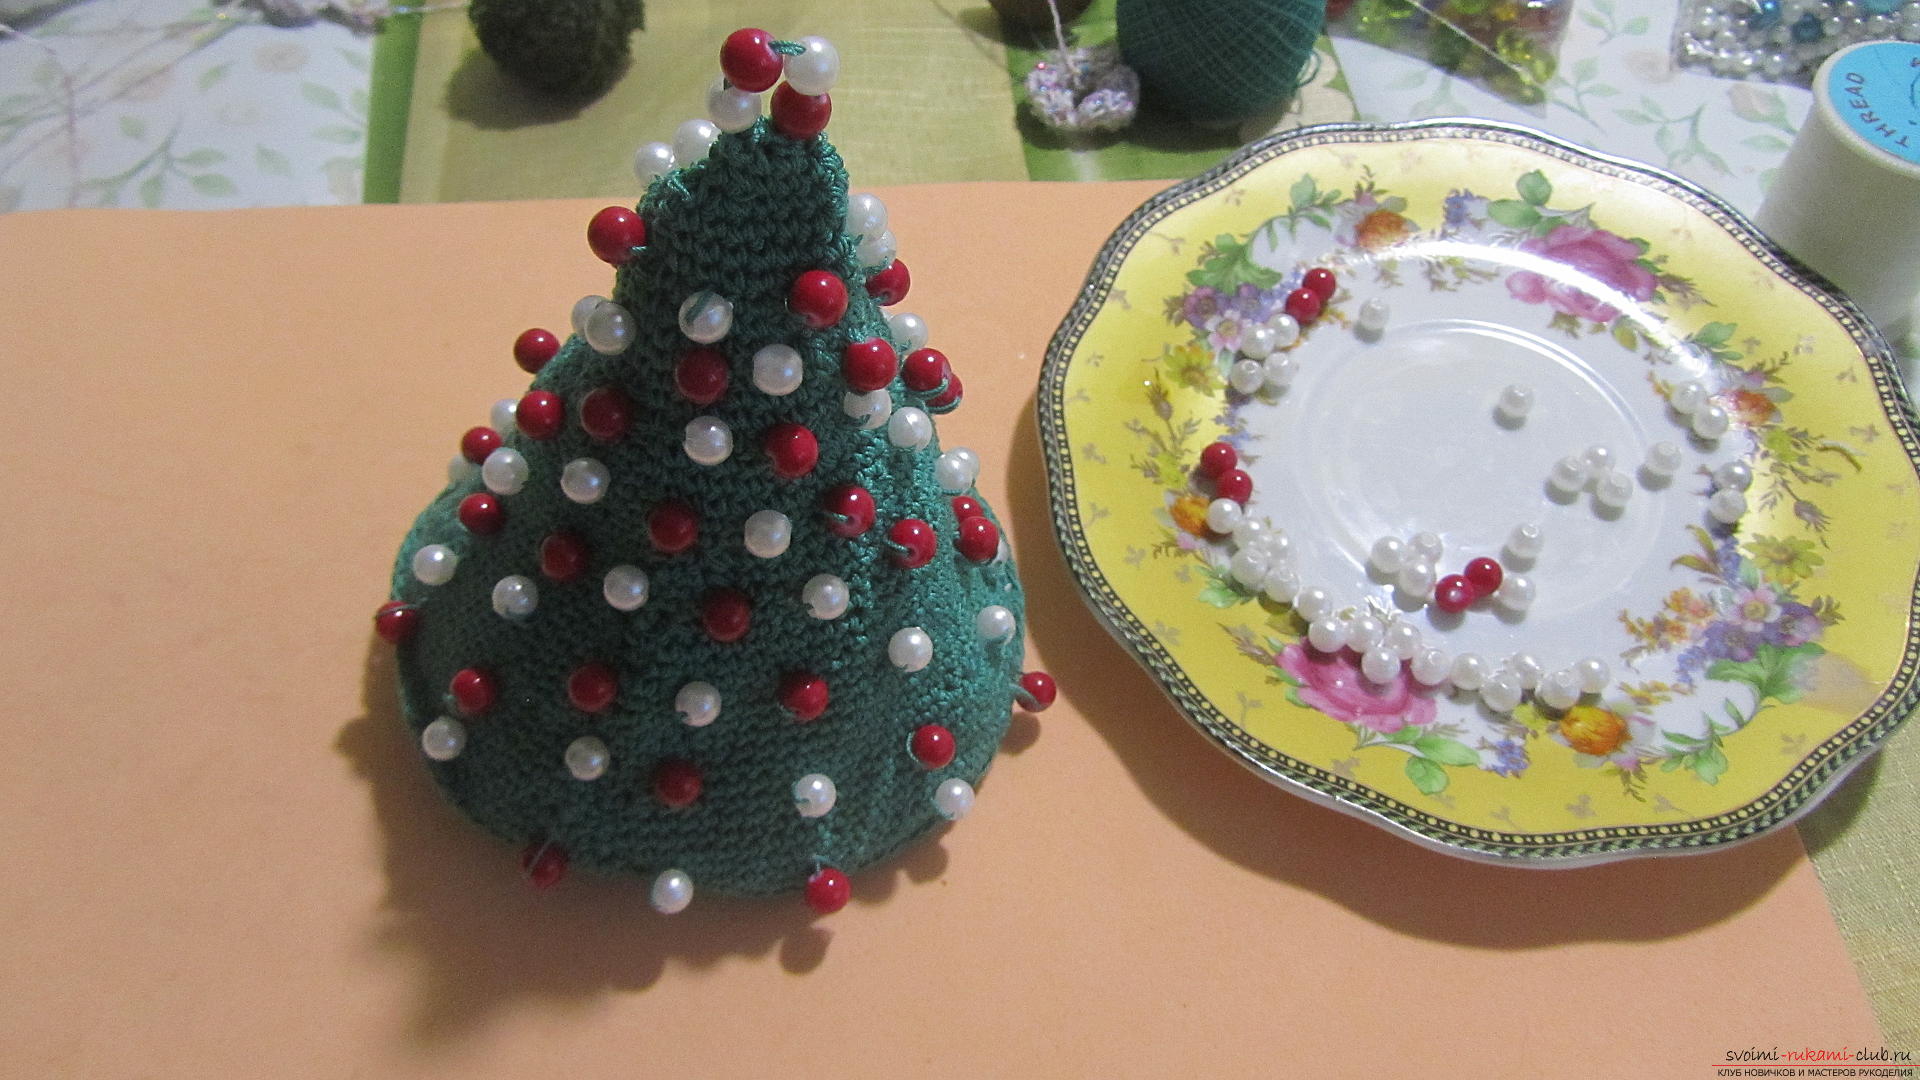 At the top we make a loop of 4 beads.