How to tie a funny toy crochet "Mouse-baby"? Basics of crocheting technique, description of the work process and quality step-by-step photos
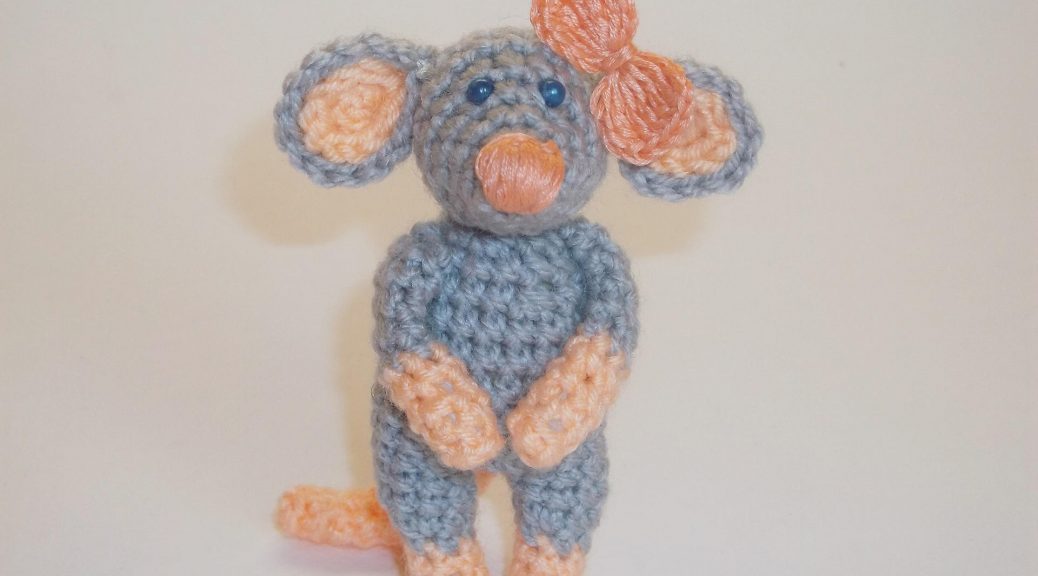
Crocheted toys are always touched and notleave no one indifferent. Small and soft they will decorate the house and make it even more comfortable. Now a lot of different puppies and animals fit in. And we will connect one of these small animals in this master class. And we'll knit a little mouse. In order to tie it, do not need a lot of yarn and time. It is fast and easy to mix.
Materials and tools
To knit a mouse, we need:
- Yarn (peach and gray color);
- Hook;
- Synthepon;
- Needle;
- Yarn;
- Mouline peach color;
- Two small beads.
We'll tie the little girl with the bow on her ear.
Operating procedure
Let's start knitting the hind legs first. We will then unite them and continue to knit the body. We take yarn of peach color and make two loops. In the very first, the one that is the initial one, we will fasten six simple posts without a crochet. The whole toy will be connected with ordinary posts without any capers. We will make three more rows of this color. You do not need to add or subtract the eyelets. Let's change the thread to gray and continue to knit the paws. We make one row. And in the second gray row we'll make three increases. And we'll tie two more rows. Here such paws at us will turn out.  Now make one air loop. And now we attach one foot to the other connecting post.
 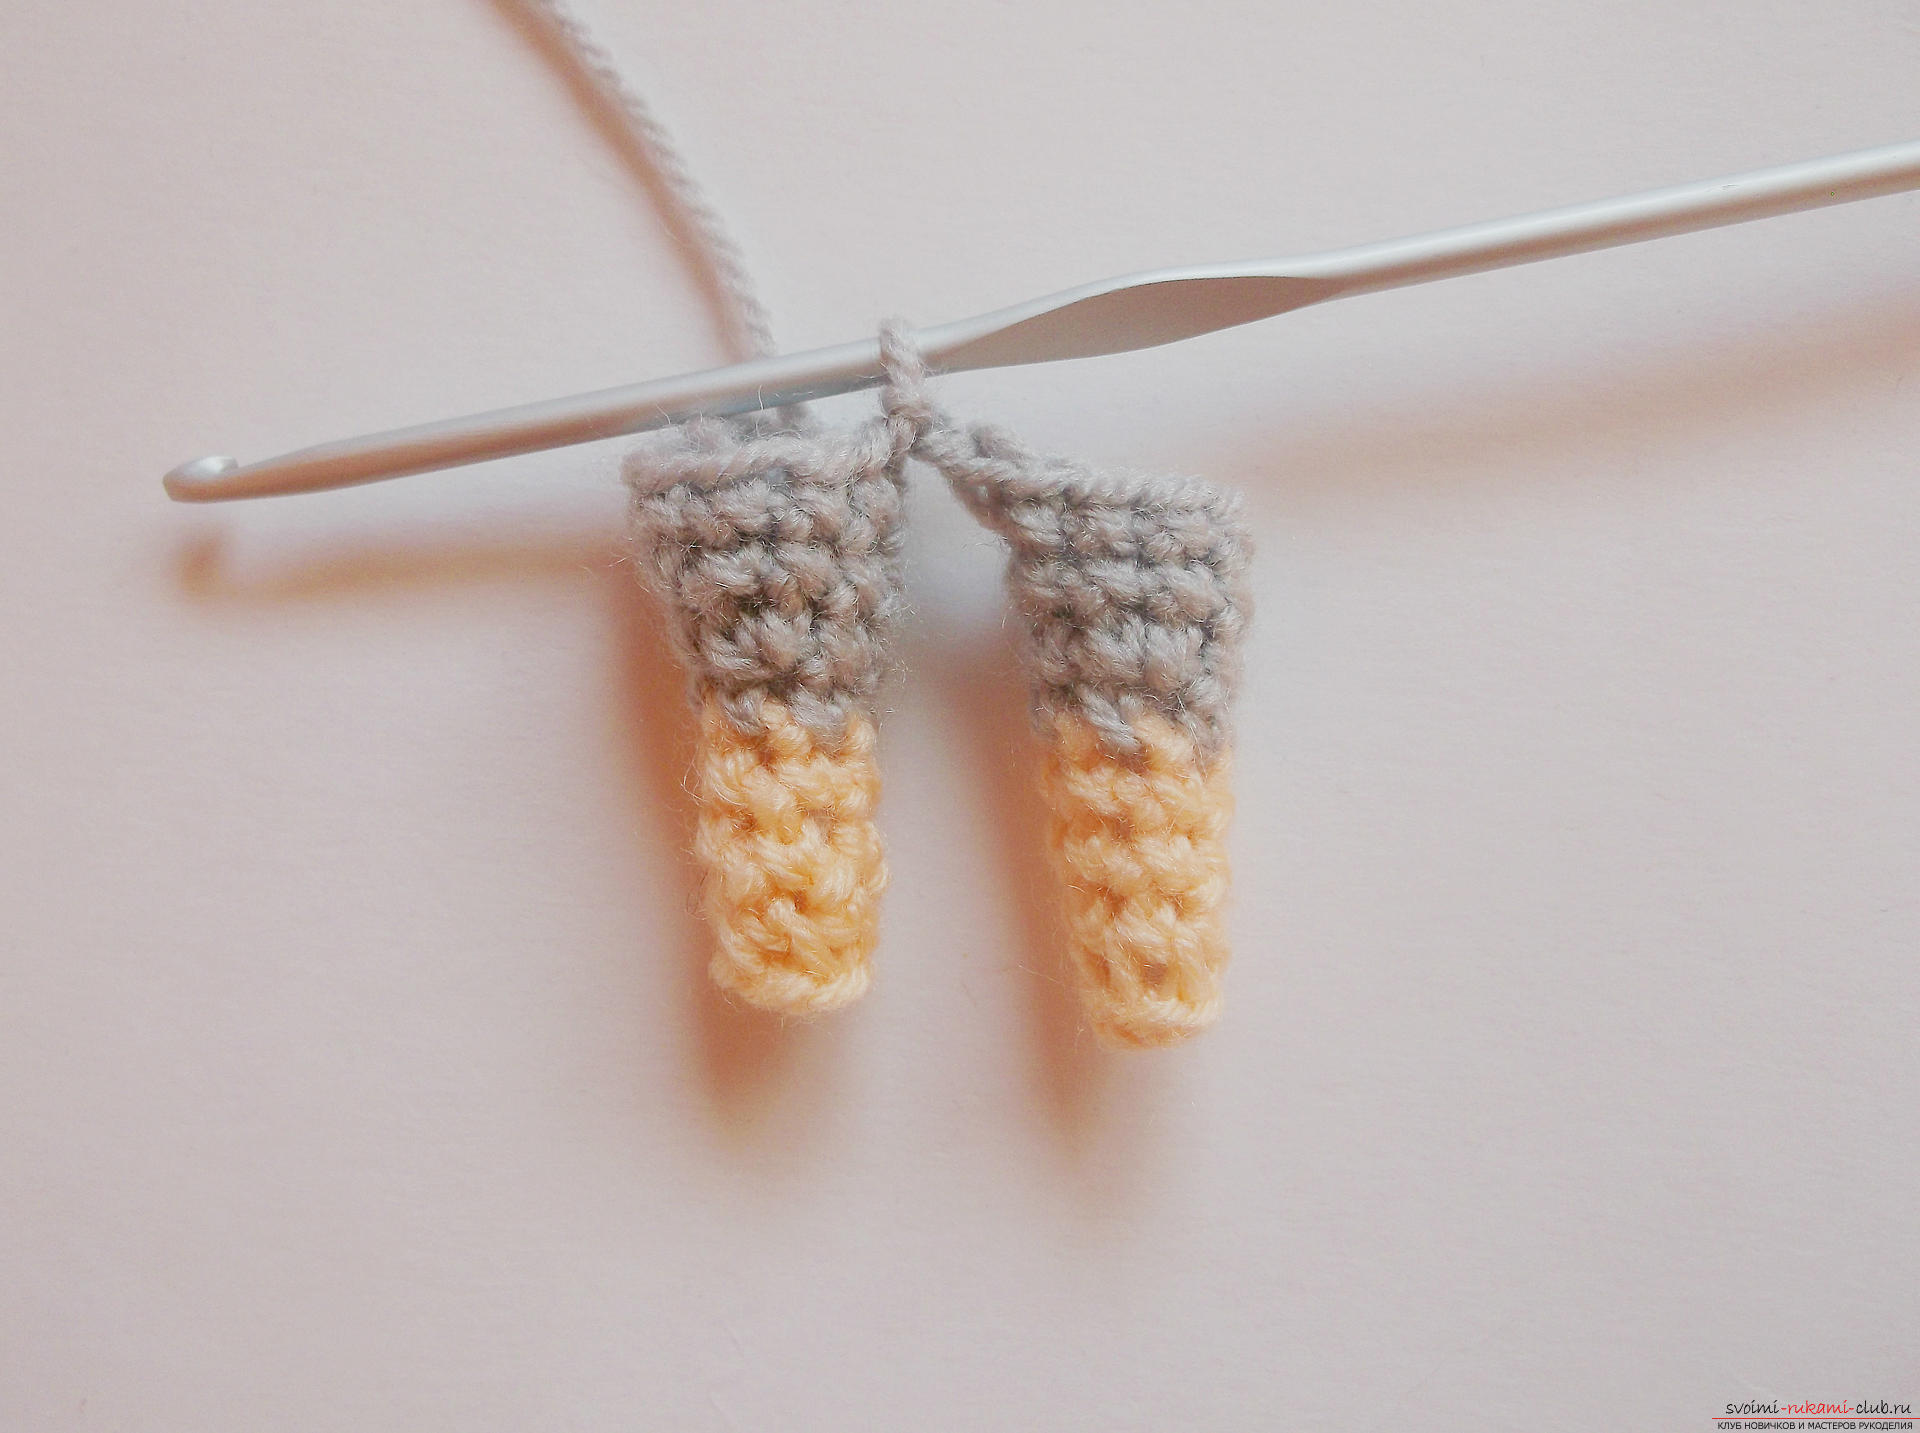 And then we will knit in a circle seven rows. After this, proceed to the adjustments. First, in the series we make four adjustments. And the next we will fasten without deductions. And now in two rows we will make four decrements. In the process of knitting we fill all the details with a sintepon.
 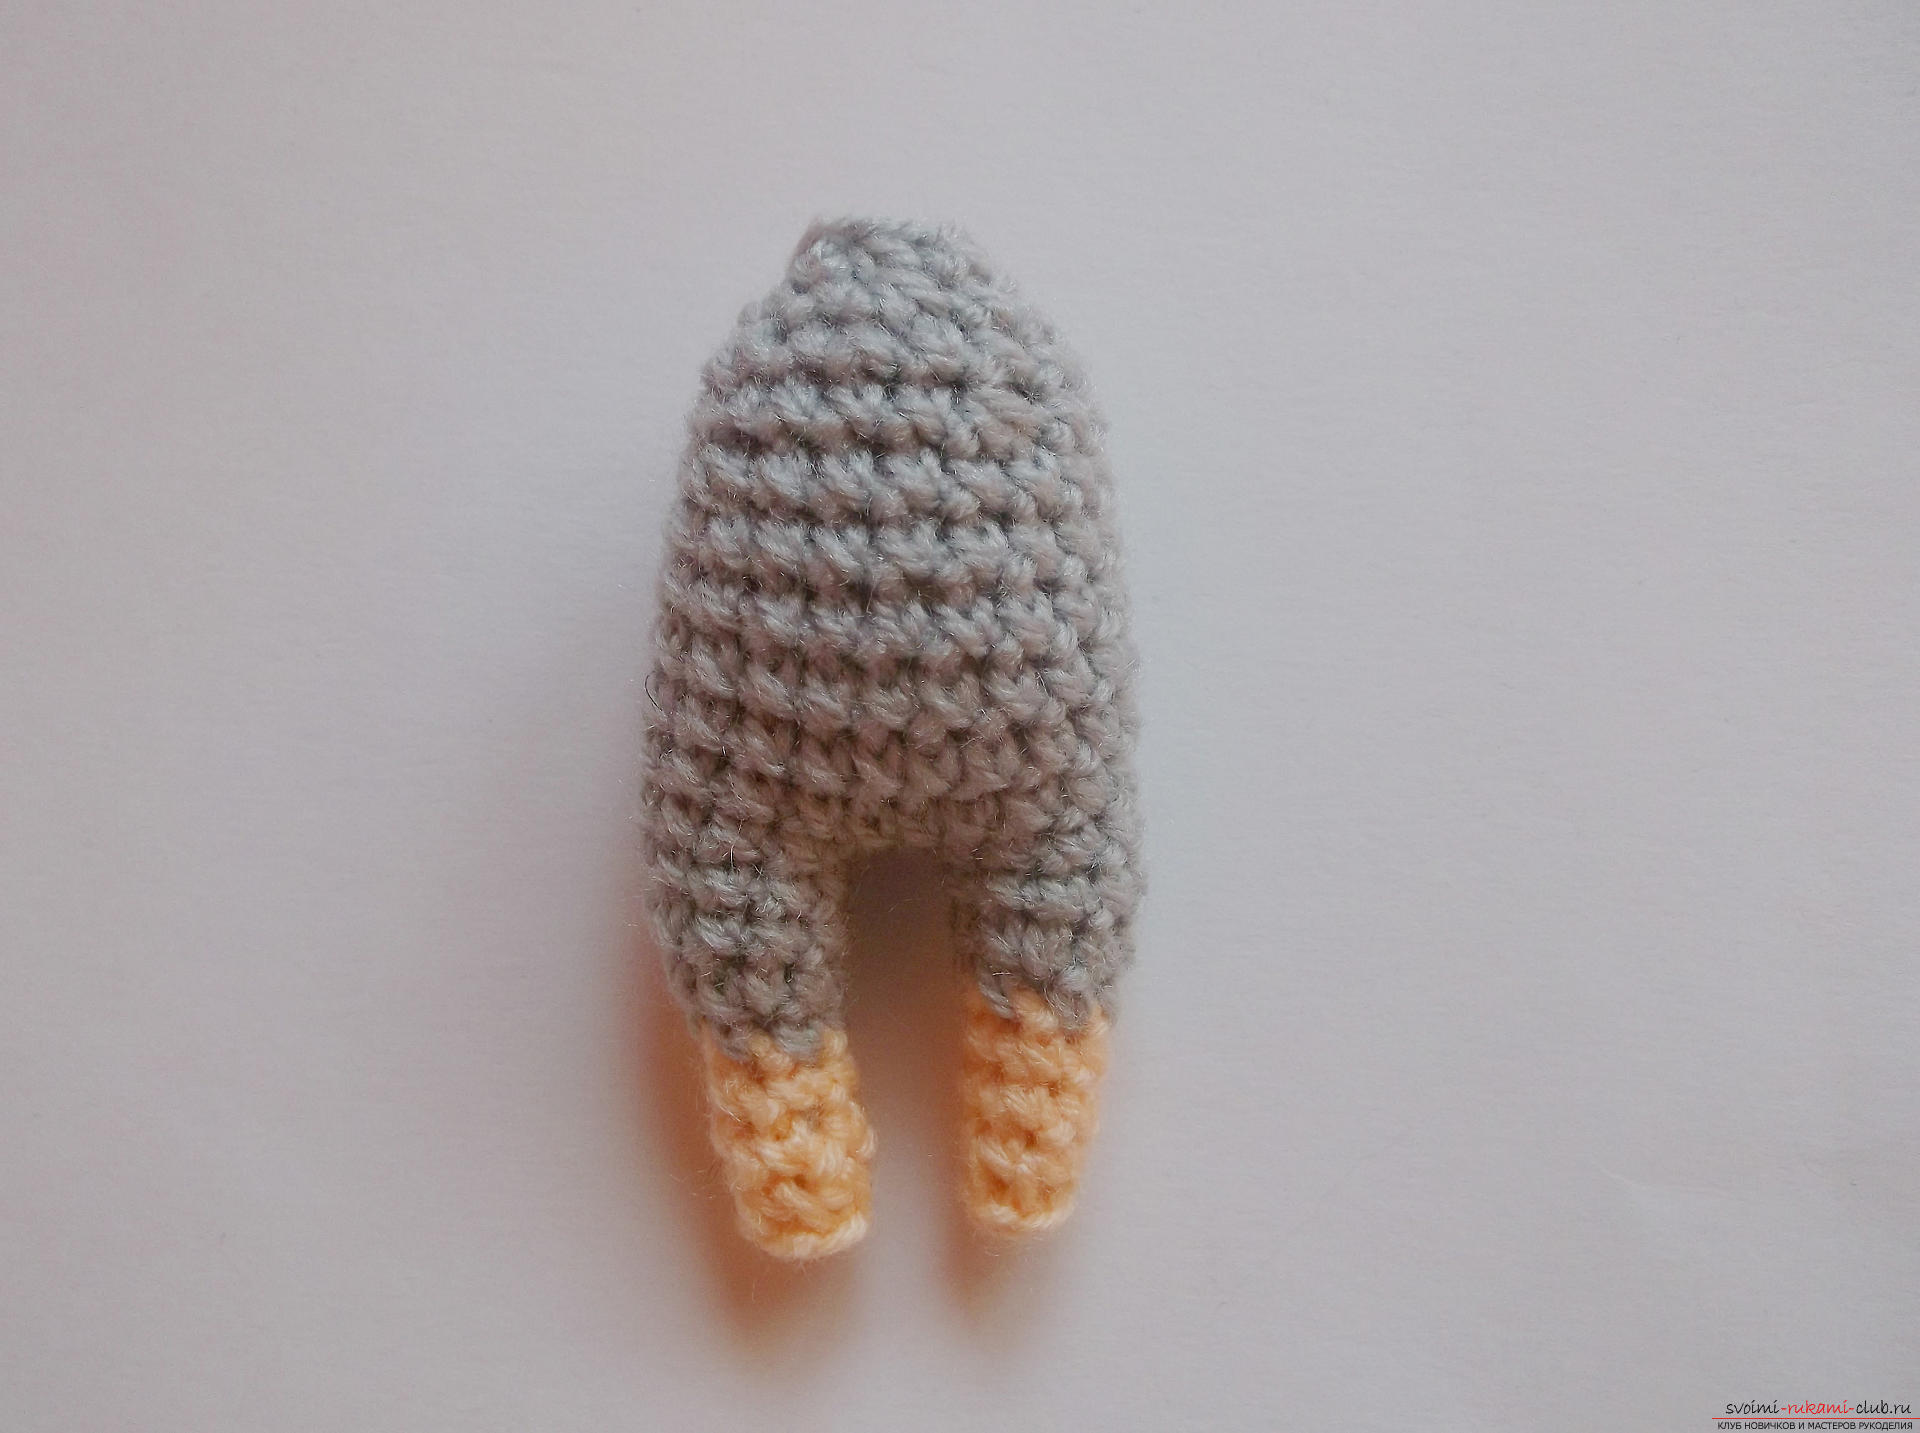 Thus, the body and hind legs of usone-piece ones are obtained. And they will not need to be stitched. Now we'll tie the mouse's head. Let's make a ring of amigurumi. In it we will bind six bars. In the second row, we will not increase. But in the third we will make three increases. We will make one series without any additions. And in the fourth we will make three more increases. In the fifth row, we will need to make six increases. We'll make three rows. In them we will not make any more increases. In the next two rows, we need to make adjustments to close the hole. In them we will make four adjustments. And then we subtract each eyelet until the hole closes.
 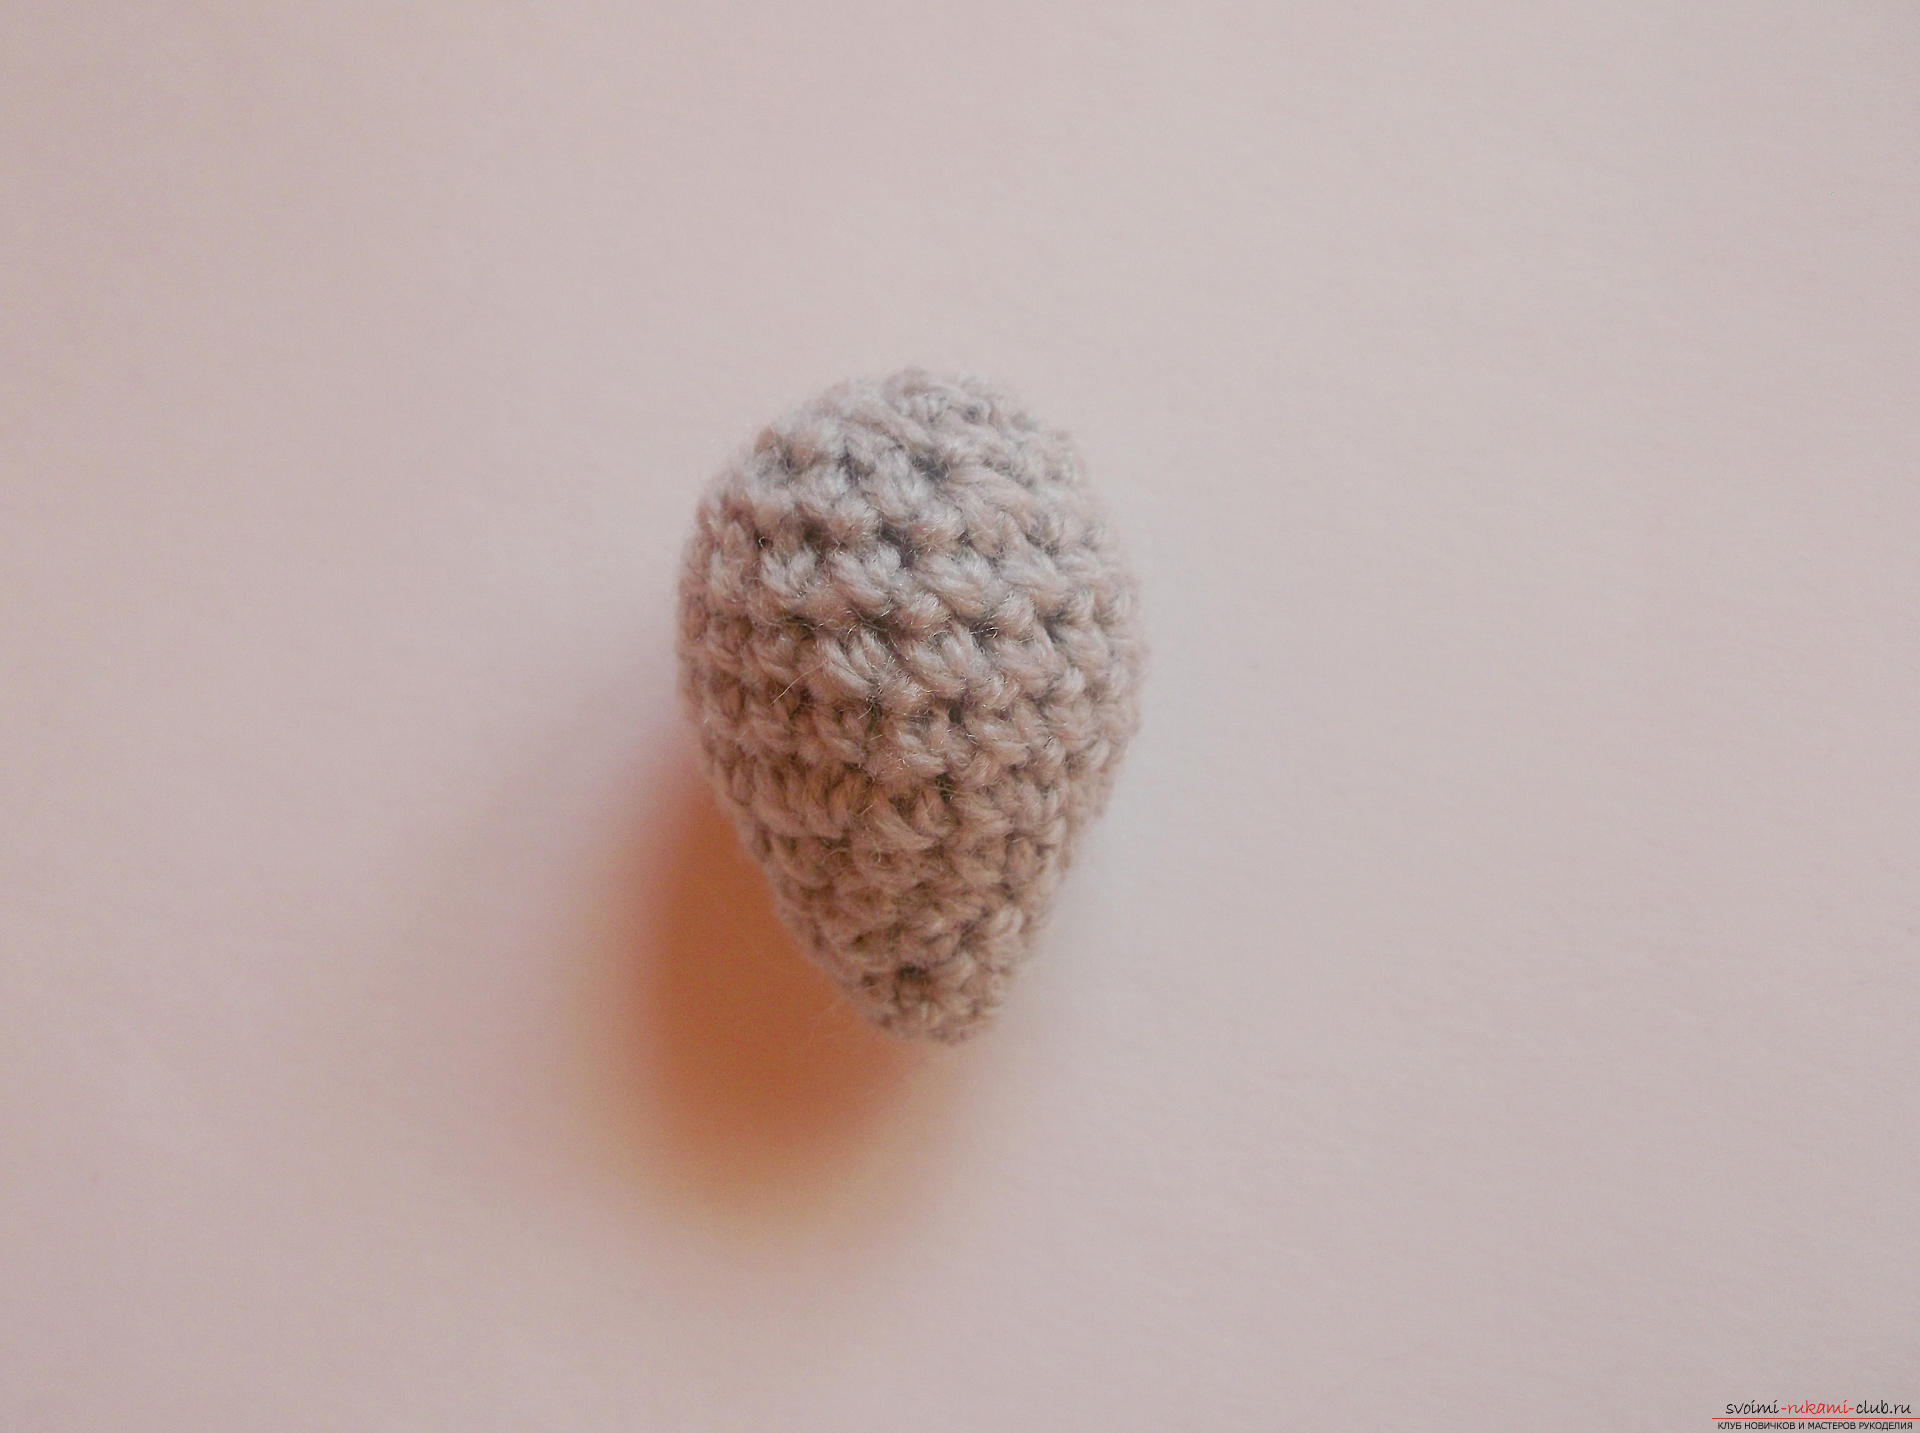 Tie the front legs to the mouse. They will also be of two colors: peach and gray. First we take peach yarn. We begin knitting it. We will make two loops and in the second we will fasten six columns. And we will bind the peach yarn three more rows. Then change the thread to gray. Let's make five more rows. Fill the front legs only need the part that is peach color. We will not fill the gray part of the paws with a sintepon.
 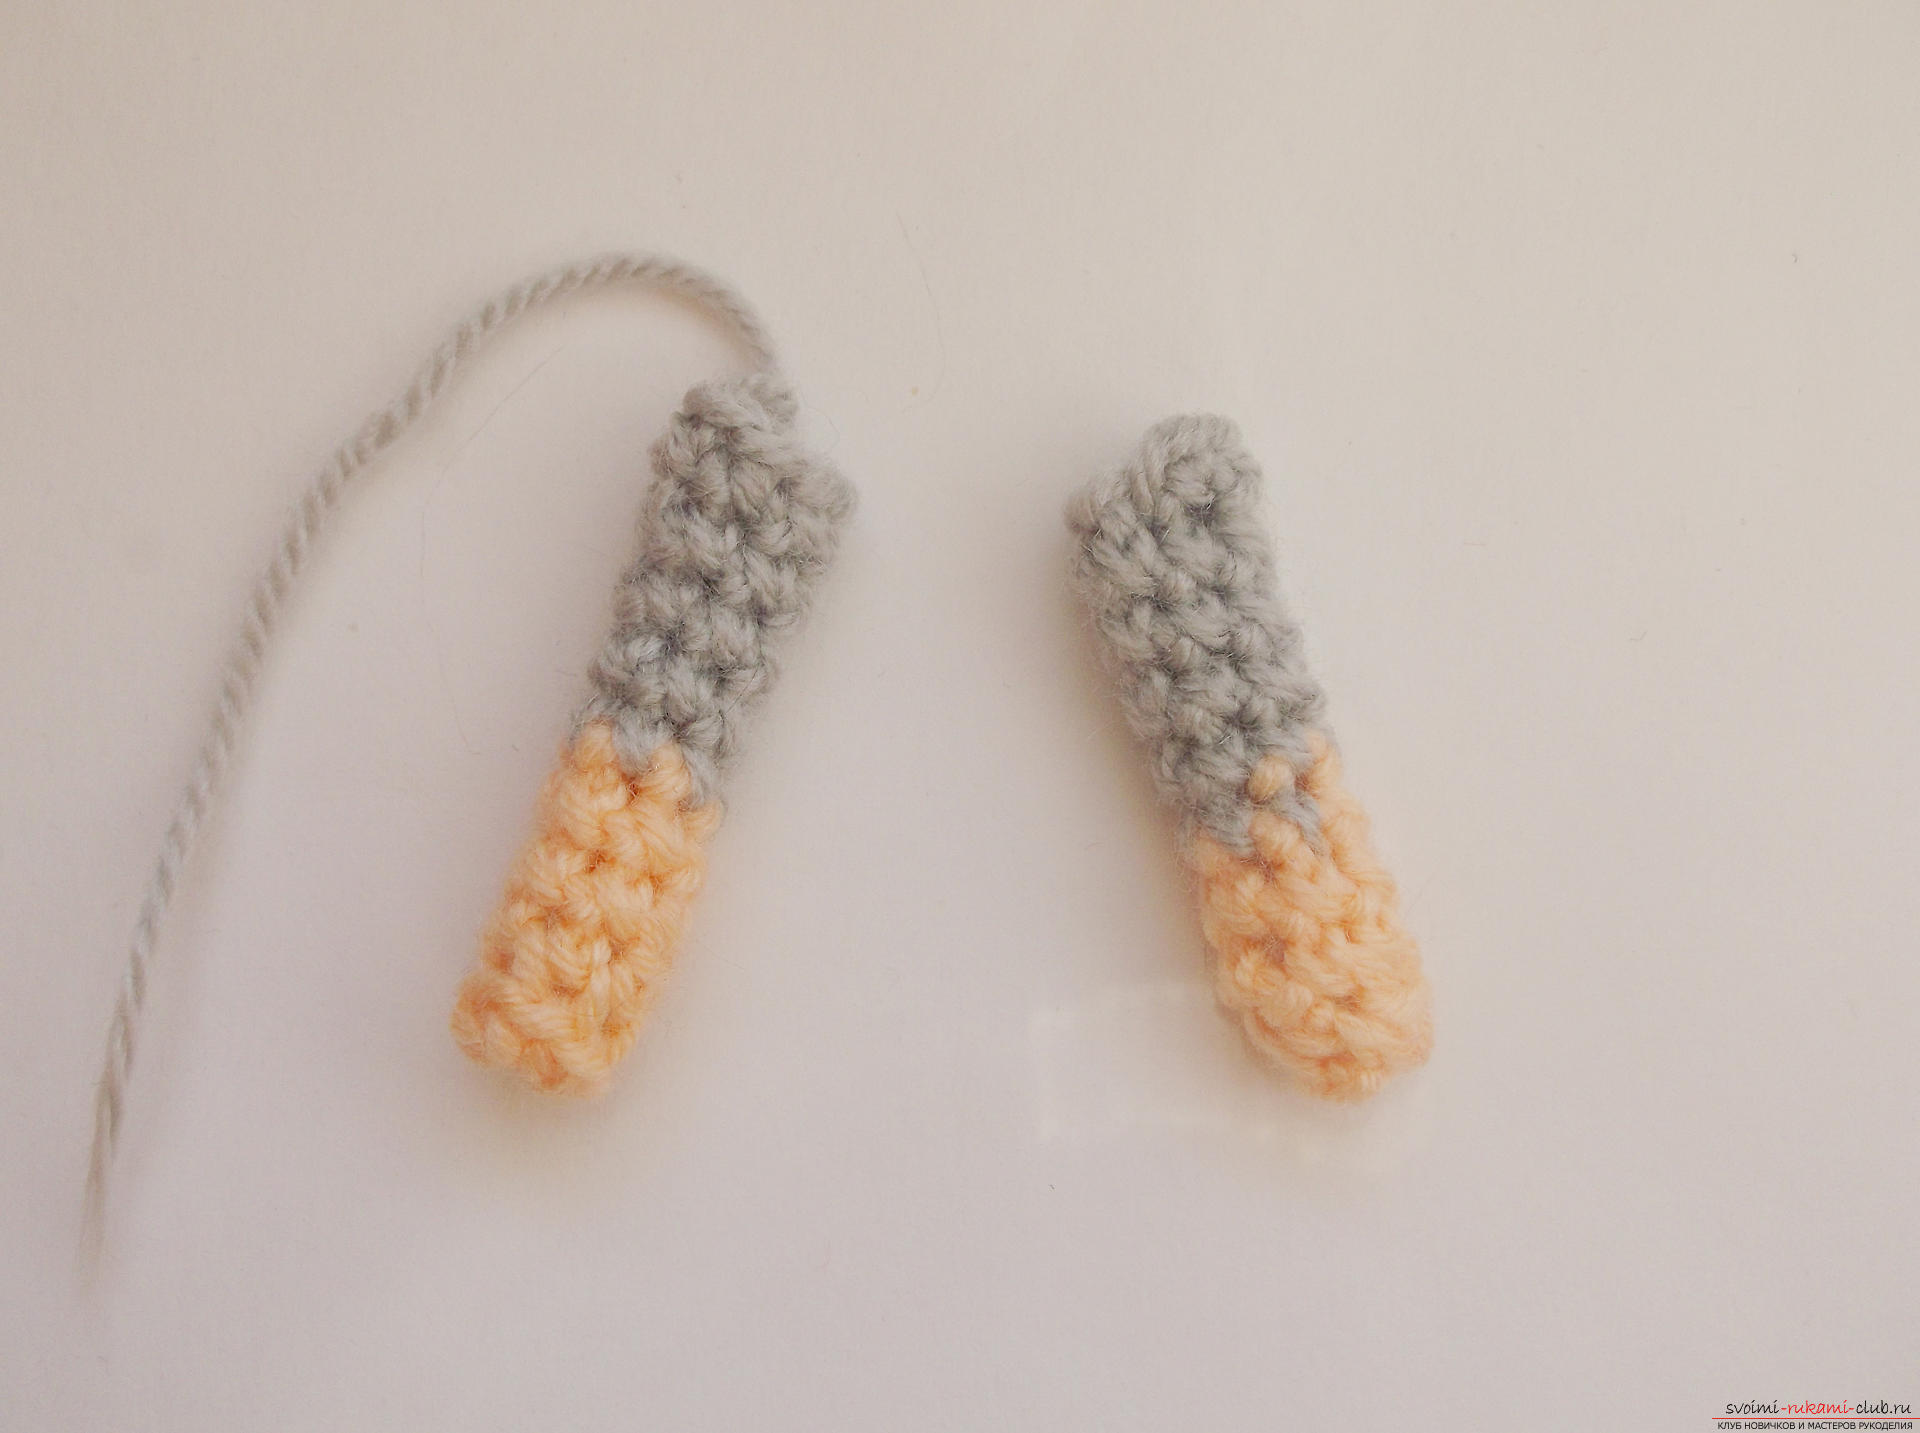 We will tie a little mouse from peach yarn. We make a magic ring with amigurumi and we will fasten six bars to it. And then we'll tie in a circle fifteen more ryadochkov.
 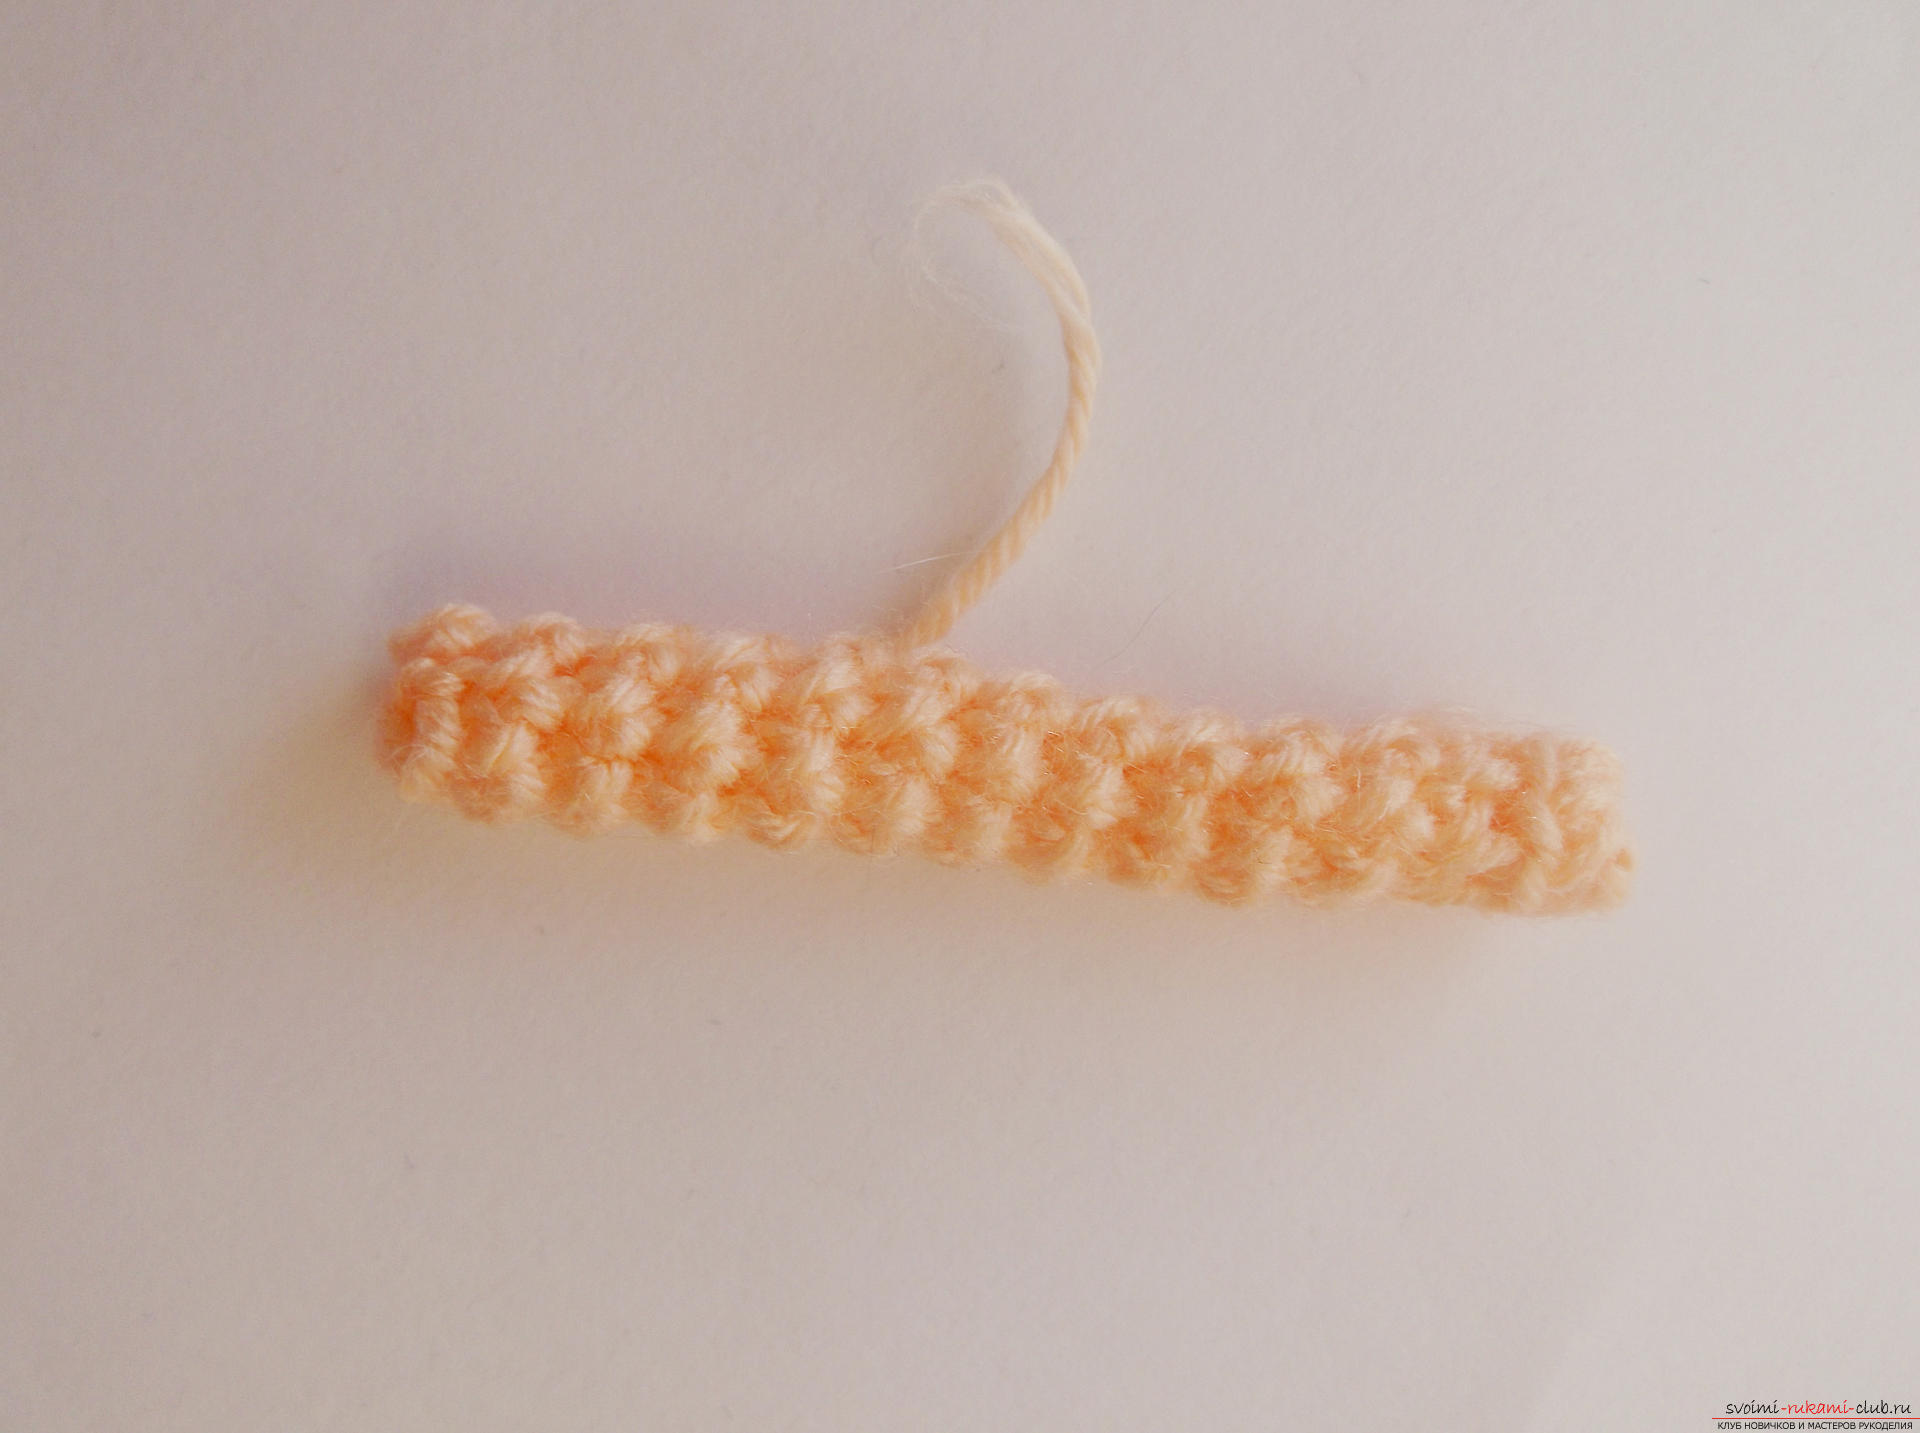 Let's move on to knitting the ears. They will also be two-colored, like the paws. Gray yarn tie a large detail, and a peach is a small one. First we'll connect the big one. In a ring of amigurumi we will fasten six columns and in two rows we will make six increments. The part from the ear is ready. We knit a peach (small) part. Here, too, we will fasten six bars to the ring. But let's tie not two, but one row, making six increases.
  Peach details are put in gray and sewed.
 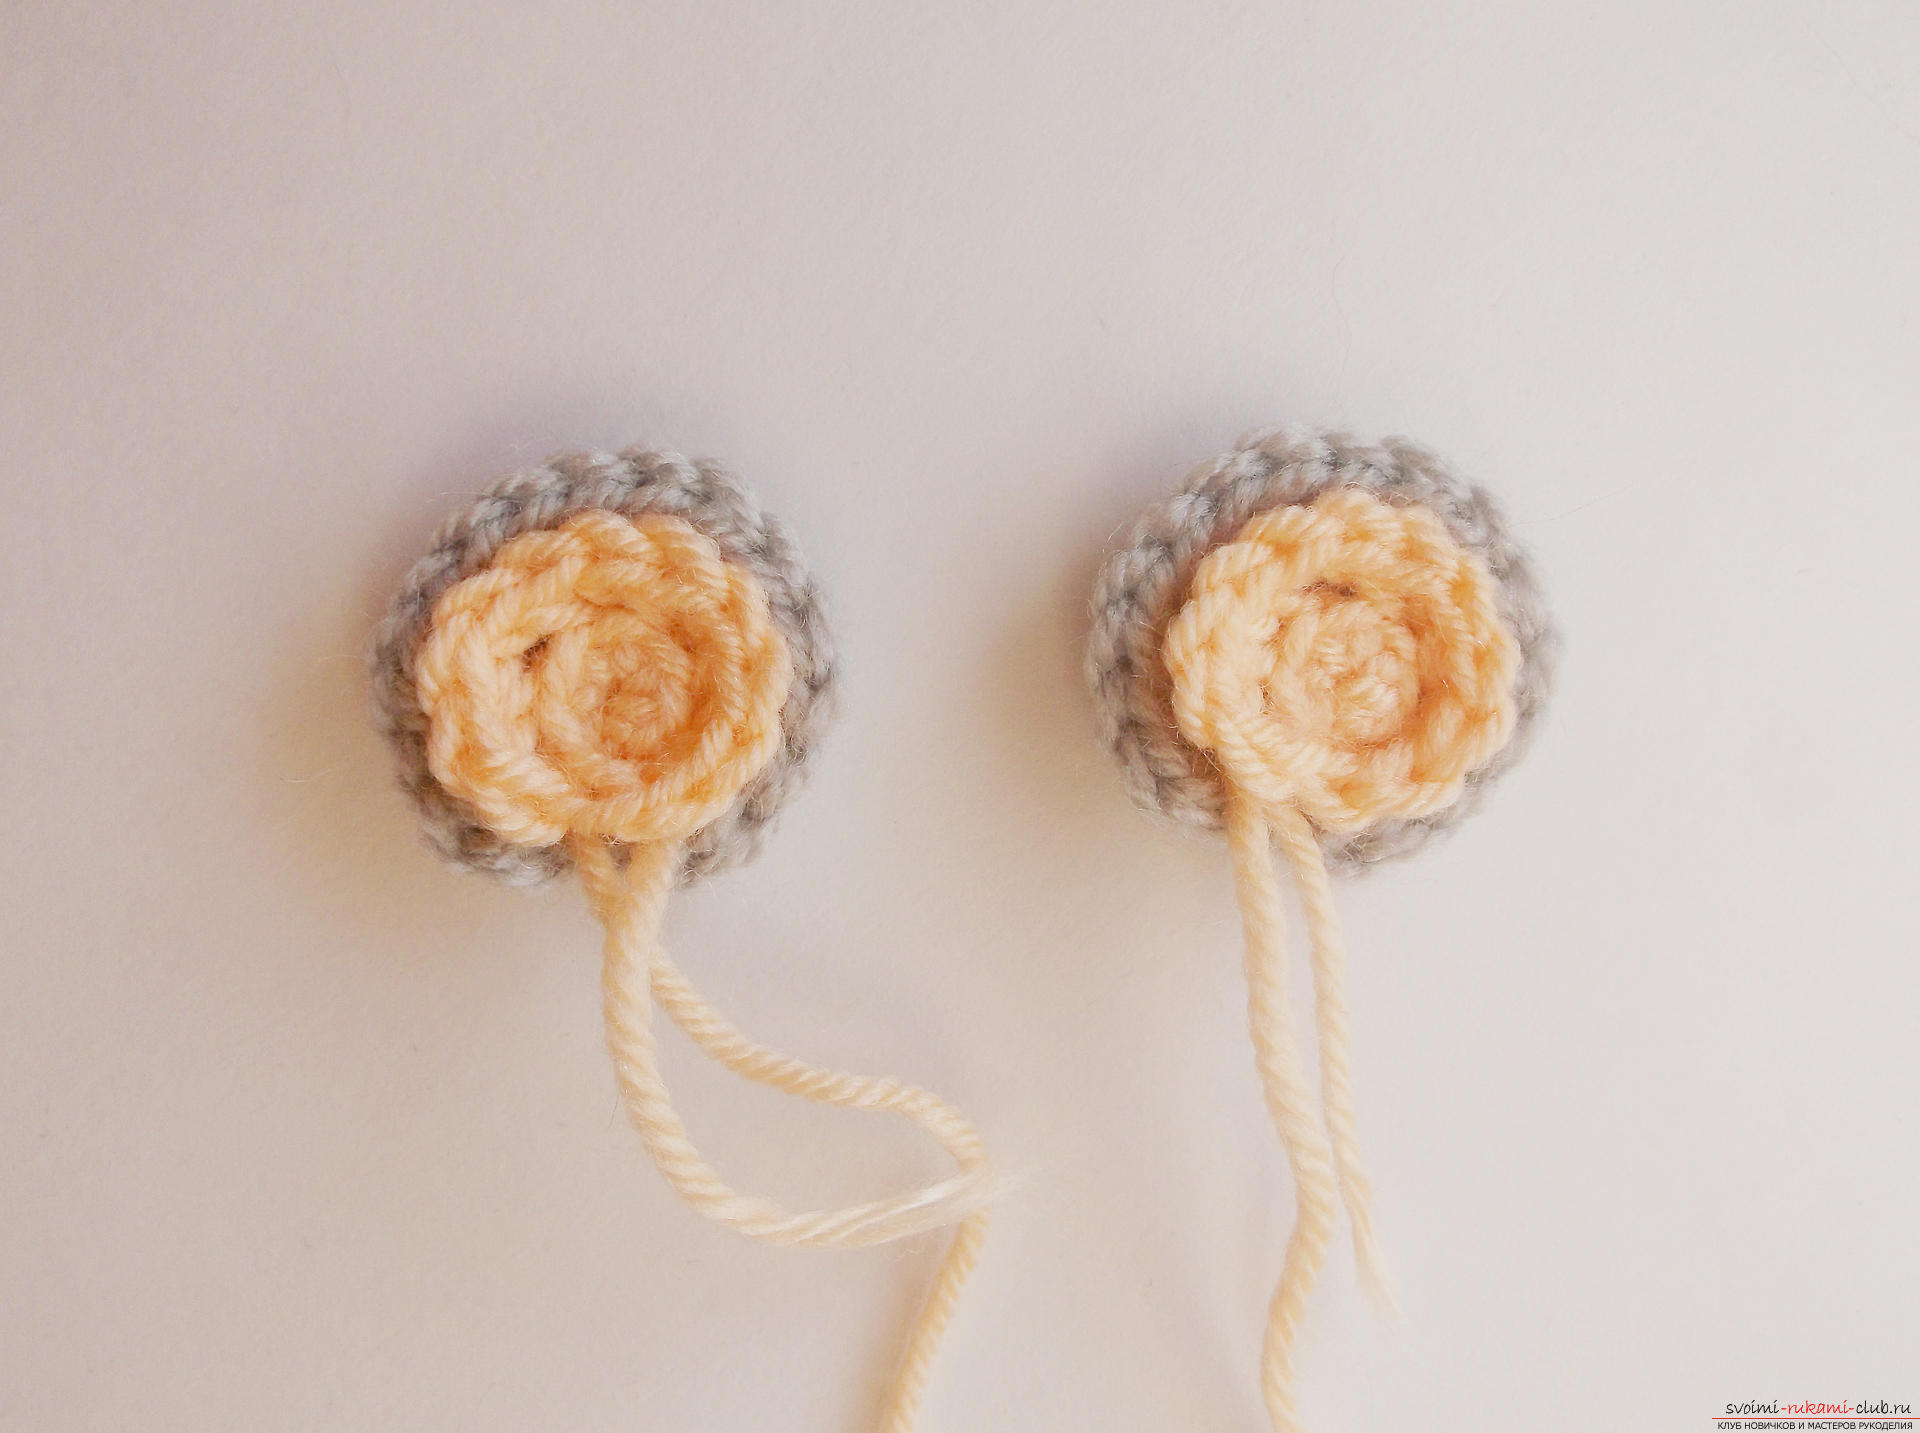 So, all the details for the mouse are ready for us. It remains to assemble them and sew them with a needle.
 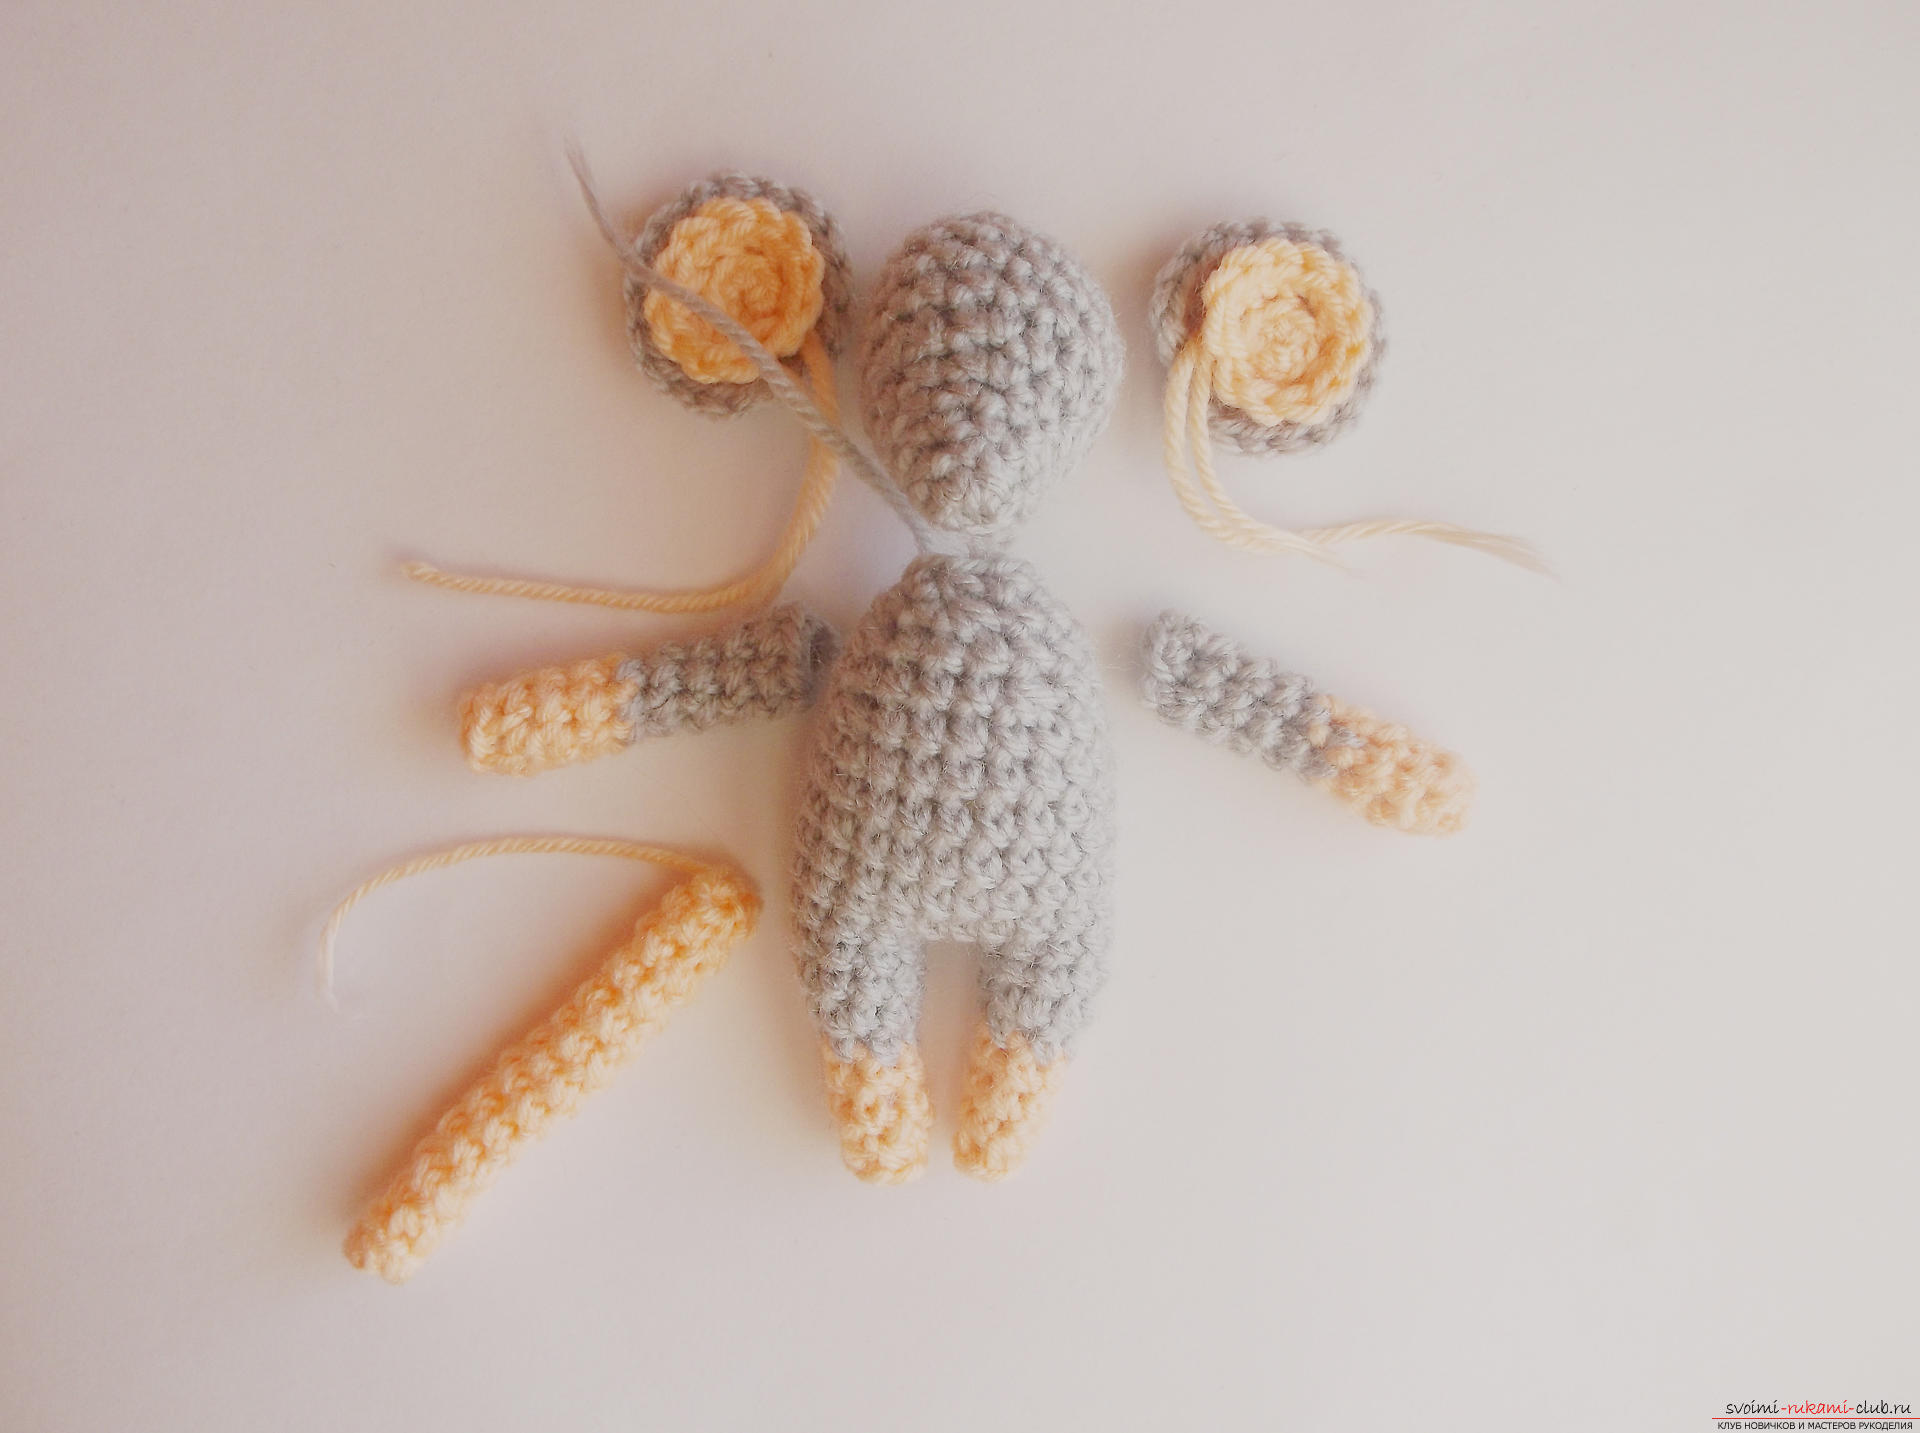 To decorate the mouse, you can tie a moulinbow. We make two loops and four more lifting loops. And further we will fasten in the very first (initial) loop five columns with two nakidami. Again we will make four air loops and we will fasten a connecting column to the same point where we tied the bars. One part of the bow is ready for us. Then again, we make four air loops and we tie it to the same point, from where we get a piece of bantik with five more columns with two crochets. We make four air hinges and we sew a connecting column. This is the kind of bow that we will attach to the mouse.
 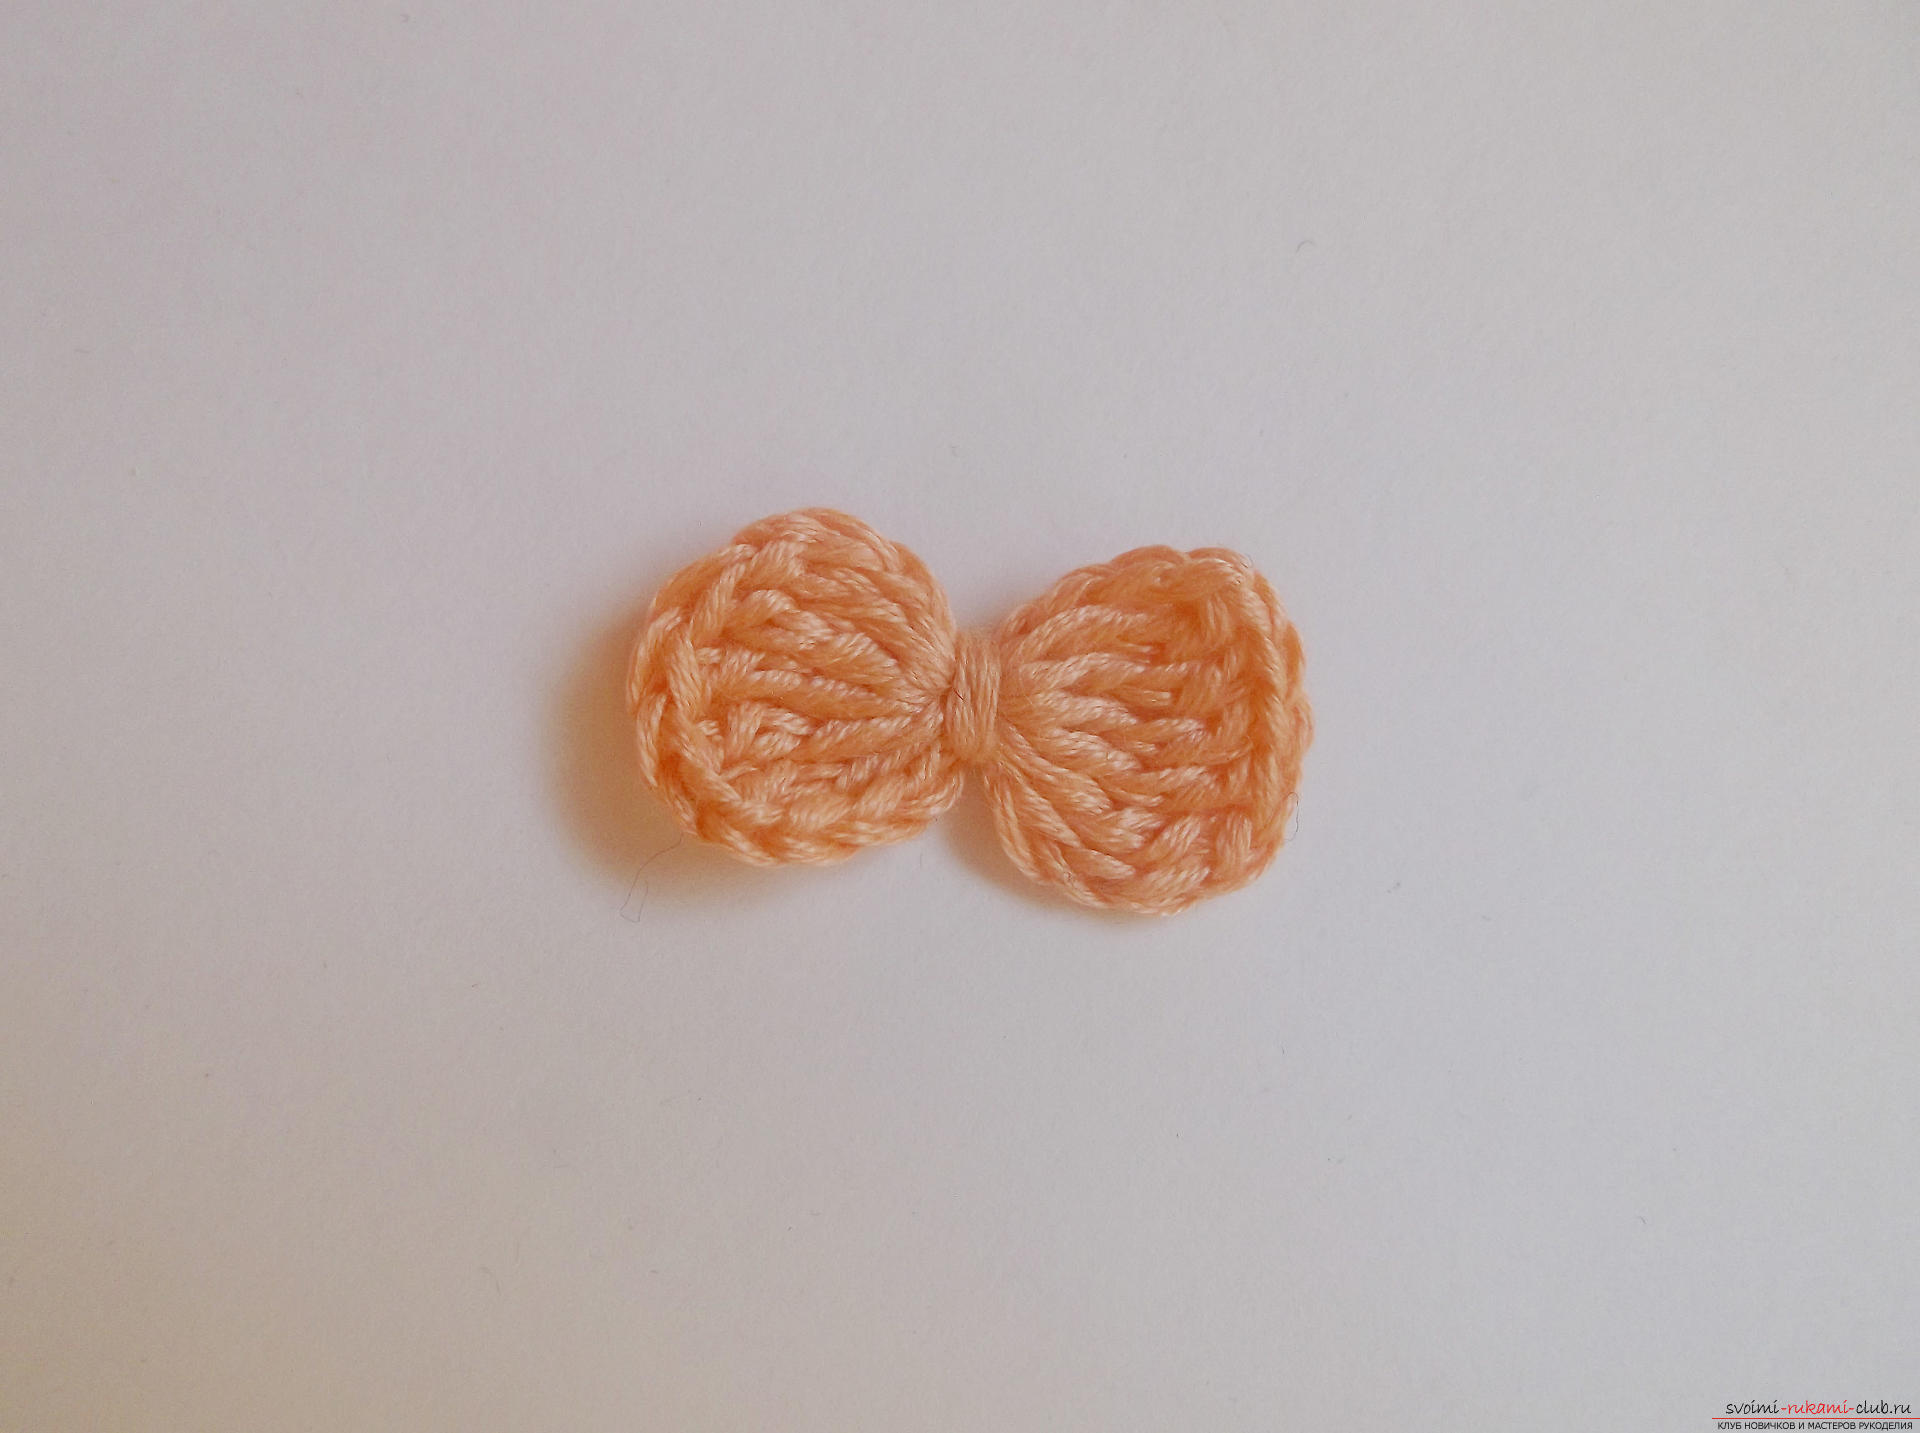 Threaded mulina in the color of the paws and tail withwith ears we embroider a spout. Sew two small beads instead of peepholes. Ears can be sewn as straight, and make them a little hanging. Then the mouse will be even nicer. The front paws can also be given some pose. That's such a little mouse we have!
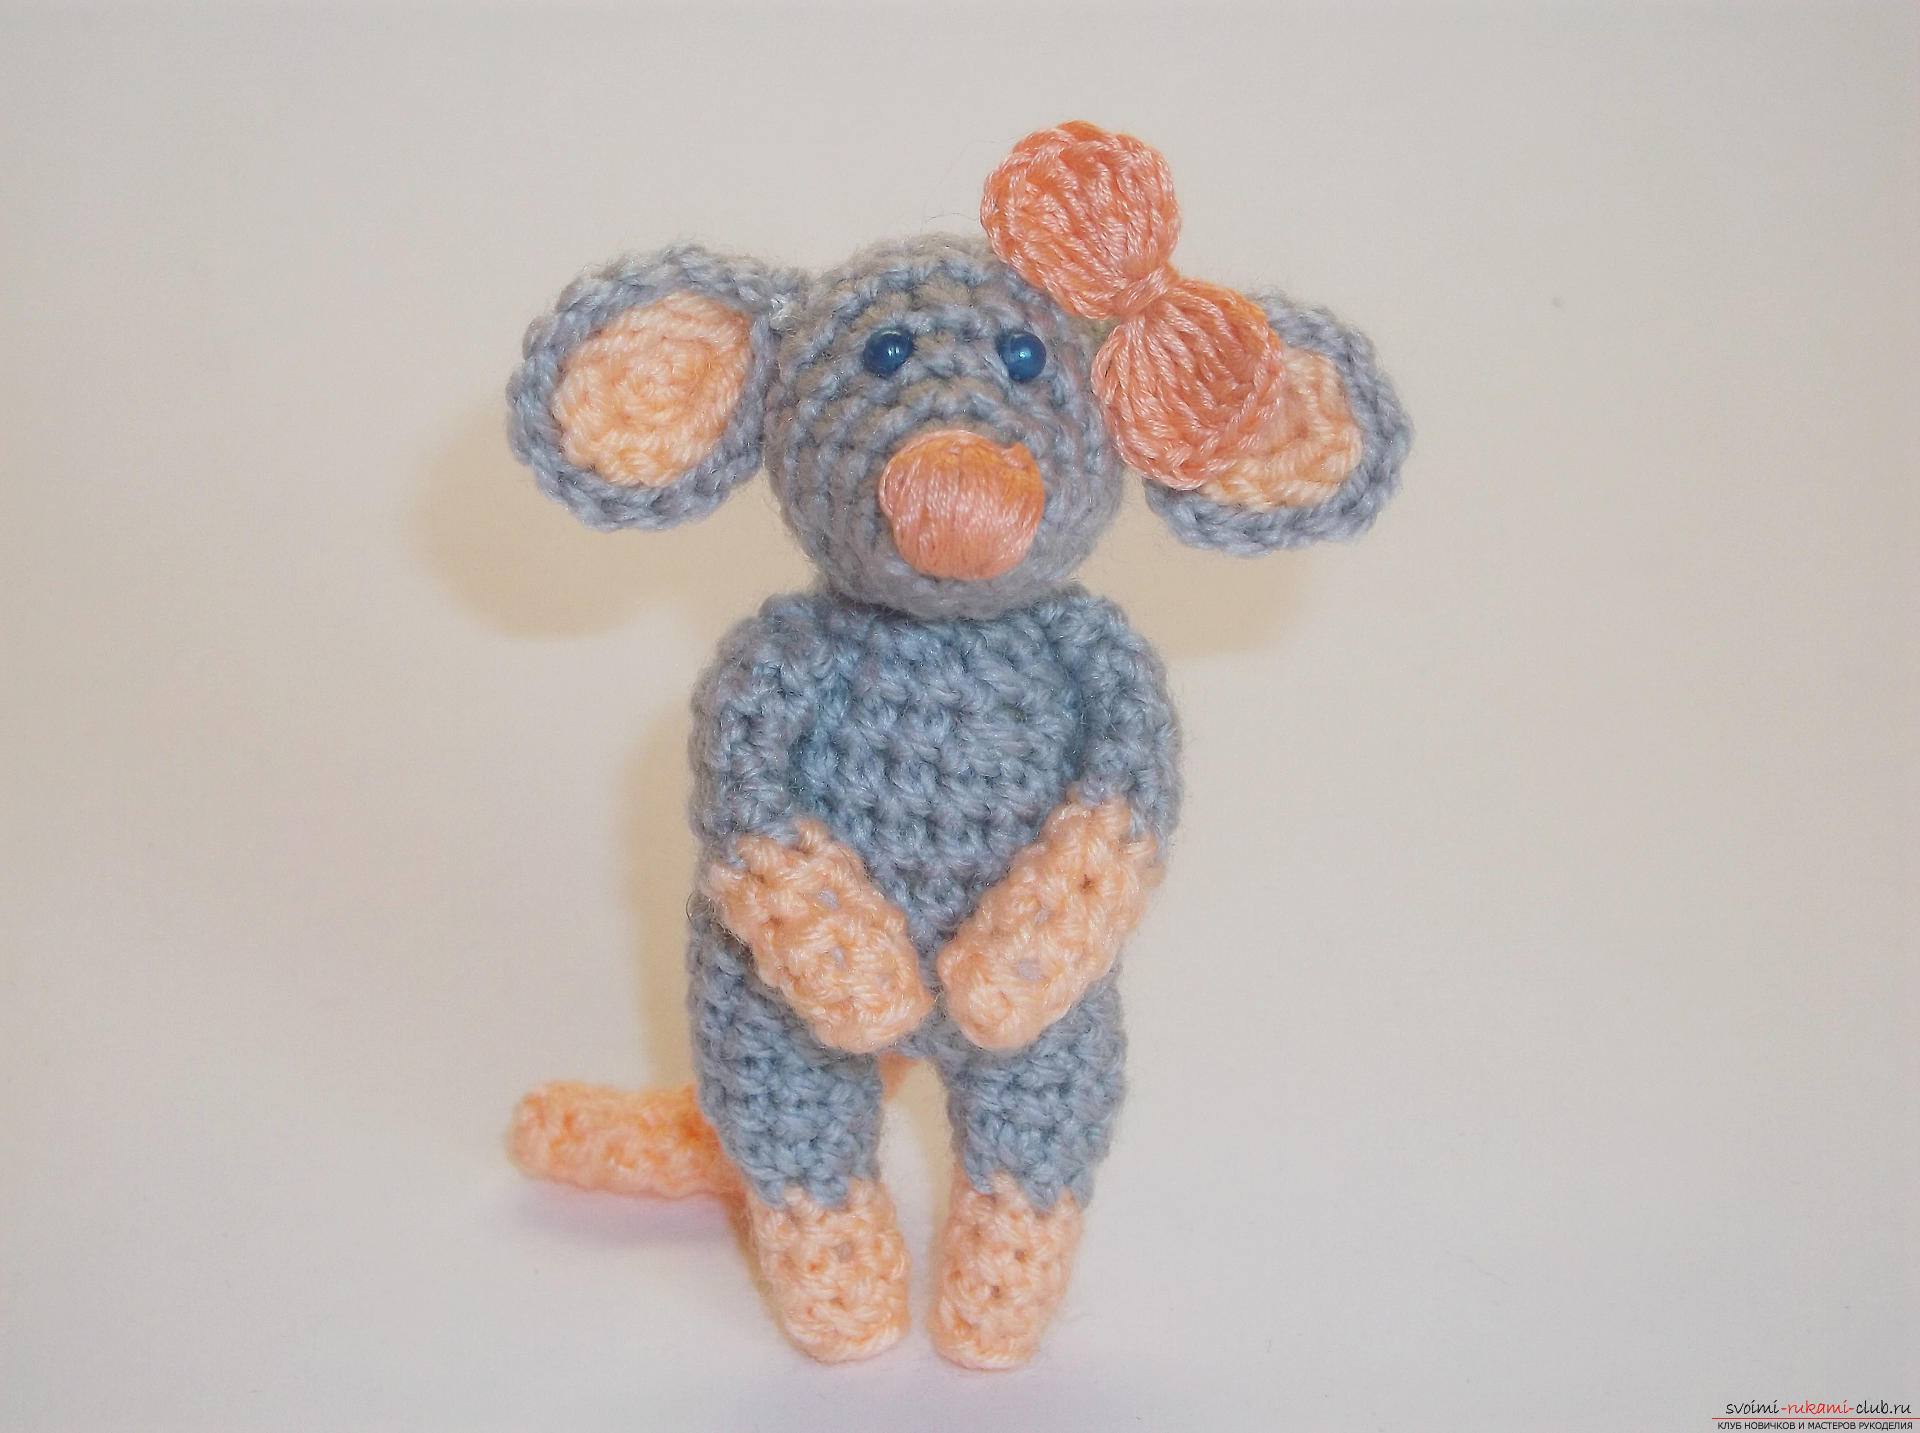
Comments
Related posts:
 How to tie a ball on a Christmas tree crochet? Detailed description of the work process, the technique of mating and step-by-step photos
 How to create a tourniquet from a bead, various techniques of weaving and knitting of plaits, step-by-step photos and a detailed description of the work
 How to crochet a souvenir for the New Year holidays - a snowman "Bonyu"? Detailed instructions, description of the technique of knitting and step-by-step photos
 How to crochet a poppy flower of lilac color? Detailed description of the stages of work, a list of materials and step-by-step photos
 How to tie children's crochet hooks, schemes and detailed work description, photo of finished products