How to crochet a circle
How to crochet a circle How to crochet a circleWe have already considered. This time we will consider how to tie a uniform circle with a hook. What will these two ways be different! If in the first variant, when knitting a larger circle, a hexagon was obtained, then when knitting today we will avoid it.
How to crochet a huge circle
The main rule of adding columns of a circlealways saved: from row to row increases the gap between increases. And what is the essence of the lesson! The essence of the offset of each increase relative to each other. If in the previous lesson on knitting a circle we tried to place each new addition strictly above the previous one, now we will shift the additions relative to each other. Due to this, in the circle will not form corners. one. 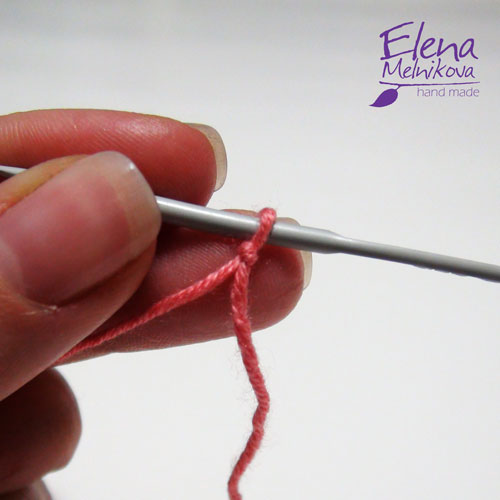 2. Recruit
 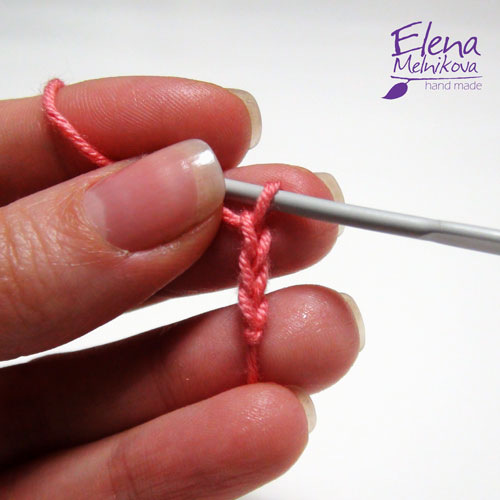 3.
3. 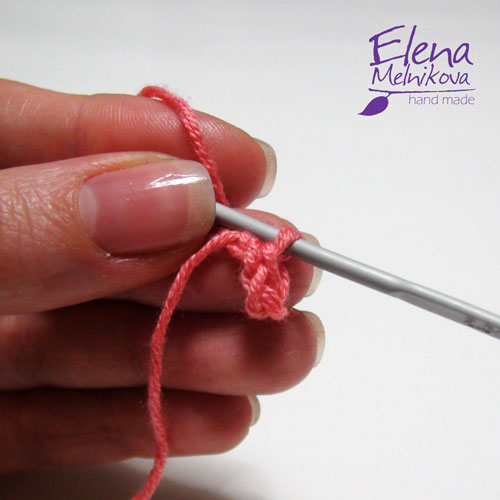 4. Two air
 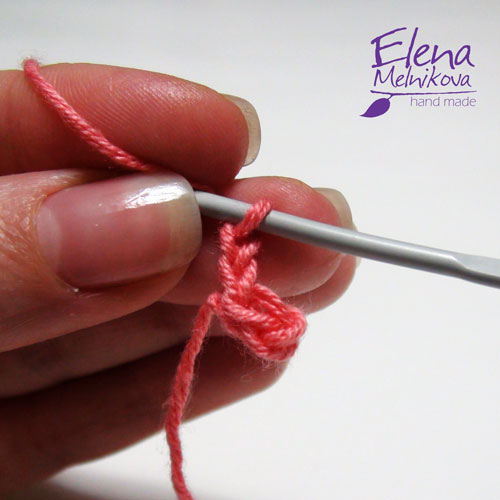 five. In the center of the circle we knock the posts with one double crochet. For each density of knitting and the selected combination of yarn and hook there will be a number of columns. This can only be determined in practice by linking several rows by example. I completed 14 single crochet columns
 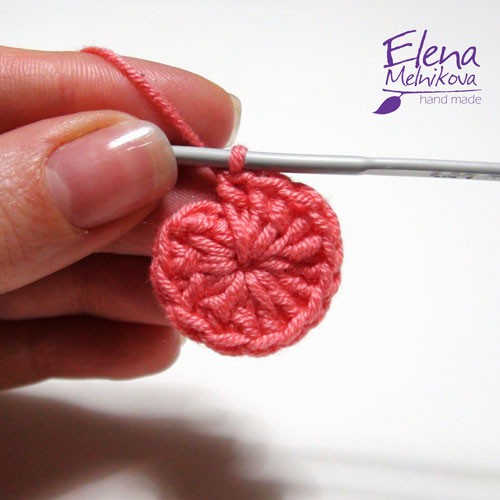 6. Closing with the help of the top of the first column. You can lock into the upper lift loop, in which case lifting is counted as a bar and in subsequent rows
 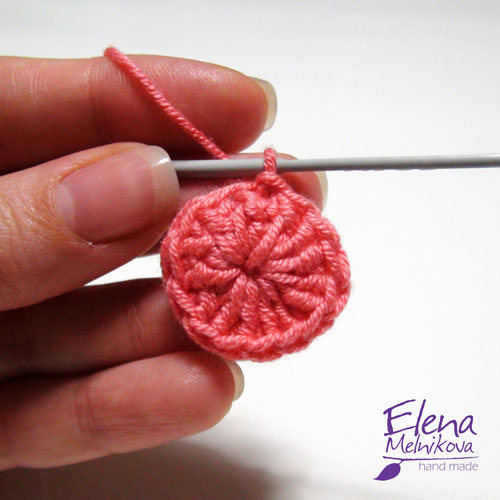 7. Two air
 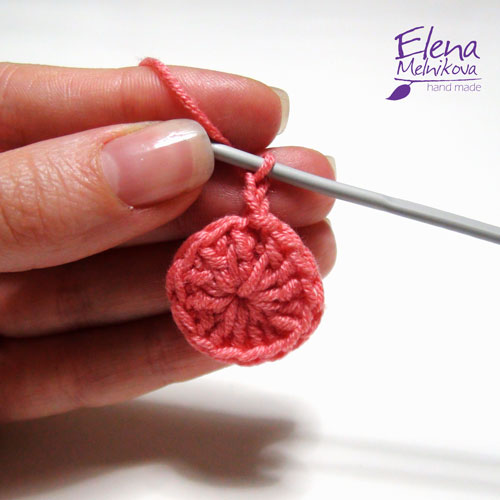 8. Second row. Two columns with one double crochet into the next free loop. Please note that I missed the loop in which I made the connection in the previous row, and the last bars in this case are knitted into the same loop from which the lift loops are raised. And so it is also possible. Crocheting in a circle includes many different ways in which the main thing is to understand the essence! We knit the entire second row by two columns in one loop.
 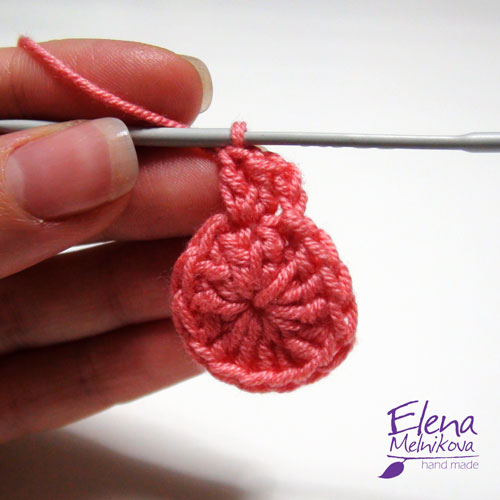 9. Having knitted a row to the end will turn out like this
  10. Closing the row with a connecting pole to the top of the first column of the row. If you knit in the air loop, then we lock it
 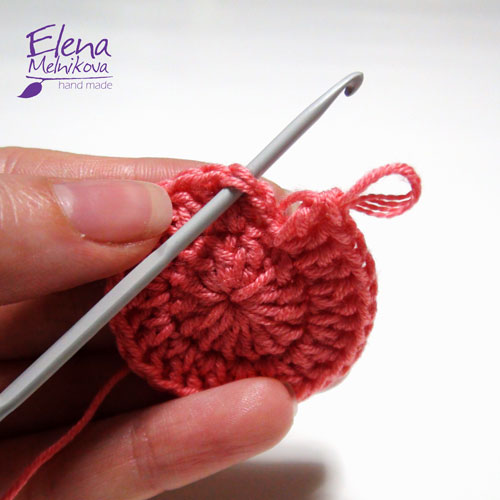 11. The second row is ready. The number of columns of the second row should be twice that in the first. Lifting loops for a column in this embodiment, I do not think. I have 28 posts
 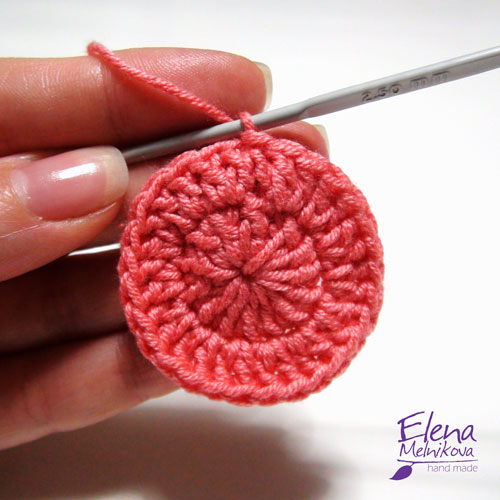 12. The third row. Two lift air loops
  13. In this series, we make the gap between one-bar increments. Please note that I begin to knit the following rows in the same way as the previous one - from the first free loop, skipping the loop in which we made the closure in the previous row
  14. The last bars, as I have already said, are knitted in the same loop from which the lifting loops extend.
 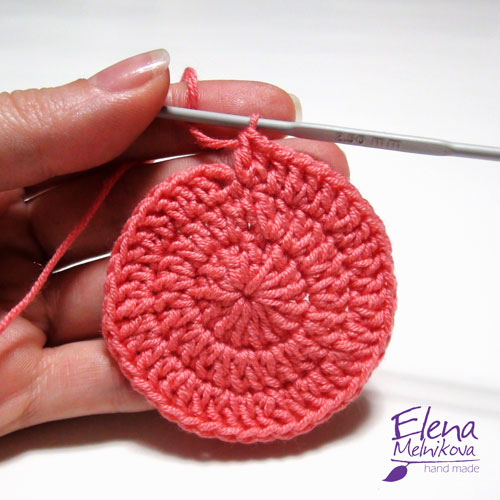 15. We close with the help of a connecting loop to the top of the first column. The total number of columns will always be equal to the number of rows multiplied by the number of columns of the first row. If you are just starting to knit, do not be lazy, and after knitting each row, recalculate the total number of columns. I got 42 columns in the third row
 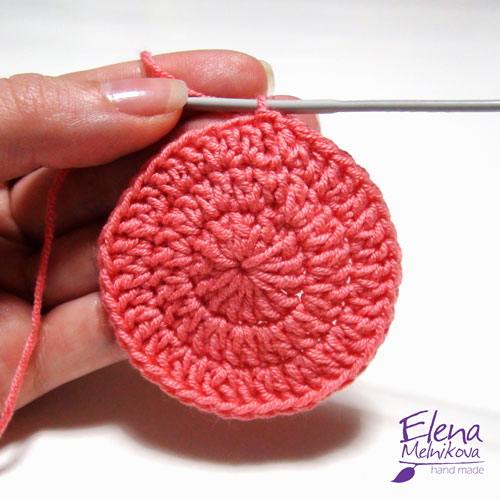 16. The rise of the two air loops
  17. The fourth row. In this row, the gap between the gains increases again and it becomes equal to two columns with one crochet. And in this series for us is already noticeable arrangement of the columns with increments and difference from the previous version of knitting a circle. Please note that the increase is not above the columns of the gains of the previous row, but are shifted to the left
 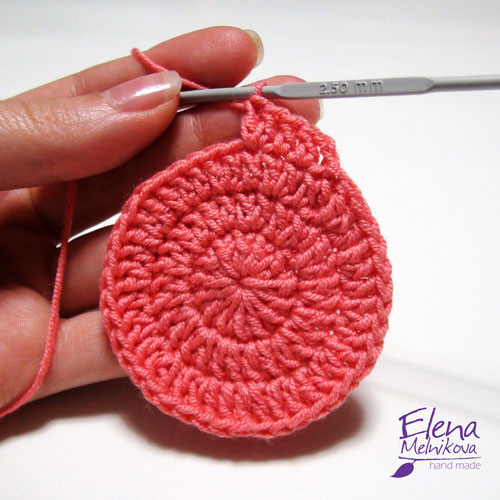 18. Having knitted the fourth row we will see that all increases are shifted relative to increases of the previous row
 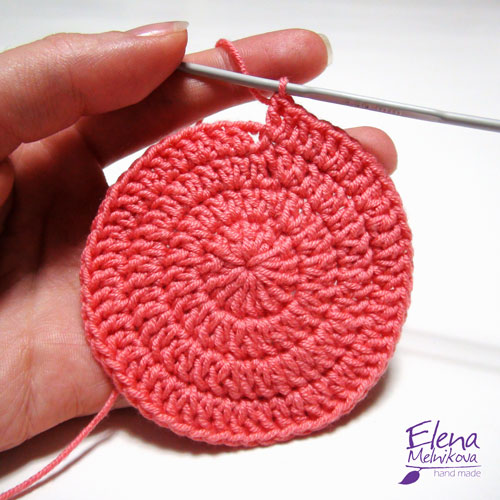 19. Closing the row
  20. In this series, we again increase the distance between the additions to three columns.
  21. This is what the fifth row will look like. As you can see, due to the offset increase the edges do not appear
 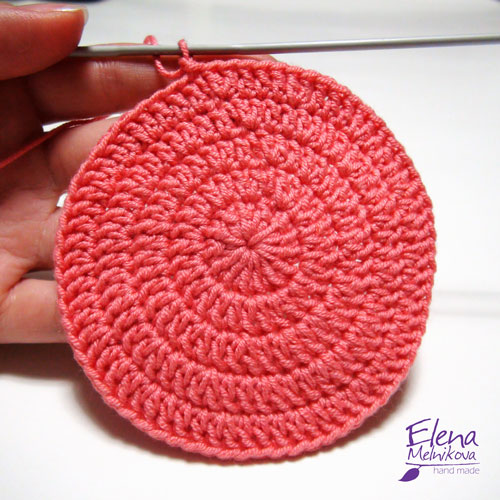 22 When knitting this way you can achieve the perfect shape for the biggest circles. If suddenly, with your density, the knitting facets began to appear, then move the gains further. For example, in the sixth row, you can shift the increments so that they are located exactly between the increments of the previous row. But with such a shift, be careful, because the series will not begin with the usual columns of the gap, and then increase, but at first there may be an increase, after which there are already columns. In any case, after provayazheniya series should get an equal number of bars in the intervals between all increases
 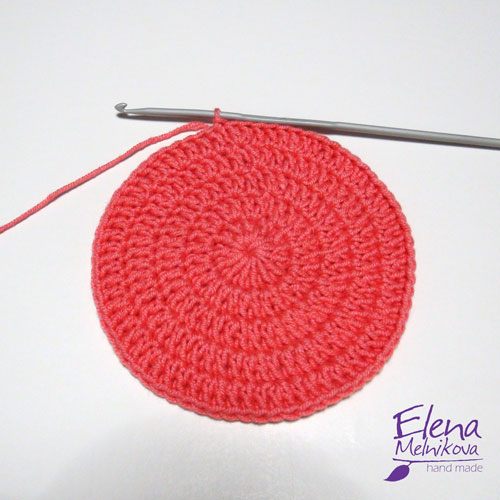 If something else is not clear, ask your questions in the comments! ? Thanks for attention!
 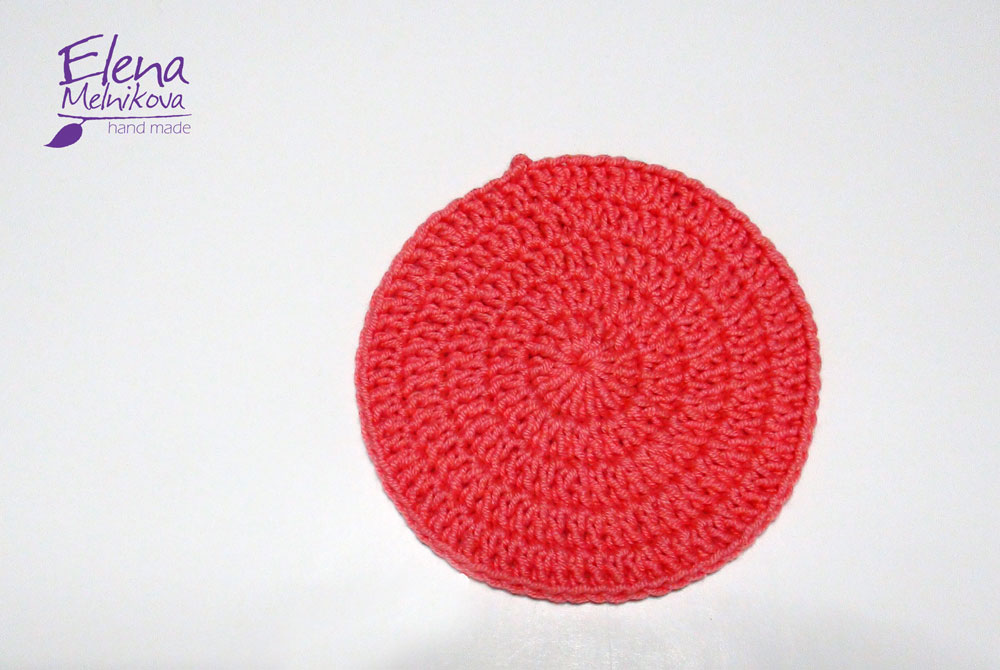 See you at the new classes! Do not forget to add a useful bookmark using the bookmarks buttons or social networks located below!
Comments
Related posts:
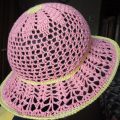 This detailed master class contains crochet lessons for beginners and will teach you how to crochet a summer hat.
 Master-class crochet with a photo will teach how to tie a stand-tack
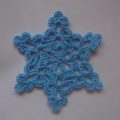 How to tie a snowflake with a crochet for the New Year's decor of the interior? A crochet lesson on the openwork snowflake with detailed recommendations and step-by-step photos
 This master class of crocheting with a photo and diagram will teach how to tie a beautiful cat.
 How to knit a circle and an oval crochet