
How to tie a green fishnet scarf with knitting needles using diagrams and detailed descriptions for free
We knit a fishnet green scarf with knitting needles If you wantgive femininity to your image, then you can do it thanks to the usual at first glance details. You can, for example, change a tight scarf to an openwork, and you will see how to transform right before your eyes. Openwork objects, which are connected with spokes, are designed to give the appearance of a woman some ease, comfort and elegance. Naturally, such products can easily be found in most stores. However, it is much more pleasant to make such a thing with your own hands. It's fascinating to watch how, as a result of your efforts, only a few fragments of patterns are obtained first, and then a complete openwork product. 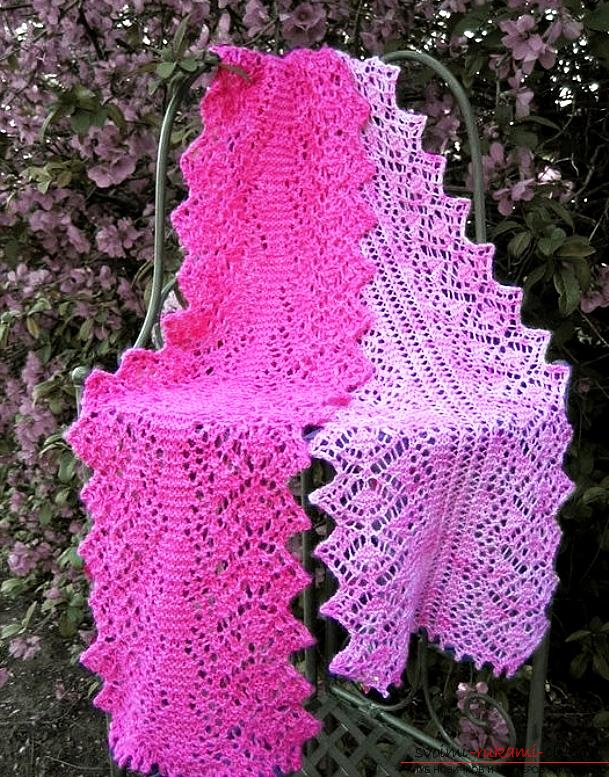 Most fashionistas want to replenish their wardrobeopenwork green scarf, which has a peculiar name - "Grasshopper". This version of the openwork scarf was developed by fashion designer Monika Steinbayer. At the heart of such a product is "rice" knitting. Such a product you can wear in the off-season, because this scarf is almost weightless.
 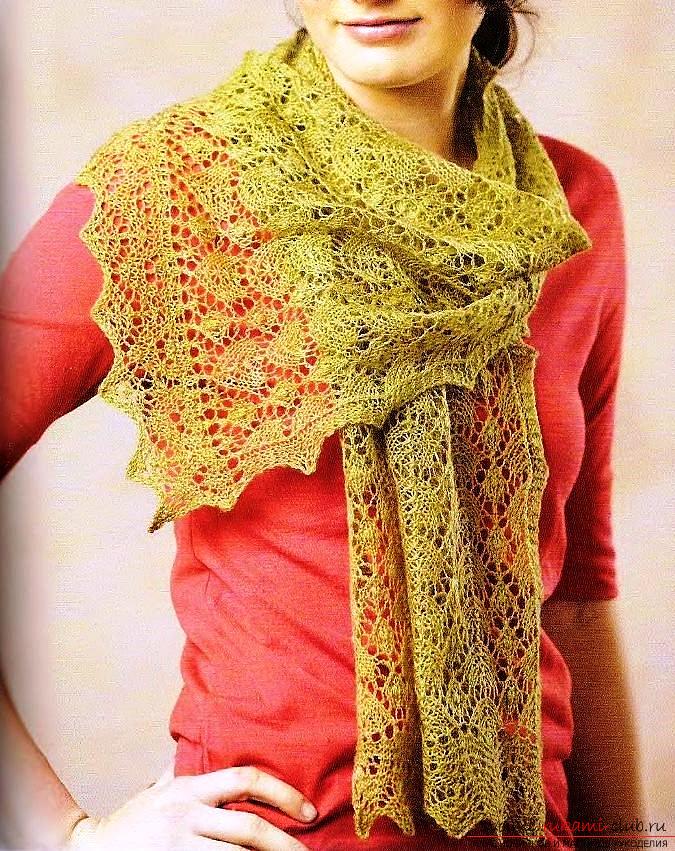 In order to create such an openwork scarf, youyou will need: five hundred grams of green yarn. It is possible that for a scarf two meters in length there will be enough and three hundred grams of thread, but we advise you to buy yarn in reserve, because then it will be rather difficult to buy an identical color. The saturated color of this product will help brighten the colorless autumn weekdays.
  We have indicated that the size of our scarf will bethe following: length - two meters, width - twenty-eight centimeters. For its production, we need: two hundred and fifty grams of natural woolen yarn; knitting needles number four; two white markers. We carry the mating, observing a small density: twenty loops in twenty rows should create a canvas measuring ten by ten centimeters.
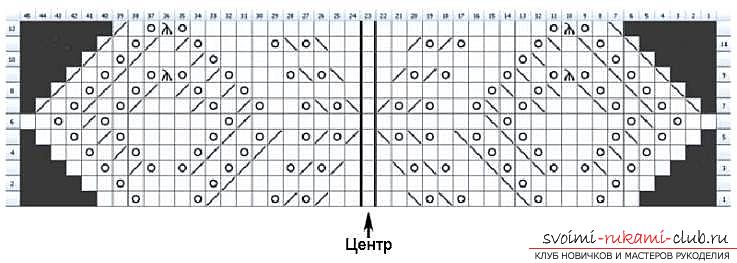
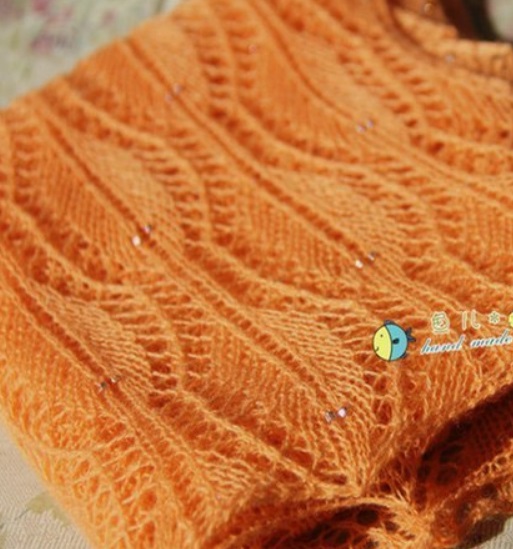
  First you need to perform a pattern of "leaves"forming an elegant kantik, and then the rest of the canvas is prolonged with a "rice" pattern, we use a garter plait, and finish with a kantik, similar to the one in the initial part.
  So, let's get started. We collect twenty-nine loops and "ten-fold" pattern knit ten rows. I want to pay attention that with garter stitch all the eyelets create facial. 1st row: we knit six facial loops, then two loops together face, napkin, we sew five facial loops, and then we repeat all the elements first, eliminating only the first six loops. At the end, there are two face loops. 2 nd row: we sew two facial loops, then three purlins, and then we pass to the creation of the pattern itself. To do this, you need to connect the two loops together with the first purl, then the knitting need to be made from the back side, make a cap, tie one wrong loop, again a knit, then two loops together in the wrong, again two loops of the wrong side, and so do until the end of the loop: one purl and two facial loops.
 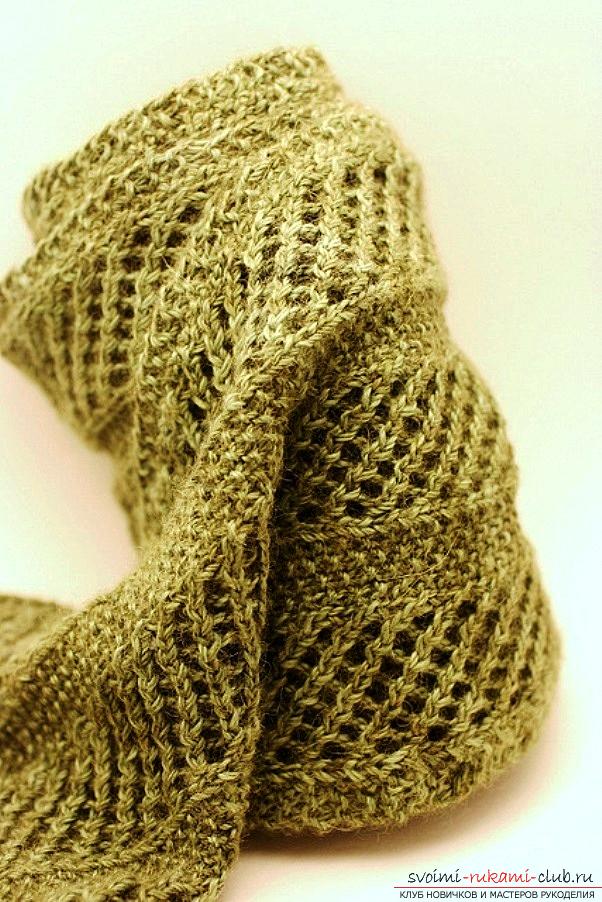 3rd row: we sew four face loops, then follows a pattern. 2 we sew the face loops together, we make the cape, then the three face loops, again the cape, we remove one loop, we sew one face loop and one special kind. Next, repeat the pattern until there are four face loops left.
 4th row: its creation begins with two facial loops, then we sew the back loop and repeat the pattern until we reach the final facial loops. 5-th row: we sew four facial loops, then follows a pattern. We make a cape, then we remove one loop, one face loop, we sew a special kind of loop and five facial loops. Next, repeat the pattern until there are four face loops left. 6th row: we start it with two face loops, then we sew a purl loop. And then we proceed to create the pattern itself. Next - one purl, a knee, then you need to tie two stitches together with the 1st purl, then the knitting need to be made from the back side, make a knickknack, tie one back loop, again a napkin, then two stitches together in the wrong side, again two stitches of the underside and so do until the end of the loop: three purl and two facial loops.
 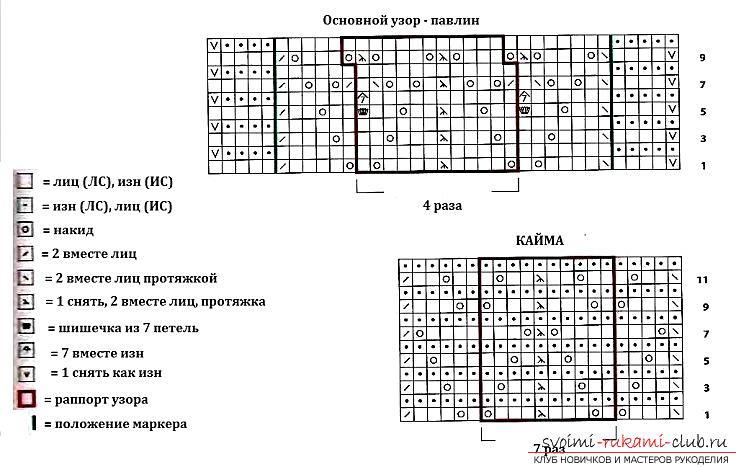 7th row: we sew three face loops, then follows a pattern. 3 face loops, we make a cape, we remove one loop, we sew one face loop and one special kind, after that - two face loops and one cape. Then repeat the pattern until there are five face loops left. The 8th row: we start it with two face loops, then we sew the purl loops to the two final facial loops. After this series, the pattern is repeated from the very beginning, until the product reaches the desired length. The last eight rows must be tied upfacial loops. This will provide kantiki created by garter stitching. Closing of the loops should be done from the wrong side. And at the end, carefully fill the ends of the cut threads. All! Your openwork green scarf is ready! Wear it with pleasure!
Comments
Related posts:
 Learn how to knit beautiful items with a "braid" pattern using patterns and detailed descriptions
 With the help of charts and descriptions, even a beginner skilled worker can connect a beautiful accessory
 Learn to knit knitted clothes and trinkets for your kids with the help of schemes and descriptions
 Knit with knitting needles for women with diagrams, detailed description and photo for free
 We knit an openwork scarf with knitting needles according to the scheme with description