How to tie a snowman with knitting needles, master class, photo, ideas / Toys with own hands, patterns, video, MK
Among the New Year's characters, the snowman is the mostcheerful and good-natured. It is the easiest to perform. A snowman is easy to do by taking 2-3 white balls out of any material. Knitted snowman - soft and warm, he does not look like his snow prototype.
Simple in form snowmen


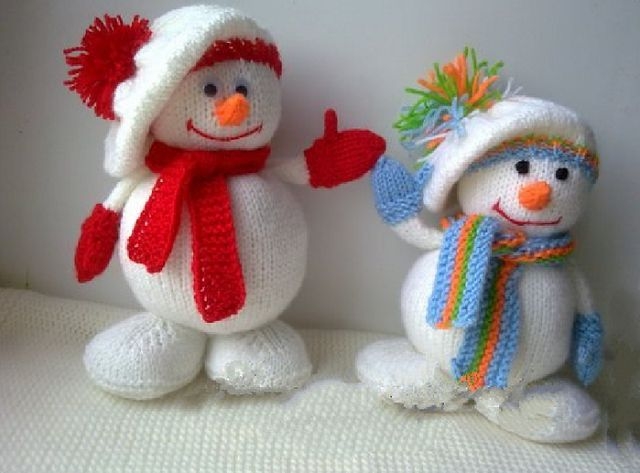

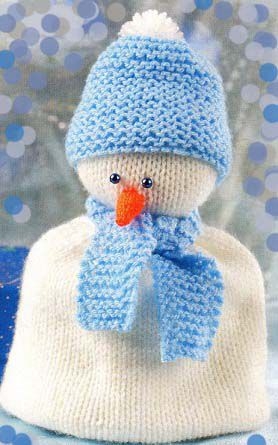


 To link a snowman is simple: torso in the form of a cone with a spherical head or a cylinder that is pulled by a scarf around the neck. You can connect it with knitting needles. A knitted snowman can be dressed in a blouse, decorated with embroidery, beads, appliqués in the form of snowflakes made of felt. There are many master classes on the Internet for making such Christmas decorations, schemes and descriptions. If we talk about the methods of knitting, then the relief braids look beautiful in the middle of the surface. Schemes and master classes that describe knitting with their knitting needles can be easily found on specialized sites. You can link the whole figure or the details separately, and then sew them.
Master Class
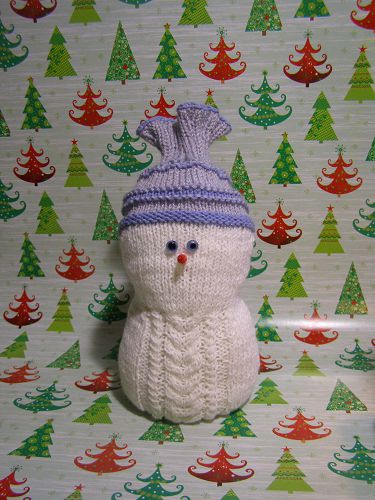
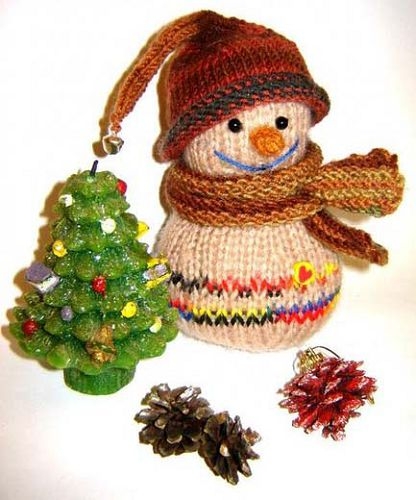
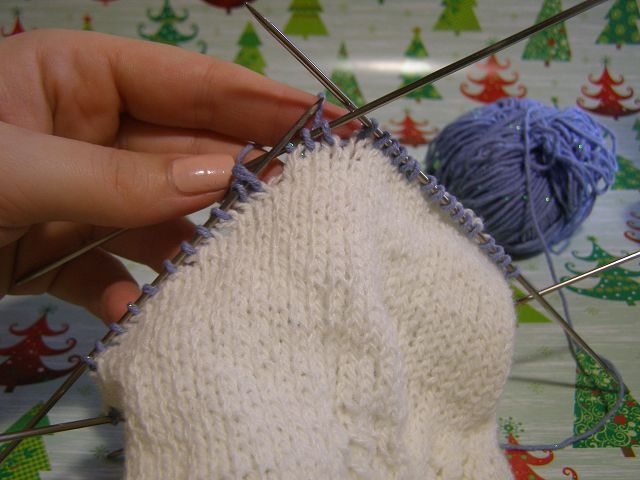
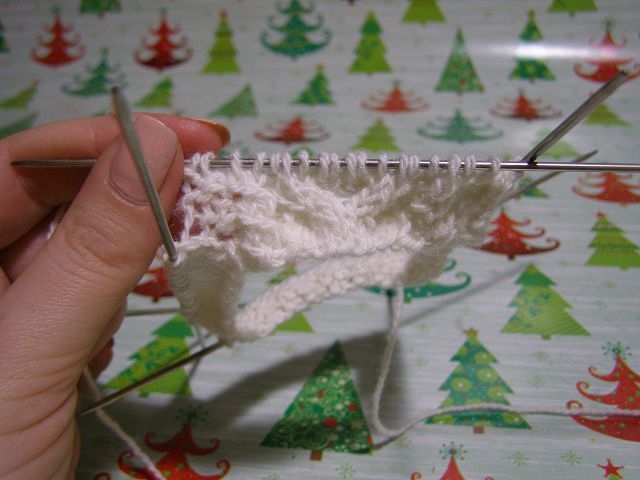
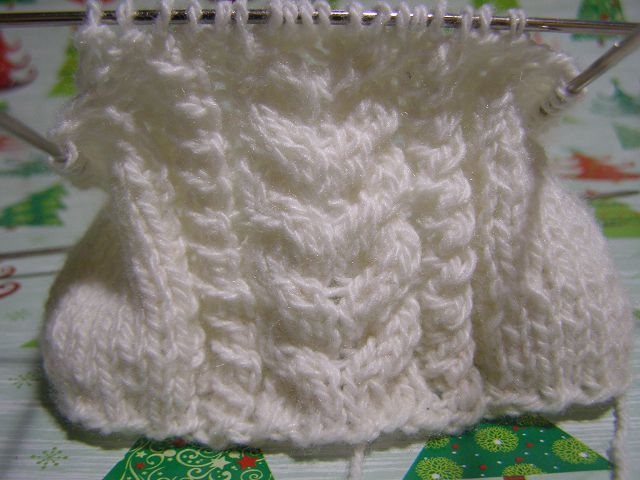
For the master class, the model is simple,the only detail is knitted from the bottom up: the trunk, the head, the cap. In the neck area, we subtract the number of loops. Our snowman with knitting needles will be made of white thread with braids in front, and his hat will be striped, for it we need at least 2 shades of yarn. If you tie a snowman on stocking knitting needles, thenlater it will not have to be sewn. Without a seam, the connected character will be more attractive. But this is not an obligatory condition for knitting. We select 3 spokes on 16 loops, and on the front, where we decided to tie braids - 18 loops.


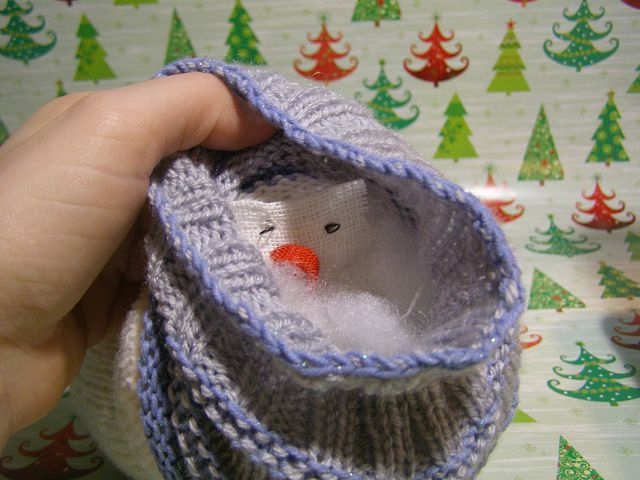


Assembling a Snowman
Snowman toy is ready!
Ideas and useful tips
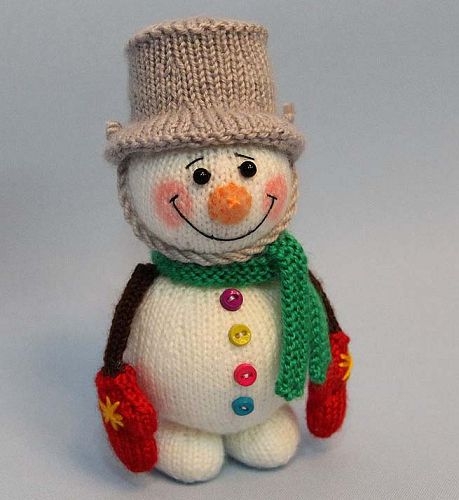
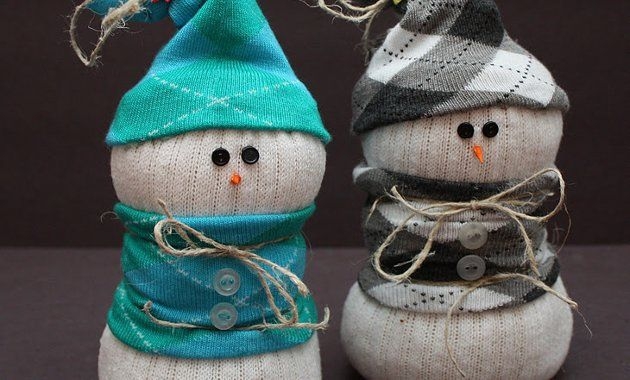
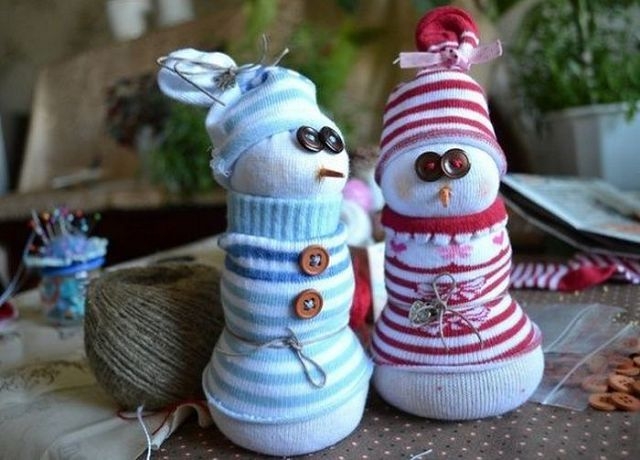
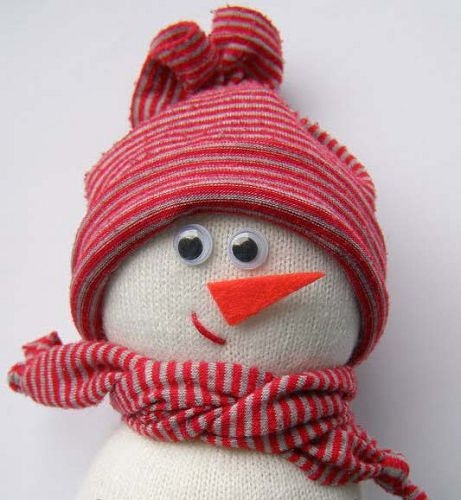
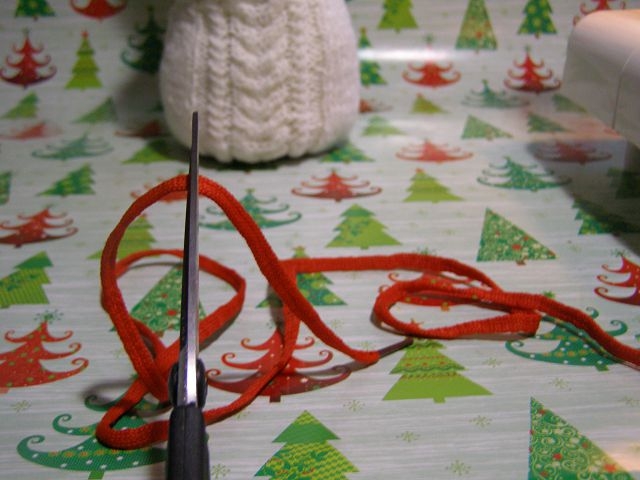
You can tie a snowman a scarf, make skis orsee on the Internet a master class on how to knit his knobs with mittens. Inside a snowman, you can put candy and a gift. If a knitted snowman is intended for a small child, the person of a snowman should be sewn with threads. There are master classes of knitting snowman models with stuffed hands and feet , the process is more complicated, but it will be a full-fledged toy. Those who can not knit, but a knitted snowman really wants, can make it from socks. Video: how to tie a snowman's eyes, buttons, pens:
Comments
Related posts:
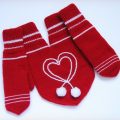 How to bind a solid heart with knitting needles, master class, photo, ideas / Toys with their own hands, patterns, video, MK
 Christmas tree of ribbons with their own hands, photo, ideas, master class / Toys with their hands, patterns, video, MK
 How to tie an Owl with knitting needles. Master Class. Video / Toys with own hands, patterns, video, MK
How to tie Mishka with knitting needles. Master Class. Video / Toys with own hands, patterns, video, MK
How to tie an Owl with knitting needles. Master Class. Video / Toys with own hands, patterns, video, MK
How to tie Mishka with knitting needles. Master Class. Video / Toys with own hands, patterns, video, MK
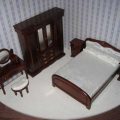 Rumboks for dolls: a master class. A photo. Video. Ideas / Toys with own hands, patterns, video, MK