How to tie a summer hat for a girl from melange yarn? A knitting lesson with detailed recommendations, photos and video instructions
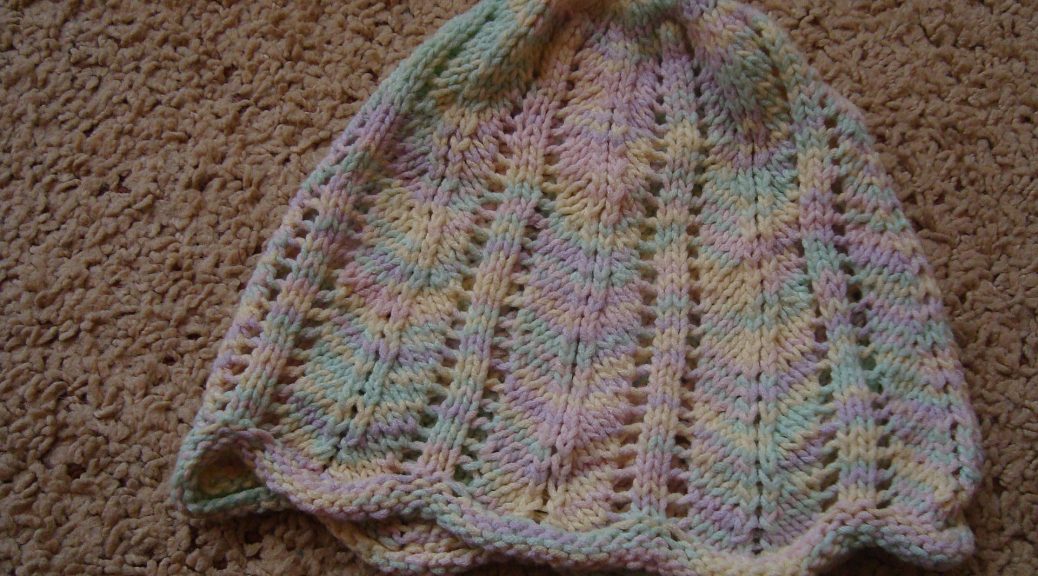
Little princesses fit any bright hats. In this master class, we will talk about a colored hat that knits with circular knitting needles, so it has no seams. For the basis of knitting, a pattern of an openwork pattern is used, which was also used for a sweater in a similar color.  Such a hat will serve as a headdress in warm clothesspring days or in cloudy weather in the summer. It is elegant and unusual, the transition of bright colors in the thread allows you to give originality and tenderness to the product. The hat is designed for a girl of 1-2 years. For knitting, prepare a thin delicate yarn that will be soft to the touch and will please your girl. In this product, a thread "melange" was used, in which cotton fiber predominates. Still need thin knitting needles (to match the thickness of the yarn), it is better to use circular tools, then there will be no seam on the cap, and it can be worn from either side. If you decorate the product with a badge with a picture of a fairy-tale character (for example, a princess), then designate the front side of the cap. First you need to type 24 loops plus 2 side knits for knitting the pattern according to the drawing. Do not be lazy and skip this step, otherwise it will not be possible to calculate the number of loops for knitting the product correctly, but to take the quantity that is given in the sample is not always correct, since the diameter of the yarn is often different, the poem will have a different appearance.
Video instruction
A sample is made according to the proposed scheme, it is not necessaryThe first rows of the reverse side, as it seems in the photo of the product, just a pattern according to the scheme is such that the edge will necessarily turn outward and will look like the purl pair of rows. 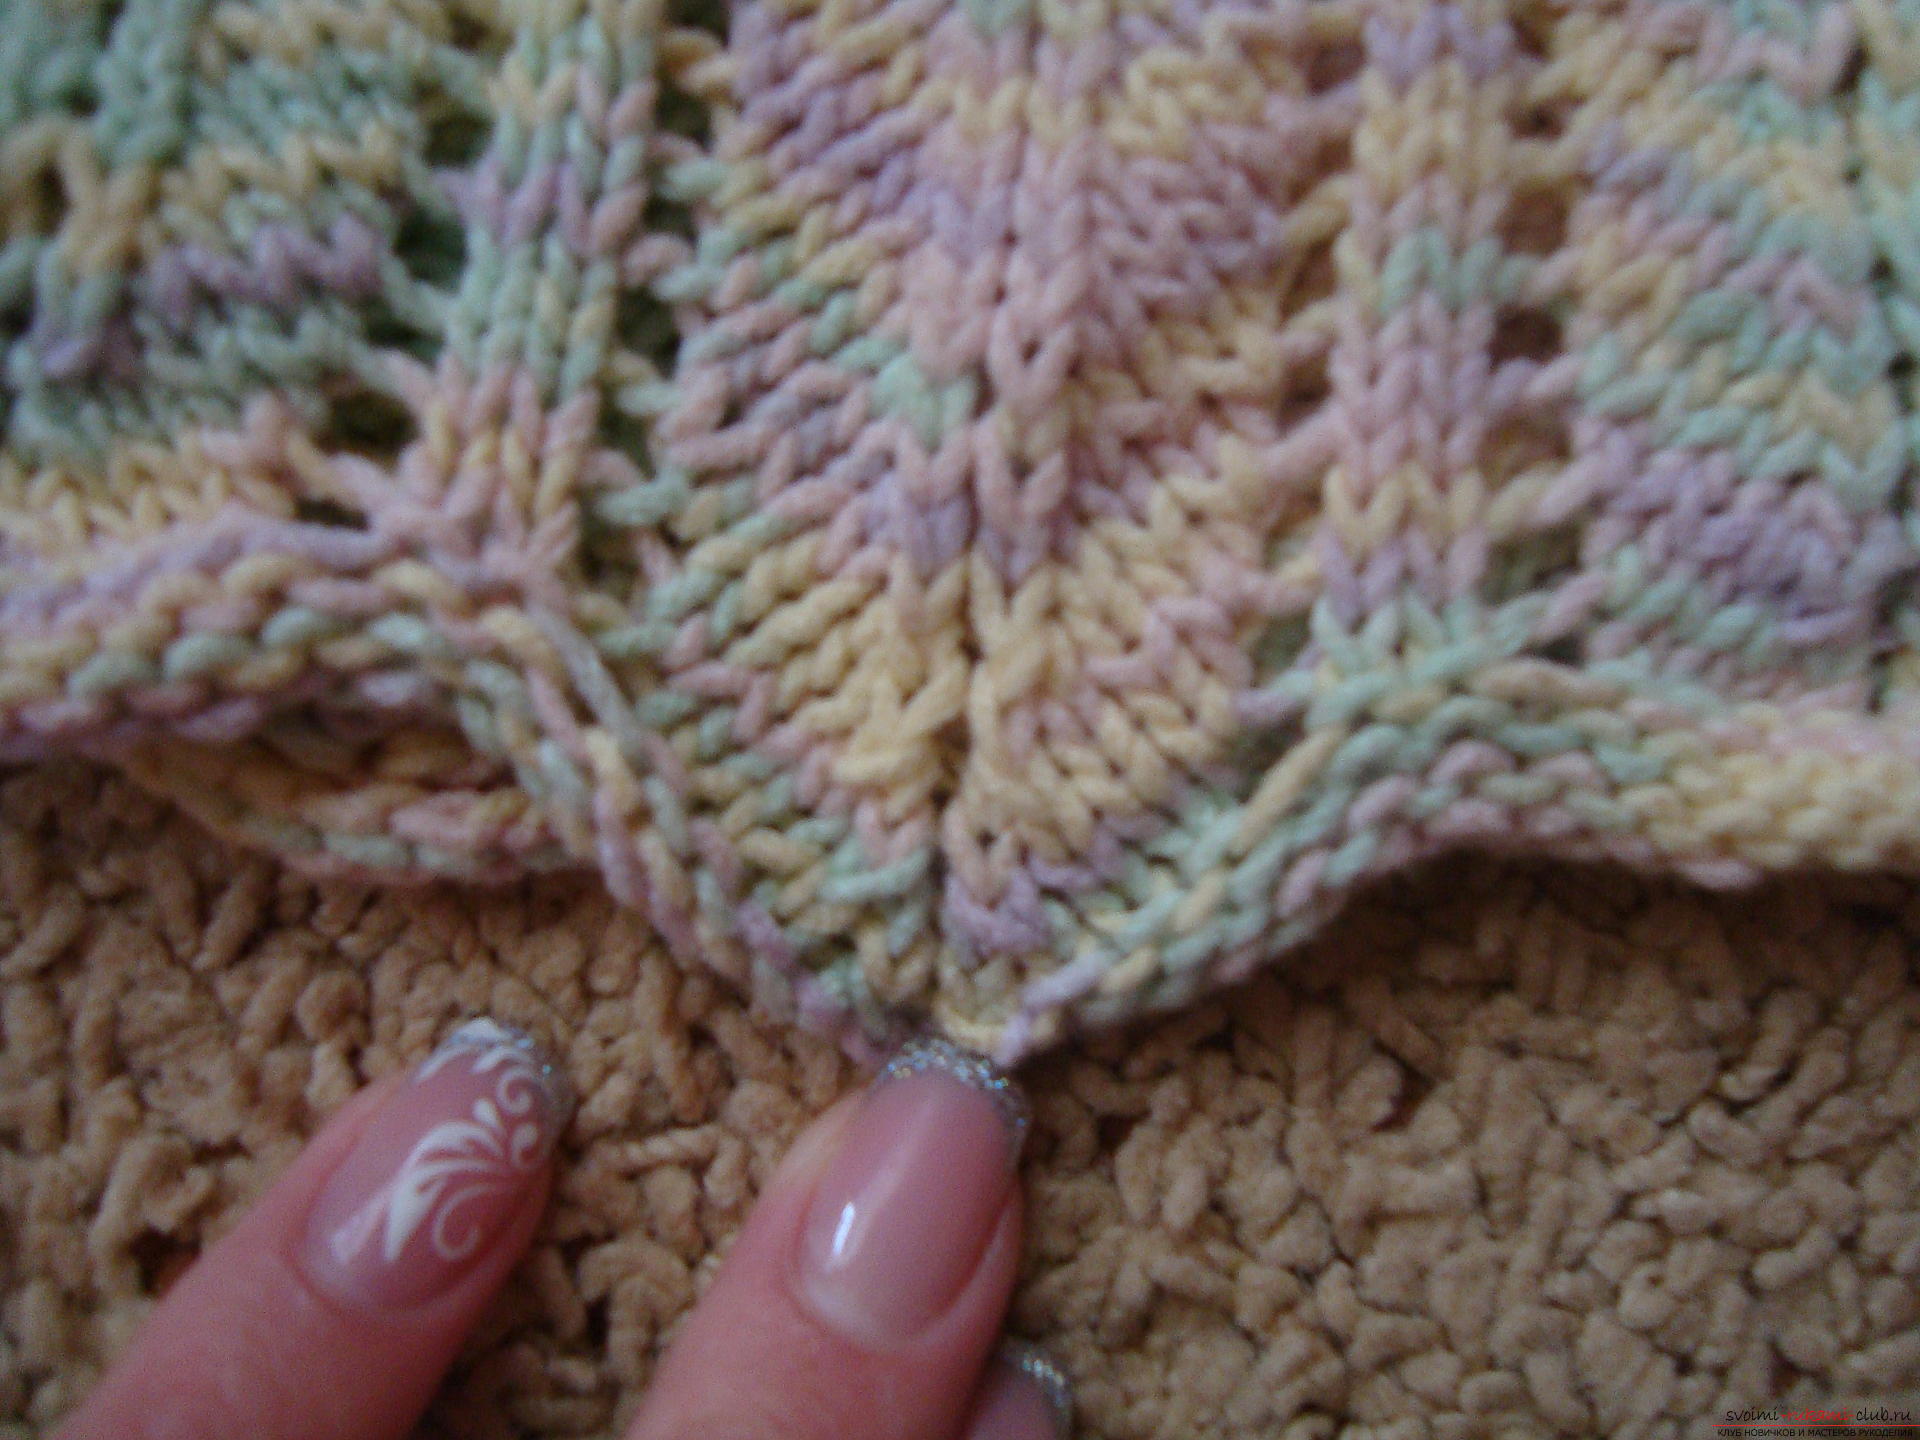 Linking the figure, count the number ofhats for the cap. The size you set it according to the circumference of the head, you need to measure it on the forehead line, dropping into the nape of the neck. The resulting size is divided by the width of the sample, remember that it contained 24 loops, so multiply the resulting flat figure (without tenths and hundredths) by 24, then if the tenth is more than 0.5 - add 12 loops, and if it is less than the number , then you can not add loops. The figure is knitted viscous, therefore the size of the cap will be quite sufficient without 3-7 loops, otherwise these elements can not be tied in accordance with the diagram drawing. Type the desired number of loops on both circular knitting needles, pressing them together. Then take out one knitting tool in place of the last loops, sipping them on yourself. The peculiarity of knitting on circular knitting needles is that there are no two extreme loops, and the whole pattern is knitted in a circle, just one row is replaced by another. The place where there is a change of rows is noticeable on several grounds: firstly, the height of the row changes; secondly, at the bottom of the work there will be a noticeable thread that will remain the second end after the loop set. So, let's start knitting with the fact that we knit the first two loops with the front surface. To do this, press the front side of the loop in the direction from the left to the right, that is parallel to the left spoke, and not towards it. Then, put a loop of thread on the right working needle, which must always be at the back of the work (but since the cap knits on the circular tools, the thread will be positioned as if inside the cap). Pull the thread through the working loop, while skipping the previous loop between the tools, because it will not bloom, since it is already tied with a new element. The next element is a simple crochet, for this you simply sketch a new loop from the working thread. The next three loops are again tied with simple face loops. And then two loops are tied together on the model of the face element. This is carried out in a simple way - poddente right two wires at once, then thread the thread on the tool and immediately pull the yarn through two loops, pulling the needle in the opposite direction. The resulting element reduced the number of loops by one unit so as not to spoil the symmetry of the picture before it was made a cuff on the right spoke after the first two loops.
 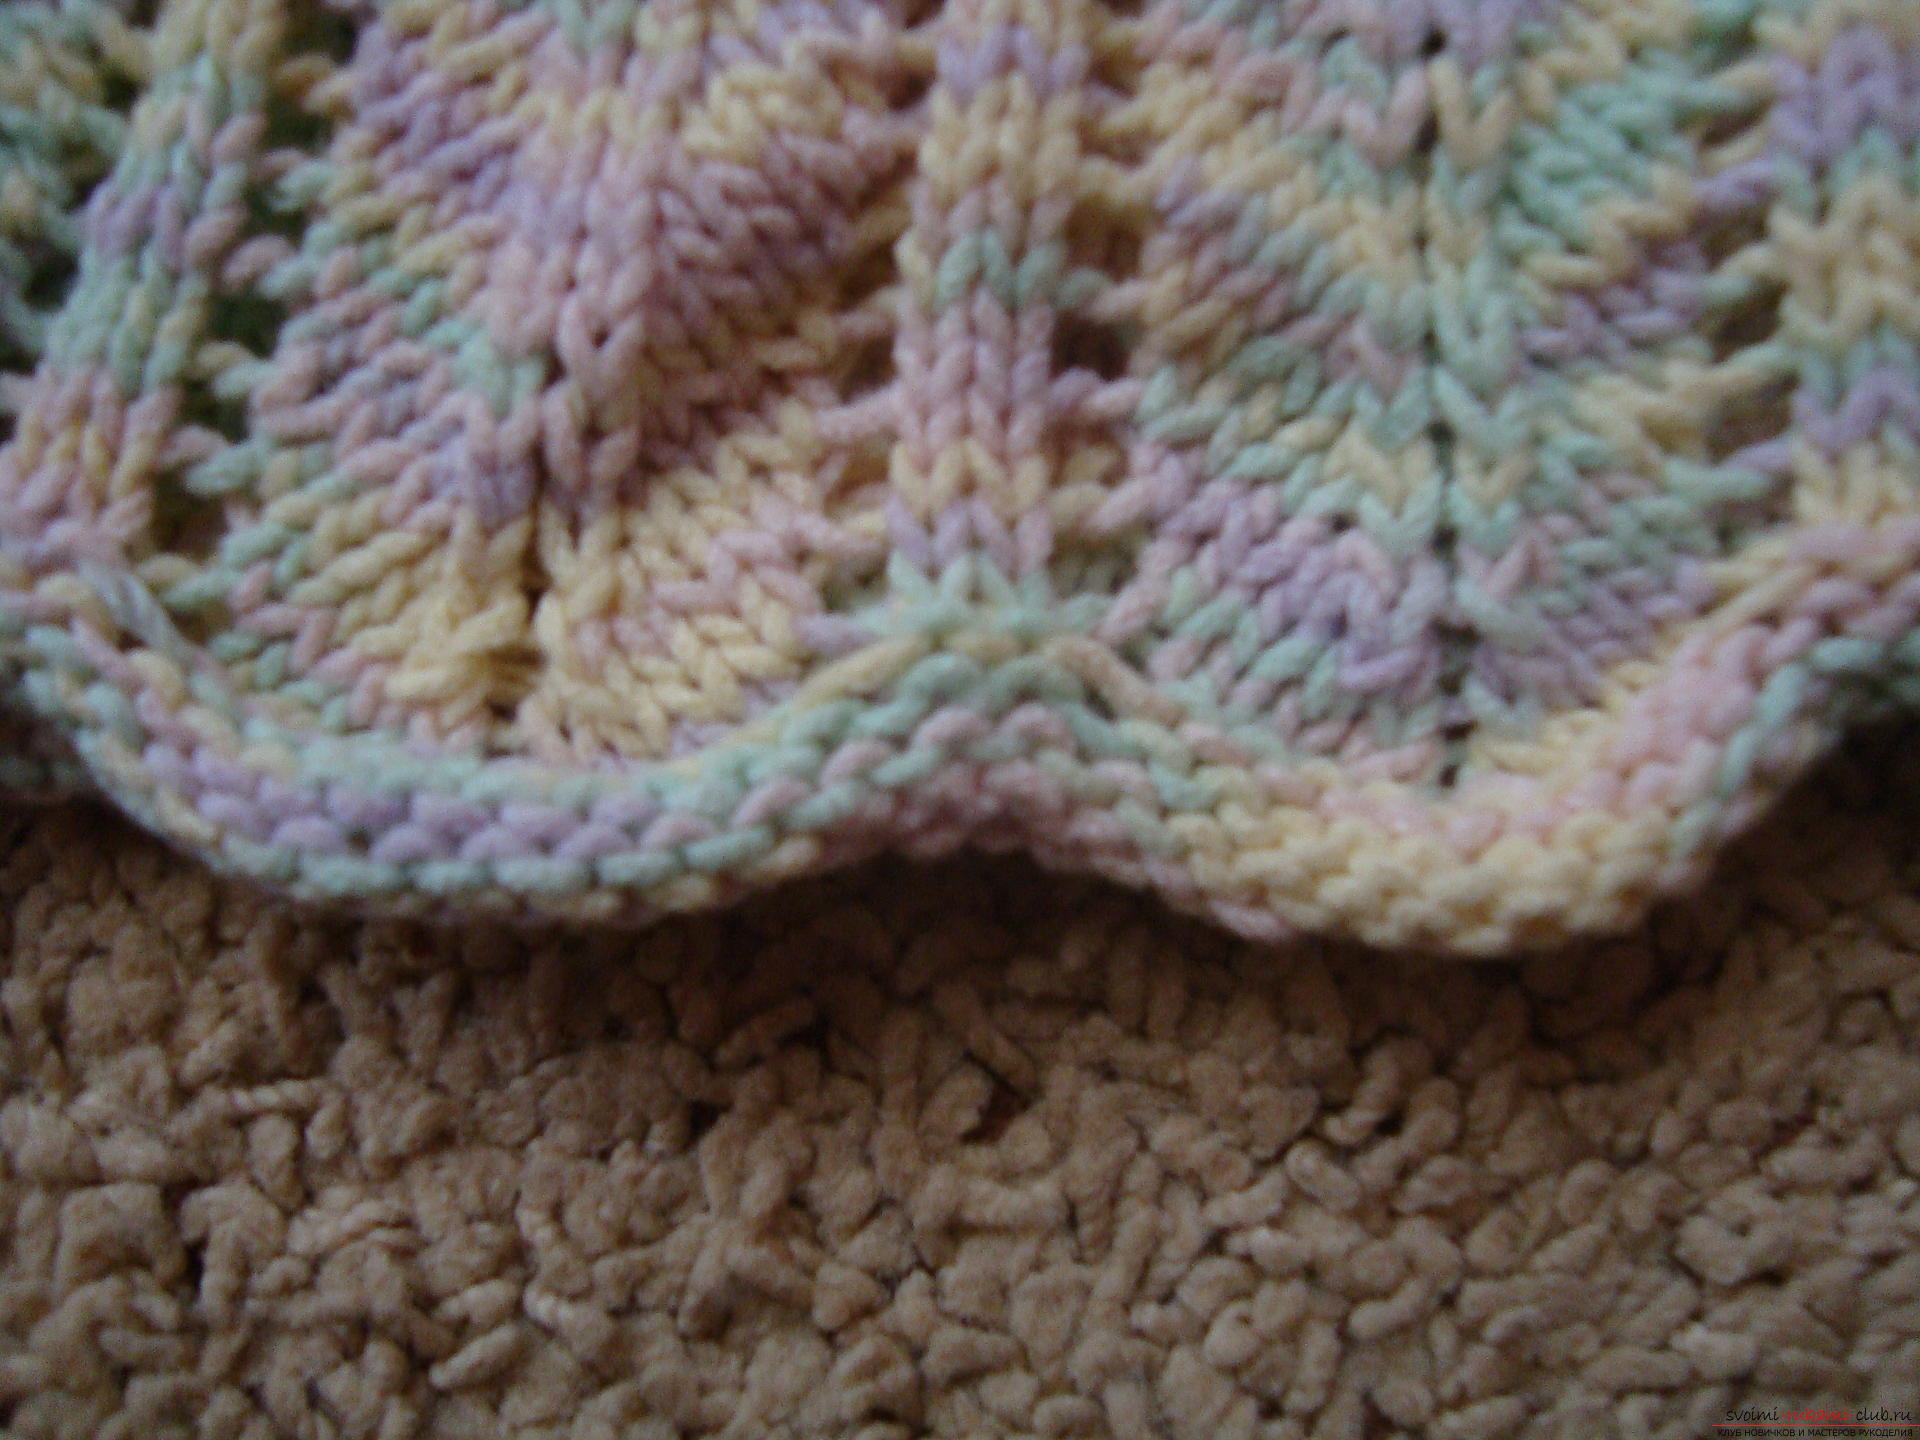 The next five face loops are tied inanother direction - it begins with the fact that again the two loops are tied together like a face loop, but first two elements on the spoke simply swap crosswise in places. Such a simple technique will allow to preserve the appearance of the front loop when joint pairing of elements. Then, three cords knit simple facial smoothness, and after them make a crochet, which will restore the amount of the element to the original count. Now repeat the knotted segment, this is the repeating part of the pattern, which replaces each other throughout the series. In this sequence, the first 5-6 centimeters of the product is created, and in the future it is necessary to smoothly reduce the number of loops, so that the shape of the product changes to a cone, and the cap acquires a cute image. To do this, loosen the loops through one drawing, that is, in the first pattern of the new series, not one pair is tied together from the five face loops, but two, and four loops are formed. It is important to observe the position of the napkin in the figure and the two face-to-face separating loops between the crochets that are knitted all over the product without alteration. All stages of width reduction are played in the place of the picture where five identical face loops were initially located. In the next row, change the reduction, they need to be created in those positions that did not change in the previous series. Thus, gradually the whole pattern will be replaced by a diagram: four eye loops, the last two of which are tied together, then two together by a cross in a cross, then a napkin, again two facial and again a cape. Through a distance of 5-6 cm should come a new smooth wave of loop reduction, during which the number of loops in the figure will change to three facial. The places where the capes are added remain unchanged. After having measured a distance of 5-6 cm, again it is necessary to add a loop in the place where the group of facial loops is fastened, now their number decreases to two units. It is important not to cut the loops in other parts of the pattern and do not change the order of the binding of the product. Approaching the top of the head, you need to reduce the loops much more often, but this will change the entire pattern, so replace all openwork elements on the front loops and tie the two together, the two faces and then the two together, the two faces, this will dramatically shorten the width of the cap and tie off its upper part . The next row is tied tightly with all the facial loops.
 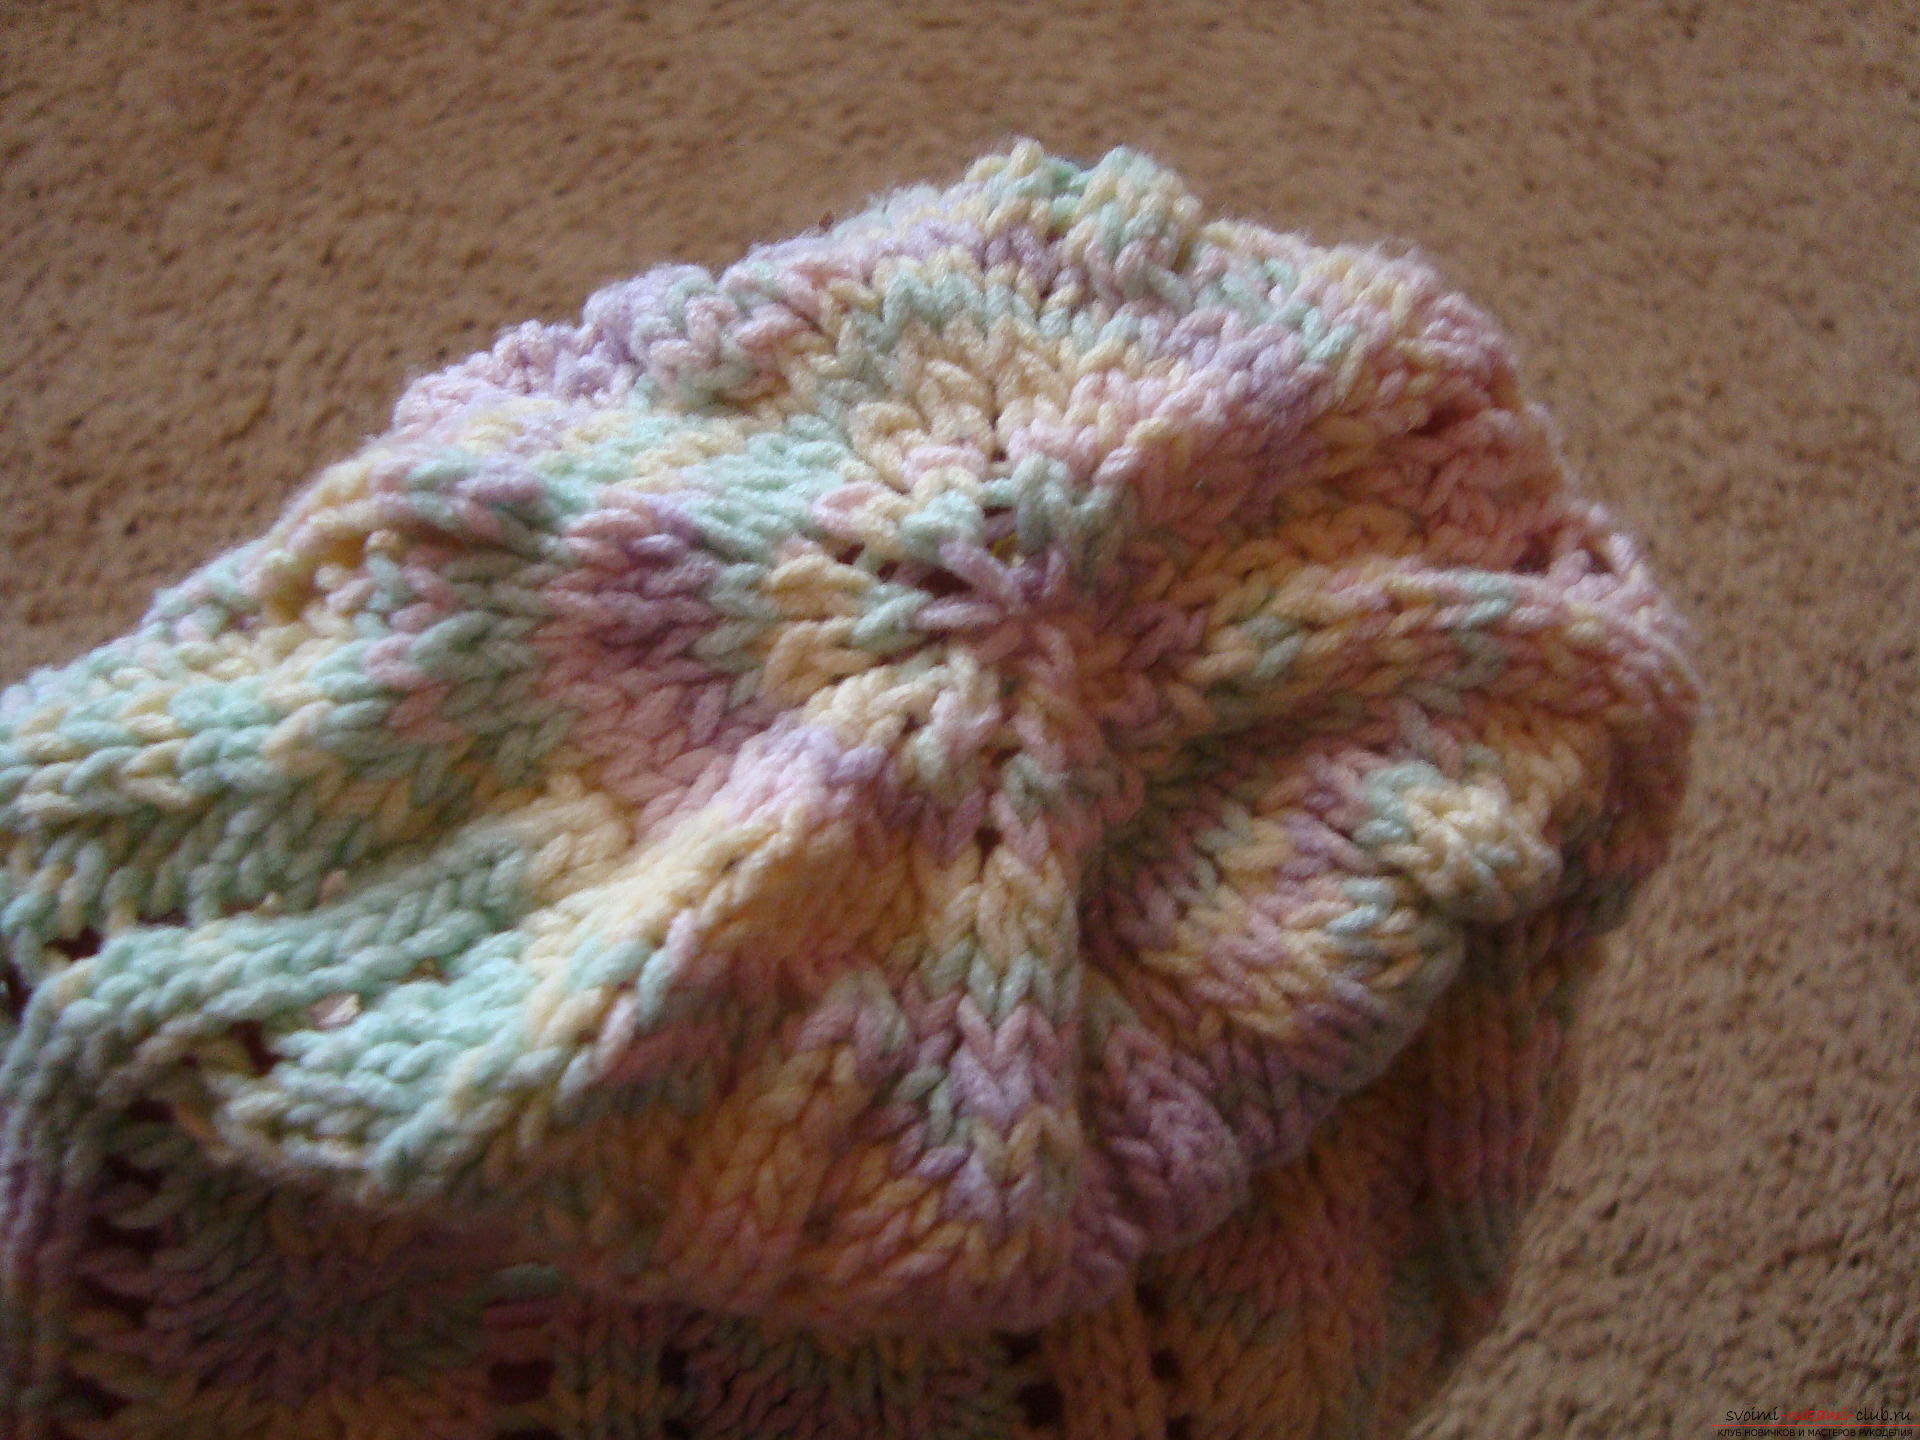 In the new series there is again a sharp reductionelements, again you need to tie two together and one face loop and so on throughout the rounded row. The penultimate row knits two facial loops, but if the thickness of the yarn is such that the reduction of the loops changes the shape dramatically and tightens the crown of the cap, it is always possible to tie one or several rows of facial smoothness. The last stitches are tied together, it can be 3-5 elements and the thread is carefully tightened. On the wrong side, the reduction zone looks quite simple:
 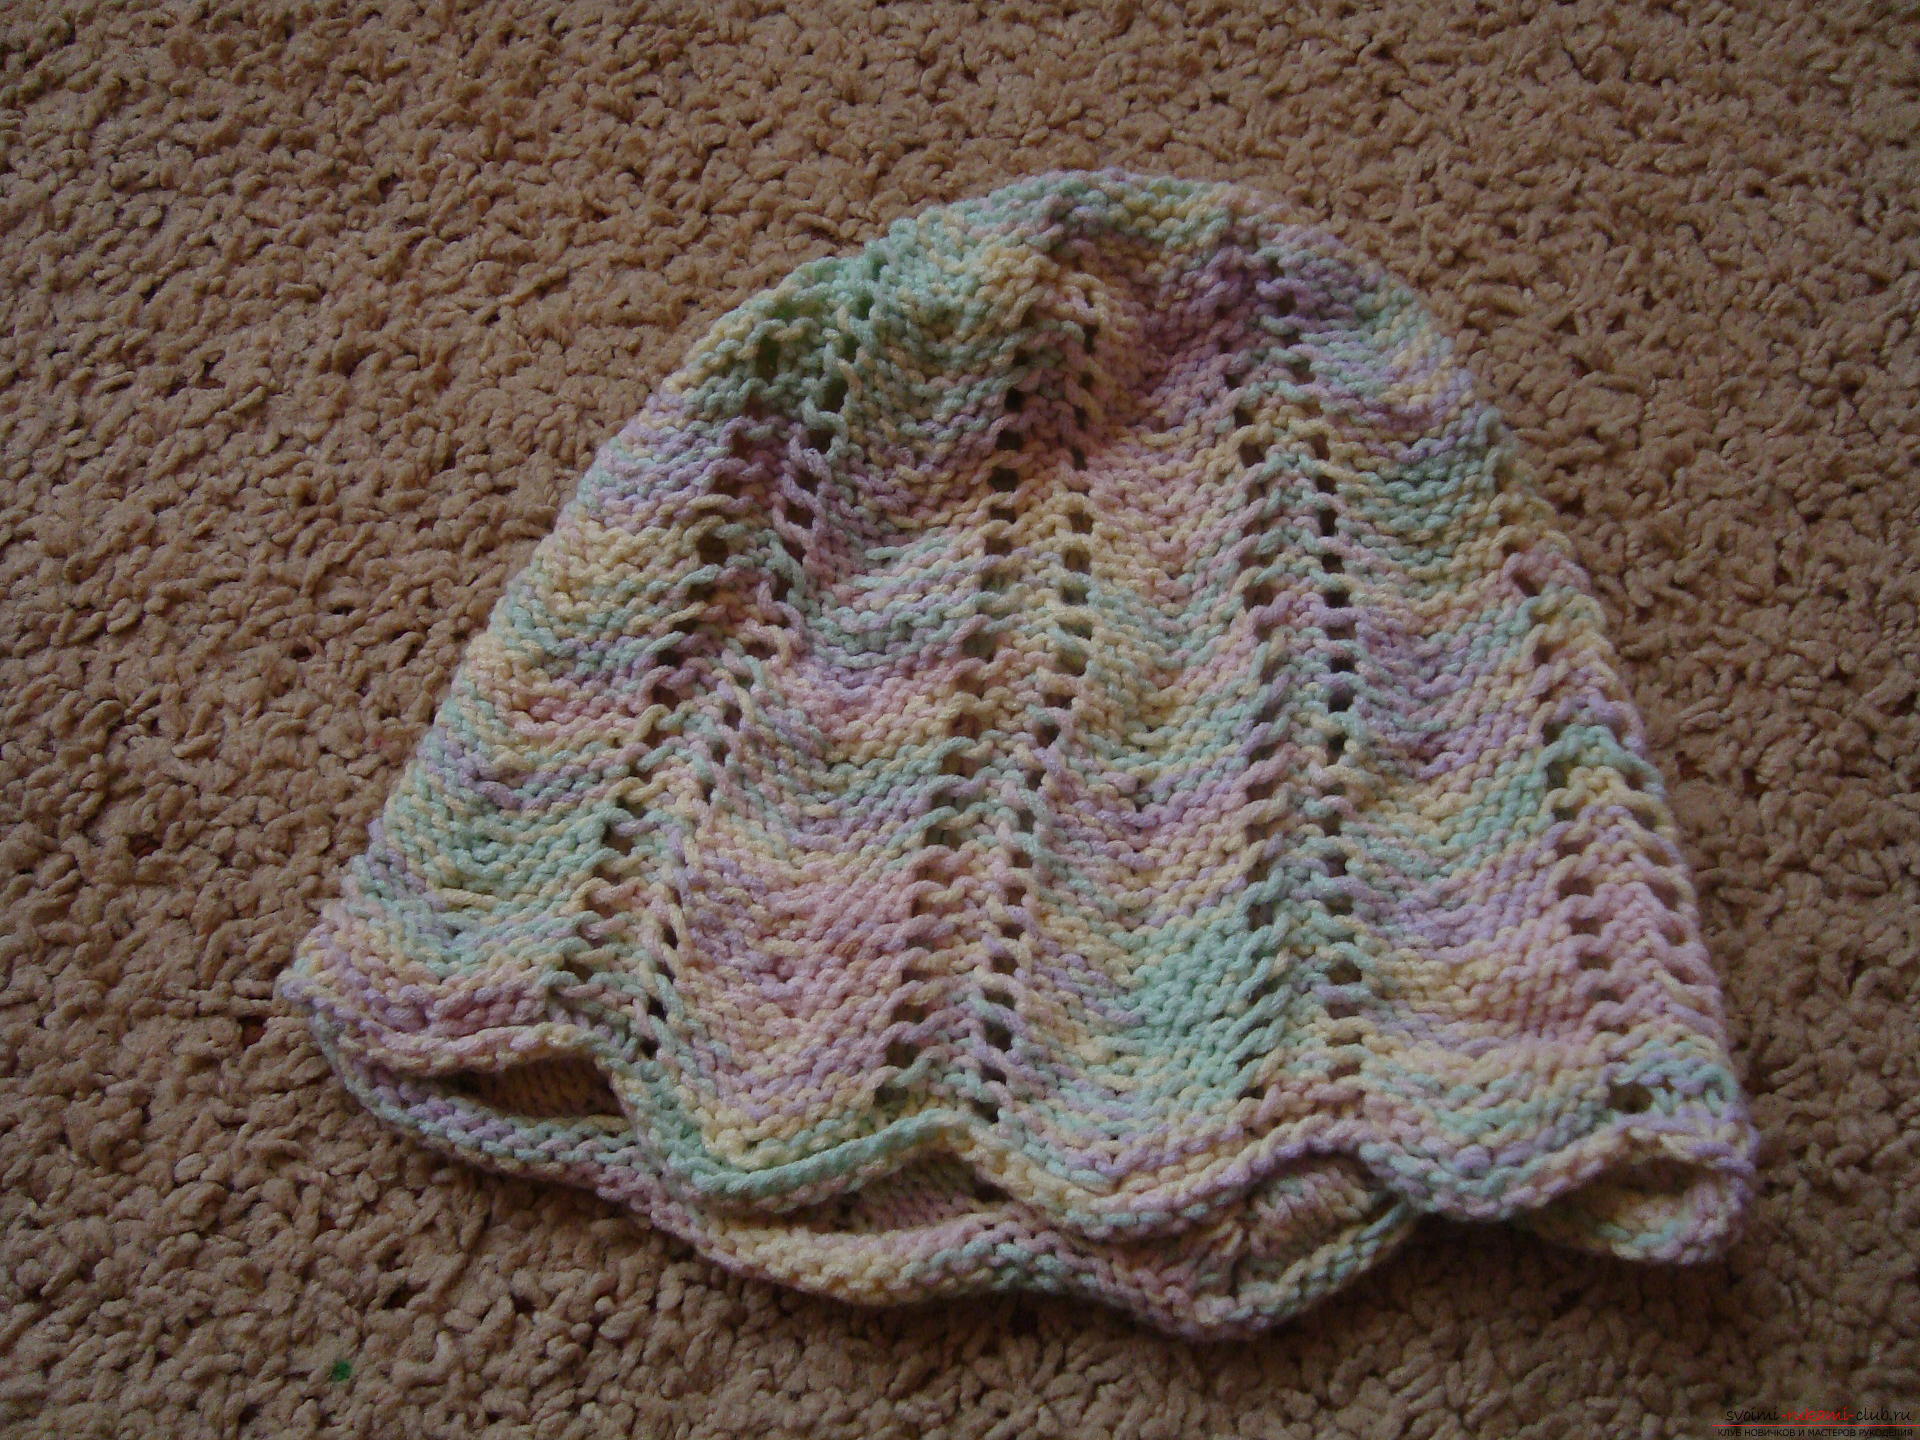 Summer cute hat for a young charming womanready. It consumes less than 50 grams of yarn and 2-3 pm time (if not knit in a hurry). Such a thing of the wardrobe is combined with monophonic light things or for a set you can tie a jacket in a similar color, with a similar pattern.
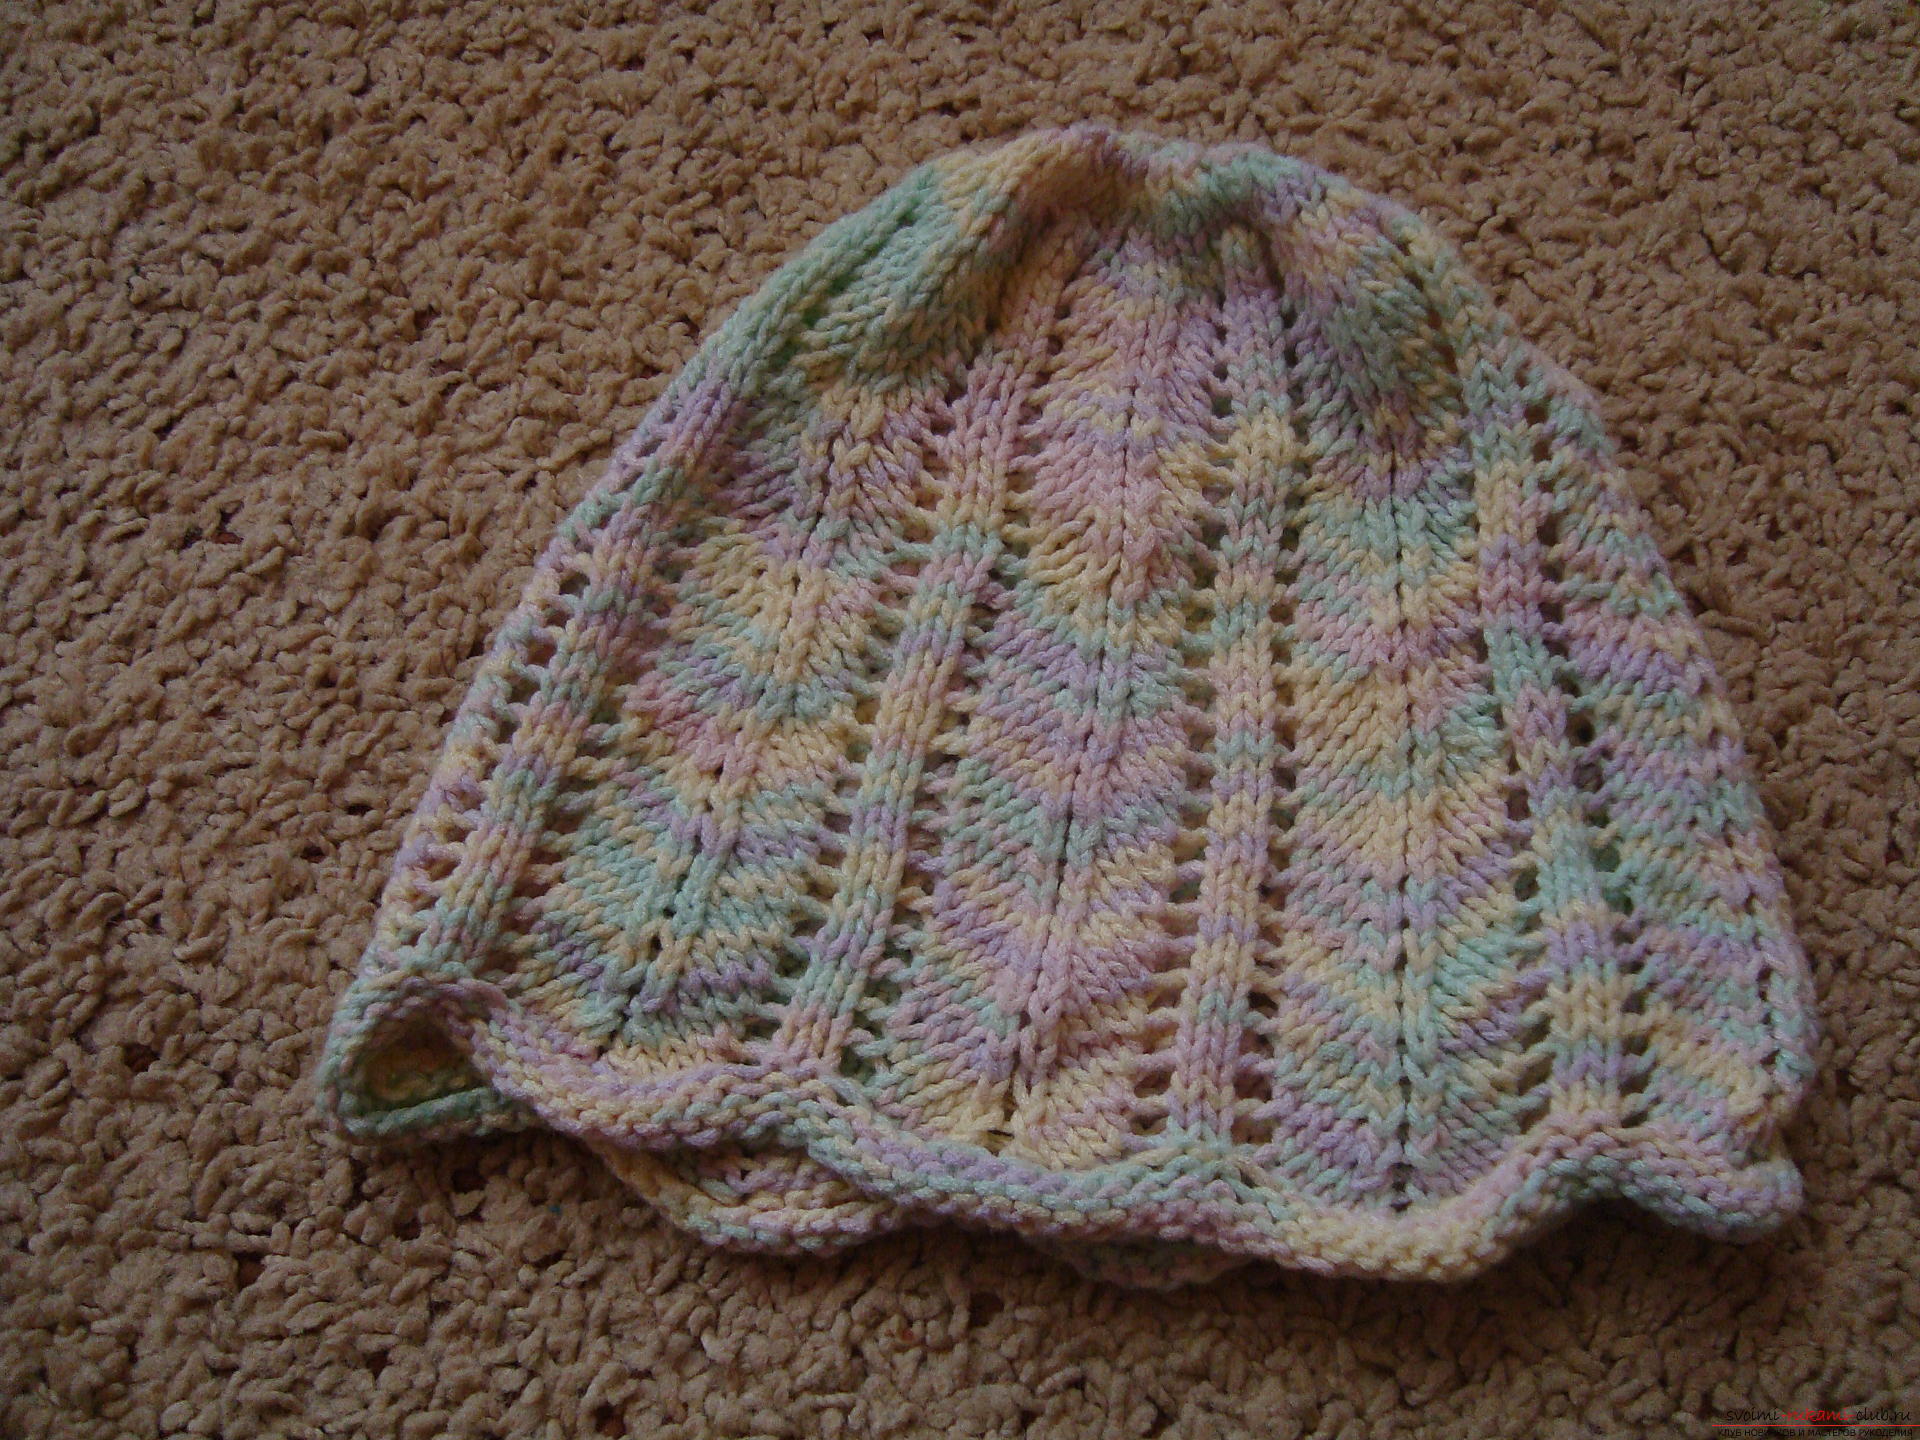
Comments
Related posts:
 How to braid a beautiful braid in the technique of weaving "spikelets"? A lesson on braiding plaits with detailed recommendations, photos and video instructions
 How to crochet the original hair clip? Crochet crochet lesson with detailed recommendations and photo
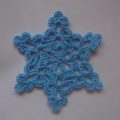 How to tie a snowflake with a crochet for the New Year's decor of the interior? A crochet lesson on the openwork snowflake with detailed recommendations and step-by-step photos
 A lesson on weaving the bracelet from the rubber bands "Sidewalk" with detailed recommendations and photos
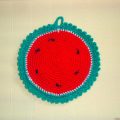 Crochet crochet tutorial for hot "Juicy Watermelon" with recommendations and step-by-step photos