
How to make a ladybird in a quilling technique with your own hands - new schemes for working
Novice masters in quilling technique are studyingthe most varied variations of lessons and schemes to them. We offer you a simple version of a convenient scheme, which can be called a full-fledged picture for quilling.
How to make a ladybird in a quilling technique with your own hands - new schemes for working
 Such work can be used for registrationgift, creating a picture-quilling or just decoration. An excellent example for such an action can be the usual work on the quilling of a ladybug. Make it according to the scheme will not be difficult! We will need a certain set of items to work with:
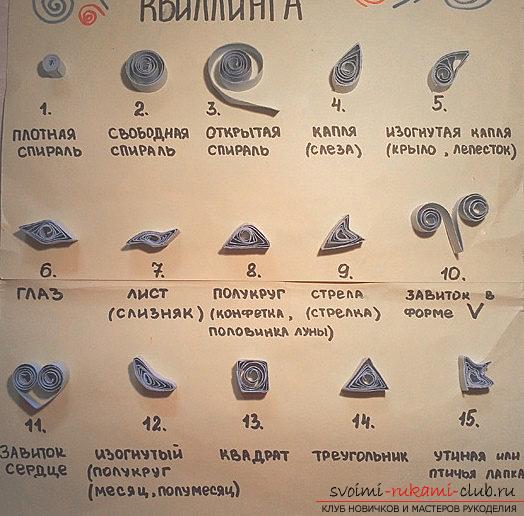
- It is necessary to take paper, dense and two-sided. Can come up strips for quilling (special).
- Ruler, stick for work, toothpick
- Sequins from glue
- Scissors
- Common glue (glue stick)
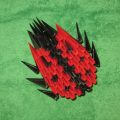
Execution of work 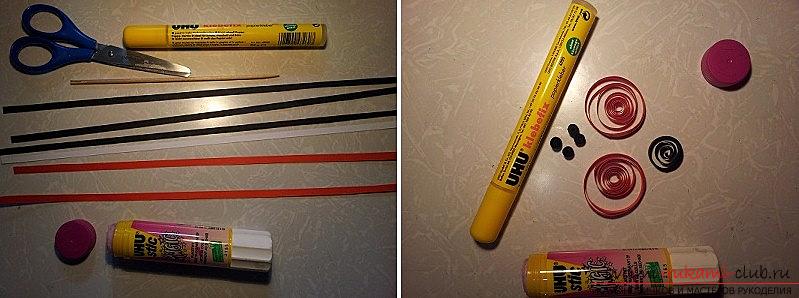 To begin with, it is necessary to prepare the whole basisQuilling elements for work and after, cut small strips in width by 5 millimeters. You can also use the ready-made stripes labeled 5 millimeters. With the help of a pencil-glue we glue our two red stripes into a single one. We get the place of the joint, which should be held together for about one minute. The glue will dry - the module is ready! Prepare the other modules of our Ladybug Take a toothpick or an item of quilling tools and twist our leaves of red flowers. Tapes are made in color free spirals of type number 2, one in black and of course, four coils of dense type in black. These elements will be necessary for us in order to improve the appearance of the craft and recreate our ladybug.
 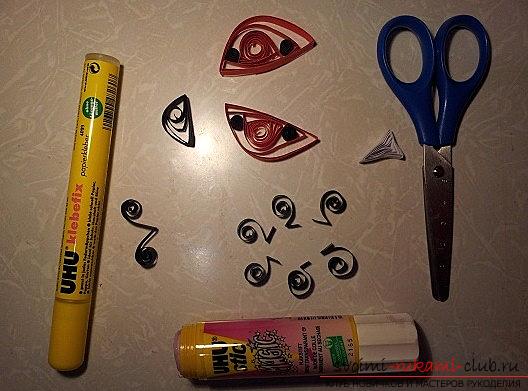 Underlay. Using red and black spirals, according to the scheme we make the version of the semicircle of number 8. By twisting the white spiral and the element number 9 of the arrow type, we get the element of the fender for the future ladybug. End of work
  We are preparing paws. They are made in the spiral of number 3, with the addition of the antennae curl number 10. Cross all the elements in order to substitute them in the desired frame. It is desirable to use the necessary color selection.
 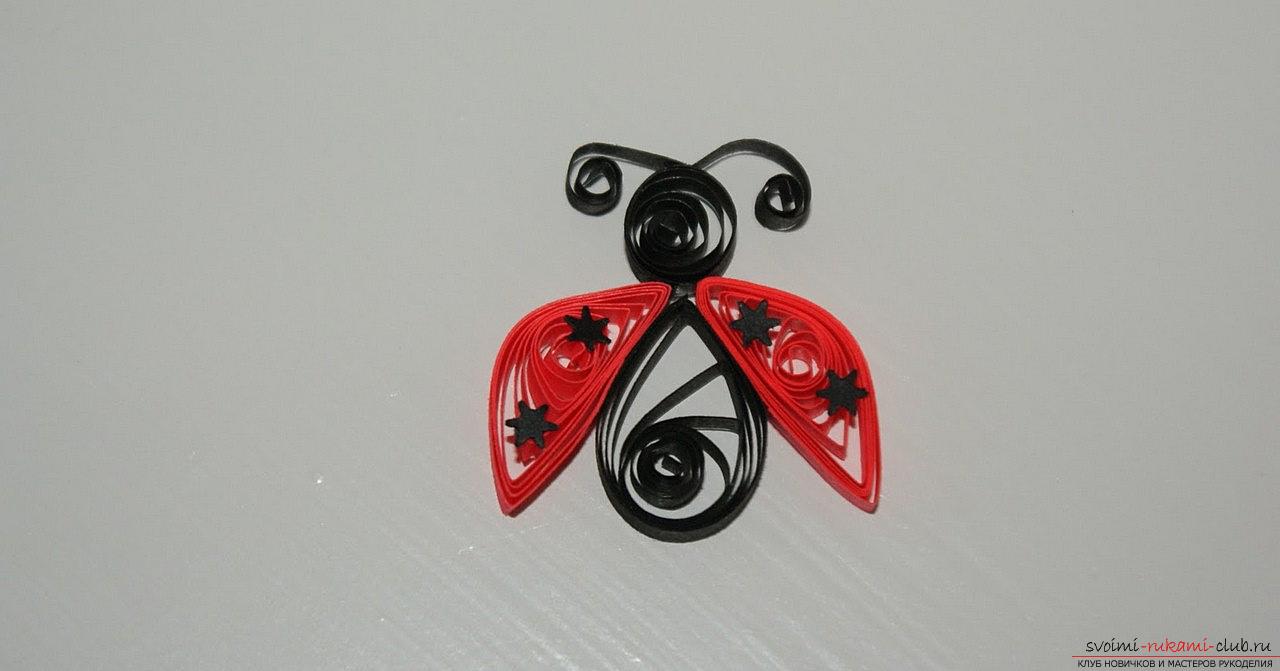 The frame is made and the work is ready!
Comments
Related posts:
 This master class will tell you how to make a modular origami from paper - a ladybug.
 How to make a tree of beads with your own hands? Schemes and a master class for work
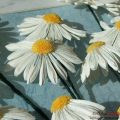 We make a daisy-quilling with our own hands, a master class with photos in the technique
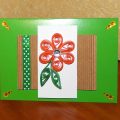 This master class will teach you how to make your own beautiful quilling cards.
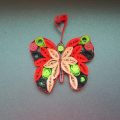 Quilling butterflies - loop quilling and master class with their own hands