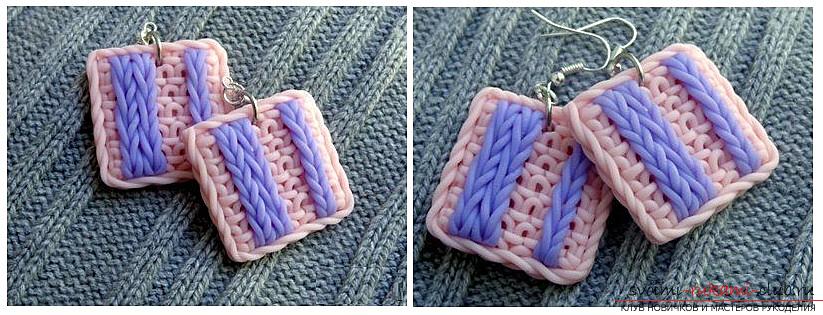
How to make earrings from polymer clay in the original technique of imitation knitted cloth, step-by-step creation photos
For each time of year there is a wardrobe. In summer fashionable women wear bright sarafans and a dress. Approximation of cold weather contributes to the appearance on the shelves of cabinets of warm knitted sweaters, cardigans and dresses. Of course, accessories also change. In place of bright, flowery and summer, it can be difficult to find suitable ornaments for cold weather. But for those needlewomen who know how to handle polymer clay, nothing is impossible. They can make any accessory themselves. Plastic is a truly versatile material for crafts. It produces imitation of stones, shells, feathers, leather, fabrics and even knitted cloth. This article is devoted to the creation of polymer clay earrings with imitation knitting. Such an accessory will be perfectly combined with warm and fluffy winter clothes. Thanks to the rich choice of colors, you can make earrings in tone to your favorite sweater or stole. The technique of imitation is simple and easy to perform, it is able even for beginners, and the result will invariably please. Earrings made of polymer clay with imitation of front and back loops with knitting needles.  It will take:
- Baking plastic (pink and light lilac);
- Stationery knife;
- Pasta-machine or rolling-pin for polymer clay;
- Toothpicks;
- Thin spoke of metal;
- Extruder with a nozzle (small round holes);
- Cutter in the form of a square with a side of 4 cm (you can take a baking dish);
- Connecting rings;
- Shvenza.
Before you start creating earrings,it is necessary to crush the clay very carefully, this will facilitate its extrusion through the extruder. The tool handle will rotate more easily, which will help to avoid equipment breakdowns. Squeeze delicate flagella separately pink, separately lightly lilac. Pink "threads" we will knit from the wrong loop. We cut our flagella with strips about 2 cm and spread out in a row, pre-folded in half, but not to the end. The curved sides look up (see photo). In order to calculate how long we need a workpiece, measure the length of the side of the mold (we have 4 cm), multiply this figure by 2, since we have two earrings and add another 2 cm, this is the length of the trimming and pattern correction. As a result, we get the length of the workpiece, equal to 10 cm. We begin forming the first row of the inferior loops. To do this, take the pink "thread" and place it along our workpiece, having retreated from the upper edge approximately 3 mm. With the blunt side of the clerical knife, we will press a thread along the middle of the loop. When you pass through the entire workpiece, cut off the lower ends, leaving about 4 mm. 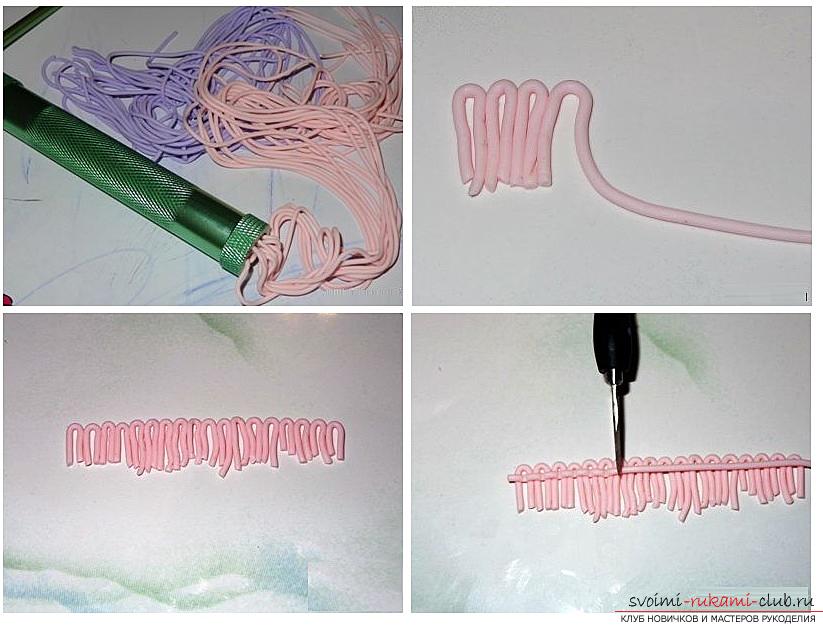 Take the needle and gently squeeze the lower endblanks. It is necessary to roll a spoke along this edge so. To make it thin and, at the same time, do not damage a series of purl loops. Again, take stretches of pink clay and again have them, bending in half. Bent "strings" strictly under each other, so that our eyelets do not move. The number of rows of workpiece will depend only on the size of your cutter.
 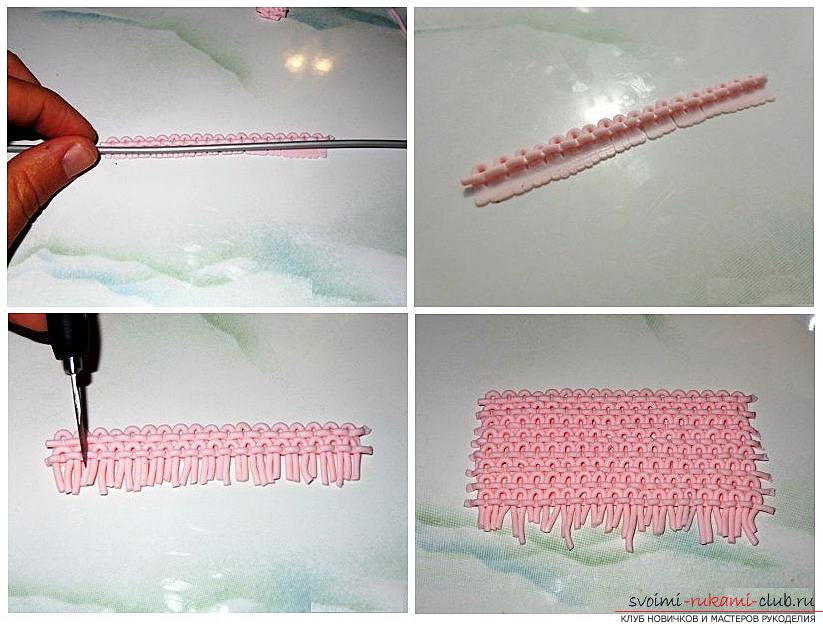 Now we are engaged in light lilac clay. We take 2 "strings" and twist them together in the clockwise direction. We take 2 more and twist now against the clock hands. We arrange both twists closely, and we have a pigtail, which is similar to facial loops, knitted. We lay out our braids along the workpiece from pink clay. The location depends only on your imagination. We take our mold and cut out the future earrings. If you want the slices to be more smooth and rounded, cover the blank with a film before cutting.
  We will work on the wrong side of the earrings. We form from the light lilac plaits a canvas, a bit larger than our earrings. The direction of braids is the same as on the front side - along. We attach our purple blanks to the wrong side. Crop all unnecessary. Take the pink "thread" and make a pigtail. Round her earrings around the perimeter. Places slices smooth. Make holes in the earrings and send them to bake. Time and temperature are indicated on the package with clay.
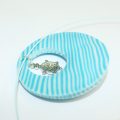
  When they cool they can be covered with frosted varnish. It does not shine, it will give earrings the look of real knitted things. We insert connecting rings and schwenzy. Earrings are ready to please fashionistas with a delicate taste and fans of jewelry hand-made.
Comments
Related posts:
 How to make earrings from polymer clay in the form of snowmen, detailed master class with photo and description
 How to make a brooch made of polymer clay in the form of an oak leaf, step-by-step photos and job description
 How to make a ring made of polymer clay with a decorative element in the form of an orchid flower, step by step photos and description
 How to make a love gum love is made of polymer clay - a lesson and modeling
 This detailed master class with photo and description will teach how to create with your own hands a set of jewelry made of polymer clay - a pendant and earrings with a turtle.