
An accessible master-class for sewing a baby's undershirt is suitable for beginner seamstresses
Master-class on tailoring forThe newborn will be useful to those who are in anticipation of a wonderful event - the birth of a baby. Such an uncomplicated occupation will be able even for inexperienced needlewomen. A little patience and following our recommendations will make the work process easy and interenym. After a little man was born, my mother appears a lot of problems. One of them is the choice of a good raspashki worthy of quality and excellent in the fabric. Natural products are worth a lot, but you can sew clothes for your favorite baby, using the advice of experienced needlewomen and the materials of a master class on sewing a baby's undershirt. Fabrics made of linen, cotton, flannels, bikes are quite fit for work. 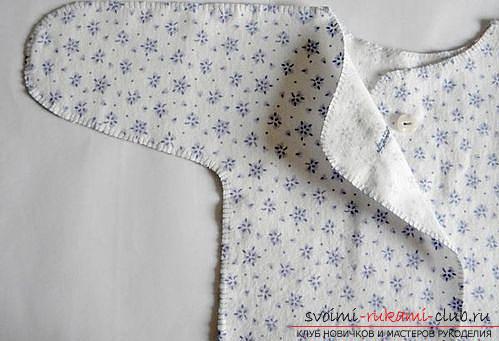 What will it take for a master class to make a newborn baby's vests? You can not do without:
- Scissors;
- Rulers;
- A simple pencil;
- Needles;
- Tailoring pins;
- Thread;
- Parchment paper;
- Pugovichek or strings;
- Cut fabric from any natural material.
 Before you start working, of course, you need to build a pattern. For this, a prepared parchment paper is useful.
- So, you need to measure the height of the future product: 26 centimeters will be enough to grow.
- From the bottom to the neck in front measure 23 centimeters.
- From the bottom to the sleeve, the distance should be 14 centimeters.
- The loaf will have a width of 27 centimeters.
- The neck should be made 12 centimeters.
- The sleeve should have a width of 12 centimeters on the armpit.
- Together with the sleeve, the pajamas will have a span of 57 centimeters.
If the visual pattern is more than the same,do not be afraid. Natural fabrics do not have the property to stretch, so in order for the wig to last a couple of months, a small stock is necessary. 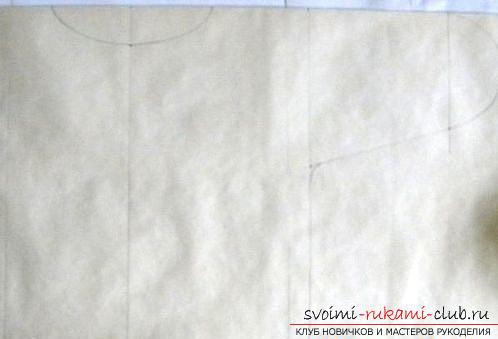 The next step is to cut out the pattern andfixing it on the fabric from the wrong side. Secure should be with the help of tailoring pins. Then the fabric is cut out exactly according to the pattern, without adding indentations. The resulting blank is the back of the future raspashonki.
 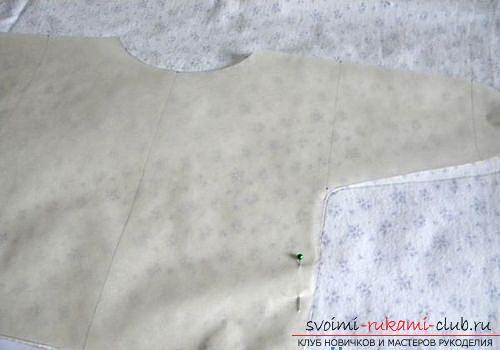 The front part consists of two halves, whichwill have fasteners or zavazochki. They lightly touch each other, so when you cut out, you should do this: fold the pattern prepared for the back and fold it down half a centimeter. This place is marked with a simple pencil. From this point, a neck with a lower neckline is drawn. It should be cut and fix the altered pattern to the selected fabric from the wrong side.
 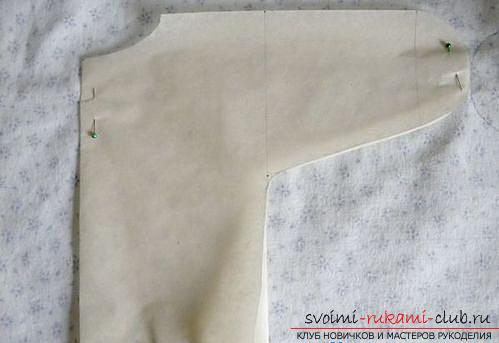 After that, an additional part is drawn,which is necessary in order for the floors of the tent to overlap each other. It is possible to draw by hand, two to three centimeter indent from the central part of the transmission is enough.
 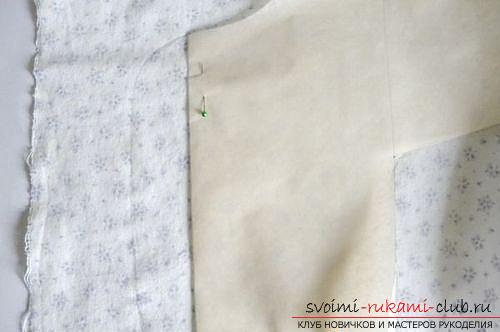 The second half of the transmission is similar to the one produced, only it is mirrored. All parts of the product are cut out.
 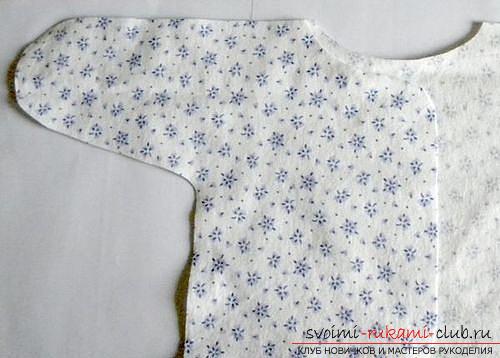 Now you have to start the process of processing the edges of each part. This prevents the shedding of small villi. For this, a hinged seam is used.
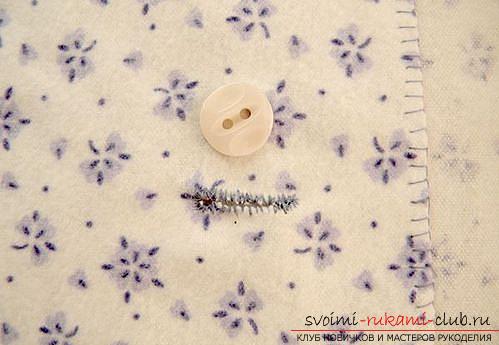
 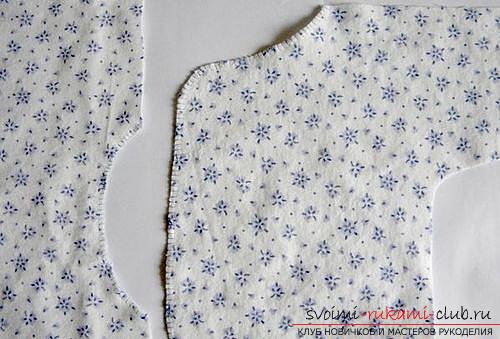 Now the clothes for the baby must be collected. A feature of the raspash is that they are not stitched on the inside. Since the skin of the newborns is tender and sensitive, the parts must be stitched in the same way.
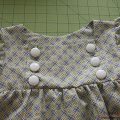
  If it is decided that the fastener will beserve as buttons, then according to their number slits are made on one of the shelves. After that, the hole is sheathed, and the buttons are sewn on the opposite side.
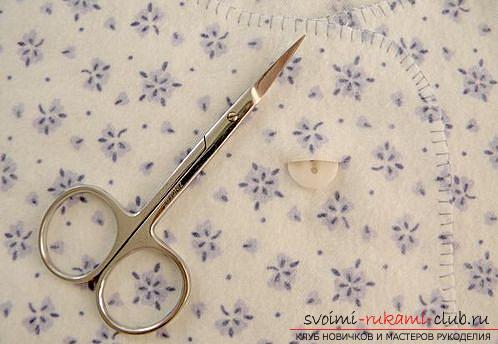
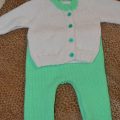
 Raspashonochka for a newborn, in this case from a flannel fabric, turned out to be no worse than a store. The main thing is that not only labor but also love has been invested in the process. And now the baby will be warmed as a wonderful blouse, and the tenderness of good hands!
Comments
Related posts:
 An accessible master class will teach you how to crochet a New Year's stand under the hot
 This master class with a knitting pattern will teach you how to tie a suit for a newborn or babe with knitting needles.
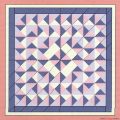 An interesting master class on sewing a baby blanket from triangles will help you learn how to sew from shreds
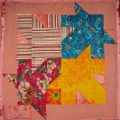 Interesting master class on sewing bedspread "Maple Leaf" will help you learn how to sew from rags
 How to sew a light dress for the summer for a girl. A unique master class on sewing elegant dresses on a pattern