
Children's embroidery of images with a cross is a simple occupation that is suitable even for a child
Children's cross stitch is slightly different fromembroidery schemes, on which the image is intended, to a large extent, for an adult audience. Children's drawings, interesting and in some ways fabulous. With their embroidery, the novice needlewoman, and even the child himself, can easily cope. Cross-stitch embroidery is one of the oldest types of needlework. Today's article is devoted entirely to children's embroidery. Embroidery has many advantages. The most important thing is to develop imagination, imagination, cognitive interest, etc. At the very beginning the child will need your help. This will be an undeniable opportunity to become even closer to each other. The child must decide on a set for embroidery. The hobby, first of all, begins with a trip to a special store, where you can find all the essentials. The choice of tools, of course, must be done either by the parent, or by consulting a specialist. But with, directly, the choice of a set for embroidery should be handled by the child himself. After all, the embroidery process should be fun. 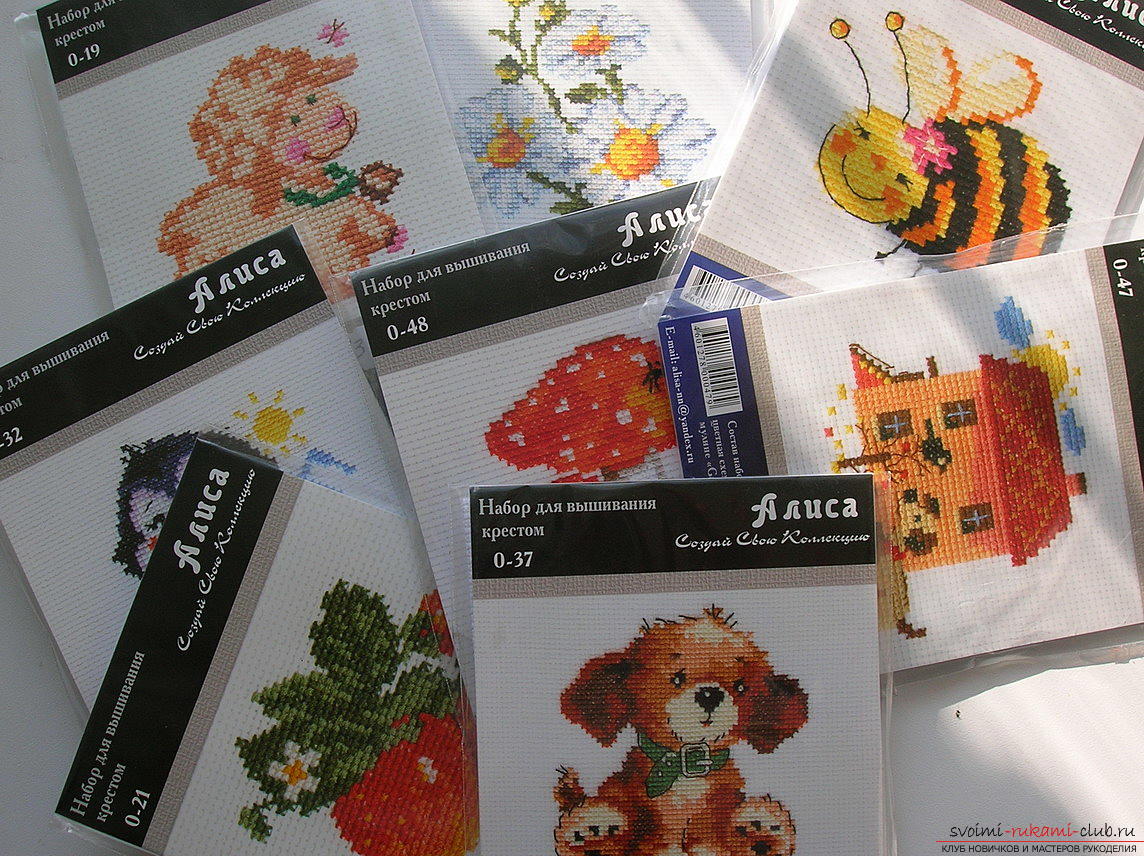 Perhaps the most important criterion isThe fact that embroidery begins with small and uncomplicated pictures. It can be absolutely everything. Starting from any cartoon character, ending with a small landscape. Also, you can embroider in the diptych style. Where, for example, one of the works is sewn by the mother, and the other by the child. This way you can become closer to your children. So, what materials you need to have with you. First of all - the thread. Their diversity can simply be confusing. They are satin, woolen. Made from both natural fibers and synthetic ones. But, if we take into account the moment that we are talking about embroidery for children, then it is better to choose cotton threads, that is, mulina. They are more durable, but not rough. At the same time, they have a rich color scheme. Also, for work you will need a canvas, a frame, a needle, scissors. I recommend the needle to take a special one, with a blunt end and a large enough eye. This is to ensure that the child, in no case, does not hurt himself. An adult can get by with a normal needle. Today we will teach you to embroider a small picture called "Monkey".
 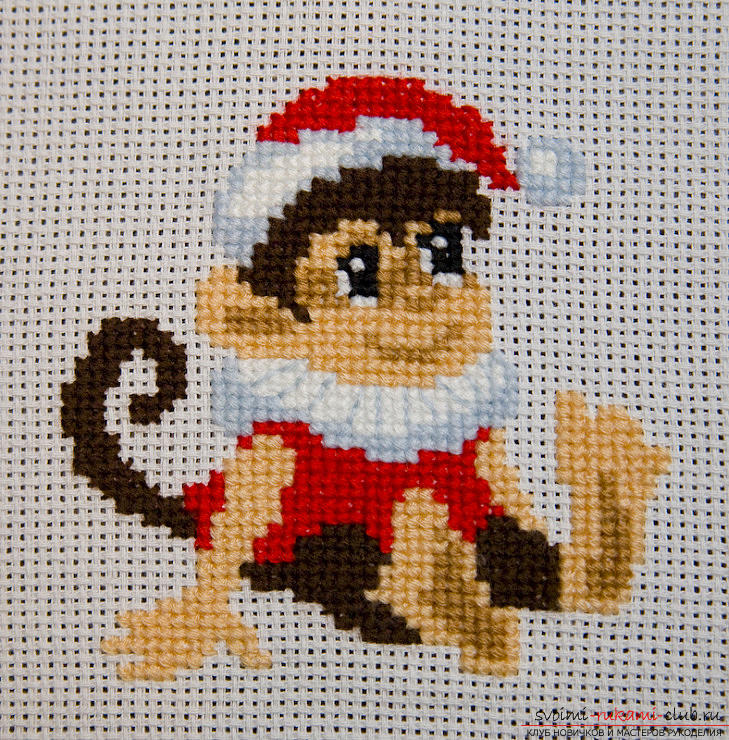 The objectives of this small master classis: acquaintance of children with cross stitch and its features; the basics of cross-stitch technique; familiarization with the embroidery process, etc. This scheme is available absolutely for all age groups, starting from 5-6 years. This work is simple and accessible. I think there will be no difficulties, both for the child and for the adult. The work must begin with the edge marking. We need a mark for one purpose - to avoid shedding of used fabric and, of course, to prevent its fraying during work. You can easily trim the edges, both manually and using a sewing machine. Also, you can apply conventional glue. Surely it will be in your house. To do this, you need to smear the edges of the fabric and leave to dry for a few minutes. This is not difficult at all and takes very little time. Wipe the future work can be absolutely calm, it will not lose its former appearance. Now we need to determine the most central point of the canvas. You need to bend twice, once horizontally, the second - vertically. The center that you mark will serve as the future center of your work. Now it's time to stretch the canvas for embroidery on the embroidery frame. In our case, these are standard round hoops. This device consists of two hoops. The fabric should be placed on a hoop that has a smaller diameter, a hoop of a larger diameter is placed on top, the fabric is stretched well, and then the embroidery frame is fixed.
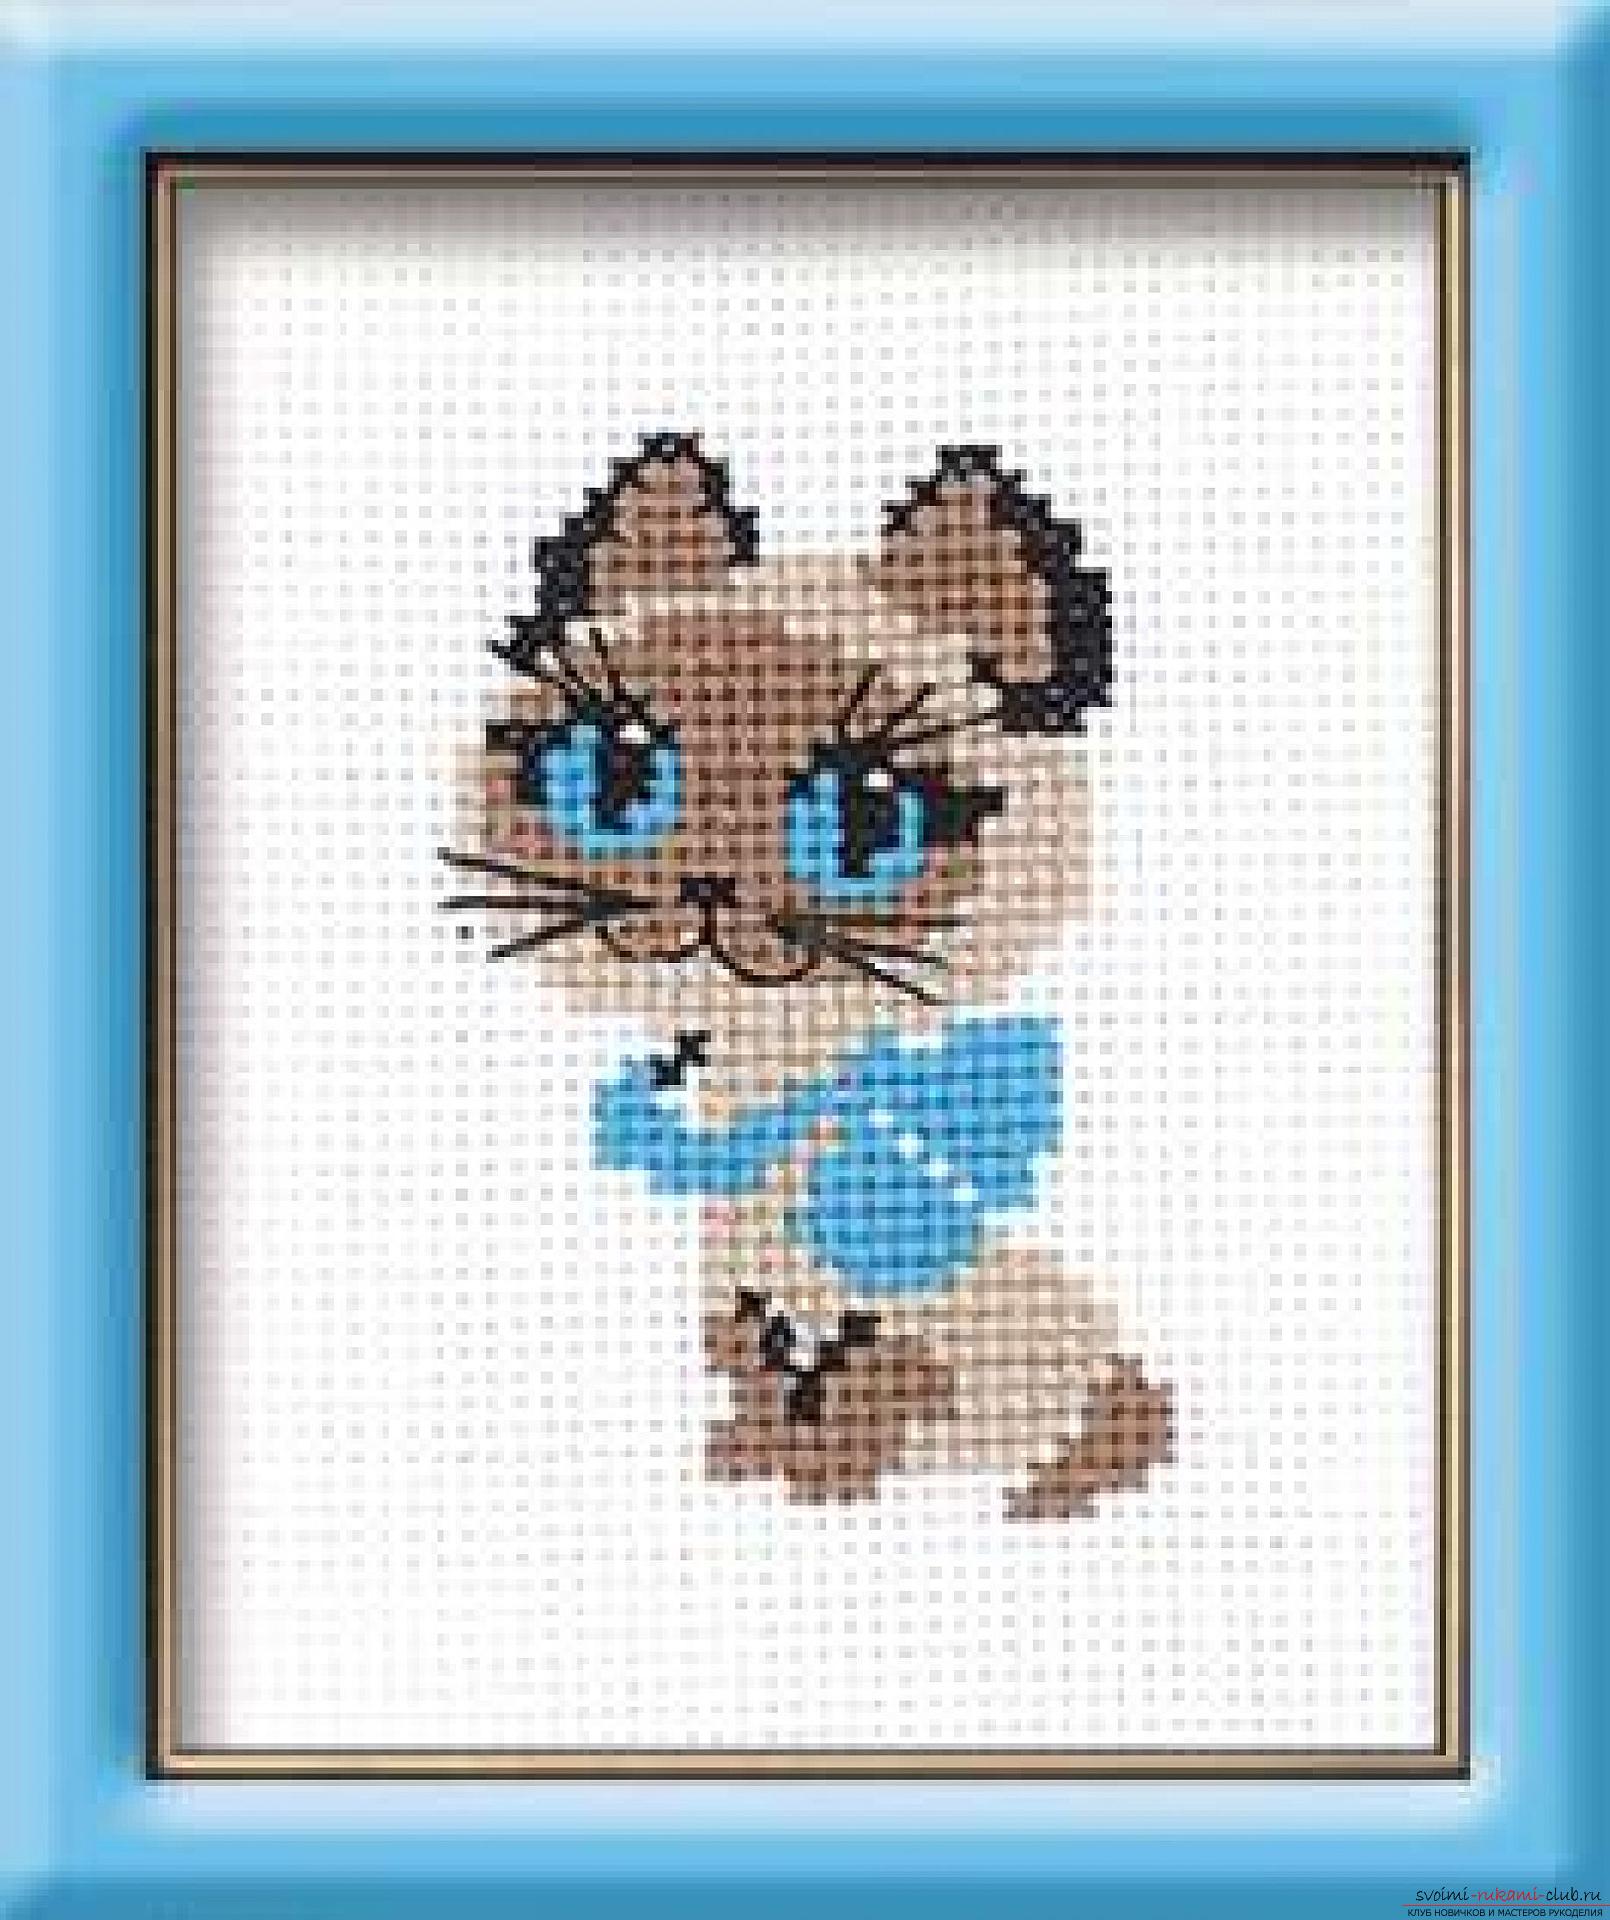
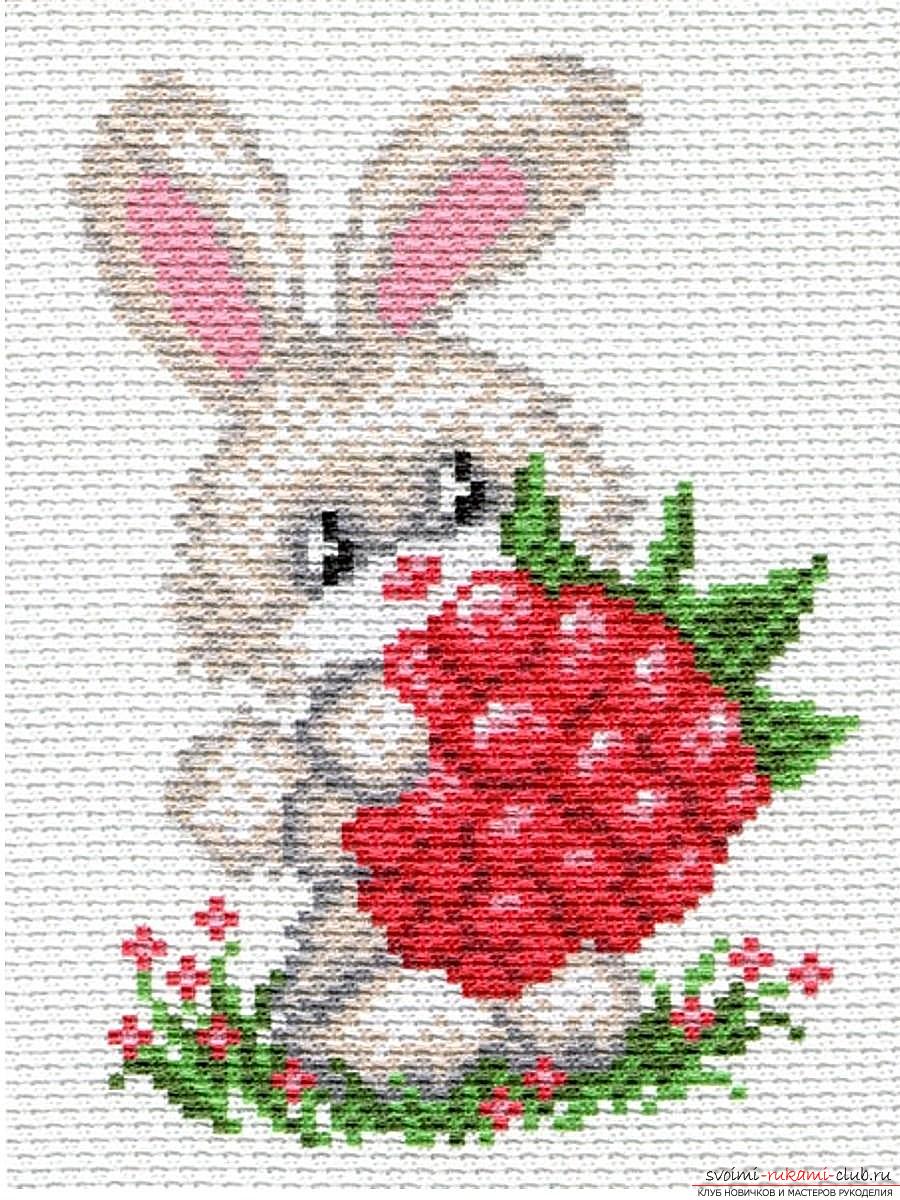
 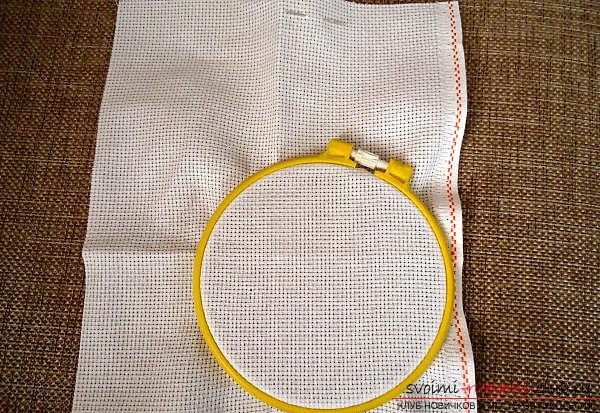 Time to proceed, directly, to the veryembroidery process. Initially, we need to fix the thread. Determine the center of our future embroidery, enter a needle in the bottom corner of the square on the left, leave the weave thread. After that, enter a needle with a thread so that you end up with a small loop. Now you need to bring the needle to the front side of the work, between the needle and thread should be weave. Thread, which you brought out, pull through the loop and tighten the knot. Fasten the thread. But, in order to not be able to see the node, draw the thread through the left lower part of the cell, then the knot will come out on the wrong side of the work. Time to embark on the very embroidery. Each square on the diagram is one cell per tissue. You need to be very careful, try not to lose count. Stitch the crosses in the amount indicated on the diagram. It is important to pay attention, it is much more convenient to embroider not every cross, but in separate blocks. That is, to make stitches first in one, then in the opposite direction. Make sure that the stitches are tight enough, but do not overdo it. Also, do not cost too long broaches and knots from the wrong side of the embroidery. After all, if the color of the thread is different from the color of the canvas. Threads can be visible, and it will not look aesthetically pleasing. Continue the embroidery, do not forget to change the colors according to the pattern. Sites that you have already embroidered, you can paint on the diagram. This is necessary in order not to focus attention on them in the future. After you have finished embroidering, the finished work should be stripped in warm water, let it dry. Then iron off the wrong side. We embroidered a monkey, which simply can not not like the child. In exactly the same way, the child himself will be able to embroider and the pictures that you see below in the photo.
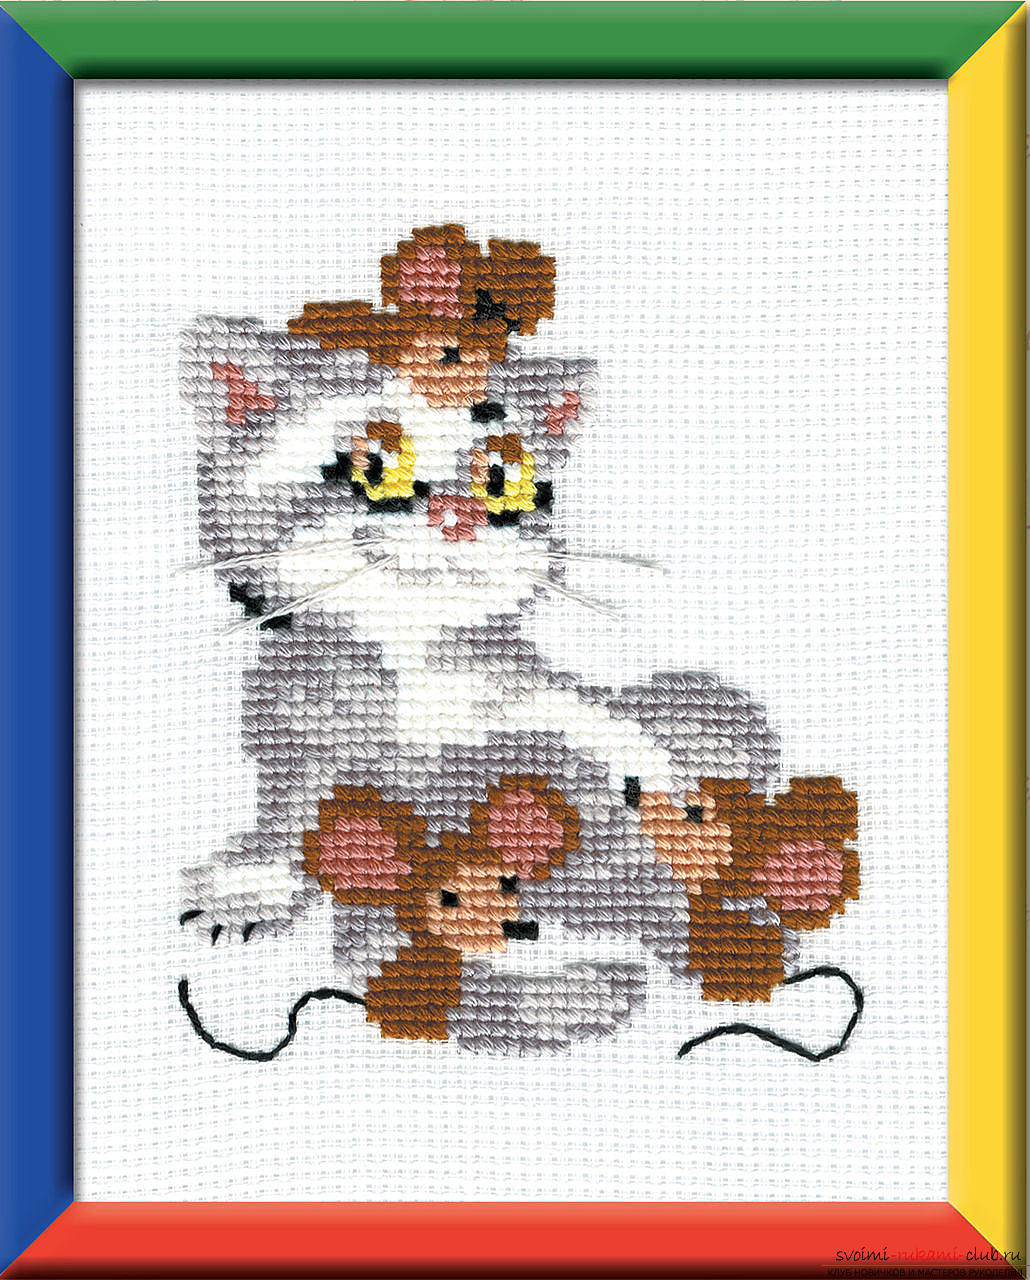
Comments
Related posts:
 Drawing simple pencil pictures is a very simple exercise that is suitable for children
 Children's cross-stitch embroidery is available and easy to perform for both adults and children
 Lessons of cross-stitch embroidery, cross-stitch for beginners free of charge, cross-stitch patterns, free cross-stitch patterns
 Beautiful cross-stitch embroidery, cross-stitch embroidery with description and photo.
 Cross-stitch embroidery: Lynx for the 2015 Competition, cross-stitch