
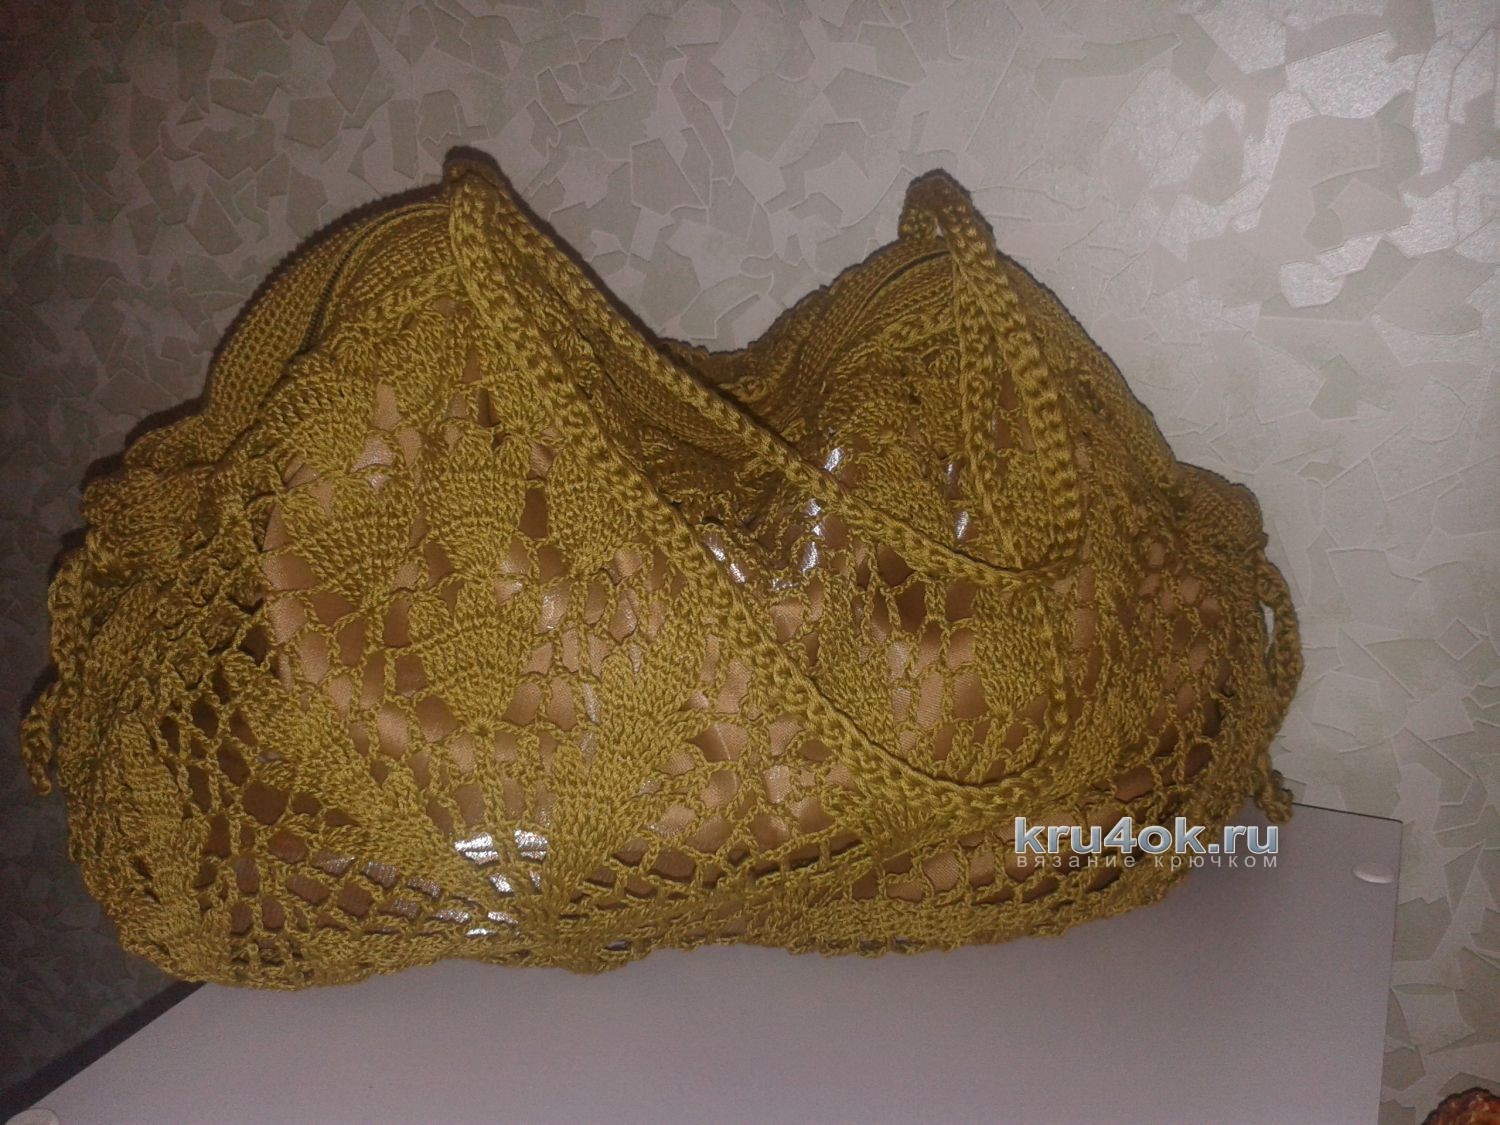
Bag made of round napkin. Master Class!
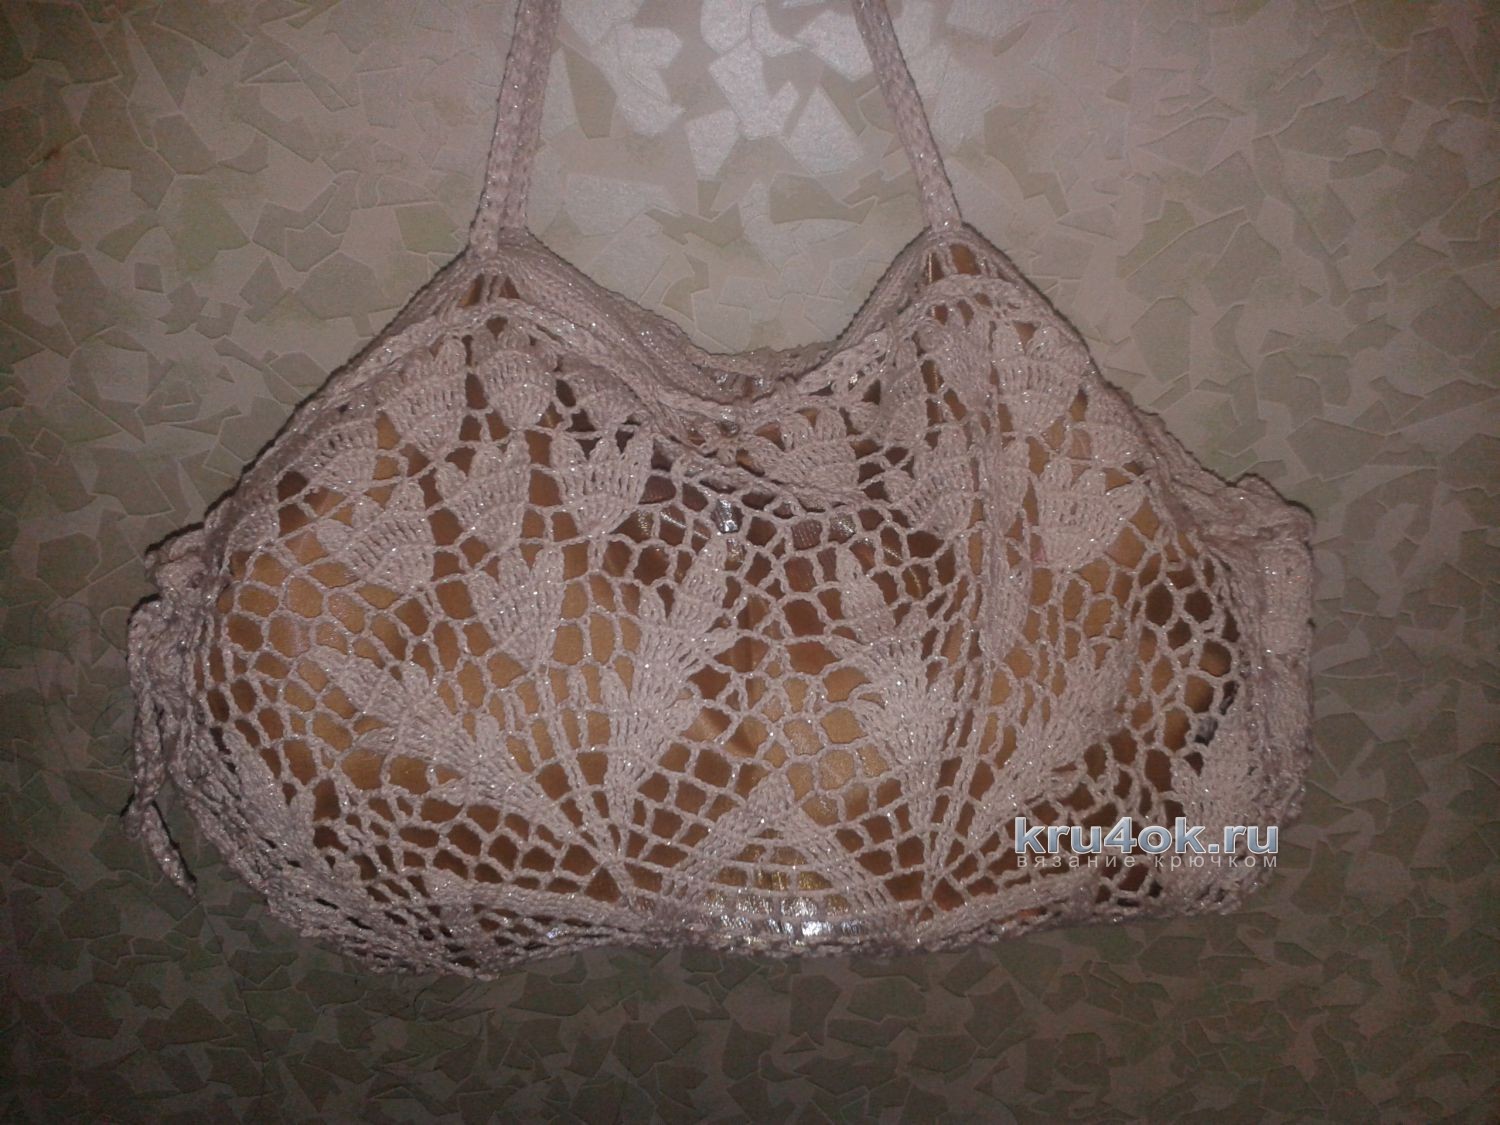 Author's development of Efimiya Andreevsky. Bag of cotton yarns with a thickness of 220 meters per 50 gr., Crochet № 1,1. Knitting needles for knitting needles №3. The composition of the threads to the beige bag is to throw. Lining to a bag of dense curtain fabric, you need about 75 x 75 cm.
  The napkin pattern consists of 8 sectors. So, we knit a napkin according to the scheme:
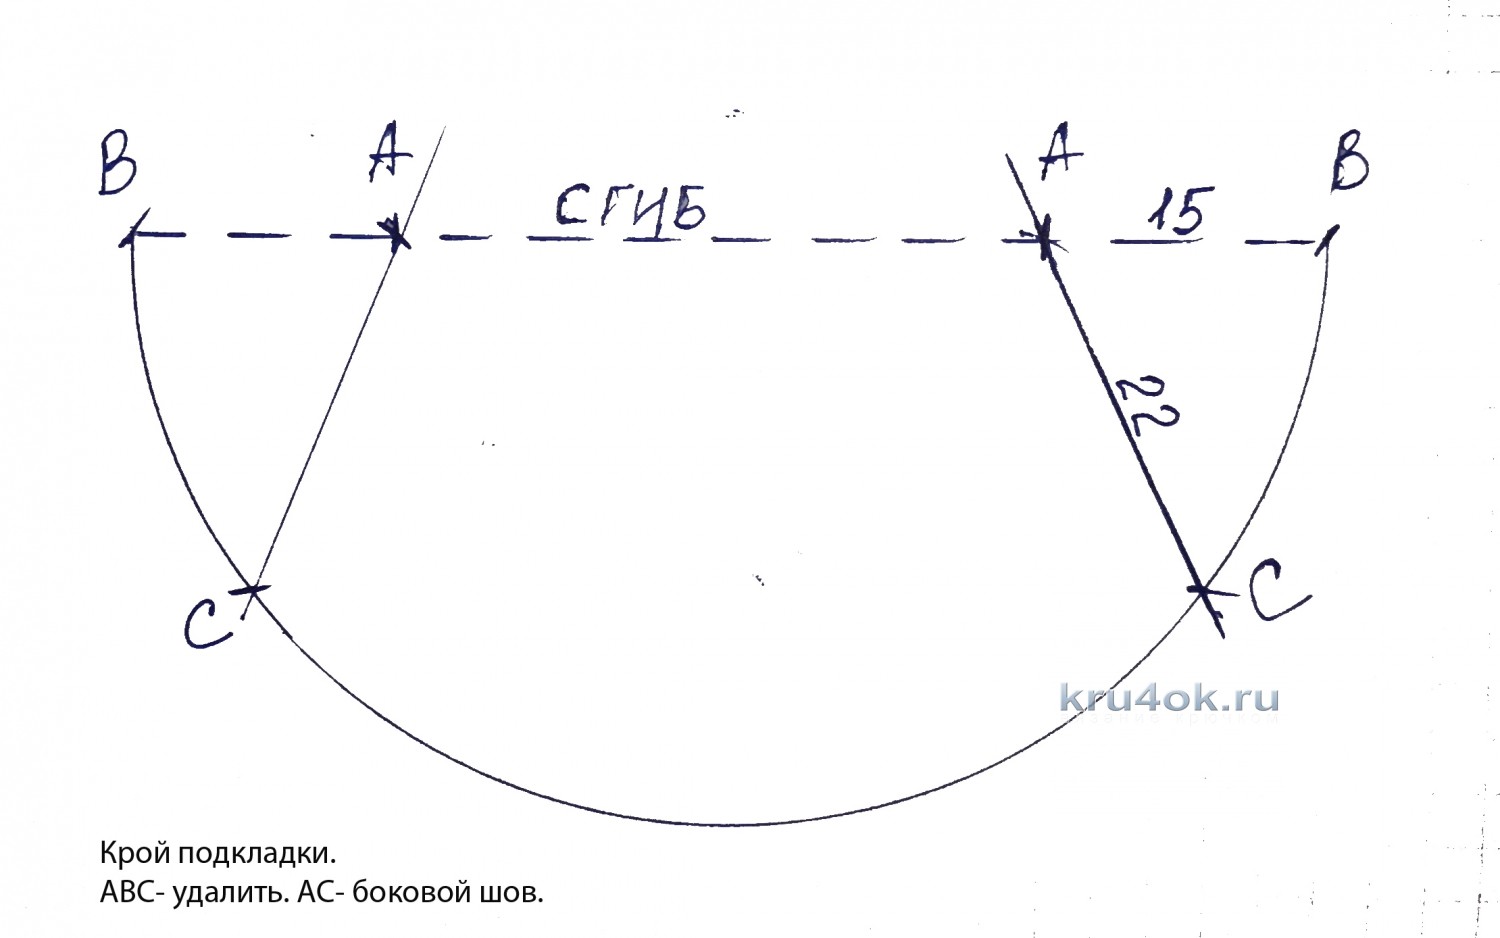 Fig. 1: Recruit a chain of 8 air. loops and close in the ring connect. loop. 1 row. - Air. loop lifting and in the ring knit 15 tbsp. without nak., close the row of connection. loop in the first air. lifting loop. 2 rd.-4 air. lifting loops + * 4 air. loops, st. with 2 nakidami skipping 1 tbsp. bases *. From * and Do * we repeat according to the scheme.
  Fig. 2: 3rd row.-9 air. loops, * 5 tbsp. with the 2nd nak. with a common apex under the arch of 4 air. loops of the previous row, 4 air. loops. * From * and To * repeat.
 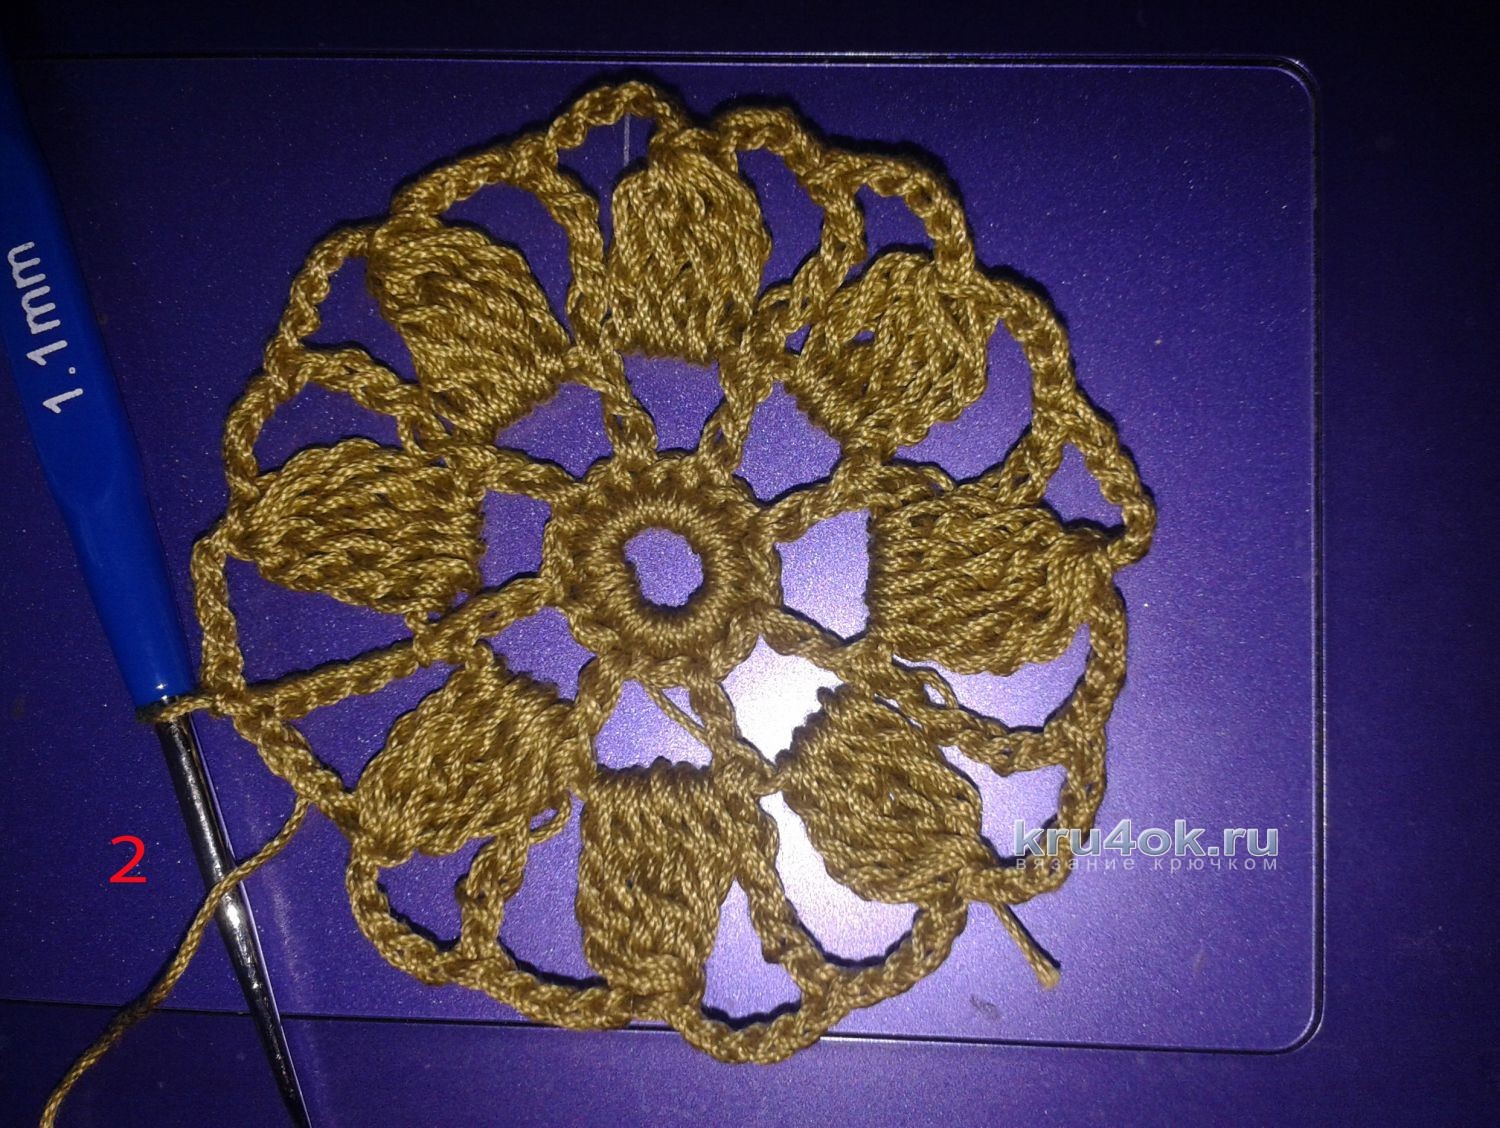 Figure 3: Continuing with the scheme for the 23rd series.
  Picture 4: The 23rd row is simplified for the edge to be even.
  Picture 5: 24th row of knitting art. without nak. 25th row.-2 tbsp. with the 3rd nak., * 3 air. loops, skip 3 tbsp. grounds and again 2 tbsp. with the 3rd nak. * From and To * repeat. For a green bag this row is connected with posts 2 nd. on the whole series.
  Figure 6: We knit 2-3 rows of columns without a crochet. We sew the lining at the level of these rows from the wrong side. At this stage it is most convenient to cut the lining. The lining material is smoothed with an iron, we have a napkin on top and also iron it. Now it is convenient to cut in a circle with an allowance on the seam of 1 cm.
  Figure 7: Next, we distribute 2 sectors for the side parts and for the 2 sectors we knit the planks for fastening with swivel rows from Art. without nak.
 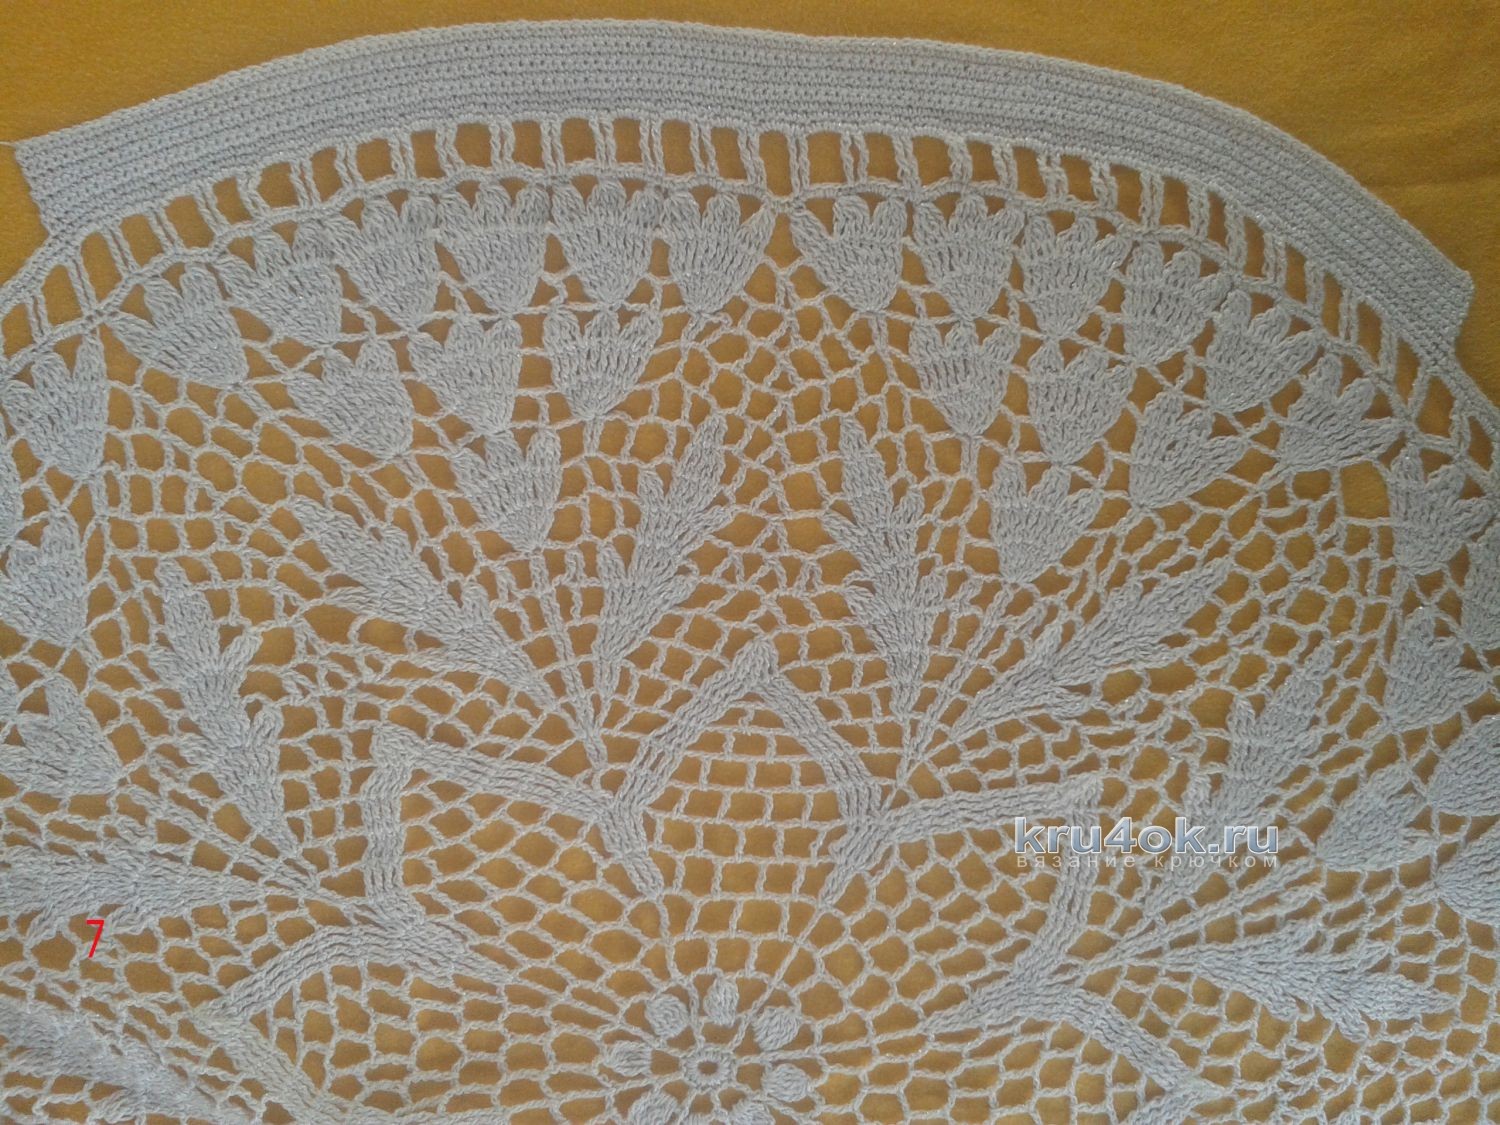 Figure 8: Knobs for knitting bags with 4 threads of yarn. To get 4 threads from 2 tangles we take out a thread from the middle.
 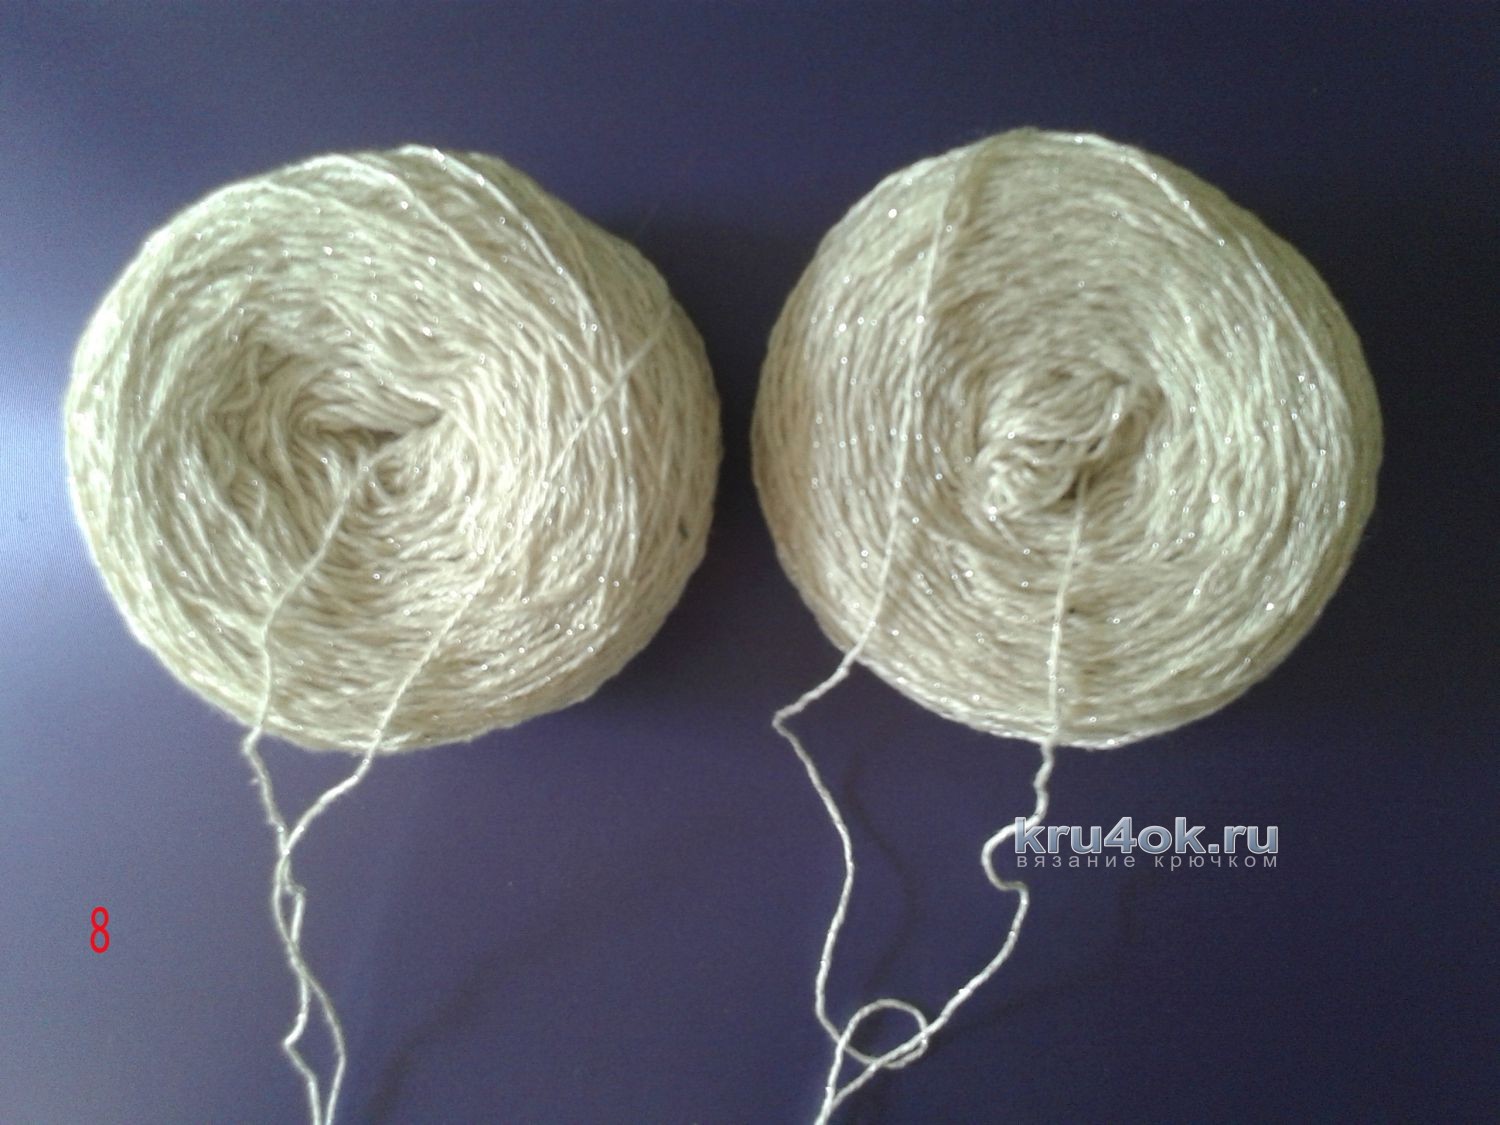 Fig.9: To better view the process used clothesline. We knit knits 50 cm long. We type the 1 st loop leaving one end of the thread about 2 times longer than the planned length of the handle. This end is called auxiliary.
  Figure 10: We knit another 1 air. loop.
  Figure 11: Introduce the hook in the 1st air. loop and draw the working thread.
 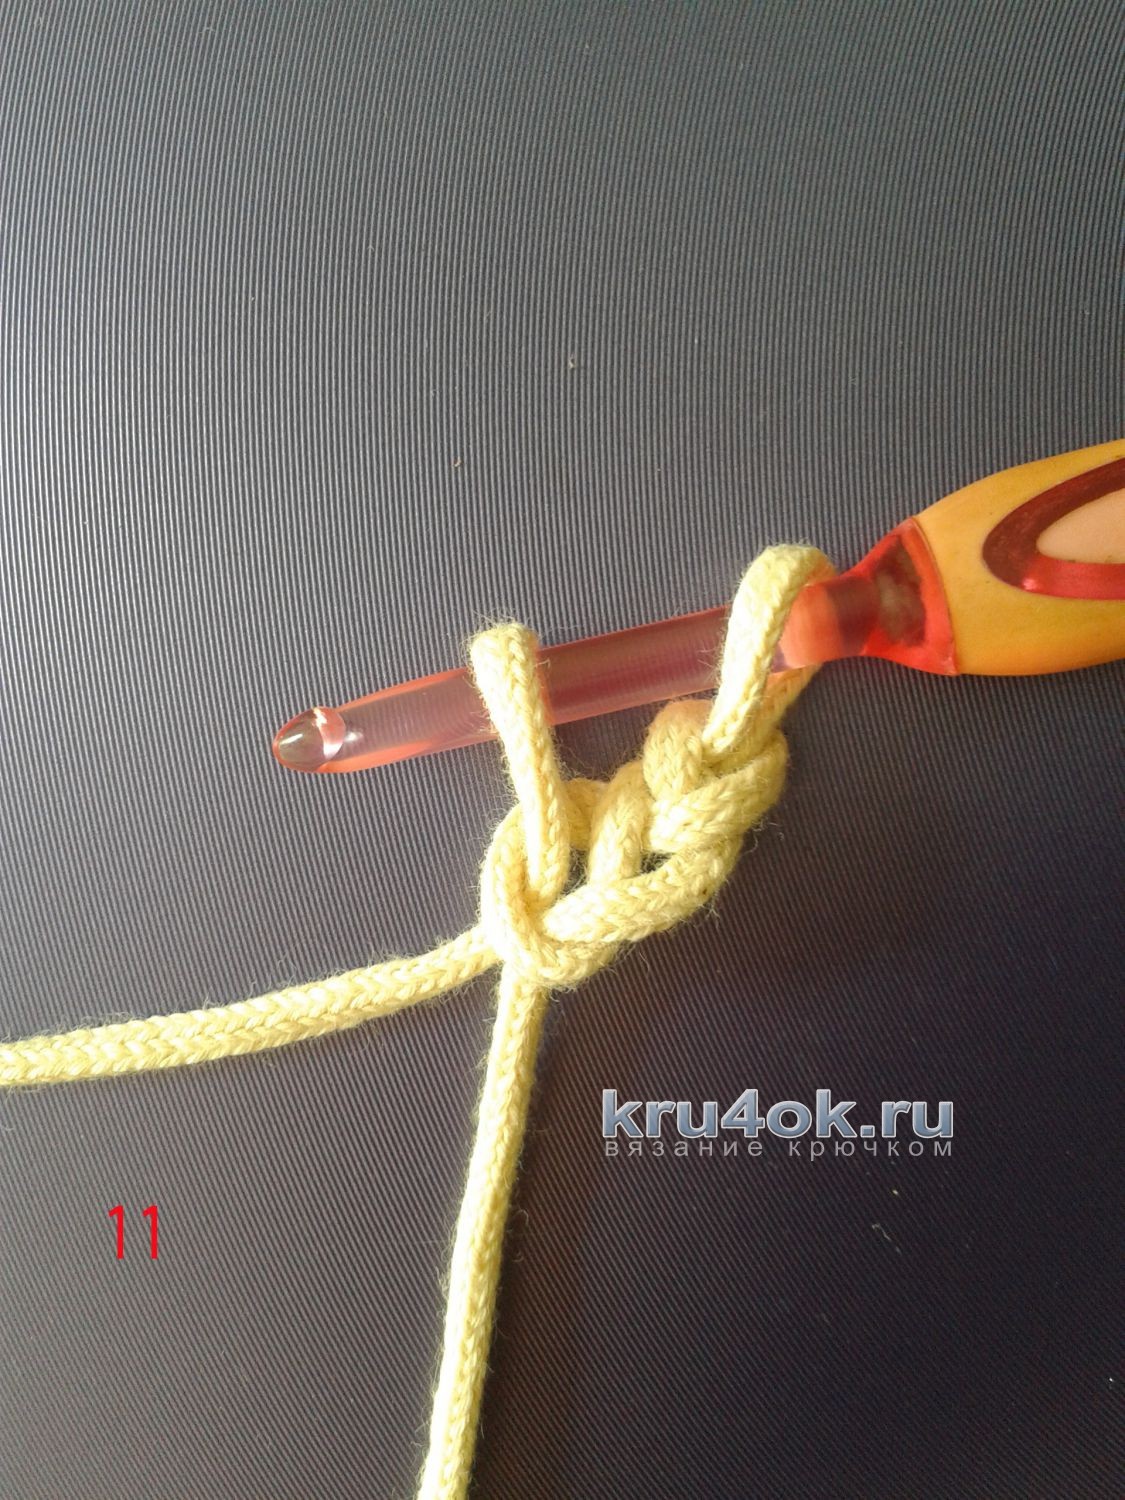 Figure 12: We wire both loops from the hook.
 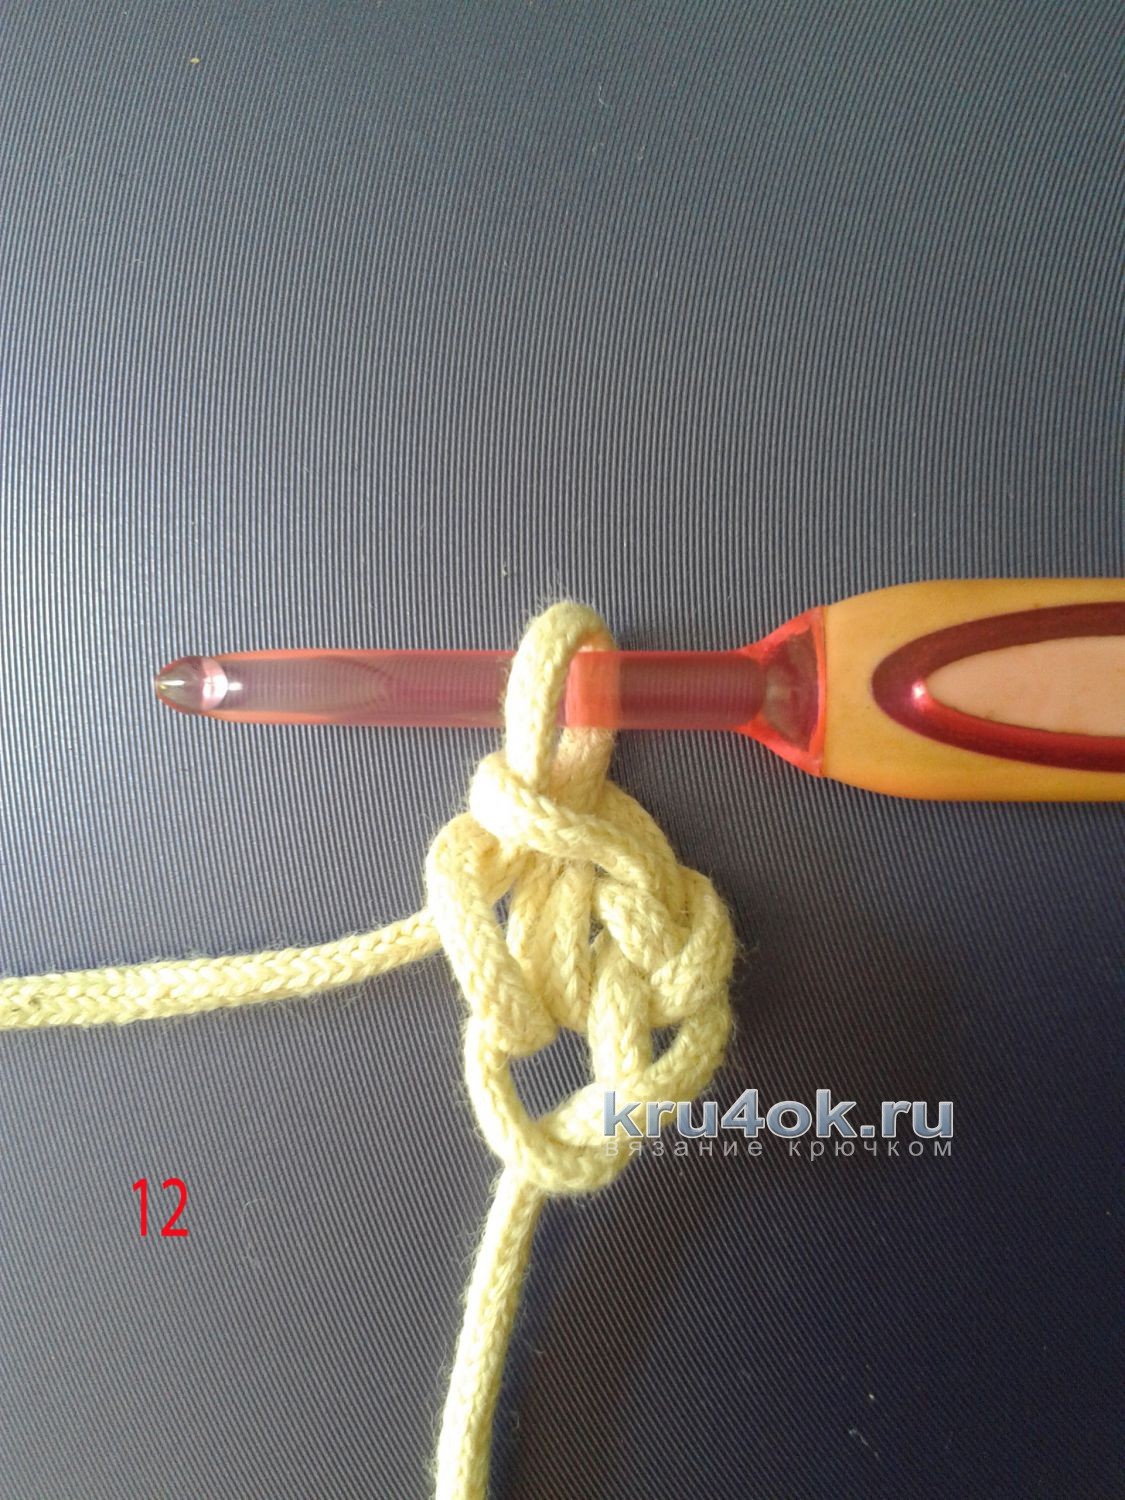 Figure 13: * We introduce a hook between the working thread and under the auxiliary thread and grab the working thread.
  Fig.14: Stretched the loop, hook 2 loops.
  Figure 15: We send 2 loops from the hook. *
 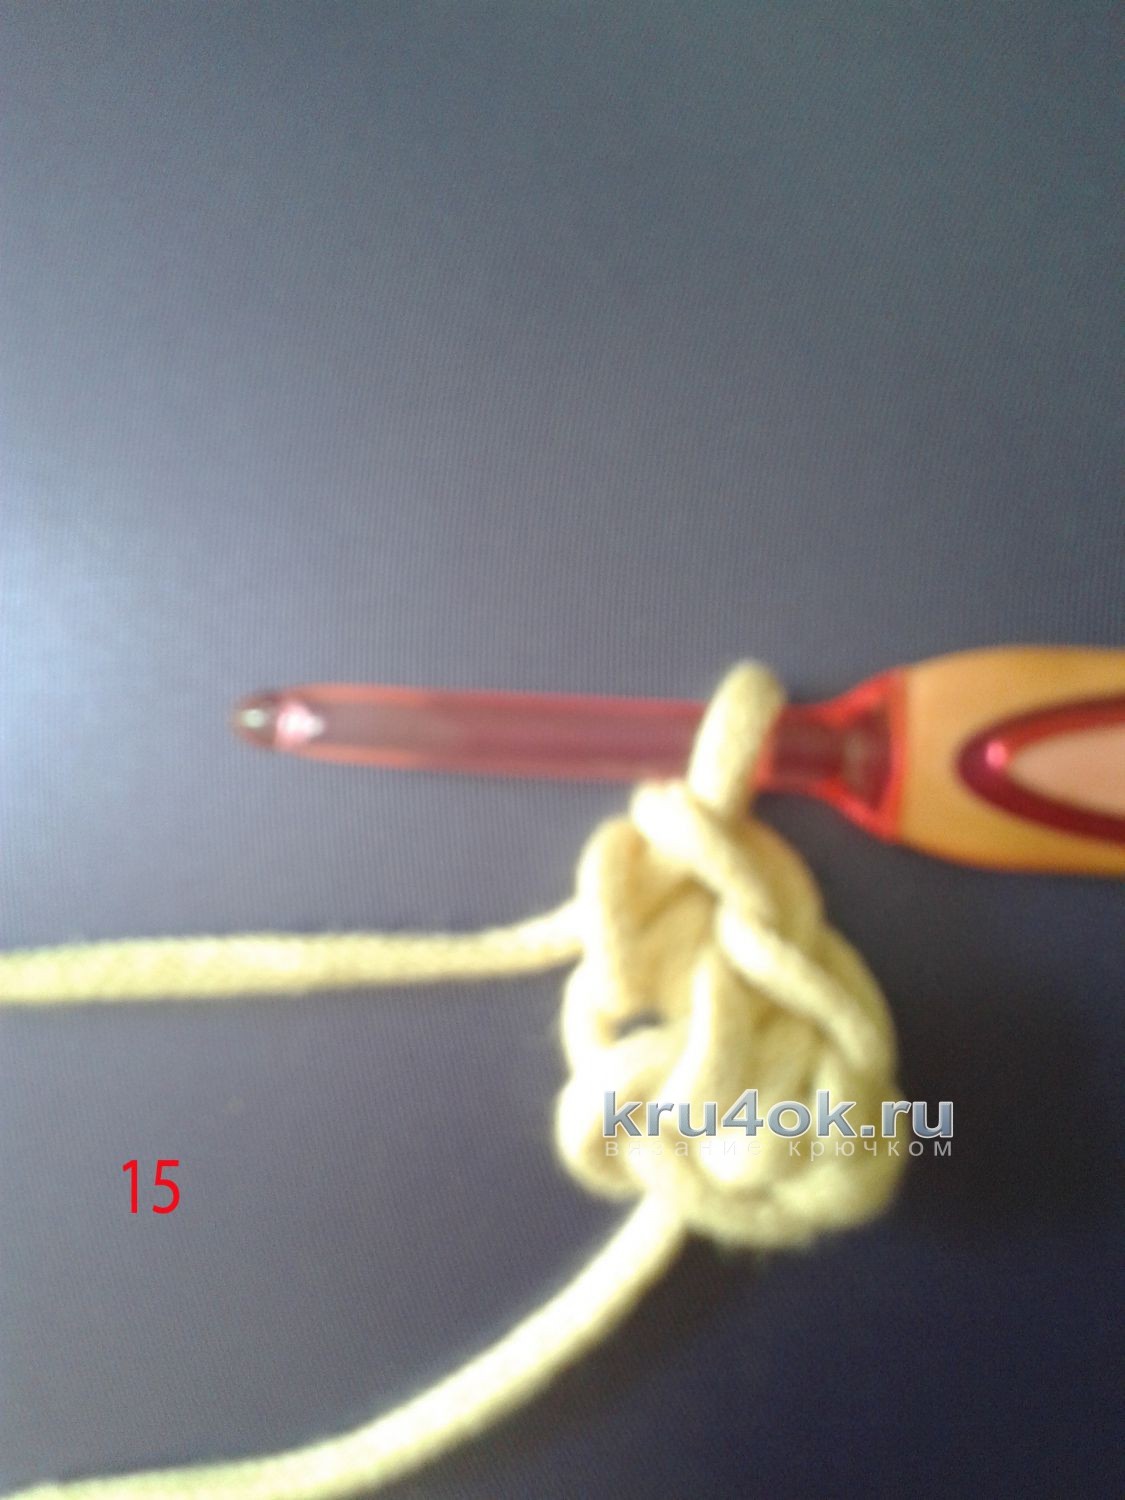 Fig.16-17: From * and To * the picture is repeated. Now on the left side we knit the connecting loops. To do this, we further knit 1 air. loop.
 Figure 18: We introduce a hook into the 1st loop of the face formed by an auxiliary thread.
  Fig.19: We grasp the working thread and conduct it through the loop from the hook.
  Picture 20: We knit together. loop around the entire left perimeter and the cord for the handles looks the same from both sides. For the cord that we will insert through the st. On the 25th series, no connection loops are needed.
  Fig.21: We fold the straps for the fastener and connect them to the middle of the 2 side sectors. »Wings» we will collect the cord to the sides of the bag. At this point, we sew the lining to the bag. Next, insert the zipper, sew up the knobs, insert the string into the 25th row, collecting wrinkles on the sides. That's all. Hopefully explained, it remains to wish you all the best!

 Author of work Wait, download ...
Comments
Related posts:
 A master class of crocheting a beautiful napkin with detailed descriptions and photos.
Master-class on crocheting an openwork napkin, which is imbued with motives
A master class of crocheting a beautiful napkin with detailed descriptions and photos.
Master-class on crocheting an openwork napkin, which is imbued with motives
 A master class on crocheting an openwork napkin will be clear even for beginners
 Master-class on making a bookmark from a non-woven napkin - crafts and homemade articles with their own hands
 Bag Colors of autumn. Master class from Eugene Rudenko