Beads from beads with their own hands in teaching lessons (photo and video)
Content
Bright girls who like to change clothes andLook stylish, you just need original accessories that will help create interesting images. One of these accessories can be beads. Such decoration, like beads from beads can be made by own hands, it is not difficult at all, it will not take much time and does not require large financial expenses for materials for manufacturing.
If you connect a fantasy, choose colors toBasic things or to a particular wardrobe thing, beads of a certain size, as well as shapes, perhaps even some unusual shape, then the decoration will turn out to be exclusive, in a single copy.
Beads from beads can be worn differently, waysDepend on how long they are, what their colors are, from clothes. For example, if long, they should be combined with closed cutouts on clothes, and short beads will look better if the dress style assumes naked shoulders. Multi-row beads are universal and will look great with any cutout.
If your decoration consists of beads more than 5Different colors, it will fit for clothes of monochrome, or to very color, which in style is close to such beads. The end of the beads should be either higher or lower than the cutout on the clothes, if it touches it, then it will not look pretty. Long beads can be tied at the bottom of the knot. If the clothes used in several colors, no beads are preferable to those in which there is no primary color prevailing in the suit. It's not at all difficult to learn how to beautifully and correctly combine beads made with beads from your own hands.
There are many different ways of weavingAdornments on their own, you can find on our site a large number of training videos, as well as weaving schemes and photo lessons that will help experienced and inexperienced beaders to master this simple kind of needlework.
In this article, several master classes will be given, which will tell you how to make beads from beads yourself.


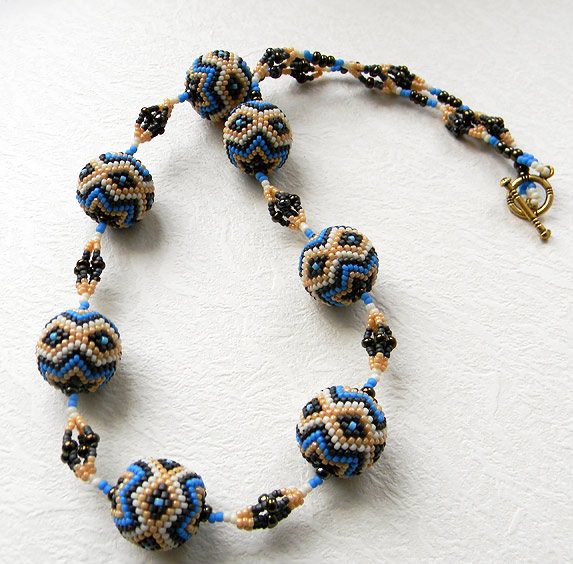
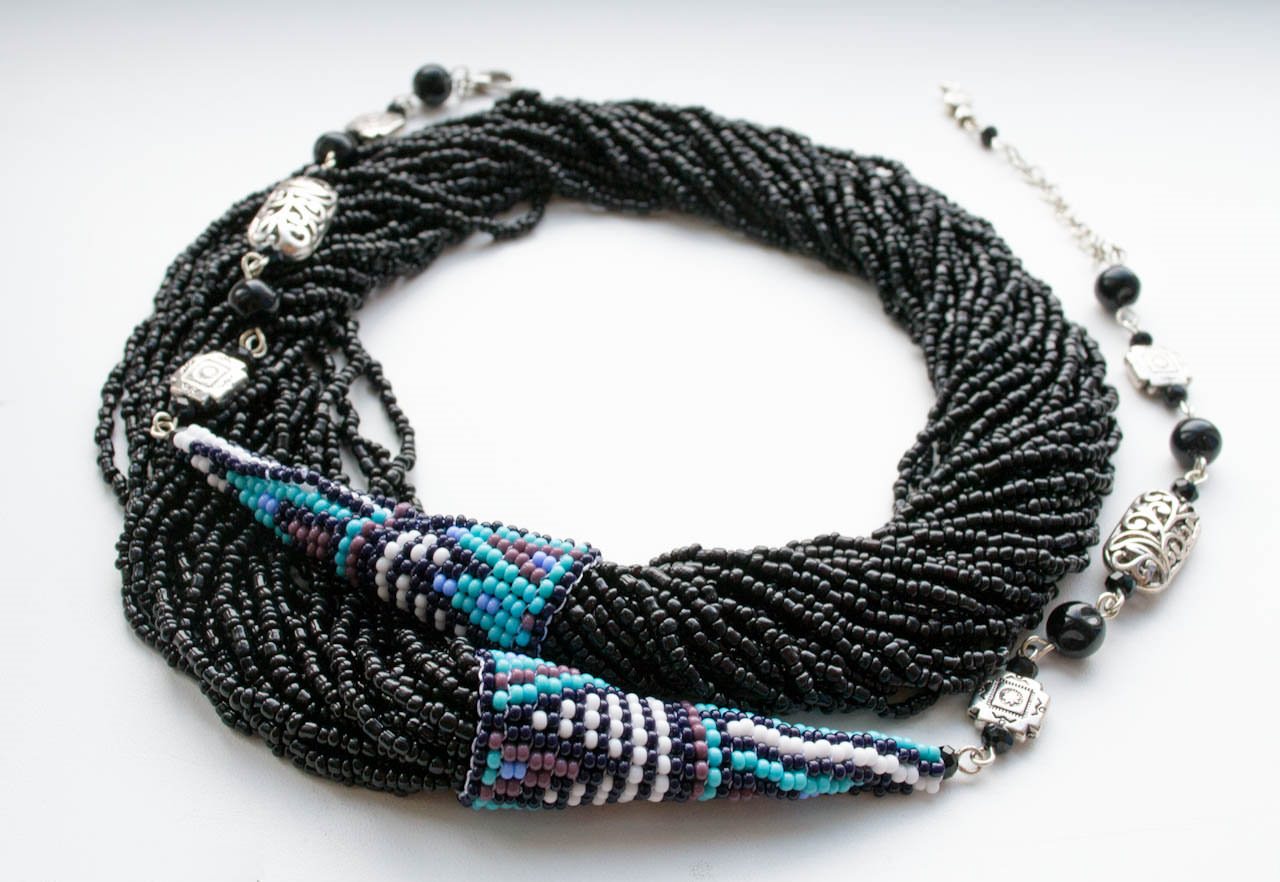

Multi-row beads from beads
The first master class on how to weave multi-row beads. Such decorations have been popular for many years, universal and suitable for many wardrobe items.
This is one of the simplest ways of weaving.
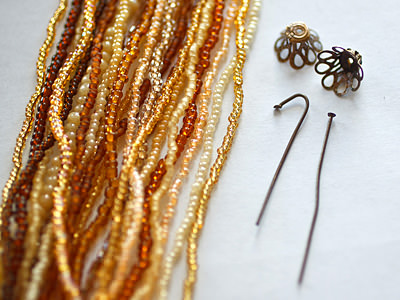
Materials that will be required for work:
- Fishing line 0.25 m thick;
- 2 pins;
- 2 cap;
- clasp;
- Beads are different in texture and in various colors - 6 species from light yellow to dark brown;
- Beads of small size of two colors - milk and brown.
And also need these tools:
- scissors;
- Nippers;
- Round pliers.
So, let's start the master class. The very first thing that needs to be done is to decide how long your decoration will be, since it will depend on this - how long it takes to harvest a line to carry out the work. This model assumes a length of beads 45 centimeters, therefore the line should be cut in length of 75 centimeters, it is necessary to take into account 15 centimeters of allowance on each side.
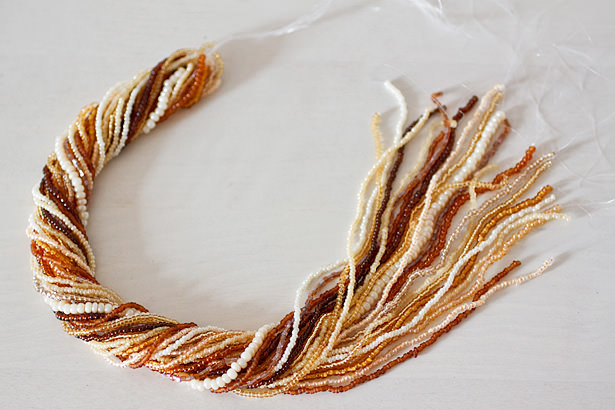
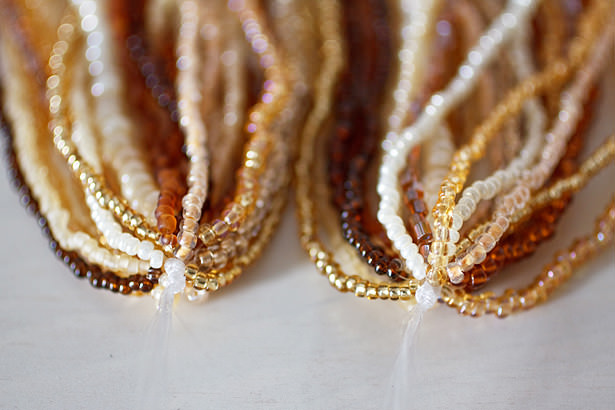
Next, you need to thread the beads on the thread, and the last andThe first bead must be securely fastened, otherwise the product will crumble - fixing takes place by passing the line through the last bead again. After everything is ready, you need to make another 16 to 30 (to choose a master) exactly the same threads with beads strung on them. You will get several threads of each color, as shown in the photo.
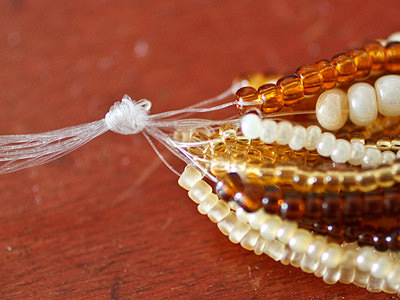
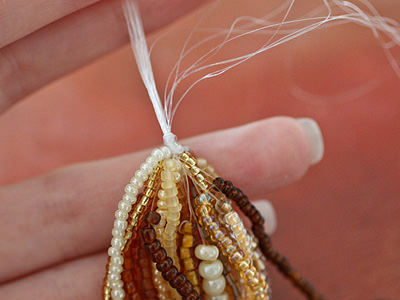
Now you need to connect all the threads together,So that we have multi-row beads. It is necessary to collect them all together, to equalize, then from one end of the line to tie up all the allowances in one common node, and it is desirable that it was as close to the beads. So we have a tail. If the threads were not evenly spaced, then you need to pull them neatly in the bundle. Then it is necessary to tie a second knot at the second end of the beads.

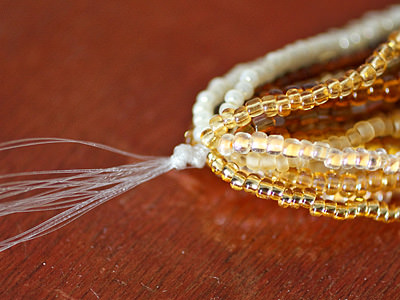

The extra line should be cut off, leaving only 1.5 centimeters to attach the buckle.
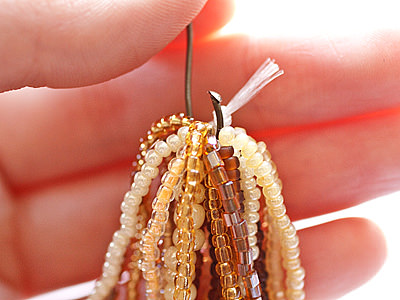
To ensure that the nodules are not untied, a very good way is to melt the tips with a lighter or a candle.
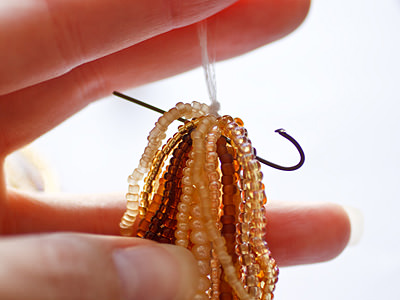
Now it remains only to attach the buckle. To do this, take the pins and fasten them under the nodules, tighten the hooks of the pins well and then put the caps on them. Now useful nippers, they need to shorten the pins, leaving a small tail, from which you need to make a ring with the help of round-nosed. Now the fasteners are fastened to the rings. Decoration is ready.


This is a fairly simple way of weaving and that itsTo master it is not necessary to use the schemes and you can do without a video lesson, as everything is clear here, just look at the finished product or his photo, and read this manual.
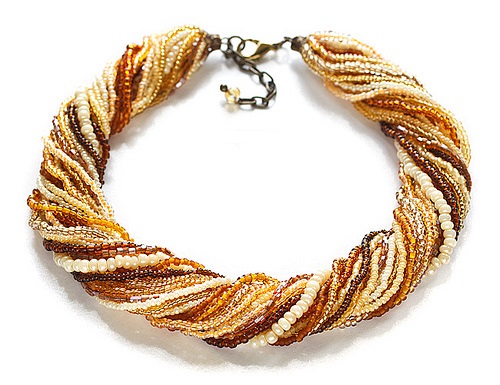
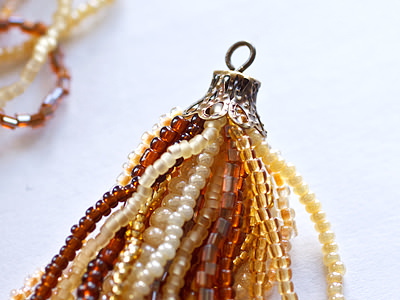
Bulk beads from beads
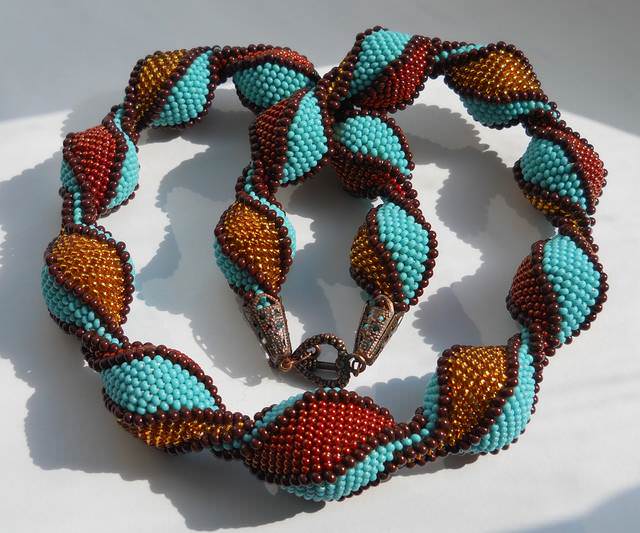
The next master class will make it possibleBy the hands of large multi-row beads made of beads. Such jewelry is loved by many women, especially they look good on ladies with mouth-watering forms. Very popular now are braids not only in the hair, but also in clothing and accessories to it. Beads in the form of voluminous braids attract the attention of others, look stylish and bright.
In this master class, one of these schemes will be considered, which will allow you to create with your own hands beads from beads in the form of braids interlaced with each other in three rows.
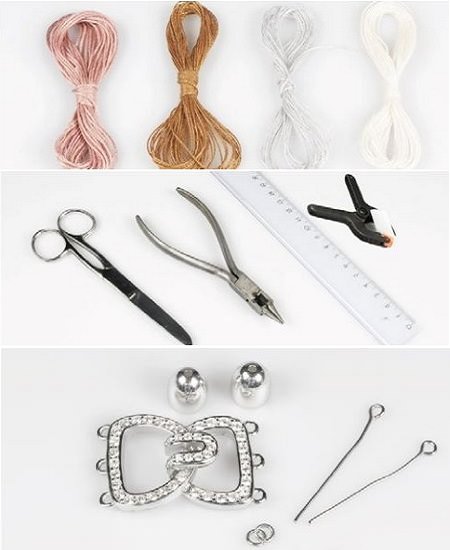
You will need:
- Beaded threads;
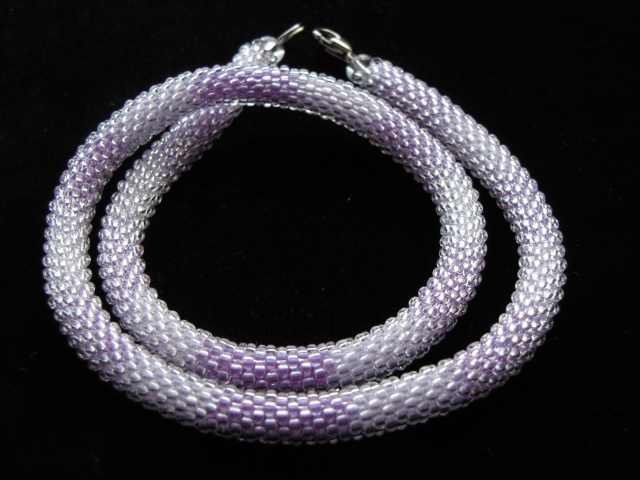
- Beads of Czech several colors - brown, yellow, silver or white, pale pink;
- Pins with loops;
- Lock or connector, designed for three loops;
- Rings for connection;
- Holders.
During work, you can not do without such tools as:
- line;
- Clamps;
- scissors;
- Round pliers;
- glue.
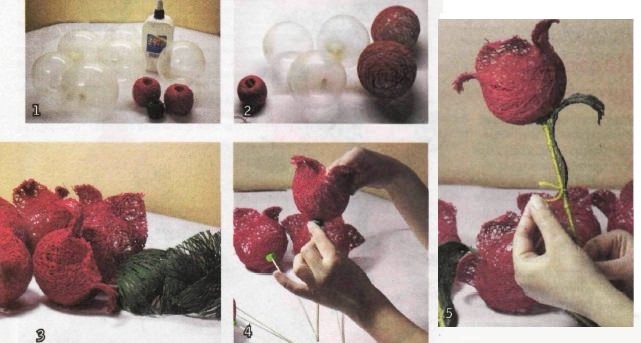
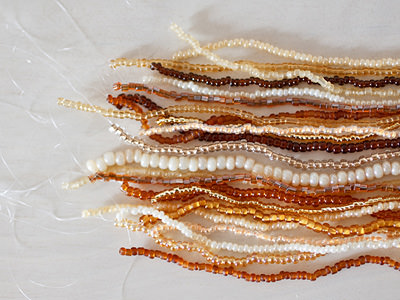
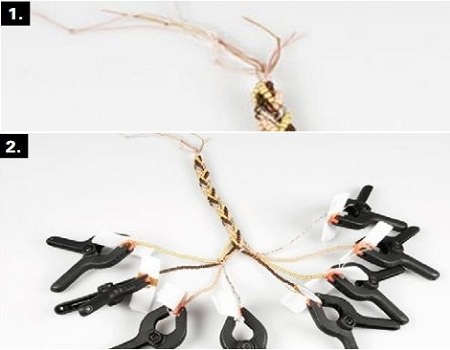
At the first stage of work on multi-row beads fromBraid, it is necessary to prepare braids, each of which consists of 8 threads, with beads strung on them. Beads of four colors, so you should get 2 strings of each color. When all 8 are assembled, you need to fasten them together - for this all of them from one end are connected to each other on a bundle. Now you can weave a braid. To prevent the beads from falling off the threads, the free ends must be wrapped in pieces of paper and secured with a paper clip. Now you can begin to weave the first spit.
This diagram shows how this should be done correctly.

First, all the threads are divided into two parts in half. We take the leftmost thread and put it on top of the remaining three left threads, and the two central right. Then the thread is passed under these two right rows and put again with the left strings together. Now you need to do the same procedure with the rightmost thread. In this way the entire braid is plaited to the end.
Similarly, the second and third braids are braided. All three products in finished form should be different in length ... the first braid is the shortest. The second should be longer than 1 centimeter, and the third - 1 centimeter longer than the second. If this condition is not met, then the rows will not fit each other unevenly and the product will not work. The free edges of the rows are connected to each other and tied to a knot to secure the structure.
It remains to make a buckle. The nodules are pierced by the pins, then the excess threads must be cut off. Next, strengthen the site, for which we drip a bit of glue on it. He puts the holder on the knot with the pin, the shortened edge of the pin is shortened by wire cutters and rounded with round-bends to make a loop. We attach the rings to the eyelets, to which the lock is attached. The product is ready.
With the help of this simple scheme, any girlWill be able to make such an exclusive decoration with his own hands. If there are difficulties, you can watch the training video. You can change the colors of beads and the number of rows, and also the length of the beads to choose at your own discretion, based on your own tastes and styles of clothes with which they will be worn.
Video: Beads from beads own hands