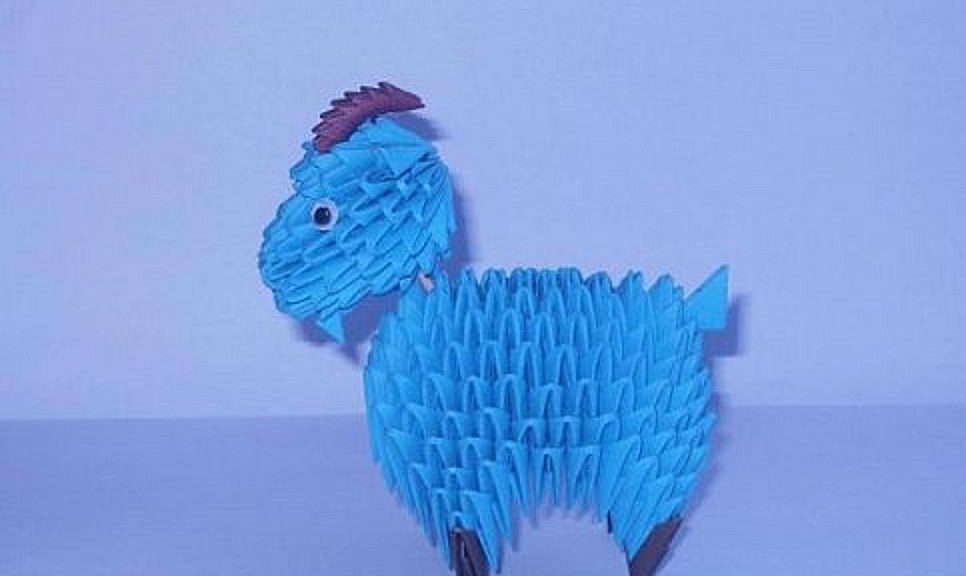
A beautiful blue goat is a simple modular origami, follow our instructions
In anticipation of the new year 2015, the year of Goat, you canwith their own hands to create crafts with children. But crafts are not ordinary and not just paper, but from paper modules that turn ordinary paper rectangular pieces of paper into beautiful voluminous creations. Such crafts are called modular origami. This time I propose to make a modular origami, a goat, in technology. This work required: 174 blue modules - 1/32 A4 (for the trunk); 109 blue modules - 1/64 A4 (for the head); 2 blue modules - 3х5 (for the ears); 16 brown modules - 1/128 A4 (for horns); 4 brown modules - 1/32 A4 (hooves). 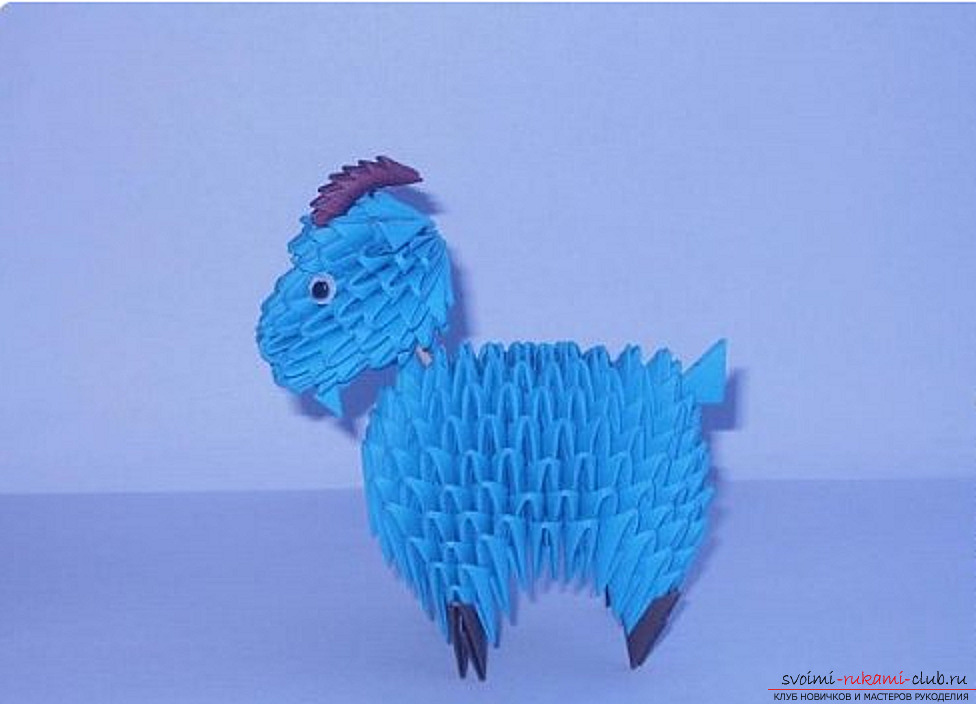 For the head, we need 1/64 A4 modules. The first and second rows of 5 modules.
 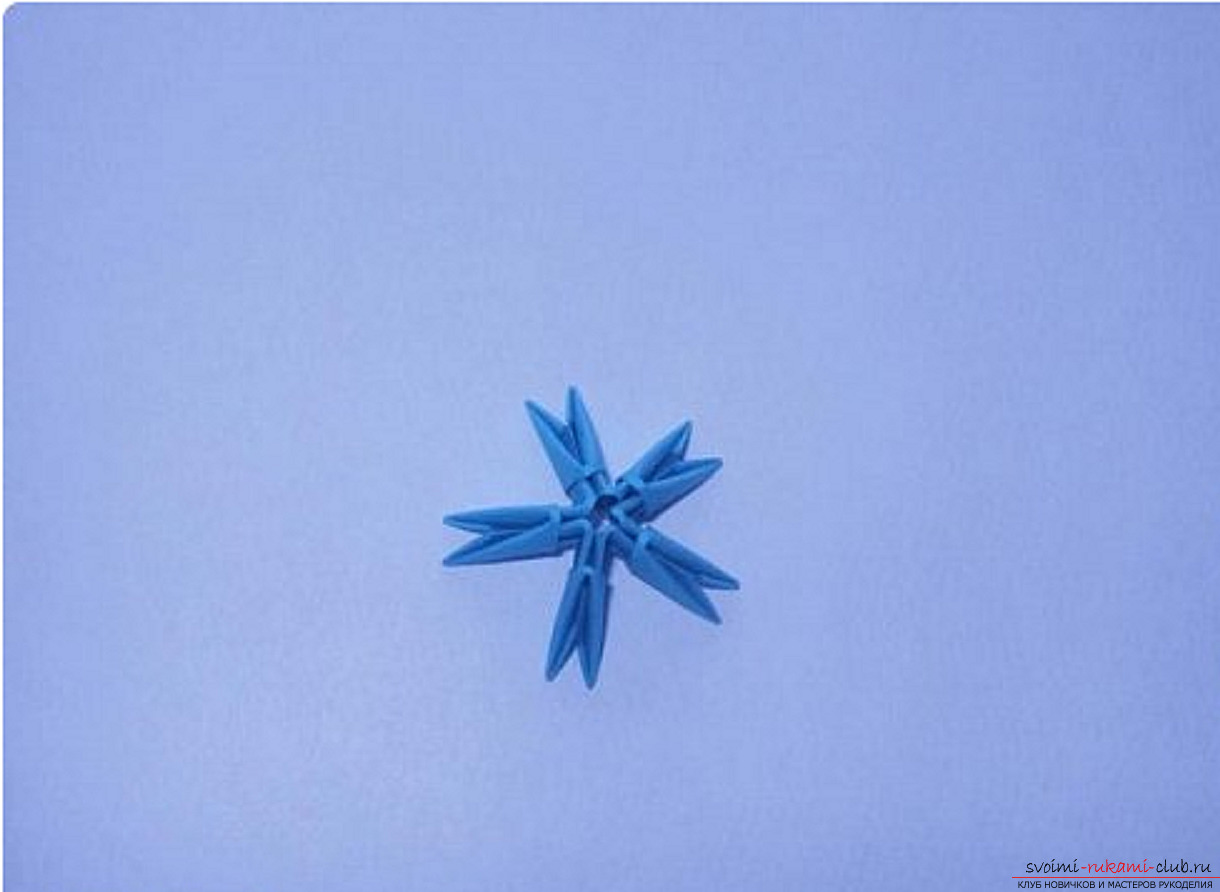 In the second row, add 5 modules (between each).
 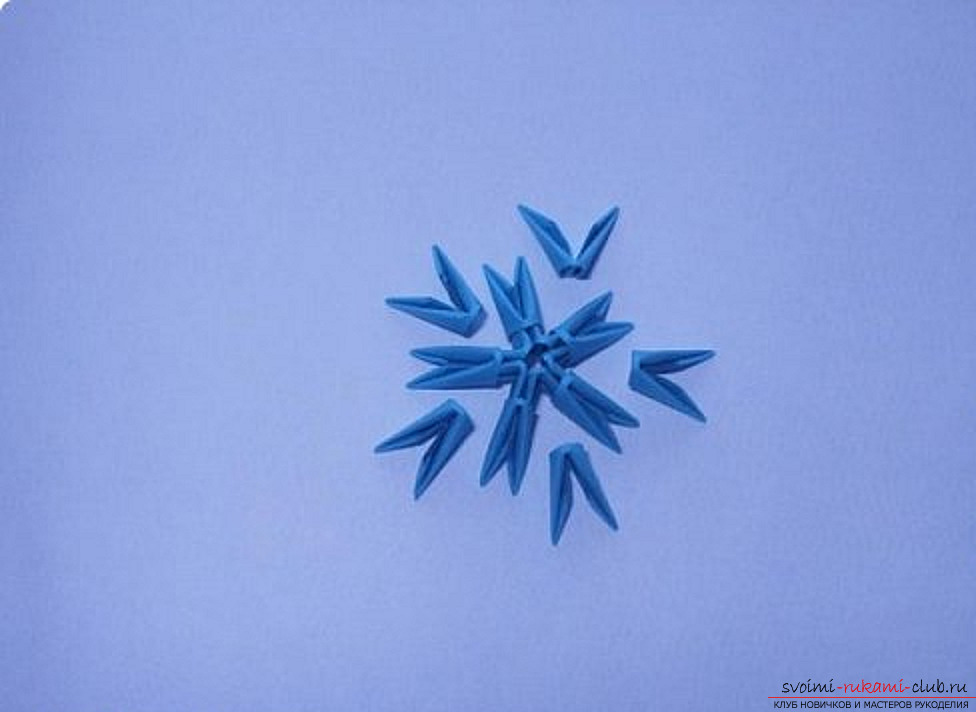 Then we connect the two rows together.
 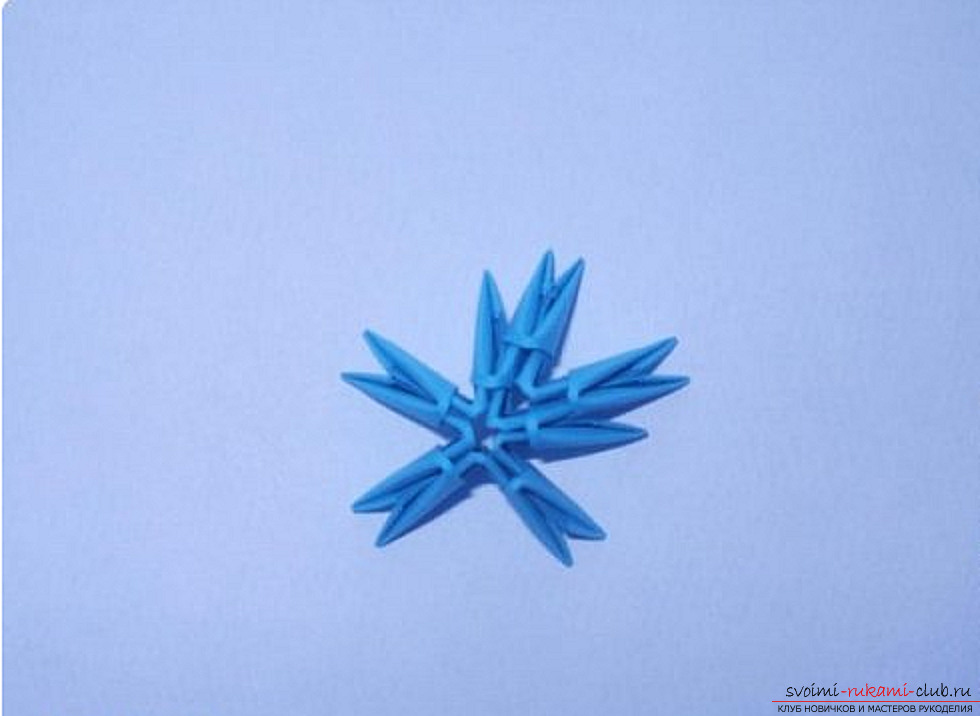 We are assembling the third row of 10 modules.
  We are assembling the fourth row of 10 modules.
  Side view.
 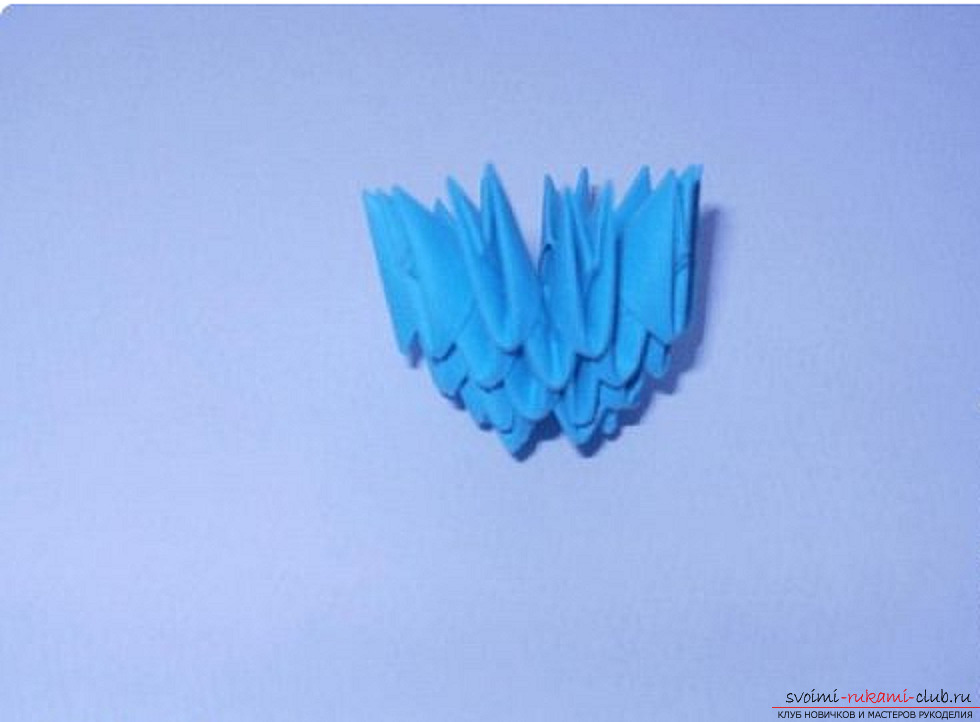 The fifth row consists of 10 modules with a short side.
 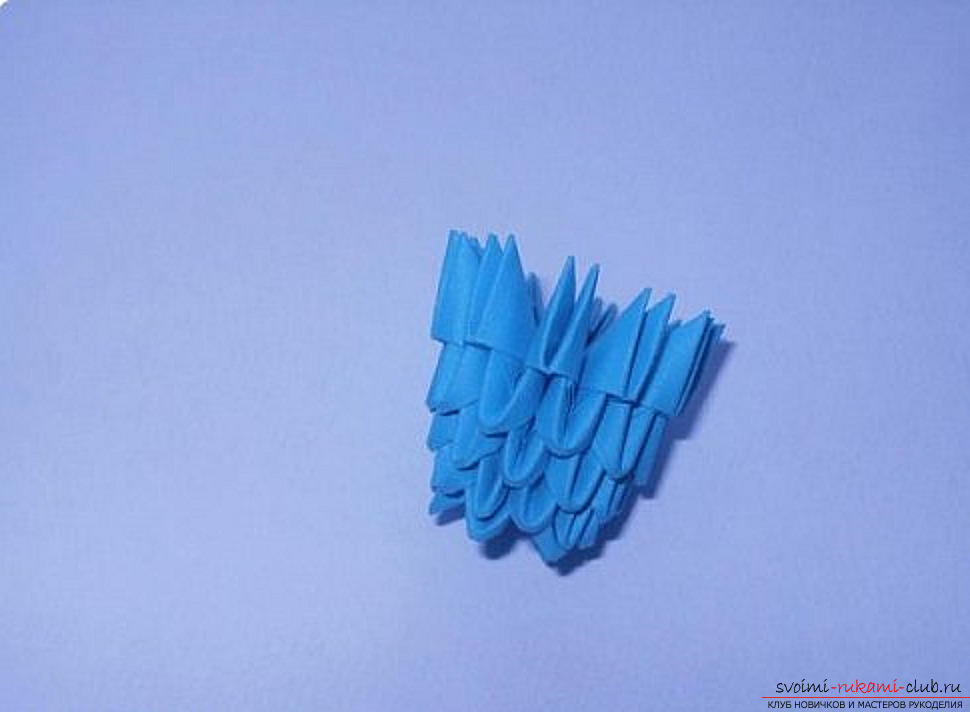 In the fifth row, add 3 modules short side (between modules).
 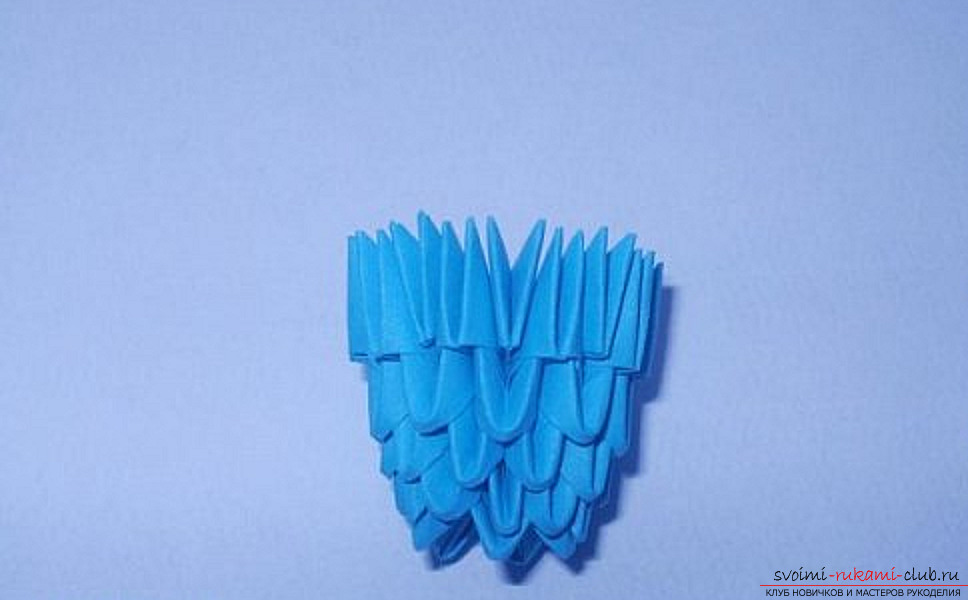 We gather the sixth row of 13 modules, put on a long side.
  The seventh, eighth, ninth series - 13 modules each.
 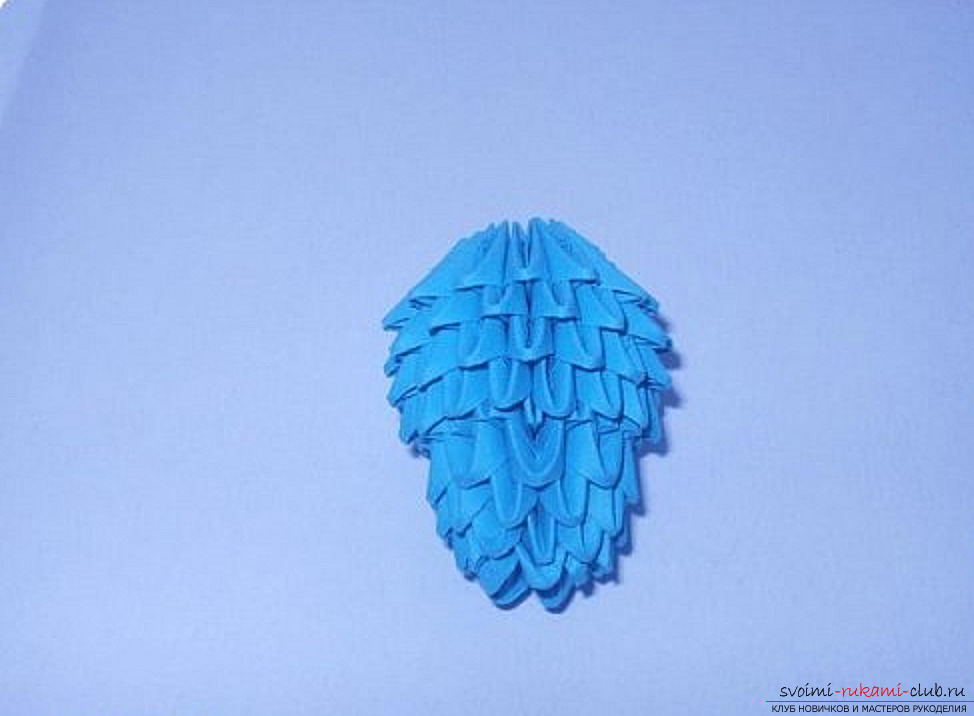 Side view.
 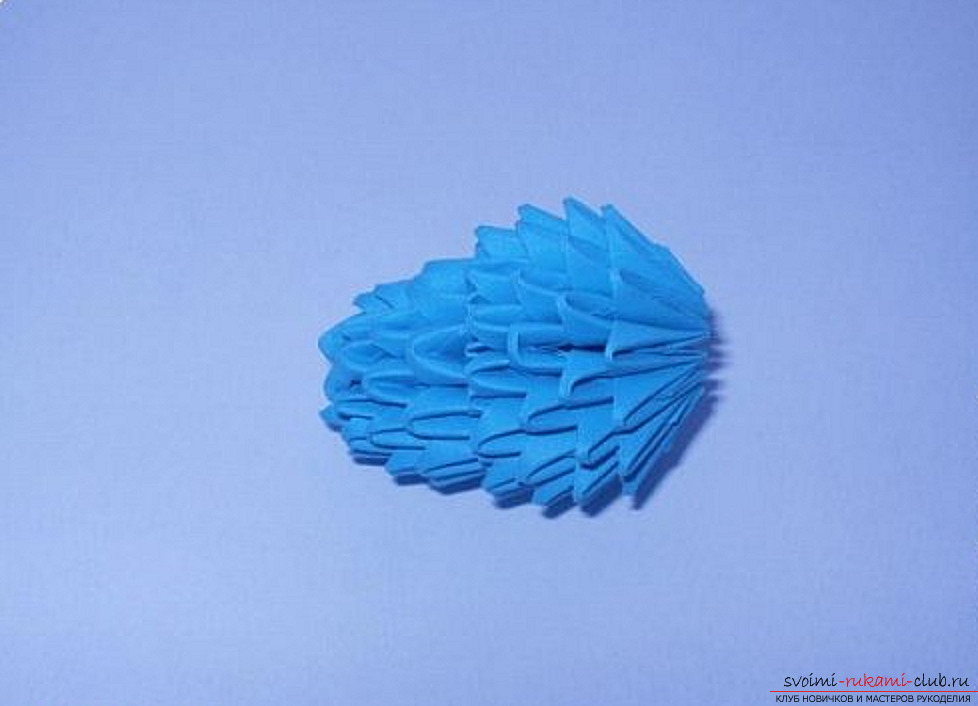 The tenth row is 9 modules (we reduce it as shown in the photo).
 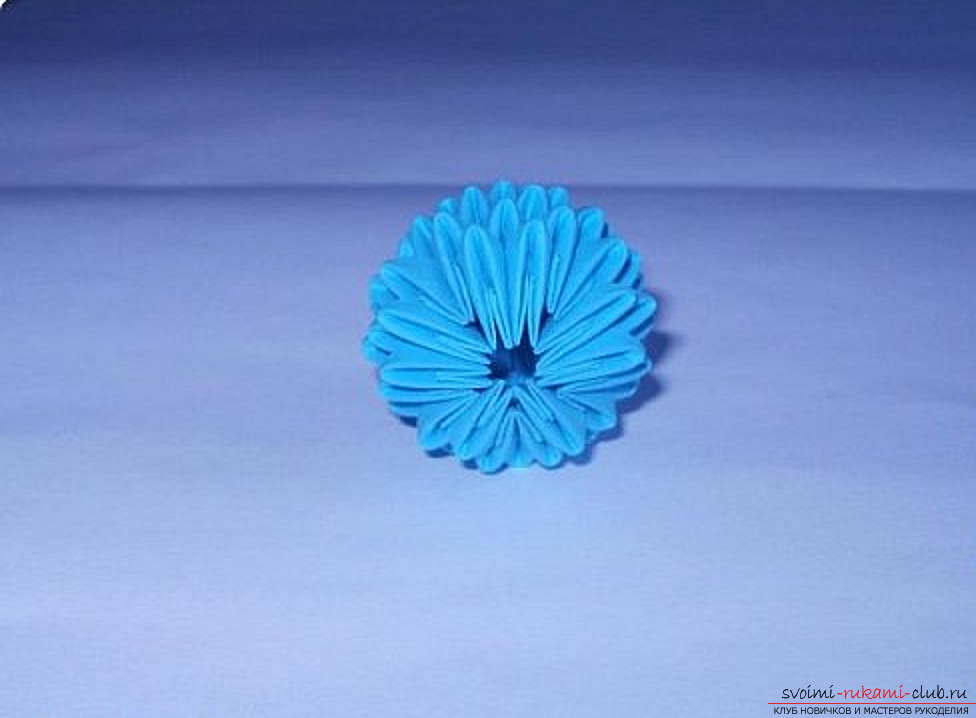 Horns (modules 1/128 A4) - 7 modules in each other with a long side.
 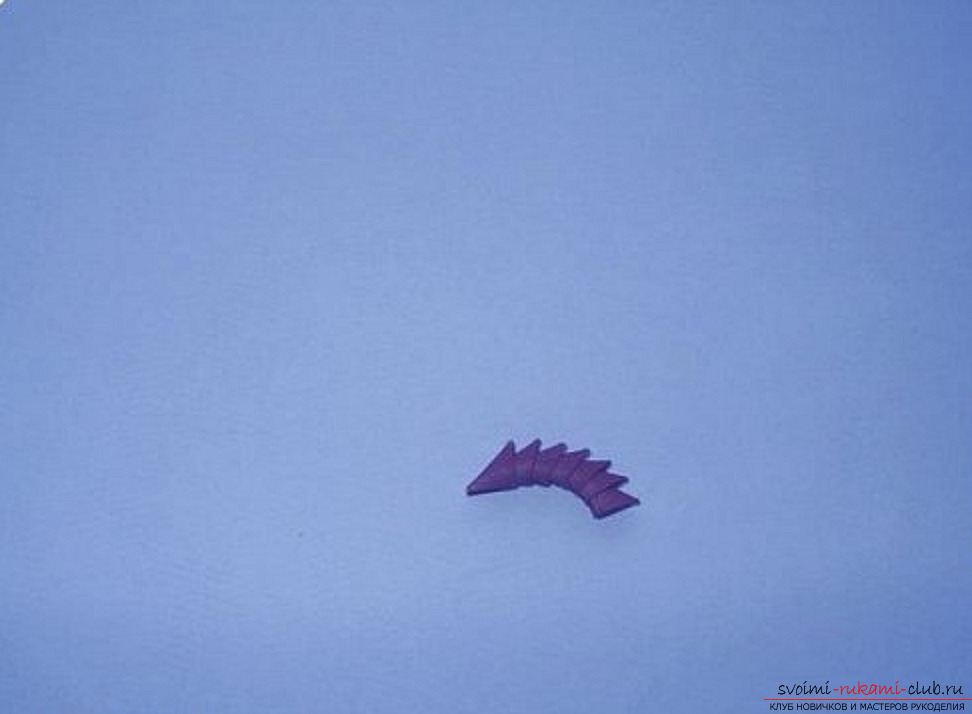 The eighth module is put on the short side.
  The second module in the same way.
 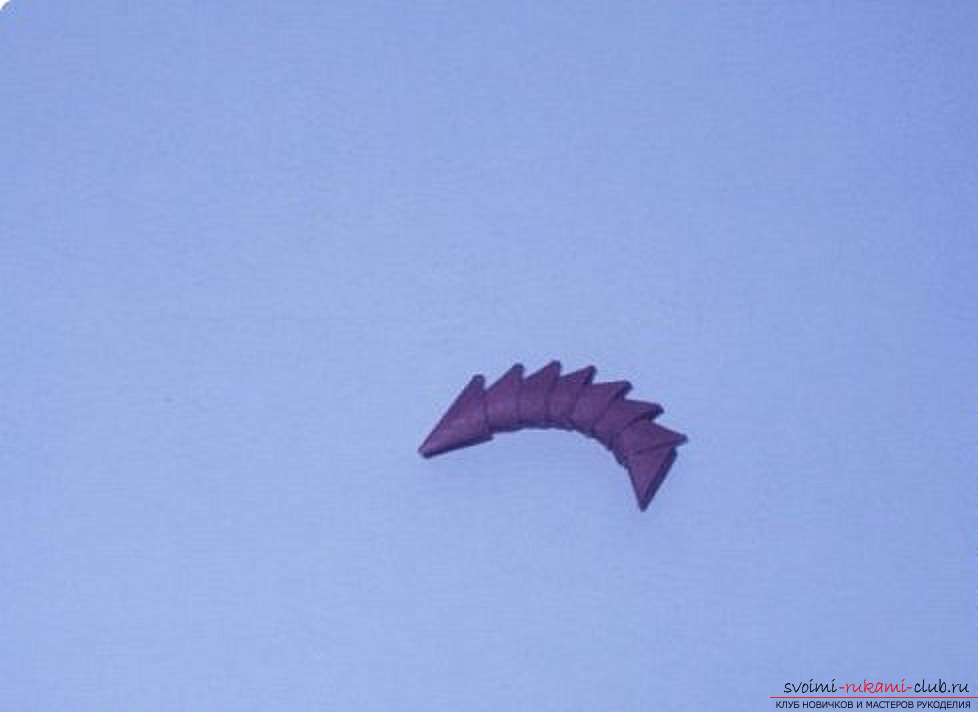 We make ears.
 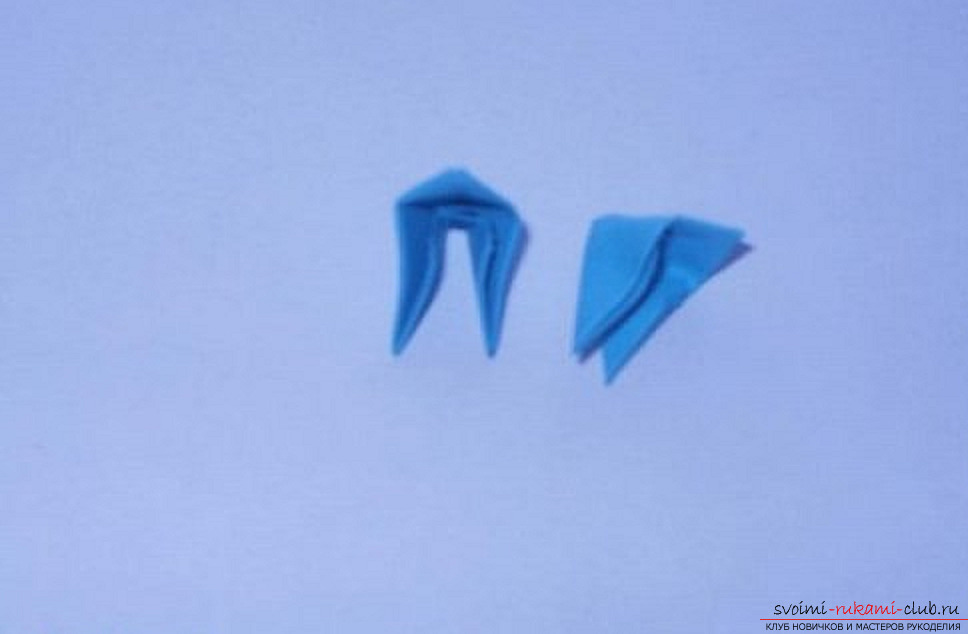 We insert ears.
 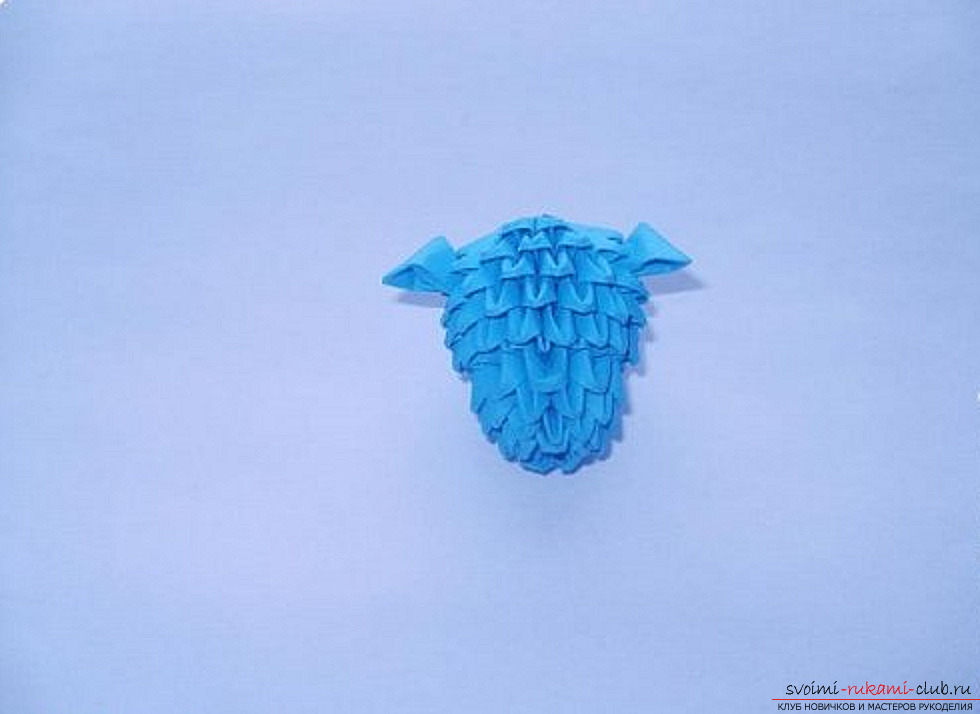 Then we mount the horns.
 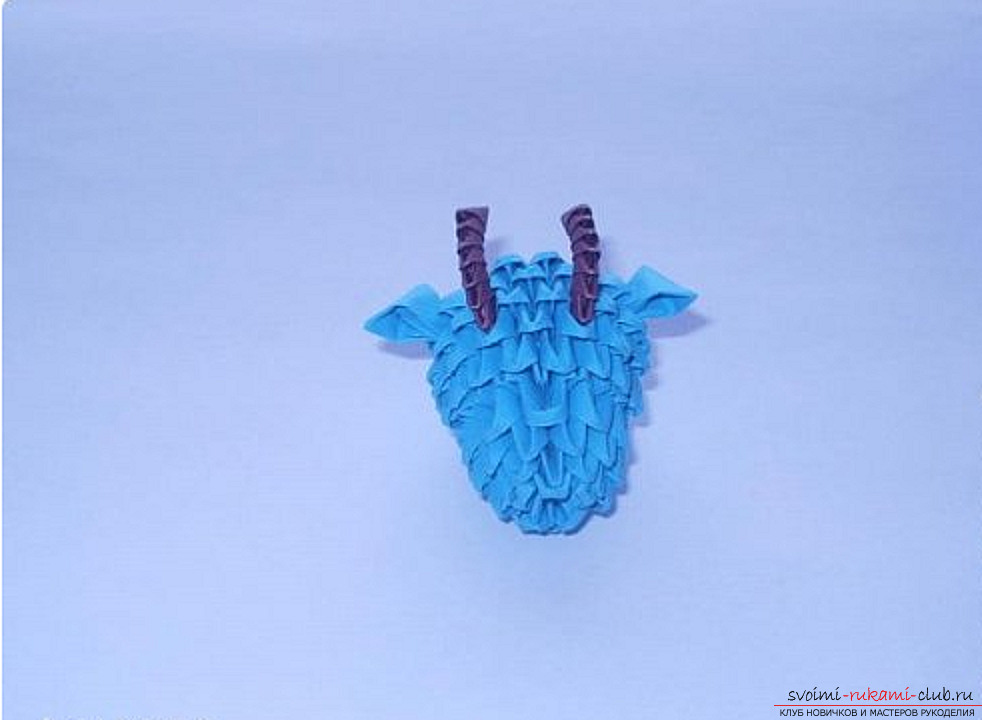 Now attach the beard and glue the eyes.
 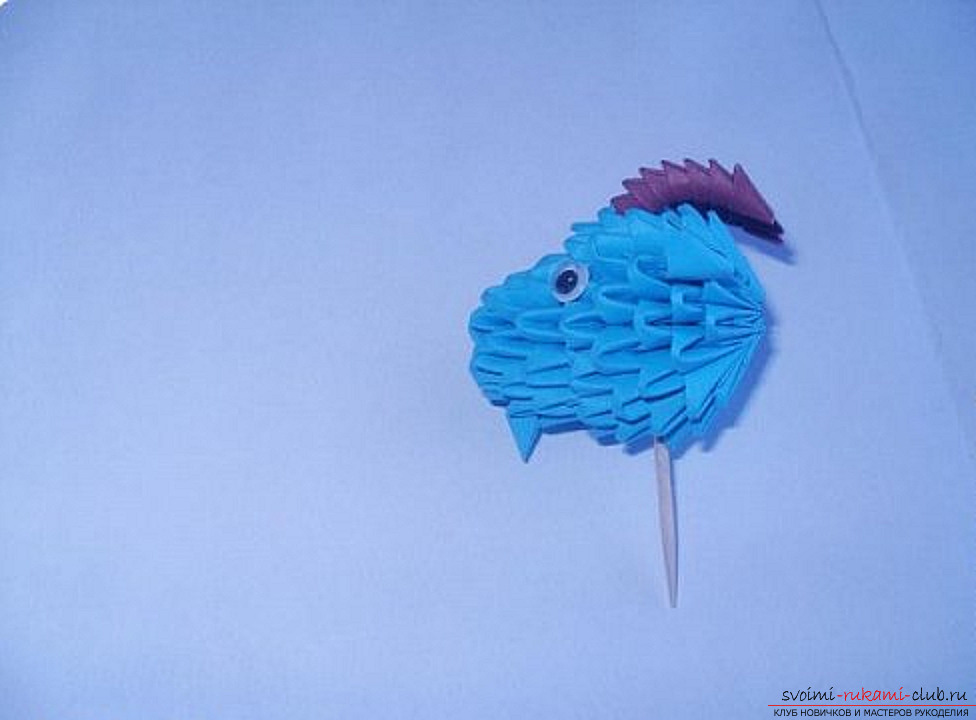 Next we make billets for the trunk of 4 modules 1/32 A4.
 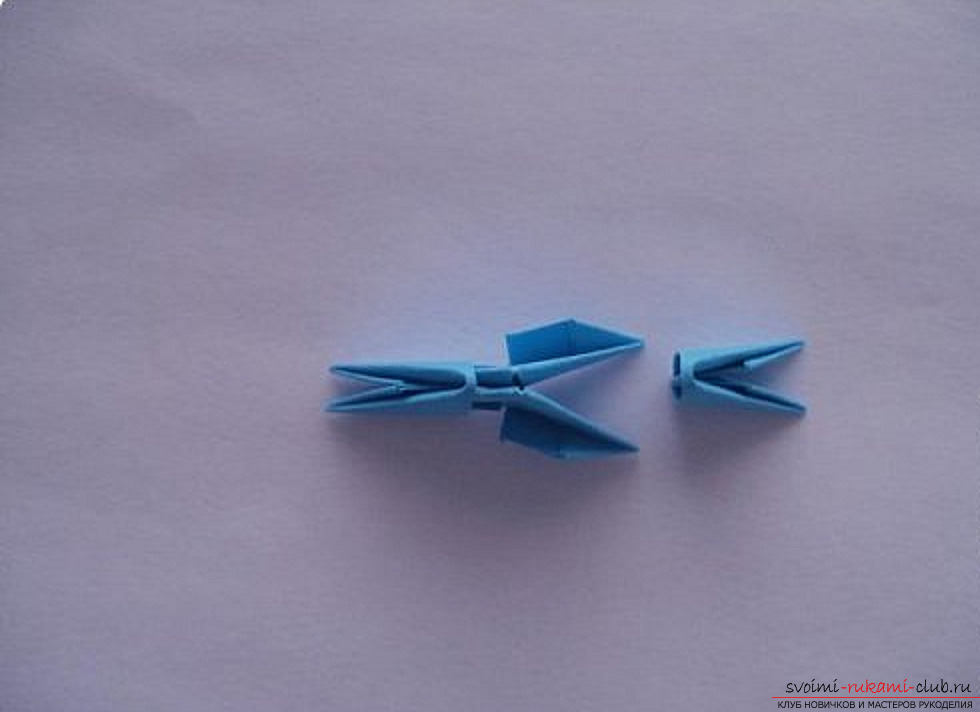 Side view. Such preparations must be prepared 10 pieces.
 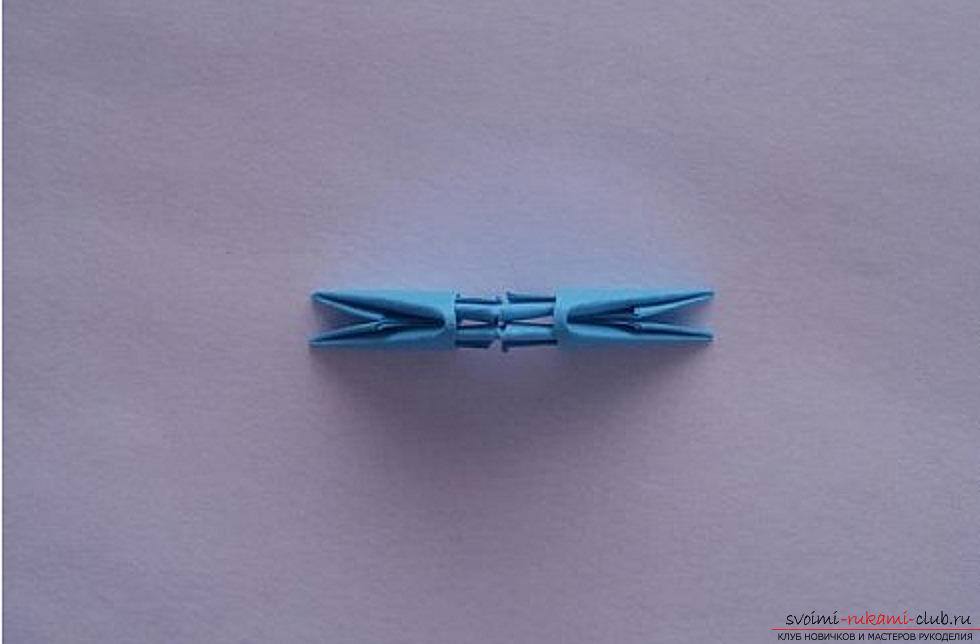 We connect them together.
 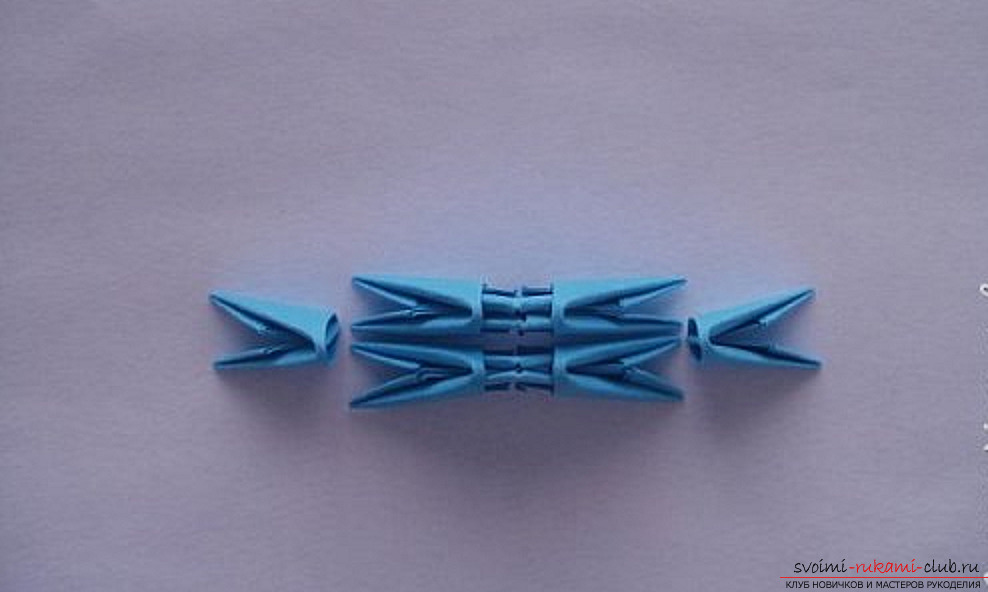 We connect all 10 blanks.
 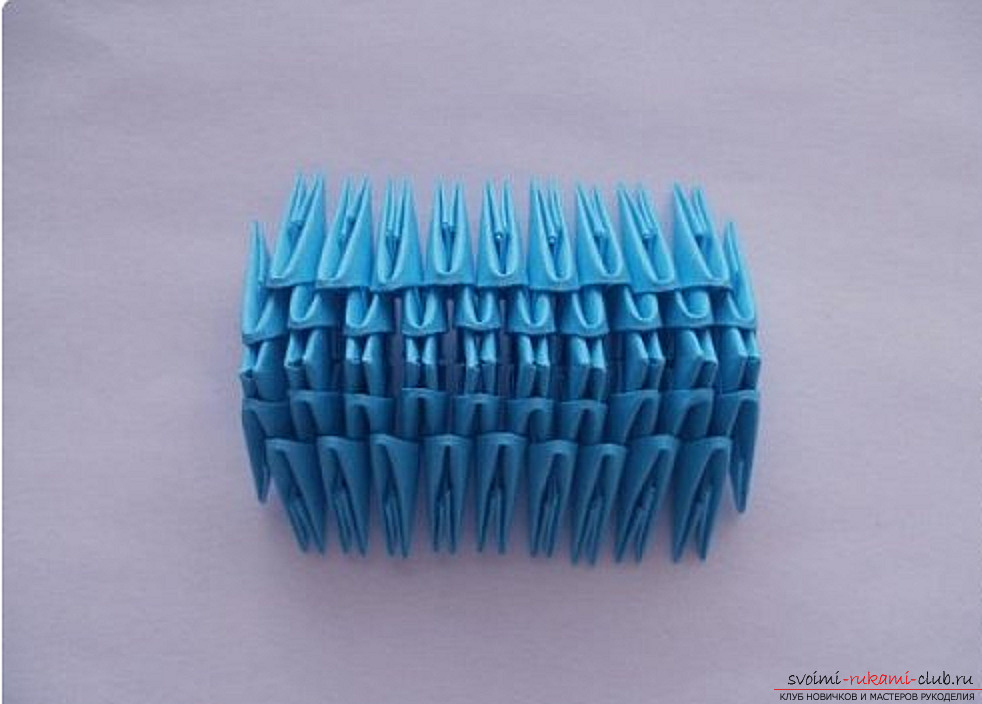 We add one module to the side and fix it by two.
 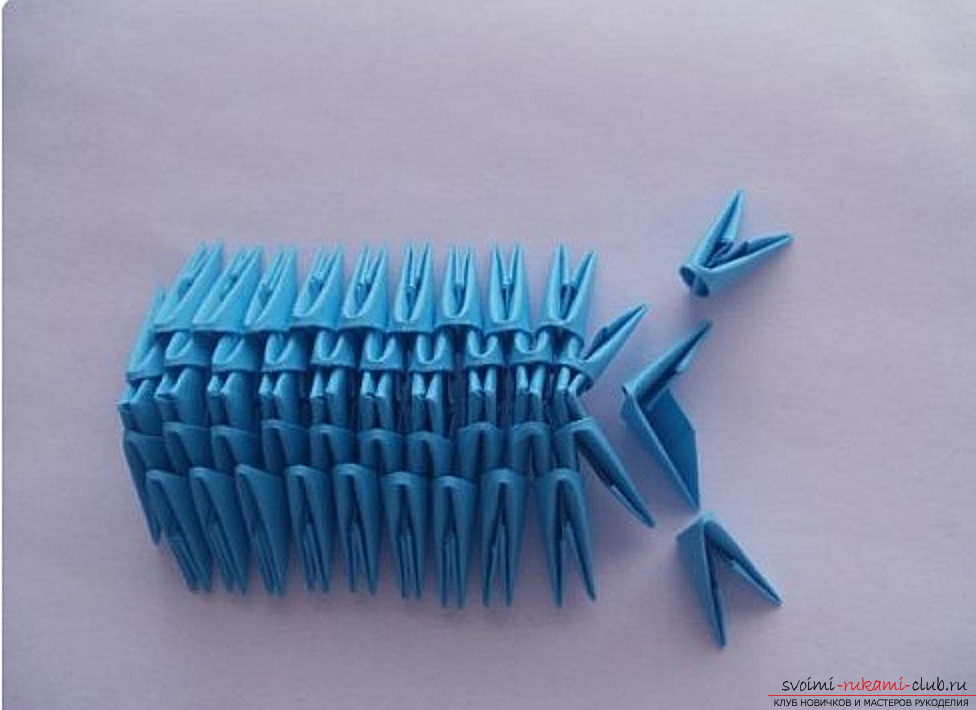 The same actions are done on the other side.We assemble a series of 22 modules. We assemble two more rows of 22 modules. We make a series, letting 1 module in the center (21 modules). Next series of 20 modules (do not put on the extreme ones in the center). We make the front leg of the 3 modules.
 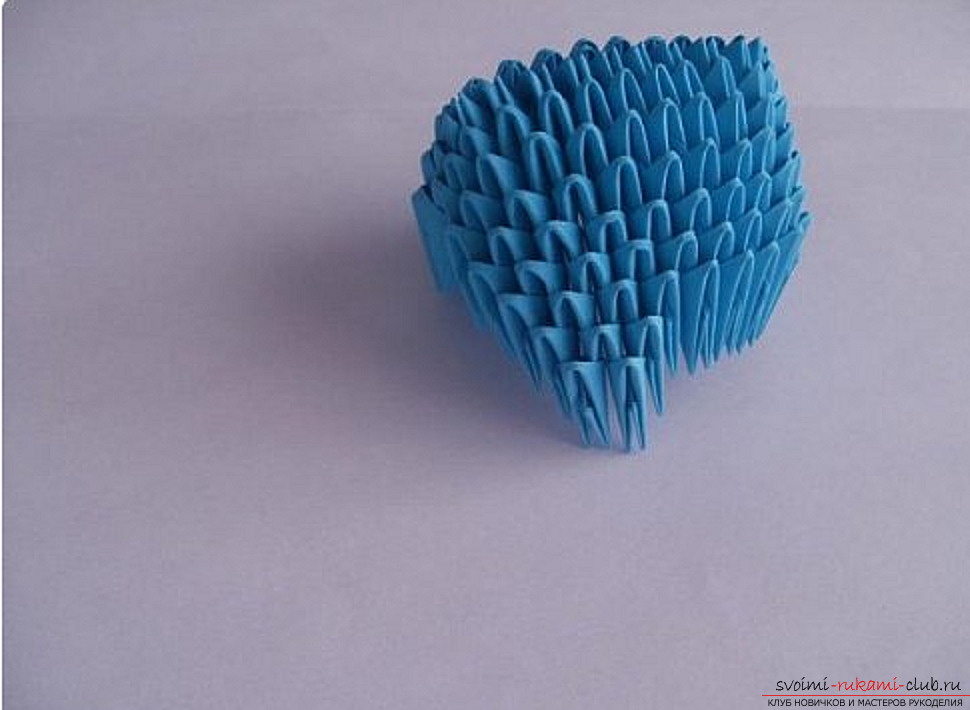 Then add two modules. Then one module. Also do the back leg. We make 2 more legs.
 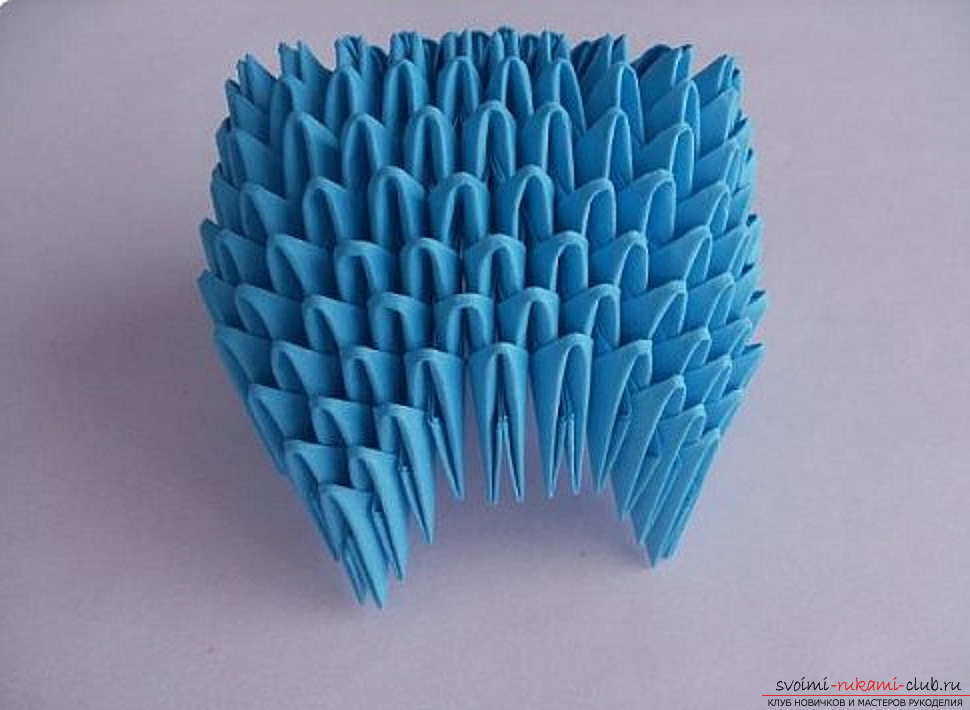 Front view.
  Back view.
 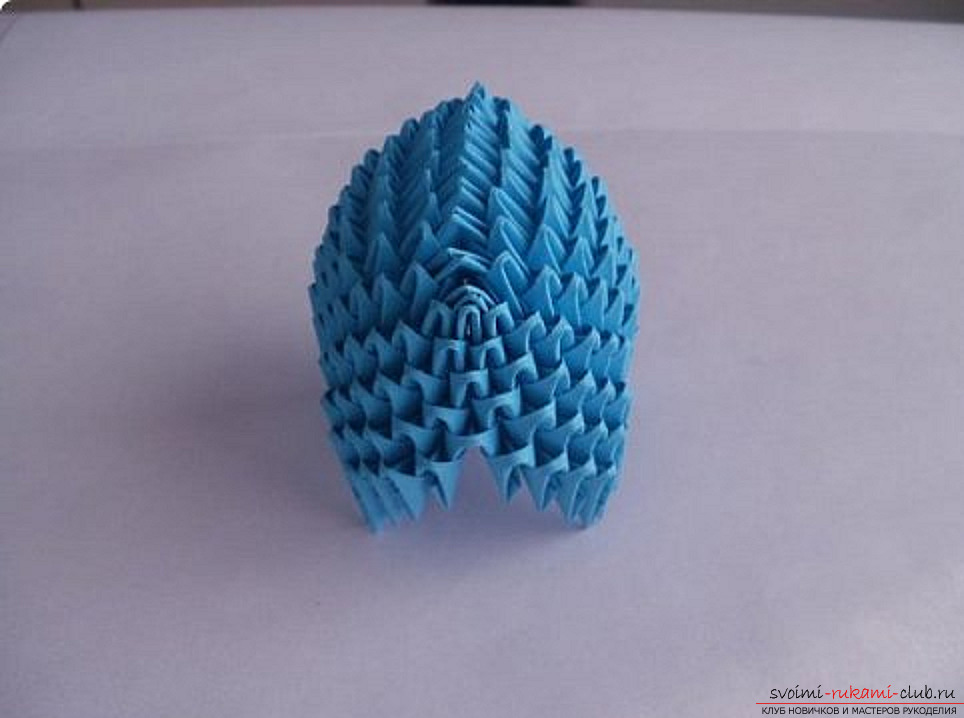 We put on all the legs brown modules - hooves.
 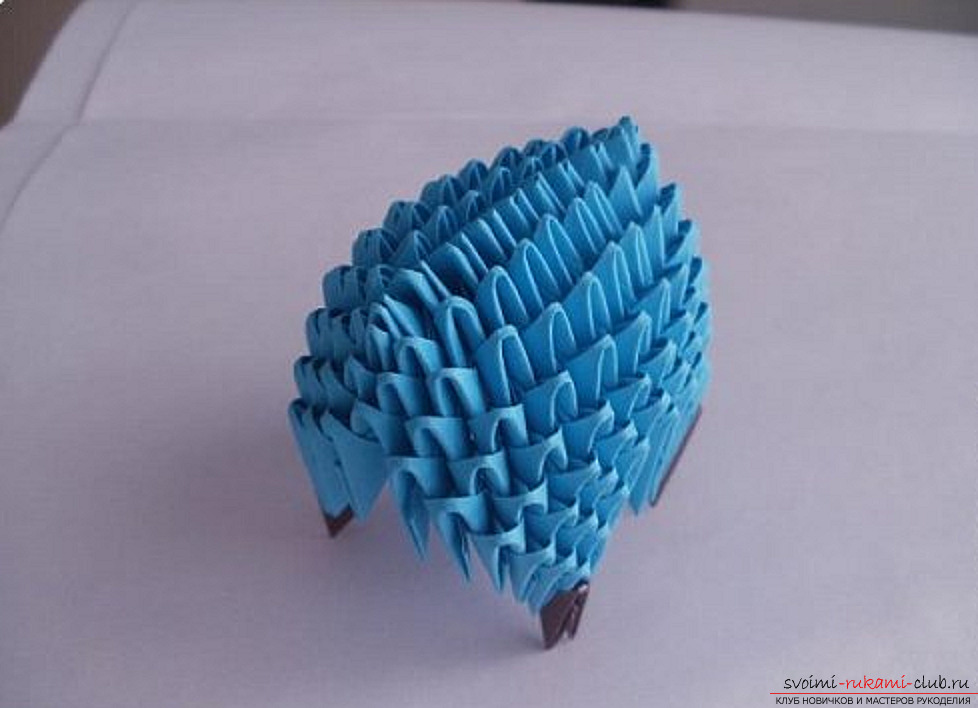 We paste the tail.
 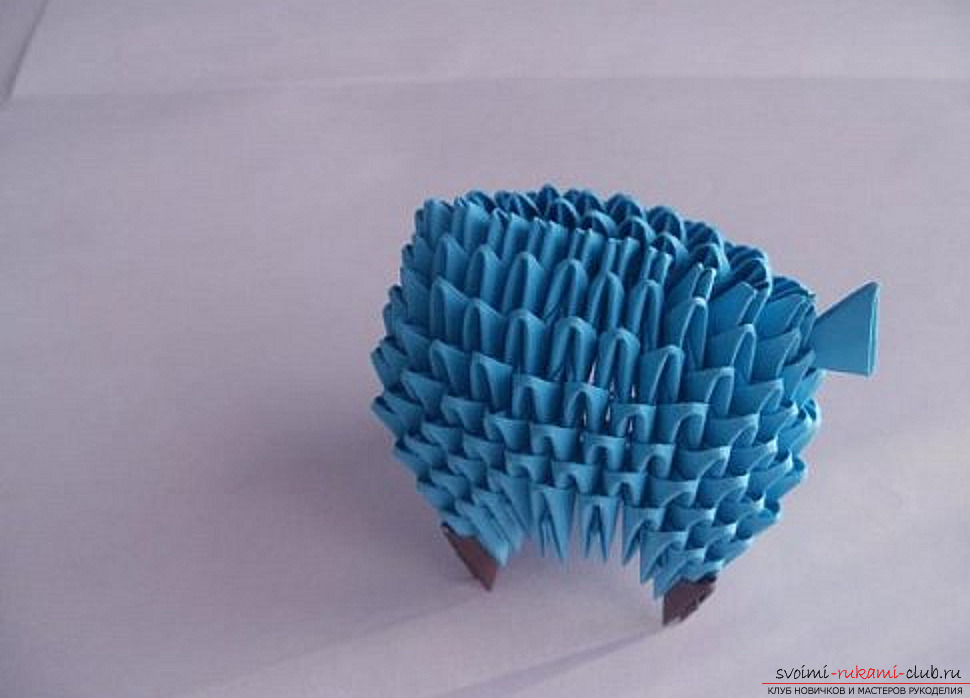 We fix the head.
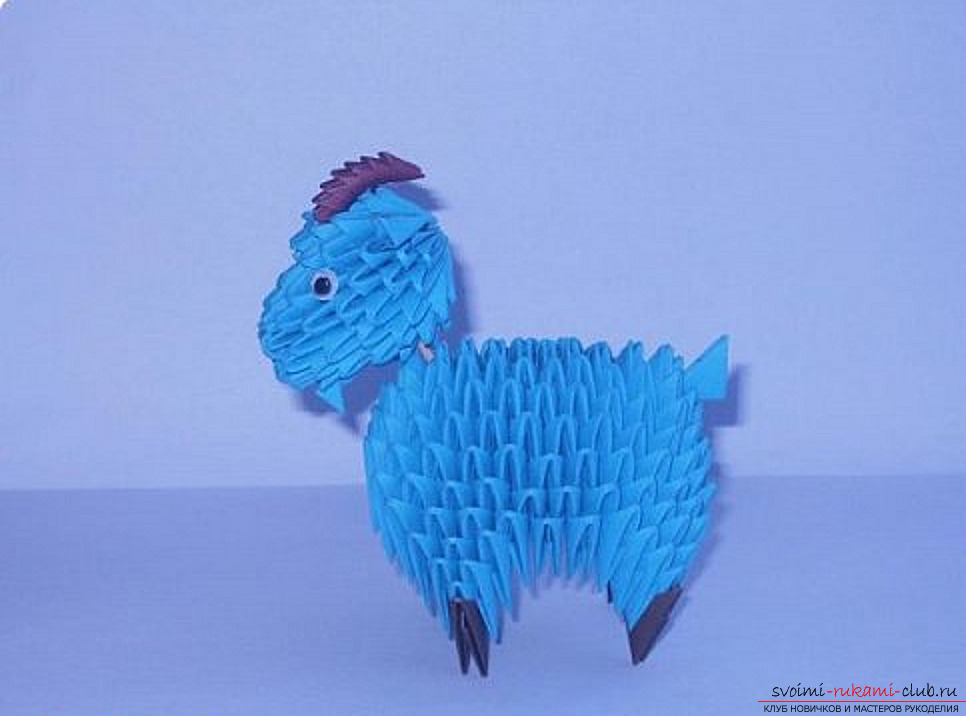
Comments
Related posts:
 Beautiful blue dragon origami, simple origami for beginners
 We make an origami parrot, step by step instruction. Origami modular, requires a certain skill.
 Modular origami: the swan. Master-class for the 2015 Competition, master classes on modular origami
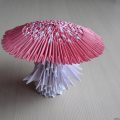 This master class will teach you how to make a modular origami - a fly agaric mushroom.
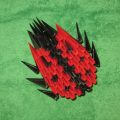 This master class will tell you how to make a modular origami from paper - a ladybug.