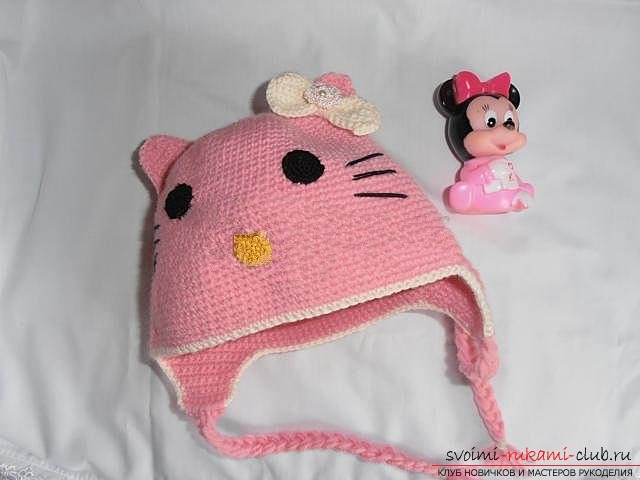
A beautiful "Kitty" cap, tied with its own hands with the help of a hook, will be an excellent gift for a girl.
Little women of fashion really like clothes withimage of one of the most beloved modern children's cartoon characters Kitty Kitty. Today dresses, blouses, skirts, jackets, shoes and even pantyhose are just full of this adorable heroine, that's why I decided to try to tie a hat in the form of Kitty and I must say that it turned out perfectly. This headdress is not only very fashionable and beautiful, it was still quite convenient and practical, it is easy to put on and warm well, the baby from such a cap remained in full delight. Glad you and your daughter or granddaughter the same, but how to tie it in detail I'll tell below. So, the crochet cap "Kitty" - a master class with a step-by-step description and photo. For work we need:
- woolly threads of pink color - two hundred and fifty grams;
- thread "Muline" black;
- filaments "Mulina" yellow;
- a few wool blend or acrylic threads of white color;
- threads "Iris" pale pink in color;
- one small bead "pearl";
- A needle with a wide eye;
- Crochet hook number 2.5.
Hat "Kitty" - a description of the work. Step one. This product is knitted in a circle, like almost all the caps, starting from the center of the crown. To do this, we select from the woolly woolen threads of a pink color a chain of five air loops and put it into a ring. Step two. Next, tie the ring in a circle by one row of columns without a crochet, after which we will knit a round detail of the crown of the cap, making uniform additions in each row. How exactly this is done is detailed in the diagram below. 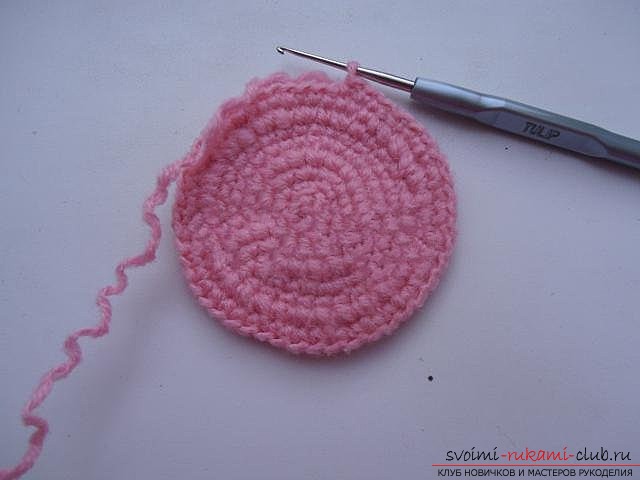
 Step three. The circle must be tied to a diameter appropriate to the size of your baby's head.
  Step four. When the crown of the cap is ready, we continue to knit in a circle, in rows of columns without leaving, making no further additions, thereby giving the product depth.
  Step five. To tie the necessary depth of the cap periodically we try it on the child and tie it to the desired size.
 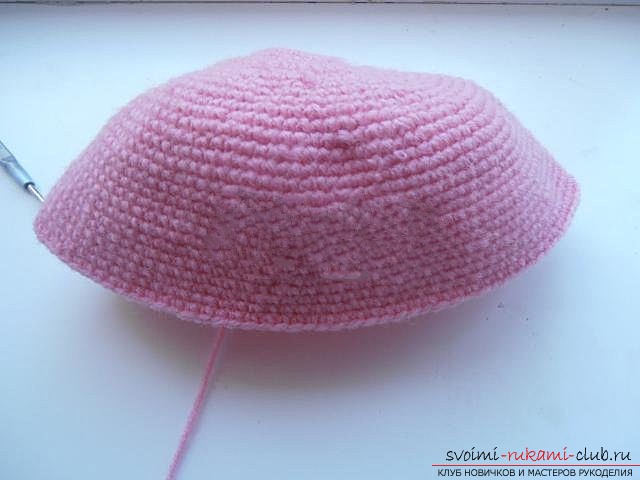 Step Six. The main part of our hats is ready, we do not cut the thread, but we continue to knit the following detail.
  Step Seven. The next detail that we need to tie is a small ledge, from which the string will go to sew it, we sew a row of eighteen columns without a crochet along the bottom edge of the cap, each column being unfastened from one lower column of the cap's edge.
 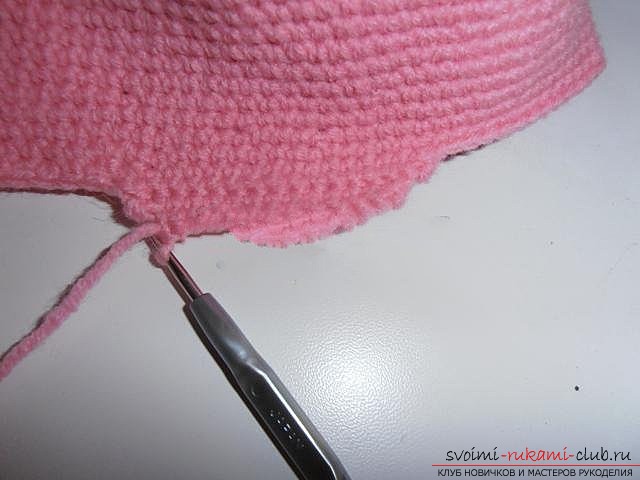 Step eight. Then turn the work in the opposite direction and tie the next row in the opposite direction, only in this row we do a reduction on each side one column without a crochet. Step the ninth. Similar reduction is done in all subsequent forward and backward series, until the number of columns in the row becomes equal to eight. In exactly the same way, we also unfasten the second part from the opposite side. Note that both parts are not at the same distance from each other, since the back of the cap is smaller than the front.
 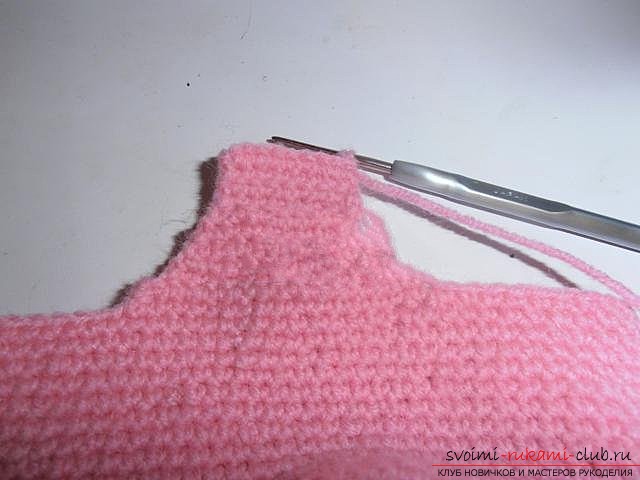 Step ten. We take a wool blend or acrylic thread of white color and we tie the bottom of the cap round the circle, including the bound details for the ties with the columns without the crochet.
  Step eleventh. Here's a cap we have.
 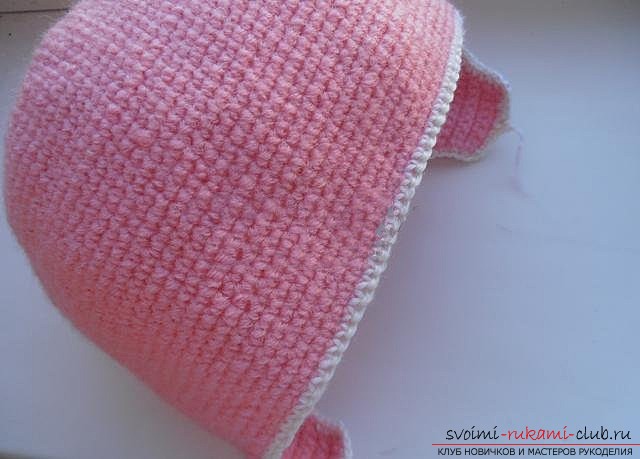 Step twelve. Next, we will make zavjazochki for our cap. To do this, for each tie we cut off from the pink thread six identical segments, a length of fifty centimeters and add them all exactly in half.
 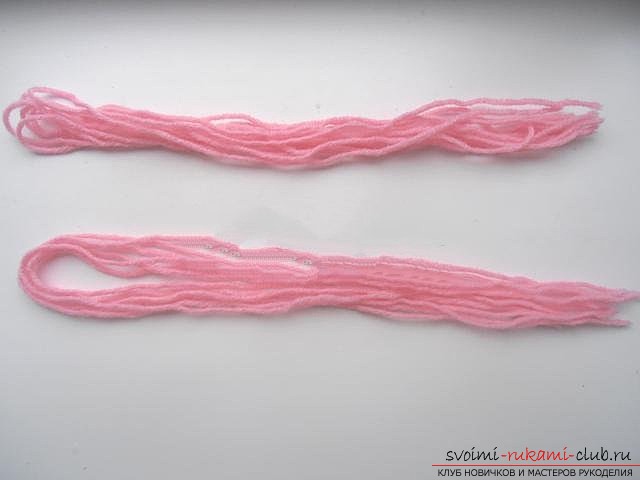 Step thirteen. Then pass the lengths of the threads into the bottom row of the bound parts for the ties of our cap. In one column without the crochet of the last row of the cap, we must have one piece. We insert it as follows, pass the hook through the column from the front side, and pull through it with the back loop of the half-cut length of the thread, then in this loop pass both edges of the segment and tighten it.
 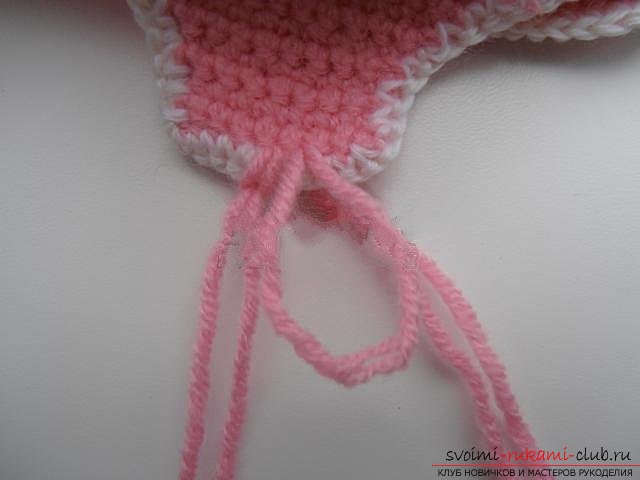 Step fourteenth. When all the threads are threaded, we will get this kind of workpiece. We also do this from the opposite side.
 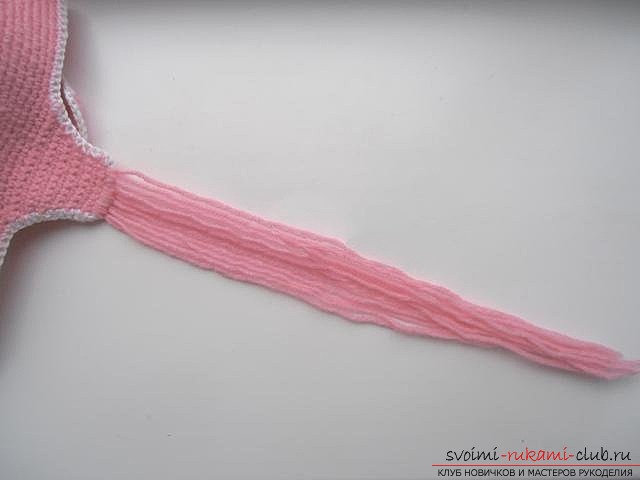 Step fifteenth. Next, we divide the threads into three equal parts and braid them from the usual, not a rigid pigtail.
  Step sixteen. The edge of the pigtail is tied tightly with a piece of white thread and cut off its ends. To the ends of the pigtails were smooth, like a brush, carefully "cut" the protruding thread.
  Step seventeenth. We also braid such a braid from the second side, as a result of which we receive decorative ties for our "Kitty" cap.
  Step eighteen. Next, we begin knitting our Kitty's ears. To do this, we will try on a hat on the child's head and with the help of English pins we will make a note where exactly we want to position our ears. Then the allocated place will be fastened on top by one row of columns without a crochet, in this row there should be ten to eleven posts.
 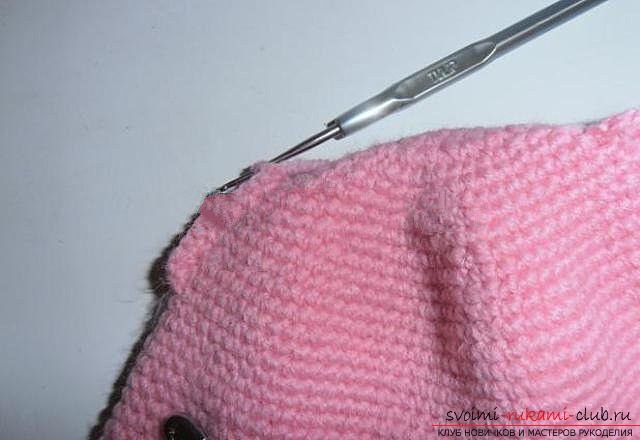 Step nineteenth. We knit the ear with straight and reverse rows, doing both sides of the reduction so that it takes the desired triangular shape. In addition, you can tie the eyelet in a circle with one row of columns without a thread on the same thread. Tone the same way we knit the second ear.
 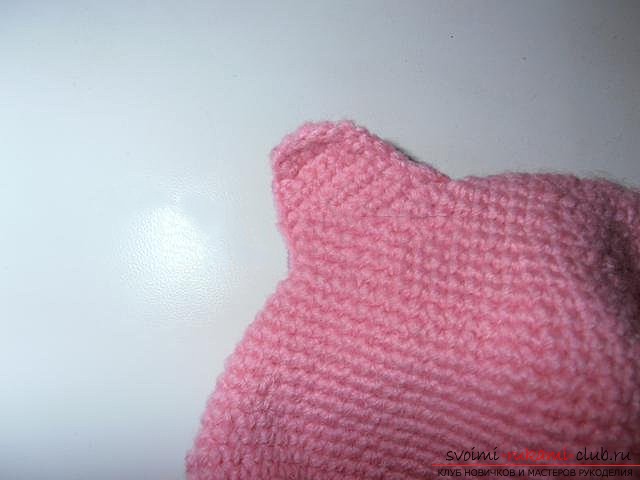 Step Twentieth. Next from the threads of white we will tie a bow for Kitty. To do this, we will fasten a chain of air loops, length of seven centimeters and we will knit it further upwards by direct and reverse rows until its height reaches three centimeters. We fix and tear off the thread, after which we will tighten our part evenly on the half, and get a bow.
 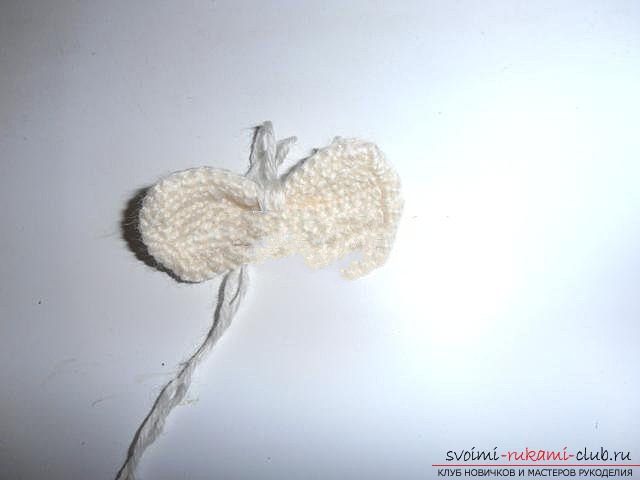 Step twenty one. Immediately sew with a needle and thread our bow on one of Kitty's ears.
 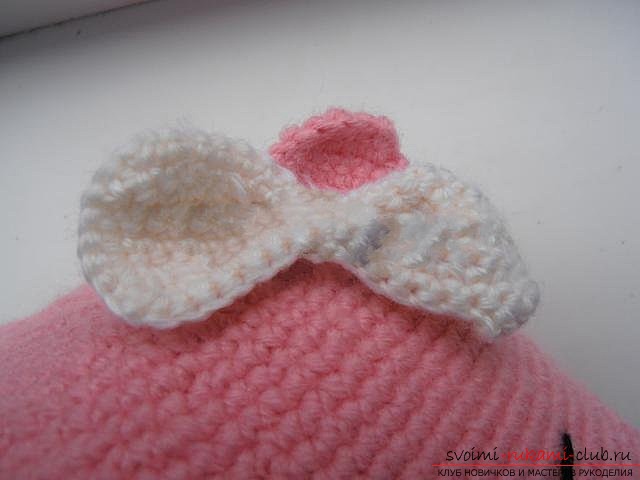 Step twenty-two. Next we'll knit our eyes for Kitty. To do this, let's take the "Mulina" threads of black color and we will remove from them a chain consisting of trez-tetra air loops. We shall cut them in a ring and we will tie round in a row of columns without a crochet. Next, we knit a circle, making uniform additions, for this you can use the above diagram of knitting the top of the head. The eye circle should be two centimeters in diameter.
 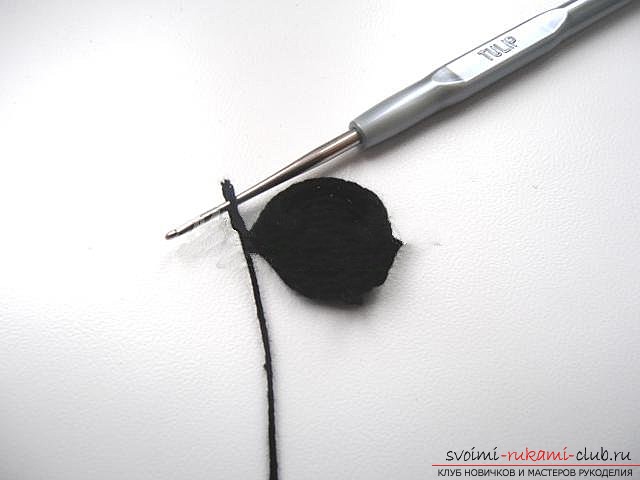 Step twenty-three. Similarly, in this way, we also connect the second eye for our kitty. And from threads "Mulina" yellow color we will weave a nose, in diameter of one and a half centimeter.
 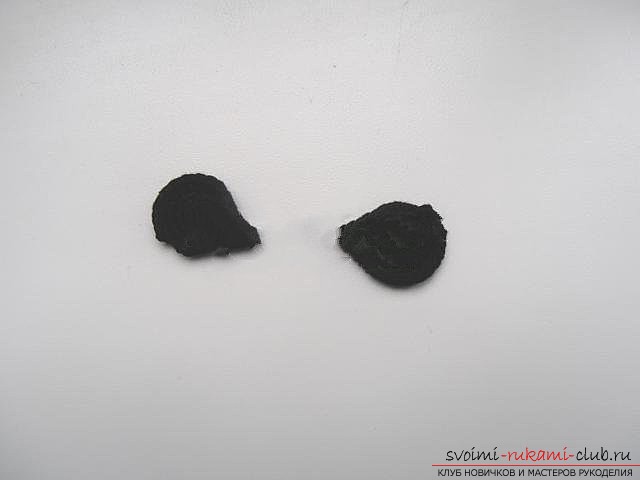 Step twenty-fourth. We sew the eyes and the nose on the cap, and also sew the antennae on it.
  Step twenty-fifth. Further it seemed to me that the hat was not elegant enough and I decided to decorate Kitty's bow with an extra one. To do this, from the yarn "Iris" we will tie a small flower of any shape.
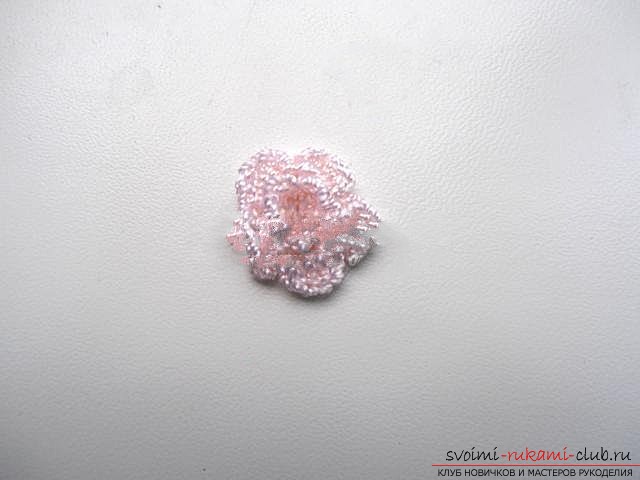 Step twenty-sixth. We put in the center of the flower a small bead "pearl" and sew it all to the bow.
  Now our knitted crochet hook "Kitty" - ready!
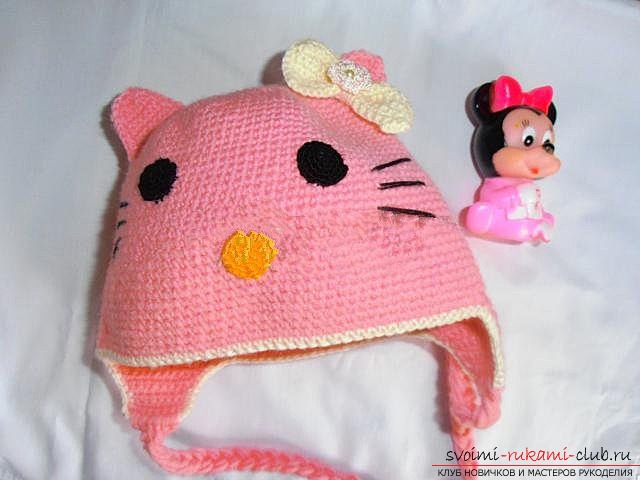
Comments
Related posts:
 The soap made by own hands will be an excellent gift for Christmas. A simple master class for beginners.
 A horse made of beads made by own hands will be an excellent gift to a friend. Our simple master class will show how to weave it.
 Beautiful New Year's hand-made lamb, created by own hands, will be a wonderful gift or addition to a gift for a loved one.
 Master class on creating tilde fairy dolls Beautiful doll Tilda Fairy made by her own hands will decorate any interior and will be a good gift
 An original master class for beginners in knitting bags with their own hands with the help of a hook