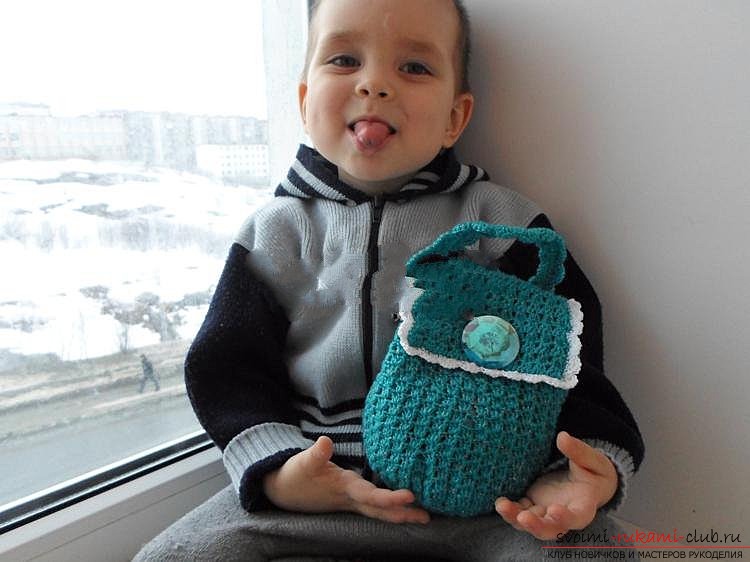
A beautiful openwork bag bound by its own hands is a unique and very useful thing.
This or that knitted lace bag is alwaysbeautiful and fashionable. Not every girl can boast of an exclusive, unique thing. As a rule, it is very expensive, so the absolute majority of parents prefer to buy their princess accessories cheaper. But you can create an exclusive thing yourself, because, for example, connected with the caring hands of the mother, such a handbag will undoubtedly be unique. To knit a bag, we need the following:
- hook number 2,
- yarn "iris", folded in half, two colors - blue and white,
- decorative button large size,
- needle and thread
 Knitted crocheted handbag crochet - master class begins! Work on the creation of a bag, as usual, begins with a set of air loops. We type on the hook 5 loops:
 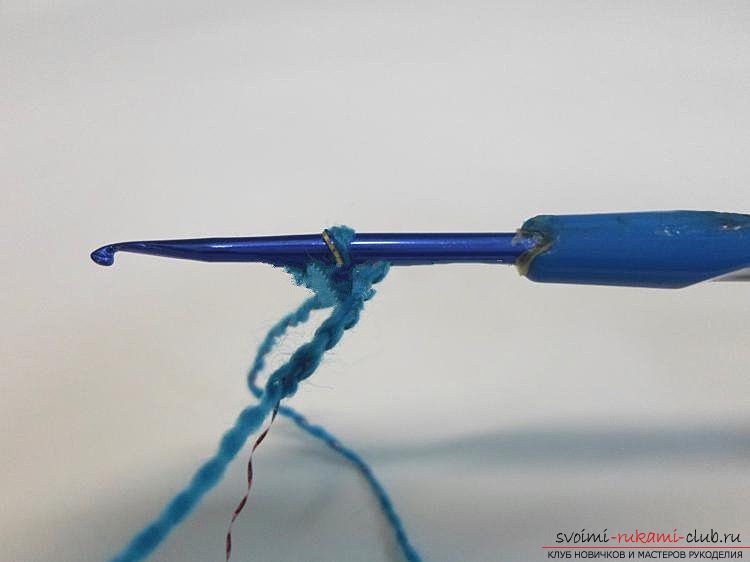 We connect the ends of the connected chain to each other by means of a connecting column. It is also called polustolbikom.
 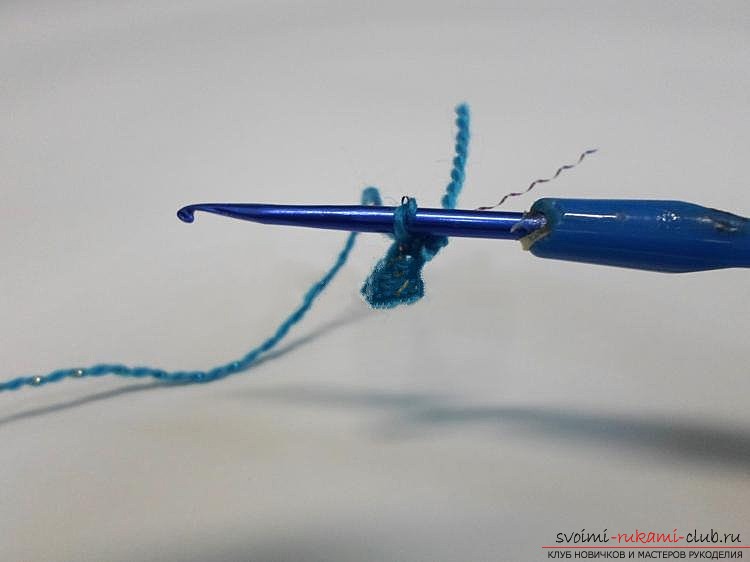 Next, we knit 3 air loops, in order toclimb up to the next row and we sew a series of columns with a crochet, making in each loop 2 such loops. This is necessary for the fact that the bottom of our handbag was flat. We sew such rows 2 more times, each time, at the end of the row, tying 3 loops for lifting.
 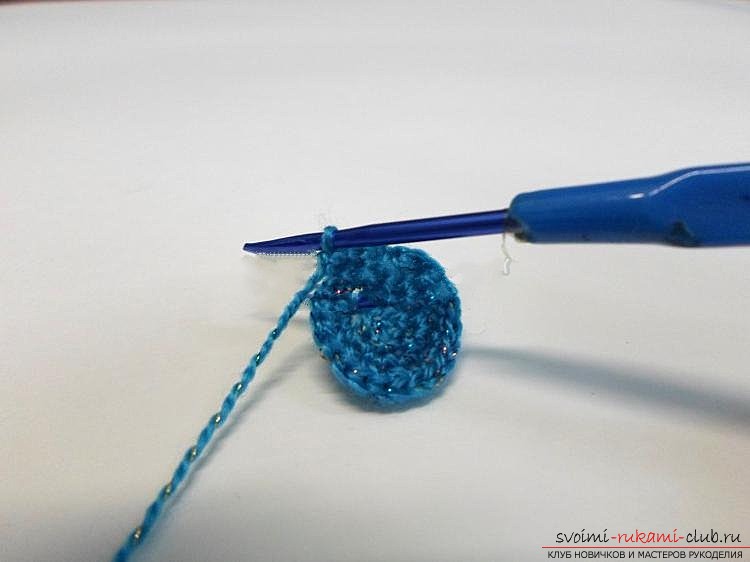 After that, the bag is knitted according to the scheme givenbelow: 4 rows: 3 air loops for lifting, 3 stitches with a crochet in the third from the original loop, again 3 stitches with a crochet in the third from the original loop. And we knit to the end of the row. 5 row: 3 air loops for lifting, 3 columns with a crochet in the middle loop of the "fan" of the three bars with the custern of the previous row, 1 air loop, again 3 bars with a crochet in the middle loop of the "fan" of the previous row and again 1 air loop. Similarly we knit until the end of the whole series. 6 row: We knit exactly the same as the 5th row, but in this case we are tying between the "fans" not by 1 air loop, but by 2. 7th row: Similar to the 6th row, but we already do 3 air loops between the fans . This is necessary so that the bottom of the bag does not curl up into the "cup" ahead of time.
 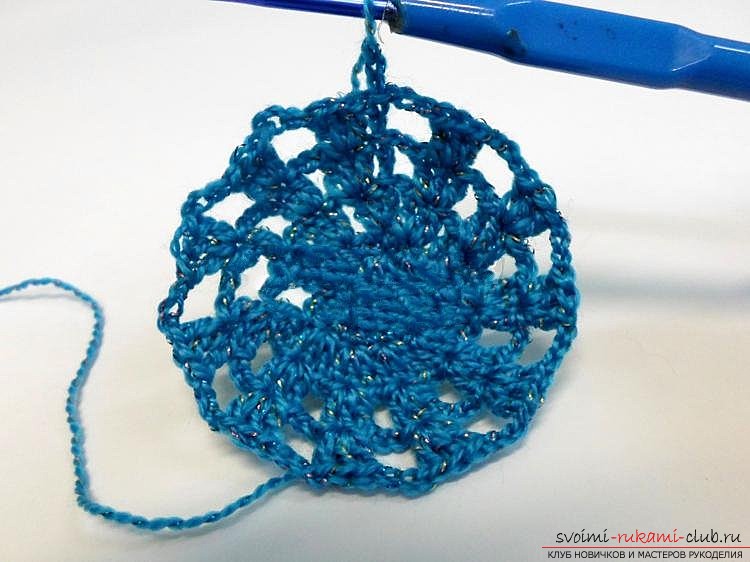 Next we'll knit a little differently. 8 row: 3 air loops for lifting, 3 columns with a crochet in the middle loop of the "fan" of the previous row, again 3 bars with a crochet in the middle loop of the air loops between the "fans" of the previous row, again 3 columns with a crochet in the middle loop of the "fan" previous row, and then again 3 columns with a crochet in the middle loop of the air loops between the "fans" of the previous row. Similarly, we sew the pattern to the end of the row. 9th row: 3 air loops for lifting, 3 pillars with a crochet in the middle loop of the "fan" of the previous row, which was tied on the middle loop of air loops between the "fans", then 3 columns with a crochet in the middle loop of the "fan" on the "fan" of the previous series. And so on to the end. If to explain it is easier, "fans" from 3 columns with a crochet we do in each "fan" of the previous row. 10 row: We knit exactly the same as the 8th row. 11 and the subsequent rows are knitted similarly to row 9. In the end, you will get such a pattern:
 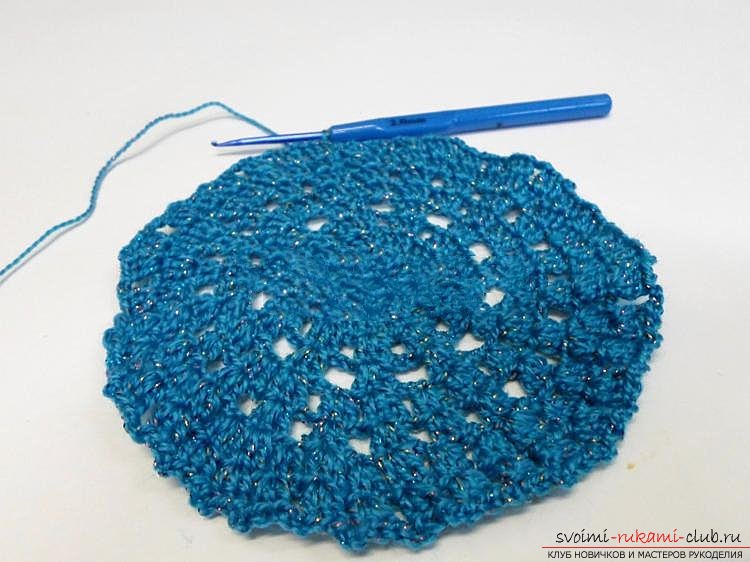 Starting from the 13-14 series, we subtly loosen the loops so that the bottom curls a little. To reduce the loop, it is enough to skip one "fan" from the columns with the crochet.
  We loosen the loops every 2-3 rows. This is necessary in order for the purse to become elongated. We knit about 20-25 rows. You will get such a bag:
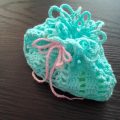
 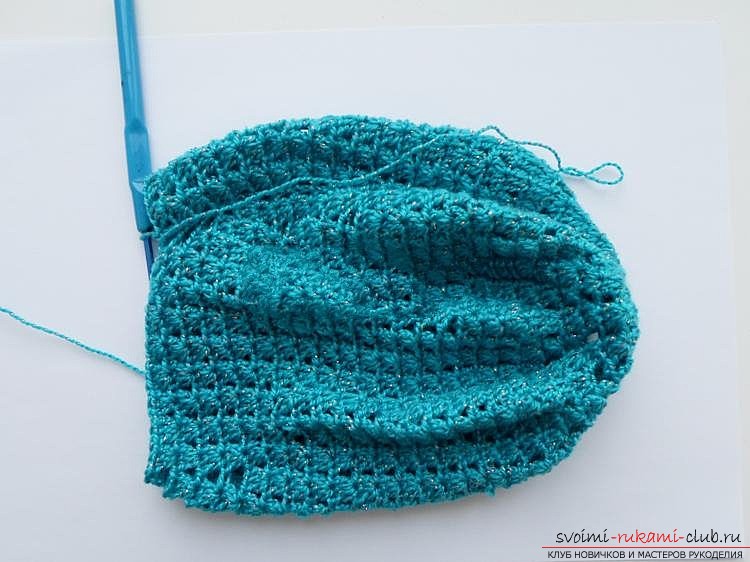 After you finish the base of the bag, we tie the neck 3 rows of columns without a crochet to tighten it:
 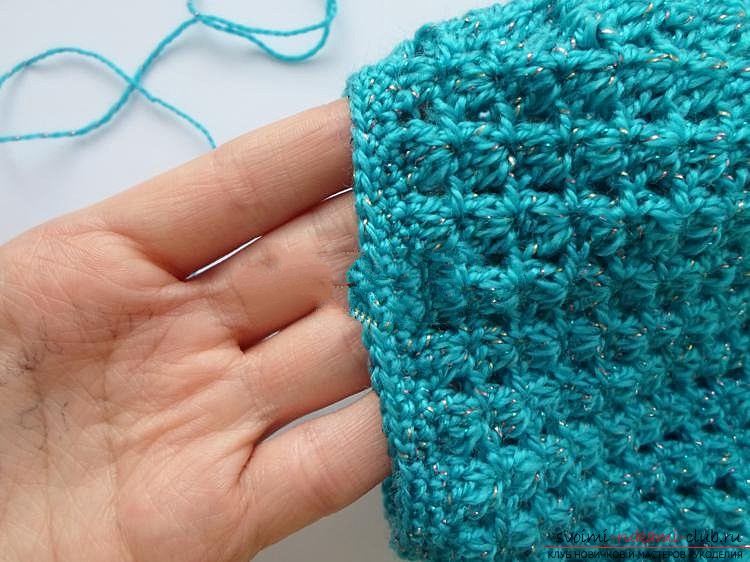 Now we'll knit a "tongue" or a bag cover. To do this, without tearing the thread, we sew up to about half of the bag the pattern with which you tied the bag. To determine the half of the bag, just fold it in half.
 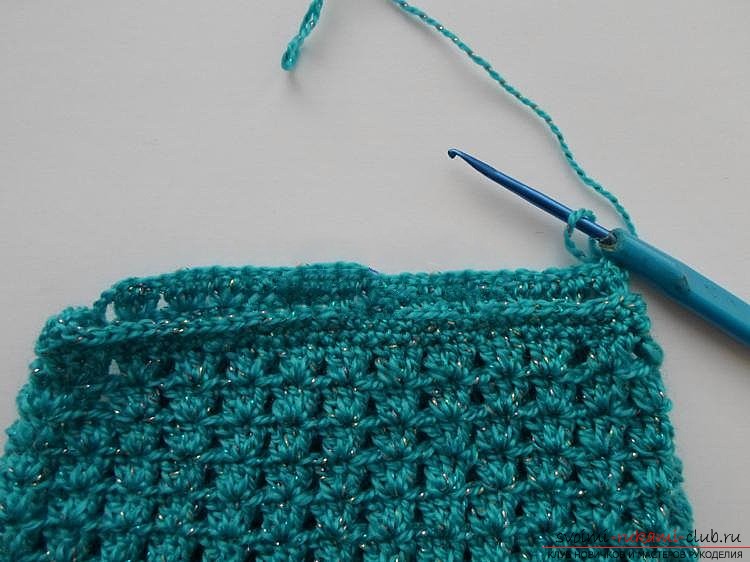 Now we knit 3 air loops and turn knitting. Again we repeat the pattern. So we knit 10-15 rows:
 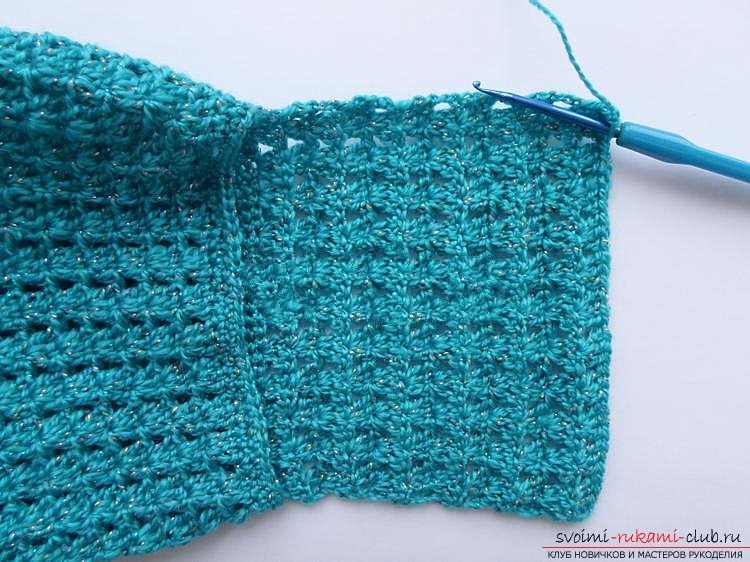 Next, we take a thread of white color and tie the edges of the "tongue" with columns without a crochet:
  We make cuttings on the edges according to the following scheme: 3 air loops for lifting, 5 columns with a crochet in the third from the original loop, 1 half-loop into the second loop from the "fan". We repeat this pattern (without loops for lifting) to the end.
 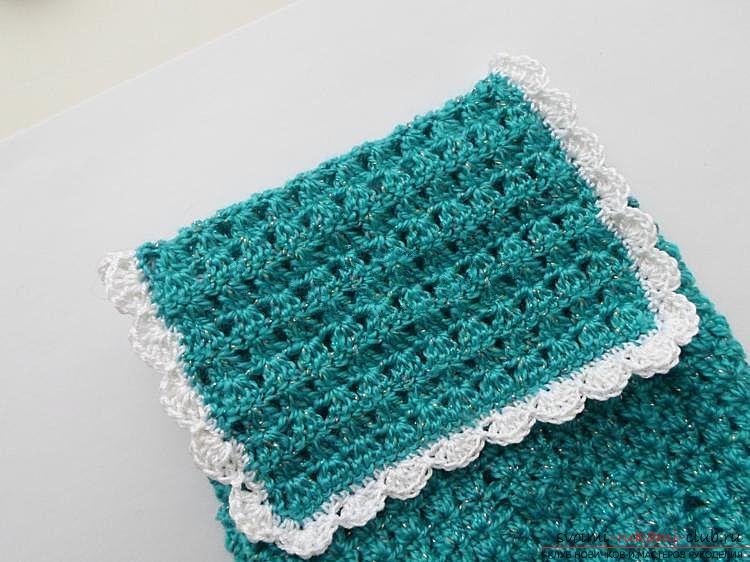 To tie the handle of the bag, we type 30 air loops:
 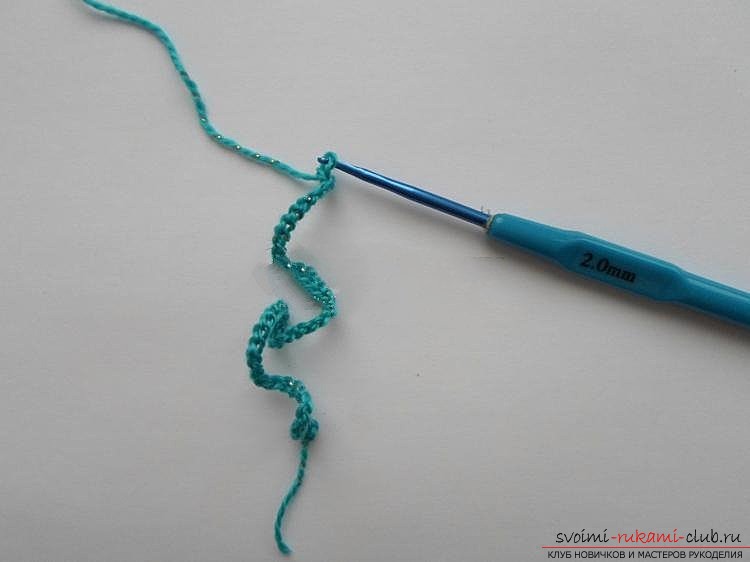 The second row is tied with columns with a crochet:
  And now in a circle we sew a pattern with which we have adorned the edges of the "tongue".
 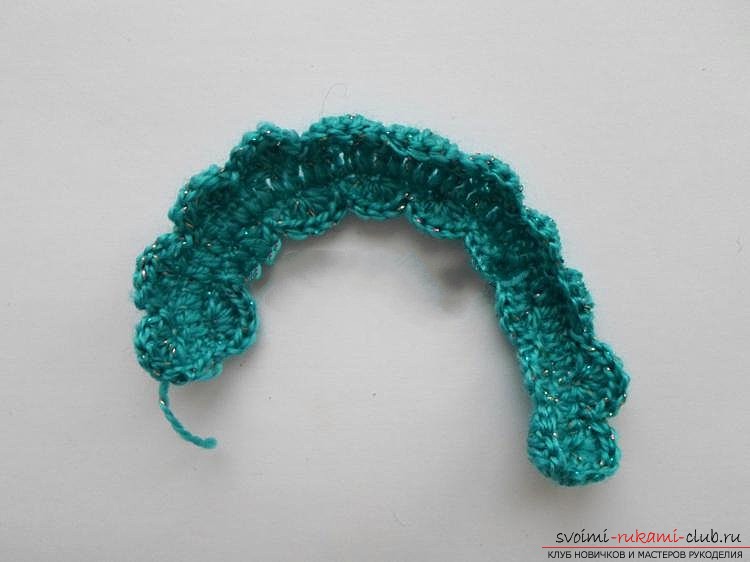 Sew the handle to the top of the bag and gently hide the tips of the threads inside. Do not forget to attach the decorative button. A knitted openwork bag is crocheted.
Comments
Related posts:
 A master class of New Year's crafts made by themselves - a Christmas tree crocheted.
 A beautiful "Kitty" cap, tied with its own hands with the help of a hook, will be an excellent gift for a girl.
Openwork flowerpot holder crocheted by hand, master class with photo
A beautiful "Kitty" cap, tied with its own hands with the help of a hook, will be an excellent gift for a girl.
Openwork flowerpot holder crocheted by hand, master class with photo
 Master class with photo and description will teach how to tie your hands with New Year bags for gifts
Children's cap with ears, knitted with their own hands, master class with photo.
Master class with photo and description will teach how to tie your hands with New Year bags for gifts
Children's cap with ears, knitted with their own hands, master class with photo.