Beautiful flowers from ordinary plastic bottles, original master class for beginners
Craftwork from plastic bottles is a hugespace for imagination and creativity. In today's master class we will try to make flowers out of this material. They can be used for a variety of decorating purposes. 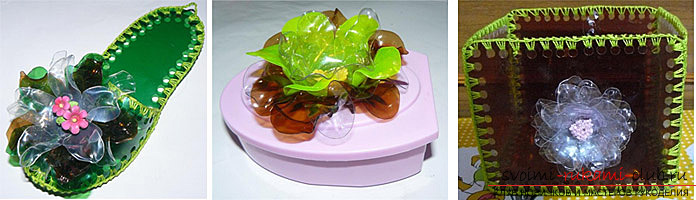 We will need:
- plastic bottles;
- paper;
- scissors;
- marker;
- lighter;
- awl;
- pliers or tweezers.
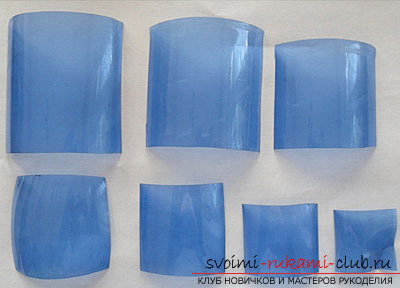
Works best lead in a well-ventilatedIndoors or outdoors (for example, on the balcony)! After work, make sure to ventilate the room! 1. For work is suitable as the central part of the plastic bottle, and upper or lower.  2. On paper, draw a flower pattern and cut it out. We draw the flowers on the bottle by drawing the template around the perimeter with the marker - how many will be.
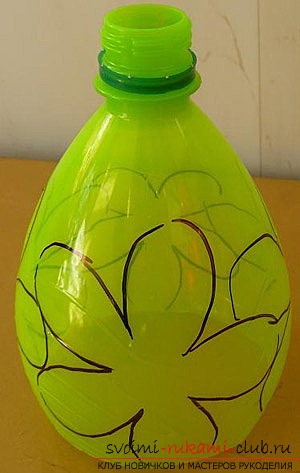
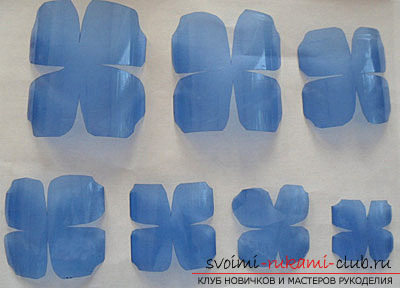
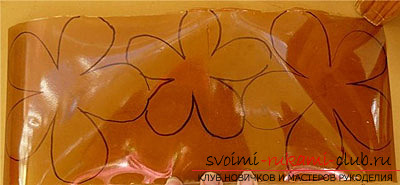 3. Cut flowers.
  4. We bend all the petals in one direction.
 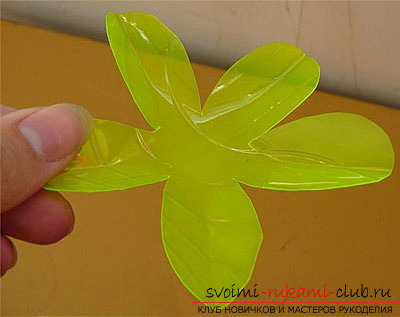 5. Take the lighter, tweezers or pliers we take in the other hand a flower and substitute the petal of the flower under the flame of the lighter. When heated, the petal will begin to deform. It is important not to overdo it with heating, otherwise the flower will deteriorate! In turn, we form all the petals of the flower. Work carefully, do not burn yourself!
 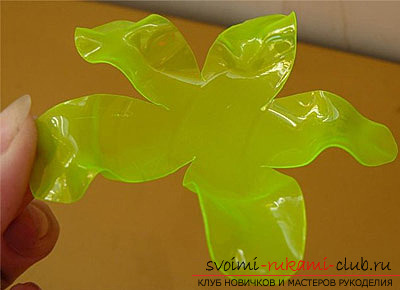 6. We make several such blanks. You can make them more for stock and use in the future as needed.
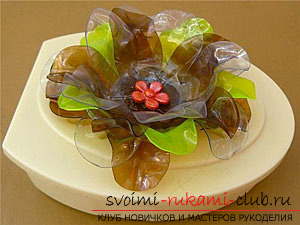
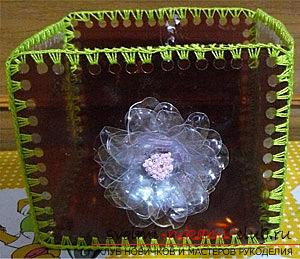
 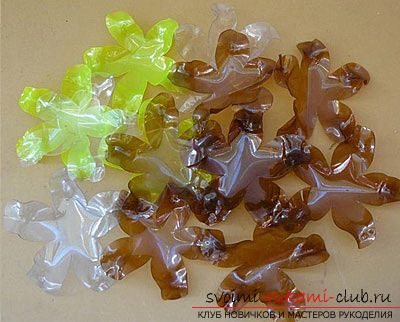 7. In order to make a flower from such semi-finished products, it is necessary to connect 2-3 preforms together in the center. This can be done by the same heating. Or advance in the center of the blanks for two holes and sew them together, first placing a decorative button on the top or a plastic flower.
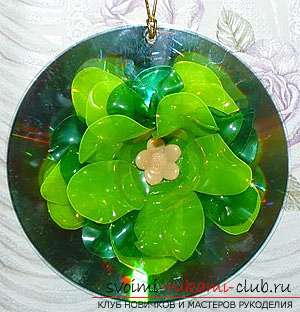

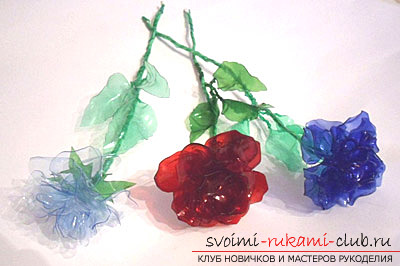
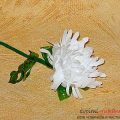
 And now, let's try to make beautiful roses
 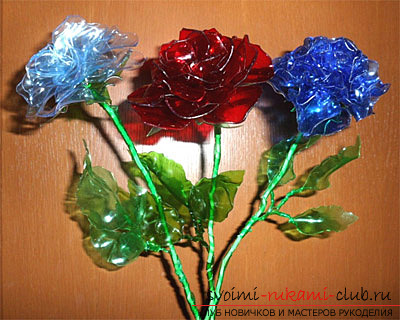 1. Stencils for blanks of such roses can be made of only 4 petals, the main thing - that each piece was less than the previous one. For one flower, you need to draw 7 such templates.
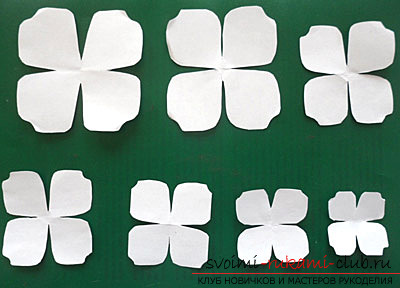
 2. At the center of each workpiece, make a small hole with an awl.
 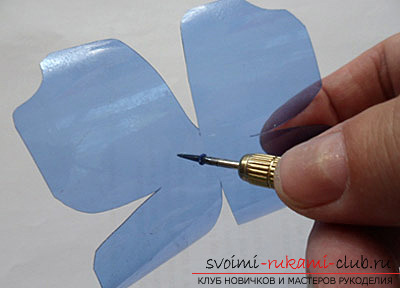 3. We fill each billet above the flame of the candle, heating each petal in turn and bending the petals upward. We use tweezers!
 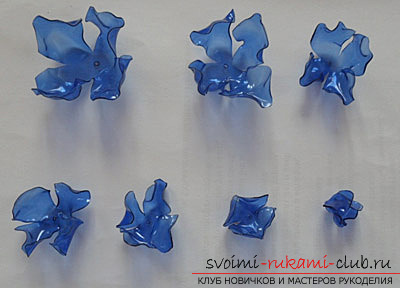 4. Corolla sepals make from one detail. For her, we need a green plastic bottle.
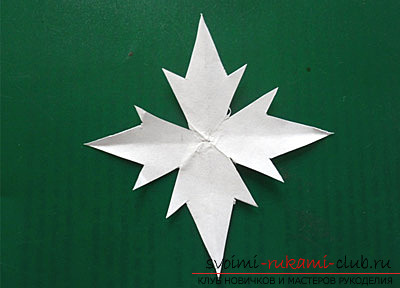
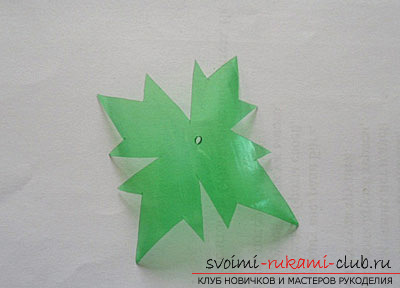 5. With this detail we perform the same operations as with the petals: drill a hole in the center with an awl and slightly melt each sepal in turn over the candle flame.
 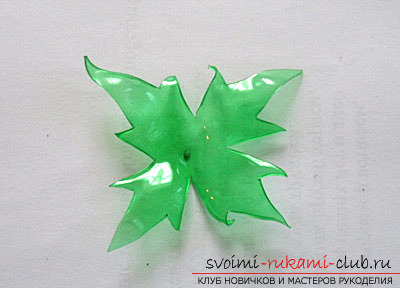 6. From the green plastic bottle, make a stem with leaves. We need a green plastic bottle and wire for this. Cut out from the central part of the bottle a spiral 1 cm wide.
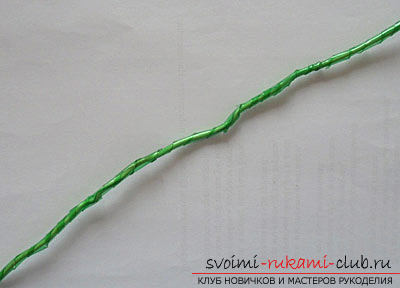
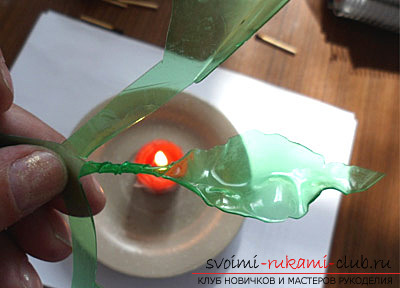
 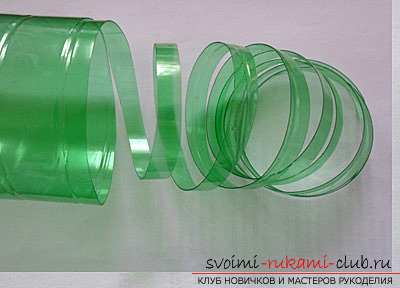 7. We take the wire.
 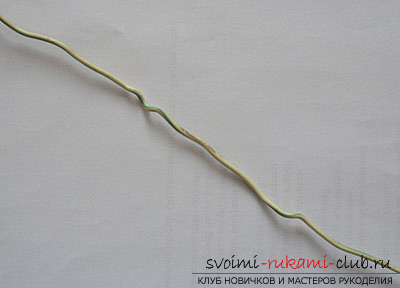 And wrap it with a green plastic spiral, while heating it over the candle flame.
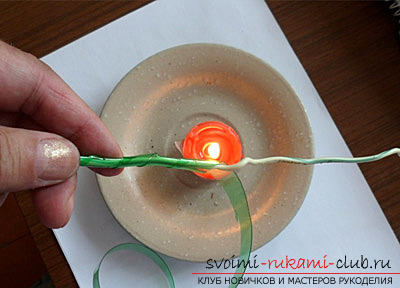
 We leave one end of the wire free of winding. Or we release it from the plastic at the end of the winding process.
  9. We put on the end of the wire first sepals, and then the preparation of corollas in decreasing order.
 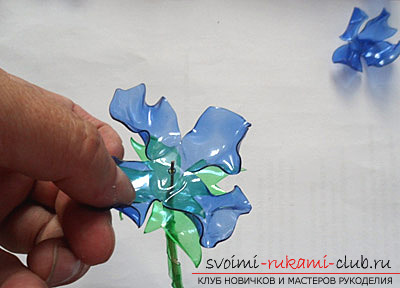 10. The corollas are firmly pressed against each other to release the end of the wire.
 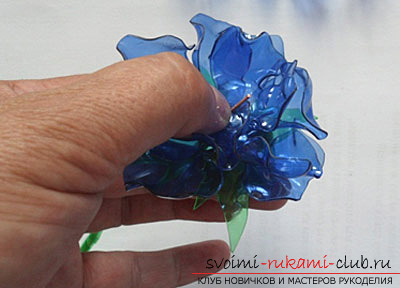 11. Pull this end into the eyelet to fix the flower.
 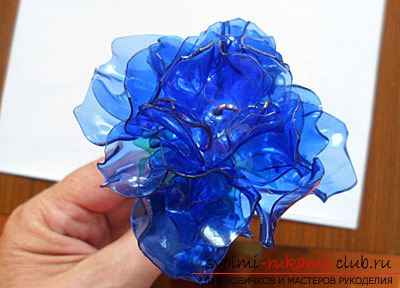 12. Cut out the stencil on the paper for the leaves.
  13. On the stencil we cut out the leaves from the green plastic bottle and lightly melt them over the flame of the candle.
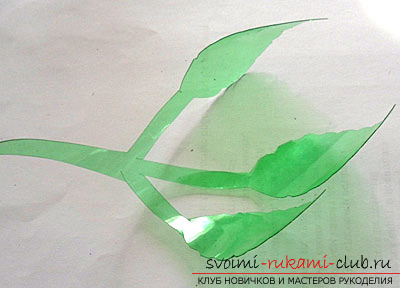
 The leaves of the leaves are twisted in a spiral.
 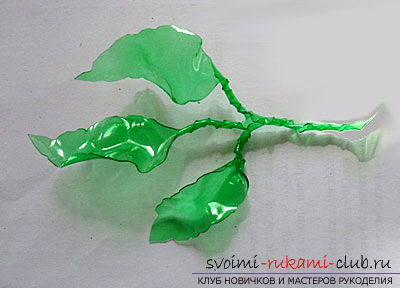 14. The lower end of the petiole is softened over the candle flame and twisted around the stem of the rose.
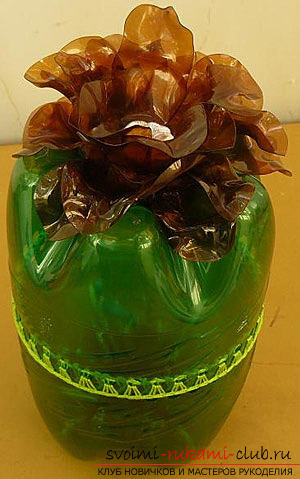
 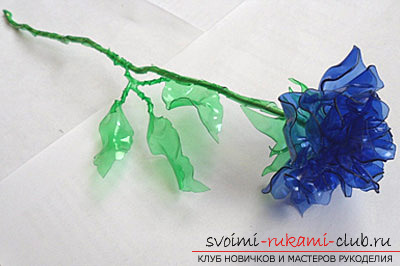 Now you can make a bouquet of roses!
Comments
Related posts:
 Crafts from plastic bottles with their own hands, how to make flowers from plastic bottles, cornflowers from plastic bottles, roses from bottles with their own hands.
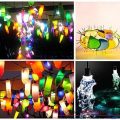
 Flowers from multi-colored plastic bottles with their own hands
 Necklace of plastic bottles. Master Class.
 How to make a palm from plastic bottles, a master class with a photo and a description of the work.
 Beautiful crafts with your own hands, crafts made of plastic bottles, how to make a beautiful and useful hand-made article made of plastic bottles with your own hands.