
Beautiful rabbit Krosh from sweets will be an excellent gift for a birthday for a child
Crafts from sweets will be a wonderful gift toany holiday. Tell me, what kind of child does not like cartoons and sweets? There is a great way to combine everything at once. I created this miracle on the birthday of my little niece. Handmade - a rabbit of sweets, can cause admiration, even in adults, not to mention the kids who are crazy about Smeshariki. Not only that the candy Krosh is dressed, cheerful, original and effective and very similar to the hero from his favorite cartoon, after receiving such a gift, you can also eat the candy. Than not a kinder-surprise! 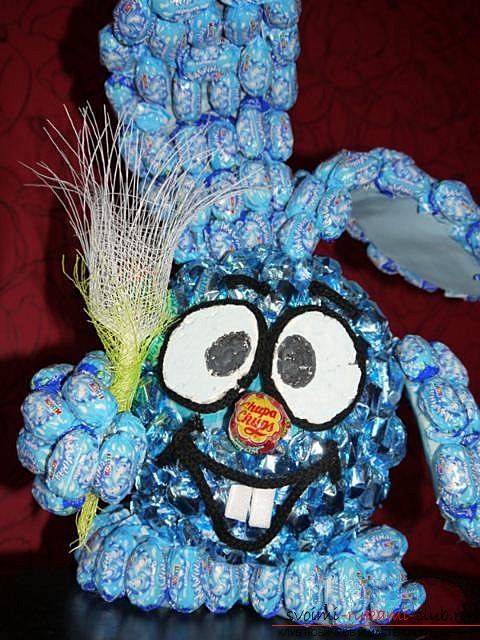 You will need:
- Styrofoam
- stationery knife
- glue gun
- paper tape
- wire
- a sheet of paper, blue
- paints
- lace
- marker
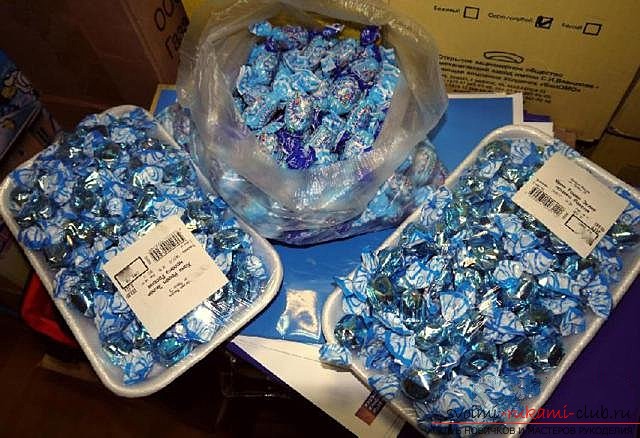
- sweets 600gr of eclairs and 2 kg of dairy (or any of the color).
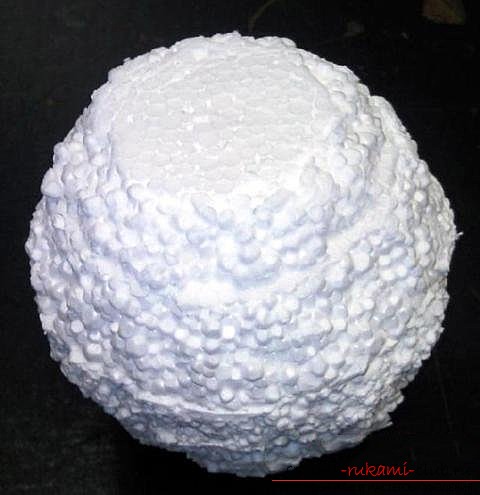
 Manufacture: With a stationery knife we cut out 6 laps, 2 large ones (15cm diameter), 2 medium ones (13cm), 2 small ones (11cm). Any sizes, it all depends on your desire. We glue together with hot glue at first 2 large, then from each edge the middle, on medium small, we get a ball. If there are irregularities, then you need to cut with a knife to make the ball turned out.
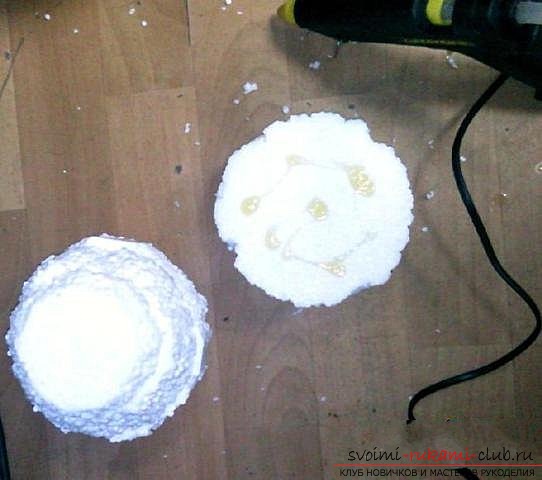
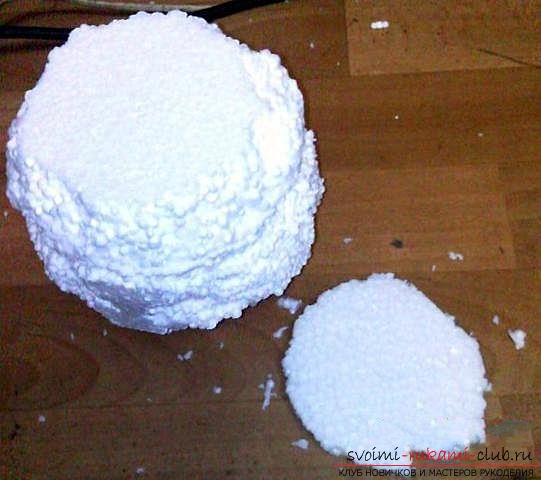
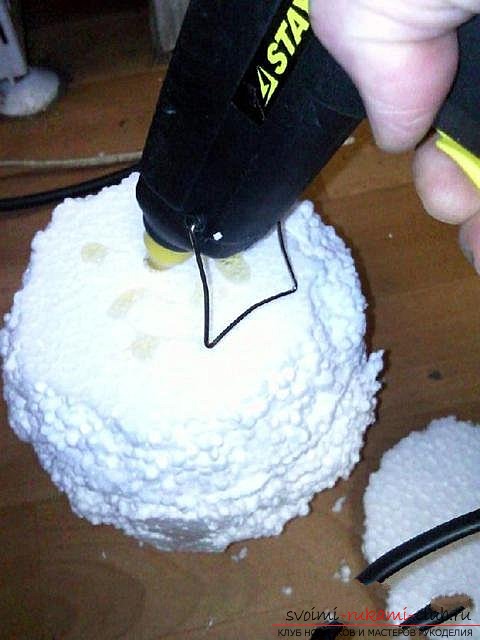
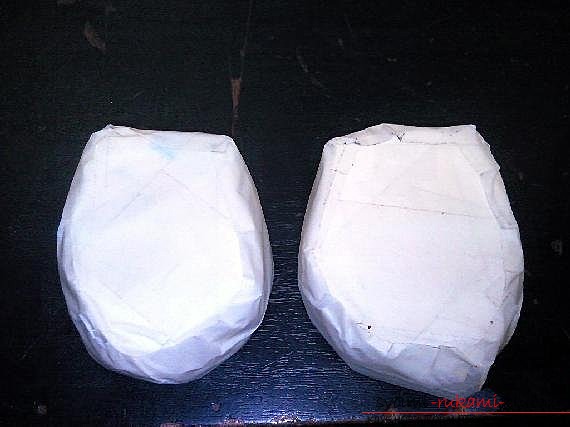
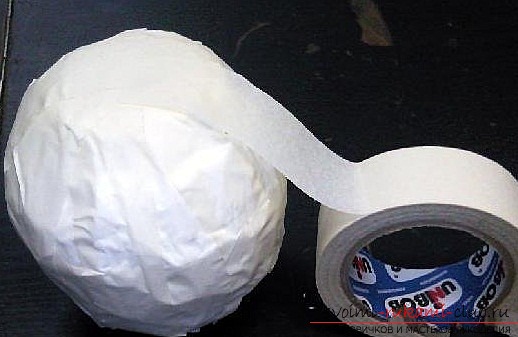 Just cut out the legs and wrap everything with paper tape.
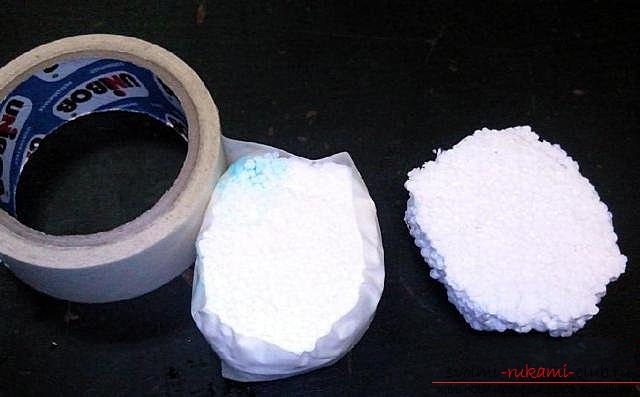
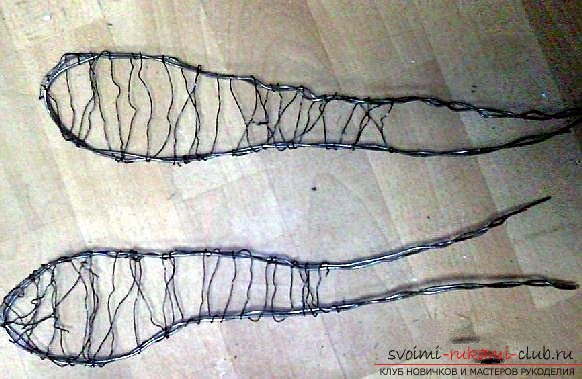
 Ears and pens are made of wire. First prepare the frame, then wrap it horizontally so that there are no voids when we glue the candy.
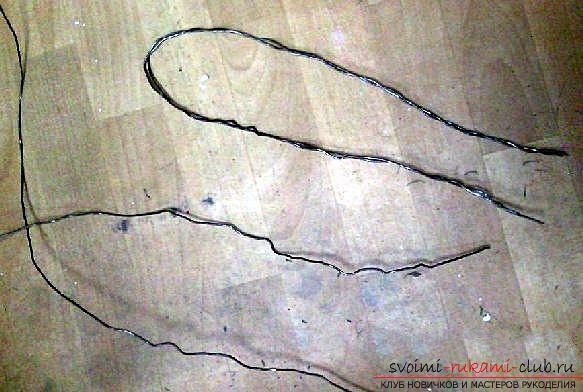
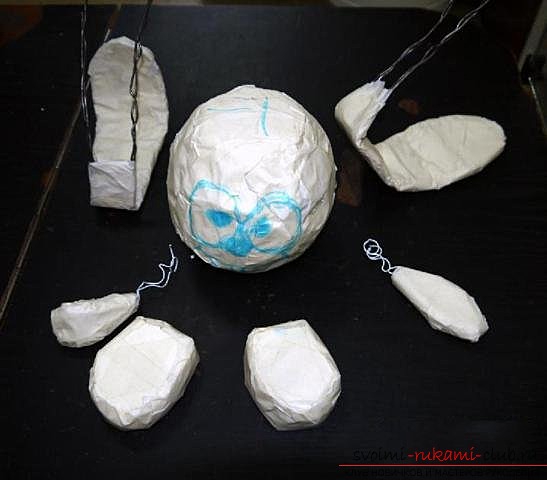 and everything is wrapped with paper tape. ears bend, immediately it also depends on your imagination, who cares which hare. Straight or curled ears - it does not matter. We try what happened. On the head we draw a mug of Krosh to see where to glue the candy. And we paint all the details in blue.
 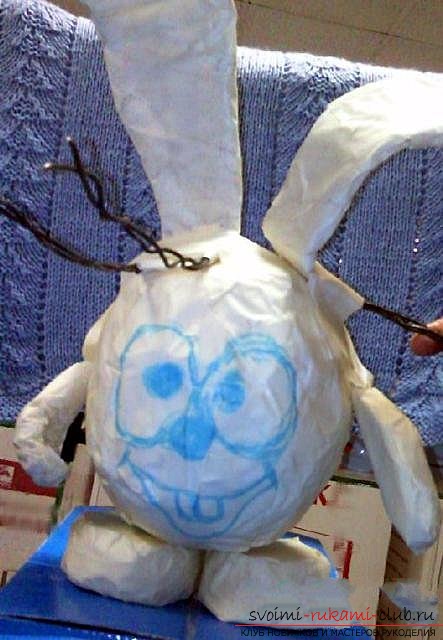 When it dries, pierce the holes for the ears and hands immediately.
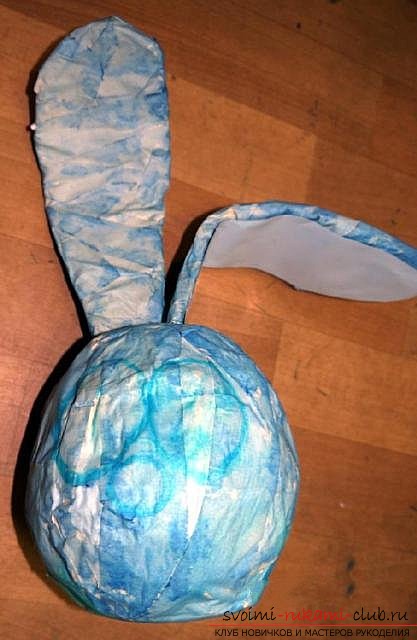
 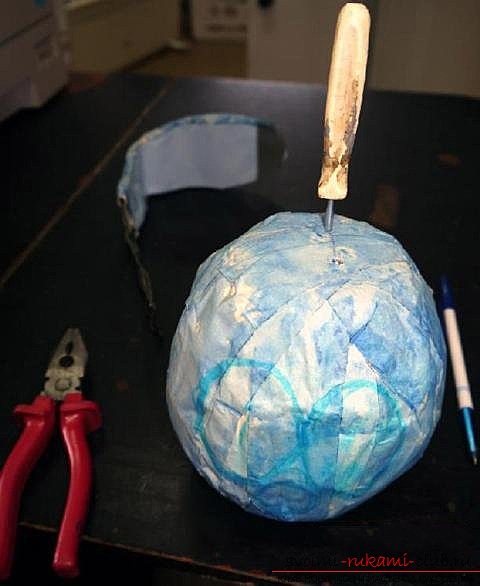 Check whether our Krosh is stable or not and adjust the balance. I glued a blue paper from the back of one ear, because otherwise there would be a strong advantage and the rabbit would simply not be stable.
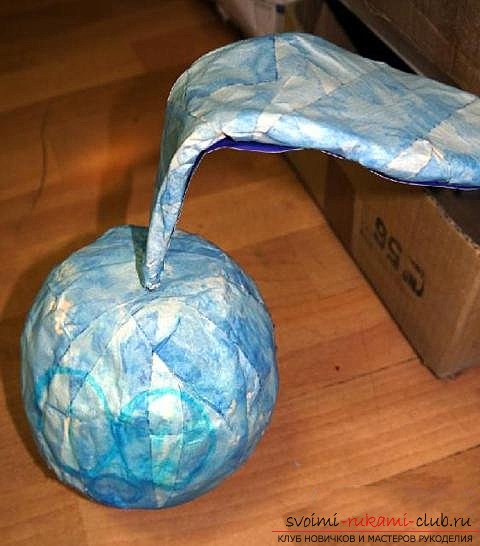
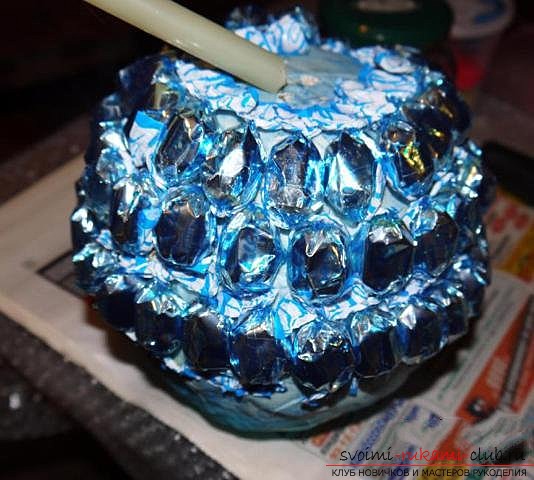
 We proceed to the most interesting and responsiblepart of the production - decoration of a rabbit with sweets! We take sweets, glue gun and begin to glue. If there is no such gun, then you can use a double-sided adhesive tape. First we need to prepare sweets, tuck the tails inside, so they will not interfere, and stick out from all sides. Hands, legs and ears, I pasted with milk caramels.
 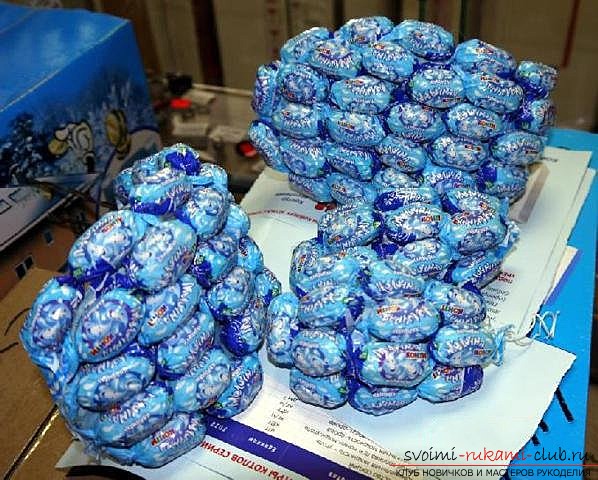 Paws - we glue them only along the edge, we leave the top and bottom as is.
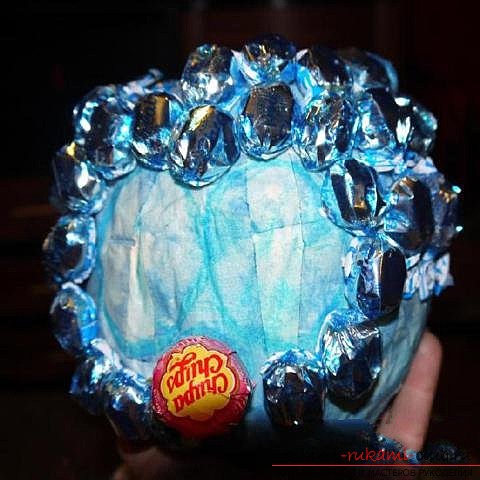
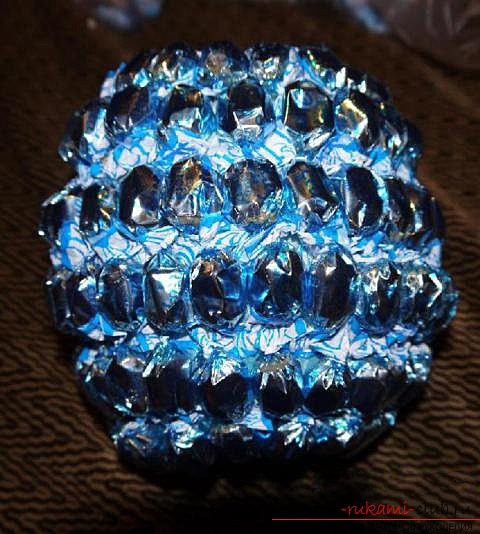
 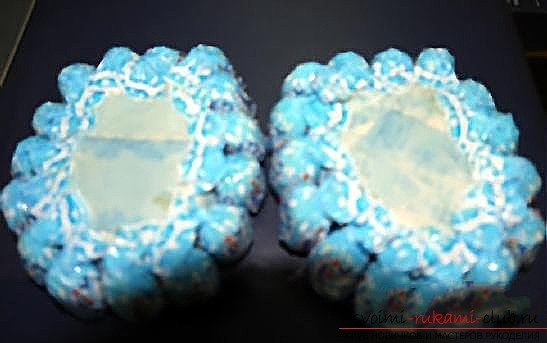 We glue the head with eclairs, they are smaller. We begin with the outline of the eyes, and from the very top. Chupa-chups, we insert where the rabbit should have a nose.
  We begin to glue the top of the head in a circle, row after row, to the very bottom, except the bottom. The very top of the glue is not needed yet.
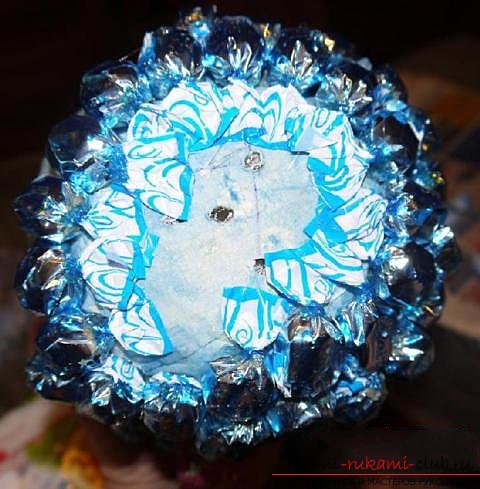
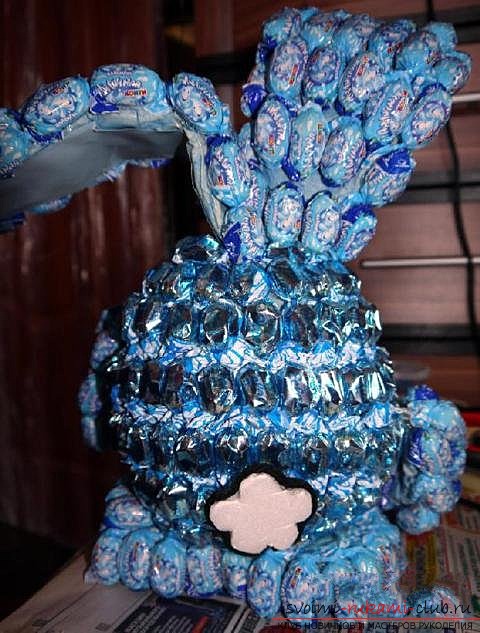
 When all the details are pasted, we begin to collect. We already have pierced holes for the ears and hands. We firmly insert the ears and legs of the rabbit to the stop.
 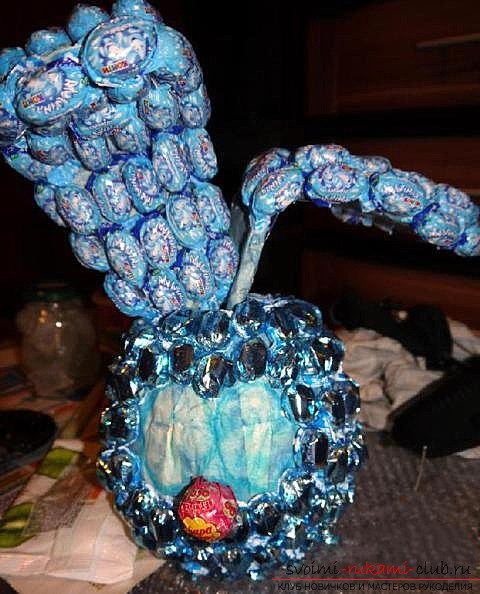 and already on the put on ears fill the voids, glue the candy on the vertex.
 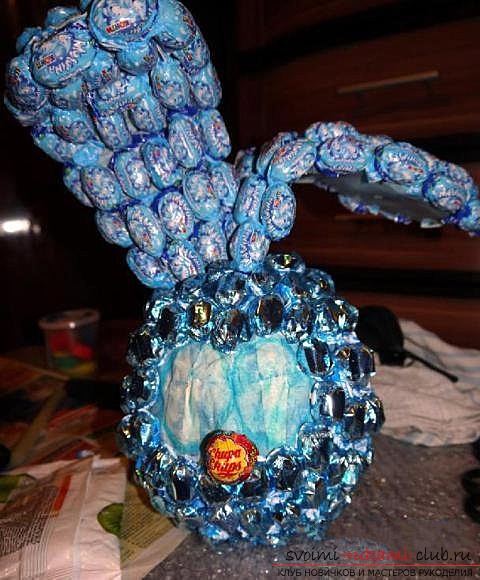 We put the work on the paws and thoroughly glue everything, we do not regret the glue.
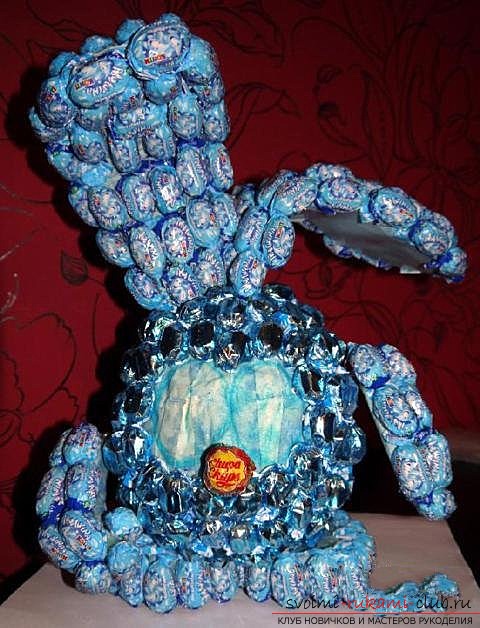
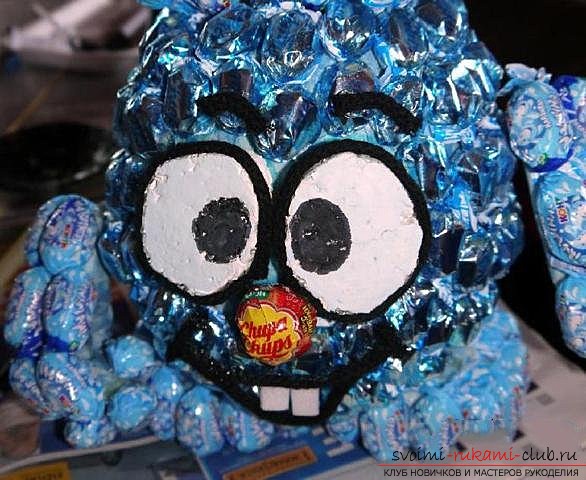
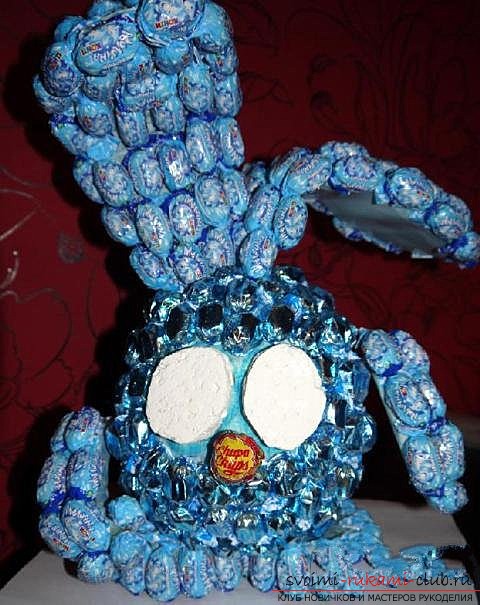 Now cut out the foam circles for the eyes
 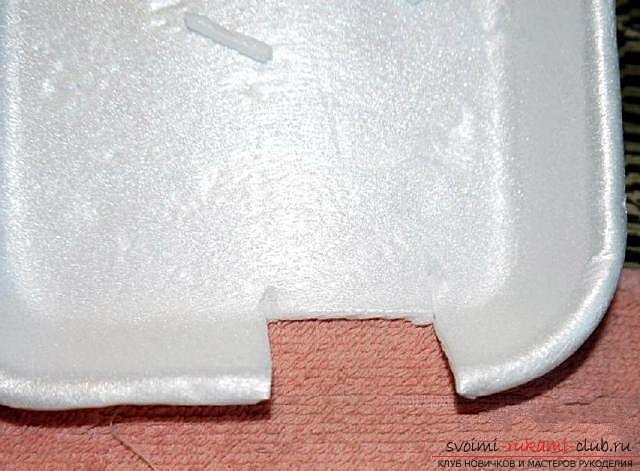 From the foam tray, where the candy lay,we cut out our teeth, and we need two of them. Next, we cut out the daisy-flower, for the tail. We take a string and glue the mouth, teeth, eyes and eyebrows. Marker draws black dots for the eyes. After that, we paste the tail.
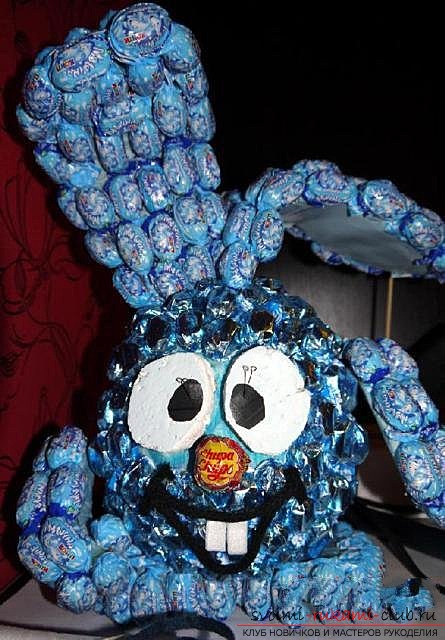
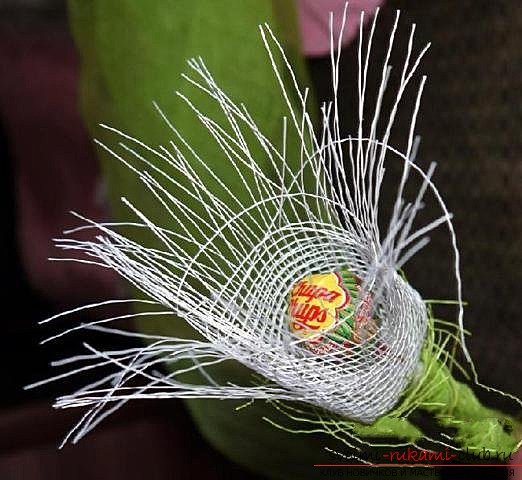
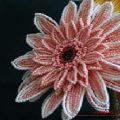
 That's how I made a flower with Chupa-Chups.
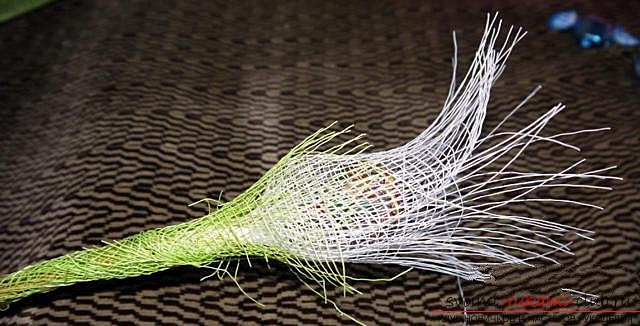
 That's it! A little patience and perseverance and such here, a miracle rabbit-Crochet is ready.
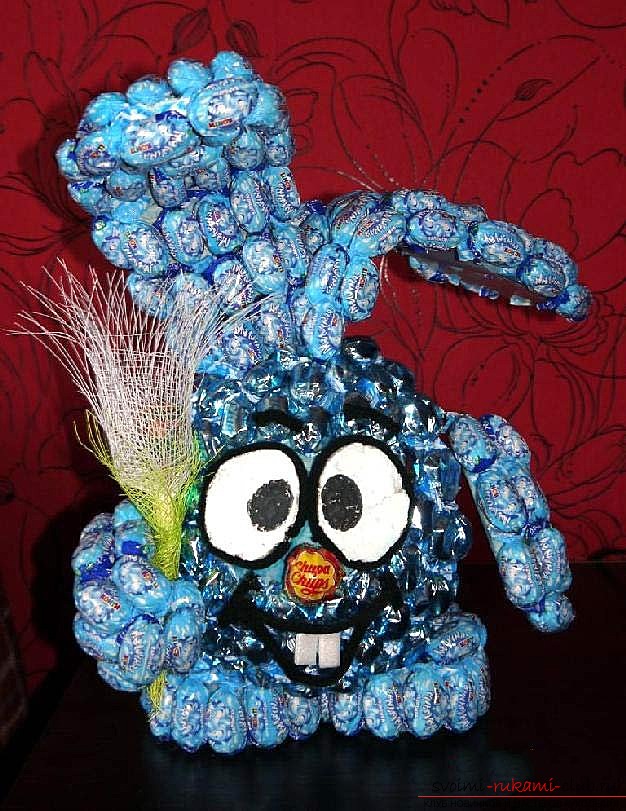
Comments
Related posts:
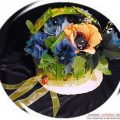 The original basket of sweets will be an excellent gift that you can take with you on a visit.
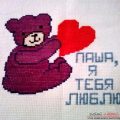 Embroidery bears with a heart will be an excellent gift for your beloved on Valentine's Day.
 A beautiful pendant made of polymer clay will be an excellent decoration or souvenir for memory.
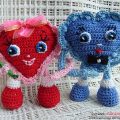 How to knit charming knitted hearts, which can serve as an excellent gift
 The flower of the gerbera will be a beautiful decoration and a great way to show off your skill