
Knit beret "Blue Leaf" for women with knitting needles for detailed description, with detailed schemes and photos, available even for beginner needlewomen.
A lesson on knitting with berets "Blue Leaves"To connect a fashionable beret with an openwork elastic band and a simple pattern in the form of foliage will not be very difficult. The process of knitting can be completed during the weekend, and at the same time you will receive a wonderful new dress for the autumn season. The size of the future product is universal and suitable for a head circumference of 54-58 centimeters. For smaller sizes, a free low landing is obtained for a more visible fit. The rim line will be adjusted by pulling the rubber band. Additionally, you can change the size, choosing a different thickness of yarn and spokes. 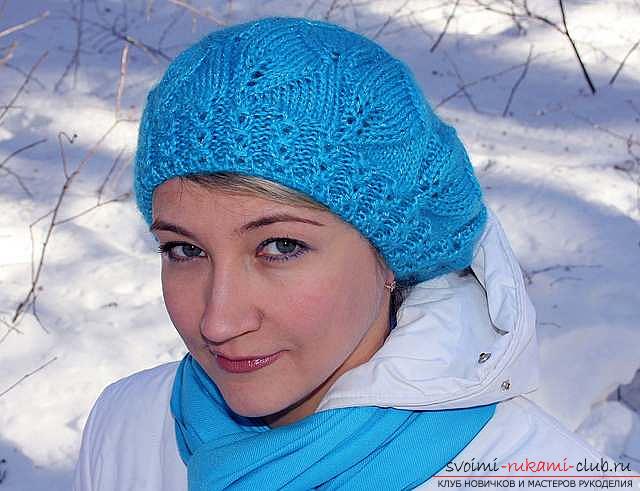 From the materials you need the following:
- wool or half-wool (density 150-180m / 100g) - 100 grams;
- auxiliary thread of contrasting hue - several meters;
- not thick rubber band reel.
From the tools you need to prepare the following:
- set of knitting needles - diameter 4 millimeters;
- straight spokes - diameter 3.5 mm;
- needle knitting;
- Circular knitting needles - 40 centimeters in length, diameter of 4 millimeters;
- marker knitting (can be replaced with a regular paper clip).
We begin to knit. To make the edge of the gum look neat and elegant, we type the loops using the Italian method: we take the auxiliary thread and make the set of 100 loops in a standard way, straighten the 1 row with the front, then go to the main thread and knit the next row with the backs. We unfold the canvas, we turn to circular knitting needles, we sew around with a circular rubber band: 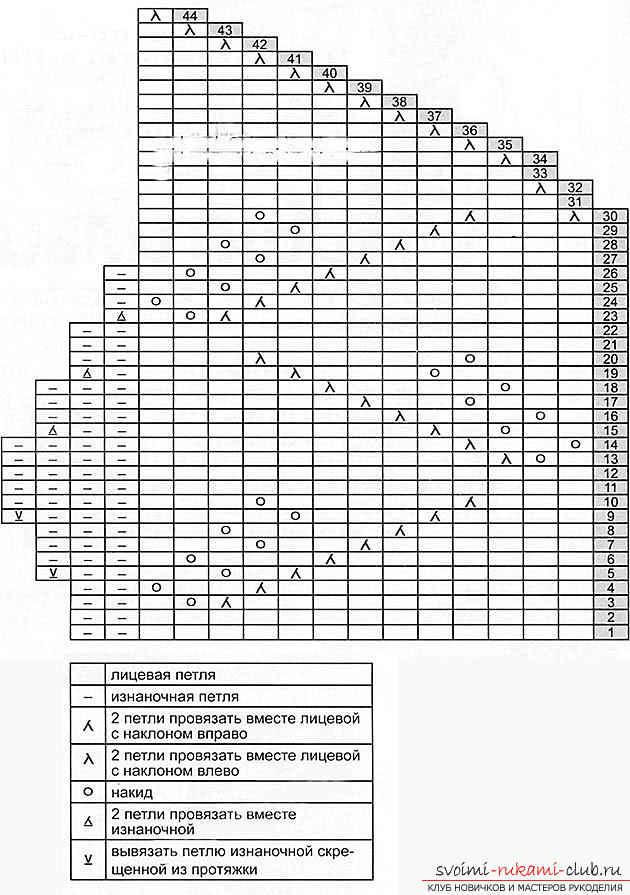 First, the first circular row is knitted. Repeat the following combination until the end of the series: one face, one eyelet is removed without tying, thread before knitting. The transition to the 2nd circular row is done by closing the loops in a ring: without unfolding the canvas, we take for tying the loops of the beginning of the 1st circular row, paying attention, so as not to twist the knitting. Now we knit the second circular row. To do this, to the end of the row, we repeat the following combination: remove one loop without knotting, thread after sheet, purl. The first and second circular rows are repeated twice - four circular rows of hollow gum are obtained. After the end of the knitting of the edge of the gum we remove the auxiliary thread: we cut one loop and gently weave the tying line. With the purpose of marking the beginning of the row, we attach a marker to the spoke, then a figured elastic band is knitted. The first round row: front, cape, again facial, two purl - so repeat 25 times.
  Second circular row: 3 facial, 2 purl - also repeat 25 times. Third circular row: one eyelet is removed from the right side without knotting, two facial ones, we put on them the first loop (which we took off), 2 purlins - so repeat until the end of the row. Three times we perform the repetition from 1 to the row, and in the subsequent we make the transition from the rubber band to the main part of the beret. All eyelets knit facial, while adding 35 loops, we tie them from the broach between the two loops (30 times every three loops and 5 times every two loops).
  135 spokes on spokes. The main pattern: we sew according to the scheme, on which one segment of the beret is designated. It must be repeated nine times in a circle.
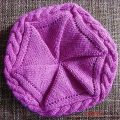
  During the formation of the bottom of the beret, after a number ofyou will have a small number of loops and knitting with circular knitting needles will become very inconvenient. In this case, it is necessary to translate the process of knitting to the hosiery needles. Since the beret contains 9 sectors, it will be more convenient to separate the loops into three spokes - three sectors each. At the end, after tying the 44 rows, nine loops are pulled together by means of a knitting needle with the thread end threaded into it. The end of the thread must be fixed and hidden. To prevent stretching of the edges, we take a small piece of thin gum, in a slightly stretched form, which is equal to the circumference of the head and the knitting needle is passed to the edge of the beret, which is formed by a hollow elastic band. The tips of the rubber band are connected to each other by a standard knot and are gently drawn into the hollow gum.
 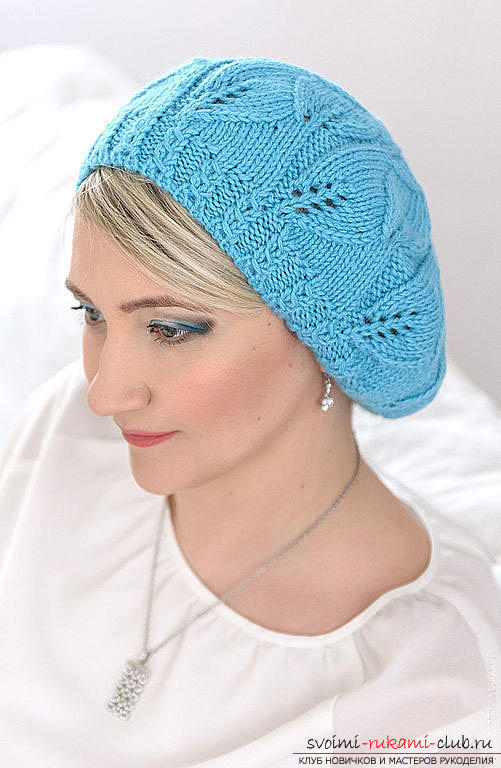 Next, you should perform the treatment of the product with moisture. Dip our product into the water. It should be room temperature. After this, carefully, without twisting, squeeze it and pull on a plate (or other object) of the desired diameter (25-26 centimeters). Then take a good take dry, without removing it from the plate until completely dry.
Comments
Related posts:
 We knit a warm female sweater with knitting needles. Schemes and photos will help to cope with the task even for beginner needlewomen
 Knitting for a girl with knitting needles model of a children's beret with detailed descriptions, diagrams and bright photos
 Knitting with knitting needles for women with openwork diamonds according to the scheme with description and photo for free
 Knitting a gray bolero "Vivienne" crochet according to the scheme and detailed description
 Knitting with a short coats for women with free schemes and detailed descriptions