Biscorna what it is and how to sew them with your own hands (photo)
Content
- Types of biscorms
- Video: we learn to sew biscorm
- Unusual biscorning
- Video: master-class of different types of biscorm
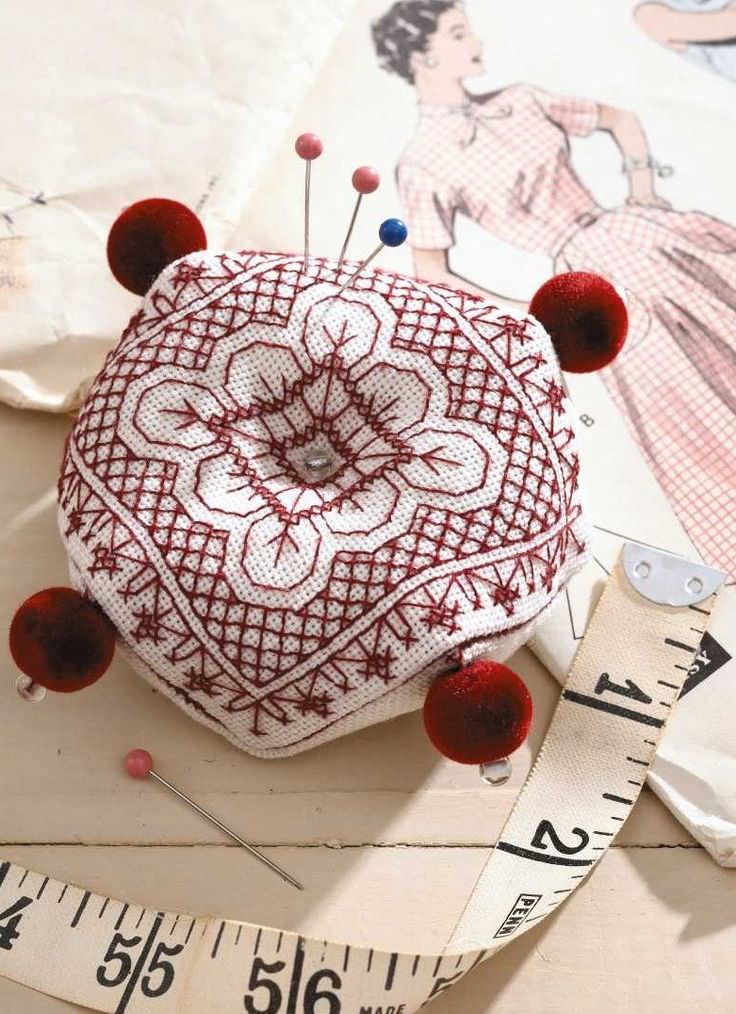
Biscorna is a regular pillow,Often used for needles. And here they begin, but. This is not an ordinary pillow, it is like an irregular curve toy. In general, this product looks unusual and always bright. A photo of a biscorphone surprises and touches and it is not always clear how to make it.
Master class for making biscorony is easy to find, often such explanations have several photos, but everything is decided solely by practice.


Types of biscorms
Biscorn can be:
- Standard;
- Fragmentary
- Five-piece.
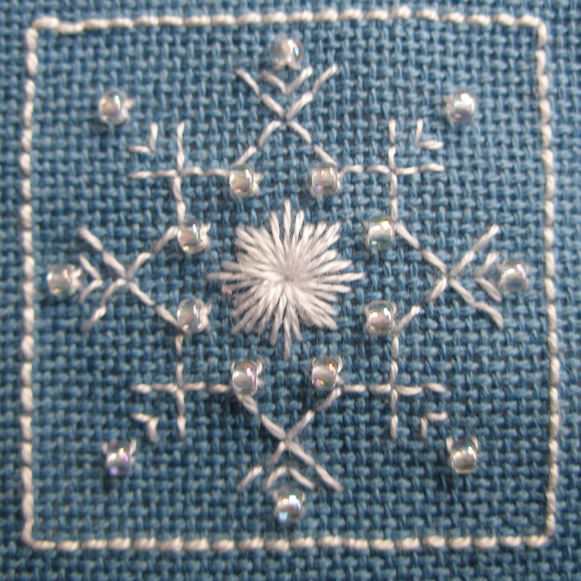
Padded biscoron in the classical version -Embroidered, often with a cross. It may well be embroidered smooth, but the manufacturing technology requires it to sew it in a certain way on the seam. The seam is also specific and requires a counting tissue. Against the backdrop of a picture embroidered with smoothness, such a seam will look too rough. If an uneven pad is made from pieces of different fabrics, it is already patchwork, and has little to do with biscorony. It is possible to use any other technique of embroidery on the marked squares. The main thing is that the schemes fit well together and create the illusion of a whimsical pattern. Most often in biscorony it is either an illusion of a curved mirror or an optical pattern rotation, which is achieved by turning the embroidered elements and their shifted cross-linking. The seam in such products must be dense and durable, since it is for the skin of the circuit to hold separate elements.
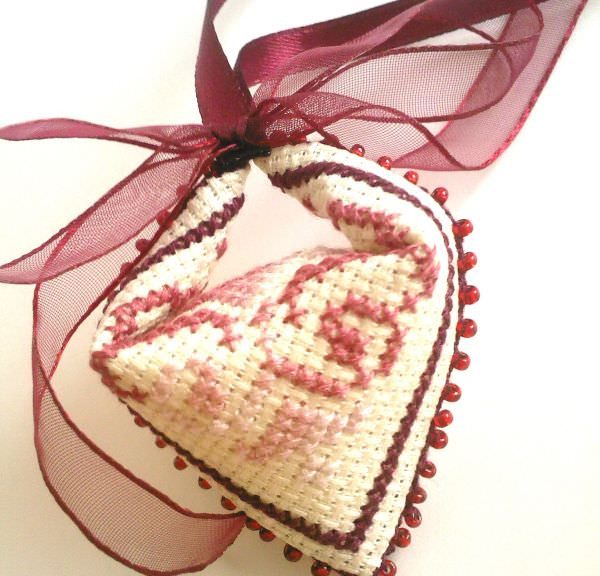
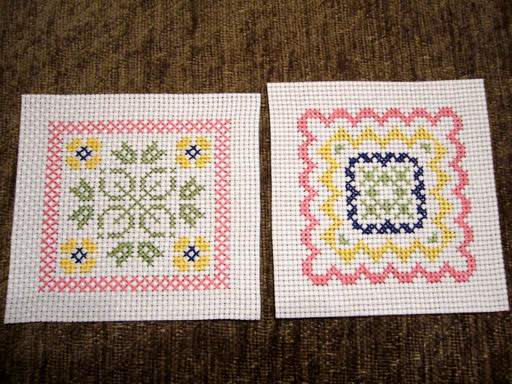
Standard The most simple, but no less elegant, curved cushions are made of two squares.
Each square is covered with a special seam. Most often choose thick
. In this case, the thread should be tightened so that the thread does not hang and densely pass through the base. Do not tighten up to the folds on the fabric.
Schemes for embroidering the boxes most often choose the same. When making the most unpretentious biscorning embroidery is performed symmetrically and cross. After both squares are ready, they are sewn together.
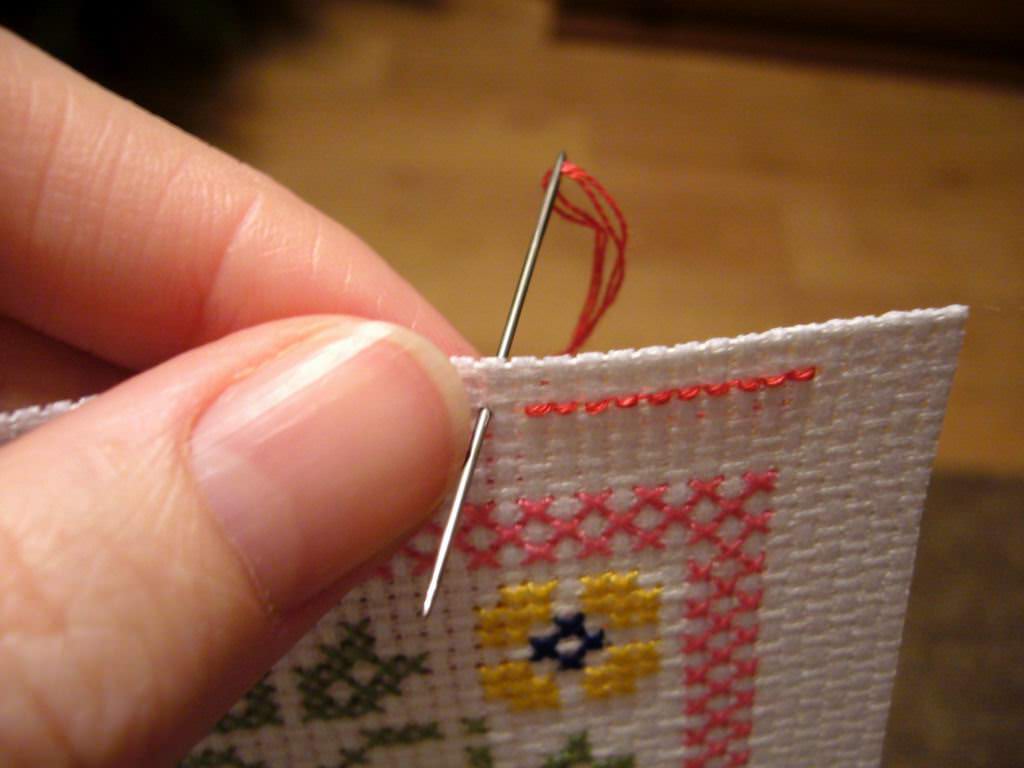
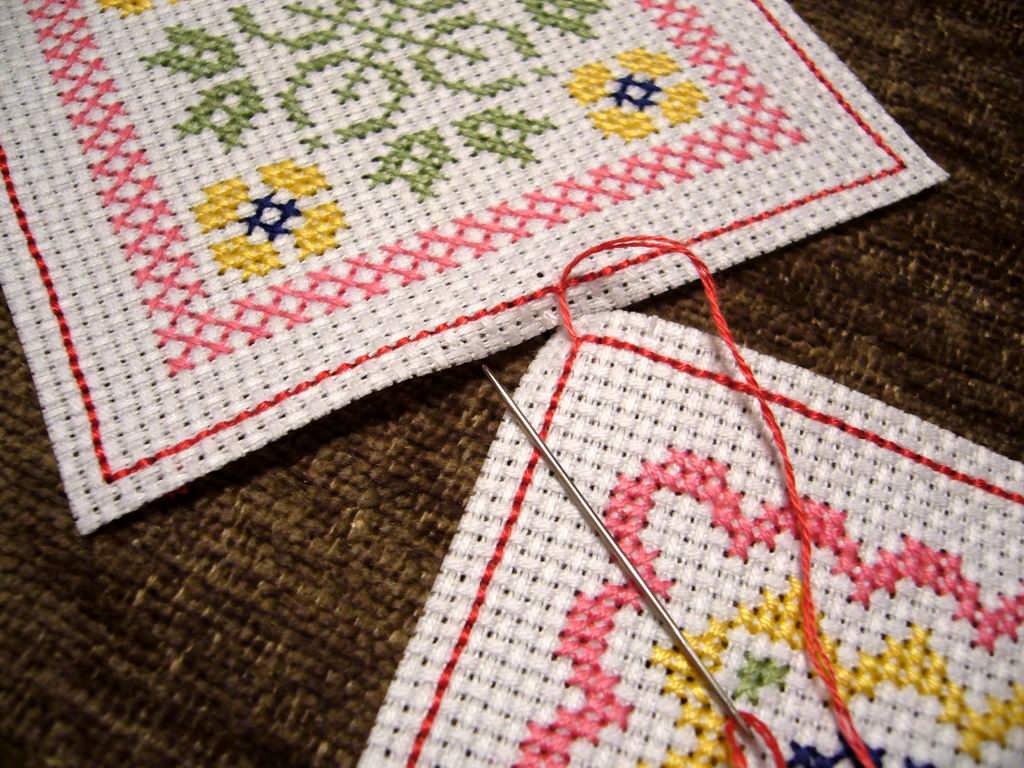
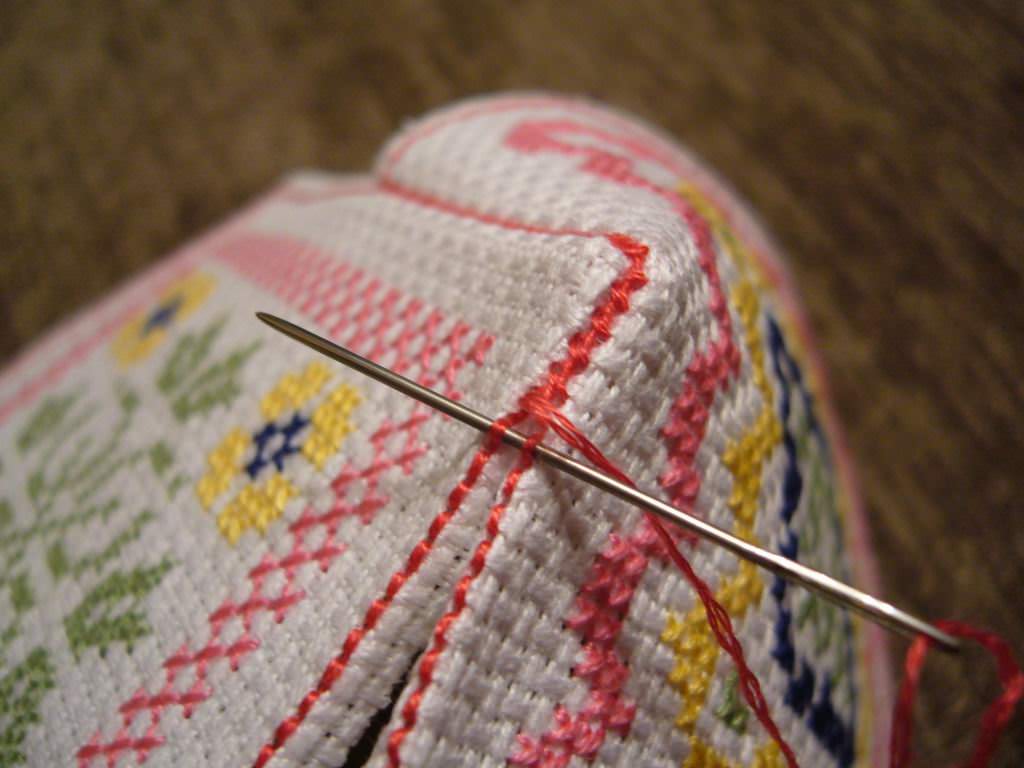
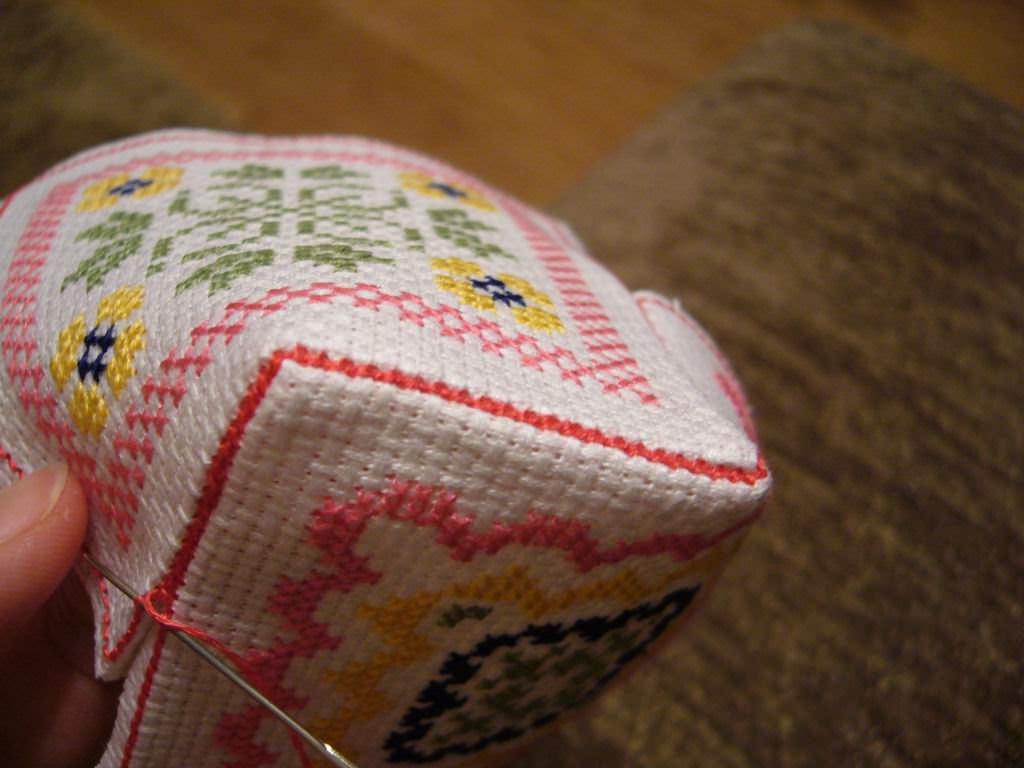
The main point in biscuit stitching isTo properly attach the details to each other. We put the face to face. The angle of one square to the center of the second. Stitching should not be for the fabric - the basis of embroidery, but for the filaments of the stalk seam. So the squares are more convex, and the cushion takes on an unusual shape.
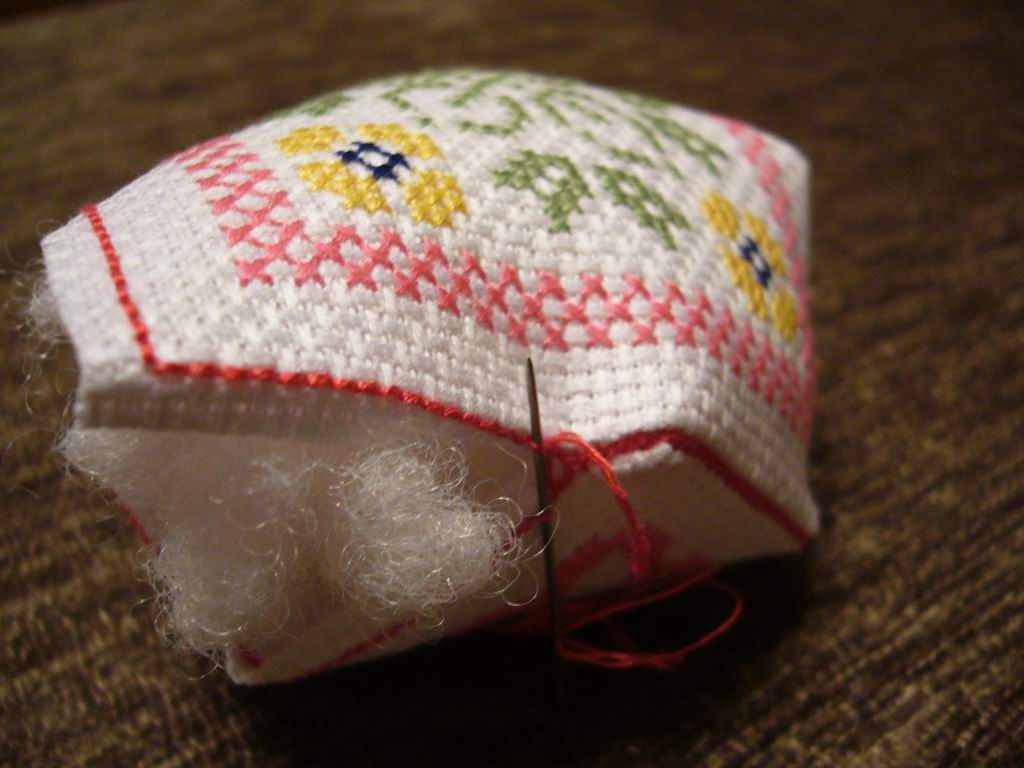
When the seam passes to the corner, the angle of the first squareIs at the middle of the second side. Nothing to turn out is not necessary, because biscorn is stitched immediately on the front side, regardless of the embroidered scheme on it. When the seam remains a short distance before the end of the seam, fill the pad. Do this should not be too tight, but do not make the stitched product empty, because after stitching, the pincushion must be pulled centered. When the cushion is full and the seam is over, a thread of several additions is passed through the central part of the biscorony. Sew 2 identical buttons on the center of the top and bottom. Biscorna is ready.


Video: we learn to sew biscorm
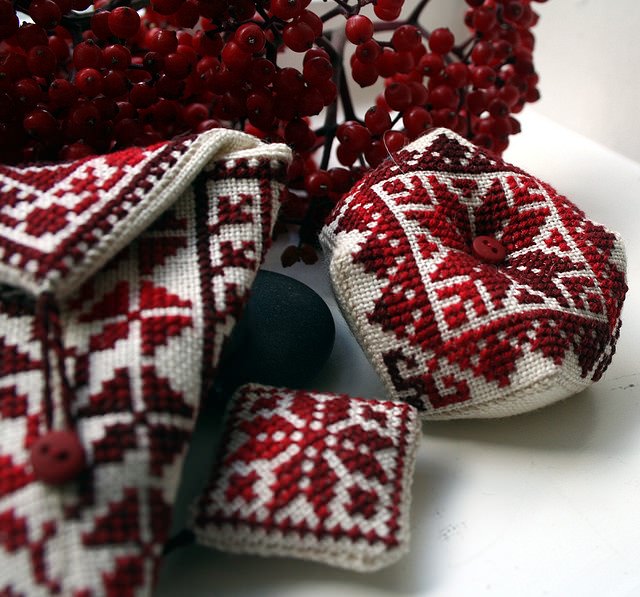
Fragmental 
Such biscorms are somewhat more complex. They consist of more elements. Here the schemes for the elements can be completely asymmetric, the result is not affected. Embroidery of fragments is made on identical squares on the size. They will need 8 pieces. First you need to sew together 4 squares. To do this, each square turns, as if twirling a photo on the monitor. The first square is sewn to the second, deployed by 90 degrees. Sewing is standard - corner to corner, side to side and only one side. The third square is rotated 180 degrees and sewed with the upper side to the bottom of the second square. The fourth square is rotated 270 degrees and sewed with the upper side to the side of the first, and the right side to the side of the third square. This will result in a square in which the chosen embroidery is flipped - the upper class, significantly confusing the viewer, who does not understand the intricacies of creating such products.
Cushions embroidered with a cross are always popular, becauseThey testify to the desire to decorate the room and the objects of the environment and about the time spent on it. Biskornyu also requires a certain dexterity when assembling and forming a picture.
When two squares are ready, on each of themEmbroidery as if under a kaleidoscope turns in a circle, they need to be sewn together. This seam connects the angle of one square with the side of the second. So it turns out biscorony, on both sides of which the embroidery as if scrolls to the center. Do not finish the seam by 2 cm, you should make a padding. After the cook it will become quite dense, the seam should be closed. The ready biscornet should be pulled in the center with a few stitches, in the center sew the same buttons.
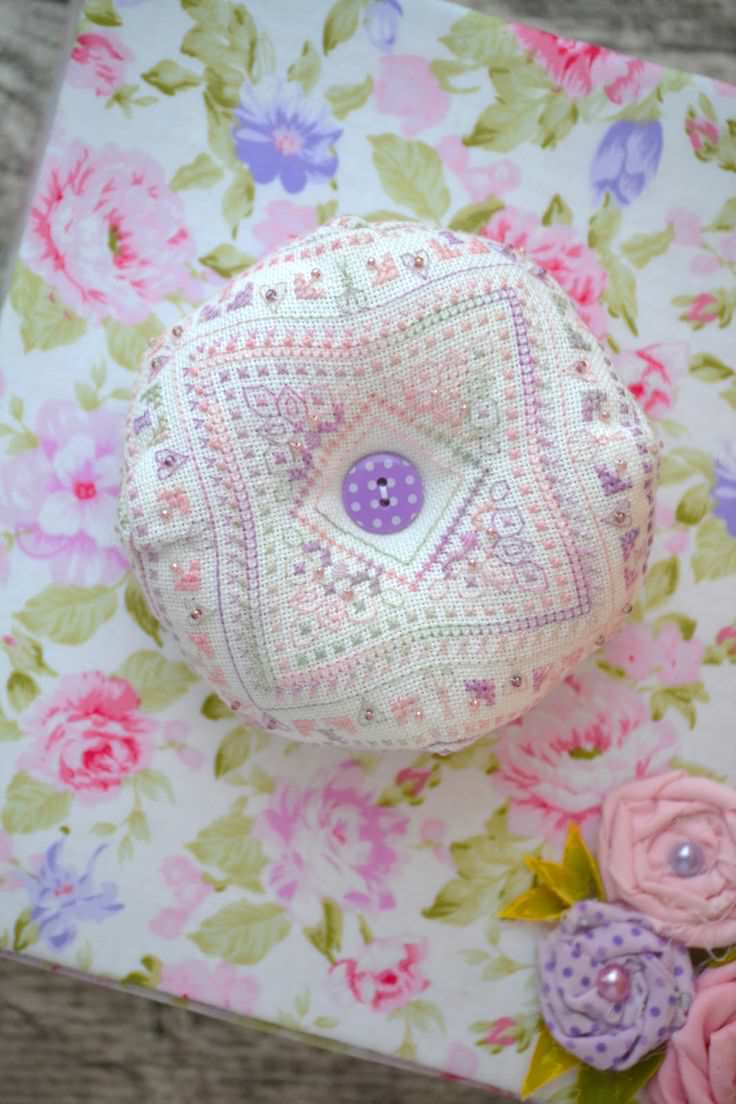
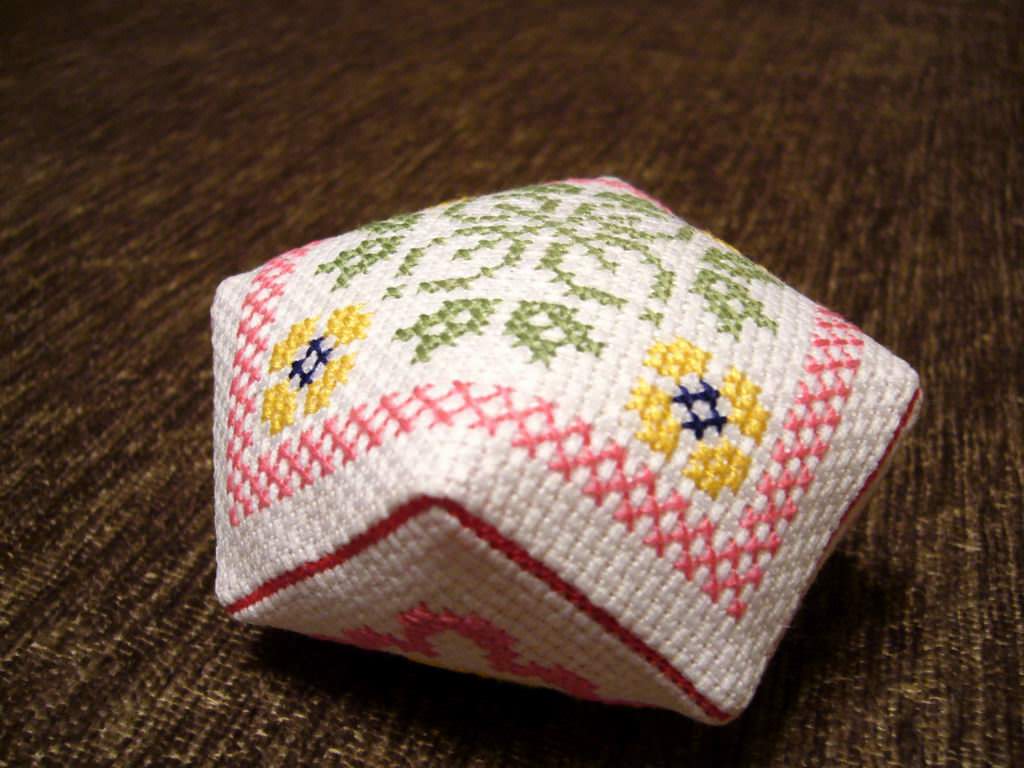
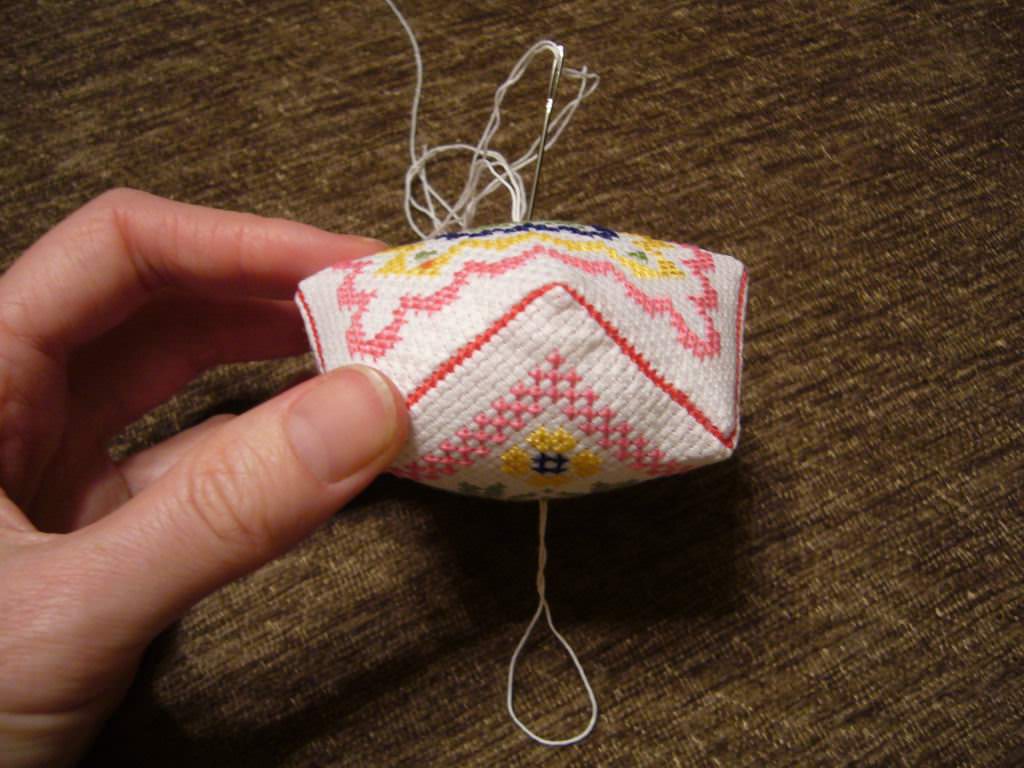
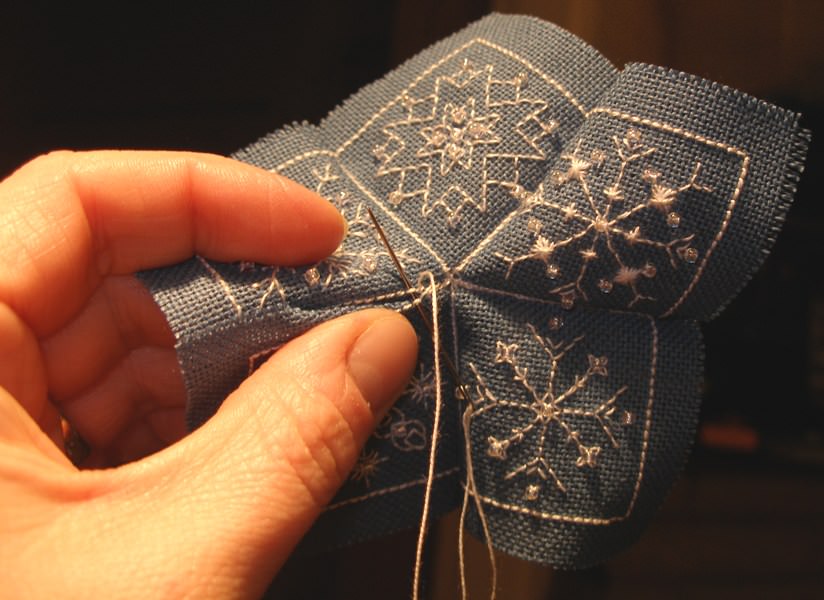
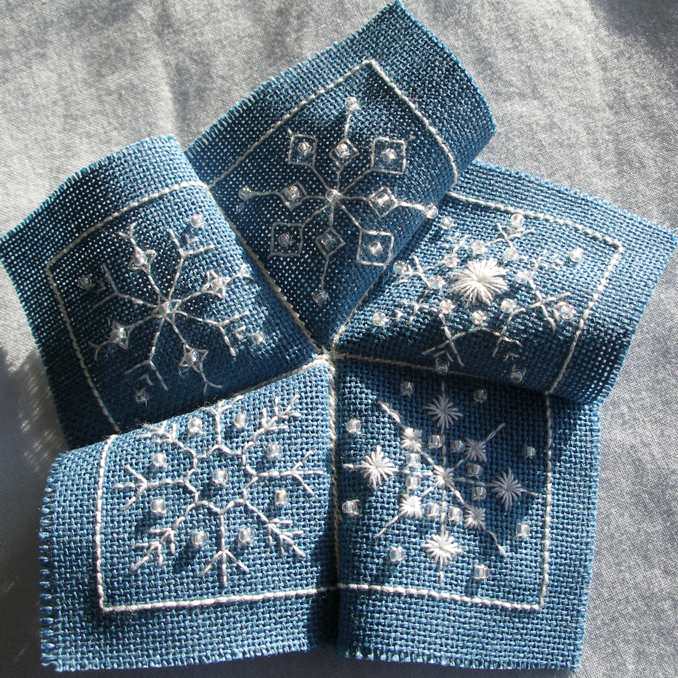
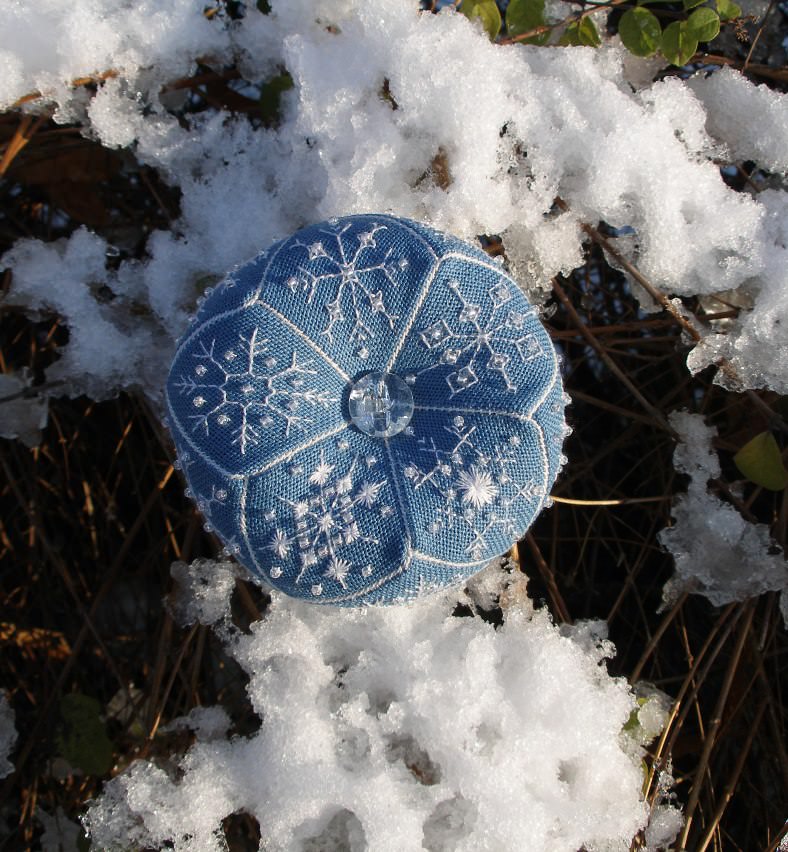
Pyatiklinka Especially complex biscorony, whichOften called banurukotti. It is surprisingly difficult to sew such a biscuit. Not so difficult as troublesome and if it turned out - a new master is ready to make biscorony. The main thing here is attention and accuracy. In the photo, such a pillow may seem round, embroidered with some sort of unprecedented tricks.
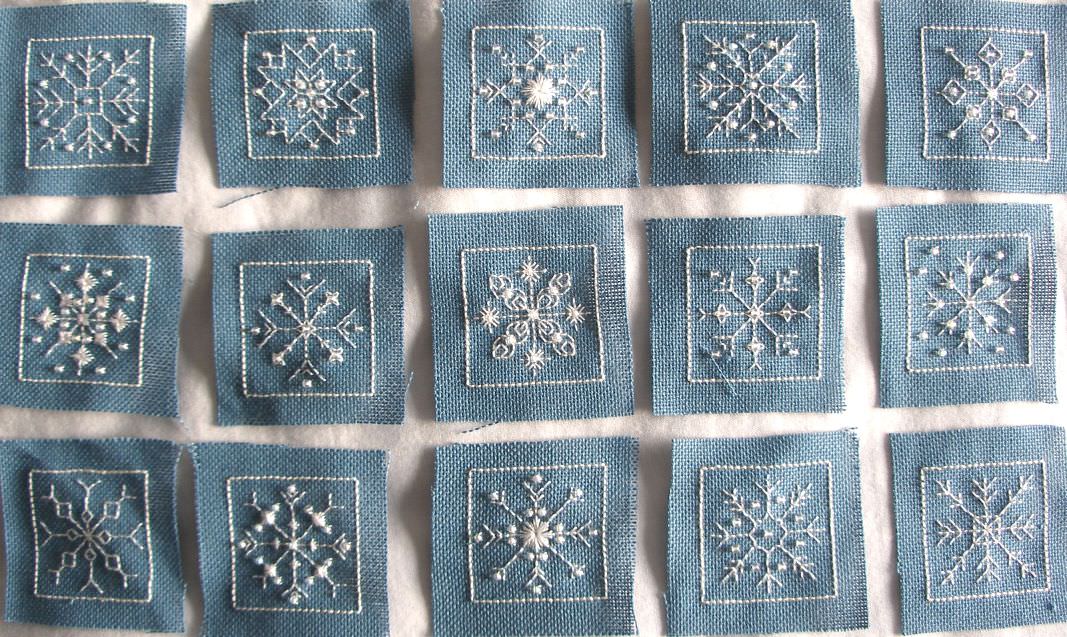
This biscorony consists of three rows of embroideredElements. Cross-stitch embroidery on each of them can be different. Ideally, there are 3 asymmetric schemes. Each square of the upper part will carry on itself one pattern, the side - the other and the bottom part either the top part drawing or completely different. You can embroider all 15 squares with the same patterns, but this will make the biscorony too simple.
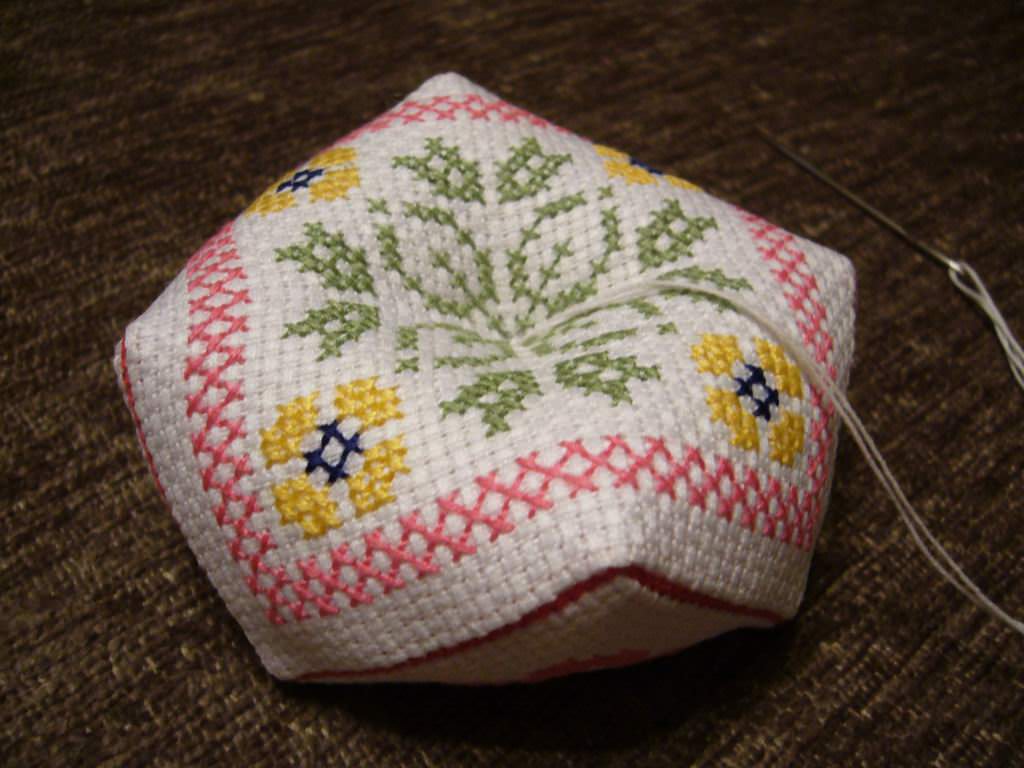
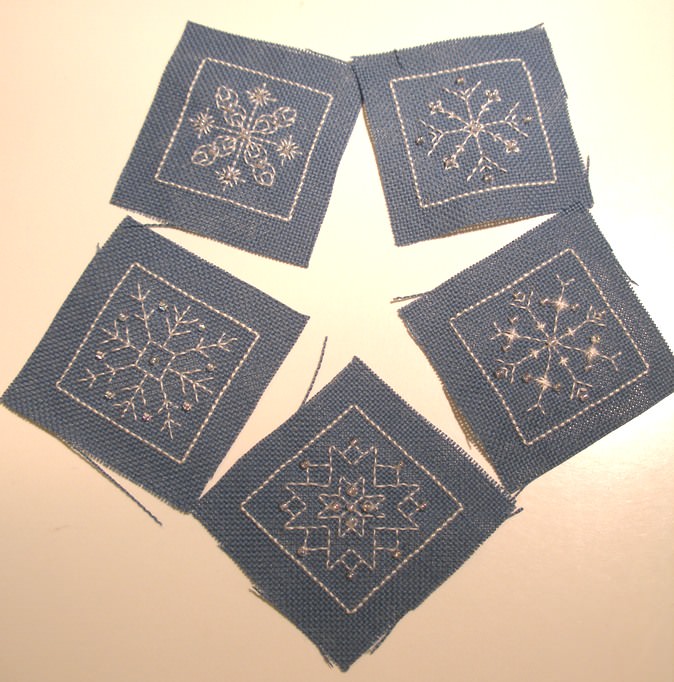
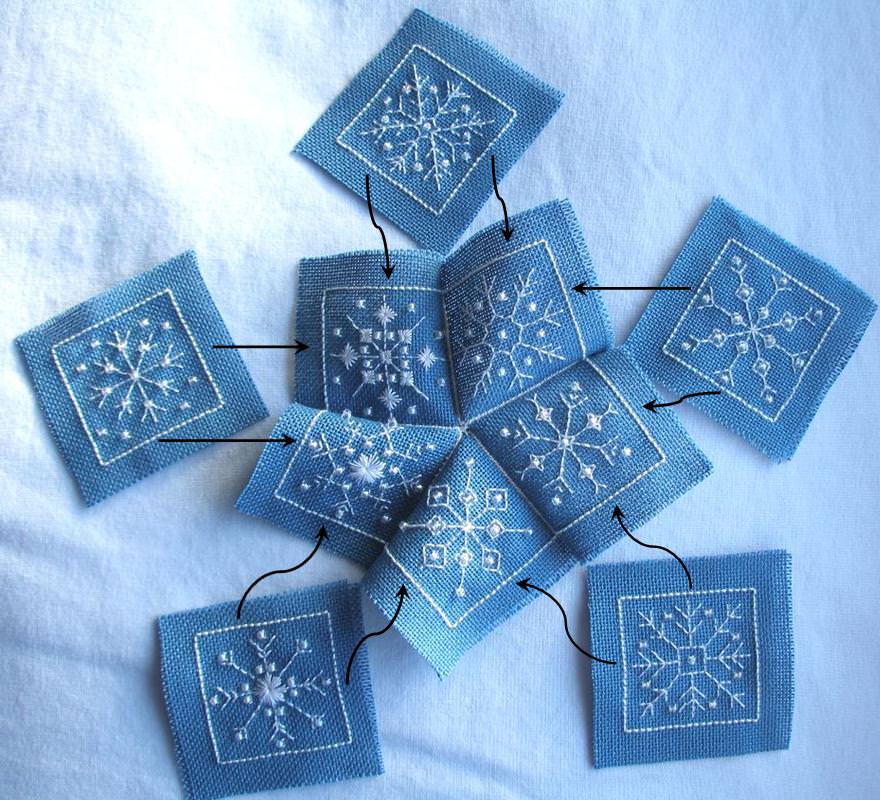
5 squares with the same, it is desirableAsymmetrical, the figure is unfolded at one angle to the center. We sew the first square to the second, the second to the third, and so on. The last square is sewn to the first one. So we get the upper part of the biscornet with five protruding corners. Each square is connected to two adjacent ones by the side and they are all connected in the center by corners. Similarly, we collect the bottom part. Carefully lay out the remaining details, so that they lie in a strict order in the same order. The main feature of biscornet, for all its seeming asymmetry, is symmetry and repetition of motifs.
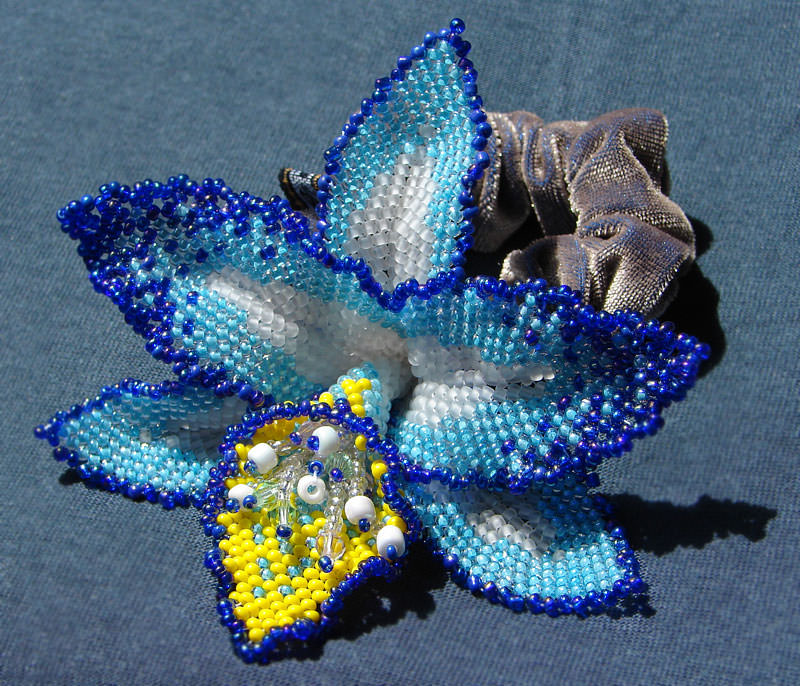
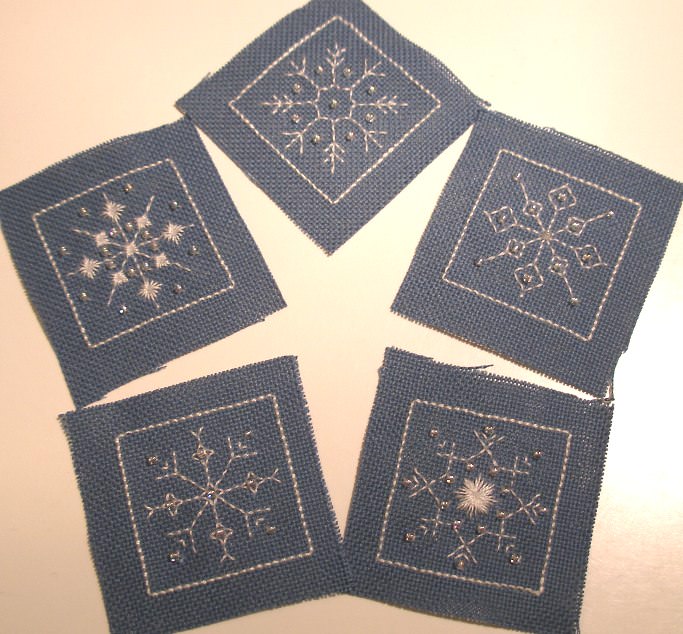
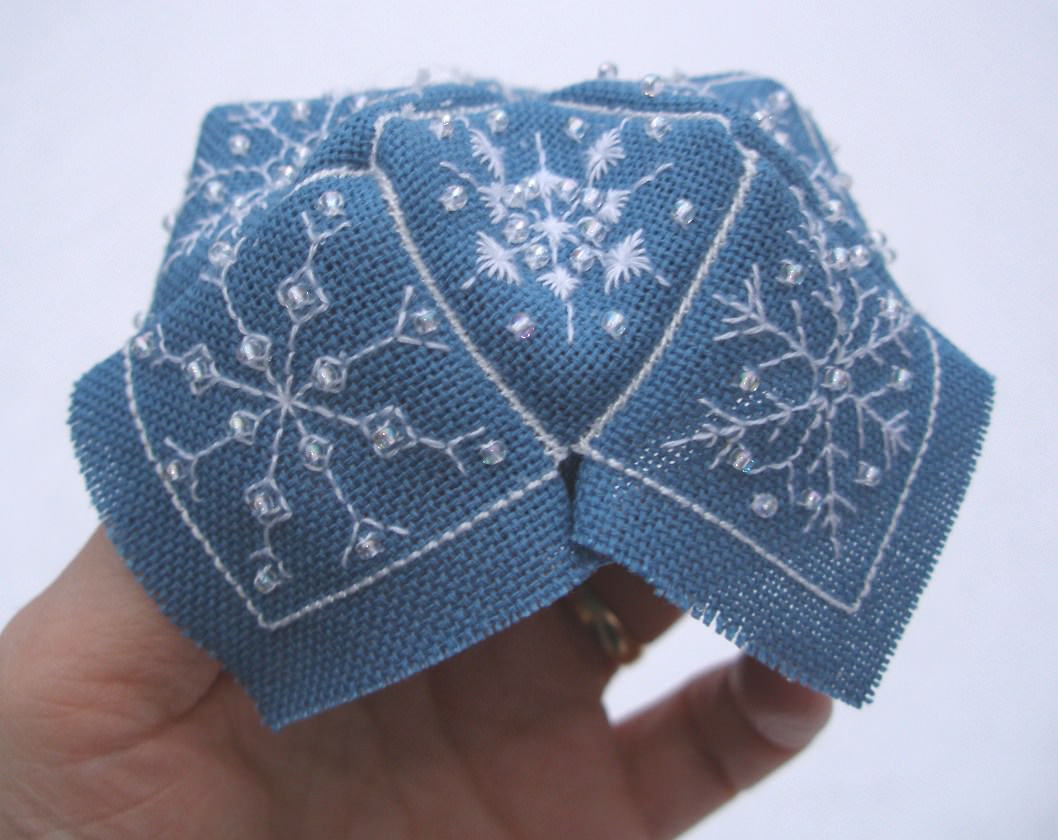
The Pentateuch is formed not from two, but from threePlanes. Therefore, after forming the two surfaces, proceed to sewing the side. Each fragment of the lateral surface is sewed by the sides to two adjacent squares and an angle into the joint of their corners. So it turns out a cross from three angles. The next square of the side surface is sewn between the two following details of the top. As a result, a series of side squares as if lifts the upper cloth. In the photo it looks like a huge fluffy flower with two kinds of petals.
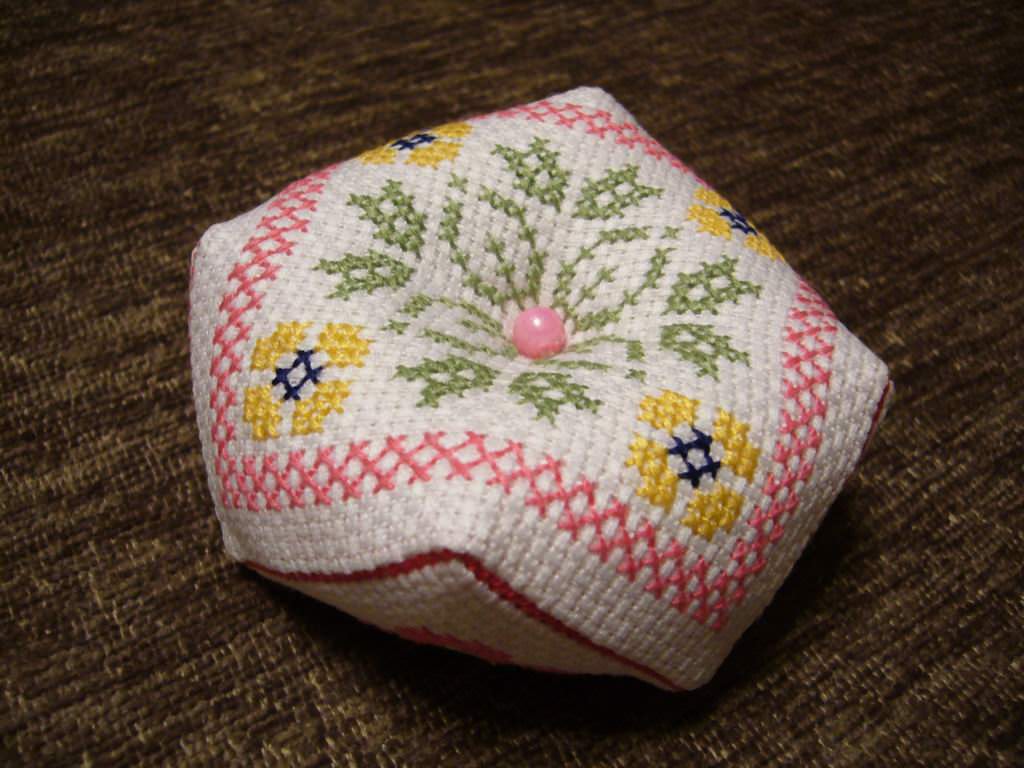
When the side is sewn, the resultingThe part is sewn to the bottom. Sew should be so that it was not noticeable, to which of the parts the side details were honed first. For 2 cm before the end of the seam should stop, properly fill the biscorony filler and complete the seam. In the center, stretch the thread and make a few stitching stitches. Sew a beautiful button from each side of the resulting biscorning.

Unusual biscorning
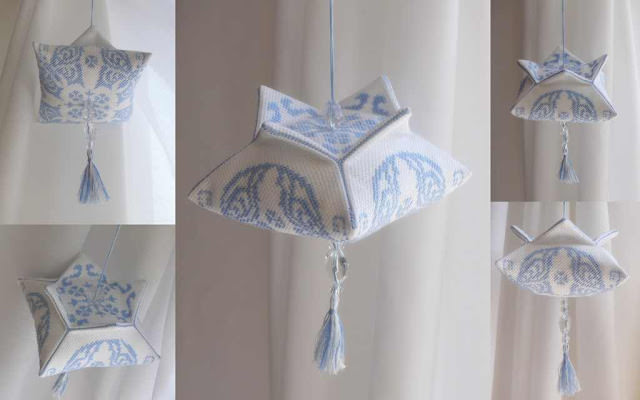
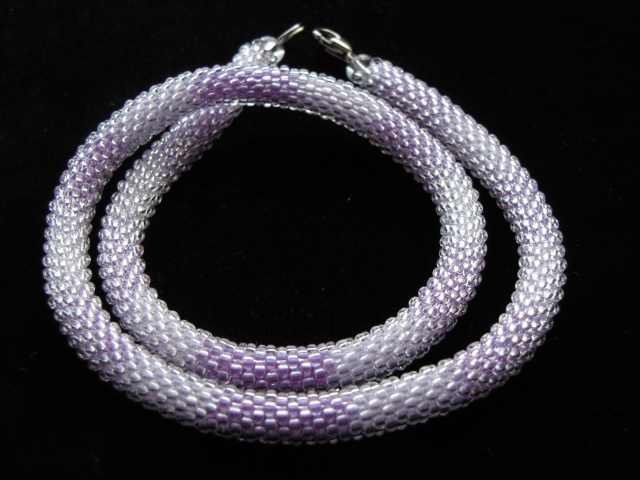
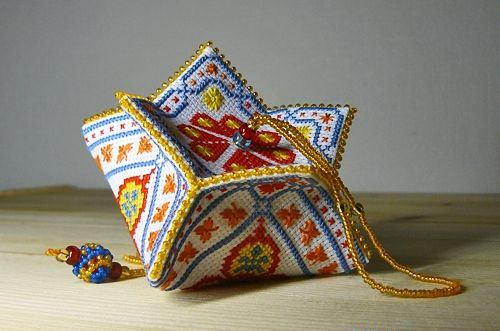
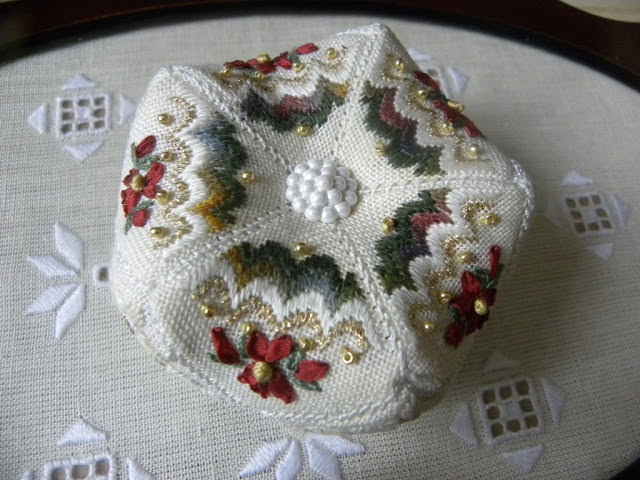
Biscornu "Tulip" If five-klikka isUnconventional, but quite often used form biscorony, then sometimes there are even exotic forms. The base can be not square, but six or even octagonal. And sewing it in the technique of biscorning, you can get a really fairy beauty. Such biscornets do not have a separate name, they are little known and quite complex in performance, although the result justifies such investments of labor and time. No matter how many angles and sides, it is always possible to slightly unfold the product by combining the angle of one of them with the side of the second. In such a biscornet you need to carefully consider the number of corners, so as not to forget to sew any of them. During the filling of such biscornets, it is worth paying attention to each corner, so that they all evenly protrude, you need to push the pack of pads into each corner, and then fill the core. So the biscorna will have a regular and symmetrical shape.
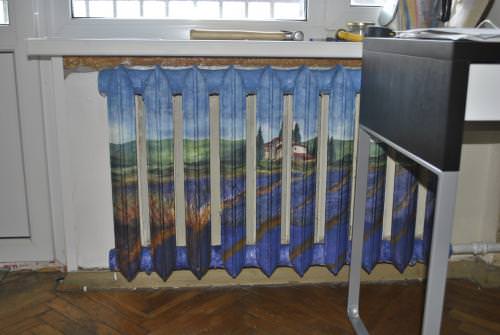
And although the schemes for biscornet mostly mean cross stitching, they can easily tolerate embroidery with beads, bargellos, and semi-crosses.

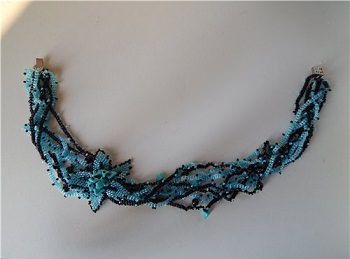
There are also quite amusing triangularBiscorony. In this case, they can be created as from two triangles, when the upper and lower parts consist of one single triangle. In the second case, each part of the triangle consists of three separate triangles. It turns out a sophisticated biscorphone from six small triangles. Here the layout of the picture on each element depends solely on the imagination that the master will show.
Biscorna requires:
- Select a picture;
- The created symmetry (it is necessary to decide whether the symmetry will pass through the figure itself, or it will be created by connecting the elements);
- The choice of the form and the number of elements composing biscorony.
You can choose a shape based on the pattern, but you canTo choose a composition for the already existing baubles. You can start with the lightest model, and you can immediately show the class and create such a multifaceted and pretentious miracle of needlework that those who saw it just gasp in surprise. Do not be afraid of the creation of biscorn, it is made quite simply, but it looks original, attractive and always unusual, breaking traditional views on the symmetry of things. Such products always find use in everyday life and as a decoration, and making them will bring many vivid impressions.