Booties spokes: step master class (photos, video tutorial)
Content
Knitted booties occupy an important place in the wardrobethe newborn is, in fact, they are the very first footwear for your baby. That is why a lot of young mothers and grandmothers caring interested in how to tie booties knitting.
In today's master class we will describe in detail how to tie booties via spokes. And especially for novice masters reveal some secrets of the art of creating incremental bootees.
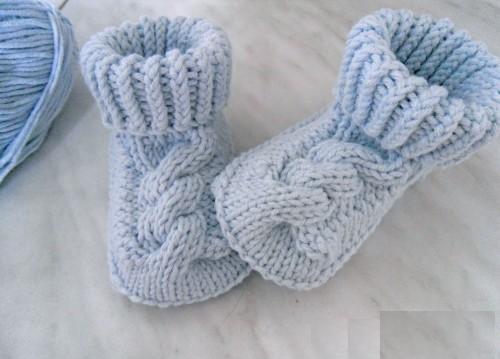
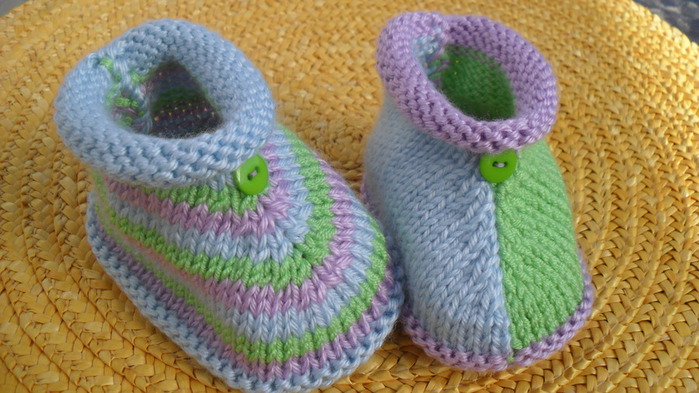
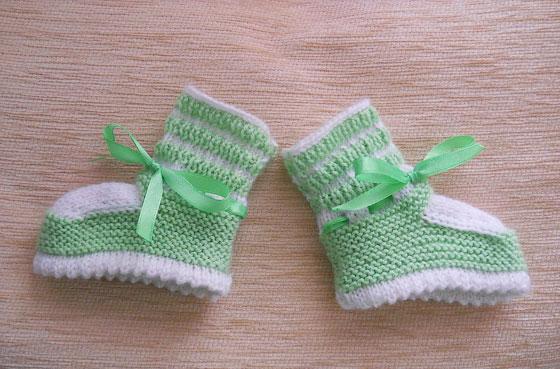
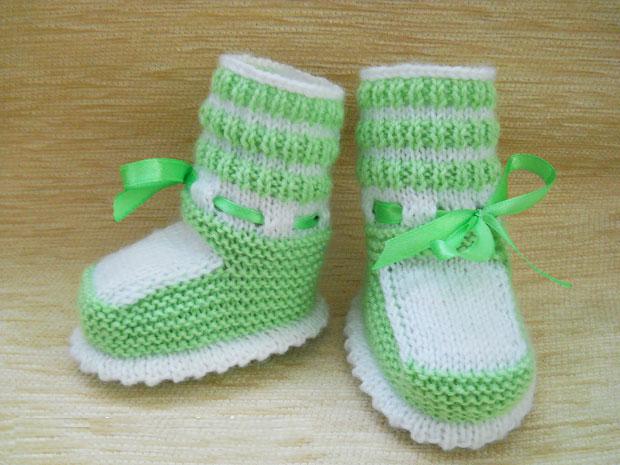
Booties for the baby
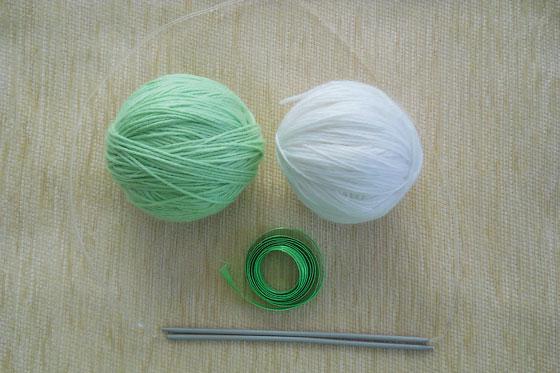
Before you begin a master class and talk abouthow to incrementally knitted booties, we invite you to prepare the necessary materials and tools to while knitting is nothing to distract you from your work:
- Needles number 3;
- half-woolen yarn for children: 30 g of green, 20 g of white;
- ordinary thread;
- a needle or hook;
- narrow lace or ribbon to match to the booties - 2 stripes to 30 cm each.
This training master class the following conventions will be used, as well as cuts to properly tie booties:
- front loop - lits.p .;
- Wrong loop - izn.p .;
- bead loop - chrome .;
- * - Provyazyvaem again from * to * pattern under the scheme .;
- ranks - p .;
- nakida - n.

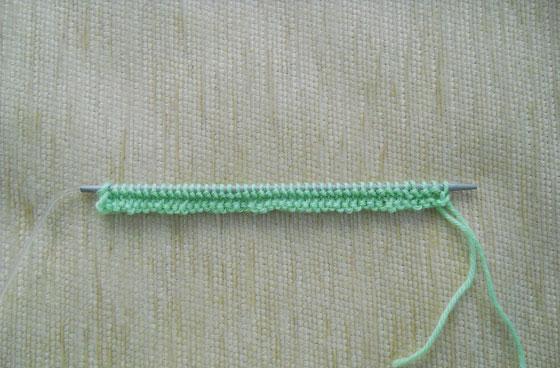
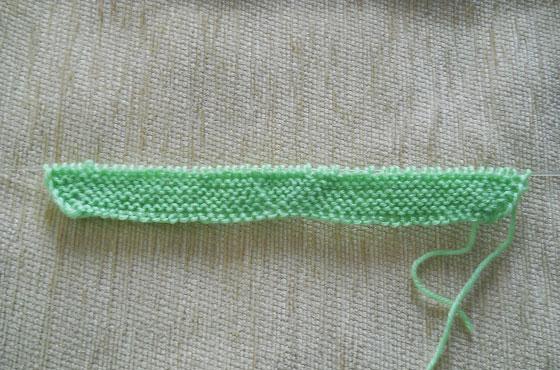
Step workshop detailing allaction, we begin with the formation of soles bootees. Gaining 44 p. Knitting on spokes and the so-called garter stitch. First 2 p. We do lits.p. Next knit according ryadochkam:
- Number 3: chrome, lits.p., n, 19 lits.p., n, 2 persons, n, 19 persons, Mr., another individual........ 1 and chrome .;
- Number 4, as well as all subsequent knit even ryadochki lits.p .. At the same time Mr. We do twisted, so that the soles bootees were no holes;
- Number 5: Krom people.. - 2 pieces, n, 19 lits.p., n, 4 persons n, lits.p...... - 19 pcs, N, 2 more persons, bead;...
- Number 7: Krom people.. - 3 units, n, lits.p... - 19 pieces, n, lits.p... - 6 pieces, n, 19 facial, n, 3 other persons.... loops 1 and chrome .;
- Number 9: Krom people.. - 4 pieces, n, 19 persons, n, 8 persons, Mr., another 19 lits.p. again n then 4 persons........ 1 and chrome .;
- Number 10: all the loops knit facial. Check that at this stage of our master class on the needles were exactly 60 n.

Then add another thread color, and continue step by step in accordance with the description create booties:
- ranks number 11 and 13 perform lits.p., and 12 and 14 - izn.p .;
- number of number 15: Krom * nakida, 2 sts together. *;.
- 16 p. All loops are executed purl, and each district. provyazyvaetsya the rear wall, so as to have small holes;
- Number 17 and 19 perform lits.p .;
- and 18 and 20 form the purl.

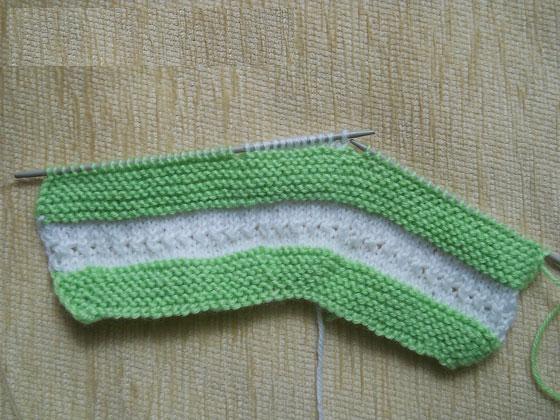
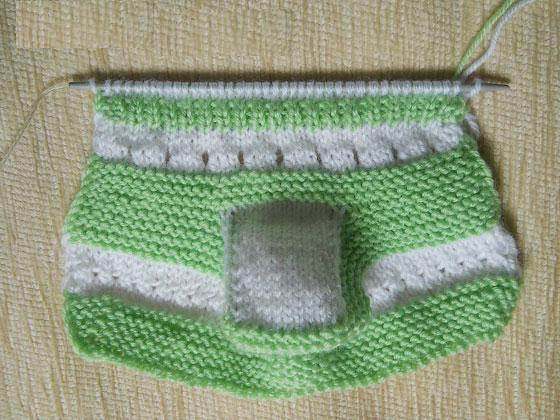
This step by step guide for the sole booteesIt can be regarded as complete. Now we go to the step by step description of the process of creating recovery. This part of the article is knitted green threads. Ryadochki ranging from 21 to 32, carried out in garter stitch.
After completing upgrade, you will need to startthe formation of the toe. This piece is knitted in the same manner as the heel to the toes. For use white thread. Toe fit individuals. embroidery. The hinges should be divided into three parts: 24 pcs. (1 side), 12 pcs. (1 center) and 24 pcs. (1 side). Remove not provyazyvaya 24 n. The right needle. Add a thread of another color. Perform 11 n. Facial, and 12, that is, the last loop in the central part of the first and the second side of the knit together.

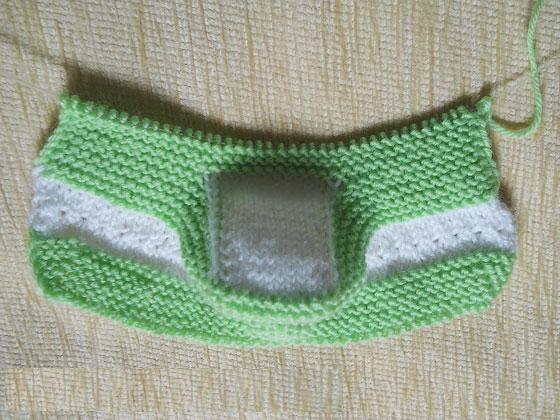

Flip the future booties inside out. Form izn.p. 11 and 12 and 1 again knit together. Turn the work and repeat the procedure, without changing the scheme. Such action will be relevant to the circuit until the spokes 40 will not remain loops (14, 12, 14).
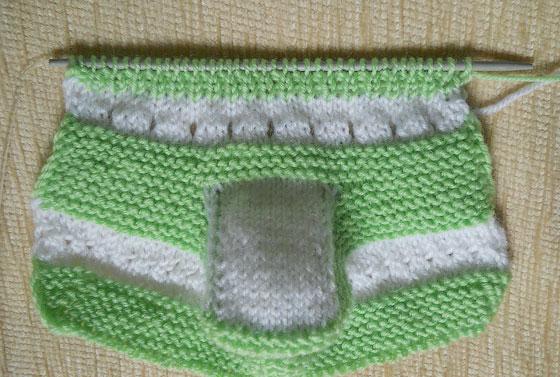
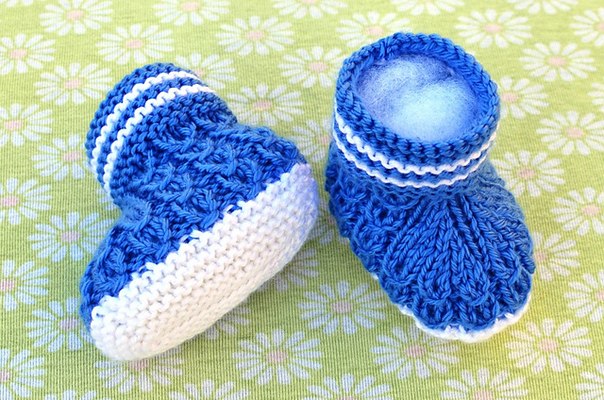
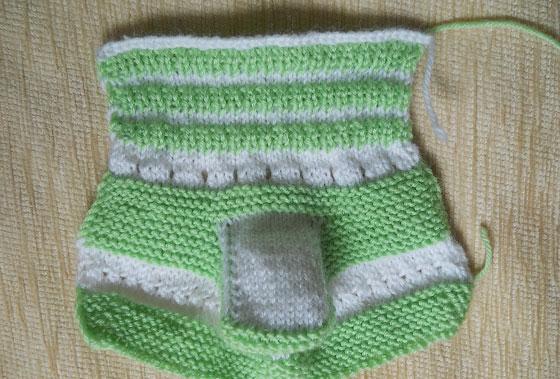
At this stage of our step by step wizard class you have to be formed of the same toe as in the photo. Then you can begin to create the cuff:
- knit garter stitch 6 ryadochkov;
- attach white thread;
- Form 2 p. via individual. smooth surface;
- proceed to the formation of small holes forlaces: bead, n * 2 persons.. together nakida lits.p. and 2 *. PHI. R. do izn.p .. This nakida provyazyvayutsya the rear stenochku. 2 perform a number of persons. embroidery;
- provyazyvaem rezinochkoy 1x1 4 p. green thread;
- The following 2 p. forming entities. embroidery;
- without changing the action pattern is repeated rezinochku and individuals. smooth surface of 2 more times;
- close the remaining loops;
- The thread is cut, the tips of its anchoring and hide.
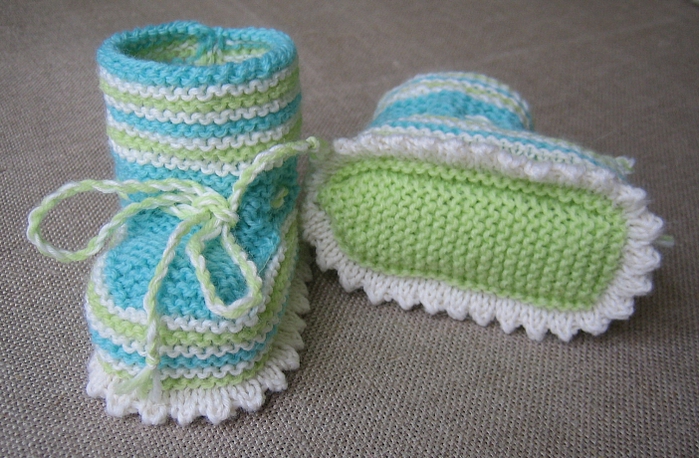
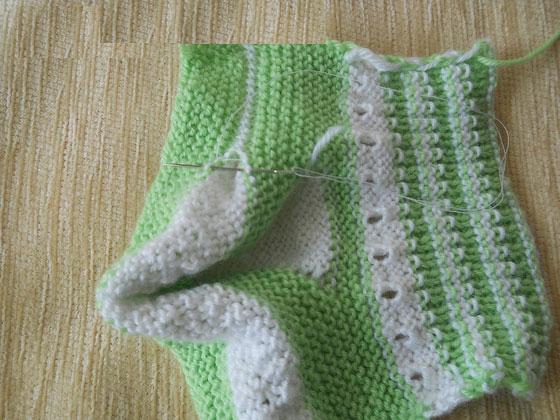
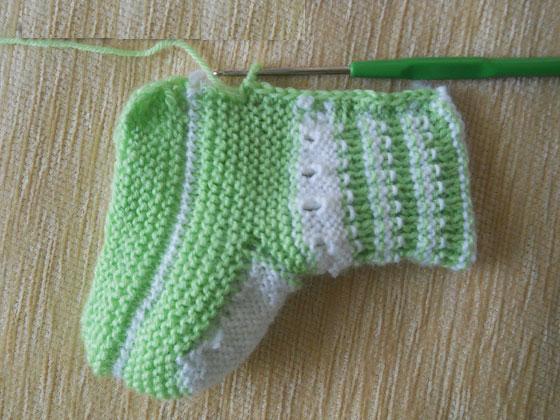
Crochet bootees over! Now we need to finalize the finished product. Fill in the needle thread and sew white toothed rim bootees. Take the hook and carrying bars without nakida, sew the product inside out. Insert the ribbon in a specially set aside for this purpose holes. The same pattern Arrange the second shoe.

If you find it difficult to change the thread colors you step by stepYou can knit booties knitting needles for beginners. To make them you need to first watch a video detailing. This video clip shows the sequence of steps of action.
Video: two knitting bootees spokes
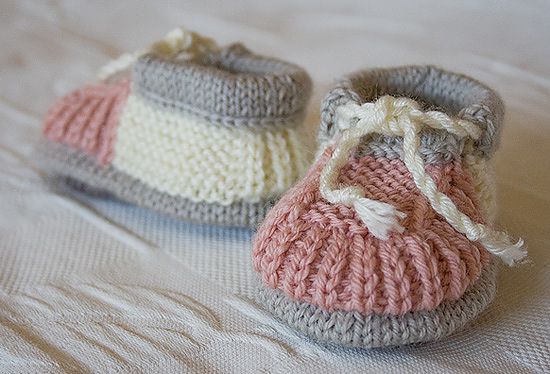
These booties needles can easily even linkaspiring mistress. This model, as well as the previous tally on two spokes, but because the use is only one thread, the process of forming bootees greatly simplified.
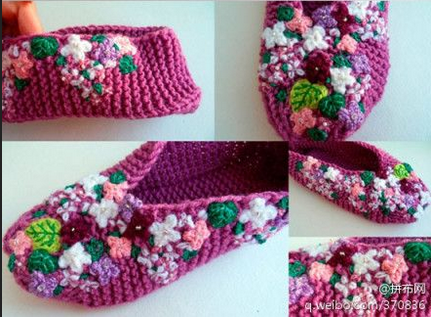
Girls can be associated with elegant pinetochkiroses. A detailed description of the creation step, you can meet in the next video. In conclusion it should be noted that knitting bootees is primarily a creative process, because at the time of knitting slippers for babies can "give vent" to your imagination and create a truly beautiful and comfortable slippers! Products for girls are usually decorated with ruffles, flowers, ruffles and bows, and slippers for boys, as a rule, do like cars or animals.
Video: First shoes for kids