
Knitted pattern "Snowflake", with step-by-step guidance and a detailed description of the process of work and photos
Combination of two or more colors of yarnallows you to create the most amazing drawings. Knitted patterns can be fancy and copy cartoon characters, or you can create them in a natural direction, for example, snowflakes.  Patterns created by own hands can decoratechildren's clothes, napkins, or useful for creating great things: blankets, bedspreads. Such pretty patterns will bring variety, embellish monophonic clothes and become a bright attractive spot. All the patterns in advance need to think through and depict their scheme of knitting on paper. To make the pattern more understandable, it is necessary to produce a schematic image in two colors (or more, if required by the figure). Use the notebook sheet in the box. To create a snowflake, it is important to use an absolutely symmetrical scheme, not only the right side displays the left side, but the upper part of the picture repeats the lower episode. First, on the sheet, display the middle of the pattern of the four loops, and then draw a diagram of a snowflake, a star, or another pattern.
 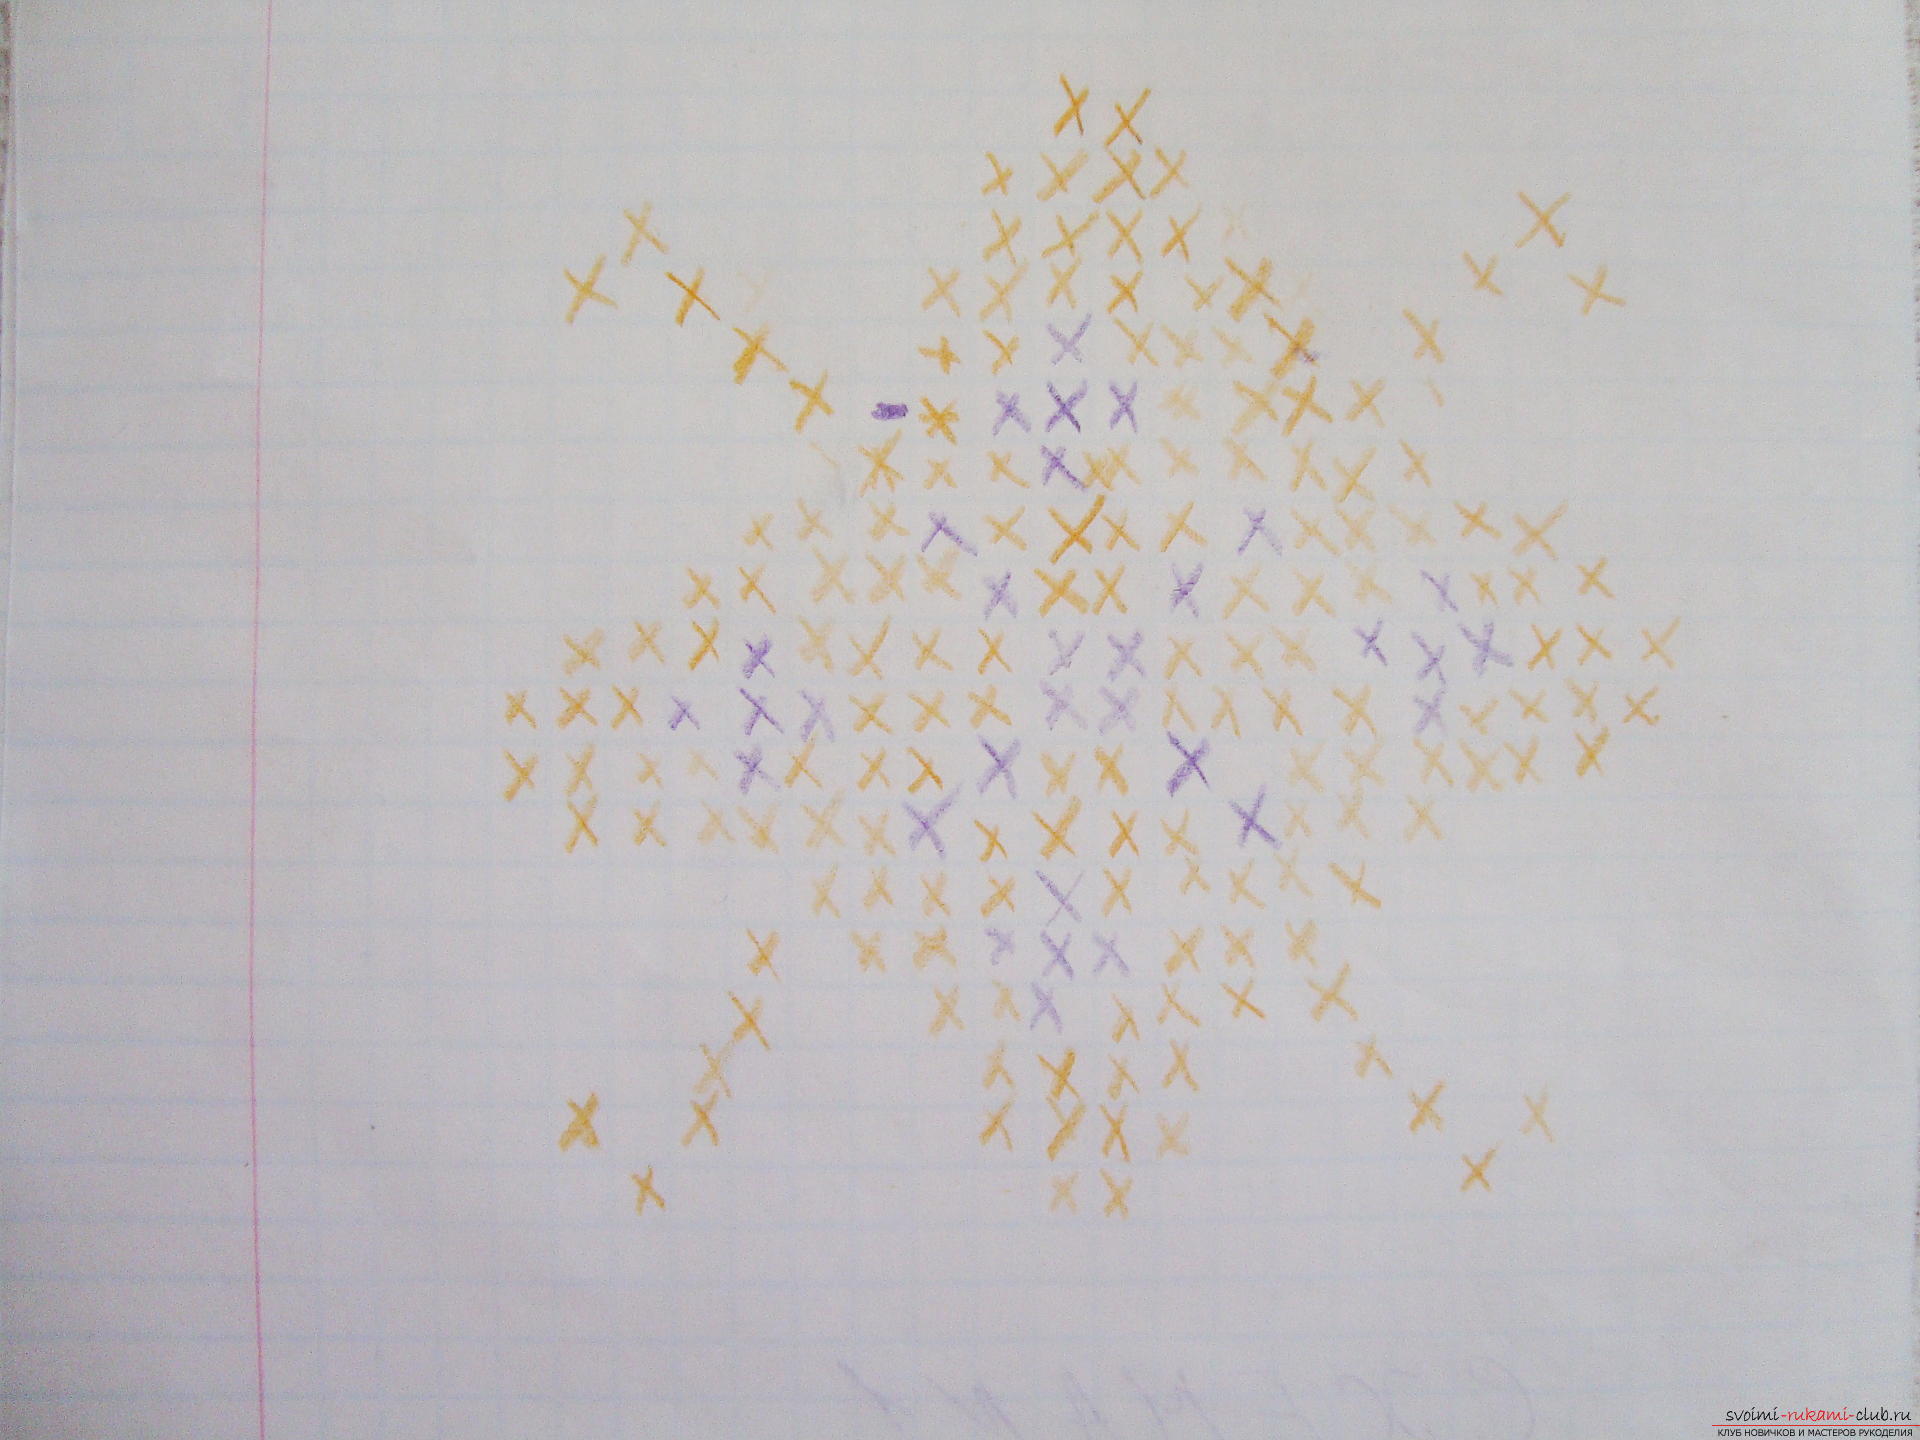 If you want to draw a similar picture,just print it and on one side of the picture enter the numbers of the series, so as not to get confused when knitting. To create a three-dimensional drawing, you need to knit the surrounding web with a relief pattern, and the pattern is a face-to-face pattern. In this work, the surrounding loops were knitted according to the rice paddy pattern. To do this, in the first row, fasten one face loop, and the second one by the type of the purl loop. Then repeat this principle throughout the first row, it is desirable to finish the level with an even back loop.
  Turn the work over and start the second rowknit by the same principle, alternating knitting on one face and on one purl loop. Thus, one loop will be equally knit in each row, and therefore on the front side of the work it will be front in the first row, again in the second, in the third level, the front one, and in the fourth one - the unlined element, etc. Where the loop has a purl shape, it will be raised, and next to it will be a "failed" eyelet, so the protruding elements resemble the strict distribution of rice grains, as in the landing field.
 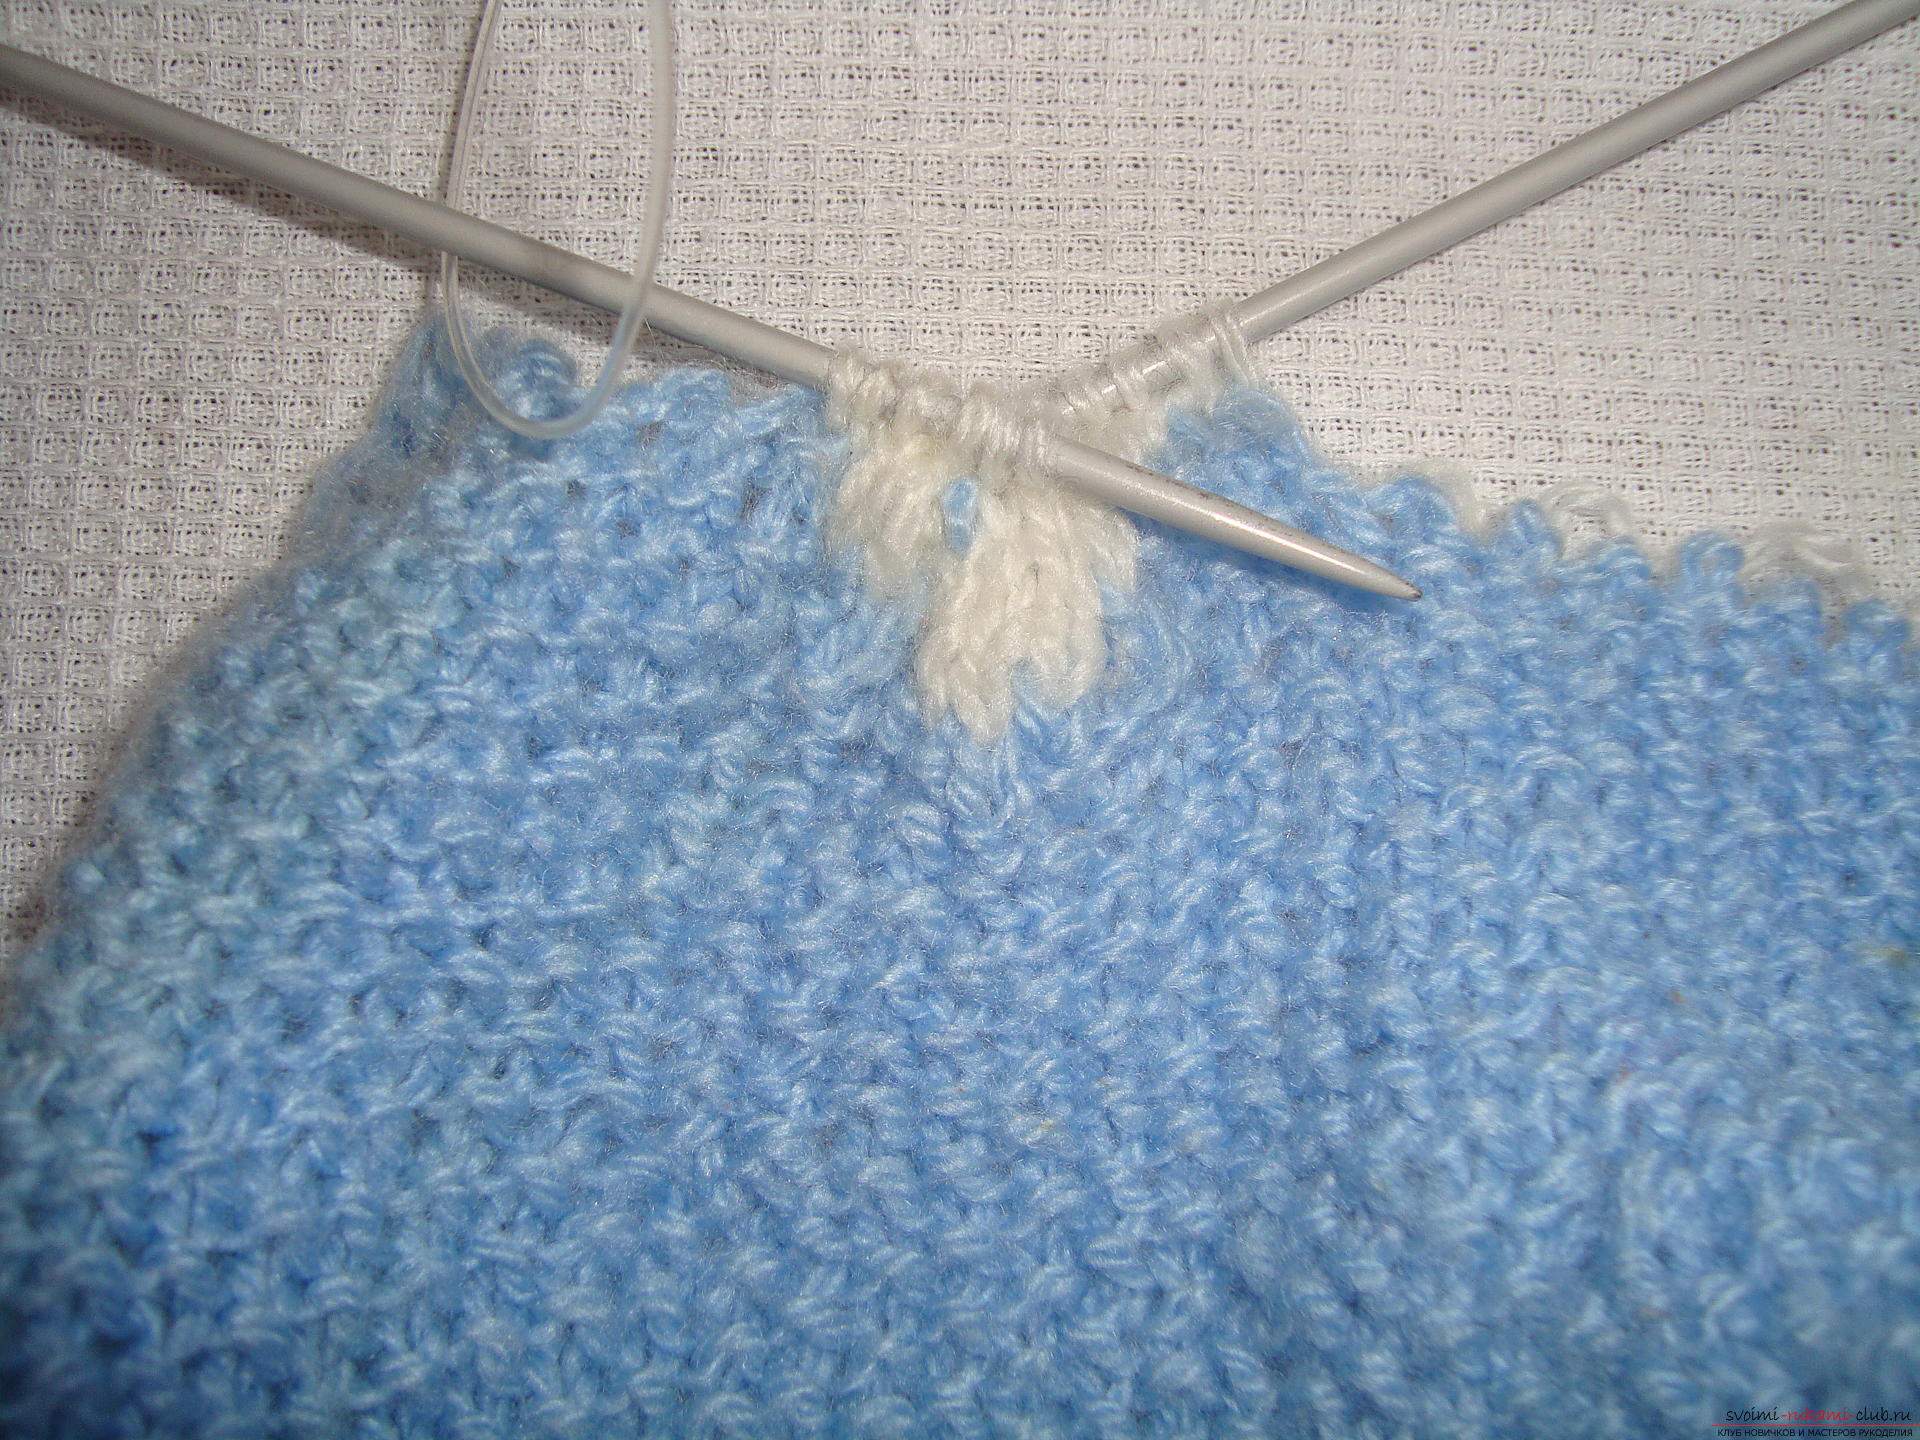 When you get to knitting the canvas to thatplace where you plan to create a drawing, use the schematic image of the drawing. Count off the loop, which you want to denote by the lower central element of the pattern. According to this scheme, a pattern is started with the knitting of the "leg" of the snowflake, which is located in five elements from the lower base of the pattern. Wire this loop in a different color and flip the thread, then 5 loops need to be tied according to the principle of the front loops. White yarn you simply stretch on the wrong part of the product and use the next two hinges, tying them to the front surface. Then go back to the yarn of the main color and knit the rice field pattern on five more elements. It is important to try not to pull the thread that is located on the back of the work, because then the entire drawing is stapled, and the work will clearly change its parameters. Admit. For the thread to sag freely, too, there is no need, since, firstly, this is a waste of yarn, and secondly, when hanging, the hanging threads will cause inconvenience, and thirdly, when the product is washed, they may become entangled and ruptured.
 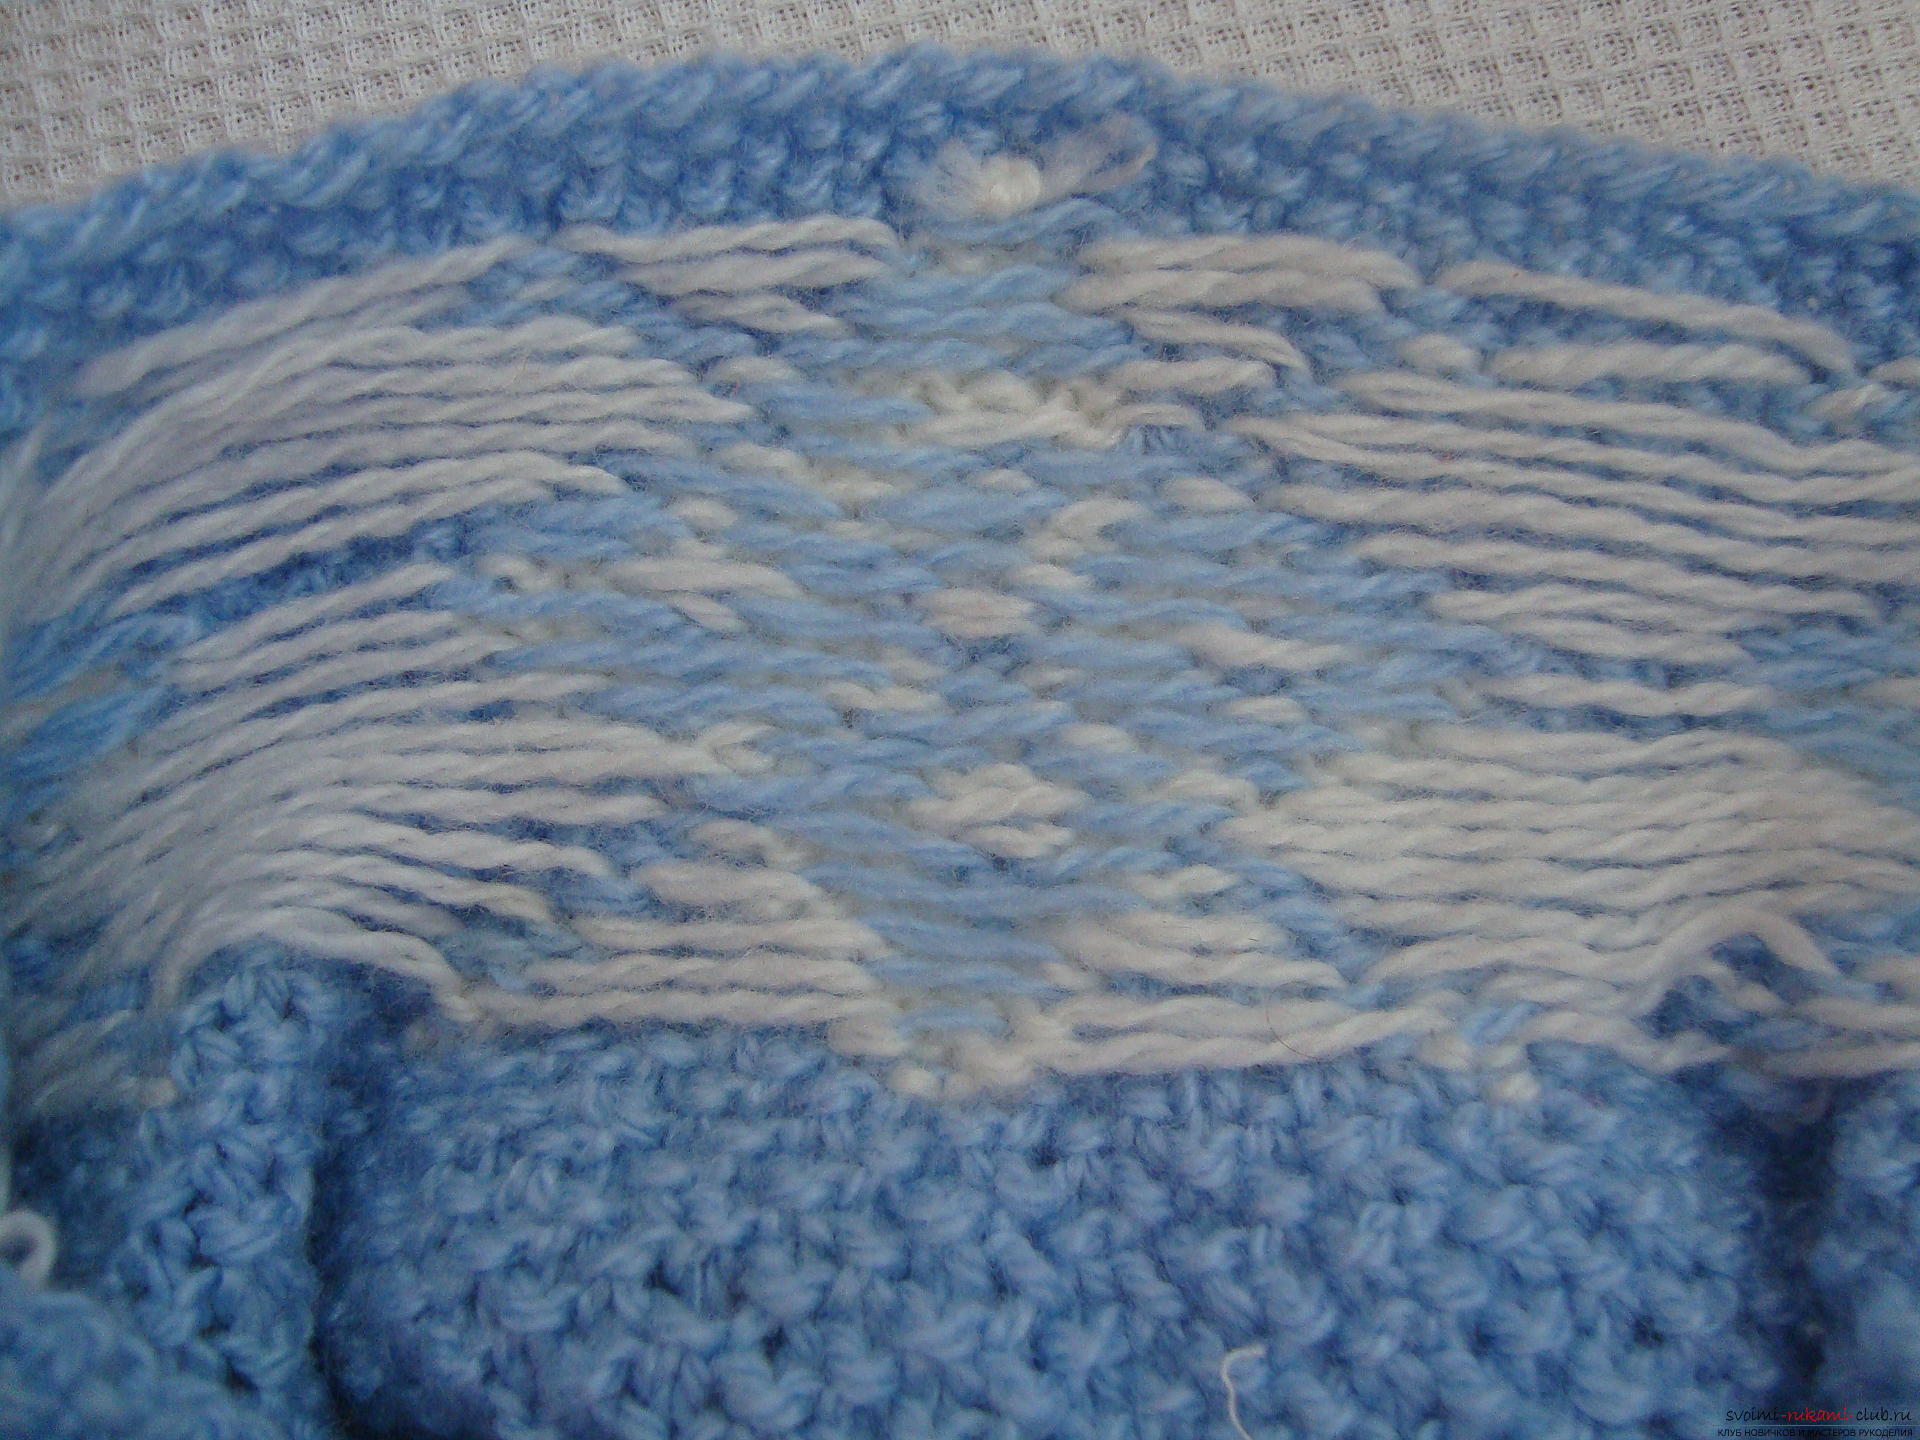 Turn over the work and create aresulting in a pattern, that is, white loops are tied with the same yarn and the same principle, that is, supporting the face of the product on the visible side of the product. In this row, all the yarn pulls will be located before work and adjusting their tension will be much easier. The third row is knitted according to the pattern diagram. In this level, the central part extends and it will be necessary to tie four loops in the center of the center already in white. The branch from the snowflake in the form of an arrow also changes and is closer to the main drawing.
 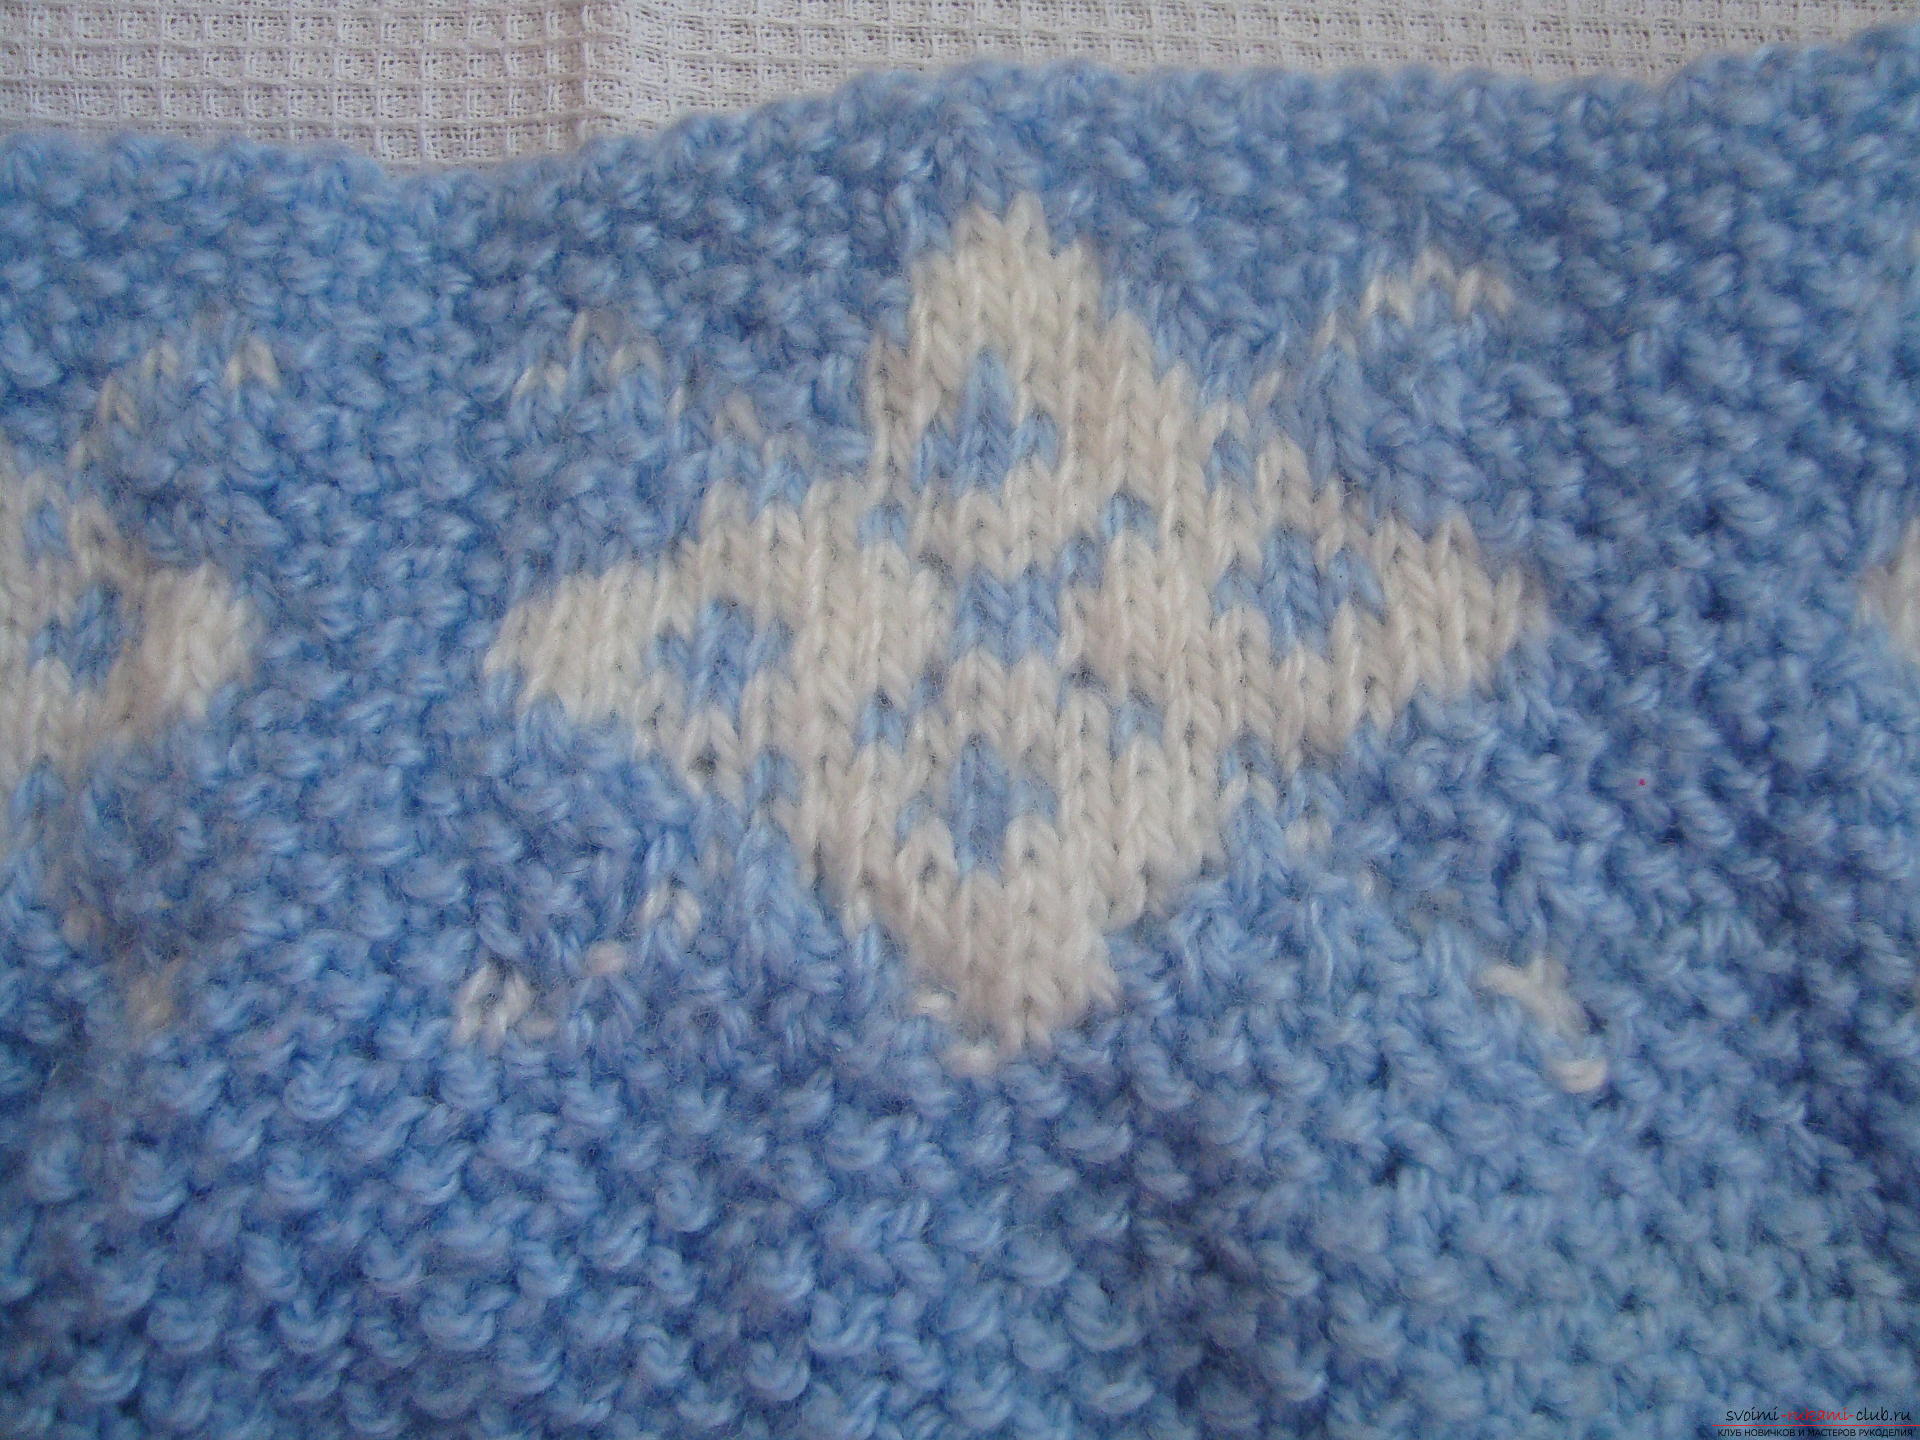 The wrong side is bound strictly toDrawing with yarn tension on the front of the product. Next, form the rows according to the scheme. As you can see, the maximum draw of the thread is seven loops, which is quite enough for tug-of-war. If you decide to increase the scale of the drawing, then the length of the "non-working" yarn will be greater than the distance, which may incur corresponding inconveniences when using a thing. The densest neat pattern is obtained with "gaps" of not more than 4 cm, then the pattern design will even turn out to be two-sided and from the underside it will look pretty attractive. Having tied up to the central horizontal line of the pattern, the pattern pattern begins to narrow. After a few rows, do not forget to start tying out the "paws" of the snowflakes from the remote loops. After creating the peak of the snowflake - the two final loops in the center of the picture, you can gently cut off the white thread and tie it to the next loop. To carry out this manipulation must be strictly on the wrong side of the work. If you create a big thing, for example, a sweater, pants, then the patterns of snowflakes can alternate throughout the work. If you arrange a few snowflakes in the waist area, then a natural slightly tightened pants belt or cuff of the skirt is formed.
 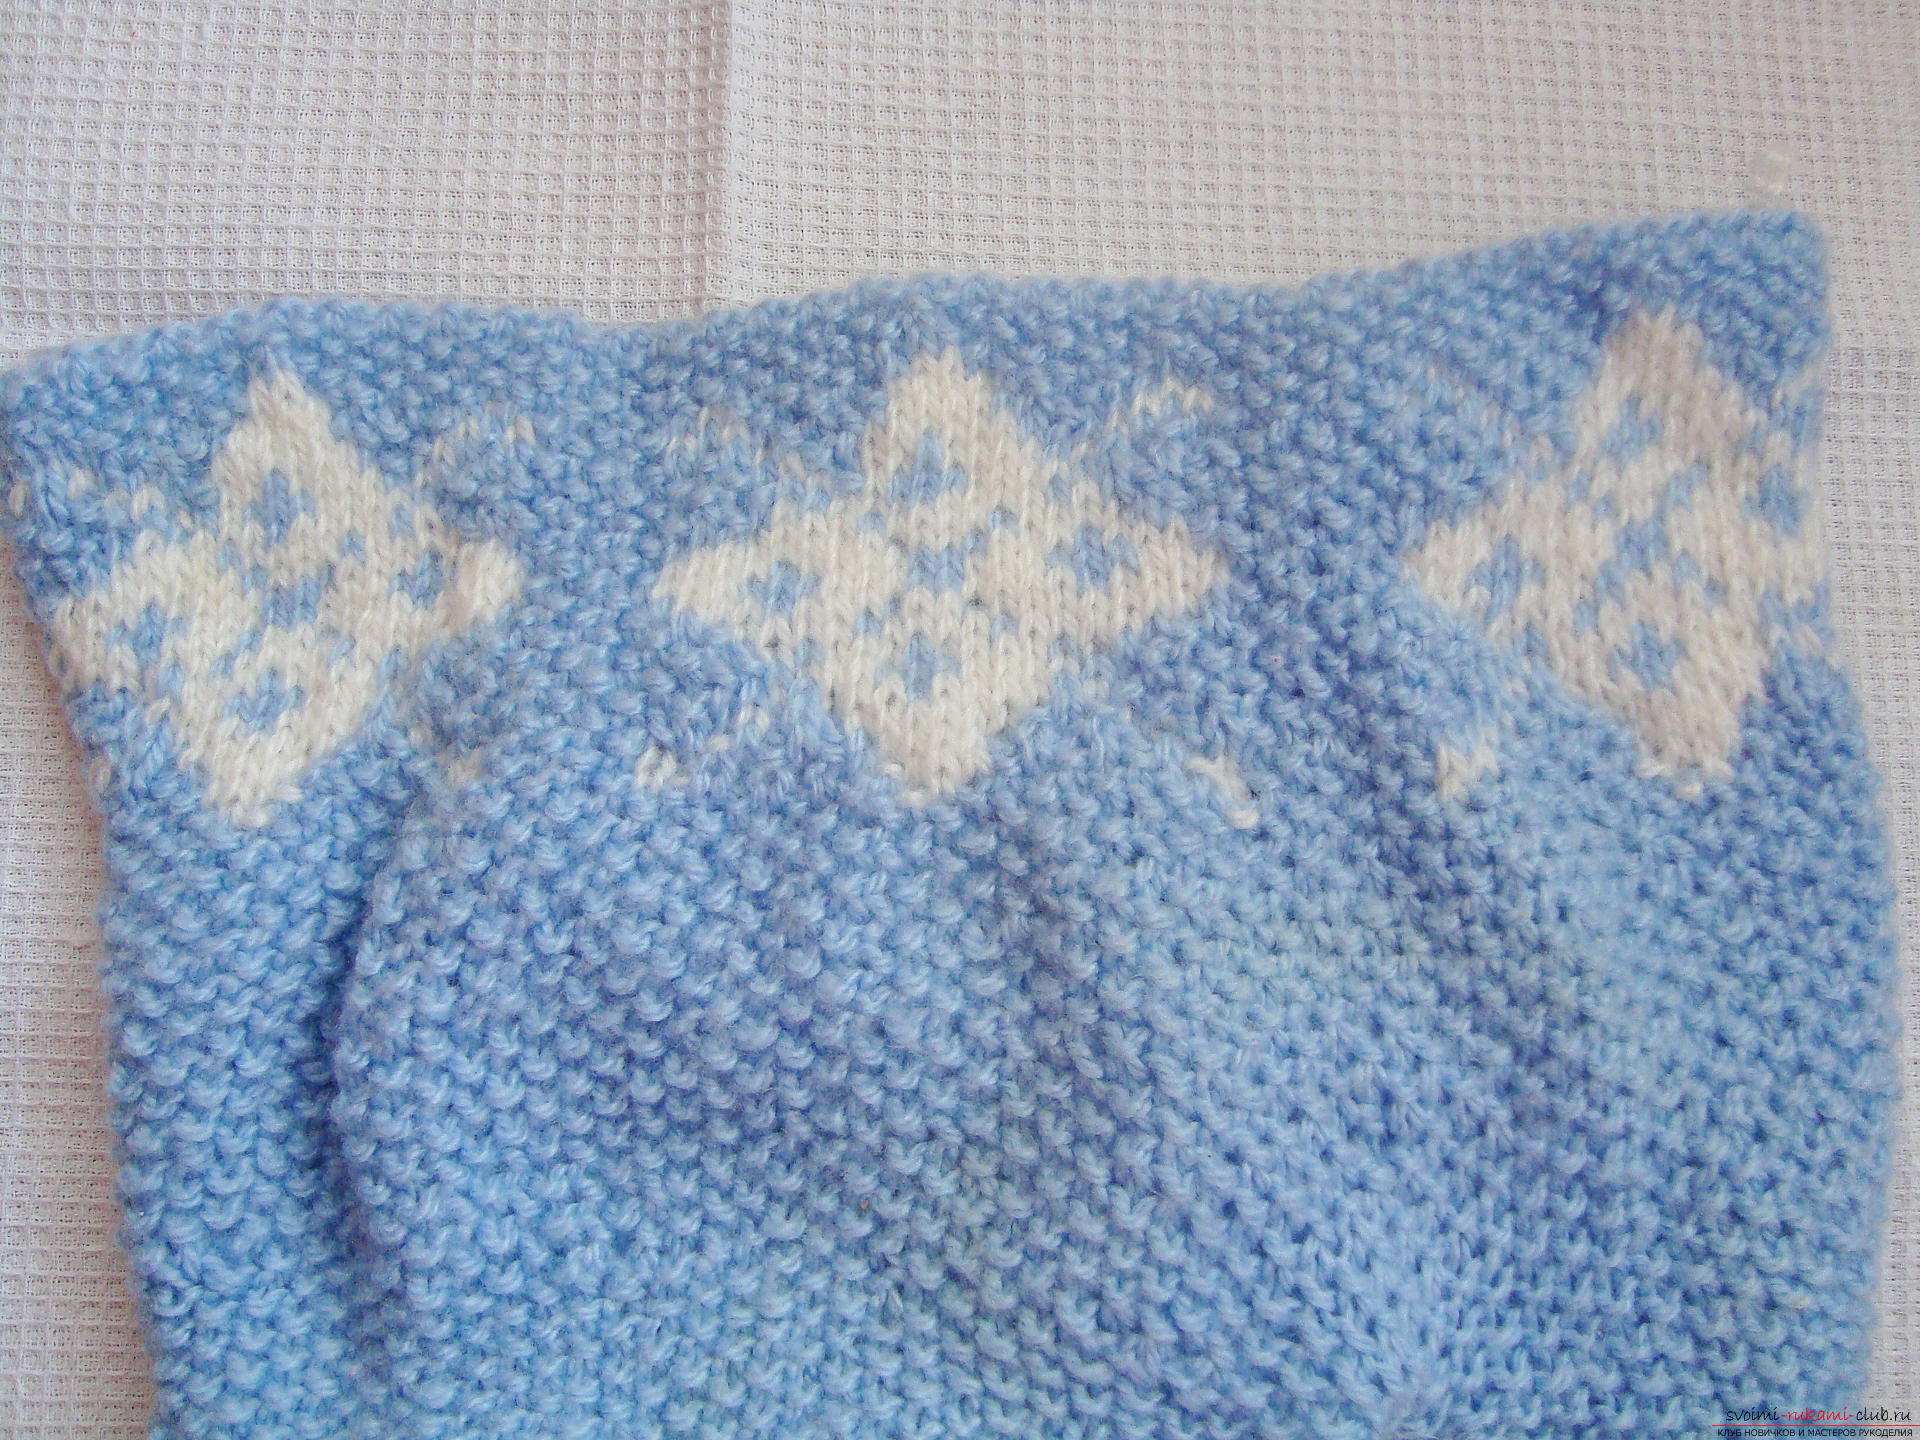 Charming snowflakes are ready! They are universal and perfectly suited for knitting both clothes for boys and girls' outfits. The color of the picture can be created any, and on the belt even alternate the coloring of the details, tying them in a light or a dark tone.
 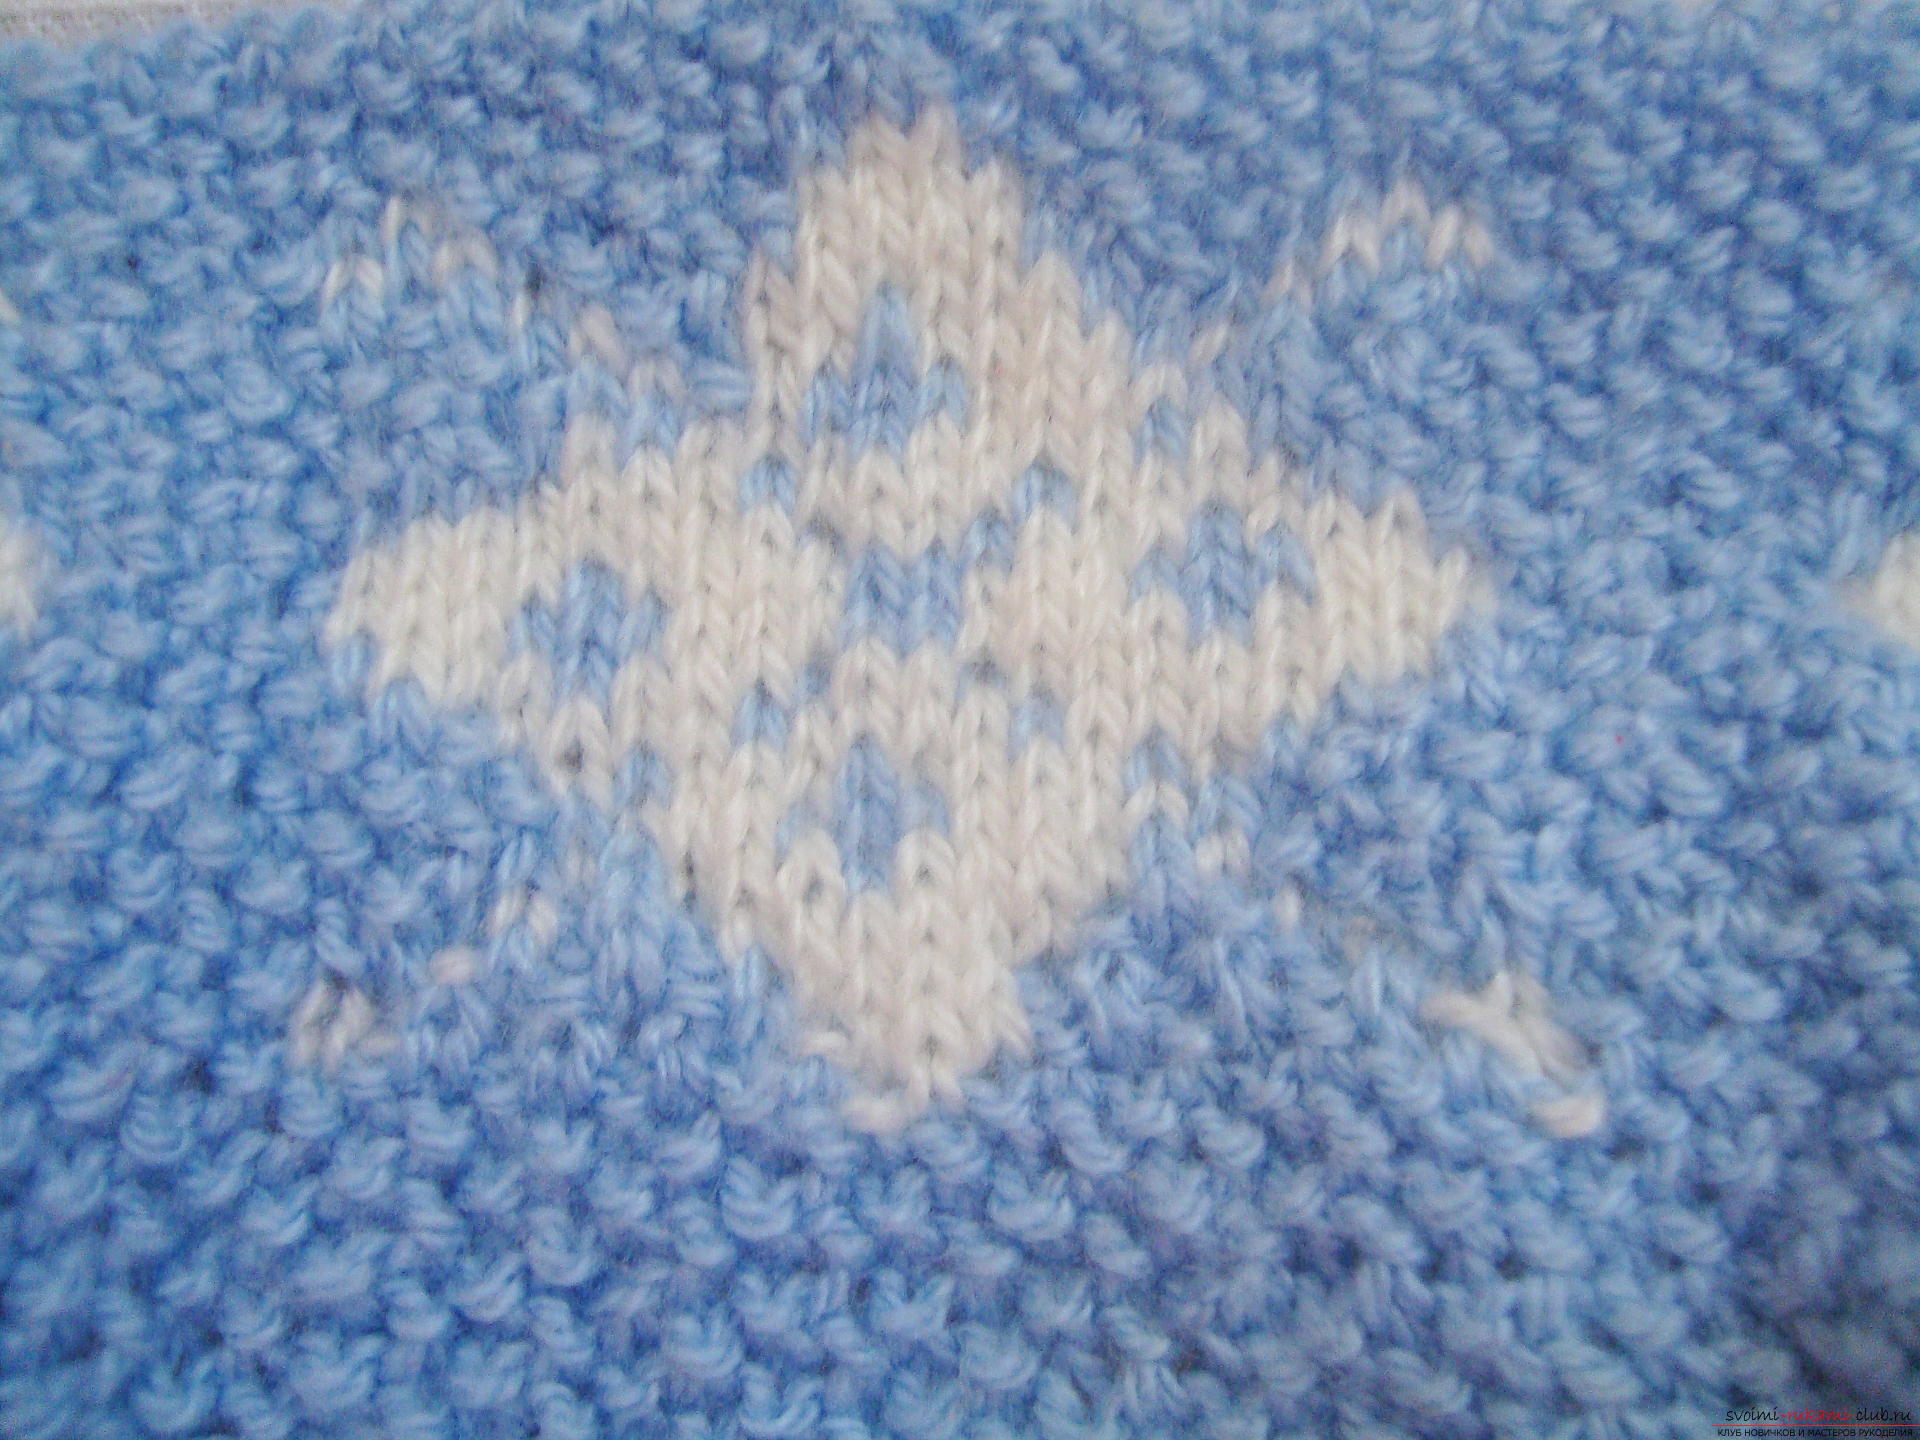 You can slightly change the pattern, remove the "paws"snowflakes and then on the knitted cloth will come out a patterned rhombus. Such a pattern can decorate the jacket, if you distribute the pattern on the front canvas on each side, you can also tie diamonds on trousers and any other children's things.
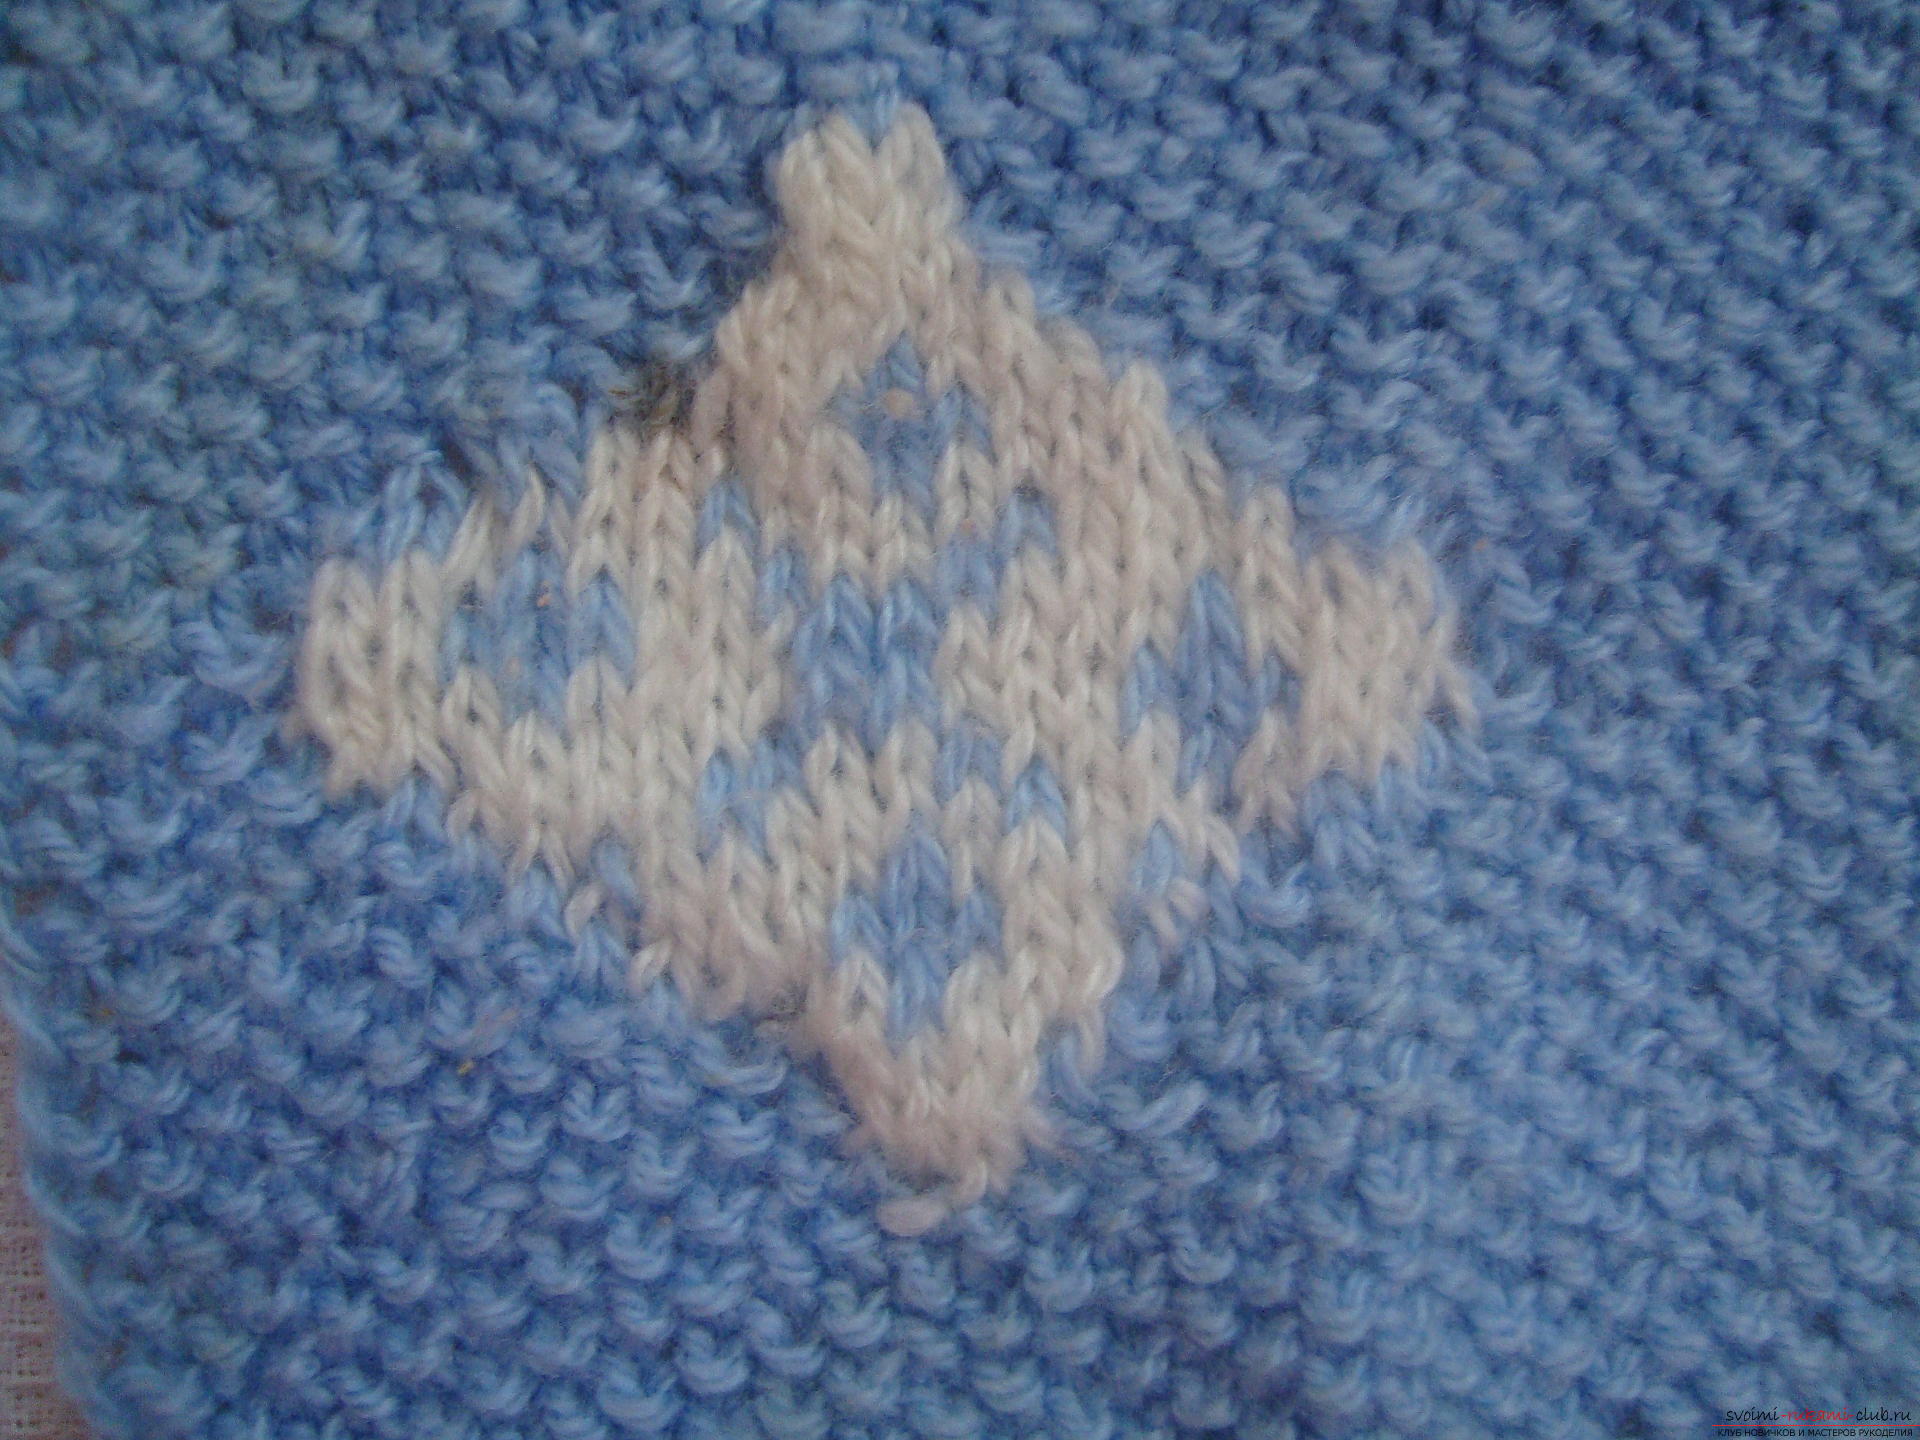
Comments
Related posts:
 We knit with knitting needles a beautiful sweater with a relief pattern according to the scheme with a detailed description, we use a beautiful pattern
 Link the pattern "bundle" with knitting needles in combination with other knitting patterns to create original sweaters, sweaters with patterns, detailed descriptions and photos for free
 How to knit with cute mittens "Winter Tale"? A lesson on knitting winter mittens from acrylic on knitting needles, with a detailed description of steps and photos
 Master-class with step-by-step guidance and photo-instructions for making a decorative candle made from coffee beans
 Crochet crochet lesson for hot Kiwi with detailed instructions and photo steps