
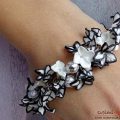
Bracelet "Mandarin" - with their own hands, a master class of polymer clay
When there is free time, many wantspend it with profit. For example, you can learn new techniques. Or make something unique. To your attention the variation of the bright and beautiful bracelet "Mandarin" is offered.
Bracelet "Mandarin" - with their own hands, a master class of polymer clay
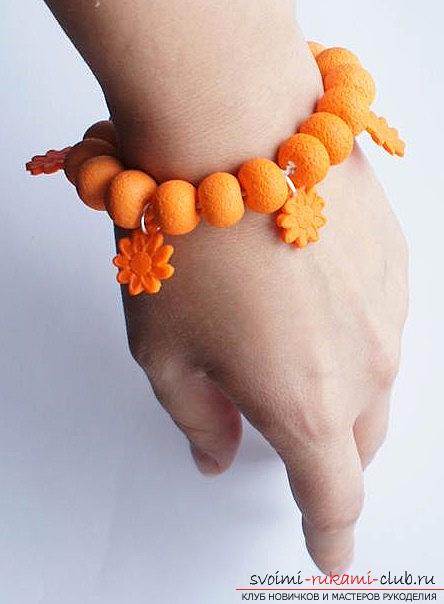 The "Mandarin" bracelet is a unique gift fornew year, good accessory or just, maybe a new challenge for you. It will not be difficult to make it, even with minimal knowledge in the field of decoration of polymer clay. So, let's begin!
- Polymer clay with baking (or plastic)
- Surface for work (tiles)
- Toothpick
- Glue
- Knives (for clay)
- Brush
- Scissors, pliers
- Rings
- Rubber cord
- Salt in large grind
 To create a unique bracelet "Mandarin"we may need to choose a color. Of course, it's orange and beige - for decorating a mandarin. It is necessary to cut off a small piece of plastic, as it is done in photo-instructions. We cut off for a hand with a girth of 18 centimeters. It will take two pieces of the appropriate size for each of the colors. Then, you need to cut the pieces diagonally.
  Blending colors After this - we mix twocolors with each other. Then, you need to cut small rectangular pieces that will be needed to complete the beads. The larger the bead, the more the piece of the rectangle should be. Depending on the number of beads for future work. Our beads will be in the size of 1 centimeter on the bead.
 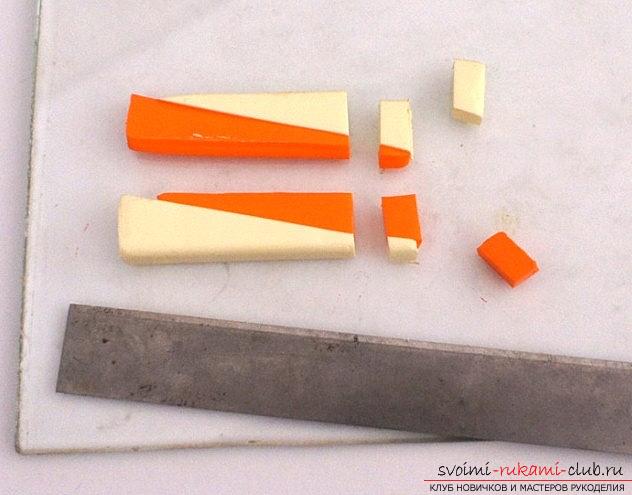 Pieces of different colors must be mixed to shadesingle color. We put the work on the surface, where the baking will be done. The transition should exit smoothly. Then, the blanks must be soaked in the usual salt for coarse grinding and after that, roll them between the palms. The salt must be imprinted in the bead. Each bead does this in two or three ways.
 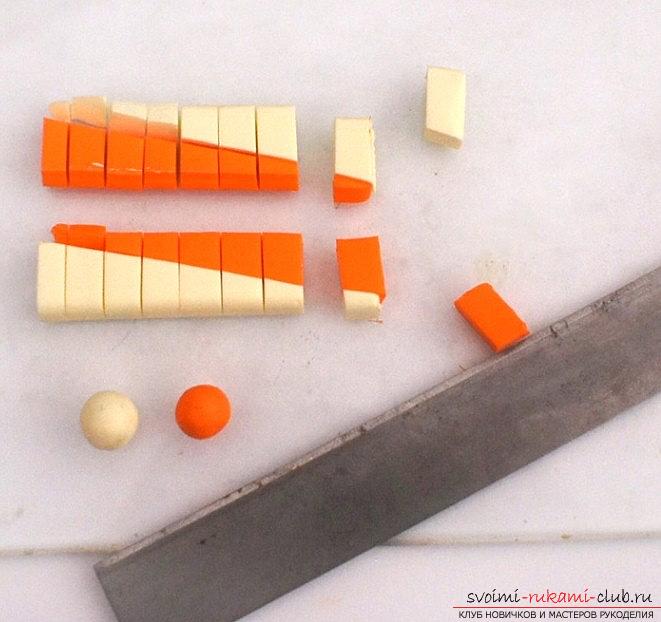 Holes and preparation for the bracelet
  The beads are rough, with a surface. Using a toothpick, make small holes to insert a rubber cord there. Spread the beads on a glass or other surface. Then, decorate the bead with a pendant. Suspension is worth doing, if you will (or give) only one set of beads. If there are two or three sets, they will get in the way. Then, it is necessary to roll out the clay layer using a die. Suitable corrugated paper. We will get the necessary imprint. The stamp is covered with talc, using a brush, carefully working each groove. To get involved is not too much to get rid of surplus. Next, you need to make prints for the plastic that is on the paper surface. Thus, the pattern is not smeared on the other surface.
  Cooking Suspension
 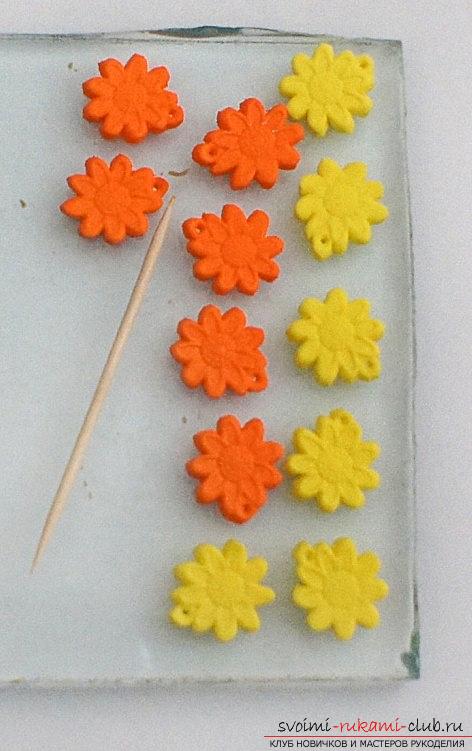 Stamp should be prepared in advance, usingimprint of the suspension from metal, on a piece of plastic. Next, make a small number of pendants in yellow and orange. Lay out on the glass for a future bracelet. End of work
  We bake in the oven usinginstructions for polymer clay. We will wait for cooling, then, it is necessary to wash the beads in a water base, wash off all unnecessary (salt). Beads will be with a rough surface, but touch them - nice. A thick rubber cord is perfect for assembling a bracelet. Use the transition color gradient. On the nodule you need to drip with sticky substance. Need to trim the tail. Do this after the adhesive substance has dried. We hide a knot with glue in one of the beads. We attach the necessary suspension, using rings and a device "plaskogubtsy." Everything, our bracelet for the winter holidays is ready!
Comments
Related posts:
 How to create a bracelet of polymer clay with your own hands, master class with a photo.
 We make a figure of a snowman from polymer clay - a master class with our own hands
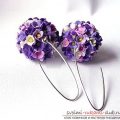 Earrings-flowers from polymer clay with their own hands - master class
 Pearl bead from polymer clay own hands - master class
 Master class on modeling dolls from polymer clay with their own hands