Brooch made of beads: ways to create your own hands (video)
Content
- Brooch in the form of a bow of beads own hands
- Video: Shaving bow with bead for brooch
- Master-class composition bead brooch
- Brooch made of beads using cabochon
- Video: Master-class weaving of brooch from beads
In the arsenal of modern women of fashion more and more oftenThere are brooches from beads. They are used for stamping handkerchiefs and scarves, for decorating clothes and bags. And also often used as accessories for hats and hats.
As you know, if you know how to work with beads, thenYou can do whatever you want with your own hands. Starting from huge paintings and reaching small jewelry. This master class will tell you how to create brooches from beads using a weaving technique, using simple schemes.
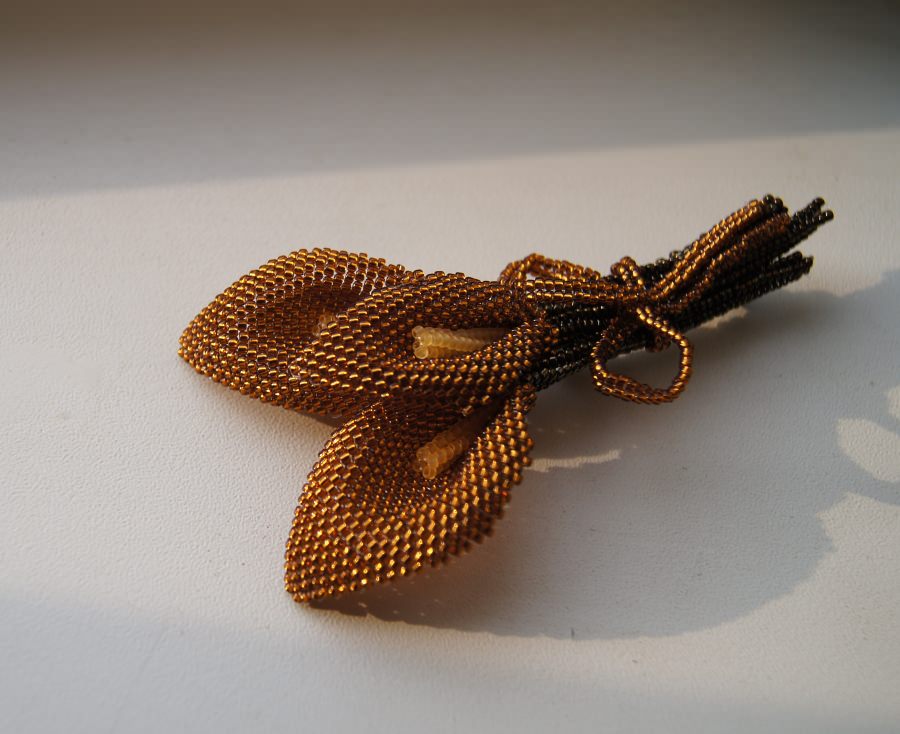
Brooch in the form of a bow of beads own hands
With the help of a simple scheme, our master classHelp create a beautiful bow. He can become a brooch, or any other accessory. Everything will depend on its size, and therefore on the size of the beads that you will use to create it.
To make your own hands so sweetThing, prepare the beads of two or more colors, but absolutely the same size. Also, for braiding the bow, you will need a fishing line or a special thread for beads, a needle that is suitable for the size and scissors.
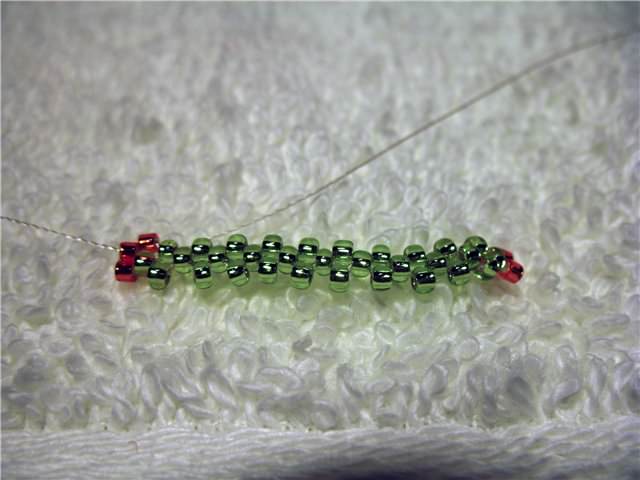
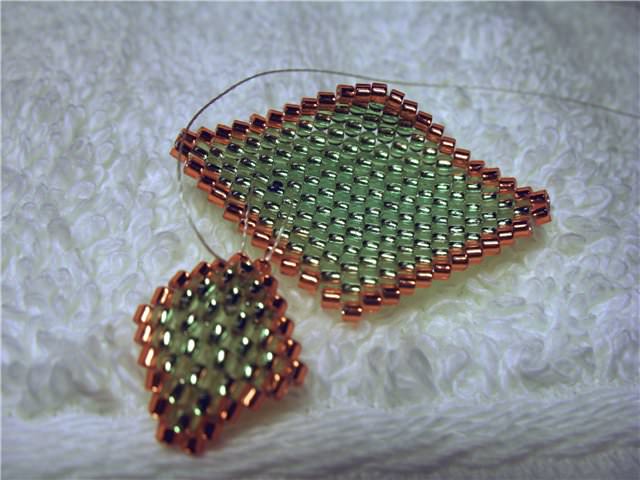
We cut off the thread or fishing line of a convenient size,We fill it in the needle and type 23 beads on the string. We pass the first row with a mosaic technique of weaving and then continue, reducing the beads in each row. Thus, we create a triangular shape. When we have two beads left, fix the thread the way you like. Now we attach the thread to the wide part of the triangle and the plait in the opposite direction in exactly the same way. At the end of the weaving, we fix the thread again. Now we have a rhombus from the triangular shape. This master class involves creating two exactly the same rhombuses.


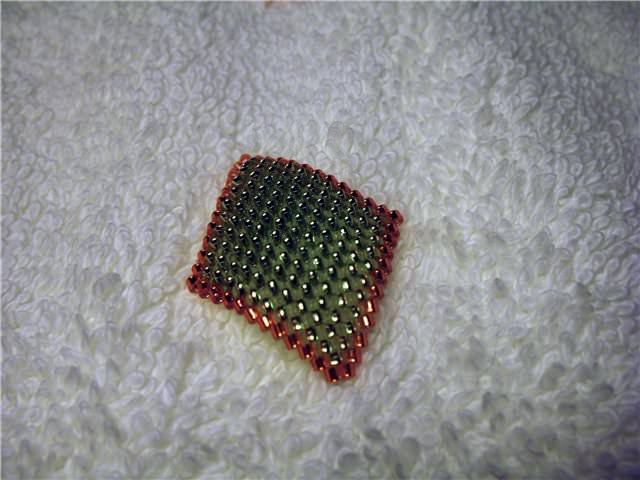
After we finished the weaving of largeRhombuses, go to the finer details. To create a small rhombus, we gain on the thread no longer twenty-three, but eleven beads. Shaving, without departing from the previous scheme for large diamonds. Little details in the end, too, should be two.


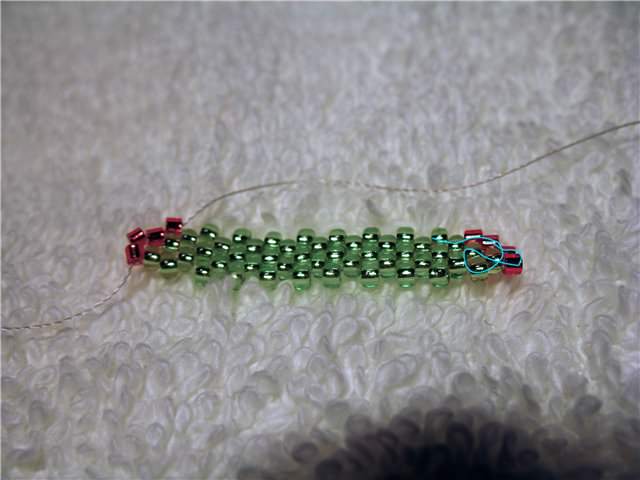
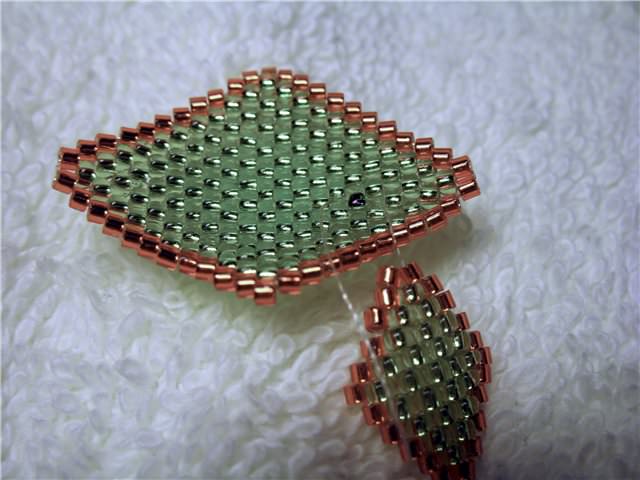
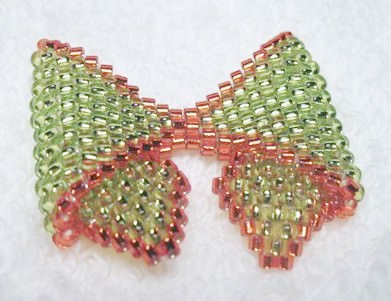
Arrange the large diamond so that it hasHorizontal direction. From the right angle, count six rows. In the seventh row, we determine the fifth bead from above. We introduce a needle into it and pass through a bead located next door - in the eighth row. Attach a small diamond. To do this, line through two beads located at the top of the corner of the diamond. Fasten and cut the thread or line to which you tied a diamond. Similarly, the second half of the bow is created. Now it is necessary to connect two opposite corners of a large diamond. This should be done with both preparations.


You can see the process of weaving your own bow on the diagram.

You can connect the two halves together. In this case, draw a line or thread that you use, swipe through all the beads. Four on one side, in the place where you connected the two corners of the diamond and the same on the other half of the bow. The thread is fixed and cut.

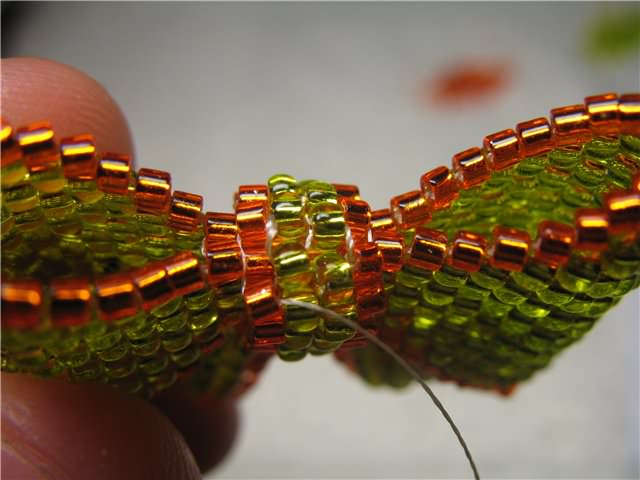
And now we need to add to our bowImitation of the node. For this, using the same mosaic weave, create a jumper. To do this, we select four beads and we will weave a rectangle of this size so that we can wrap it around the middle of the bow.
To complete our master class, you just needSew this jumper to its place, in the middle of the bow. And that's all. Our bow is ready. Now it remains only to attach to it the fastener used for brooches. The fastener can be sewn or glued on the brooch, using the glue of the moment.

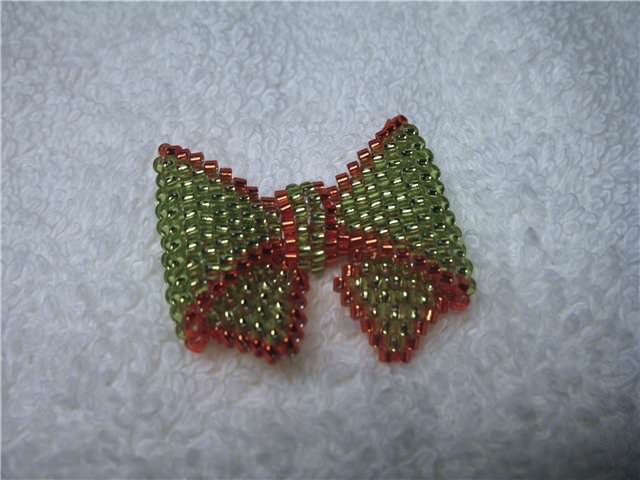
The same bow can be attached to the hairpins. Or add accessories to it and turn it into an earring. Then it is better to make the same pairing bow. And you can even use it as a decoration for a postcard or notepad. But then it must be made of a very small bead. Also on the basis of this scheme you can develop your own individual variant. Add your ribbon stripes, cage or even peas. Experiment with colors and shades and you will certainly get a very original accessory.
Video: Shaving bow with bead for brooch
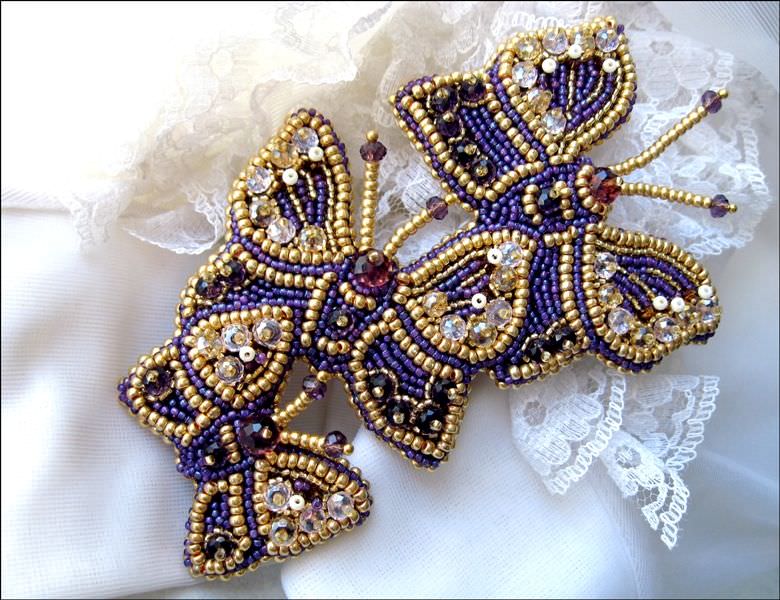
Master-class composition bead brooch
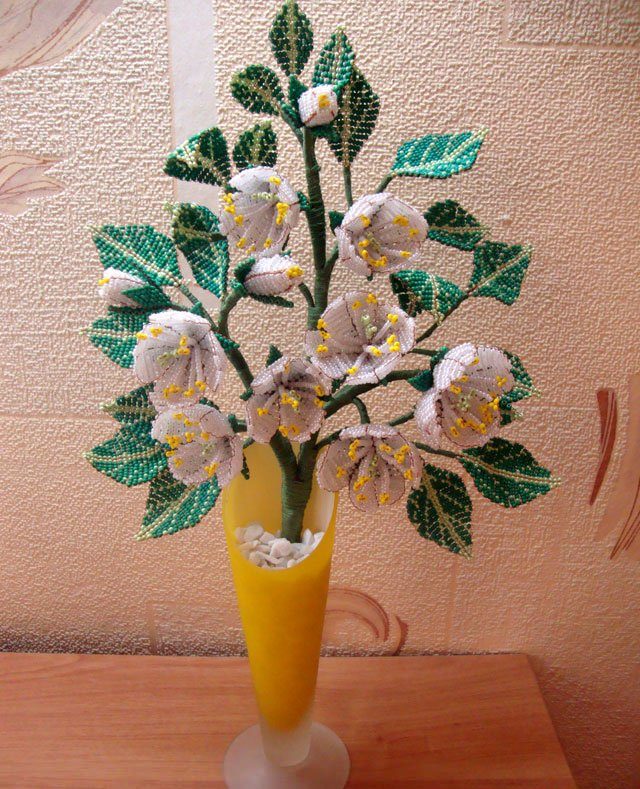
Composite brooch - this is a brooch made of beads,Which consists of separate elements. All these elements are assembled together and represent a harmonious composition. It's not difficult to make a composition brooch with your own hands. Consider this process using the example of creating a clover leaf with a ladybug and a drop of dew. We will use the following simple schemes.
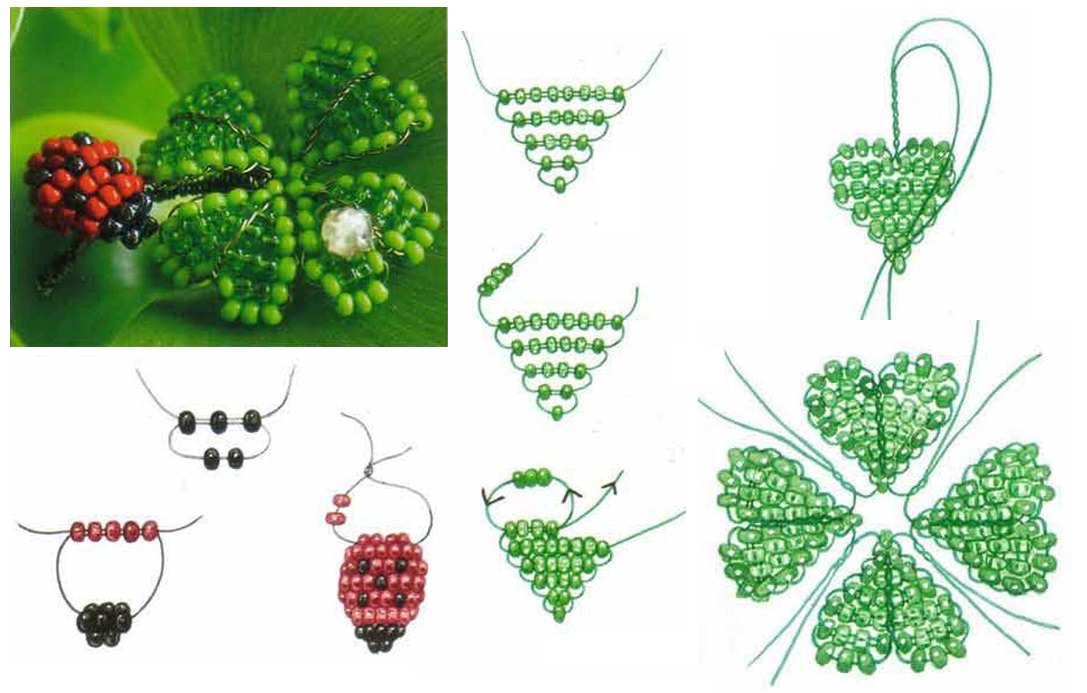
In this master class, the simplest techniques of weaving are used, which are not difficult to carry out even for novice needlewomen.
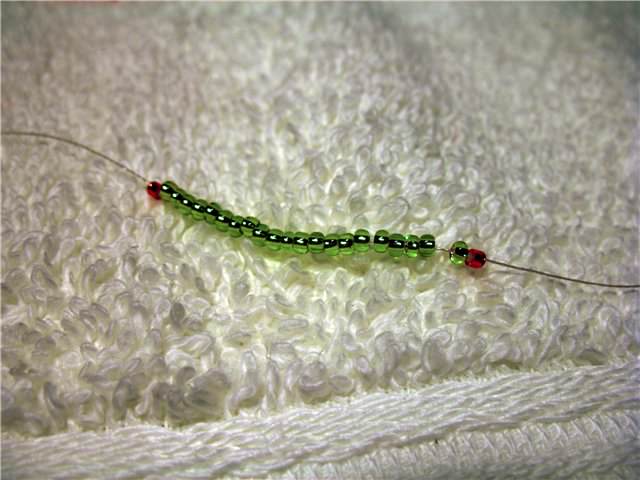
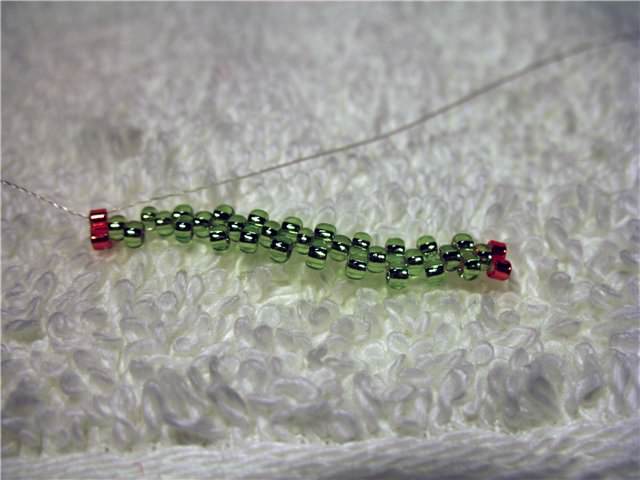
To weave four-leafed clover to youUseful light green material of two kinds. This is a transparent beads and matte. And also green wire and one bead of pearl color. Each sheet of clover consists of two halves. We weave and collect the leaf according to the scheme. After the clover is collected, sew a pearl bead to it. It will mimic a drop of dew.
Now we will create God's own handsThe cow. For this we need a red and black beads. It should be exactly the same size. Wires use a color that will be suitable for any shade of beads. Use the technique of parallel weaving, focusing on the scheme. At the end of the work, attach your bug to the clover leaf.
That's all. Our master class is over, like our brooch. It remains only to attach it to the buckle and decorate something with this nice little thing.
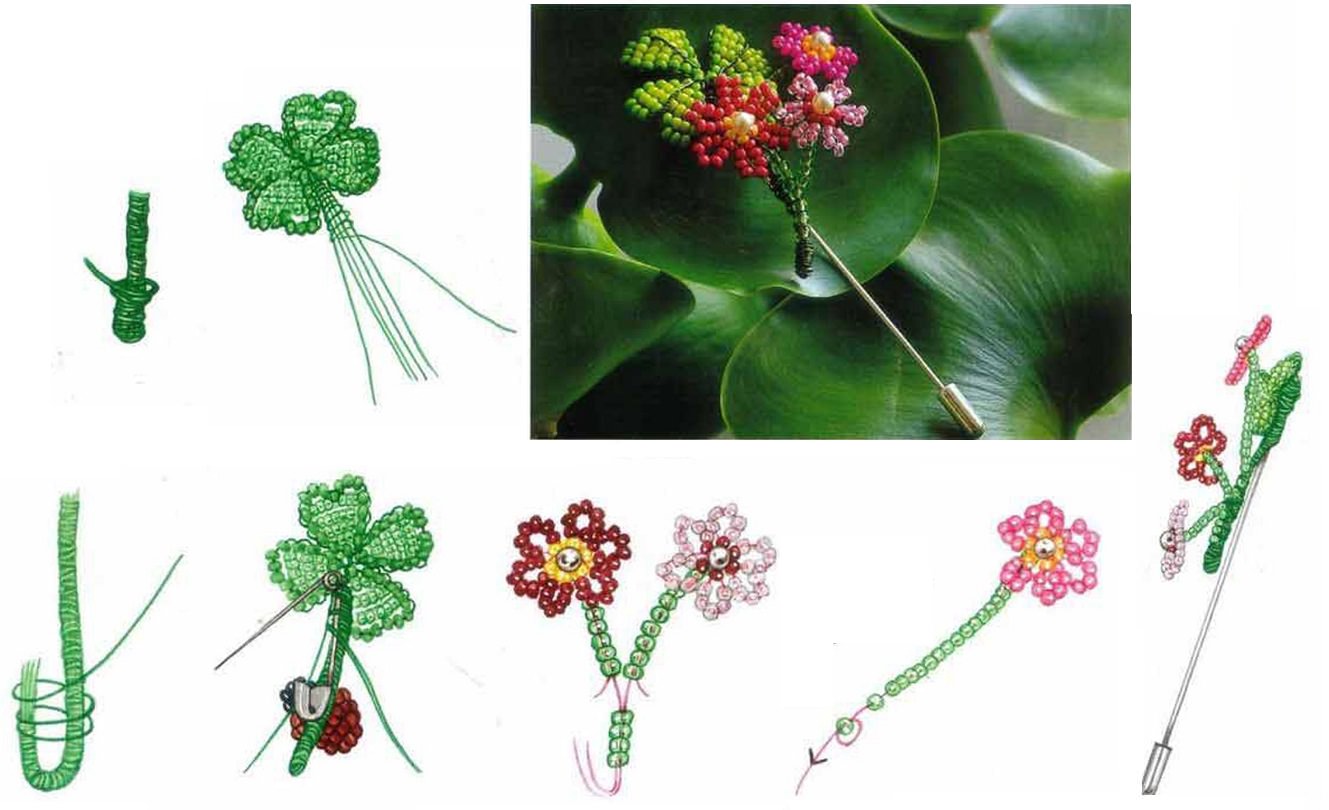
Such a sweet leaf can be combined not only with the beetle, but also with small flowers. You can also make a similar pendant in a pair of your brooch.
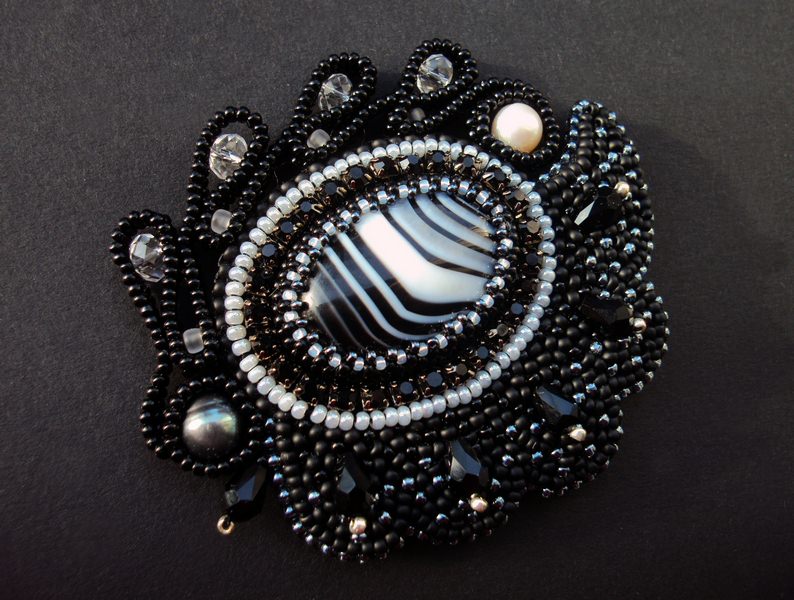
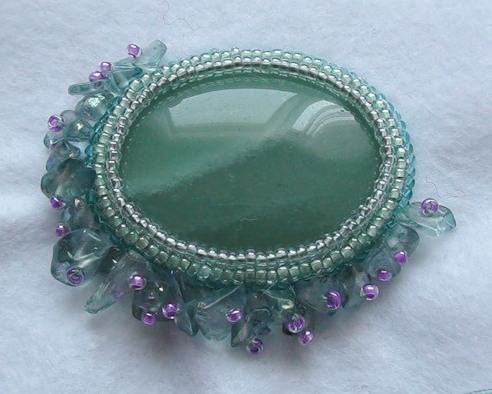
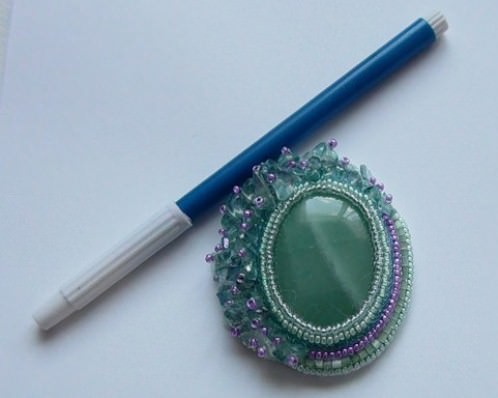
Brooch made of beads using cabochon
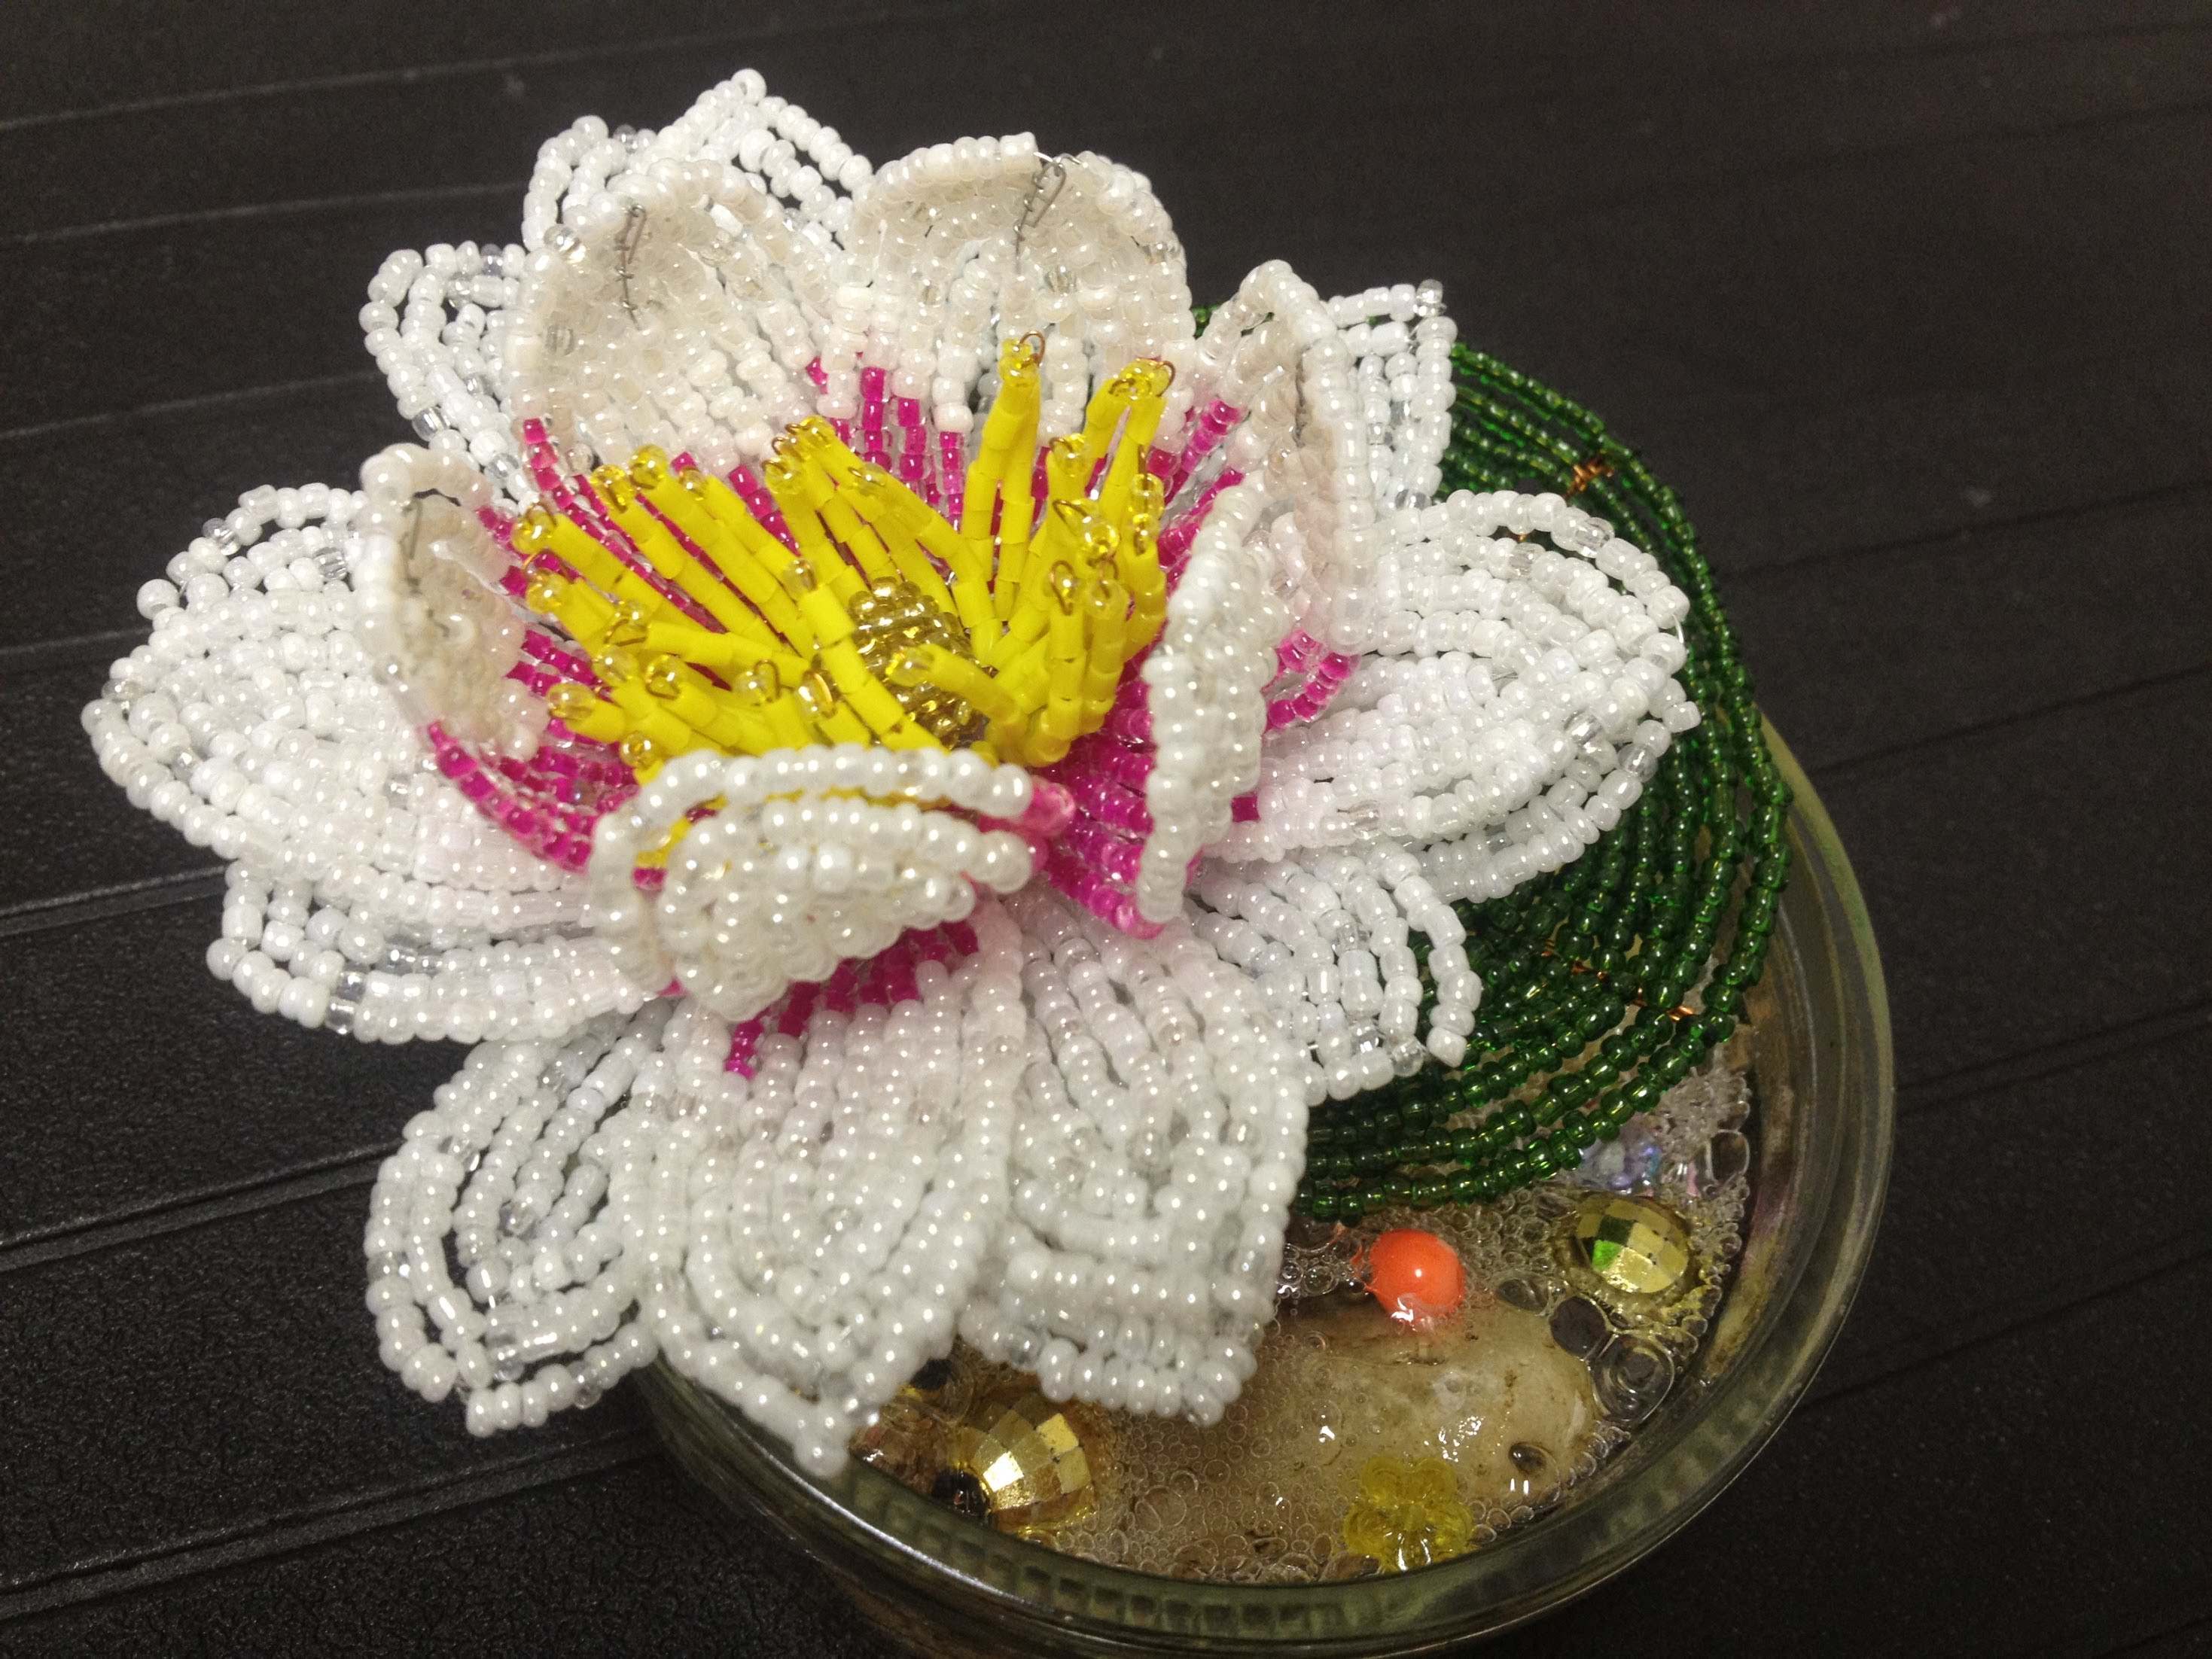
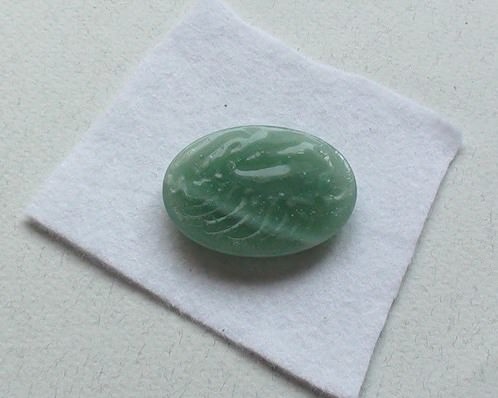
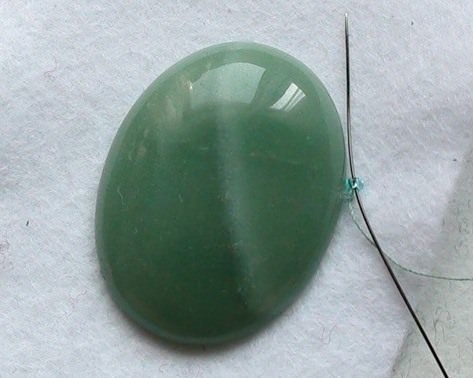
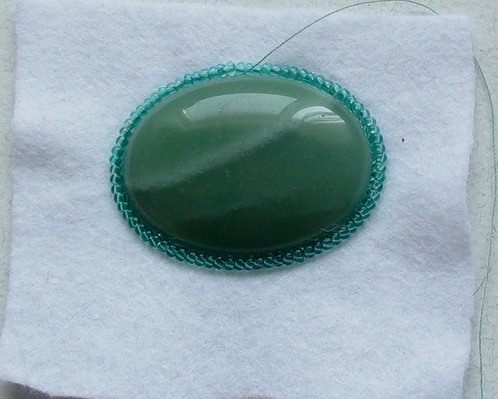
You can not make brooches from beads with your own hands.Only by weaving, but also by sewing beads on a fabric or felt base. In this way, you can create beautiful products of completely different shapes and colors. You can use only beads, and you can embroider cabochons and add beads of all shapes. You can also braid the beads with braided braids of wire.
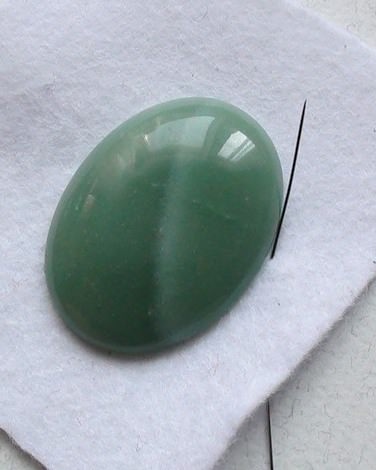
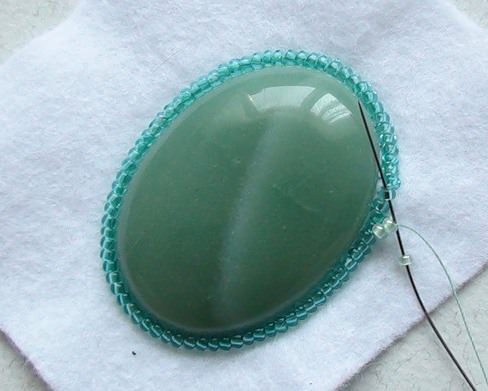
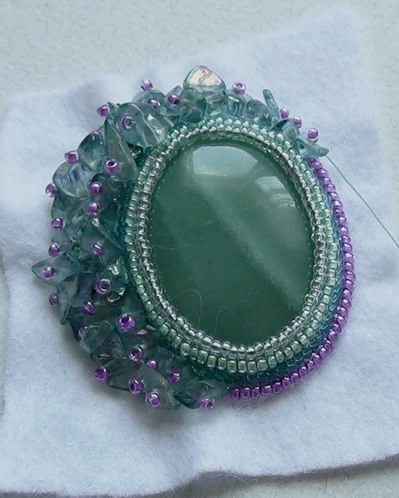
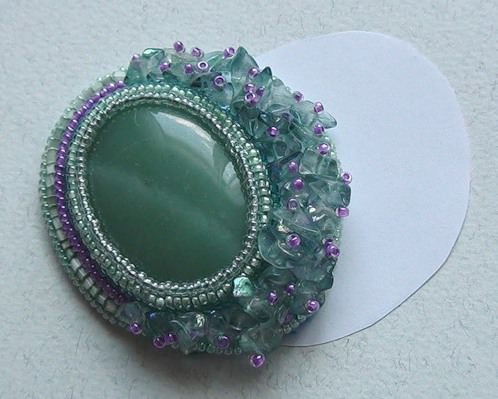
To flaunt the cabochon beads, you first needGlue it to the fabric. After the workpiece dries. Then we begin the weaving, or rather the embroidery of the first row. Sew two beads using the "forward needle" method. Again, sew the two beads and add two more. Now pass the needle through three beads and again add two. We continue this way to the end of the series.


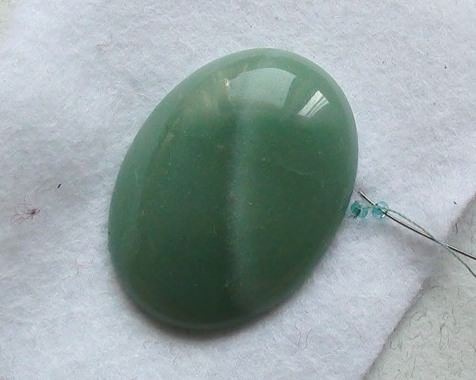


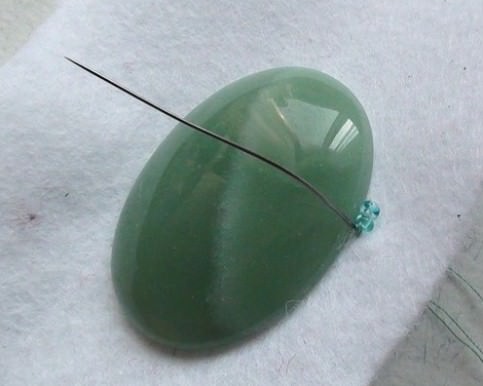
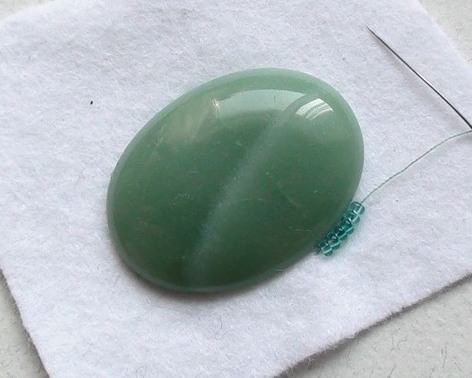
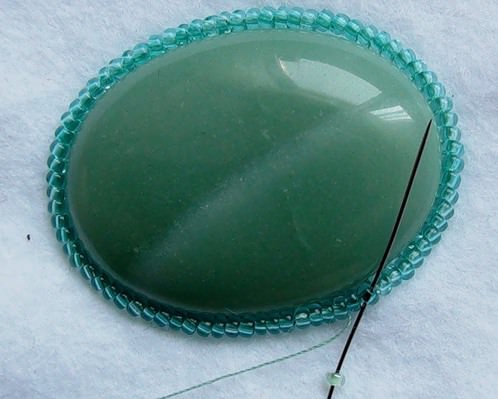
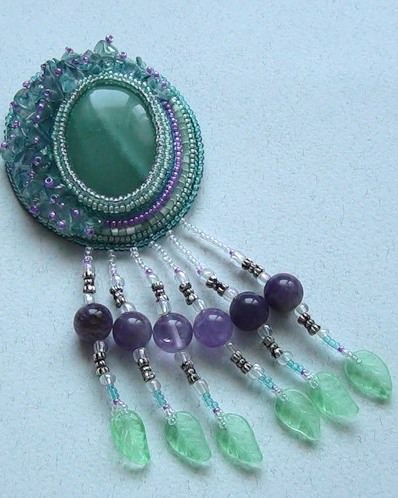
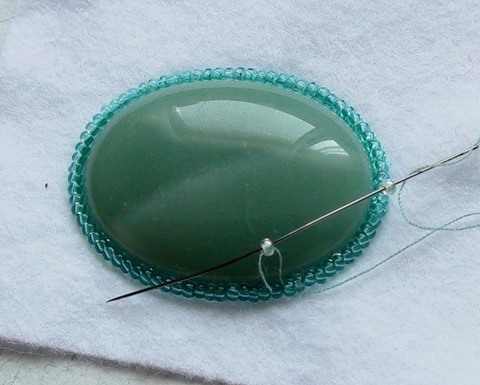
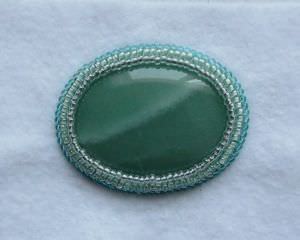
Inside the first row, create the second, usingMore small beads. It is the second row and will be the element that holds the cabochon. When it is completed, it is necessary to pass a couple of times around the circle. Now outside the first ring is a third row of platters.
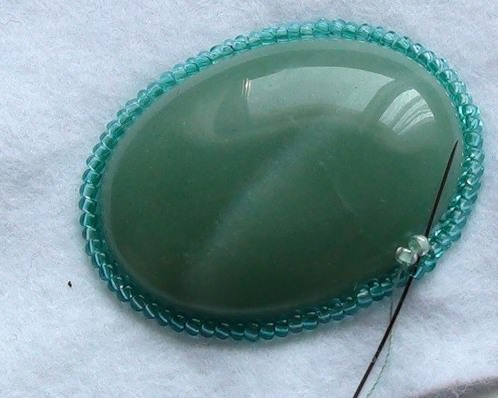

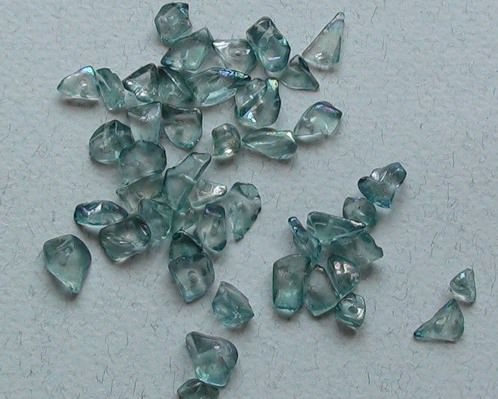
You can also continue decorating the brooch using a stone crumb.
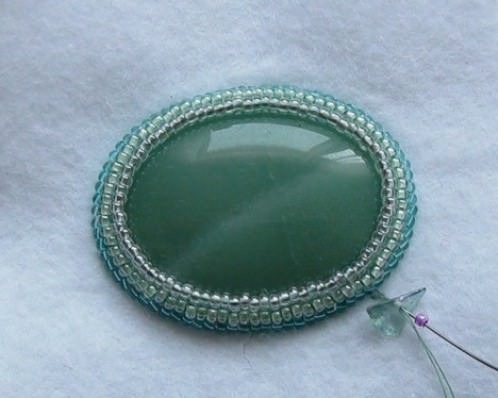
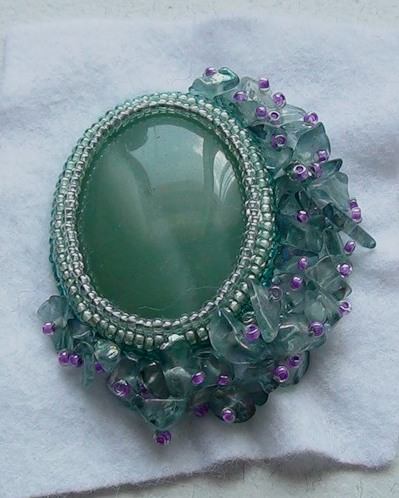

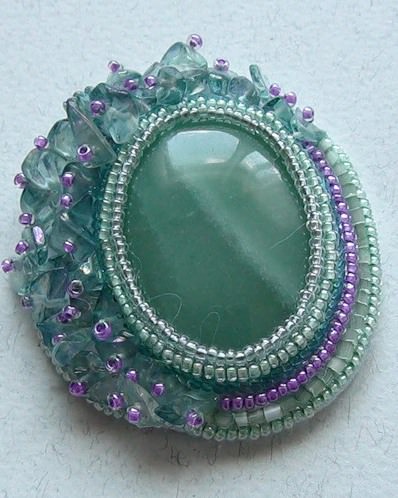
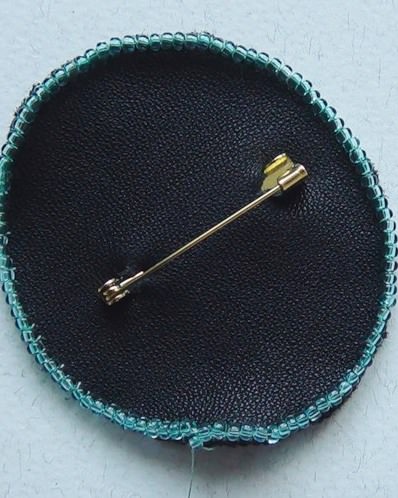
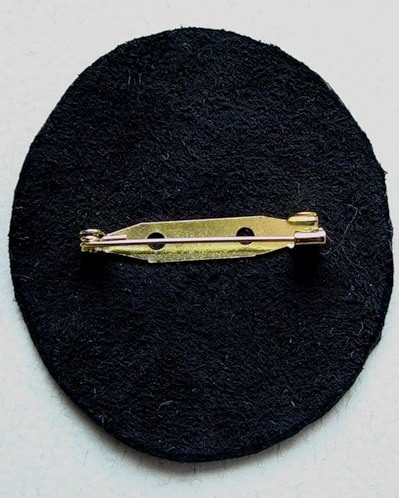
We glue the clasp to a piece of leather. From above, glue this clasp with the same piece of skin in which to pre-make holes for it. And we attach this part with the help of beads to our workpiece. In principle, at this stage you can stop, but you can still somehow zadekorirovat edge. Add bubbly loops or protrusions. This can already be an independent brooch.


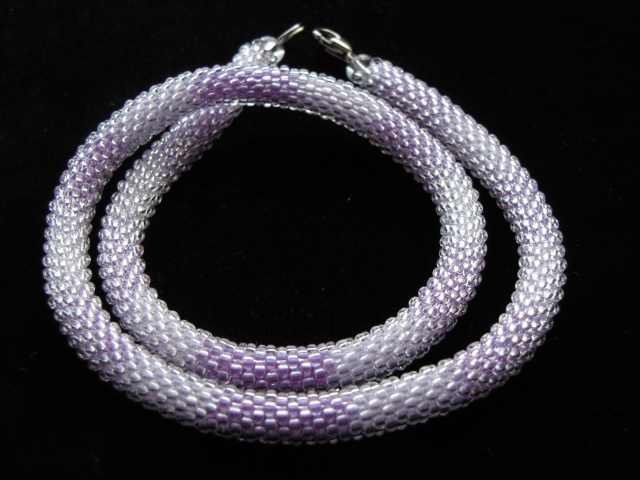
Such a master class can only be a stageCreating something more large-scale. You can join similar blanks in one piece and combine with different beads and decorative elements. Attach the details made with the help of weaving. So you can create with your own hands from beads, not only a brooch, but also bracelets, necklaces and even beautiful belts.