It is not difficult to build a wooden house. We will be able to help you with our detailed instructions with photos and diagrams
Build a house of wood materials with your ownThe construction of a wooden house is quite easy. The beam can be selected as the main material. The structures of this material are durable, durable, it has a standard shrinkage, the material itself is fairly smooth and even. Most conveniently you will work with rounded logs. However, here you can not do without qualified training. Profiled bar will give an opportunity not to spend money on finishing, but this material is quite expensive and we do not recommend working with it. If you are planning in the future home only temporary residence (for example, a dacha option), then warming it additionally does not make sense. But in case of permanent residence, it will be necessary to insulate it from the outside. So, let's get started. The first step: preparatory work and foundation construction. Before you begin the construction of the foundation, you must determine the geological features of the terrain on which you will erect your construction (groundwater level, soil specifics, the foundations of the foundations of the earlier constructed houses). For example: If the soil is light in the selected area, then you need to fill the foundation with 45-50 centimeters, and put 40 cm above the ground. If the plot is clay, then you need to install the foundation deeply and make it strong, otherwise it will freeze.  Foundation. Its construction begins with the laying of trenches, removing the upper layer of the soil. To compact it, you can pour water on the emerging sand. After that, in the excavated trenches, crush gravel and put a few pieces of reinforcement, tied in the corners. The use of reinforcement will ensure the high strength of your future home. The use of ready-made concrete is unlikely to suit you, as it is quite expensive, and a car with concrete can not drive up to every site. Therefore, starting to build a wooden house with your own hands, you should stock up on the concrete mixer. If this is not possible, then you have to do it manually, but it's very difficult. The foundation should be given at least one or two weeks. A faster version of the foundation will be a pile, which in financial terms will not yield to concrete, but it can be installed much faster - a day or two. The second step: a few moments reassembling the house from the beam Preparation of wooden nails To your wooden house turned out high-quality, you need to collect it using the same nagel. Make them very easy. You need solid trimming of the board. They need to be cut with a saw on one side, then sawn in the size of 1.2 centimeters. So, you will get even wooden planks. After that we process them with a saw on a tree, so that we have a stick with a square section. And after all this, you need to process one edge with an ordinary ax. It is much easier to buy wooden nails, whose diameter is 2.4 -2.5 centimeters.
 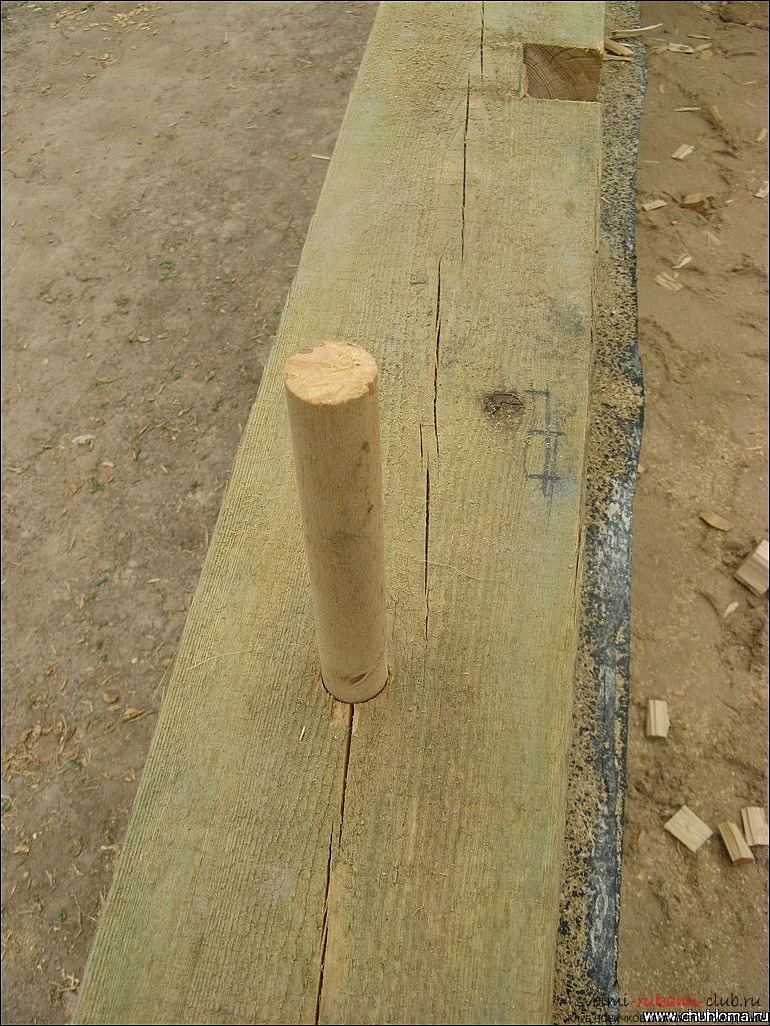 Choosing a heaterat home it will require its warming. Today, quite often used insulation in rolls. But you can save money if you decide to apply moss, which has many advantages (air purifier, environmentally friendly, economically profitable). We make window and door jambs
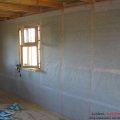
 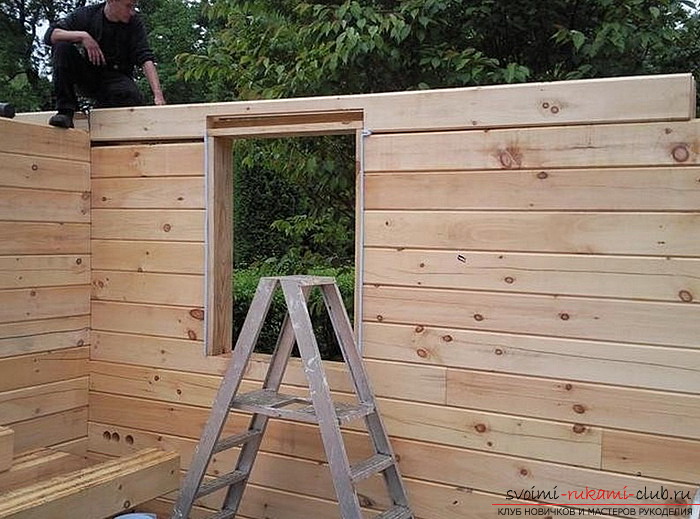 Make wooden jambs with your own hands will beit is not easy, therefore we offer you the easiest way of their manufacture. To do this, take the most level beam and workbench. With a circular saw we cut along the bar, after which excess material is removed by the chisel. The opening for the window must include several vertical jambs. And the horizontal component will be replaced by a massive window block. As for the opening for the doors, here we need to make grooves in the unfinished beam, as on the jambs vertically. Just by the circular saw we make the cuts, drill the grooves under the wooden nails (d = 2,5 cm). Then we make a rectangle with a saw blade, sawing the fibers only across. We leave the upper part of the horizontal bar aside, and to the underside we nail the pad that mimics the "quarter".
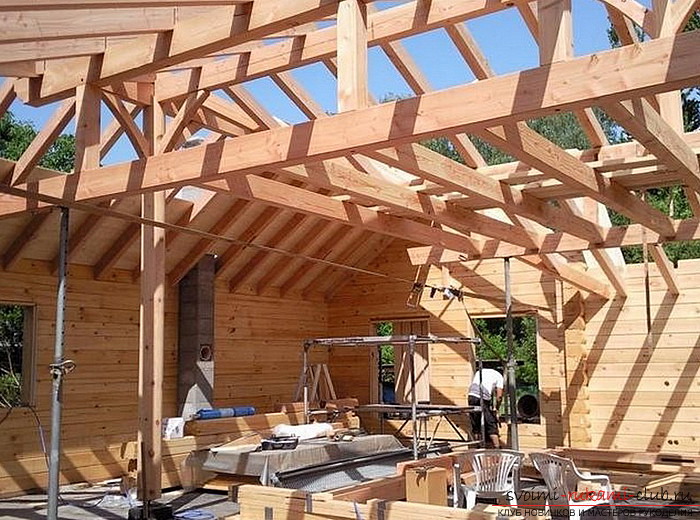
 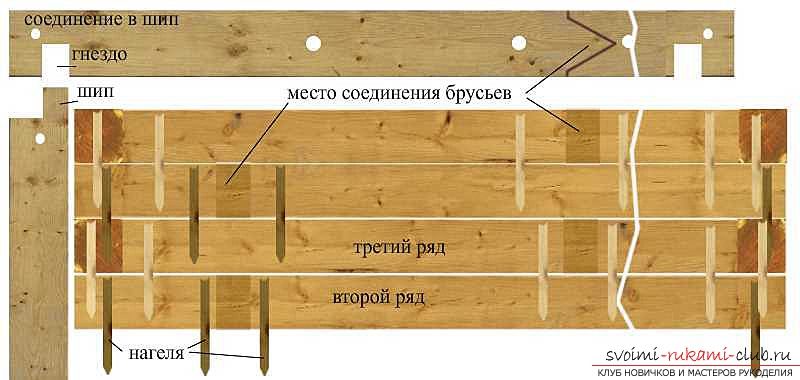 The third step: we collect the house from a bar For this we need: Laying the crowns Putting the first crown will be the hardest. For us, the evenness of the foundation and its horizontality is important. For this reason, we advise you to put the initial crown according to the principle "in half the tree". This is simply done by making incisions along and across the circular saw. Where this is not enough, you can use a hacksaw. Remove the excess chisel. Everything: first - complete. This process will be greatly facilitated by the use of a small chainsaw. The first crown is set on the lining with tears. Lining is necessary to ensure that the blowouts that are best made in the wall. As a result, a saturated airing of the underground. He remembers that it is the initial crown and the lining-boards that must be lubricated with an antiseptic. As a substrate we use a board of 5x20 cm. A good roofing material will be provided with a roofing material, folded in two layers. All the following wreaths will be done the same. In the corners we join the log not by the usual contact of the logs, but by a root spike. Then we cut the saw with 2 saws. Before this you need to decide on the rational depth of the cut. Do not forget to also make a gap of 0.4 - 0.5 cm for thermal insulation. As a result, we connect 2 beams, and we fill the left slots with moss. The crown in which the opening begins will need to be provided with spikes for the jambs, which will greatly simplify our work when cutting - no need to again chisel the chisel. Having put two crowns, mark out vertically all to join the nagels. With a simple pencil and a triangle, mark out the markings on the surface of the beams below and above. After that, the top one is turned over, and the vertical marking is transferred to the center of the beam. Drill holes of the required depth, drive wooden nails. To make the construction go faster, try using an electric drill, drilling at once a line and a half down. We lay sphagnum and pacleum. After hammering the nails, we need to start laying sphagnum and fiber of the pakli. Spread the fibers around the beam, and the moss - across it. Having done all the above recommendations, you will receive a rigid frame of the house. We flatten the bars If the bar is almost level, you can use the plane. Enough bent bar try to saw where the strongest bend.
  Installing openings and jambs If your woodenthe house has already reached the level that you need to install window blocks, first we will outline the opening. The width of the opening is the same as the opening in the window. We mount the crown together with the opening of the window (there are already thorns in the bars themselves). In the remaining corners, the beams do not have thorns, but the necessary internal size is maintained. As soon as the final crown of the opening is laid, we need to remove the upper beams of the openings. Then we make holes for the spikes and mount the jambs. After that, we cut the thorns in the initial crown of our opening, in order to be able to control the assembly process. To increase the strength, when the upper crown is already laid, it is worthwhile to arrange the jambs of all openings. Each opening of the lower bar is equipped with a spike, and the top - with a hole in the right place. We need on the guide, having determined the necessary depth, to make incisions with a circular saw. On the ends and plumb line we draw 2 lines that determine the size of the stud, and remove the rest with the chisel. For the time between the jambs we install spacers. So, the results for building a houseown needs to have a small baggage of materials and a standard tool. The basis of our house - a box of wooden beams, installed on the foundation. Assembly required a minimum of costs, a little patience and effort.
Comments
Related posts:
 You can build a frame house with your own hands, there is nothing super complicated in this. The main thing is to do everything neatly and according to the standards, but our recommendations with photos and diagrams will help you in this.
 Bind the original toy crochet, using detailed instructions with photos and diagrams
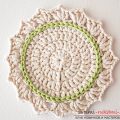 Detailed lessons of crochet wipes for beginners on detailed instructions with photos and diagrams
 Make a beautiful house of paper is very easy, using our tips with photos
 We learn to knit crochet small simple toys with amiguras, which even beginners can create according to the instructions from the photo.