Cake stand and cupcakes: 5 lessons how to do it! The hands - quickly
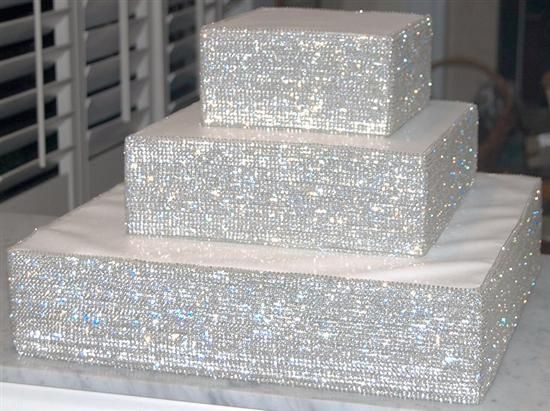
No big holiday is completesweet table! Sometimes it is headed by a cake, sometimes limited to cupcakes and donuts. Of course, the main role is played by the taste and appearance of the sweets themselves, but one should not forget that it is important to present this beautifully to the festive table. Here we look at 5 master classes in making stands for cakes and cupcakes of various shapes and sizes with your own hands. The content of the article:
№1 Stands for cupcakes and cupcakes from glasses
We offer a simple way to make a stand using dishes that are at home as a basis. Adding bright colors, get a wonderful stand, giving a spring-summer mood. 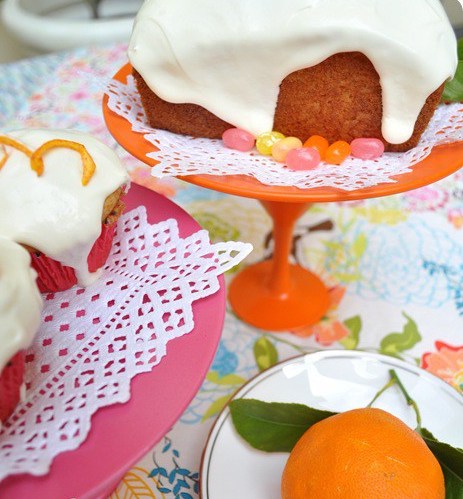
 Necessary materials:
- Different dishes and dessert plates;
- Glasses for champagne or martini (wide at the top and with a stable leg);
- Household silicone sealant (suitable for use in aquariums);
- Matt spray paint for glass;
- Spray paint in bright colors;
- Paper towels.
Step-by-step maser-class: Step 1: Preparation of materials First, find several plates and glasses that will serve as materials. Their color does not matter, since we will paint on top.
- The more diverse the shapes and sizes, the more interesting the final result will look.
- If there are no utensils at home that you could use, then go to the store and buy the cheapest one.
 Once you have chosen the dishes, remove from it the price tags and stickers on the manufacturer, if such are present. Step 2: Painting To paint well and evenly lay on the dishes, it must be prepared.
Detailed lesson 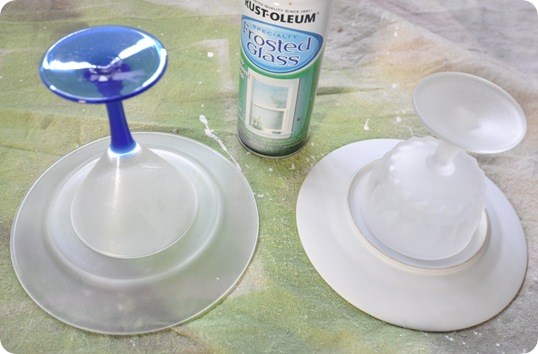 Glasses should be located strictly in the center.plates, you can circle them with a pencil to avoid displacement, and along this line we will then apply sealant. Spray color paint and allow to dry. Then paint the top of the plates in the same way. To get a saturated color you need to apply 2-3 coats of paint. In this case, one stand orange and the other pink flowers, and you choose to your taste.
  ATTENTION: Apply the paint before the sealant, because it does not fall on him. Step 3: Connect the parts of the coasters After the paint is completely dry (at least a few hours), silicone sealant can be applied.
Here the remnants were not cleared for reliable connection, it is not noticeable at the bottom of the stand. 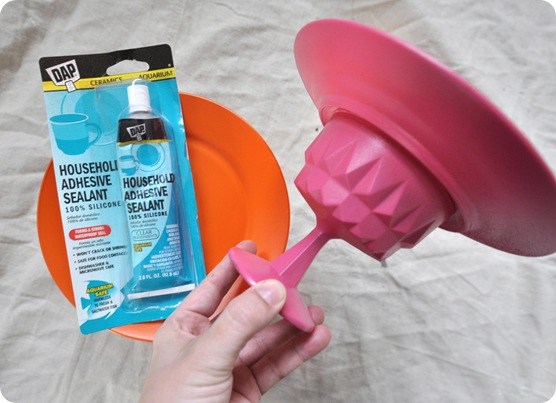 As soon as the silicone sealant is completely dry, the stand is ready!
 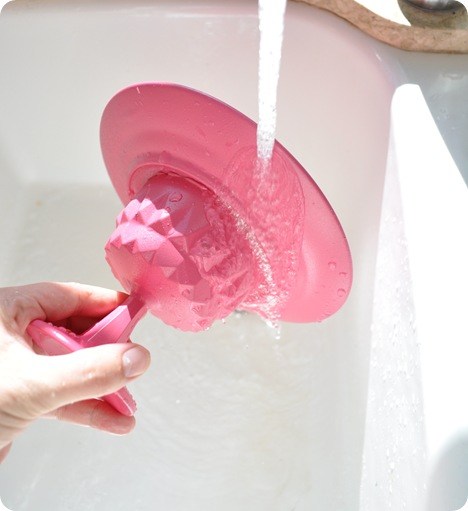 Stands can be safely washed under water, as well asthe rest of the dishes. TIP: Before you put a cake on a stand, lay a paper towel, a lace napkin or something like this on top, as direct contact between food and paint is not recommended. These are the wonderful coasters turned out in the end: If desired, in this way you can make a multi-level stand. In any case, it will wonderfully decorate the festive table!
No. 2 Foam Cake Stand
This type of stand can be made of different heights.and widths. According to the same scheme, a two-level stand will turn out, only circles of expanded polystyrene in this case should be taken not of the same size, but different (for example, one circle with a diameter of 15 cm, and the second with a diameter of 30 cm). Let's now look at what we need and how to do it all. 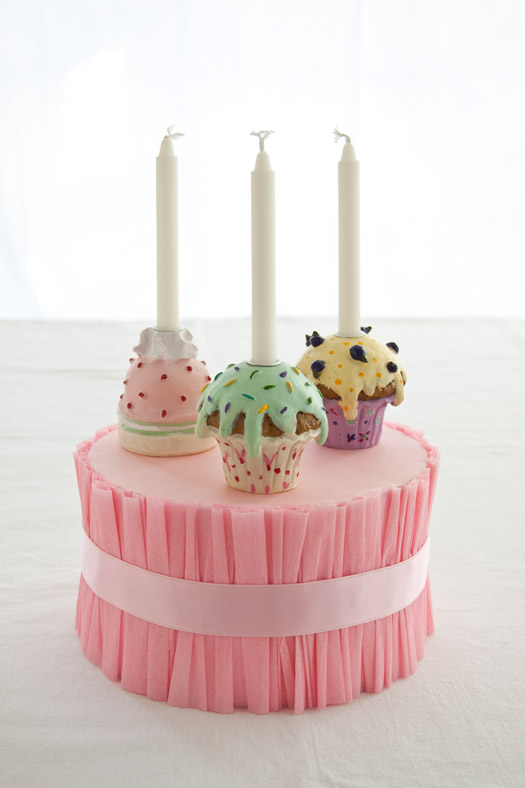 Necessary materials:
- 2 circles from expanded polystyrene (you can optionally use squares or rectangles). In this case, the height of each circle is 5 cm, and a diameter of 30 cm.
- Kraft paper and crepe paper of selected color
- Glue brush
- Pencil
- Scissors
- Double sided tape
- Thread corresponding to the color of crepe paper
- Ribbons / decorations
Step-by-step lesson with photo Step 1: Cut the topcoat. Put two circles of expanded polystyrene glued together on craft paper and circle around the contour with a pencil. Then cut the circle with scissors. 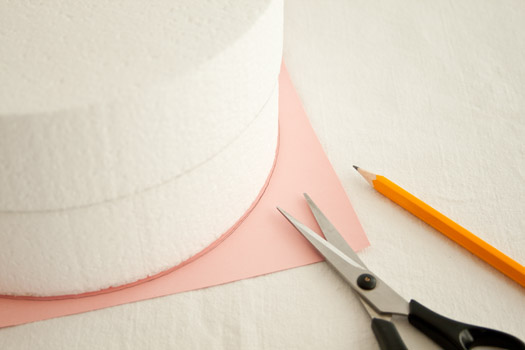 Step 2: Apply glue Apply glue (suitable for PVA glue) on the upper part of the foam polystyrene cylinder. Use a brush to evenly distribute glue over the surface.
  Step 3: Glue the paper on top of the stand. Then place the cut circle out of the crafting paper on top of the cylinder and press it down with something heavy, so that it sticks evenly to the entire surface.
 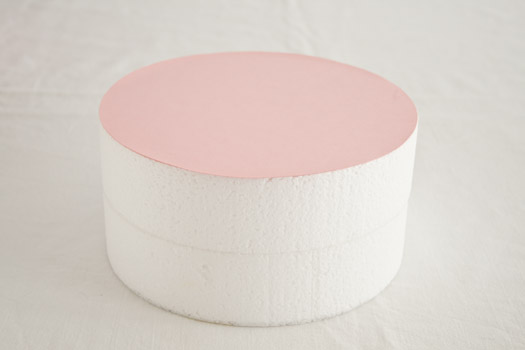 Step 4: Making side crepe paper decorations Cut a long strip of crepe paper.
 Step 5: Fasten the crepe paper Glue the strips, which were made in the previous step, to the side surface of the cylinder in three layers to make it more magnificently. Glue should be applied gradually and not on the entire surface, but in some places so that the paper (which is thin in structure) does not break up.
  Step 6: Add the Ribbon Tie the side surface over the crepe paper with double-sided tape. Do this in the center, and thus overlap the thread with which the paper was sewn.
  Step 7: Additional decorations The stand is ready and looks delicate and airy. You can put a cake or cupcakes on it right now and serve it on the table. And you can add some more decorations to your taste, for example, more ribbons, or sparkles.
 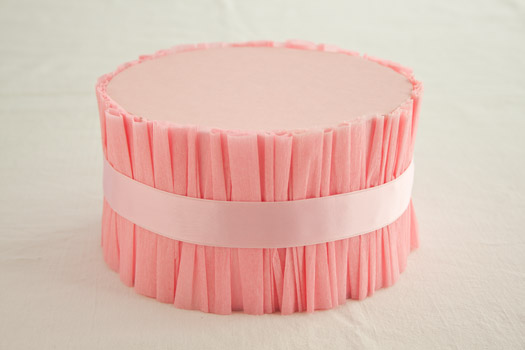 Whatever stand you choose, it will wonderfully complement the festive table and make it more perfect. Successes! You can also decorate with beads or fabric under the gold!
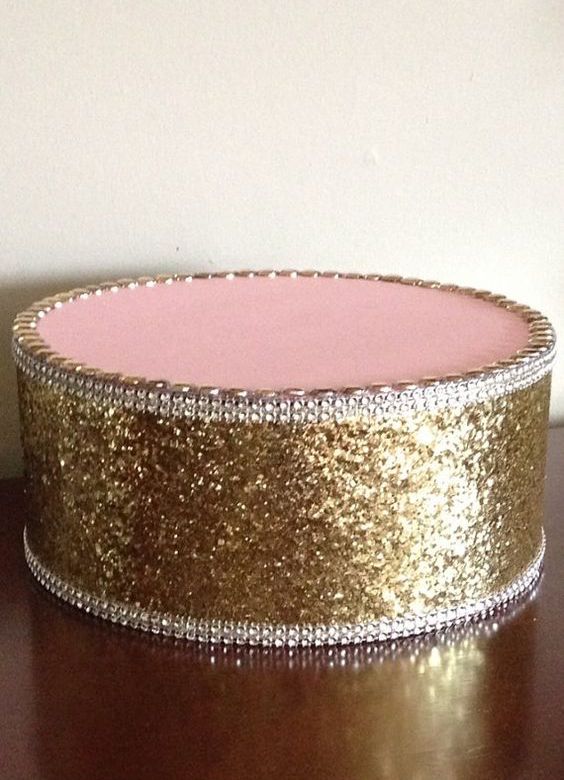

No. 3 Two-tier plastic cake stand
This version of the cake stand is the cheapest and fastest in manufacturing, and at the same time is not inferior to the others in appearance. 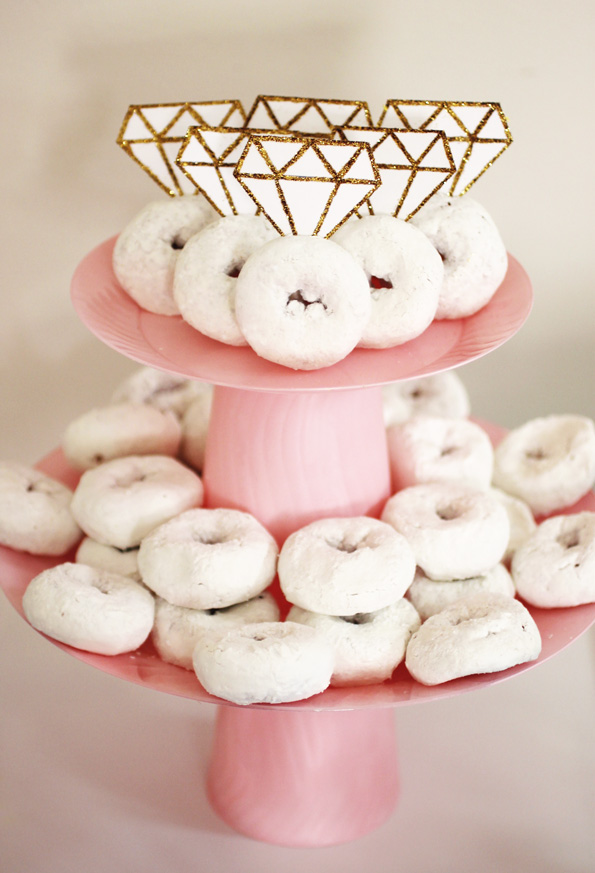 Necessary materials:
- 1 plastic plate with a diameter of 25 cm
- 1 plastic plate with a diameter of 18 cm
- 2 plastic glasses with a capacity of 400 ml
- Pink spray paint
- Latex gloves
- Hot glue
Note: Plastic dishes must be strong to stand. Master class: Step 1: Paint the dishes In a well-ventilated room, spray paint on two plastic cups (side pieces) and two plates (on both sides). Allow to dry for at least an hour. 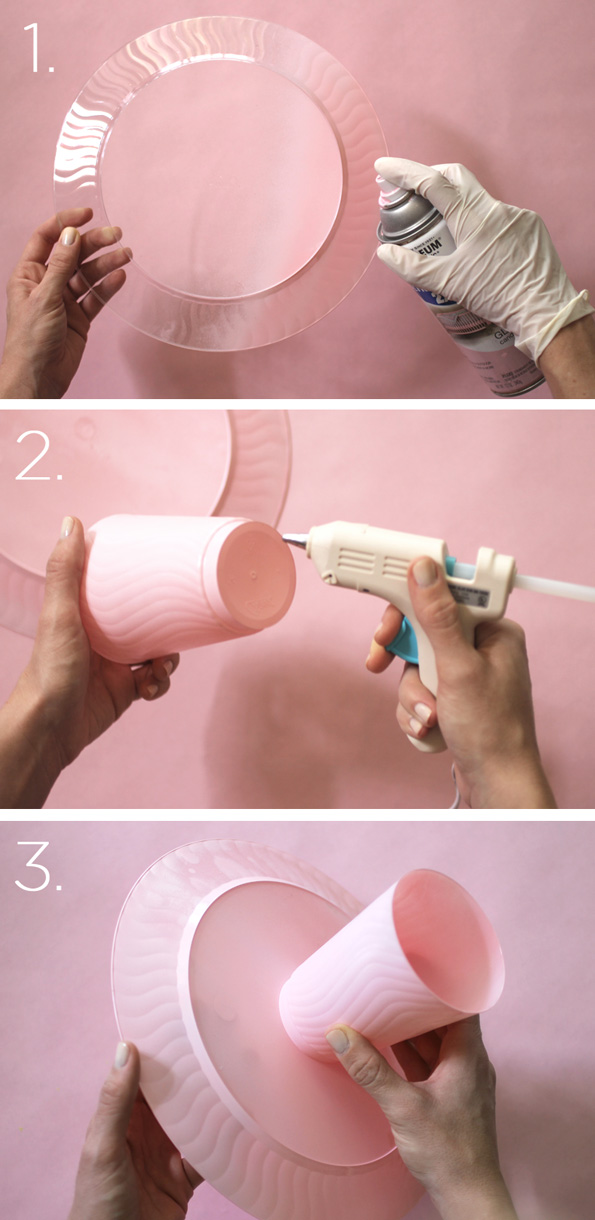 Note: if you want to put food directly on the stand, not placing it on top, then paint only the underside of the plates, the paint should not be in contact with food.
- Step 2: Apply hot glue Apply hot glue to the bottom of one glass.
- Step 3: Connecting the parts of the stand Attach the bottom of the glass to the bottom of the larger plate. One level is complete! If you need a stand for a small cake or other treats, you can stop at this stage. This is what happens:
- Step 4: Add the second level. Apply hot glue to the top and bottom of the second glass. Then attach the top of the glass to the top of the larger plate (center). Attach a smaller plate on top (bottom to bottom of glass) for the top tier.
 Here is the final result: Looks just great, put your cake or any sweets!
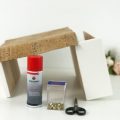
No. 4 Tiered Cardboard Cupcake Stand
This method allows you to make variations in width.coasters and number of tiers, since you can cut the cardboard to the desired size. So you can strictly follow the instructions below, or you can take it as a basis and make your own adjustments.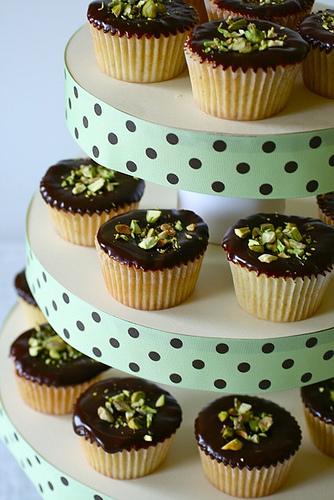 Necessary materials:
- Several styrofoam discs (something else can be wide and fairly low to serve as a base)
- Cans as a support between tiers (you can also use styrofoam cylinders, as shown in the upper left corner, but banks guarantee a more durable final result)
- Circles made of cardboard, two in each size, here circles with a diameter of 30 cm, 25 cm, and 20 cm were used, for a three-level stand
- Cardboard to cover the top of each level (optional), base and dividing pillars (you can also use cloth or tape to cover the base and pillars).
- Glue gun
- Tape for decorating tiers
- Ruler
- Stationery knife
- A pen
- Scissors
- About 30 minutes of your time (or 45 if you are photographing as you work :))
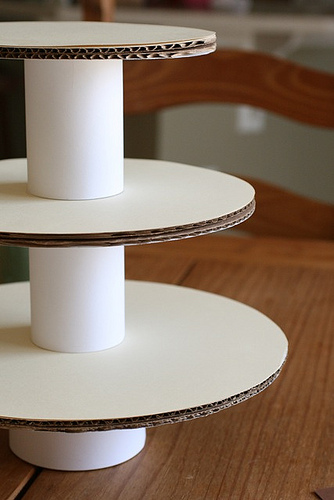
 How to do it: Step 1: Making the base First, you need to make the base of the stand by gluing foam polystyrene discs together into a flat column using an adhesive gun.
 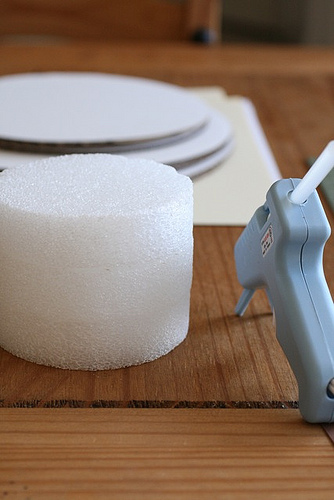 Step 2: Making the cardboard circles Glue two cardboard circles of the same size together, with a less beautiful side inwards. I also use a glue gun.
  The result is a double layer. Repeat with the remaining dimensions until all the cardboard circles are doubled.
  Circle each of the cardboard circles on the thincardboard and cut. This will cover the tiers. Glue these circles to our doubled cardboard circles with a glue gun (on one side only, which will be at the top). Now they are ready.
 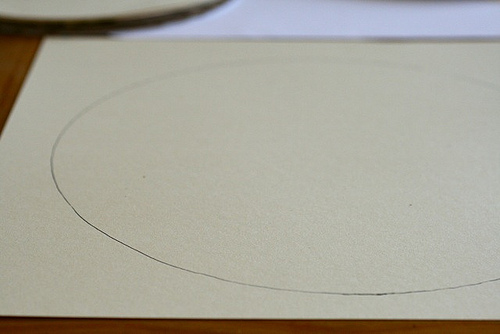 If desired, the edges of these circles can be trimmed with decorative scissors to create a jagged border, adding one more detail to the general view.
  These three circles turned out here. Step 3: Making the partitions between the tiers Now you need to cut two strips of cardboard, the length equal to the circumference at the bottom of the cans, and the width - the height of the cans.
  Use a glue gun to fastencardboard strips on a tin. Repeat the same for the second can. The bottom column of polystyrene need to paste over cardboard in the same way as cans.
  Tip: The glue can be very hot — too hot to touch — so you can use a ruler to firmly press the cardboard strip to the surface until it locks into place. You should now have two covered columns and a base. Step 4: Putting all the parts together One thing to keep in mind when assembling all the components is to arrange all the seams of cardboard covering the cylinder of expanded polystyrene and columns of cans, on the one hand, so that they can be the back of the stand and not visible to guests. Just put the stand side with the seams to the wall, so that they were not noticeable.
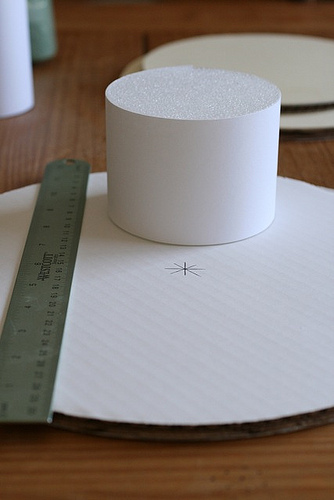
 Then glue the tin can column intocenter of this circle, but on the other hand. Now paste the next cardboard circle on top of the column. Check the stability of the structure. Tip: Since the can lid may have an uneven surface, you need to glue the edges to make sure the jar has strong contact with the cardboard disc. Repeat the previous steps again until all the pieces are in place. Step 5: Decorate the edges of the tiers with ribbons
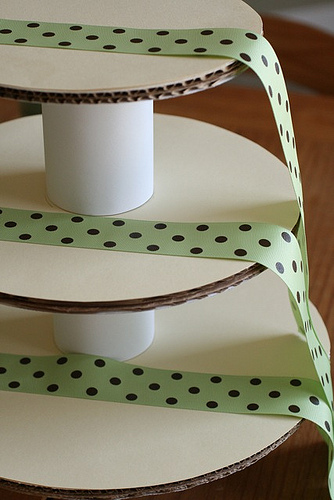 Tip: it is not necessary to glue around the perimeter, you can apply glue every few centimeters.
 Repeat the same steps with the middle tier, and then with the top tier, until you get the following result:
 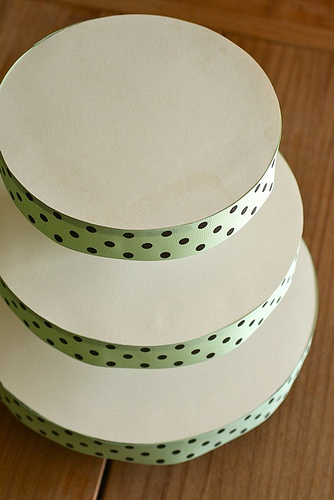 Now you can fill the stand with cupcakes or other goodies and be ready for the arrival of the guests!
№4 Wooden three-tier stand
For making such a cake stand orcupcakes will need more professional materials, but it will also serve much longer. If you need a stand for reusable or even permanent use, then this is exactly what you need. 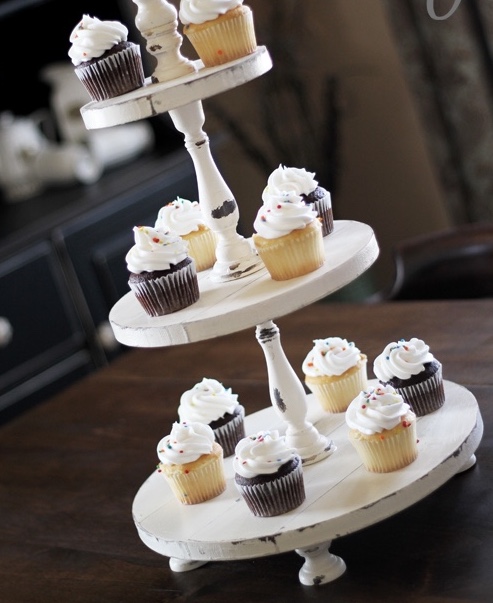 Necessary materials:
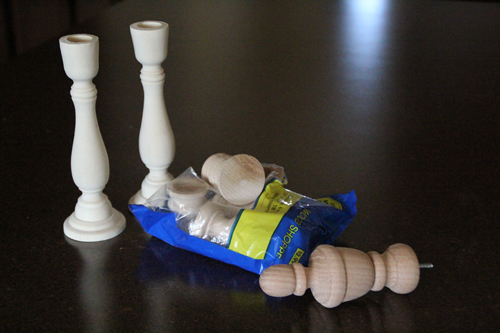
- Wooden boards, saw, jigsaw (or finished wooden circles)
- Wood glue
- Turned wood parts: 5 low and 2 high columns and a tip (as in the photo below)
- Sanding machine or sandpaper
- Wood paint (dark brown and white)
- Brush
- Epoxy or super glue for wood
 Step by Step Instruction: Step 1: Making Wooden Circles
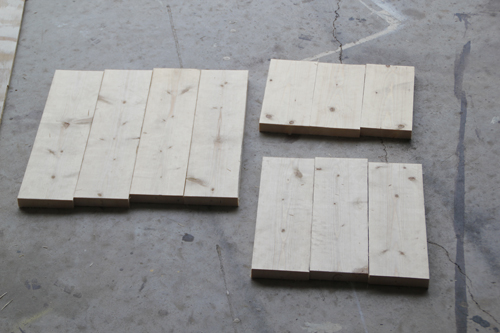 Buy two long boards with a cut 2.5 cm x 10 cm and reduce them to such sizes:
- 4 boards 37 cm long
- 3 boards 28 cm long
- 3 boards 20 cm long
 Fasten each set of boards together,using wood glue. At the same time at the time of drying, hold the boards together so that the glue is well fixed between them. To glue boards you need a side surface to get rectangles, as in the photo.
  In order to cut circles from a tree you needjigsaw with a special device for cutting circles. Making circles takes no more than 10 minutes. Sand each wheel to make the surface smoother, to align the joints of the boards and the side surface. ATTENTION: If you do not have the necessary tools, order circles in the hardware store. In this case, you will not need to buy boards, cut them and glue, that is, you can skip the entire first step.
  We will need circles of such diameters:
- Large circle: 35 cm
- Circle average: 27 cm
- Small circle: 19 cm
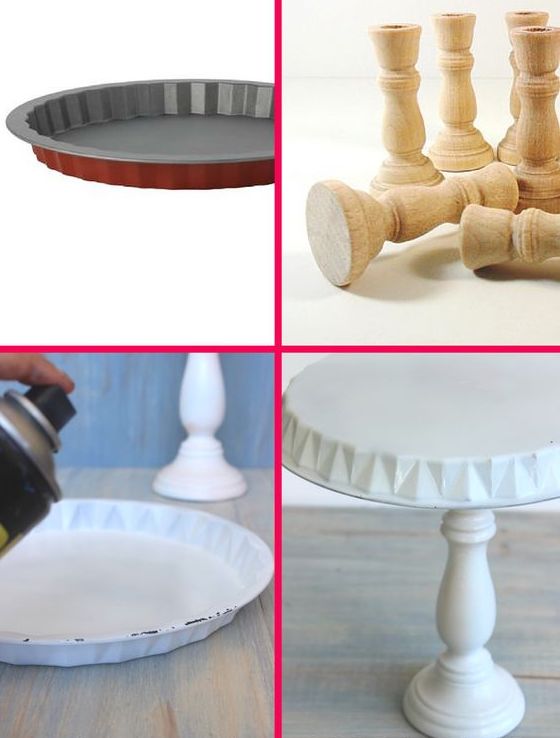
Step 2: Paint the details 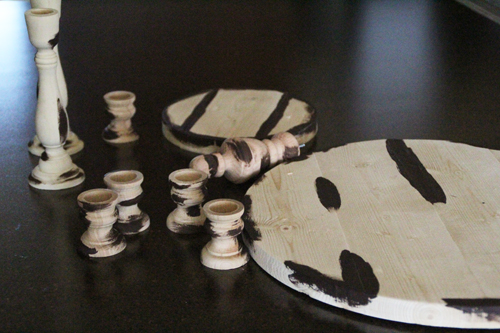 We will paint so that the stand lookedold. To do this, first apply some dark paint in several places of wooden parts (as in the photo above). Then we polish the products so that small traces of dark paint remain (see photo below).
  And now we can paint all the details in white, using a translucent paint for wood, so that the structure of the tree remains visible and the dark paint shows through. Other painting options
- - in this article
- - in this article
Step 3: Putting the parts together For fixing wooden columns and circles we will use epoxy resin (or super glue for wood). First glue 4 small parts to the bottom of the largest circle.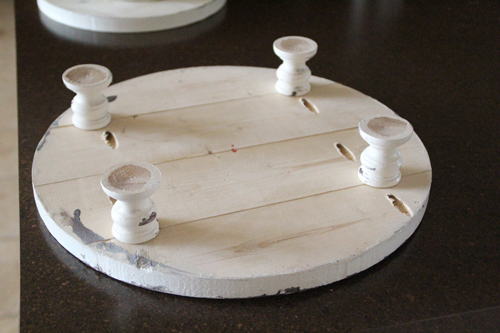 Between the tiers we will mount high columns.
 For the top of the stand you need to connect a small column and a carved decorative tip.
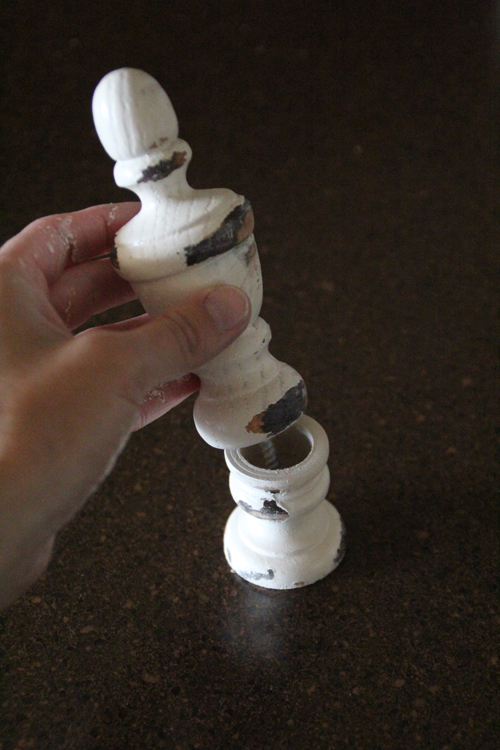 Now everything is ready!
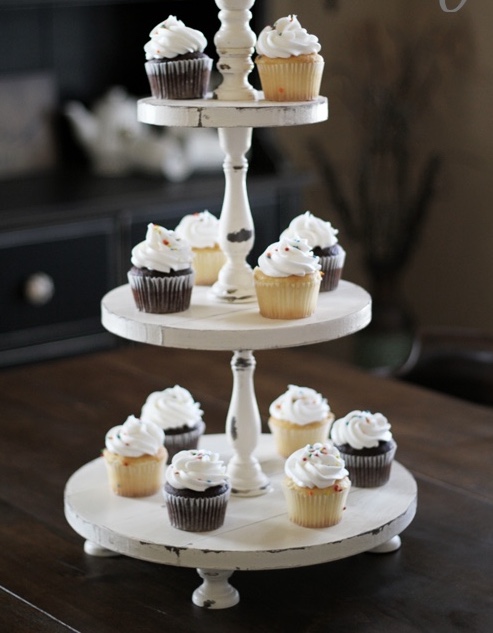
 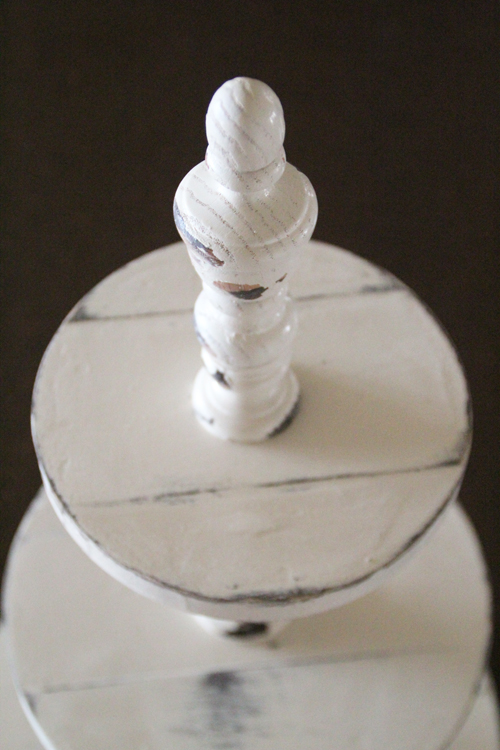 This is the stand with the cupcakes. A real highlight of the holiday table! On non-holidays days, the stand can be used as a decoration for the living room, placing candles and decorative flowers there.
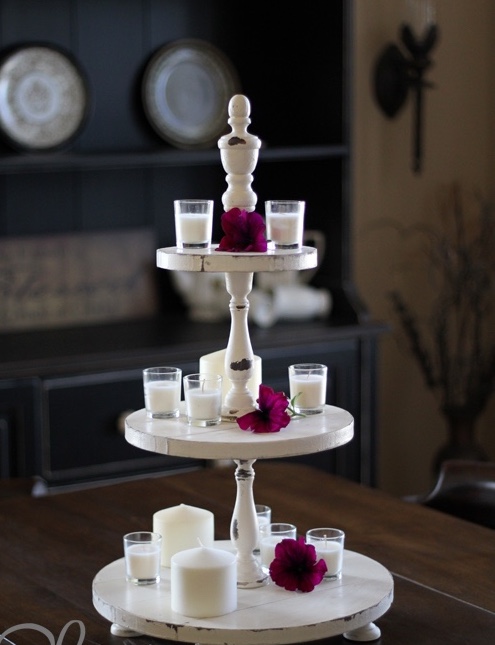
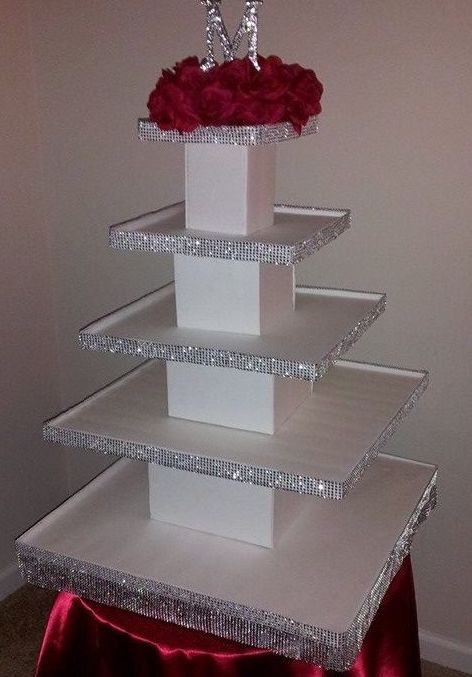
Ideas coasters for cakes do it yourself
Here are some more ideas to quickly make coasters out of unnecessary or improvised means. As well as several bright design options. 
Comments
Related posts:
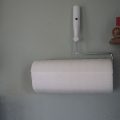 Holder and stand for paper towels: The hands - 5 lessons with diagrams
 Original cake from diapers to the extract. How to make a cake from diapers yourself using the master class
 Stand on the armrest of the sofa - a master class on how to do it yourself
 Everything, as at people: how to make different school accessories for dolls quickly and easily with own hands / Toys with own hands, patterns, video, MK
 How to make a Christmas wreath with your own hands in steps: 5 lessons