You can create a beautiful tree with your own hands from sisal, and it does not waste much time and material. Such a Christmas gift will appeal to children and adults.
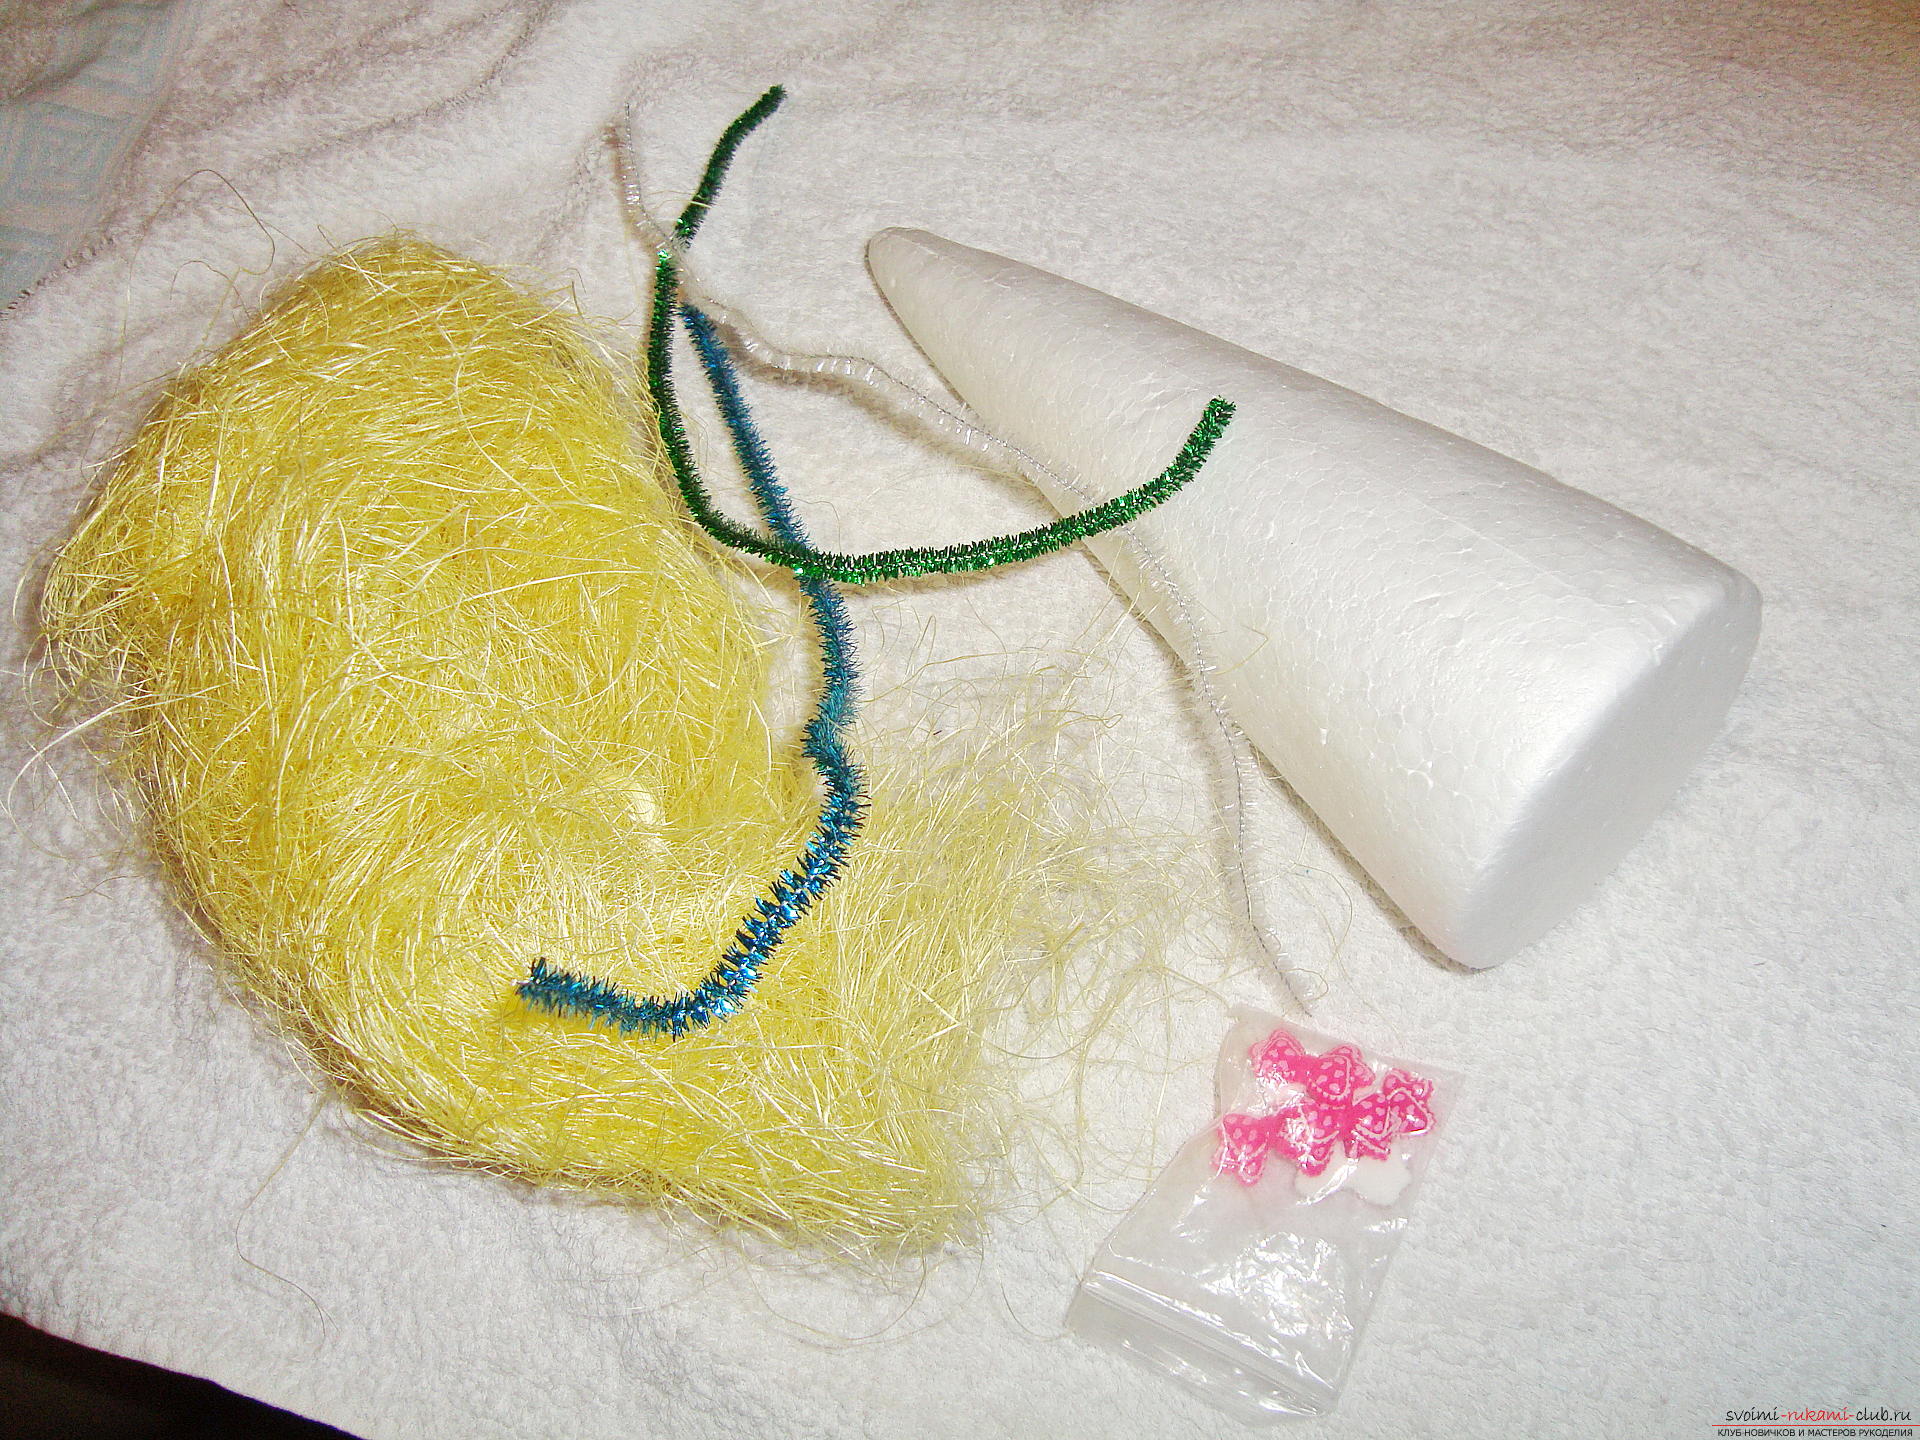
Firs are not only with needles! New Year's beauty can be made soft and fluffy, if you use a special material - sisal. The herringbone from sisal strikes with its beauty and unusualness, it will be the best gift for the New Year 2016 for close friends, native people. Such a tree of sisal easily fit on the edge of the desktop, it can decorate the top of the fireplace or put on the windowsill. From all sides the Christmas tree will add the interior of your house and bring a festive mood. 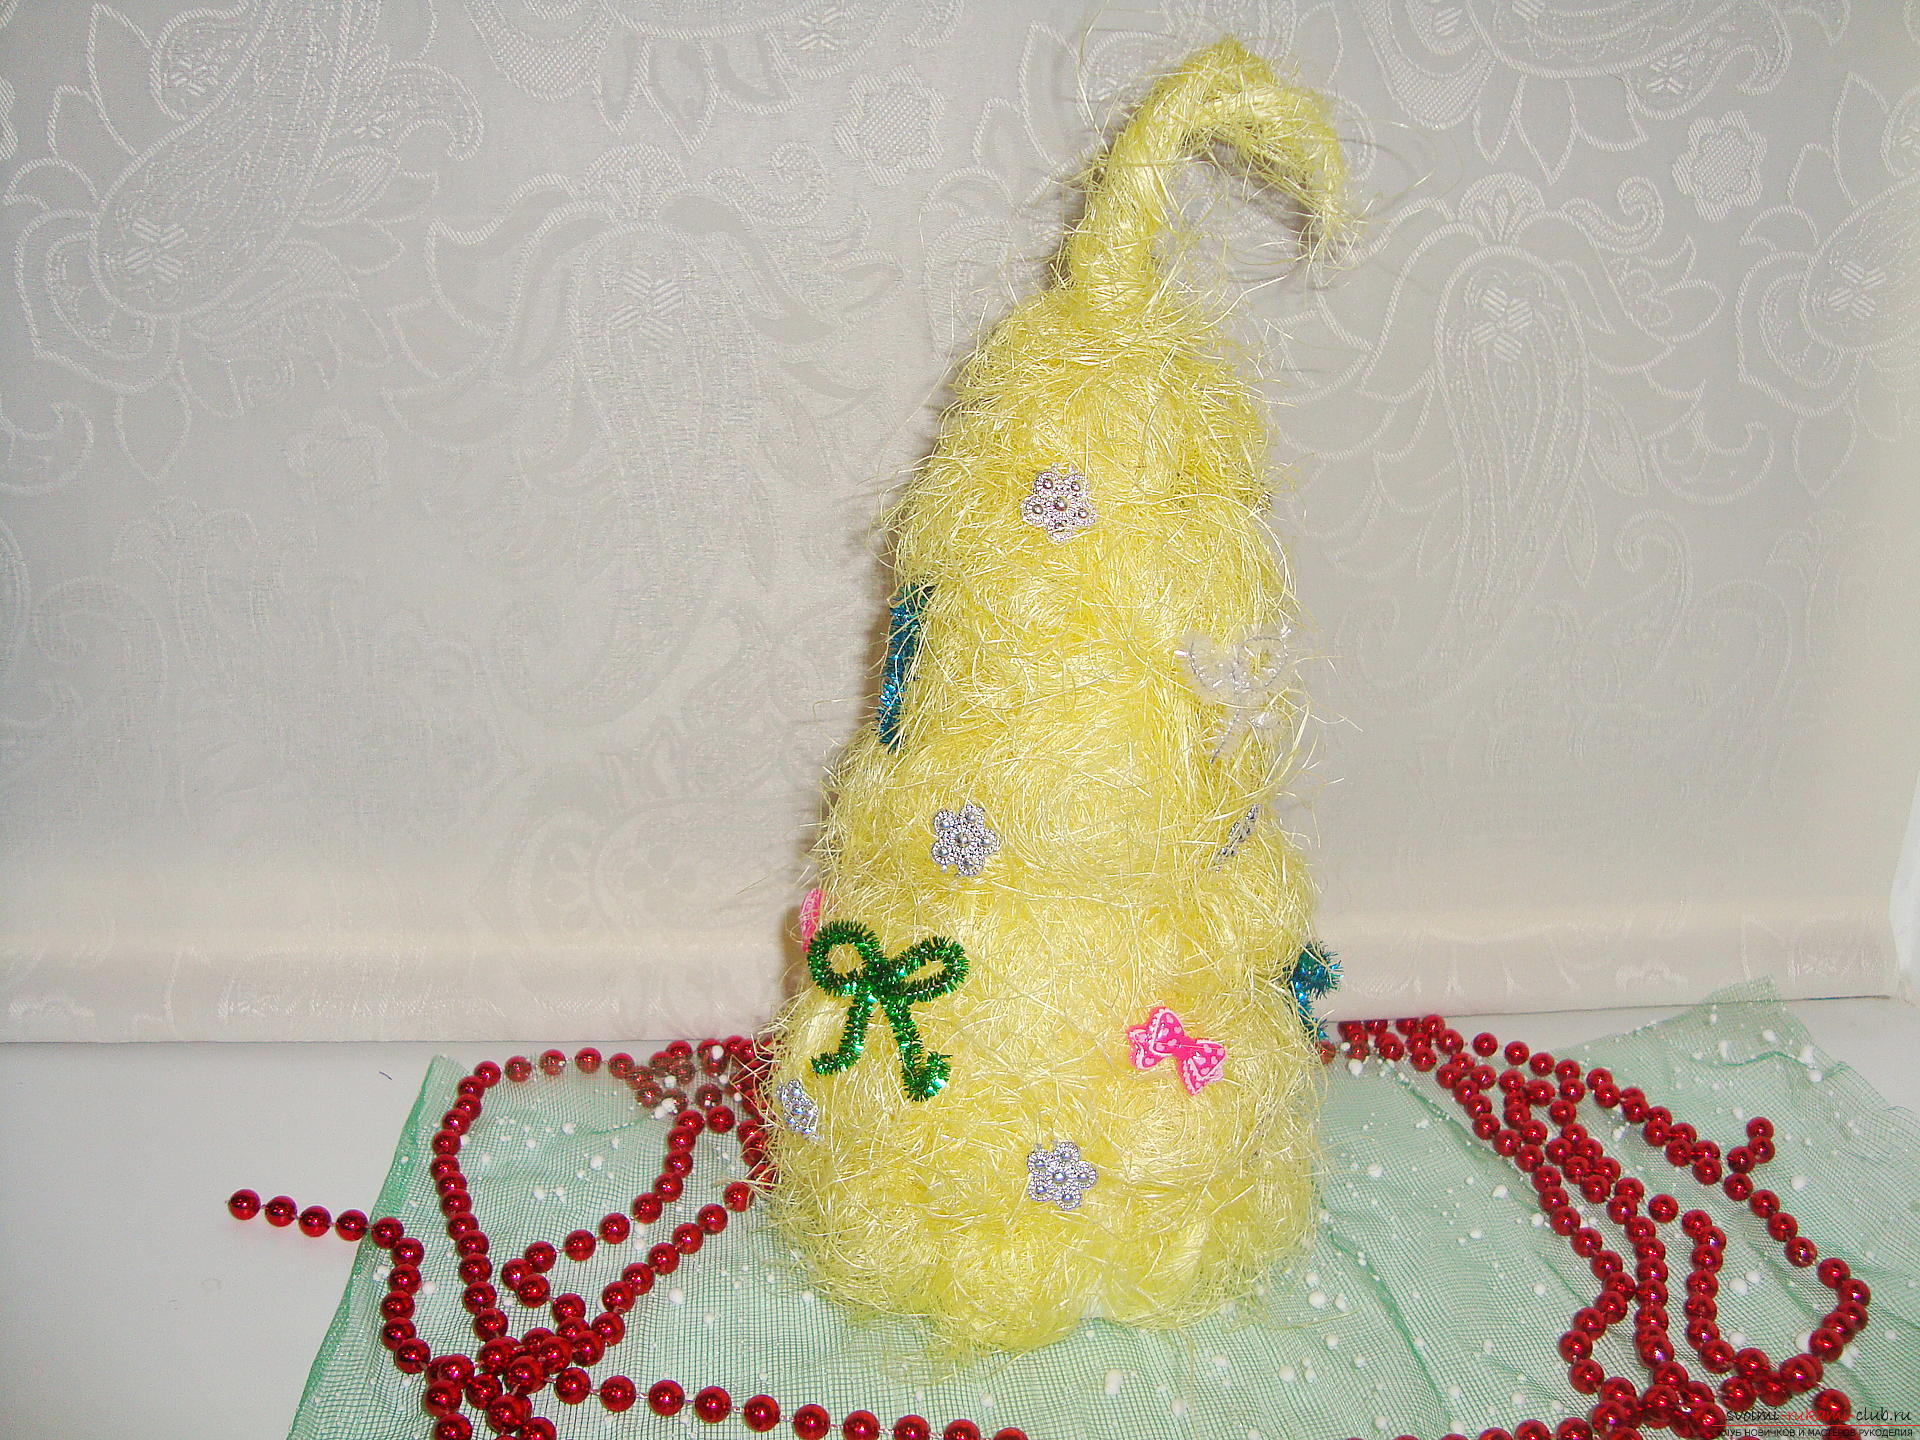 In order to make a beautiful herringbone from sisalYou will need: 1. Sisal of any color. He will spend no more than 50 grams. You can choose a salad material, blue or, as in our example, a gentle yellow. 2. A cone for the stem of the herringbone is required. It can be a glued-together semi-circle of cardboard, of course it is necessary to take a large thick leaf to make the size of the semicircle about 30 cm from the radius. If you do not want to wrap up the edges of the cardboard in a cone, you can immediately purchase the blanks from the foam. The height of the cone pattern should be 30-40 cm. On the tree of smaller size, the fluffy sisal circles do not fit and will look ugly. 3. Glue. You need a lot of sticky material to firmly and securely attach every detail, so the best solution is the hot glue, that is, the transparent glue rods that are heated in the melting gun. 4. You will also need different decorations. You can prepare colored wires with a small tinsel, they easily turn into bows or into a contour of funny animals. Even fit pusset, rhinestones, plastic bows, etc. 5. Wire for the top of our decoration.
  Creation of a Christmas tree consists of several stages: At first the balls roll, then they are glued to the conical base and in conclusion the Christmas tree is decorated with additional details that will replace the usual dyeing on the big tree. To accurately understand the process of creating crafts for the New Year, you can see the video: Let's get to work. At the first stage of creating a beautiful Christmas tree, you will need to divide the sisal into small parts. For this, it does not need to be cut, but it is necessary to stretch several fibers so as not to crush their structures, because the longer the hair of the material, the easier it will be for us to create the balls.
 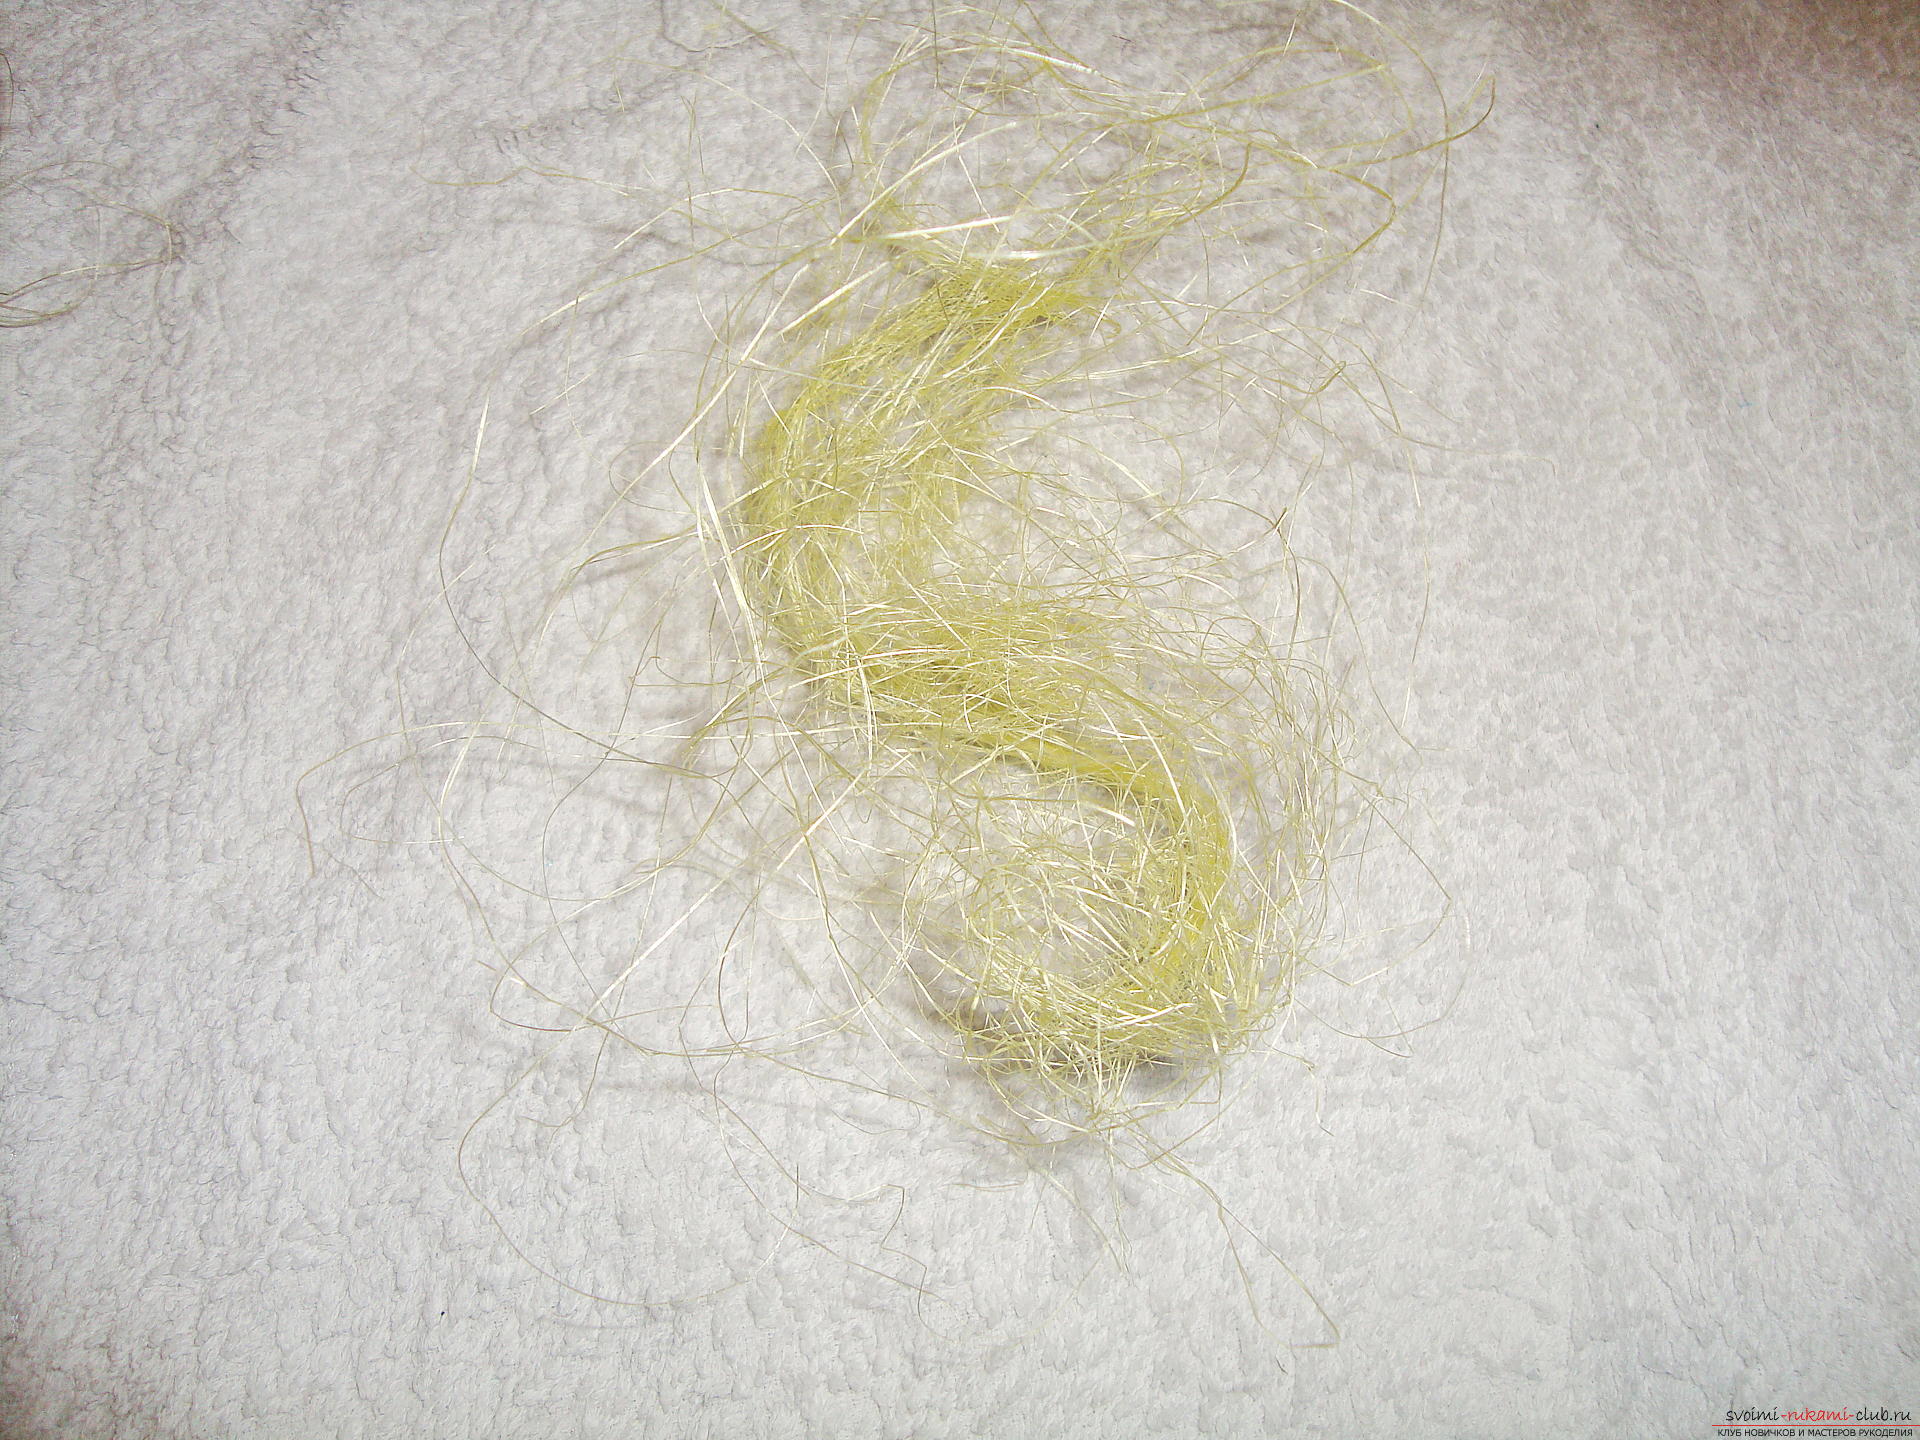 We need such separate parts of the sisalthree or four dozen, so you can dig them in stages, that is, first a few pieces tear off and roll the round elements, then separate a few more pieces. If you tear the whole sisal into parts and fold it in one place, it will just get tangled up again. At the second stage of work, you need to roll balls from each piece of sisal. To do this, you put the material on the palm, cover the hand with the second palm and make circular movements so that all the threads turn into a tangle. Sisal slightly pricked and is unpleasant for people with sensitive skin. in this case, it is recommended to wear gloves, but not smooth latex, and from the fabric, but that the gloves fit tightly on the arm. Roll balls are conveniently placed in a large box in the area, which has low sides. Lay out the details can be in one or two layers, they are no longer tangled. if you roll a large number of balls, they can be left for the next craft, because of such sisal balls do topiary, trees of happiness, put as a separate element in bouquets with toys.
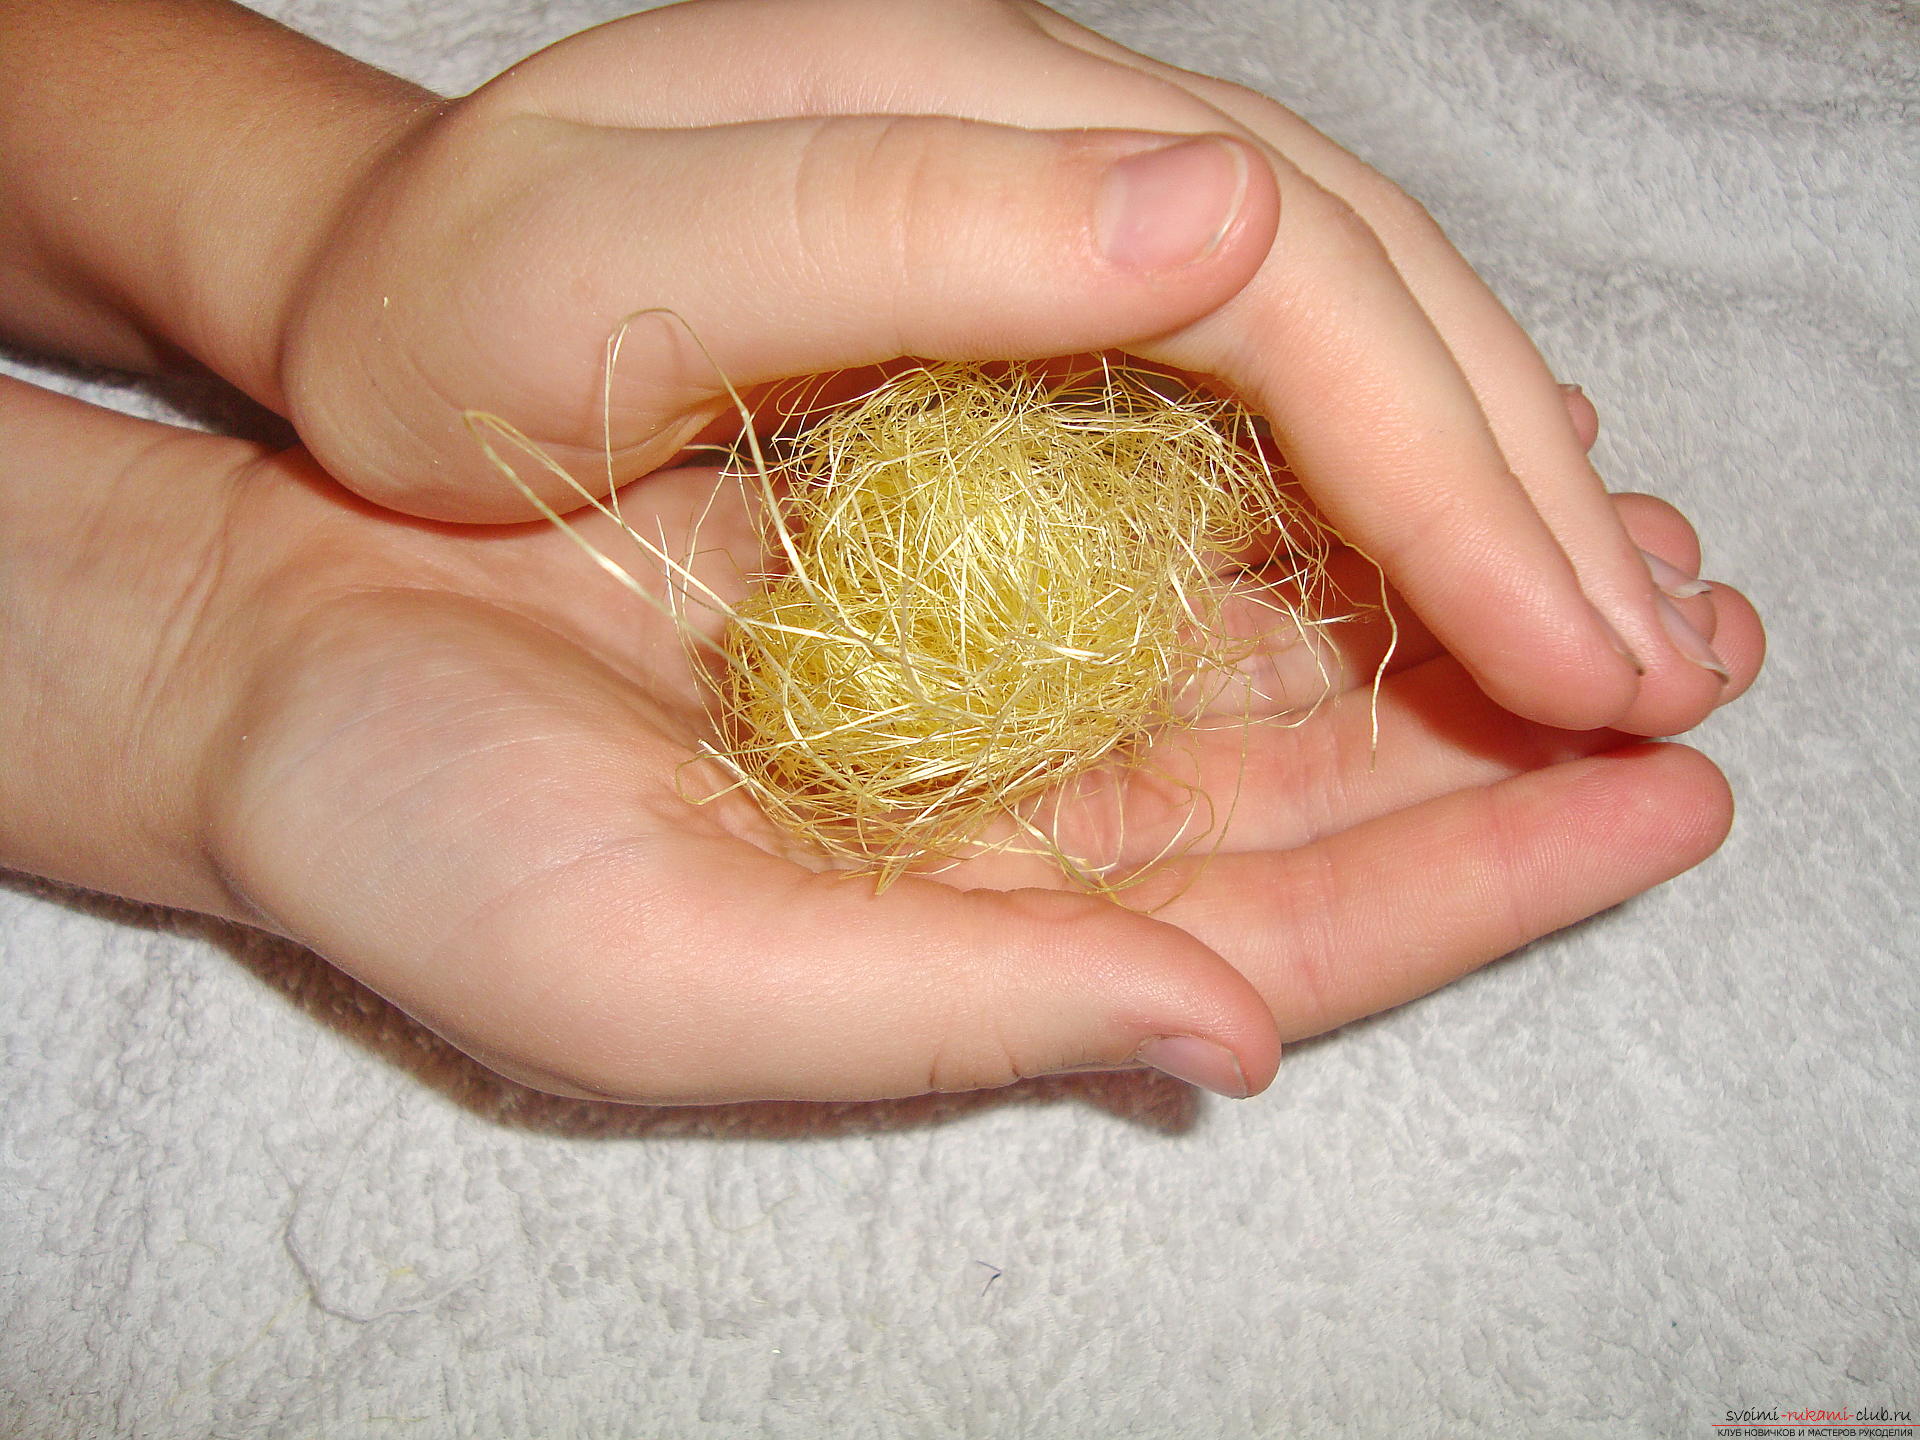
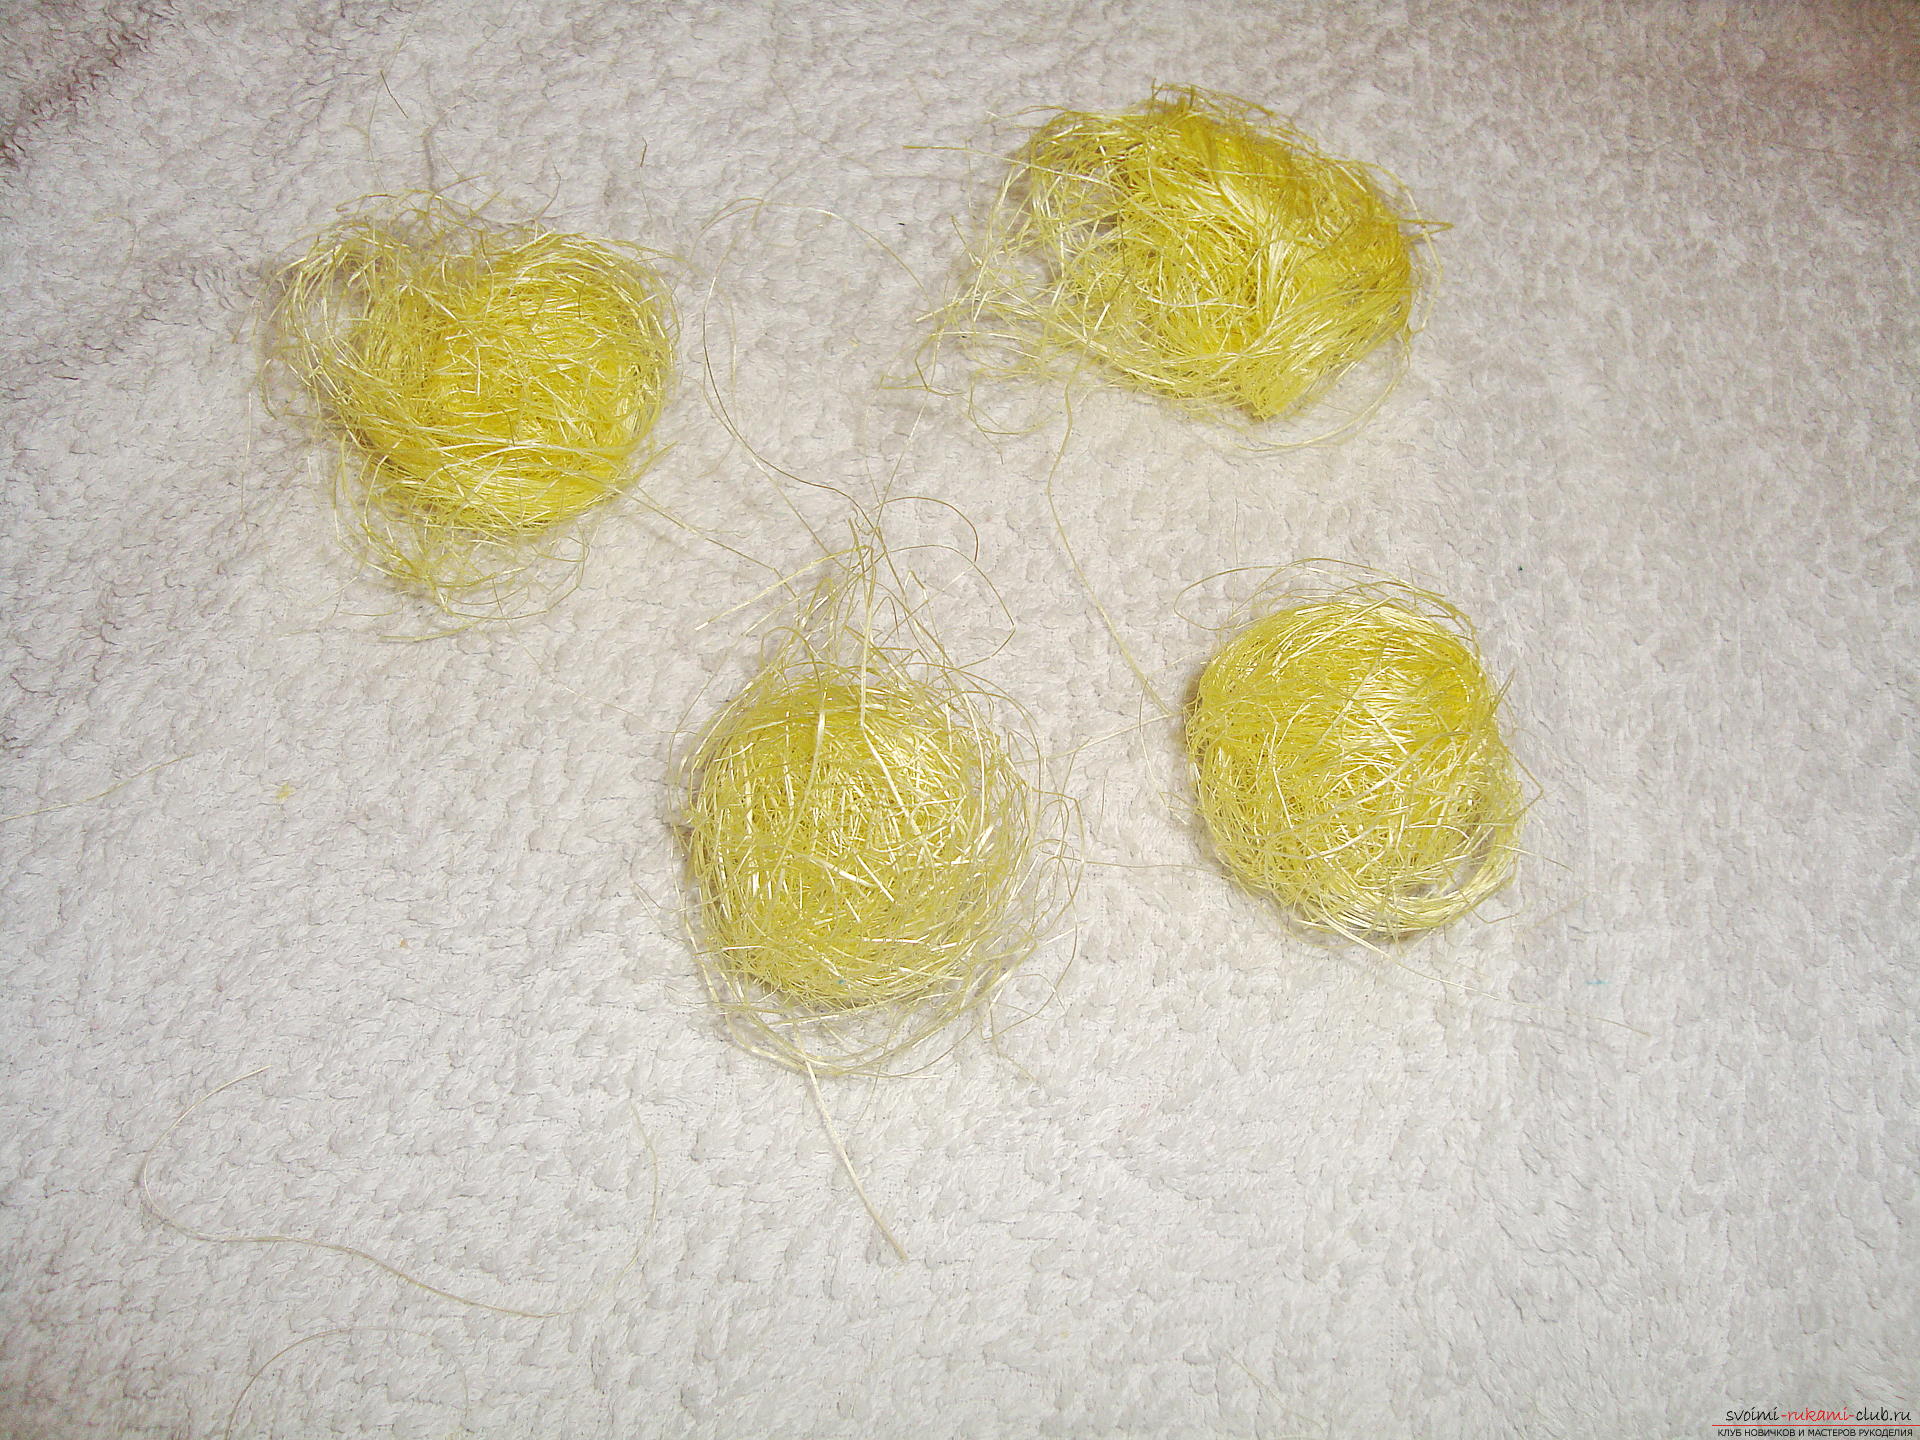 When a large number of balls are rolled up,go to the next stage - stick them. In advance, you will need to connect a special gun for the glue to the electrical network and insert the glue rod into it.
 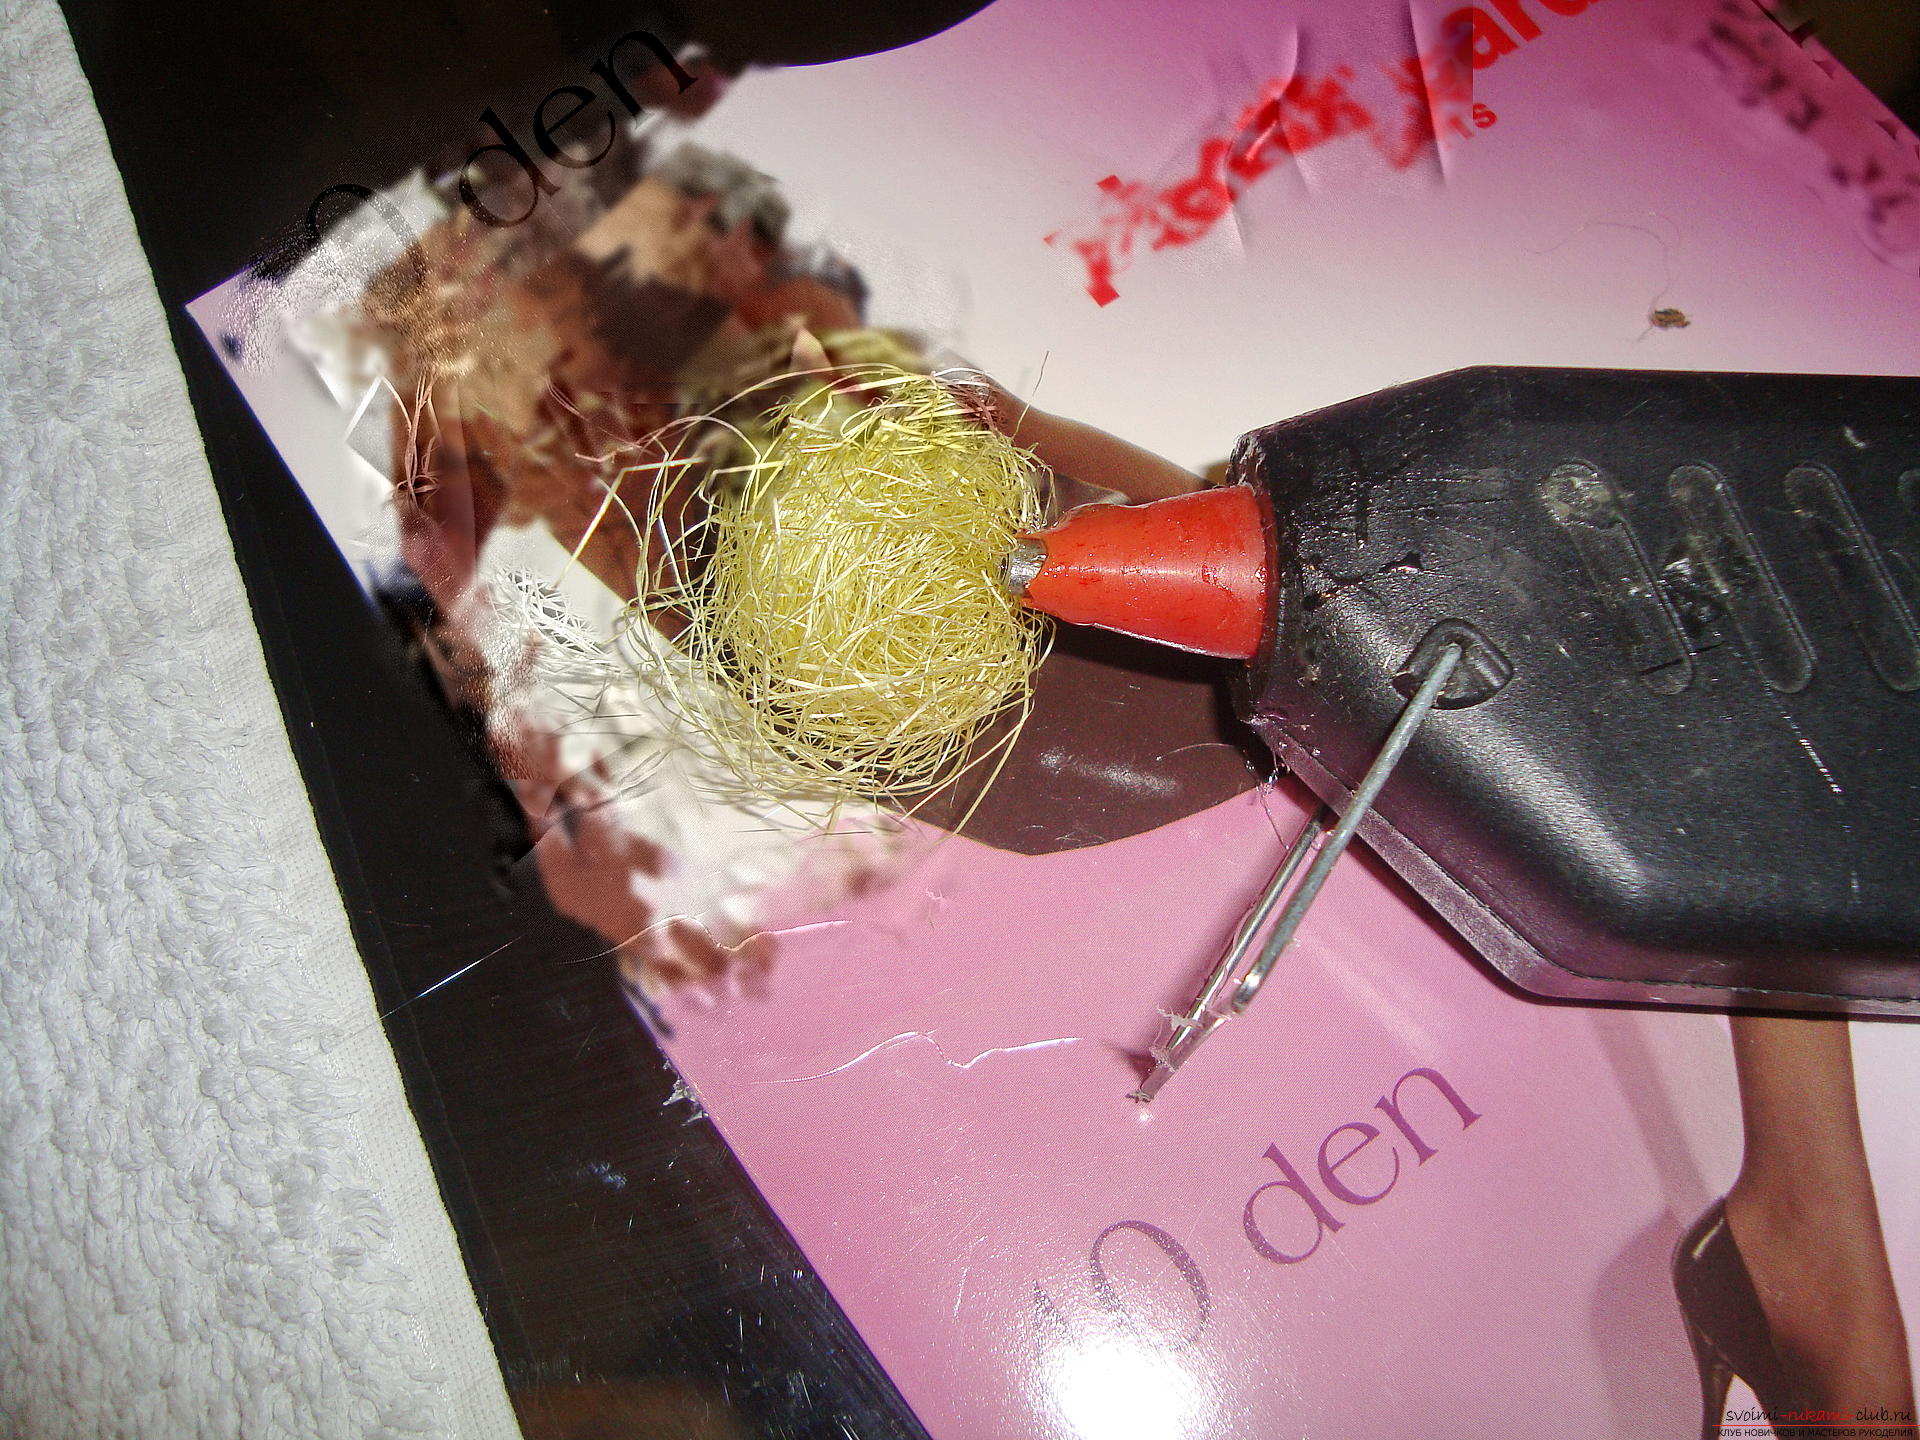 Wait for the first drop of hot melt andApply it to the first sisal ball on one side, that is, locally apply glue once, and do not distribute it all over the surface. Immediately bring the part to the cone and fix it, pressing down the sisal to the base.
 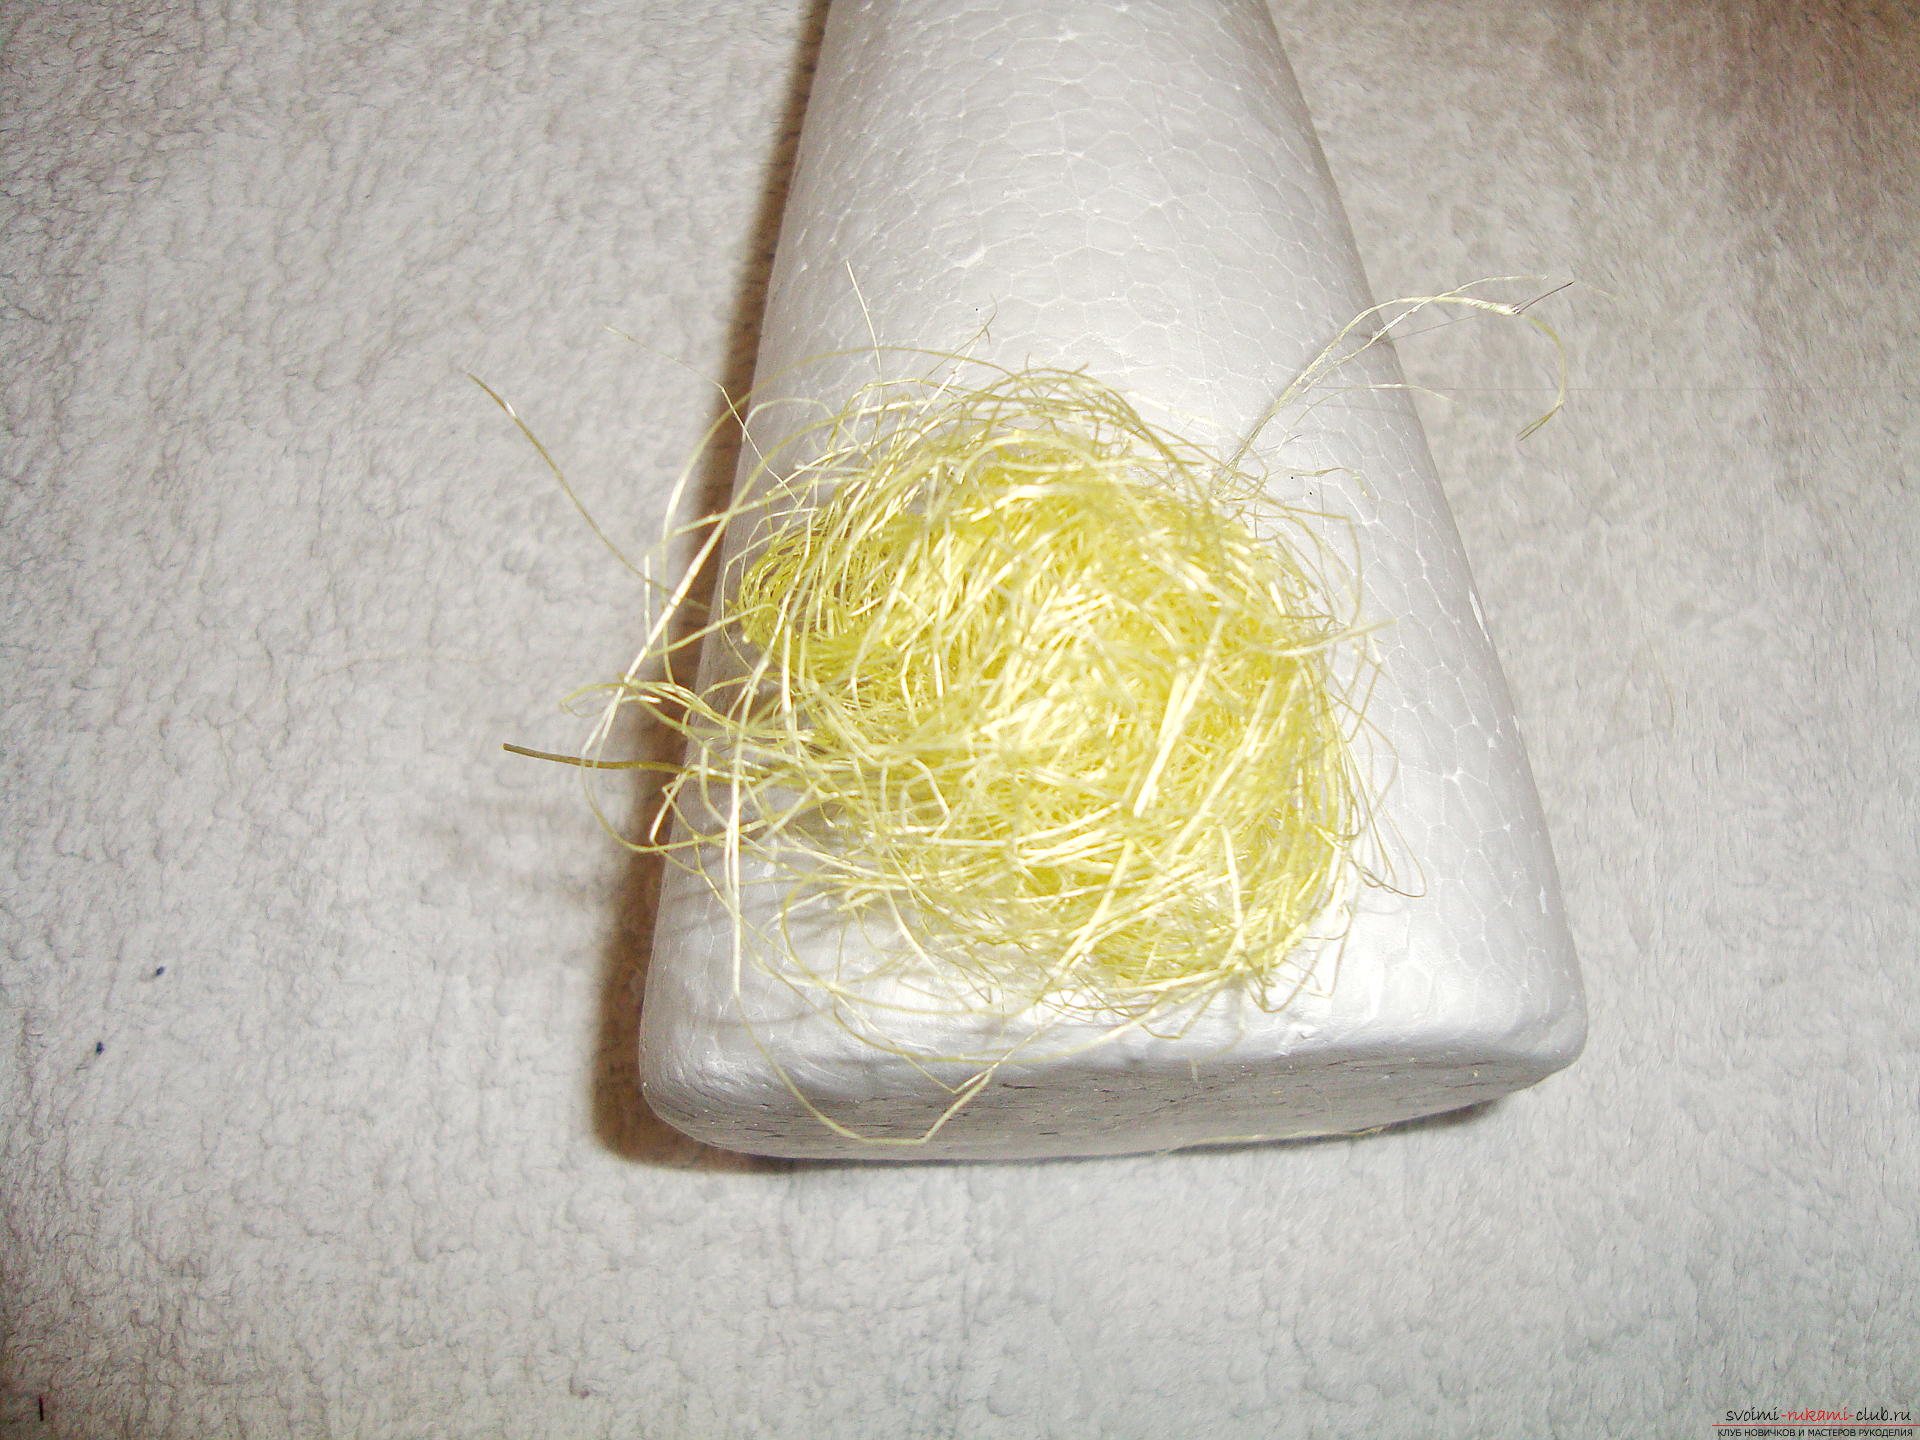 The first tier of fluffy balls is glued tothe lower edge of the cone, but not close to the cut. Try to arrange the elements at such a height that they close the base, you could not see the white bottom edge, but it did not lose balance at the base. That is, the cone should stand on the basis, rather than fall off because of what prevents the bulging part of the sisal.
 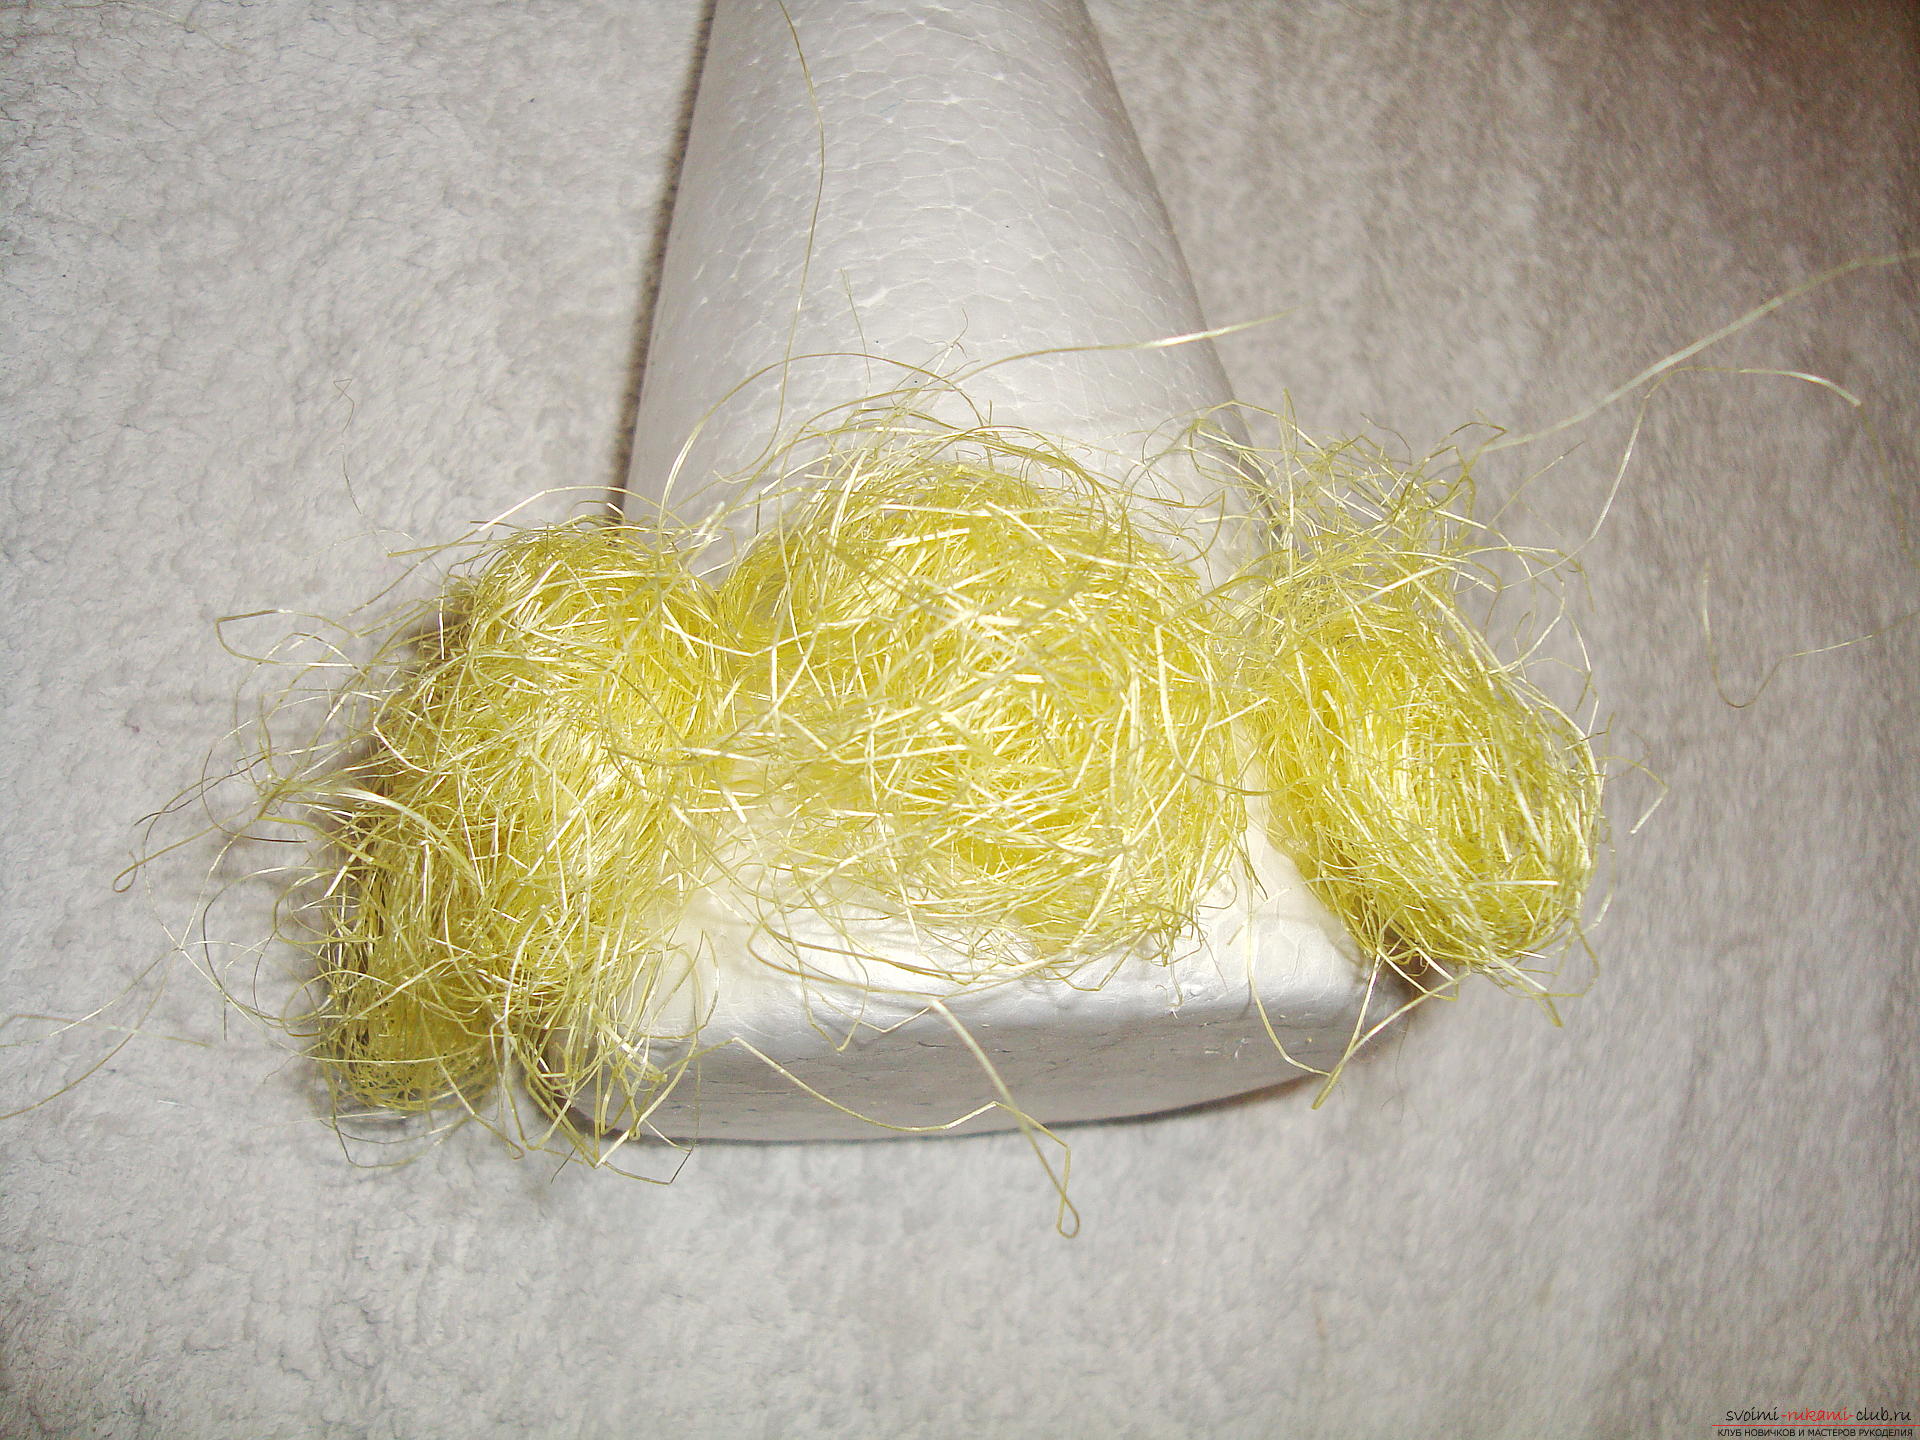 The second layer of sisal balls mustlocated above. Try to keep the new elements in the upper part above the gaps of the details from the bottom row so that the gaps close and the tree looks neat and symmetrical.
 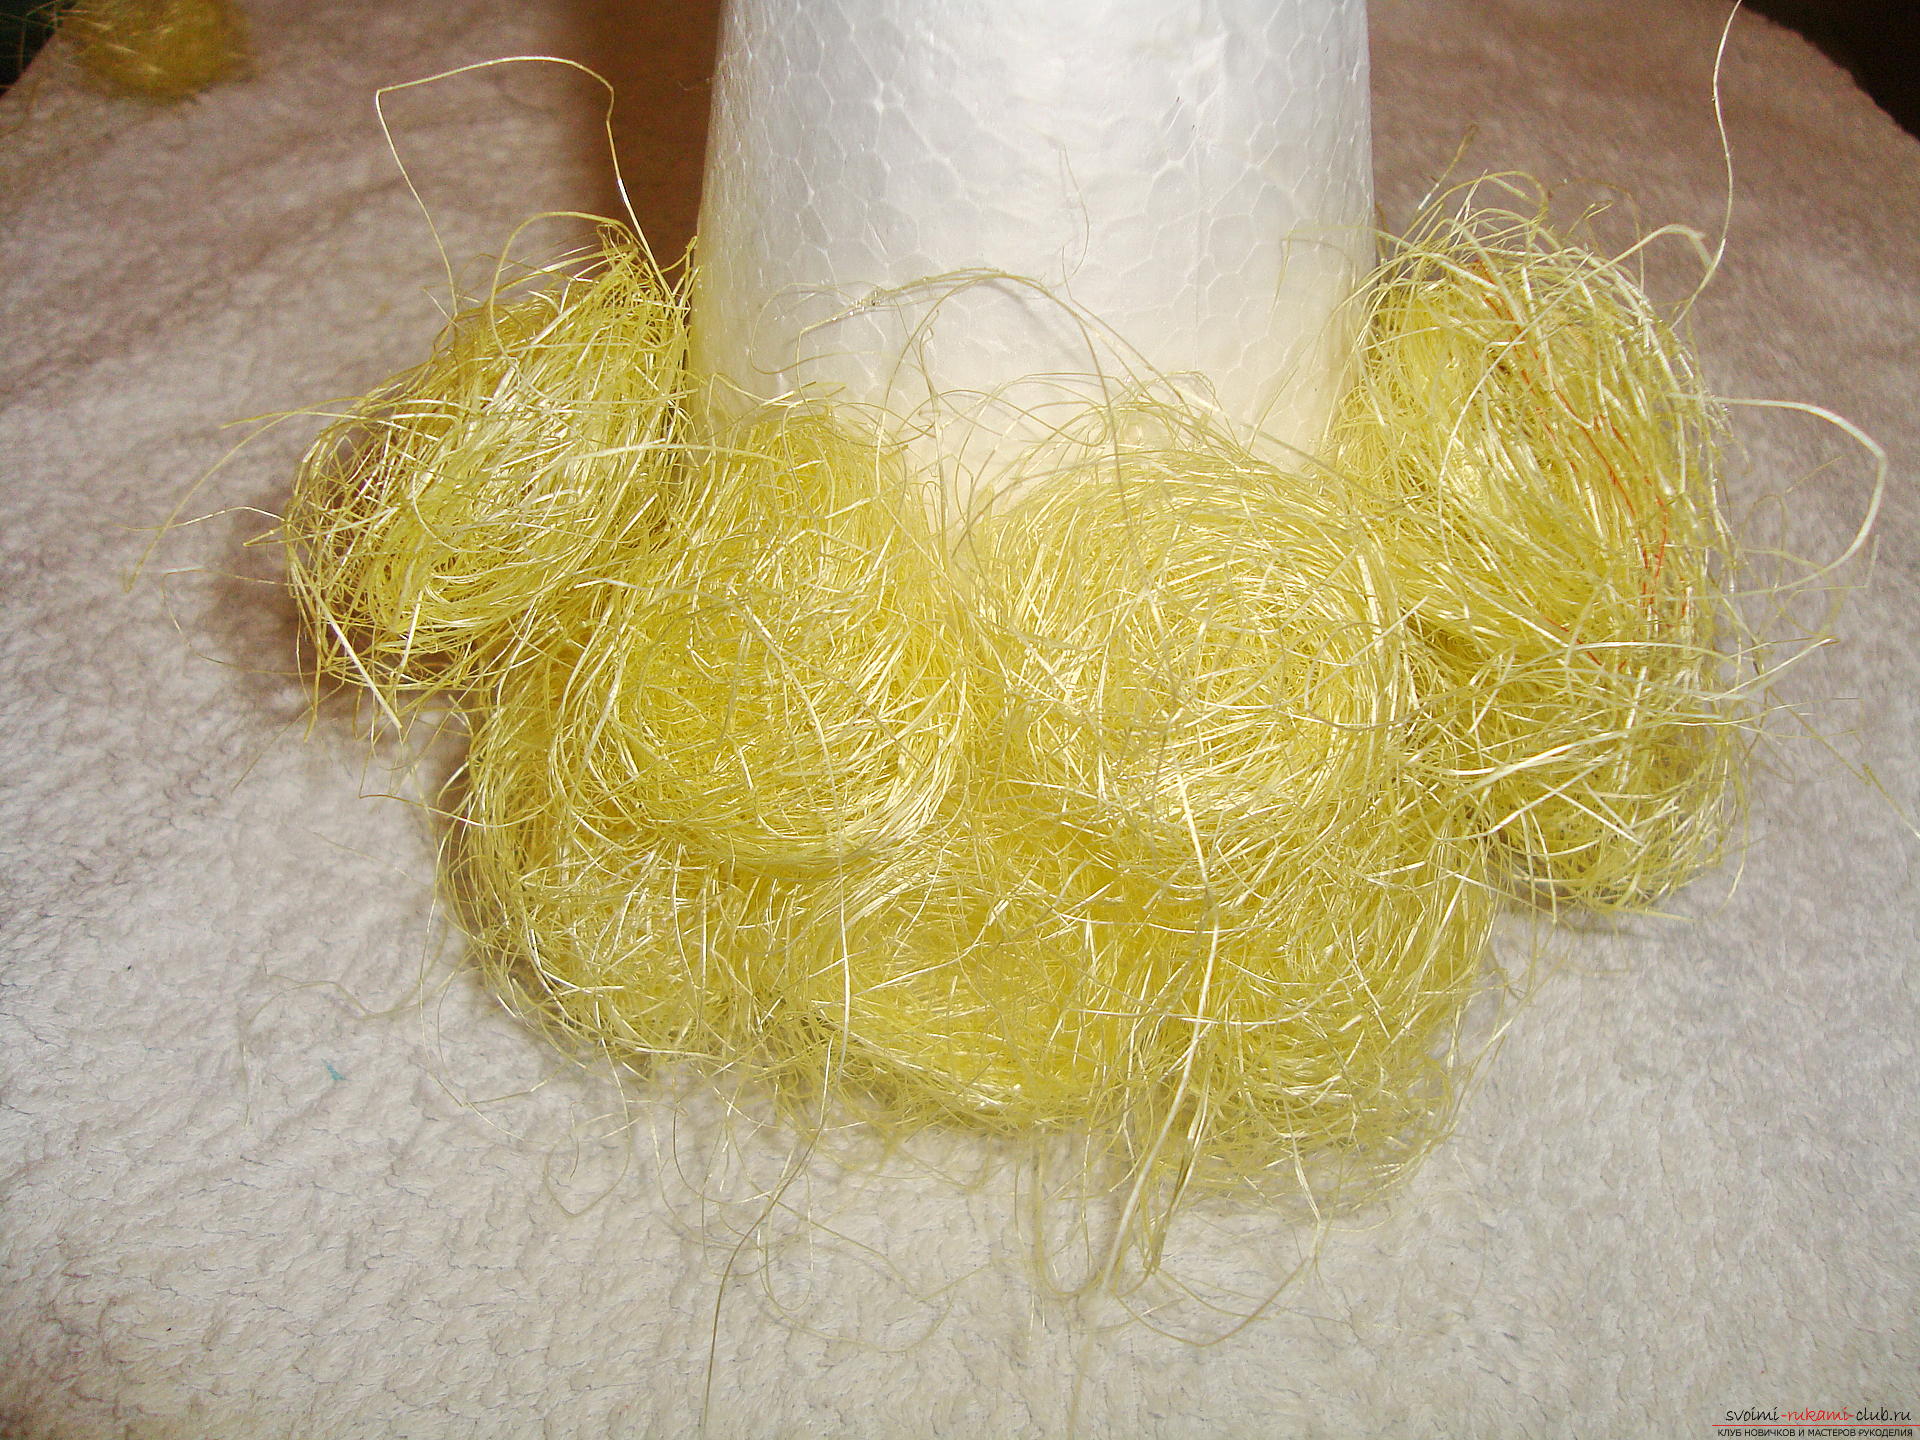 Repeat the procedure for attaching balls from sisalto the foam cone. Each new series starts just above the previous tier. New balls are fixed over the gaps of the two elements from the previous row so that a chess piece is obtained from the rounded parts of the sisal.
 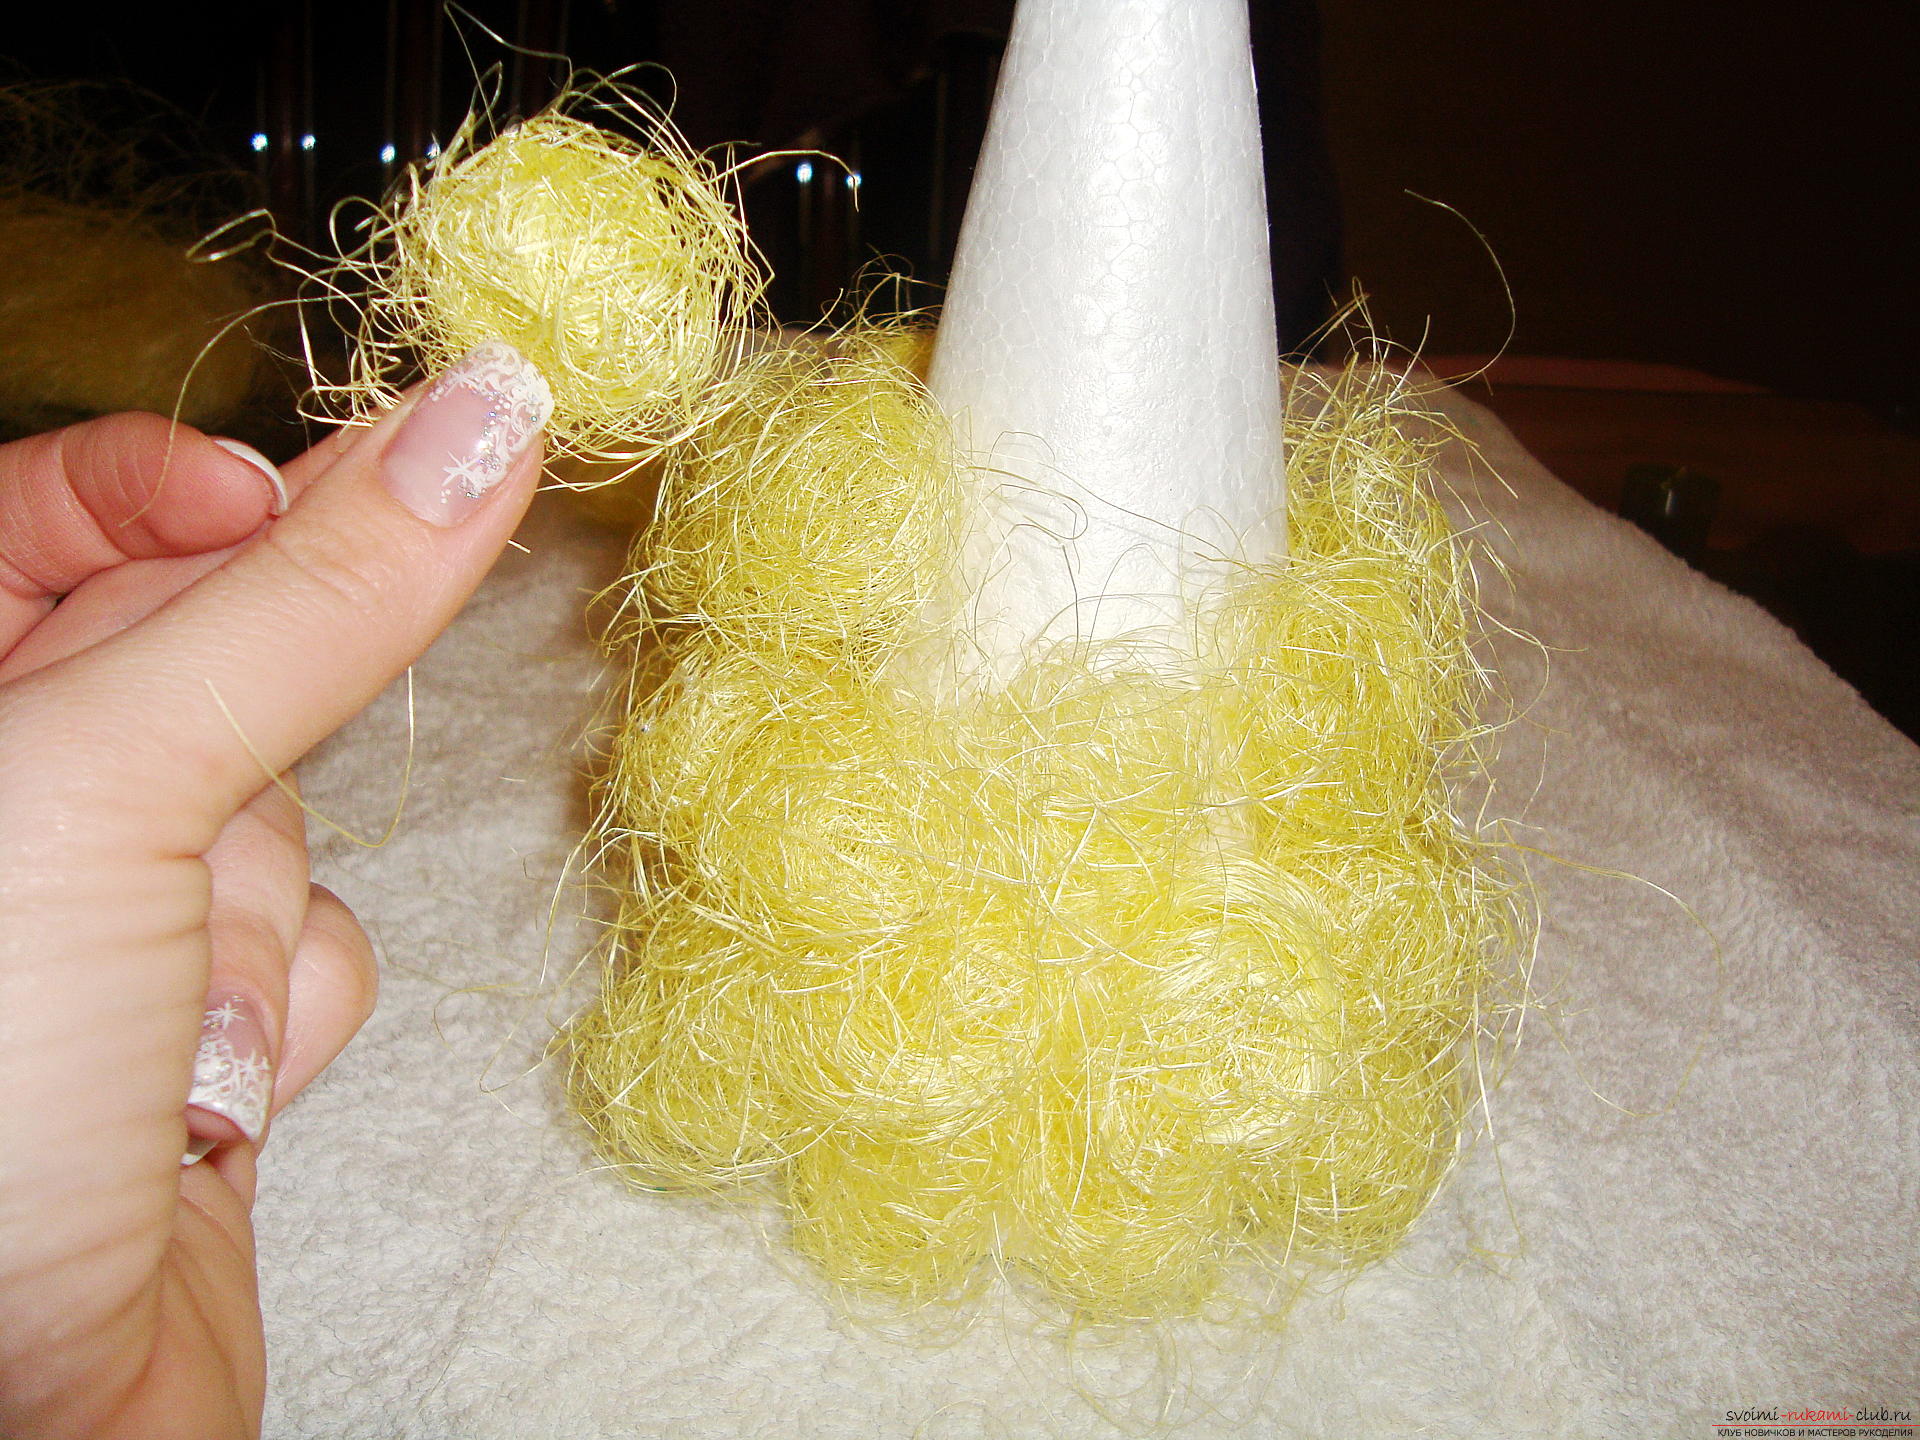 To the upper part of the cone, the area of the base narrows andless number of soft elements per row is required. When the distance between the elements is kept at a minimum, only the number of parts changes. The clearance between the side parts and the parts from the upper and lower rows is exactly the same.
 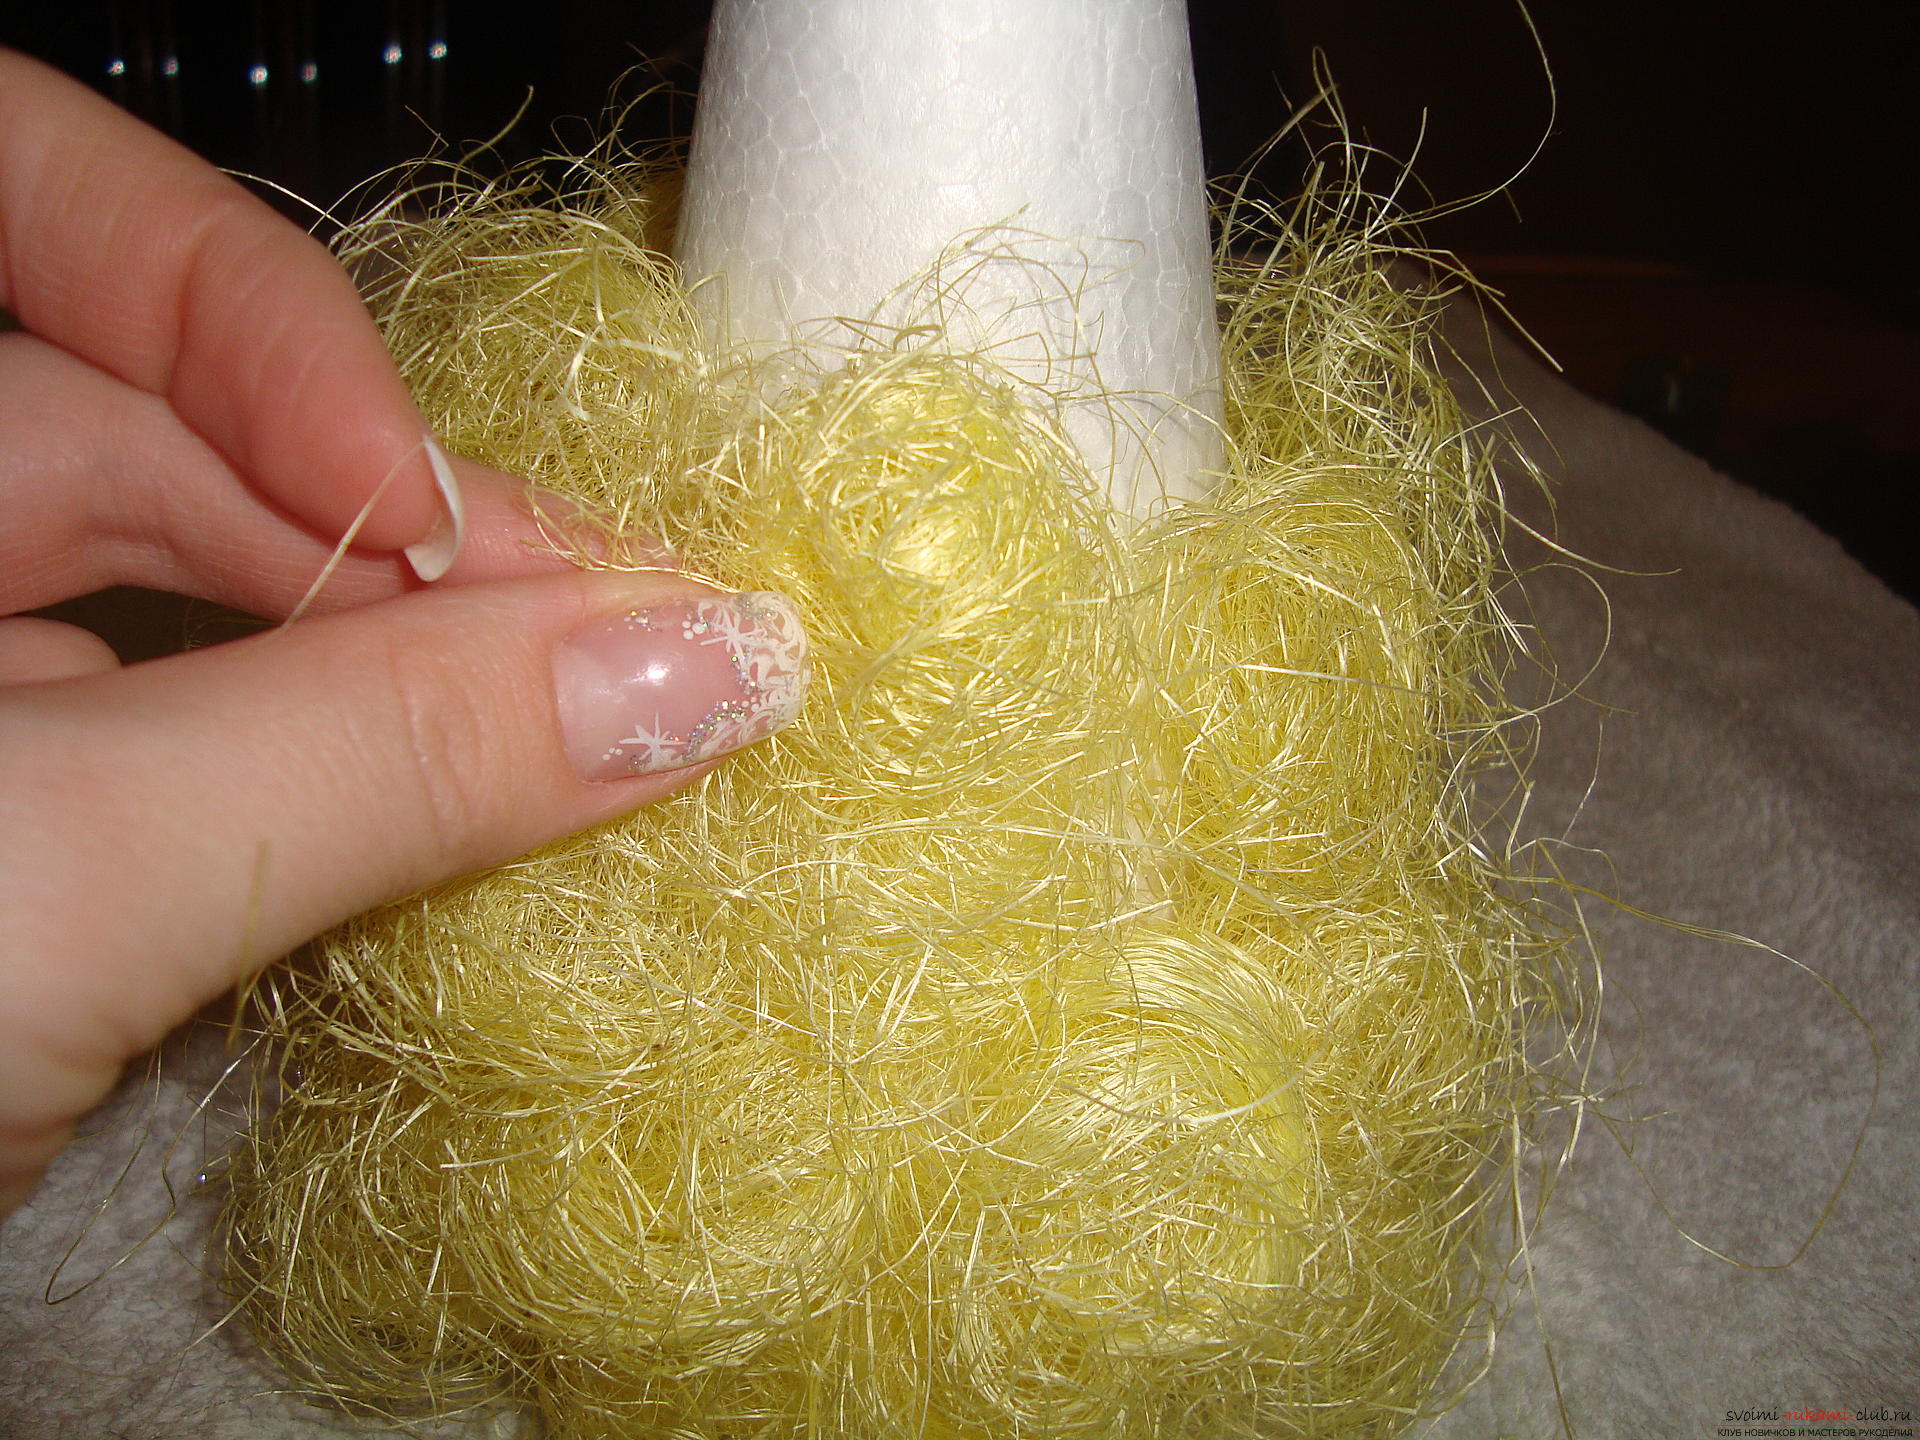 At the top of the cone, glue just four elements and sisal so. strictly opposite to each other.
 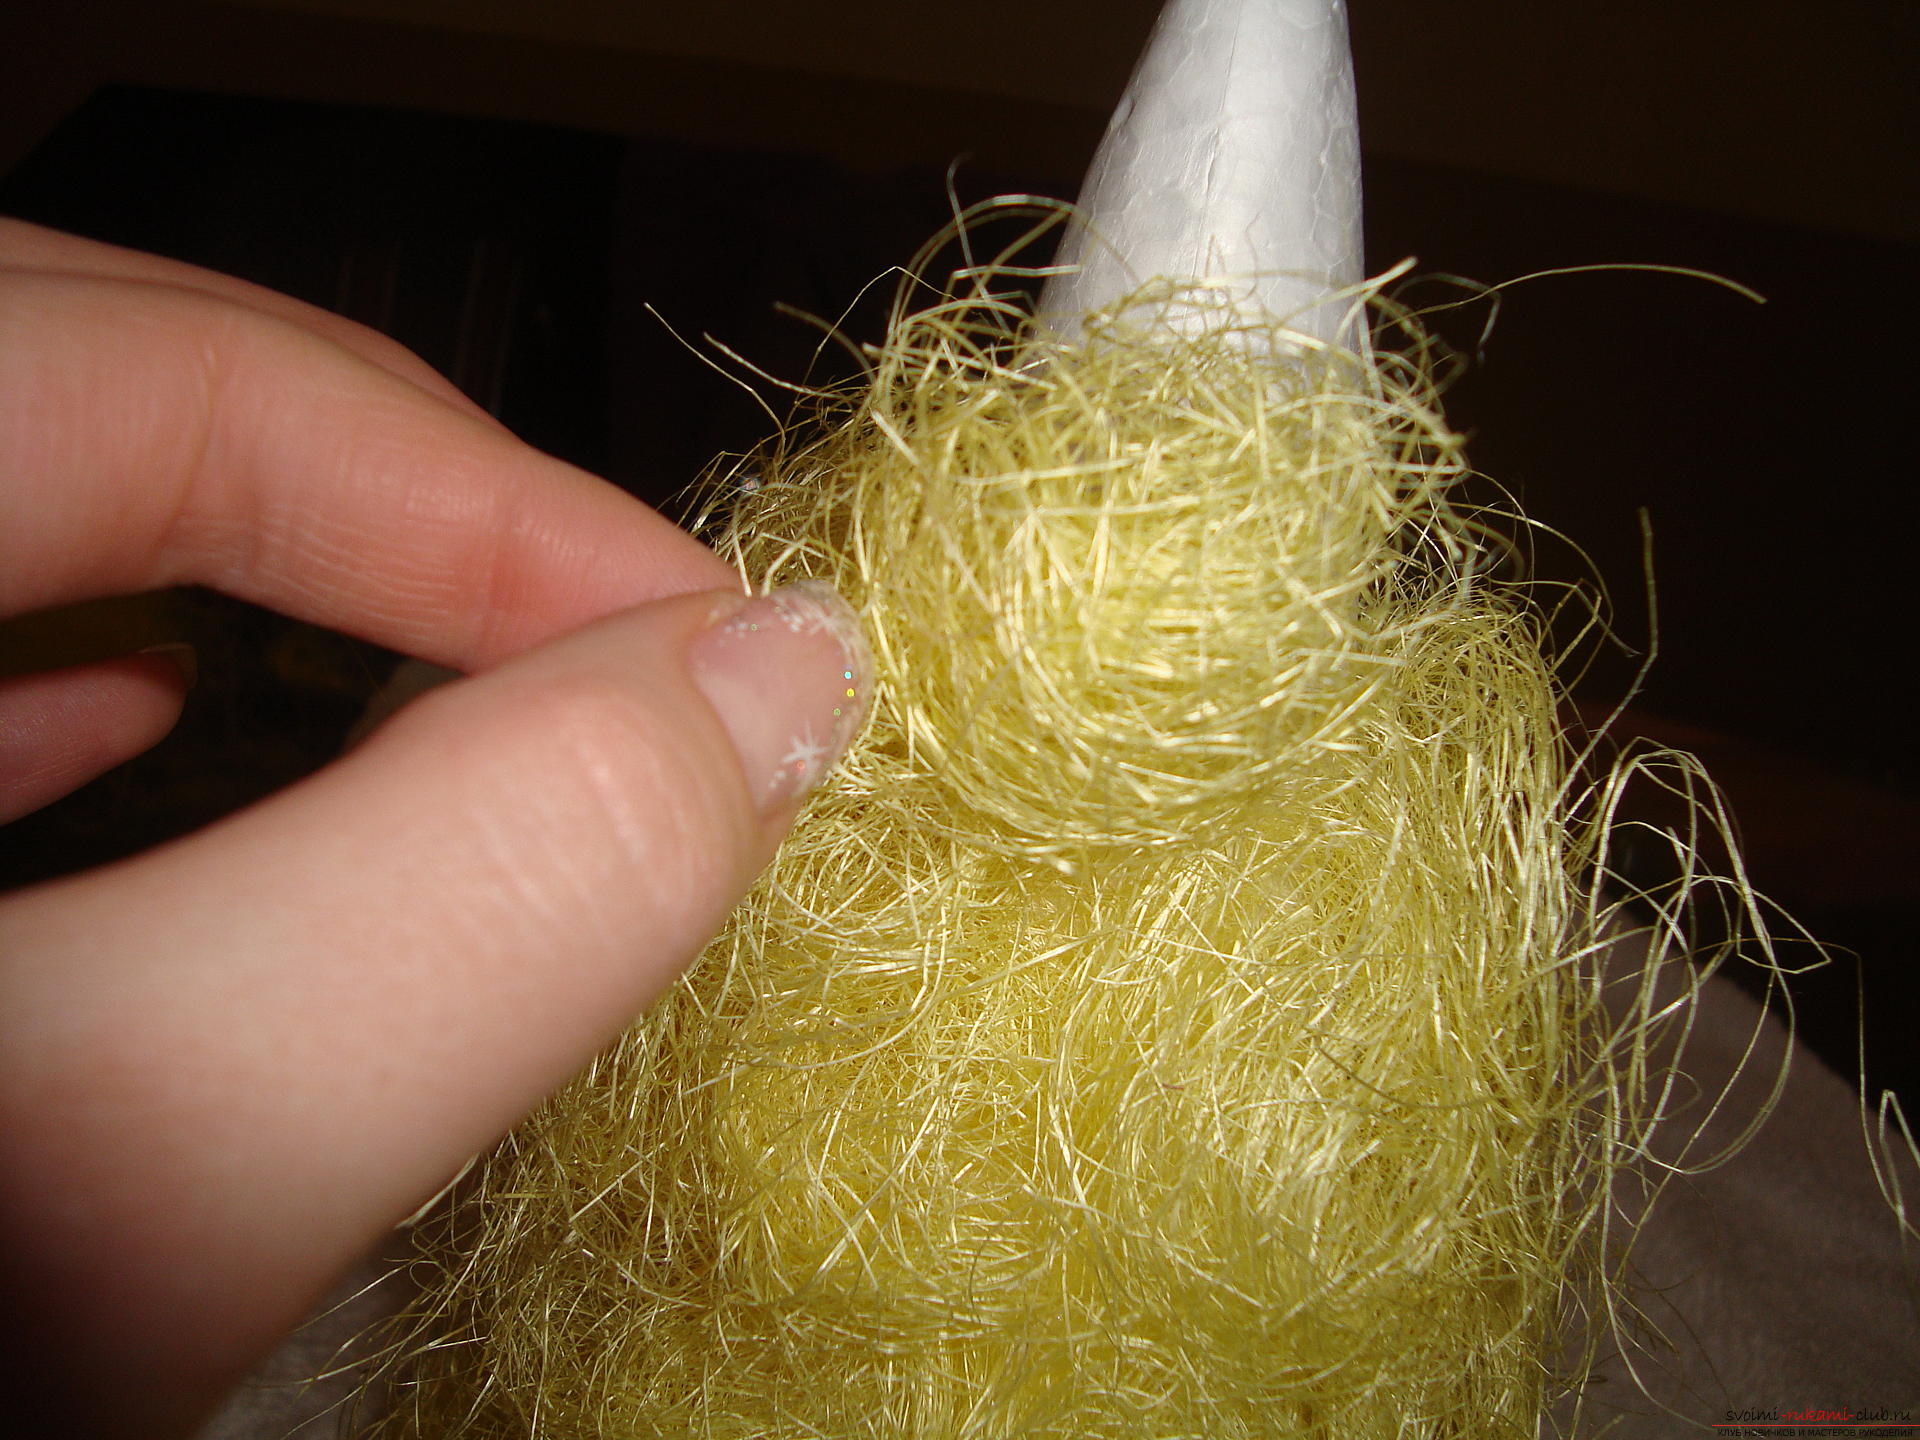 At the very top is to add a wire,which will help smoothly finish our craft from sisal. The wire should be about 15-17 cm. The tip of the foam cone wire is deepened about 5-7 seconds, this distance will help reliably delay this additional detail in the base.
 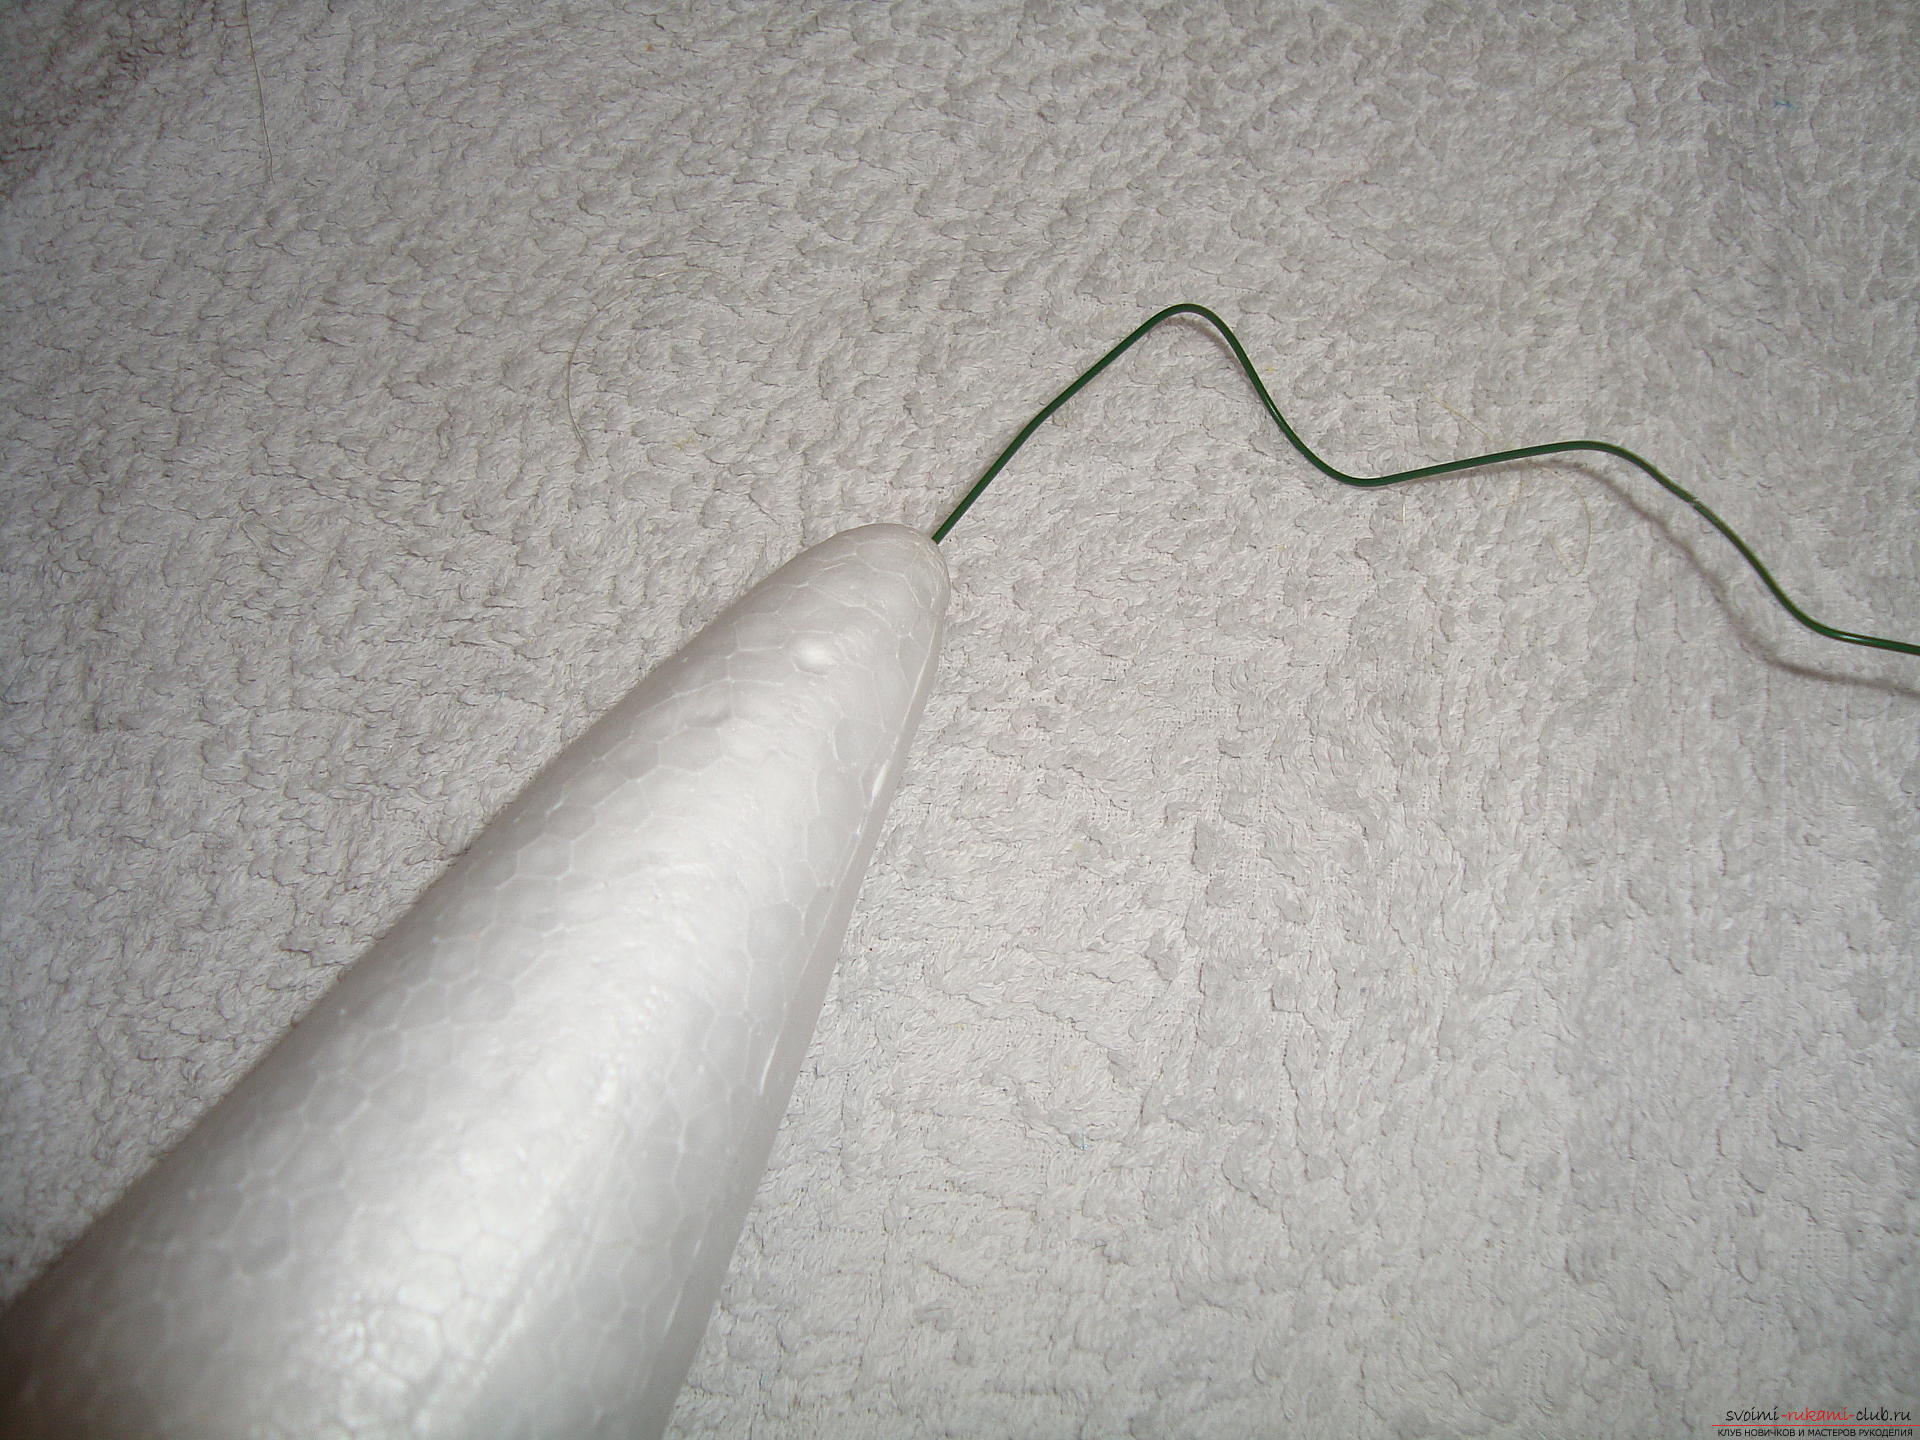 Tear off some sisal from the main skein andDistribute some of the unusual material along the top and wire so that part of the sisal hangs slightly. Work should be harmonious, without sharp transitions, only then the craft will look festive and interesting.
 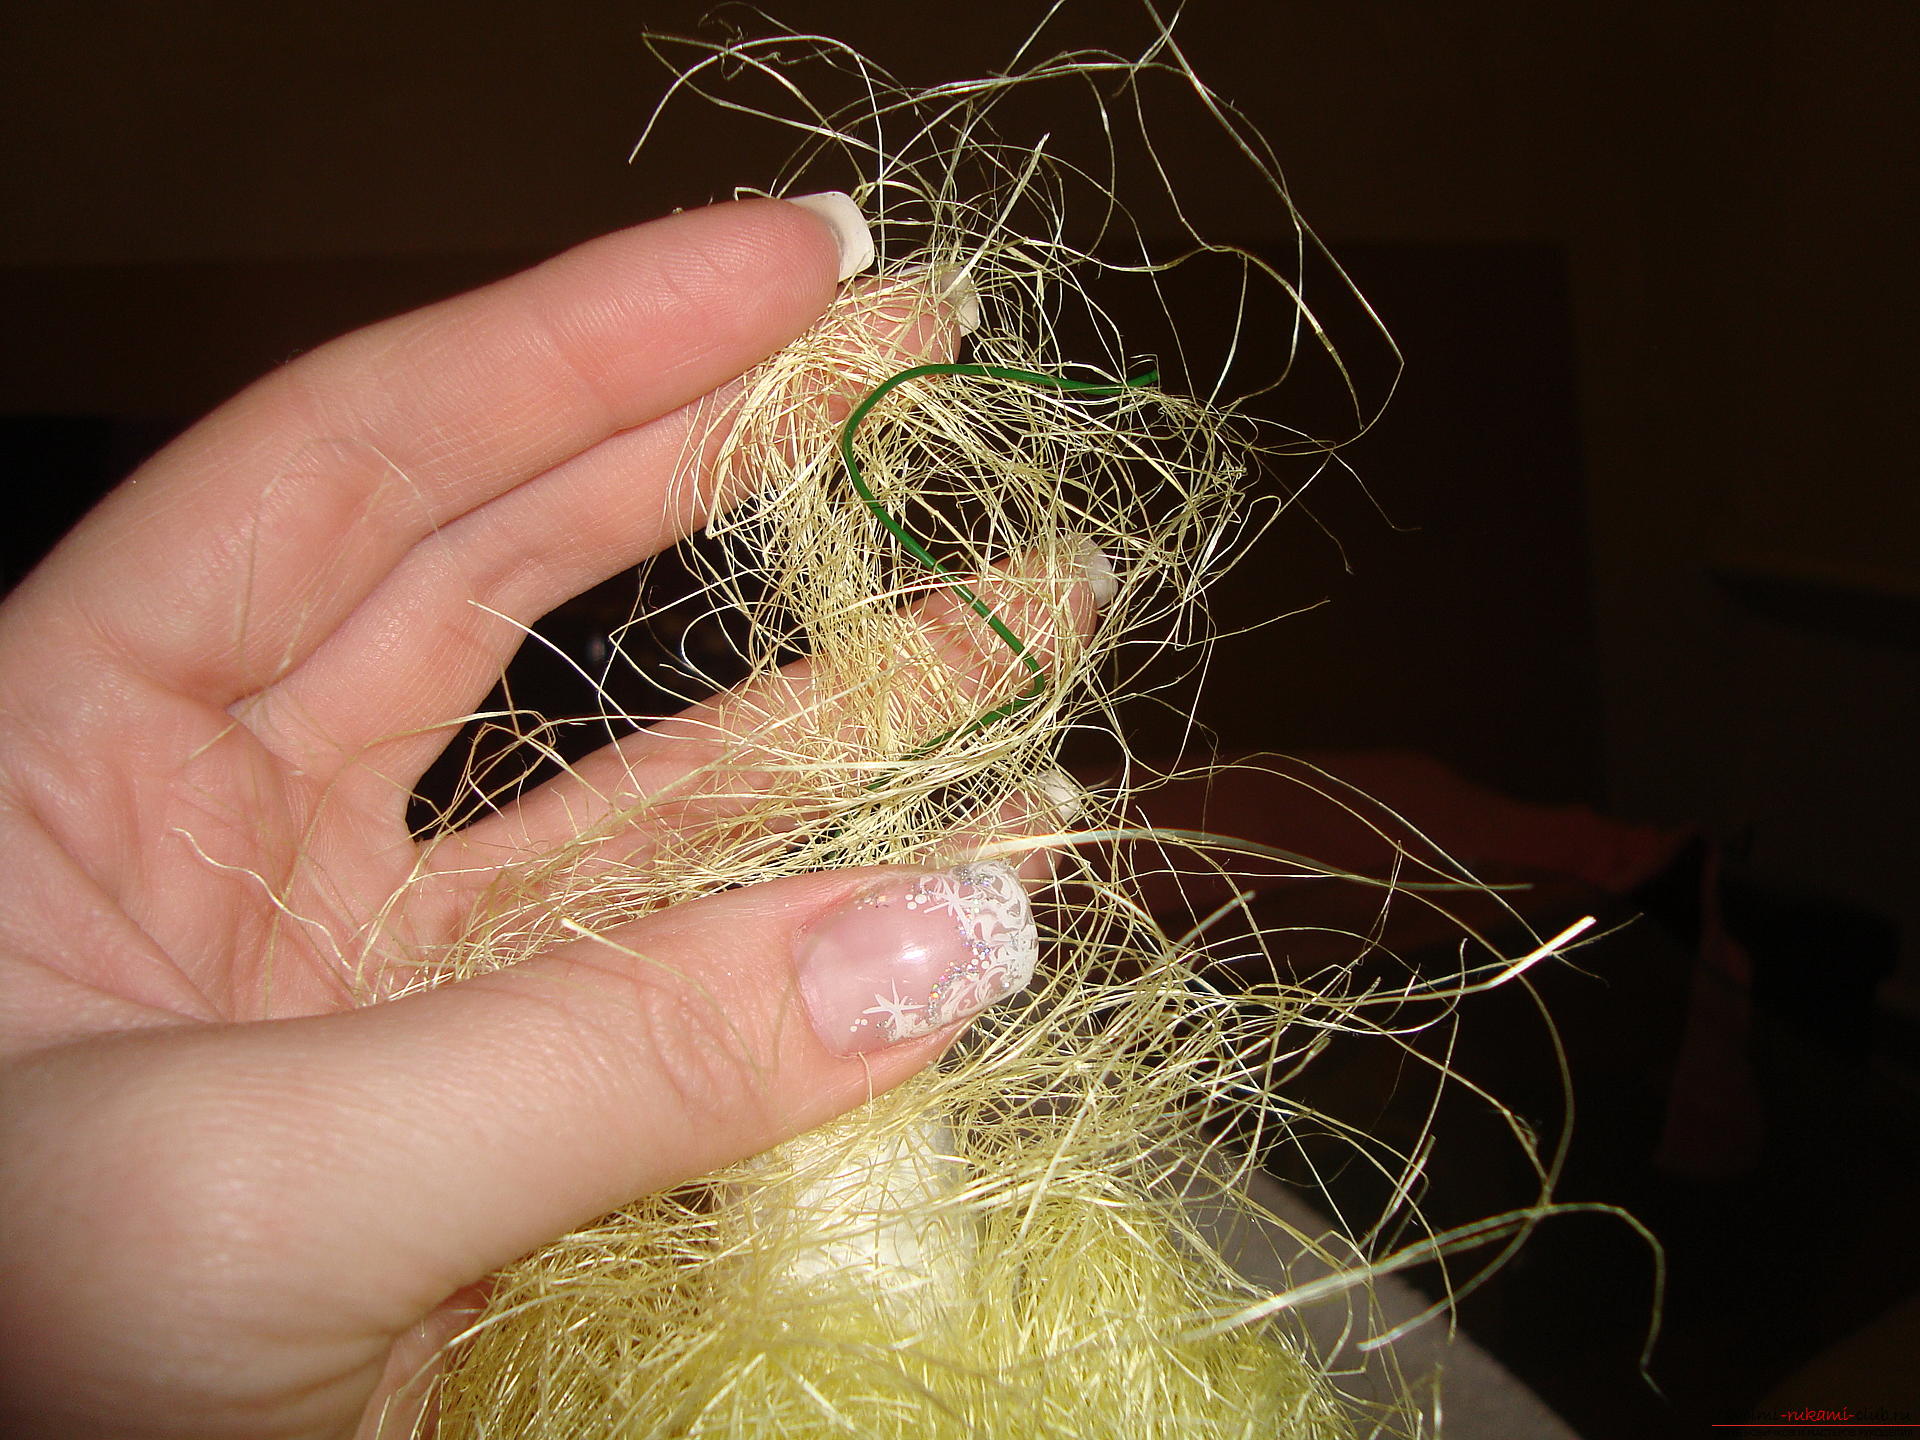 once again spread the sisal, if some threads are out of the winding and stick out in different directions, they can be cut off, leaving a neat appearance of the New Year tree.
 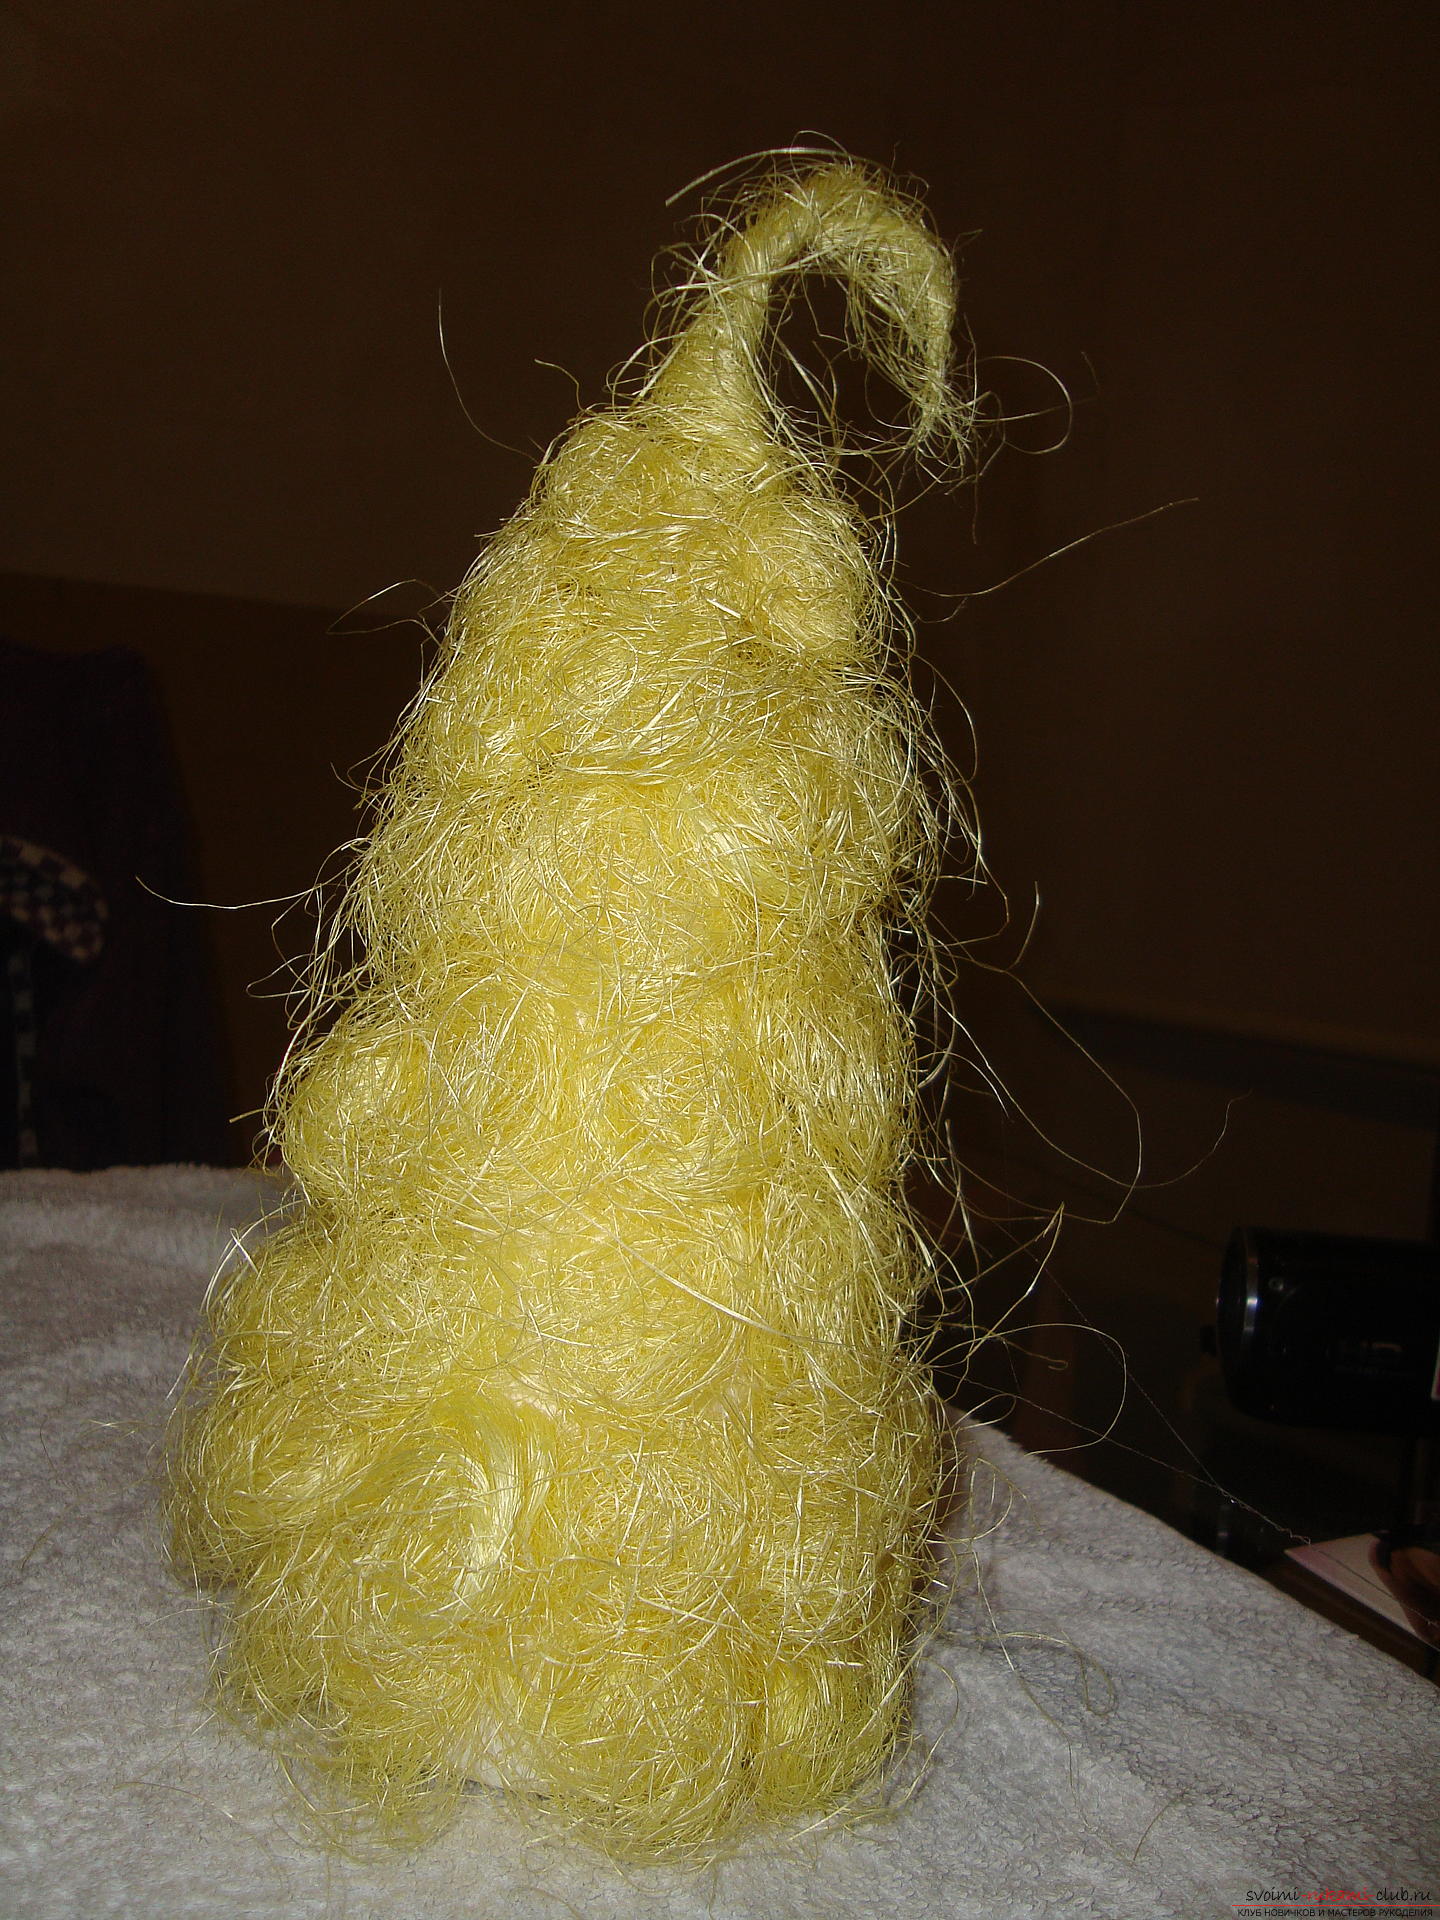 At the last stage, we turn to decorating the Christmas tree. Cut the wire with shallow tinsel into parts, about 6cm should be every detail. Each cut is bent into a mold. in appearance looks like a droplet.
  The middle of the arc should be pressed to the place where the ends of the wire were intertwined and once twisted. In toga, he turned out an unpretentious bow of fluffy tinsel.
 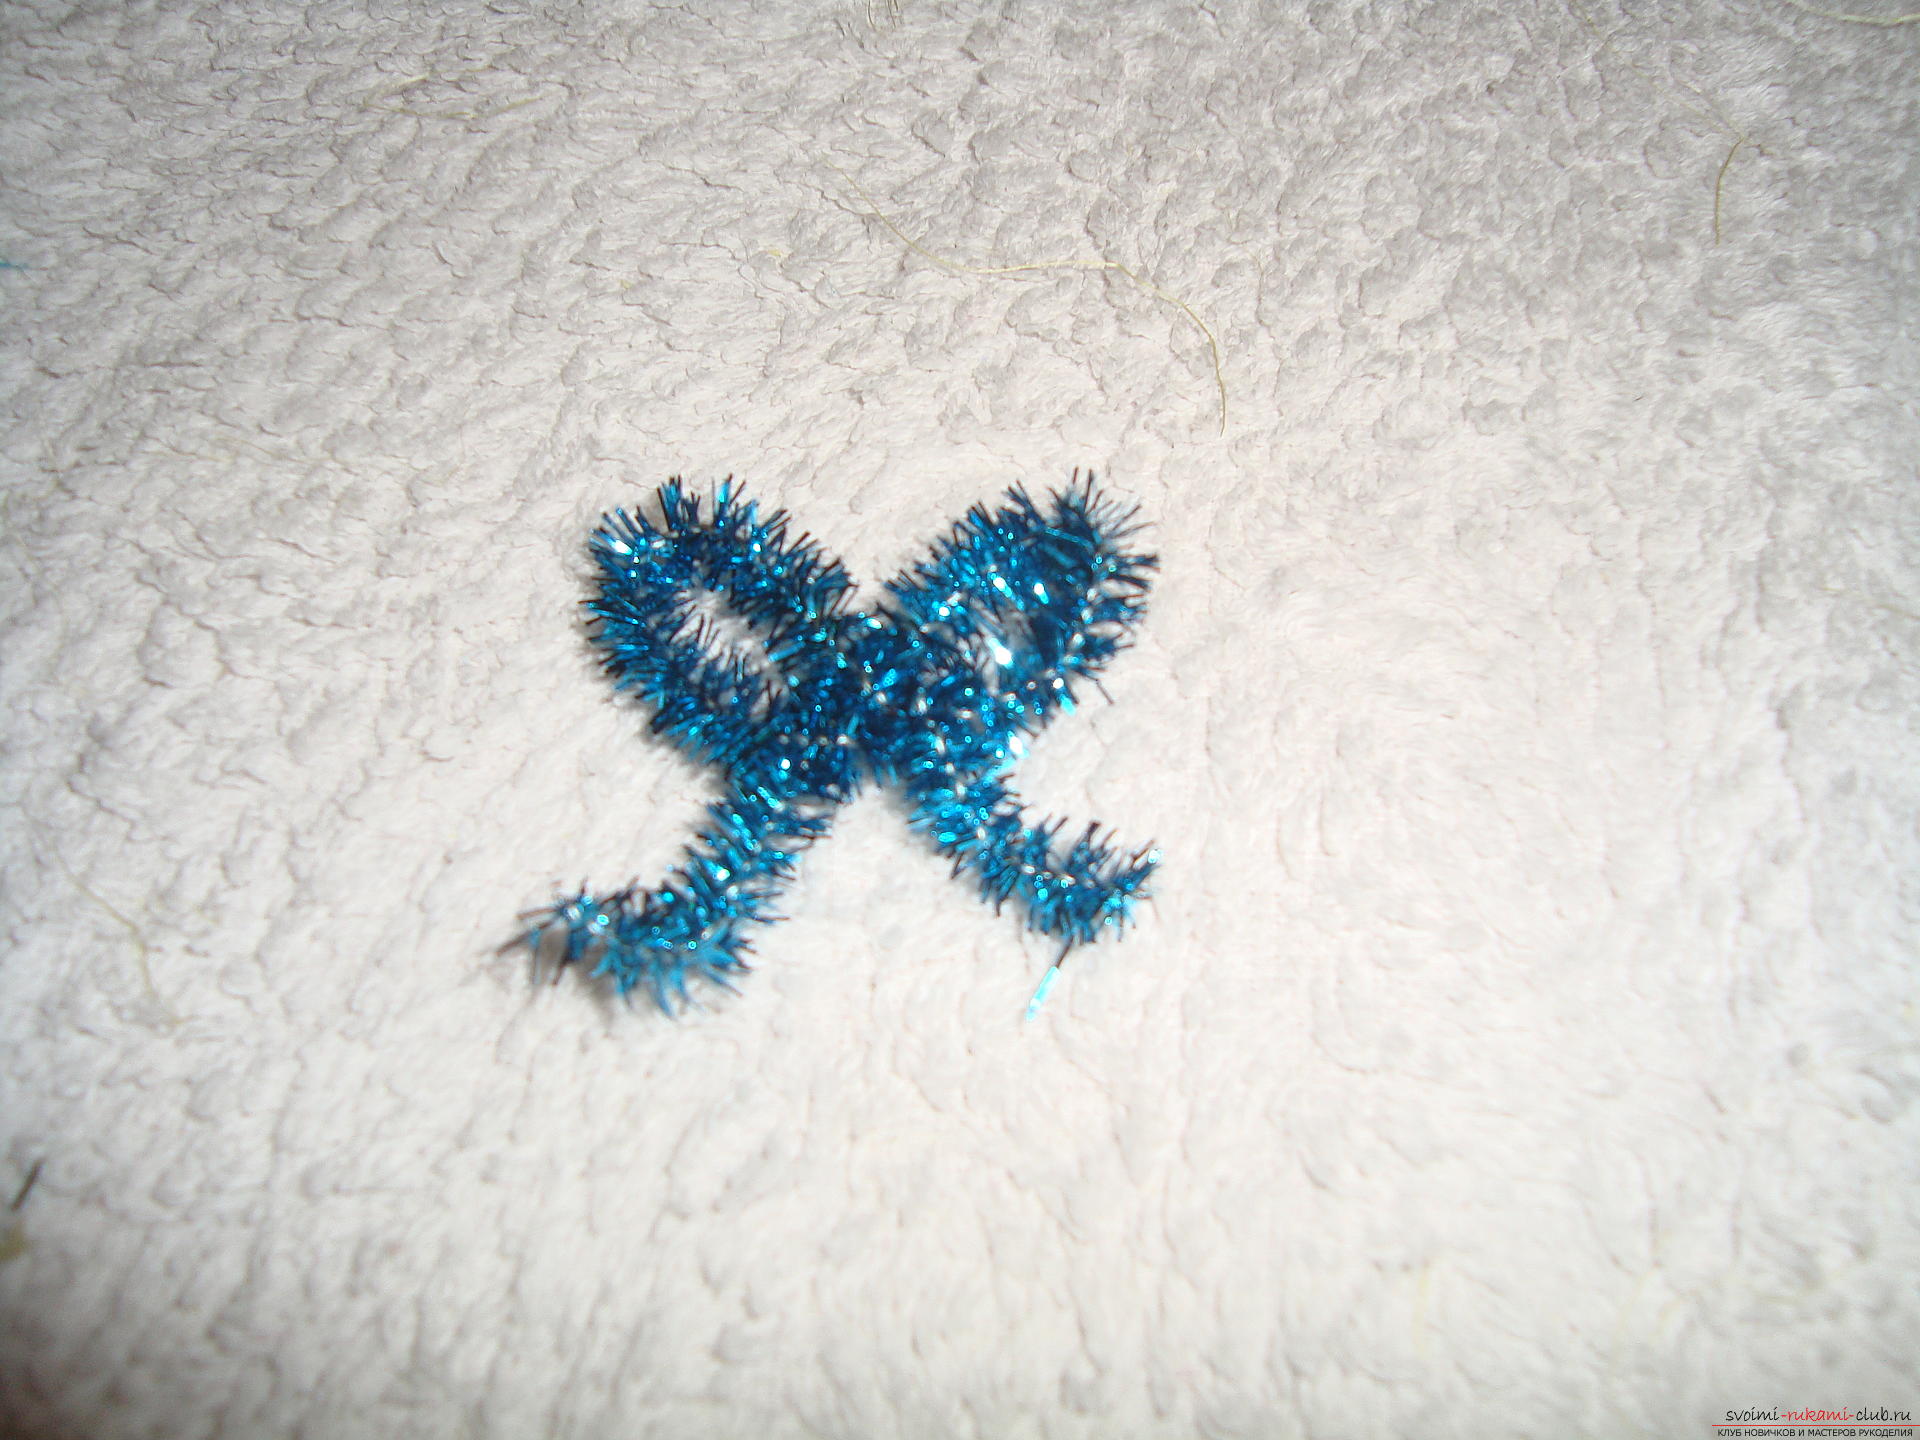 Make a few bows. All of them should be approximately the same size, but completely different in tone colors. Such a selection of palette will help make a bright and interesting Christmas tree.
 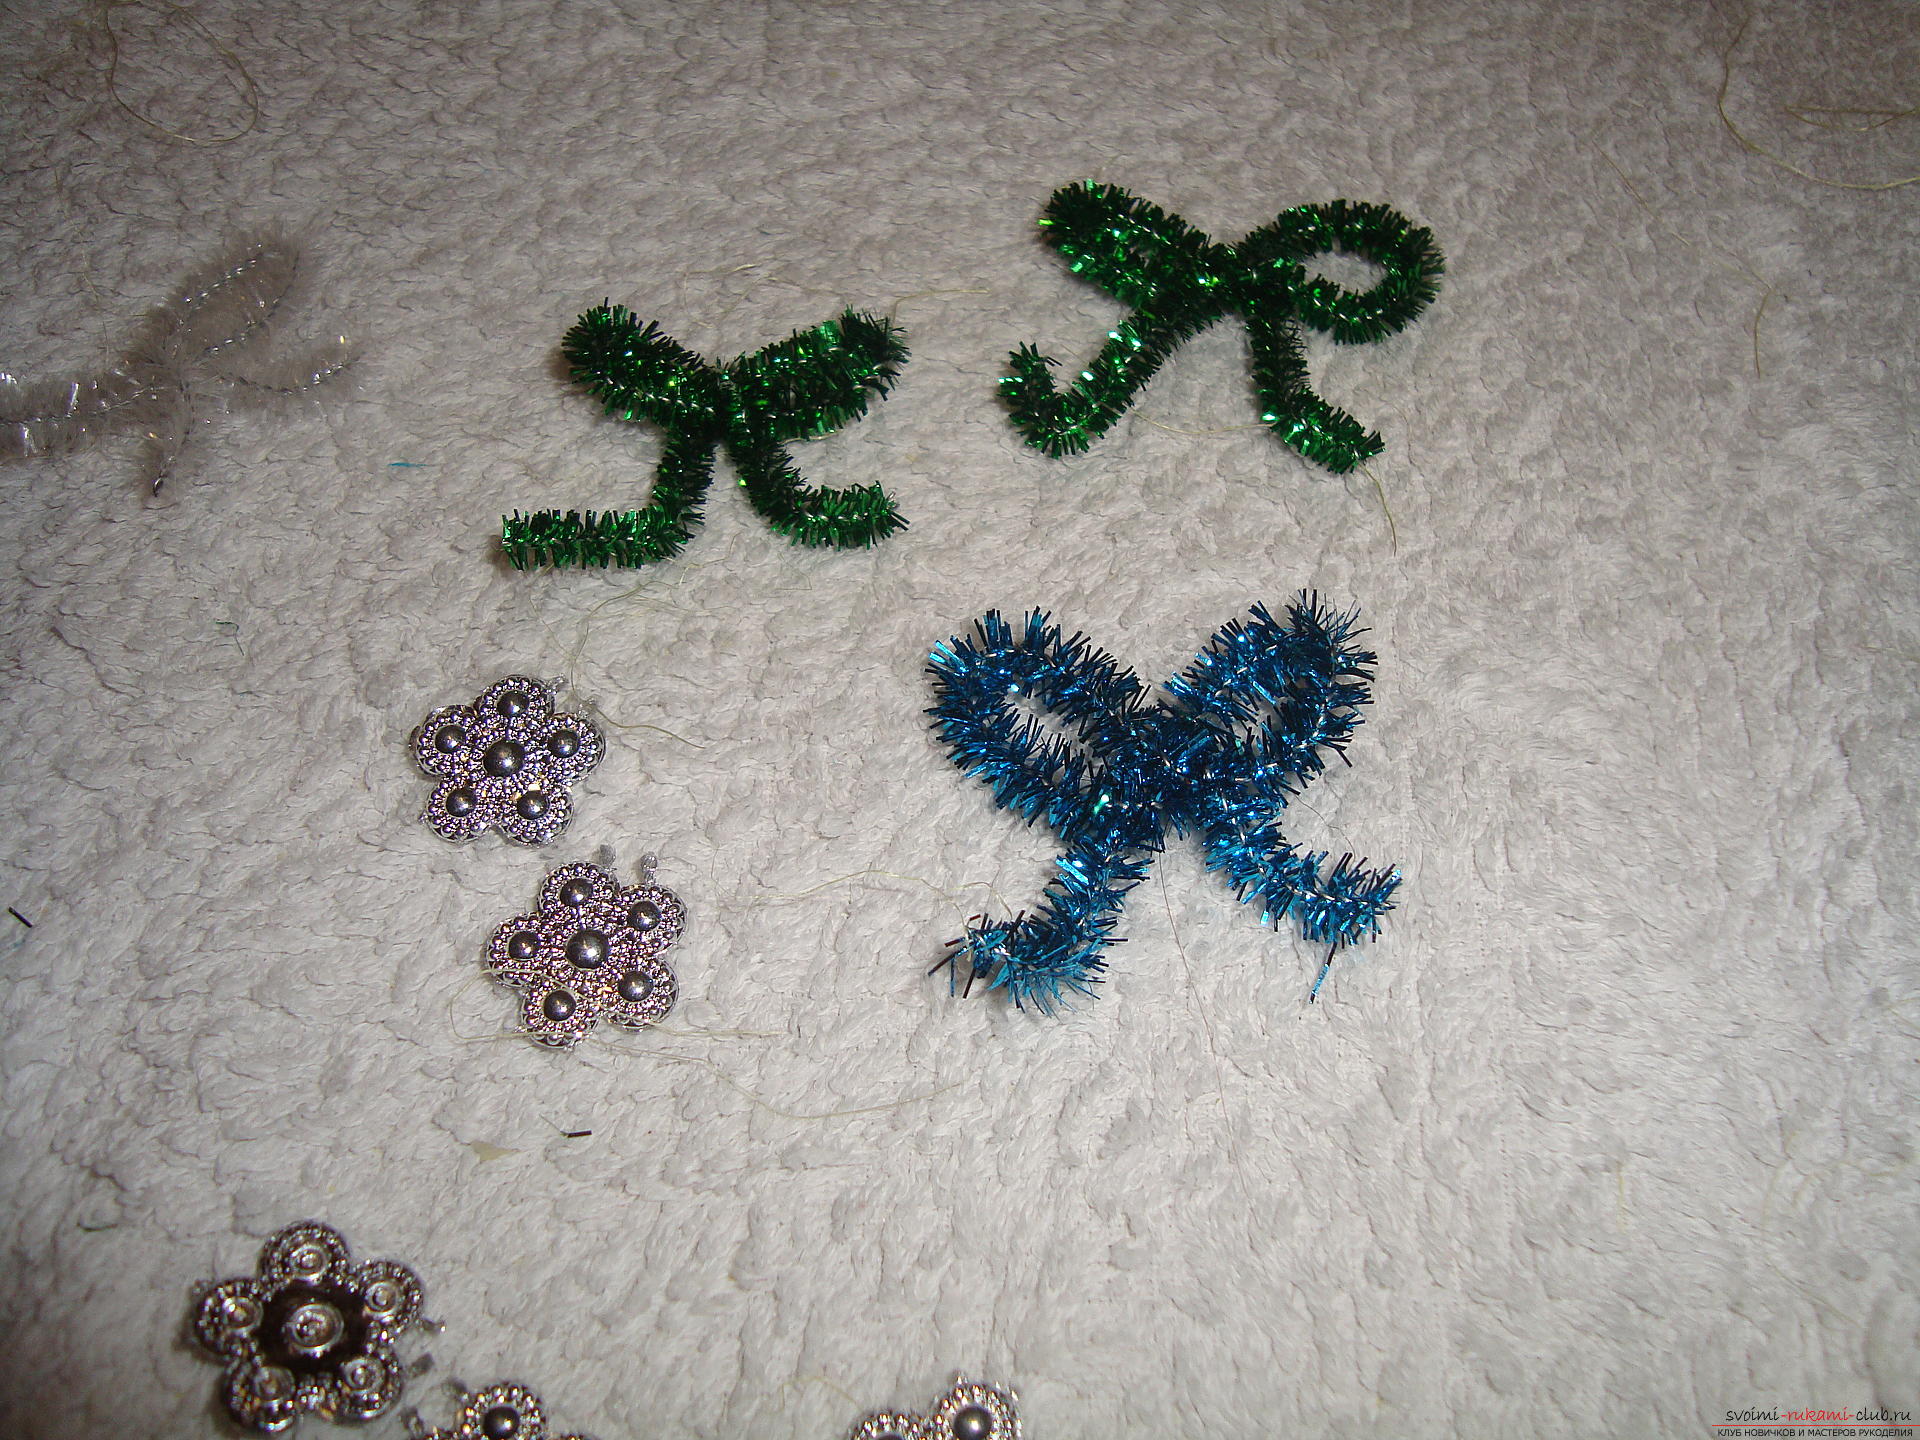 Now with the help of hot glue we fix the bows in different places of our Christmas tree. Decorate the tree symmetrically over the entire surface.
 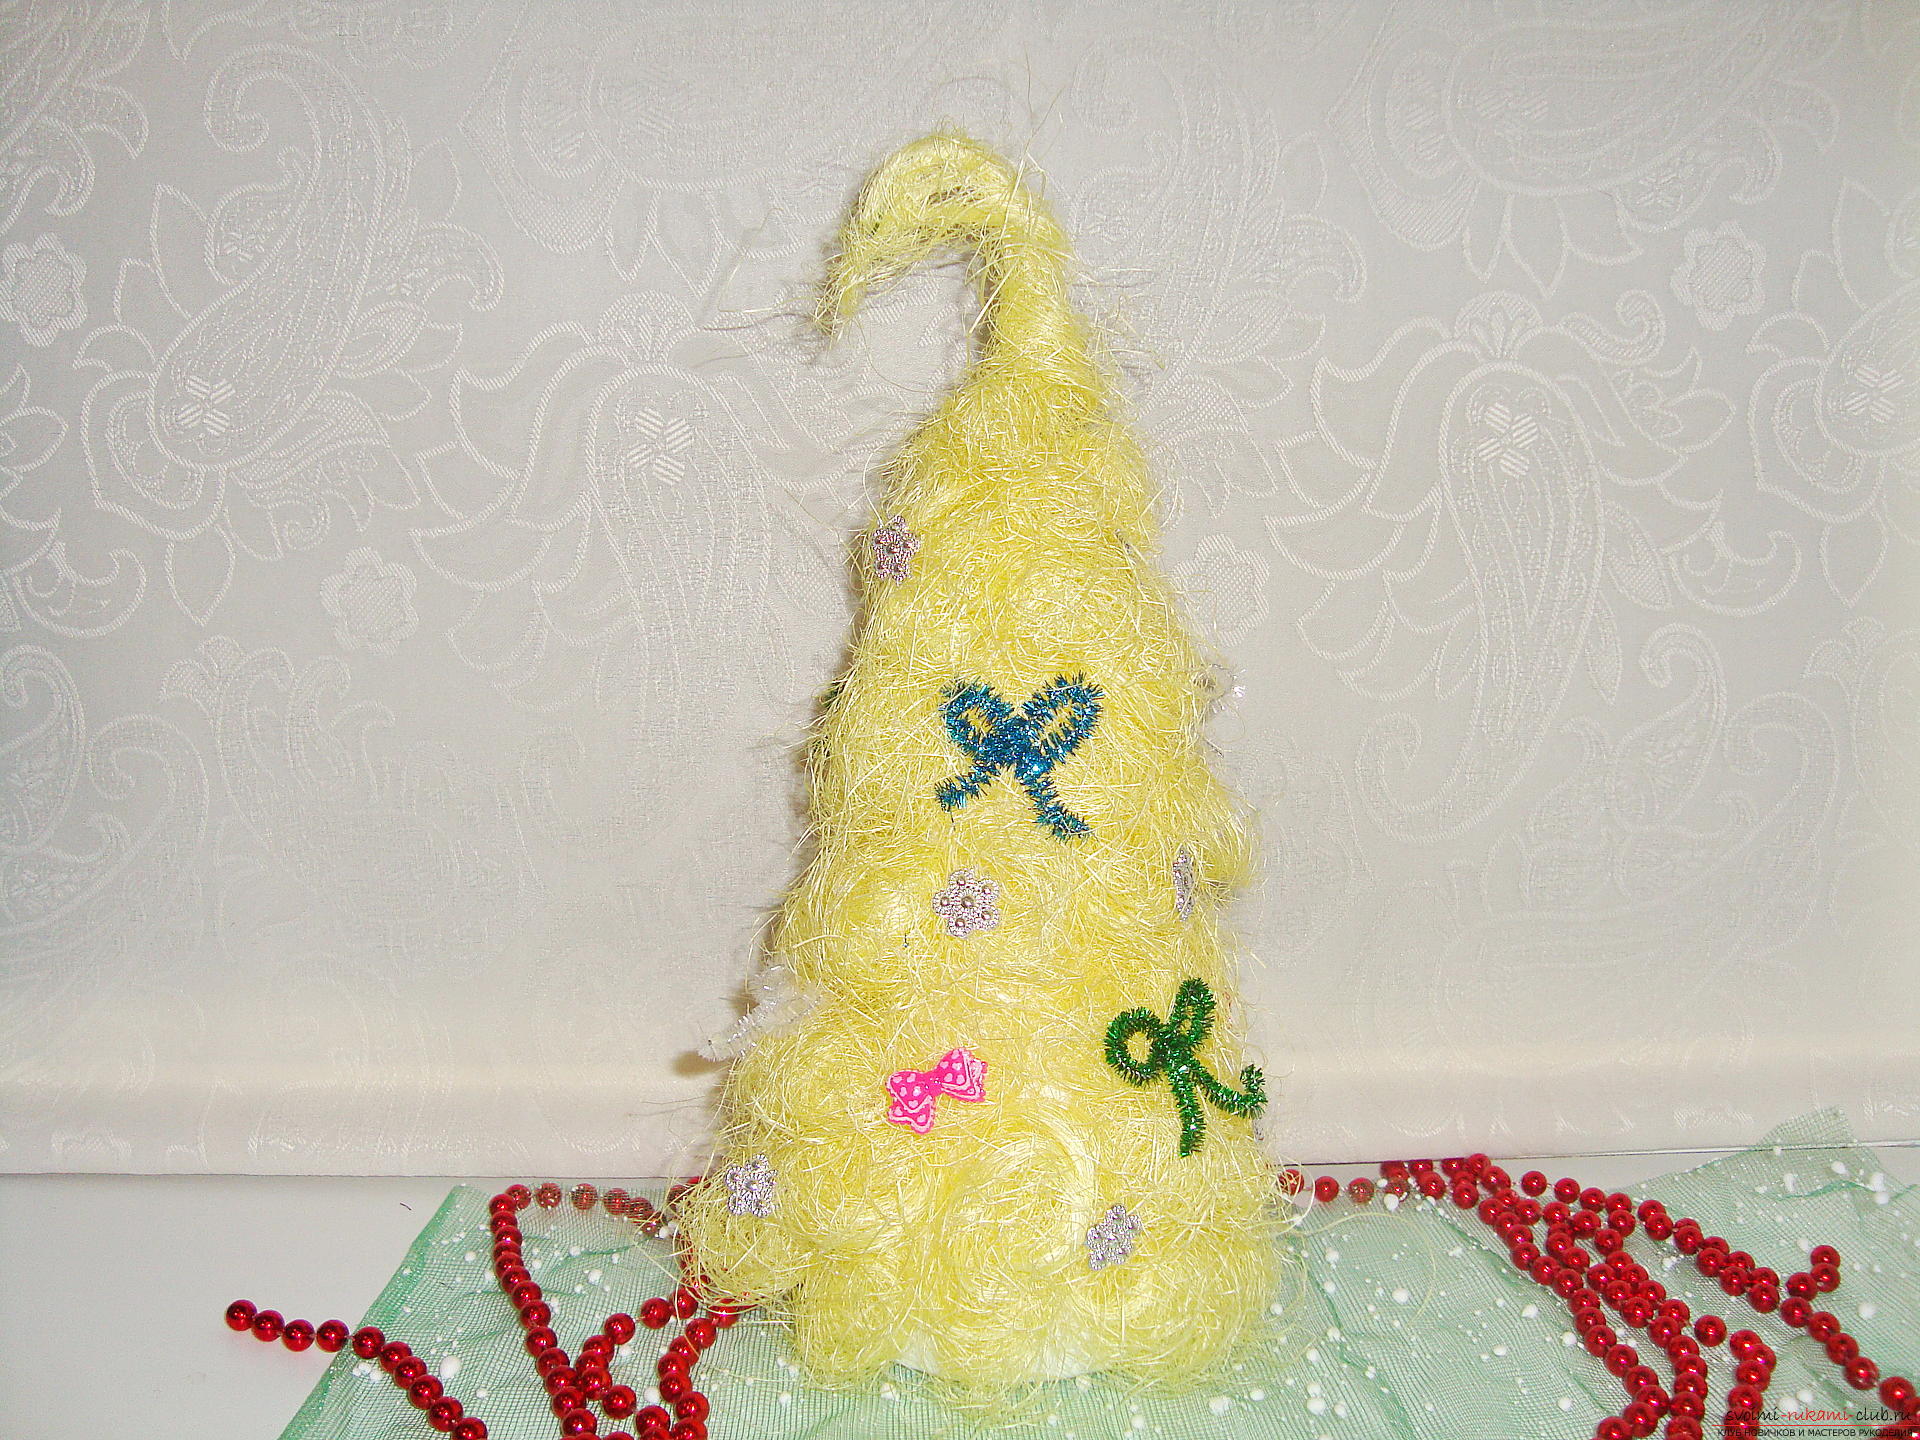 That's ready for a new article for the New Year 2016 - a wonderful Christmas tree from sisal.

