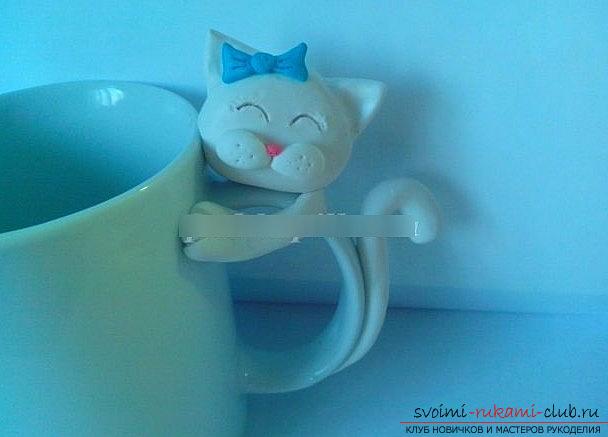
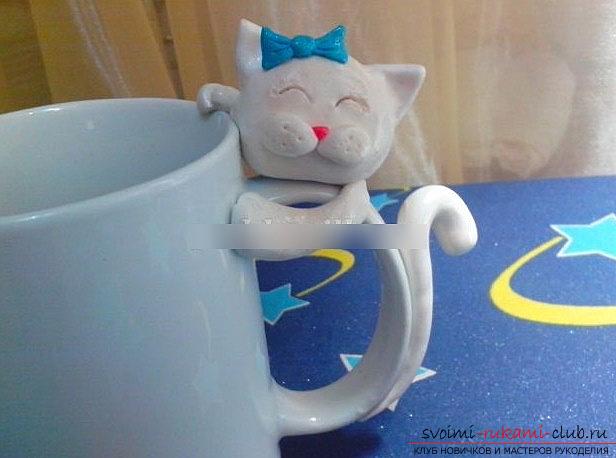
Cat on a cup - a lesson of polymer clay and a master class for beginners
Even a simple cup can give a special look. For this it is necessary only to have certain knowledge in the field of laying polymer clay and its baking. With the help of a simple and easy lesson, we will tell you how to recreate the desired version of polymer clay with your own hands.
Cat on a cup - a lesson of polymer clay and a master class for beginners
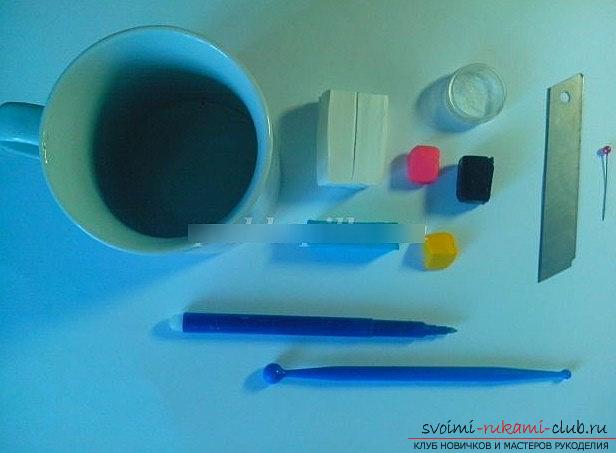
- We use the usual white mug for the basis of the work
- We take a polymer clay of the appropriate color to the mug, or we paint it
- Also, take the clay of turquoise color for finishing (or other)
- Need to have a blade and a needle
- Take black clay, pink
- Also, you need a knife to create an engraving
- It will take a tool of round calico
- Varnish of transparent color
- Bindings for decoration
 First of all, it is necessary to take a whitepolymer clay and roll a ball out of it, of suitable size to our crutch. Then, it is necessary to make the shape of the head from the ball under the kitten, then it must be pushed from below. After that, we have to roll small, two, small balls to get the shanks of the future seal. Further, we make them in the form of a "drop" and fix on the muzzle of the animal. Also make two balls, but in a larger size, to recreate the ears for the future kitten.
 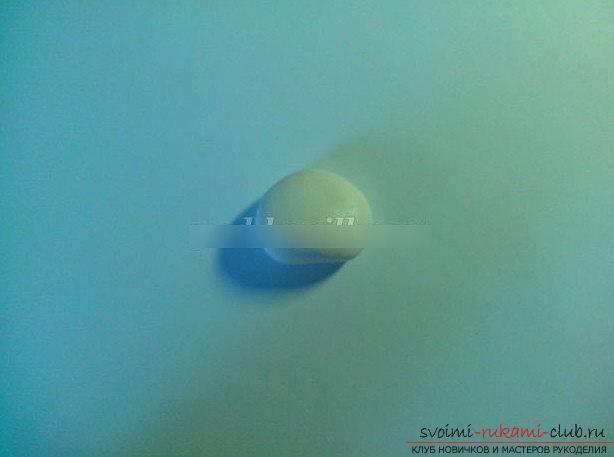 Preparation of ears for polymer clayit is necessary to fix on the top of an artificial animal. Using the round calf tool, you need to smooth each stitch, also - squeeze out the shape for the ears. Using a needle, we recreate the dots on the cheeks. With the help of pink plastic we create a spout for the future kitten. It needs to be shaped like a triangle. To do this, you need to clamp our product from three sides, fingers. You need to stick a nail on your face.
 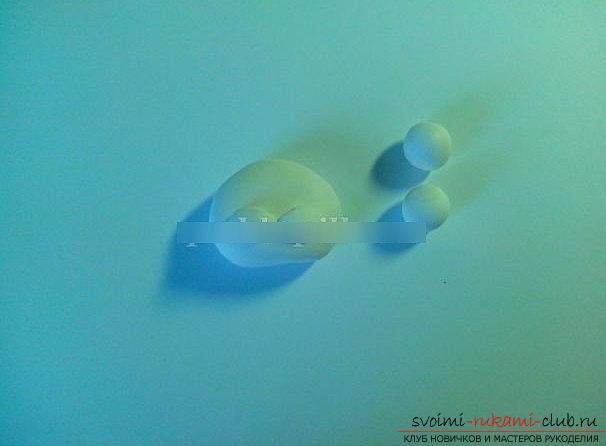 Using the needle, we must squeeze out the eyes forour beast. He looks happy, therefore, we'll squeeze his eyes!
 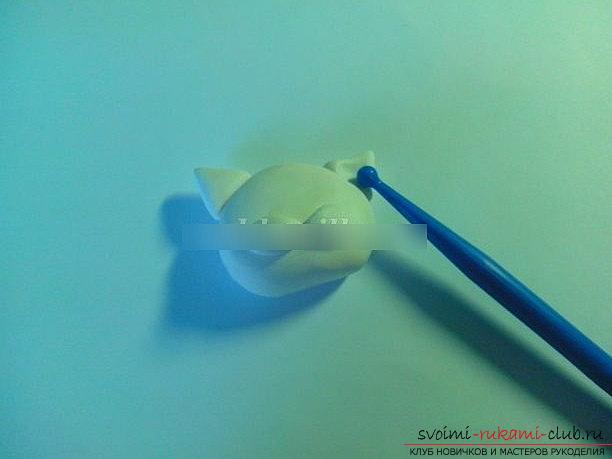 Using a needle, we make it more believablea variant of a bow (we soften corners, the form) and after, we attach it under a head. The muzzle will be ready, now you can fix it on the mug! Paws and accessories
 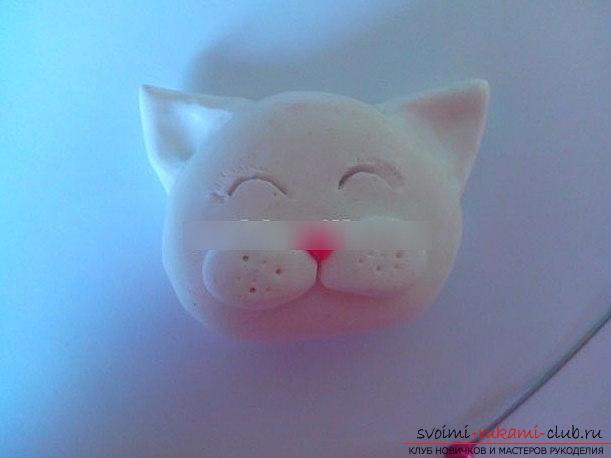 Next, you need to recreate two balls of whitecolor to make the feet for the animal. Forms are attached to the paws themselves, according to the drawings. You need to pull them to one side. With the help of a blade, we make cuts on the legs in the number of three pieces. The foot should be cut along the fold line. Squeeze out too! After - the paw must be secured. Create a sausage shape to make a realtail for the future kitten. It all depends on you - it will be sugared, or smooth. It must be fixed on the ear mug. Then, the second tab should be attached to the rear. You can also make a ball for the "game" of our kitten. Bake the product for 30 minutes (or depending on the size of the clay) Everything, you can use the mug!
Comments
Related posts:
 The English rose with your own hands - flowers from polymer clay and a master class
 We make a gradient of polymer clay with our own hands - a lesson and a master class with a photo
 This detailed master class contains the technique of working with polymer clay and will teach you how to make Keynes and beads from polymer clay.
 Pearl bead from polymer clay own hands - master class
 How to make beads sausages with the help of polymer clay - master class