Ceiling and wall-mounted clothes dryer do it yourself - master class
Let's be honest - you have nowhere to dry things. Of course, you can hang jeans with a shirt over the balcony, but what to do with your laundry, put it on public display? And do not say that you dry the panties on the batteries - because they deteriorate from this. Of course, there is a solution - to make the dryer on the balcony or loggia, and even do it yourself! This is a great solution for both your wallet and personal clothing. 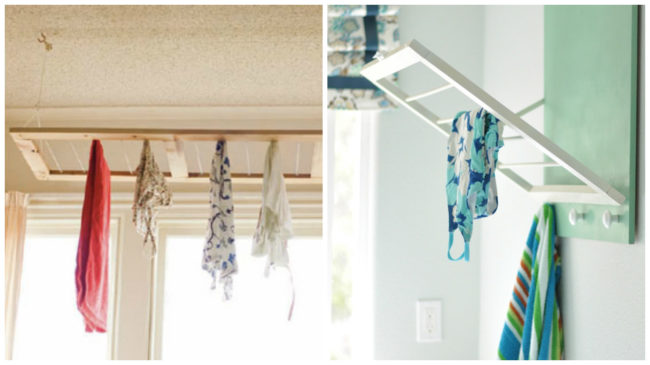 The main advantages of the folding clothes dryerdo-it-yourself is compactness, safety and durability. All the materials you choose yourself, which guarantees the absence of harmful substances, and the assembly with your own hands eliminates breakage. In this workshop, we will explain how to make a ceiling and wall-mounted dryer with your own hands. The content of the article:
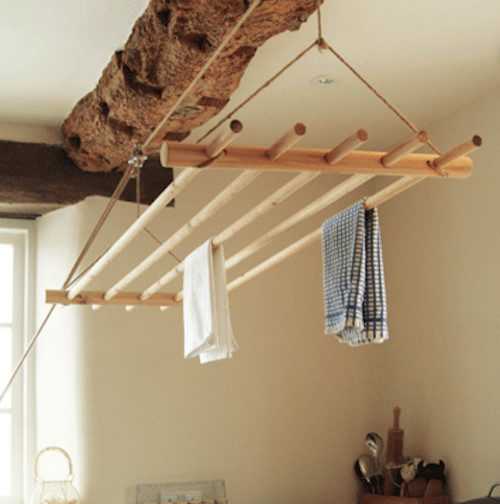
Ceiling dryer for do-it-yourself
Decide on the installation site of the ceilingdryers. Best of all, if this place is well ventilated and sunny - the balcony fits perfectly. Only measure well the distance at which you will fasten the dryer so that it does not happen so that it will prevent you from being on it.  For the manufacture of this design will require:
- Drill;
- Iron screw-in loops;
- Plastic coated wiring with hooks at both ends;
- 4 large hooks, 2 of which with wheels;
- Rope;
- Wooden frame;
Technology and manufacturing process 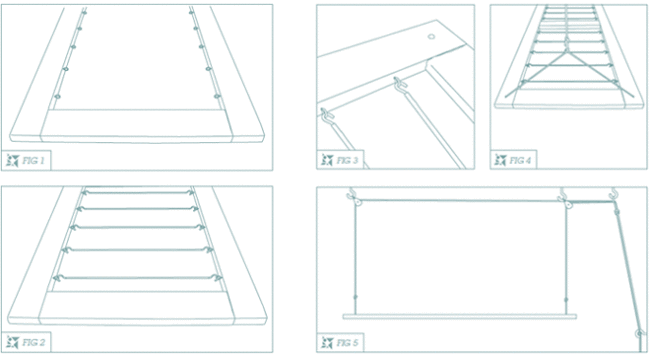 If you did not find the finished frame, you can make it yourself.
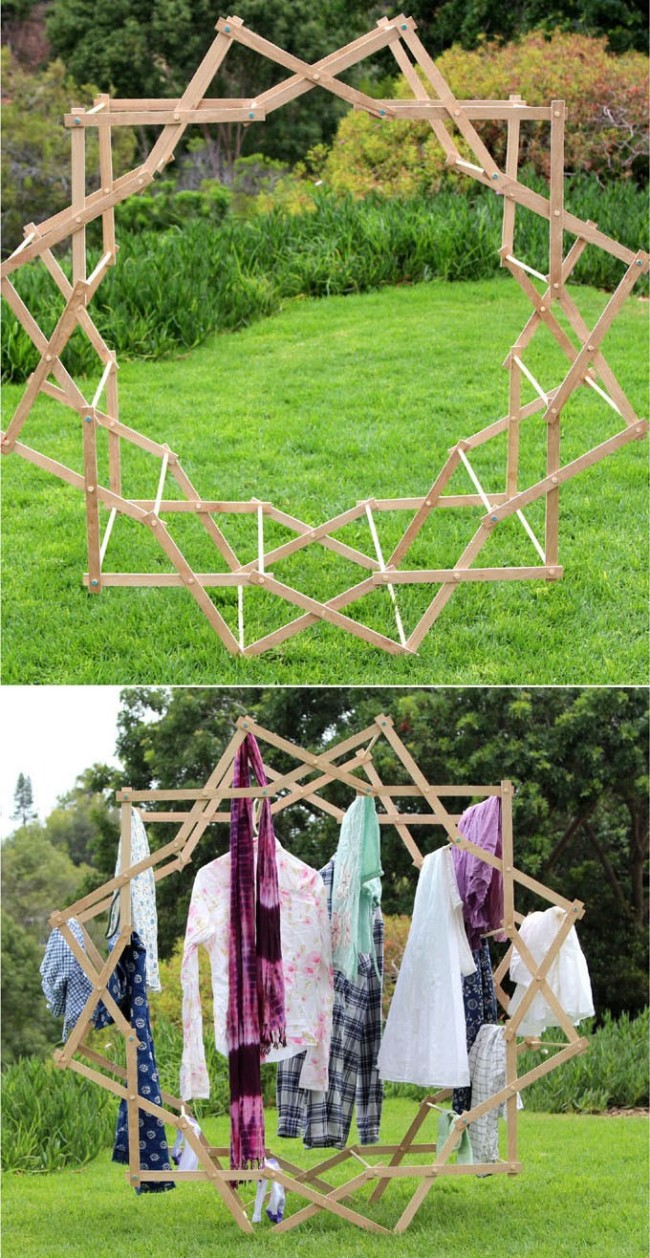
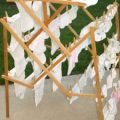
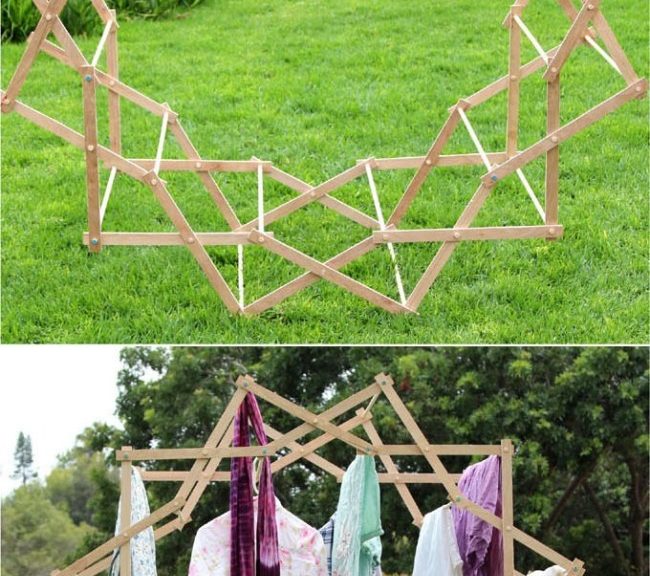
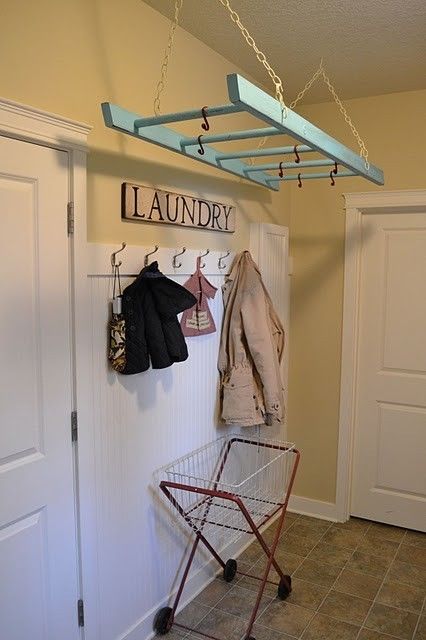
Here are some more variations of such a ceilingdryers: it can be made simply from smooth beams or simply hanging up a light ladder and pulling additional threads to dry clothes. Variations on the frame can be varied. 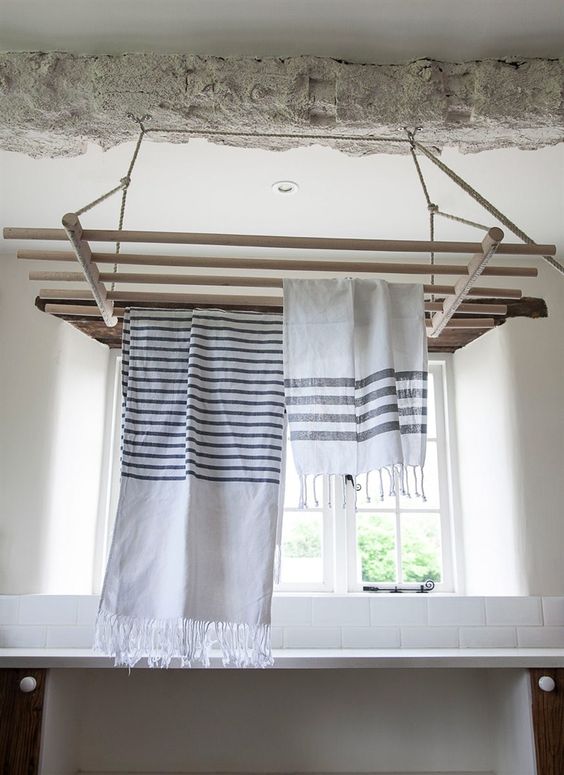
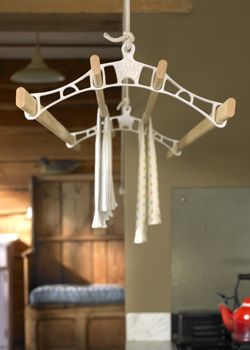
A simple way to make a ceiling dryer
If there are no woodworking skills at all or no time, then there is an option for the lazy. This method will help build a suspended dryer in 5 minutes.
- we take two plastic or wire hangers for clothes,
- put wooden rods between them, or just pull the threads tighter between them;
- Suspended from the ceiling

Wall mounted clothes dryer
In this master class we will do verystylish wall-mounted dryer, it can be hung not only on the balcony, but also for example in the hallway or in the kitchen. Its advantage is that it is collapsible and takes up very little space when closed.  Prepare the following tools:
- A board made of poplar, not necessarily, but desirable (the size of the dryer depends on its size);
- 4 bars for the frame, preferably made of birch;
- 4-5 thin wooden rods;
- 2 small door hinges;
- A small lock on a separate latch;
- 3 porcelain pens;
- Tilt-and-tilt constipation (as for plastic windows);
- Rings for hangers D-shaped;
- Drill;
- Nails, hammer;
- Screwdriver;
- Primer;
- Any paint.
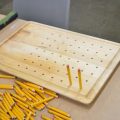
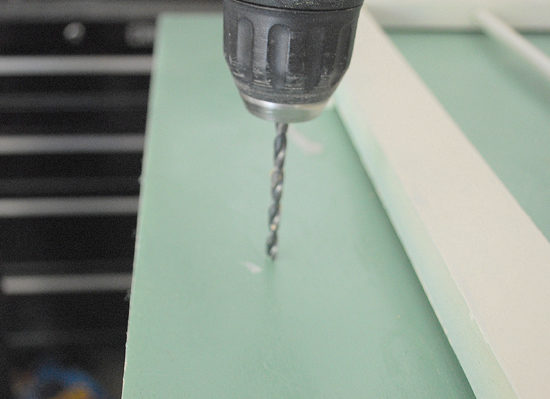
 The build process
 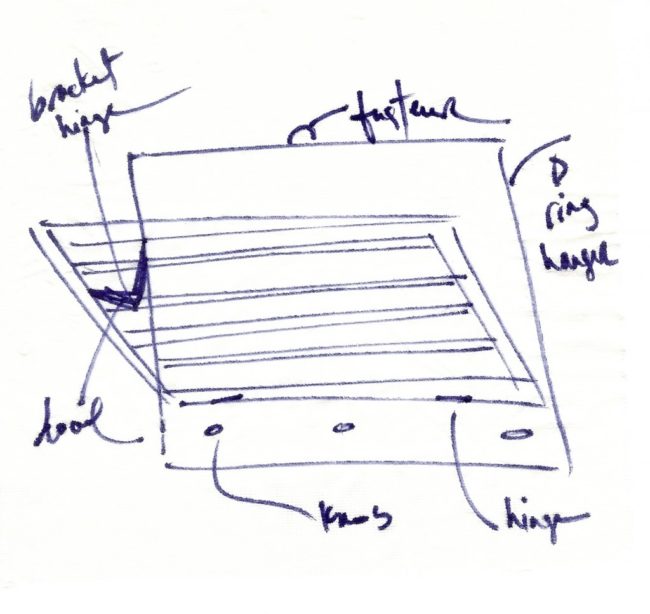 Step 1: making the dryer frame
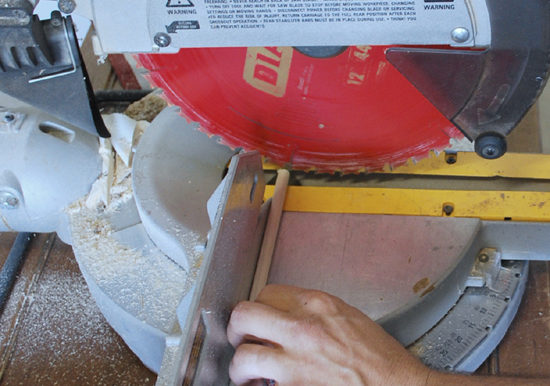
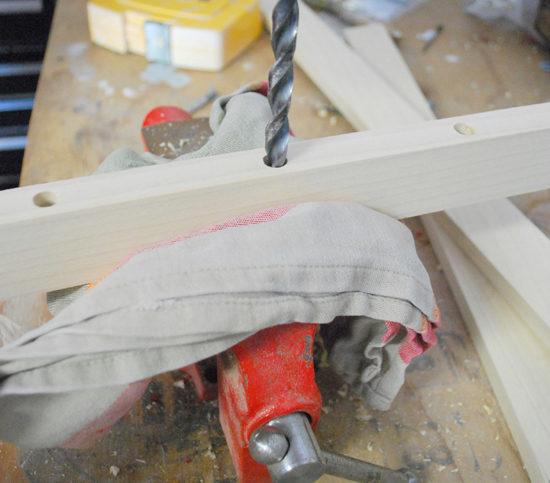
- Cut wooden rods so that they do not exceed the length of the future frame.
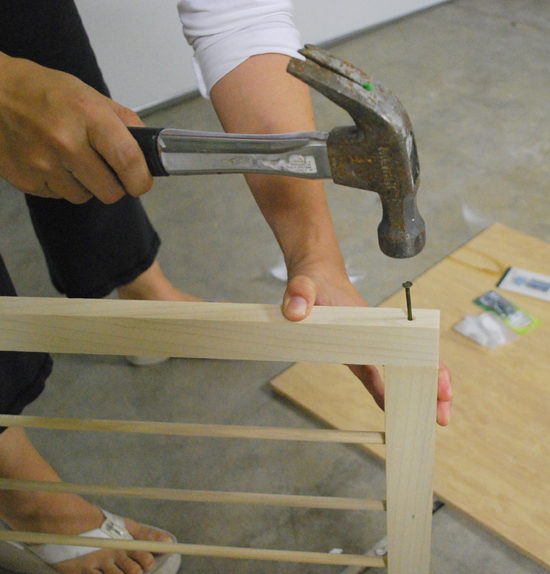
- Drill the required number of holes in the 2 bars and insert the rods into them, using a hammer to strengthen them. Nails nail long bars to smaller ones.
- We obtain a frame with rods already inserted.


 Step 2: Painting the dryer Apply a primer to the poplar board, and after it dries out, paint any color. We recommend to paint the frame in white, so it will be more beautiful. Wait until everything is dry.
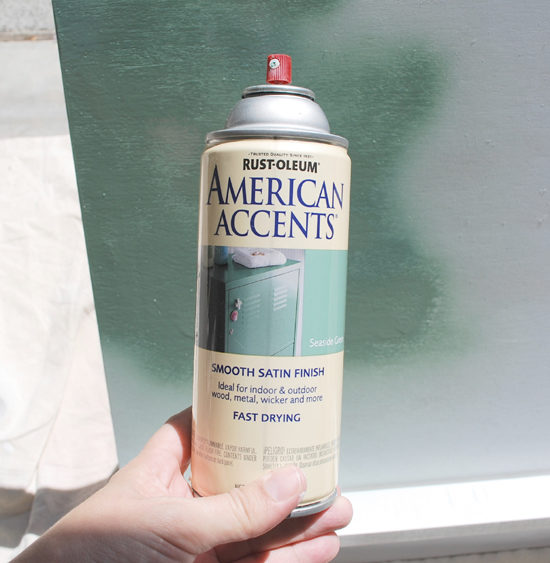
 Step 3: mounting the hinges
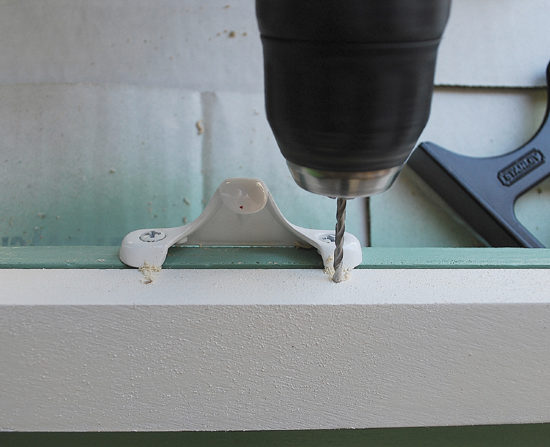 Drill only ½ the desired length, and aftertighten the screws - so you are less likely to split the tree. Step 4: Fastening Measure out 1/3 of the entire length of the bar of the frame on which the rods are screwed, and fasten the tilt-and-bolt lock, fasten the other side to the board. With it, the frame will not fall from the board, and reliably half hanging in the air. And the final touch - screw on the reverse side of the board rings for hangers, on which you will hang the dryer to the wall.
  You can safely dry your things on wooden rods, and on porcelain handles hang on clothes on a hanger. This dryer is beneficial in terms of price, quality, and shelf life.

Care board
Do not forget that the dryers presented heremade of wood that does not allow to use them on the street. As an option - you can place, if necessary, dryers under a canopy that will protect against water precipitation. The same applies to the handling of dryers in the room - if you dry things on them that are not squeezed out of the water, they will deteriorate. We sincerely hope that this master class turned out to be useful, and you chose the dryer option that suits you. We also have a master class - such as in the photo below.