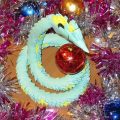
The scheme for creating modular origami of Santa Claus from paper for beginners
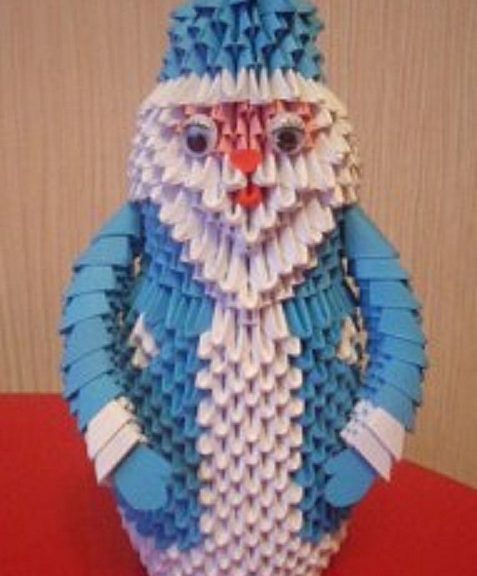
 Santa Claus from the modules will be a real decorationNew Year's forest beauty, and children are waiting impatiently for the long-awaited gifts from him. Also this hand-crafted article can be presented as a souvenir to relatives and friends. Modular origami Santa Claus is made in the technique of modular origami from triangular modules. At the base of the Santa Claus trunk 30 triangular modules. For the first three rows of the trunk, 90 white modules are needed. We assemble a chain of two rows of modules with a long side outwards, the chain is secured by a third row. We got three rows of modules of 30 modules in each row. Add four more rows of white modules. We get seven rows of white modules.
 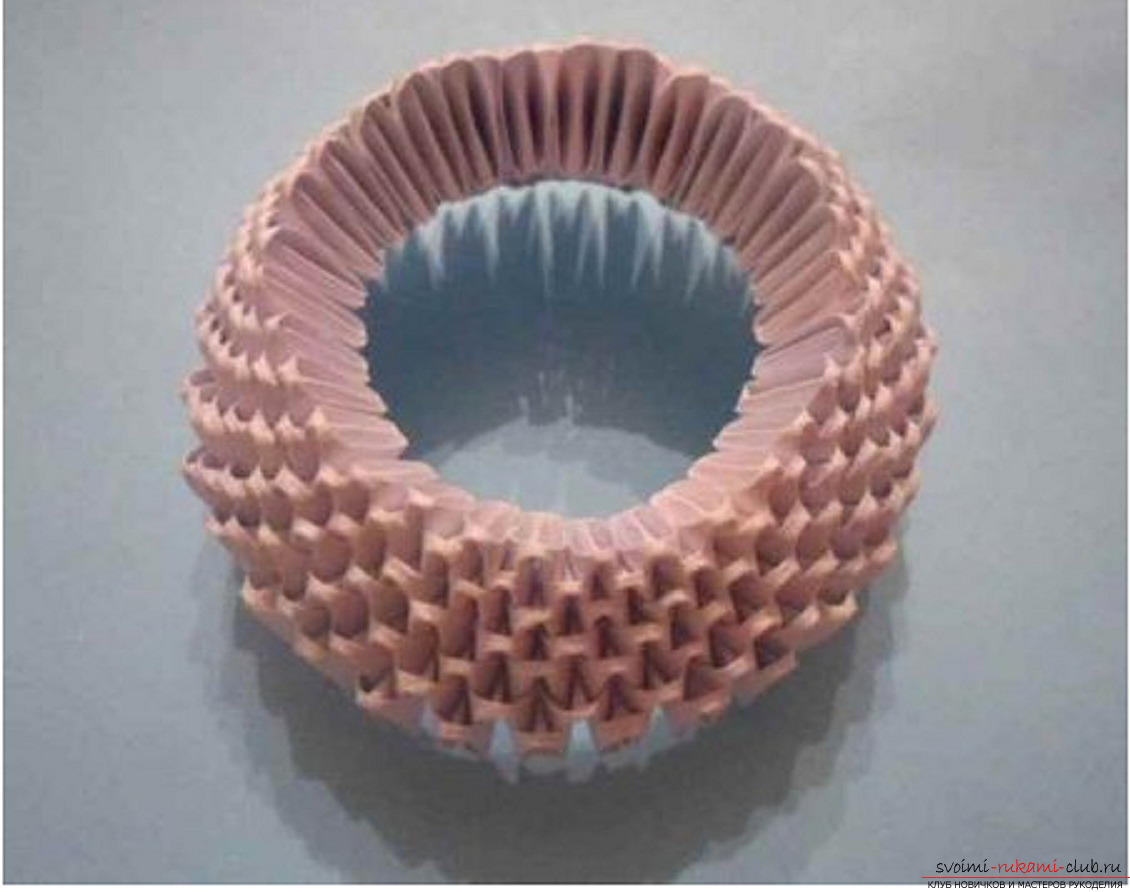 We turn the hand-crafted corners upwards.
 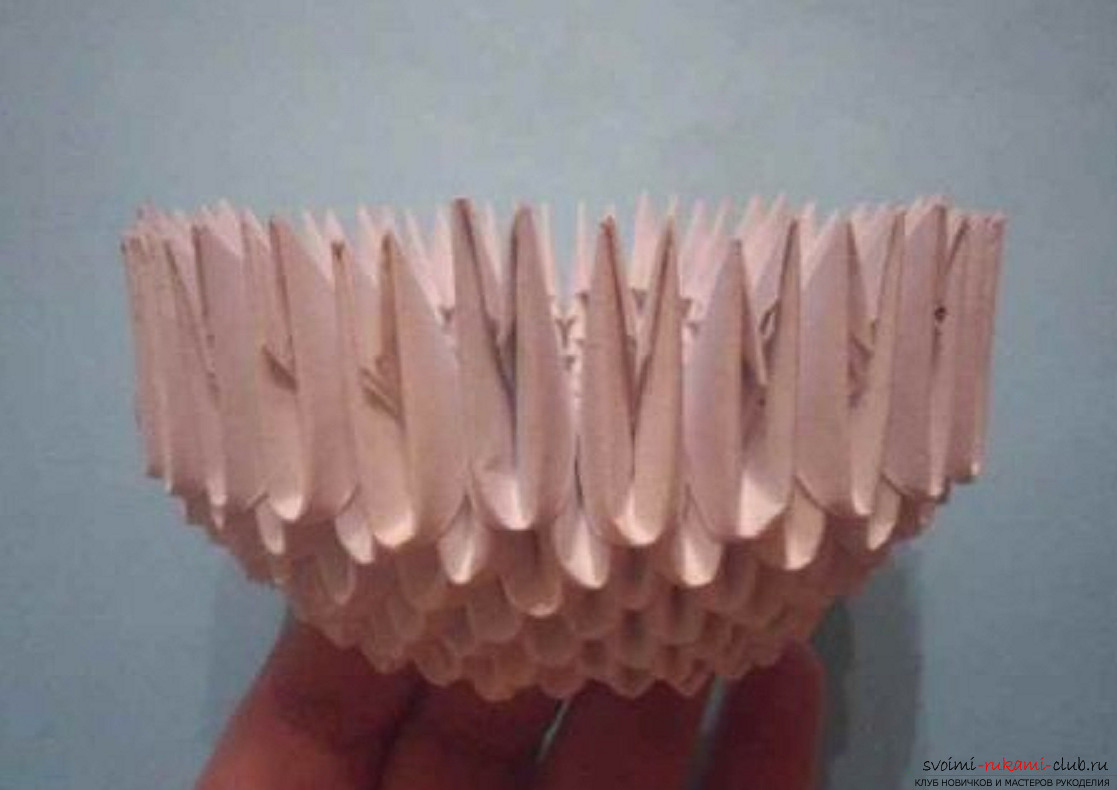 In the eighth row - 4 white, 26 blue modules;
 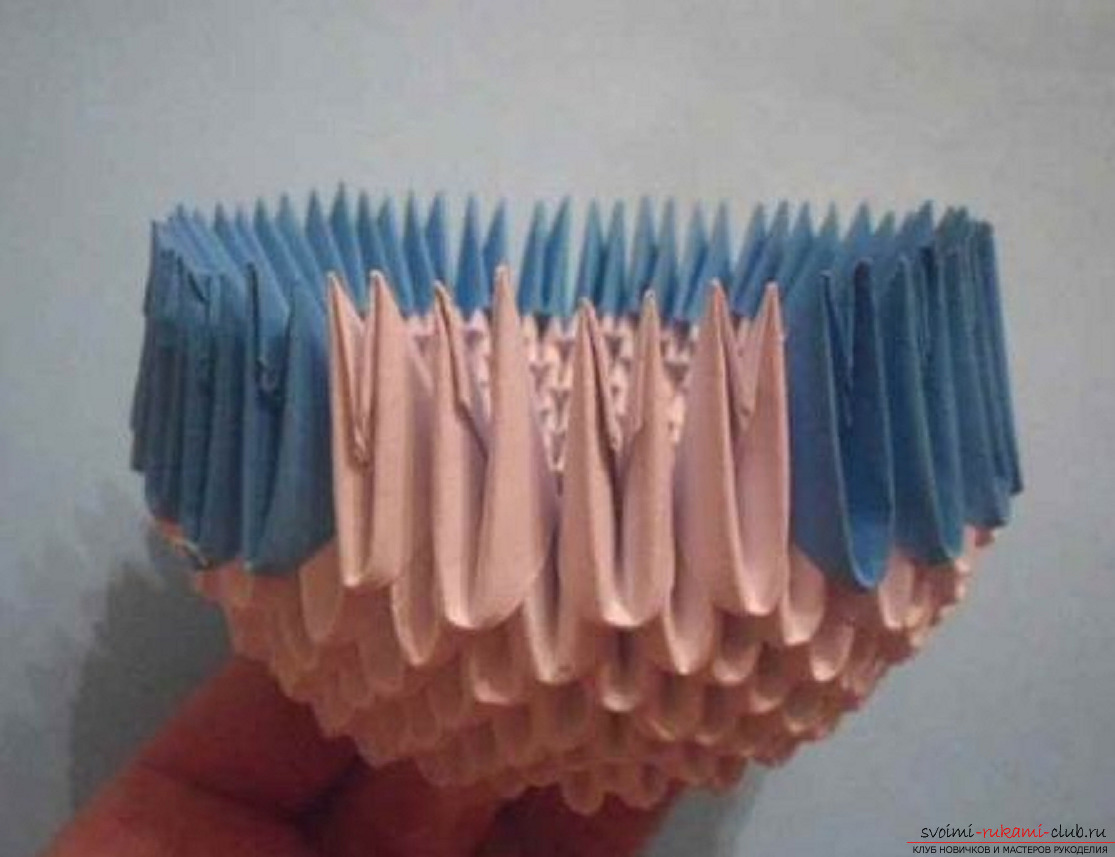 the ninth row - 3 white, 27 blue modules;
 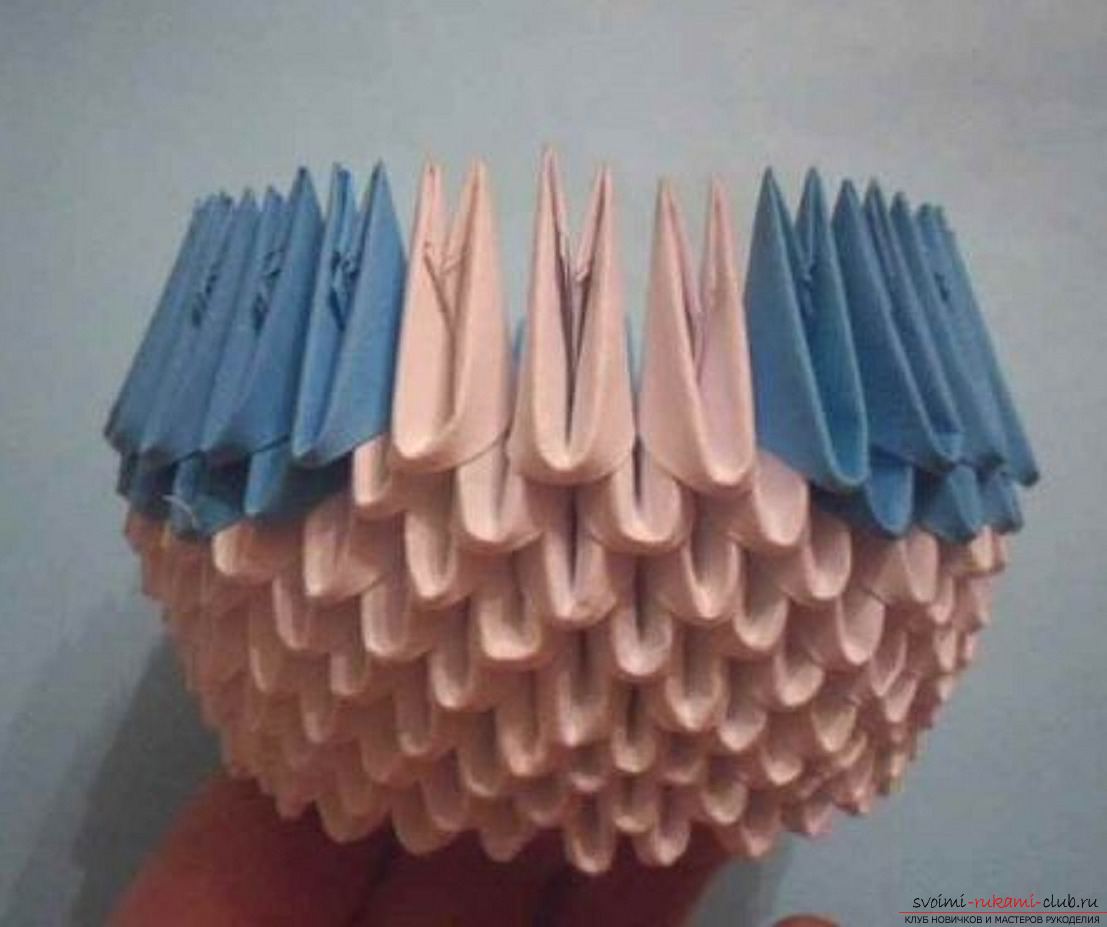 the tenth row - 4 white, 2 blue, 1 white, 20blue, 1 white, 2 blue, the eleventh row - 3 white, 2 blue, 2 white, 19 blue, 2 white, 2 blue, the twelfth row - 4 white, 2 blue, 1 white, 20 blue, 1 white, 2 blue;
 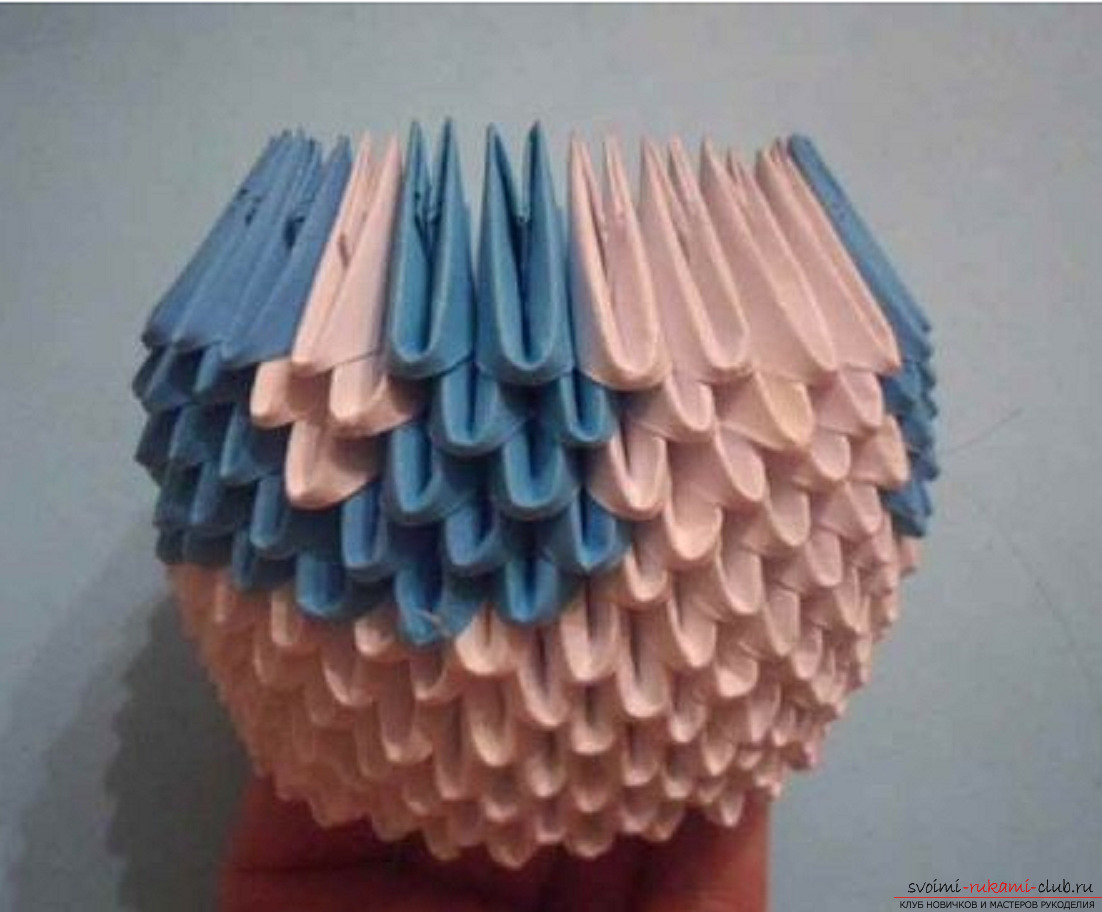 thirteenth row - 3 whites, 27blue, 14th row - 4 white, 26 blue, the fifteenth row - 3 white, 5 blue, 1 white, 15 blue, 1 white, 5 blue, the sixteenth row - 4 white, 4 blue, 2 white. 14 blue, 2 white, 4 blue, seventeenth row - 3 white, 5 blue, 1 white, 15 blue, 1 white, 5 blue, the eighteenth row - 4 white, 26 blue;
 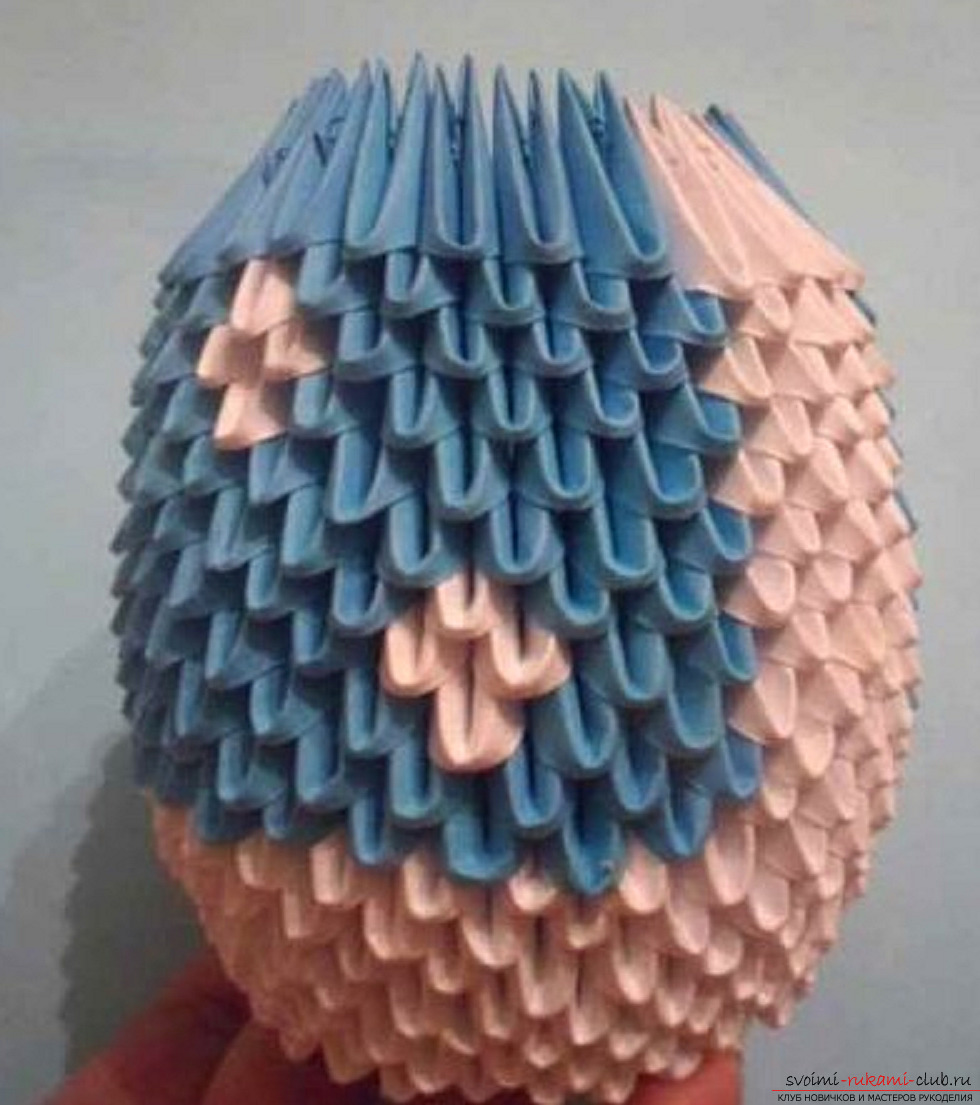 nineteenth row - 3 white, 27 blue, the twentiethrow - 4 white, 2 blue, 1 white, 20 blue, 1 white, 2 blue, twenty-first row - 3 white, 2 blue, 2 white, 19 blue, 2 white, 2 blue, twenty-second row - 4 white, 2 blue, 1 white, 20 blue, 1 white, 2 blue, twenty-third row - 1 white module, long side outward, 1 white short side outward, 1 white long side outward, 27 blue long side outward;
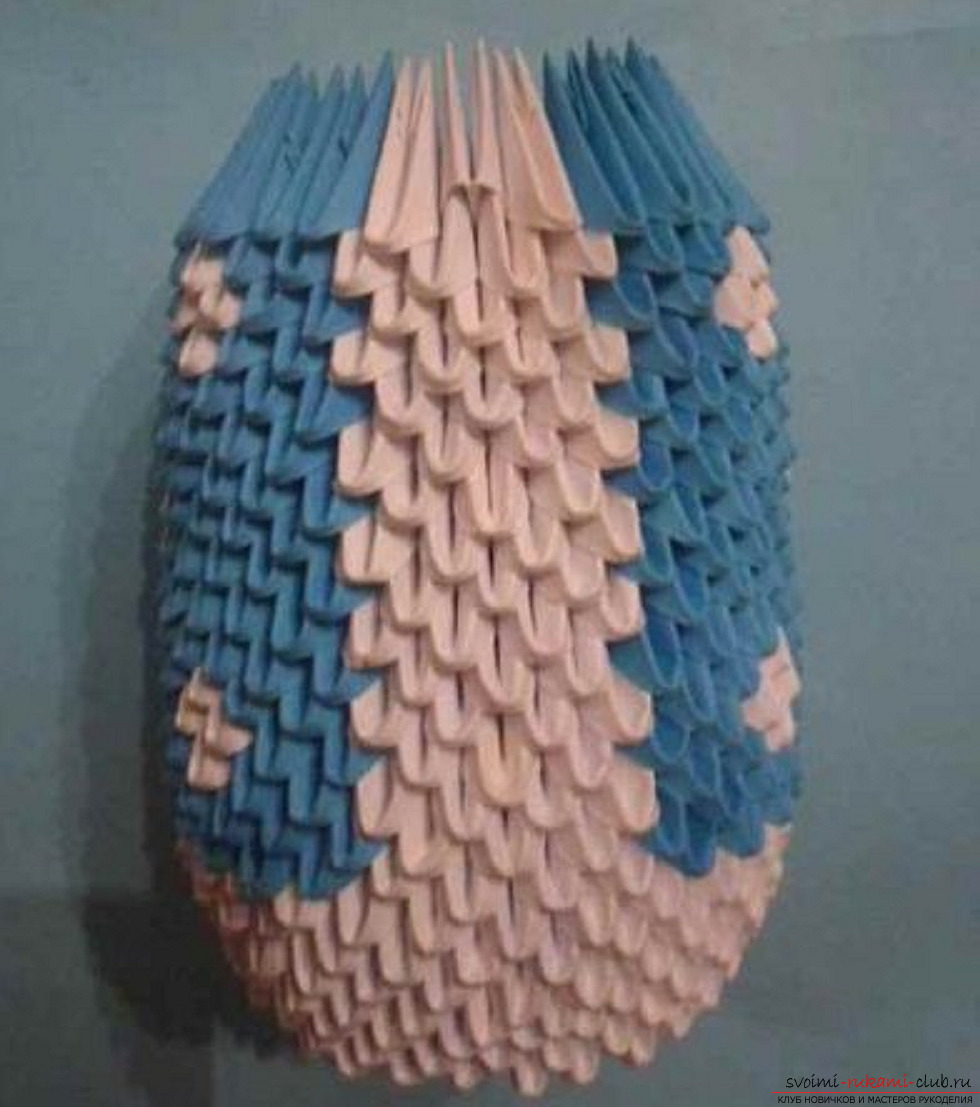
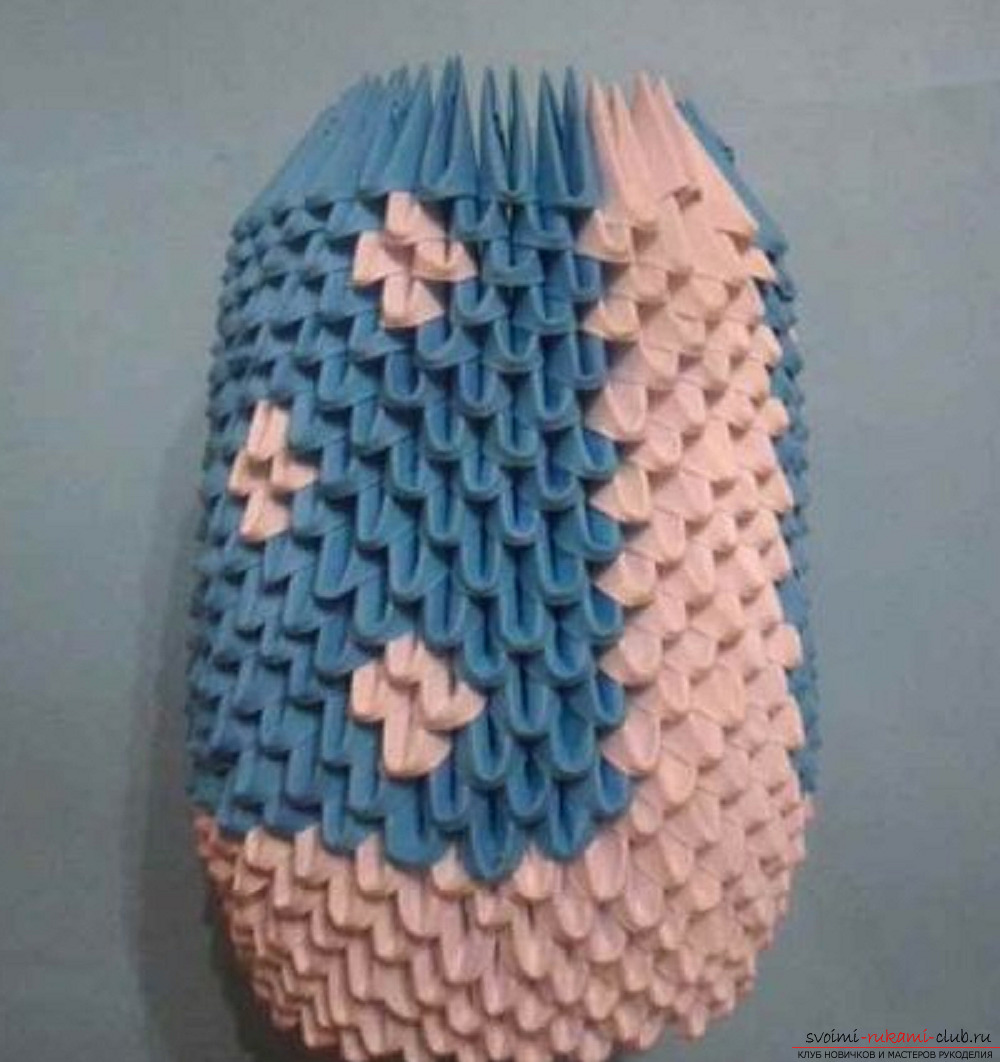 twenty-fourth row - 4 whites short side outward, 26 blue short side outward
 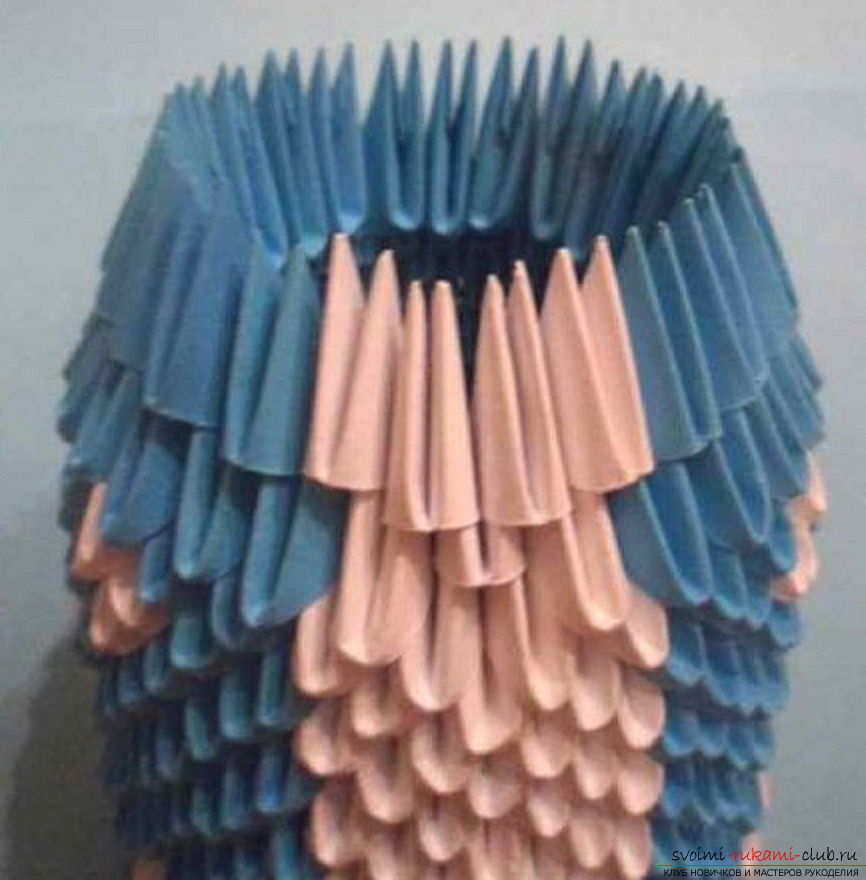 the twenty-fifth row is 1 white with the short side outward, 25 the blue short side outward, 1 the white short side outward;
 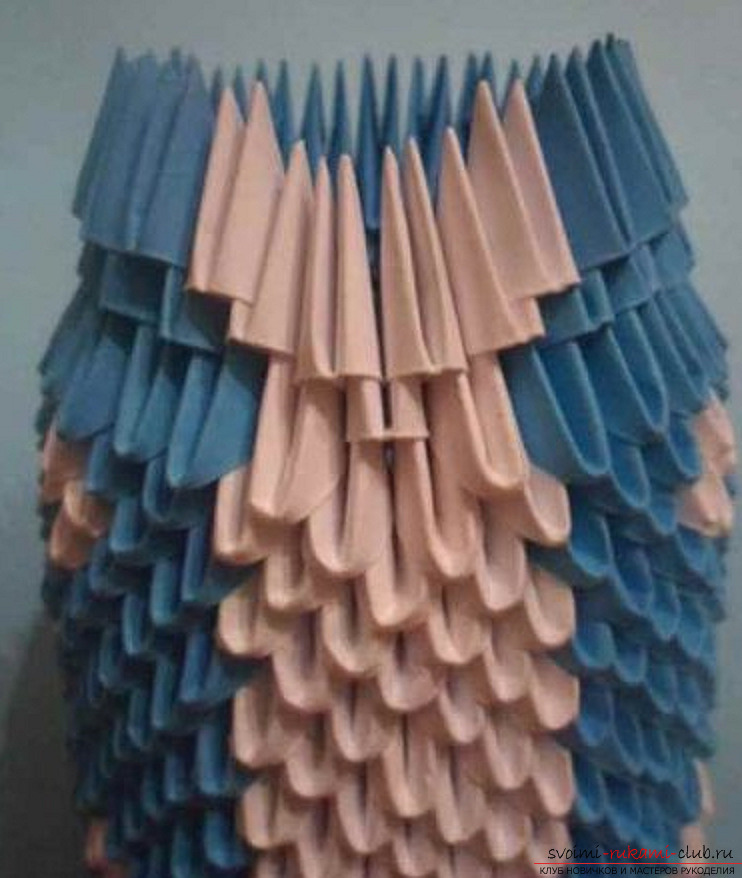 We continue to lay out the rows of modules, not filling the central part. Twenty-sixth row - 1 white short side outward, 24 blue short side outward, 1 white short side outward;
 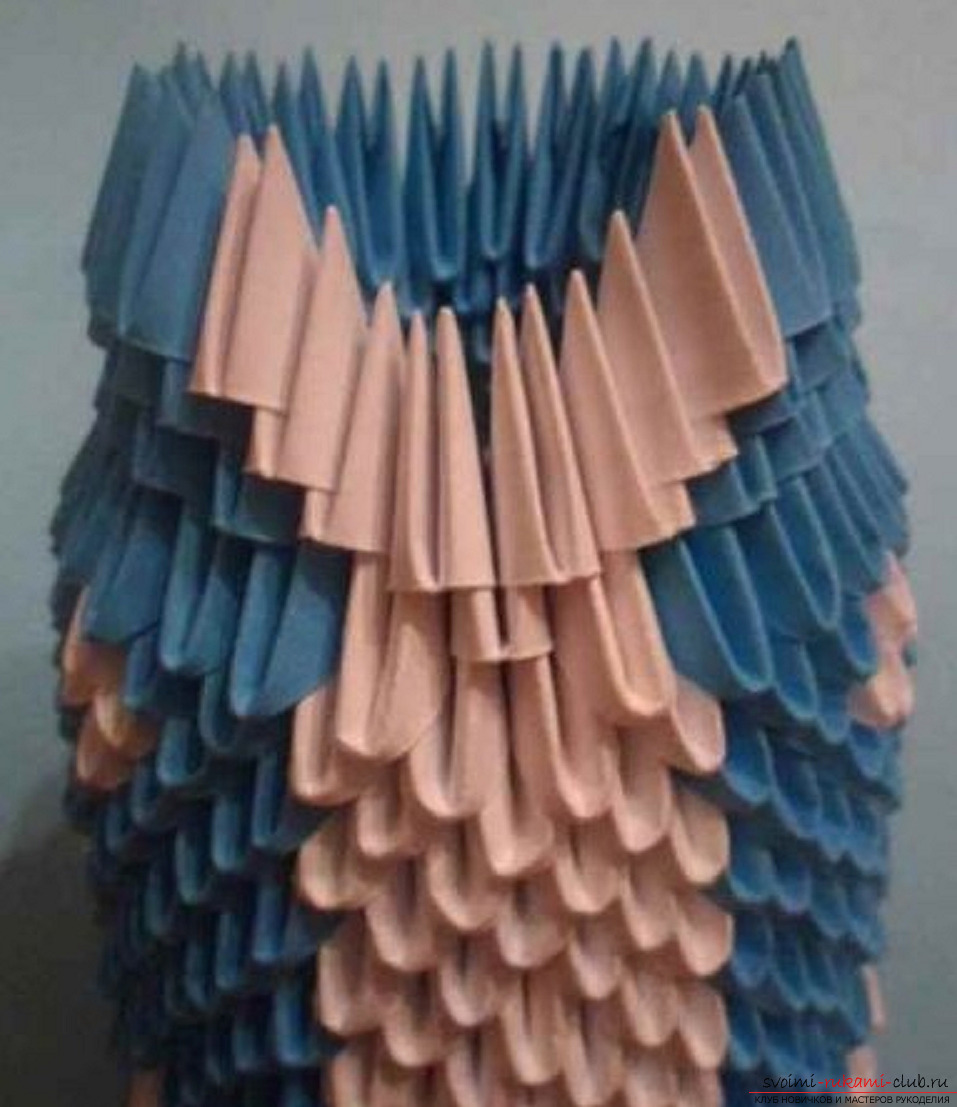 twenty-seventh row - one white short side outward, 23 blue short side outward, one white short side outward;
 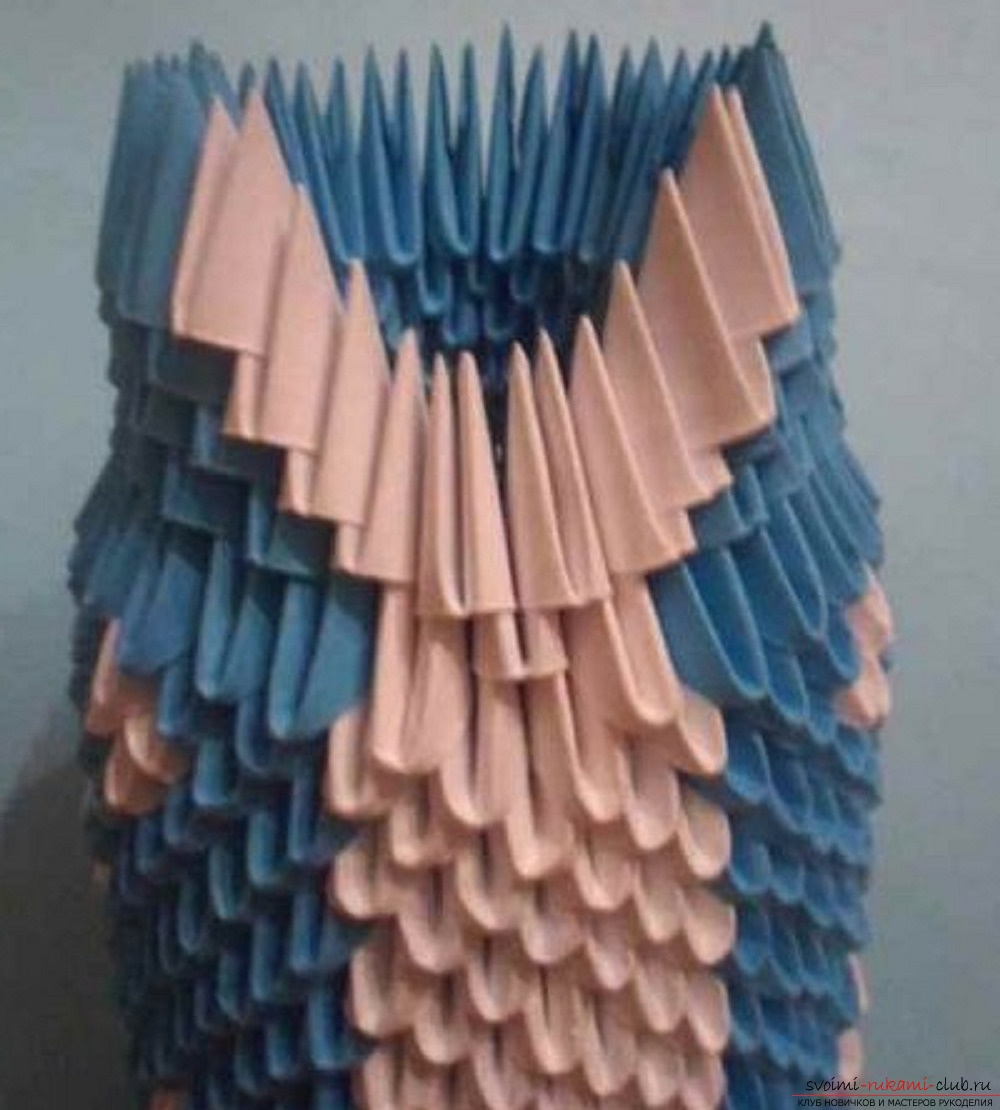 the twenty-eighth row - one white short side outward, 22 blue short side outward, one white short side outward;
 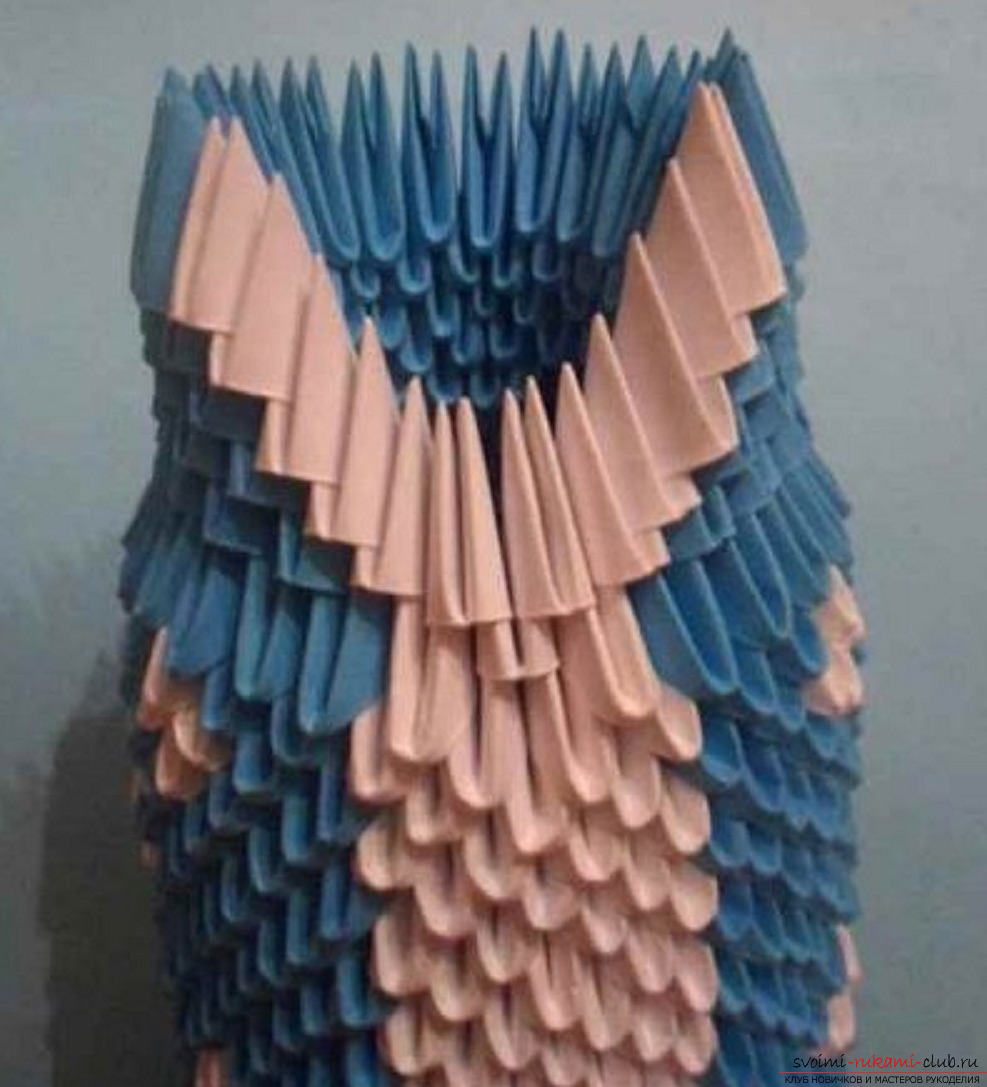 twenty-ninth row - 1 white short side outward, 21 blue short side outward, 1 white short side outward.
 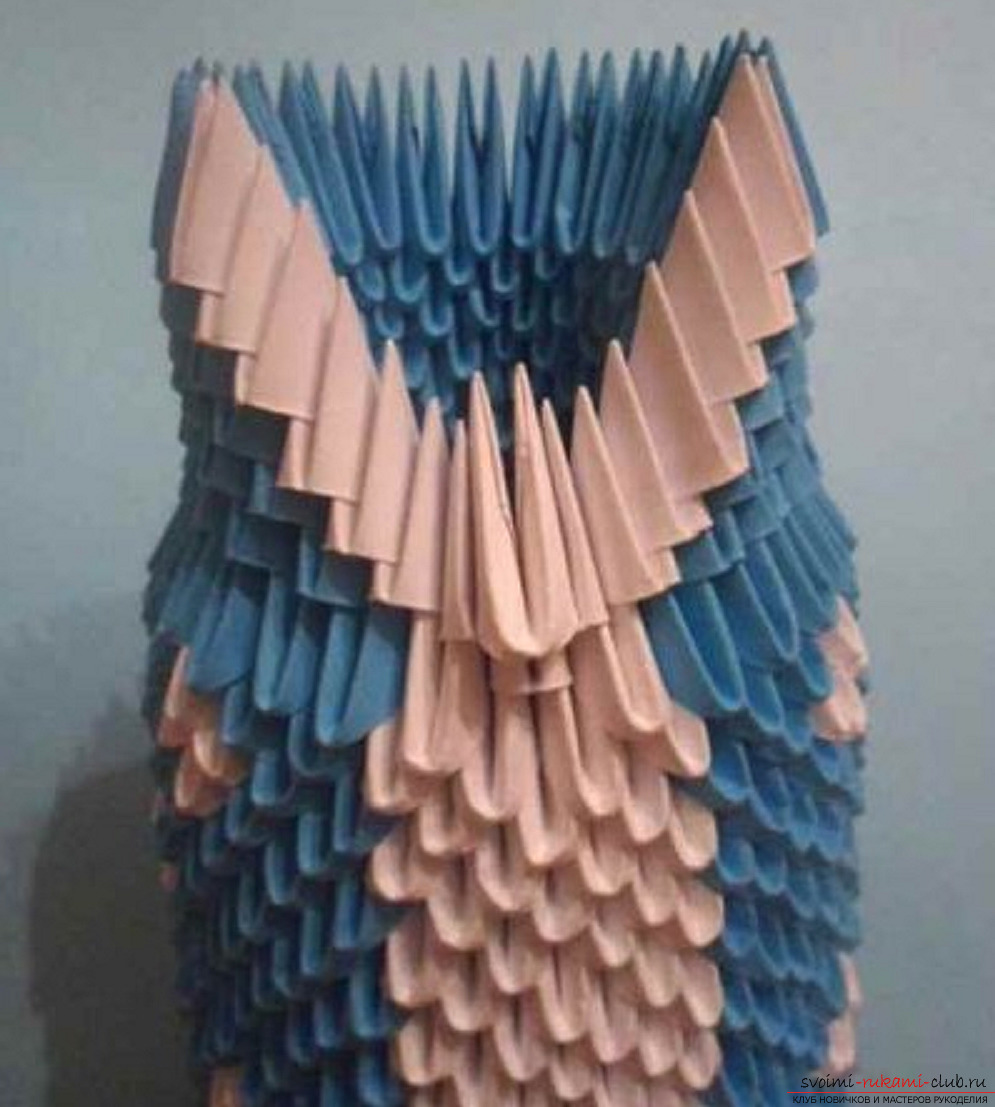 The corners of the lower white modules are connected by a white module with a long side outwards.
 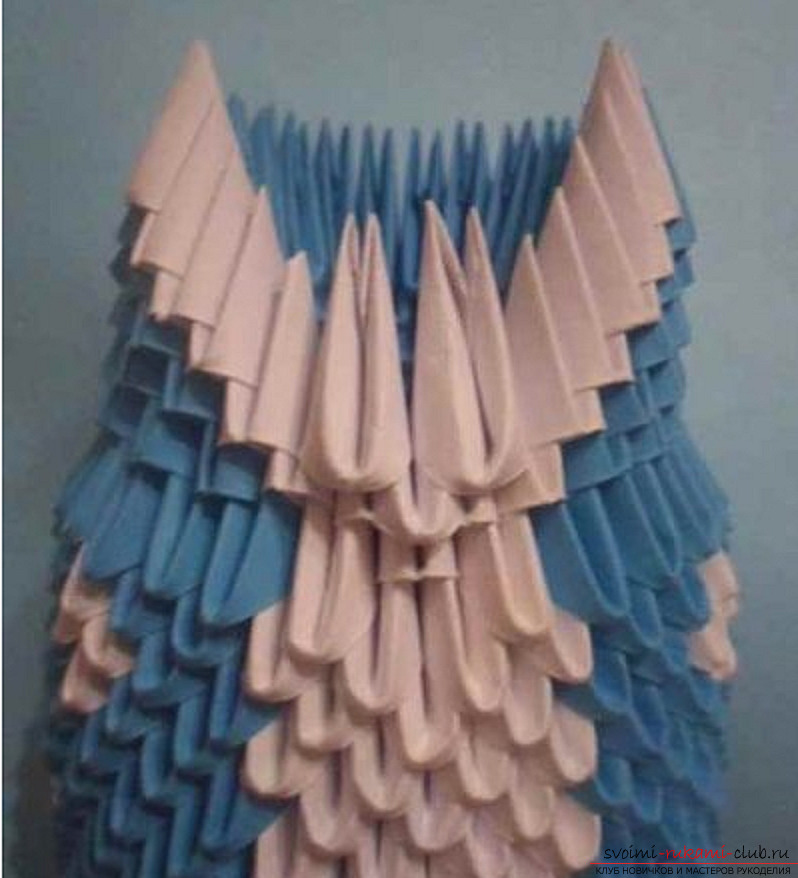 Two white modules are put on 6 corners, each module in 3 angles.
 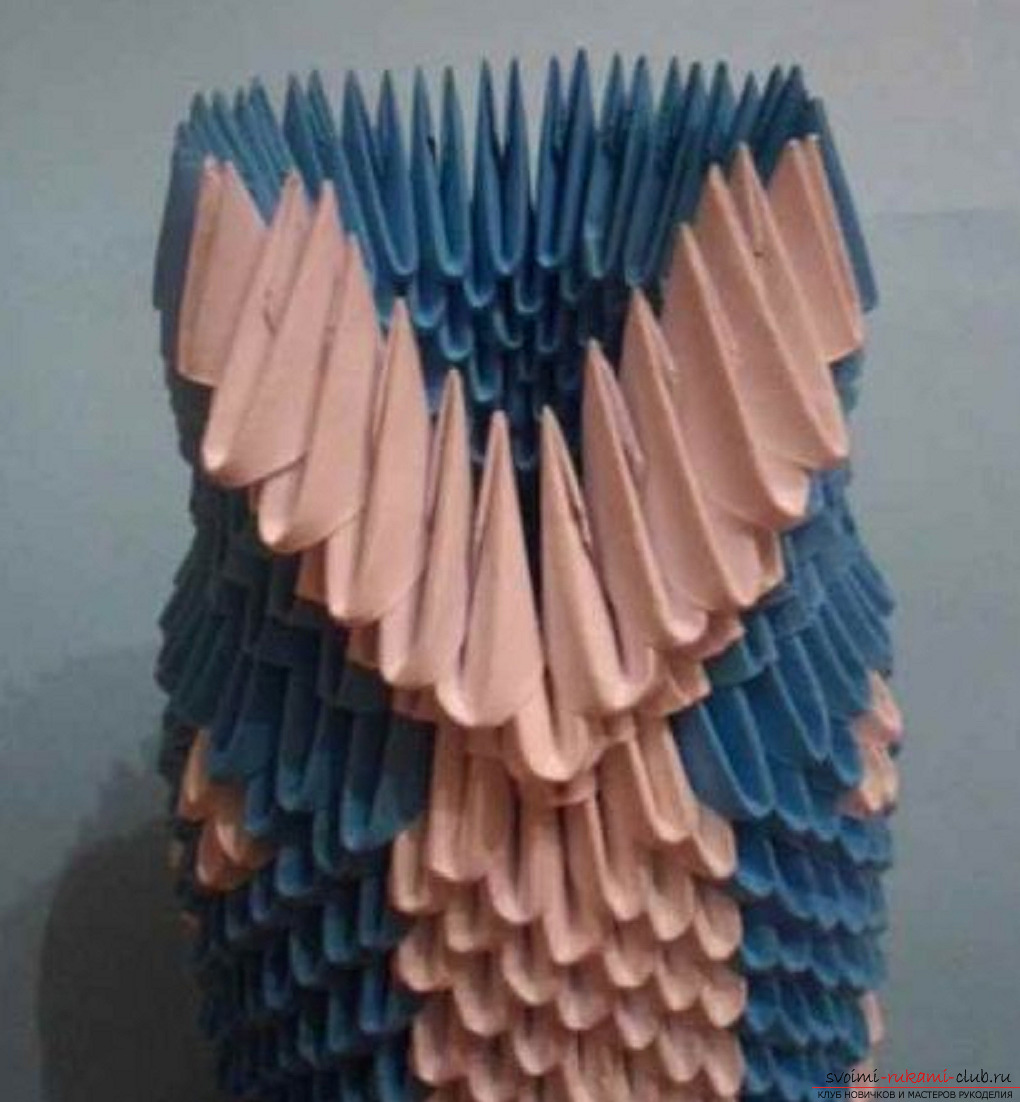 Then, rising from the bottom up, connect the 2 white corners with white modules with the long side outwards.
 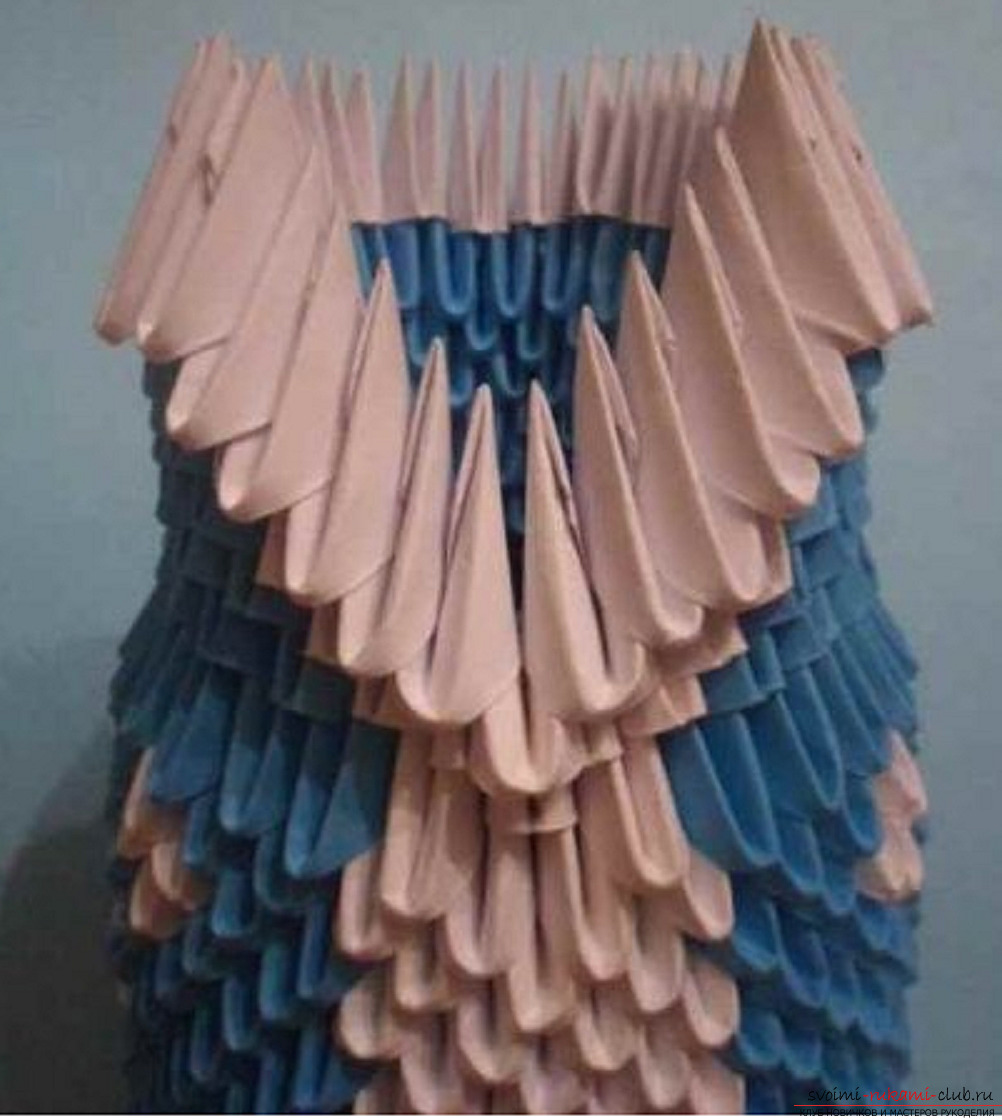 In the thirtieth row, the number of modules is reduced - 18white modules with a long side outward. This is the number of modules without a central part. (That is, with 21 blue long sides facing outwards and 2 white modules with a short side outward, we put on 18 white modules - we put 12 modules on 3 corners, 6 modules on 2 corners).
 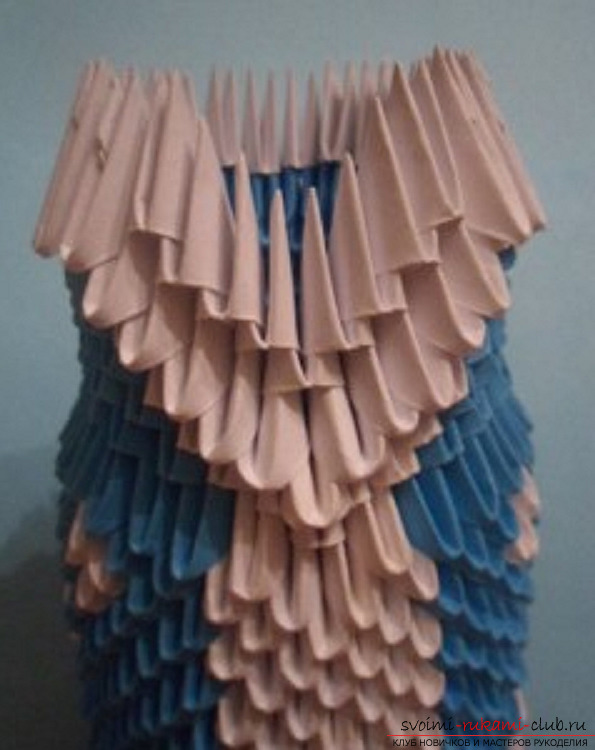 Fill the central part with white modules with a short side outwards.
 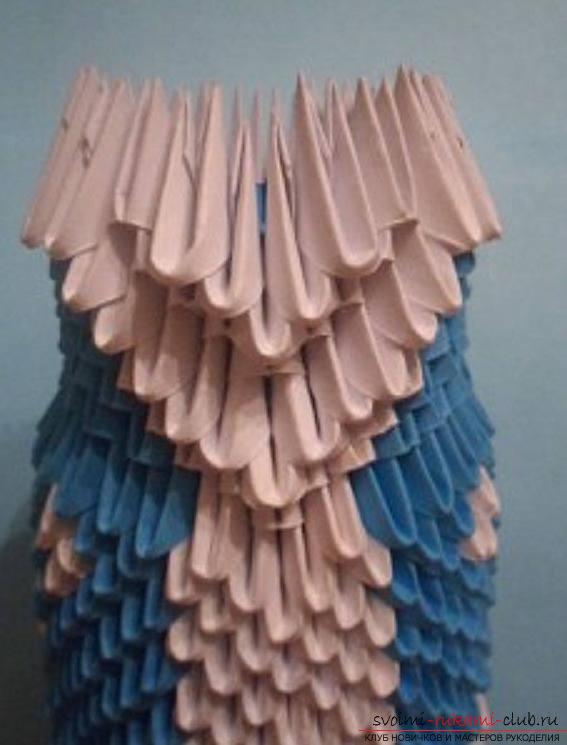 Next, lay out the white modules with the long side outwards. Add the red module in the center with the long side outwards.
 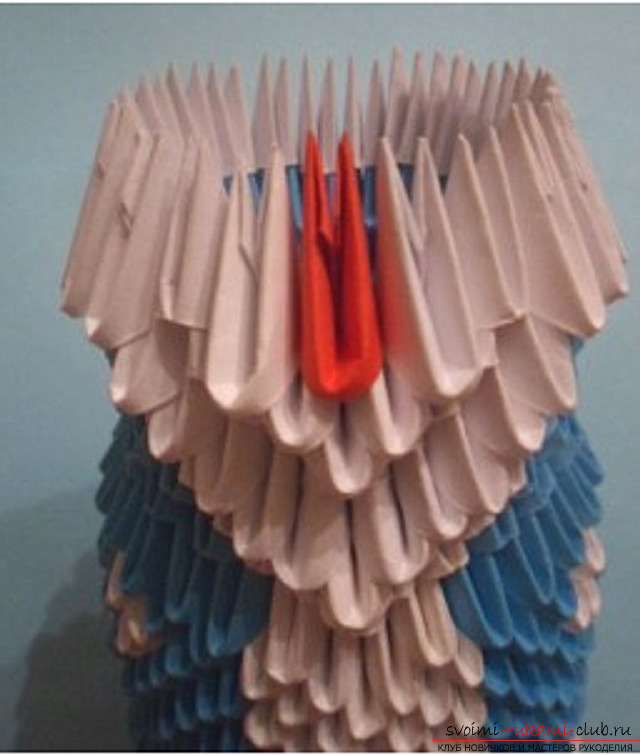 The thirty-first row is 23 white long sides outward;
 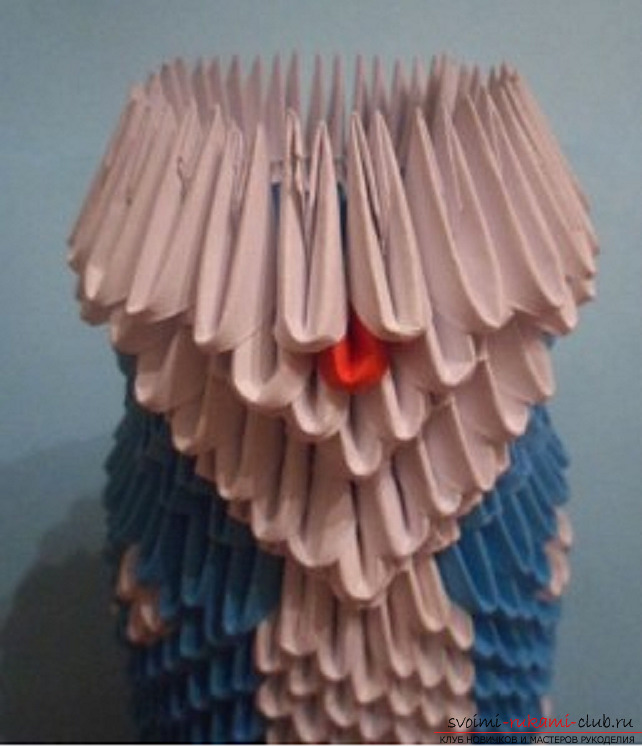 thirty-second row - 5 pink short side outward, 18 white long side outward;
 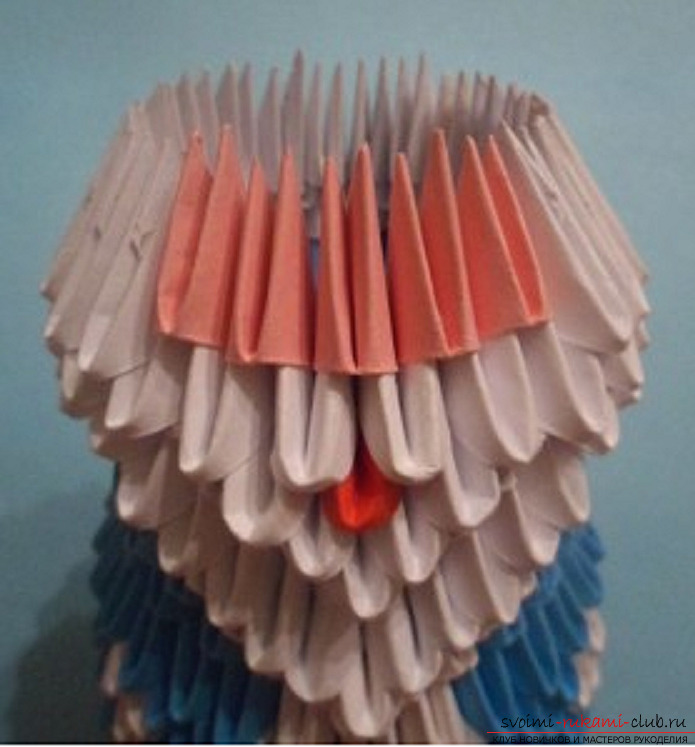 thirty-third row - 6 pink short side outward, 17 white long side outward;
 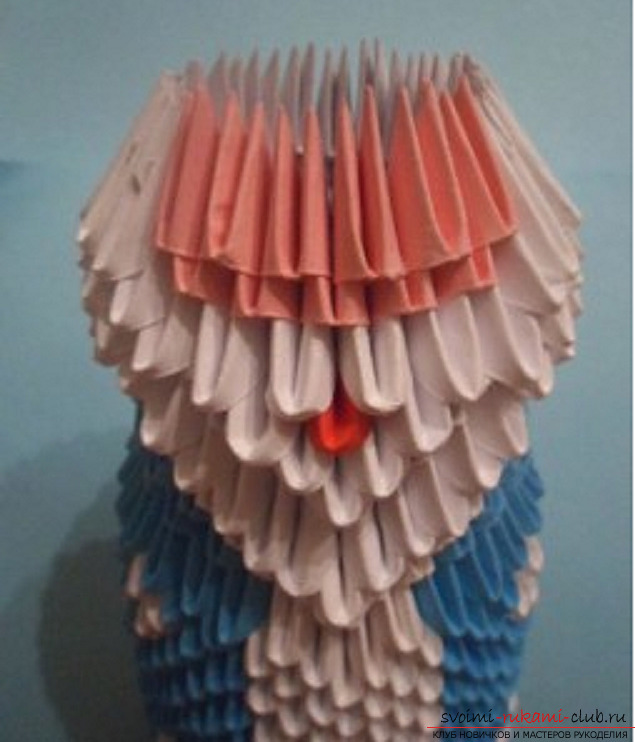 the thirty-fourth row - 5 pink short side outward, 18 white long side outward;
 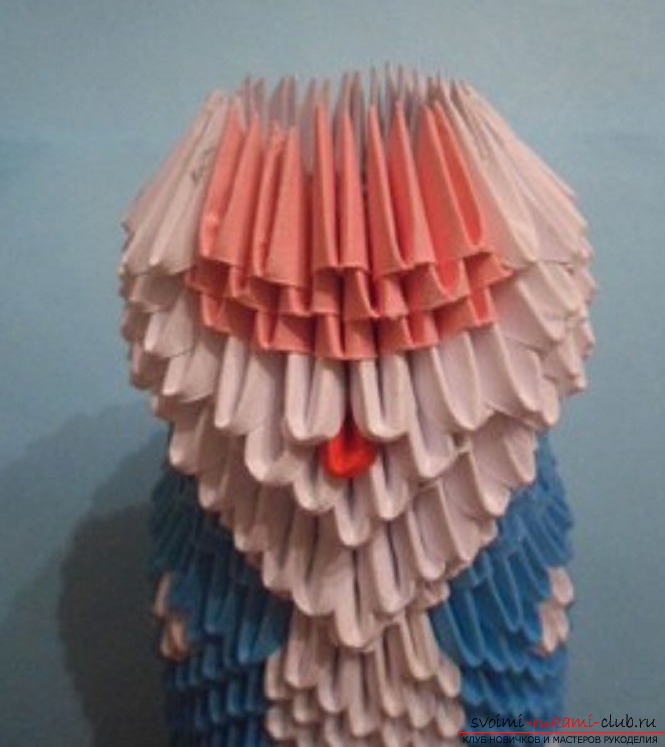 thirty-fifth row - 23 white long side outward;
 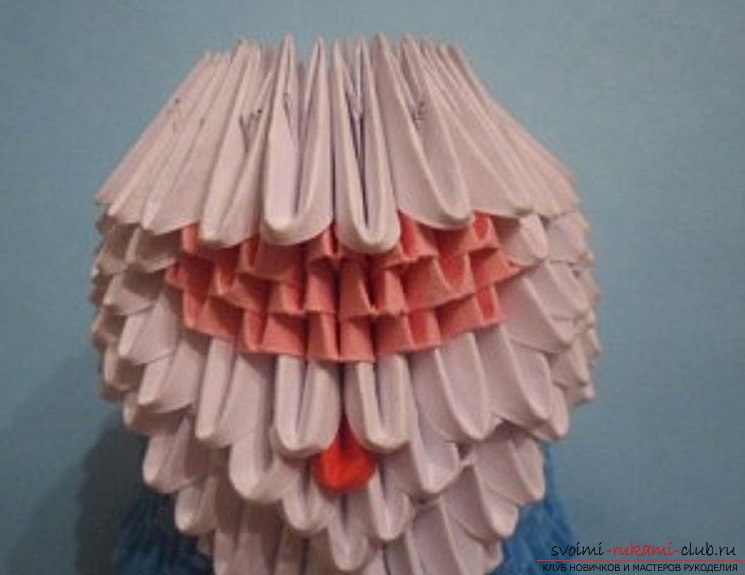 the 36th row - 16 blue short side outwards - 14 modules are put on 3 corners each module, and 2 modules are put on, as usual, each on 2 corners.
 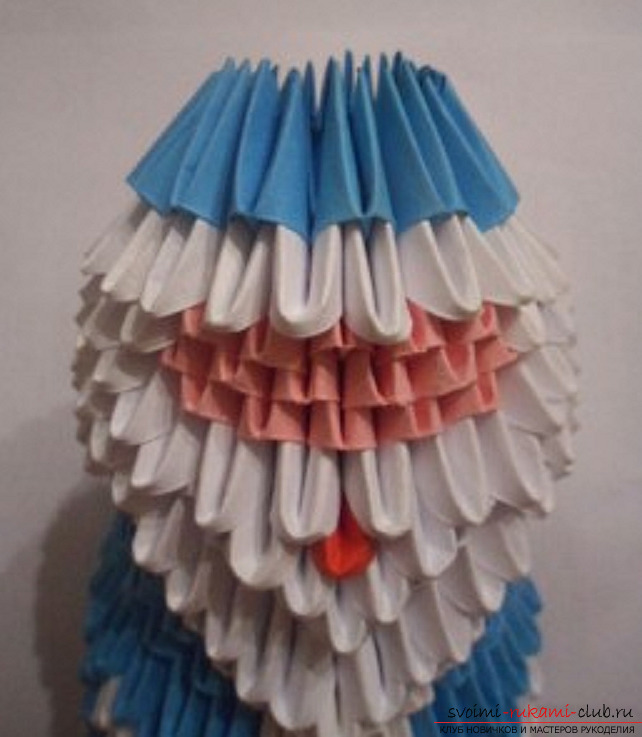 Thirty-seventh and thirty-eighth rows - 16 blue modules each with a short side outward;
 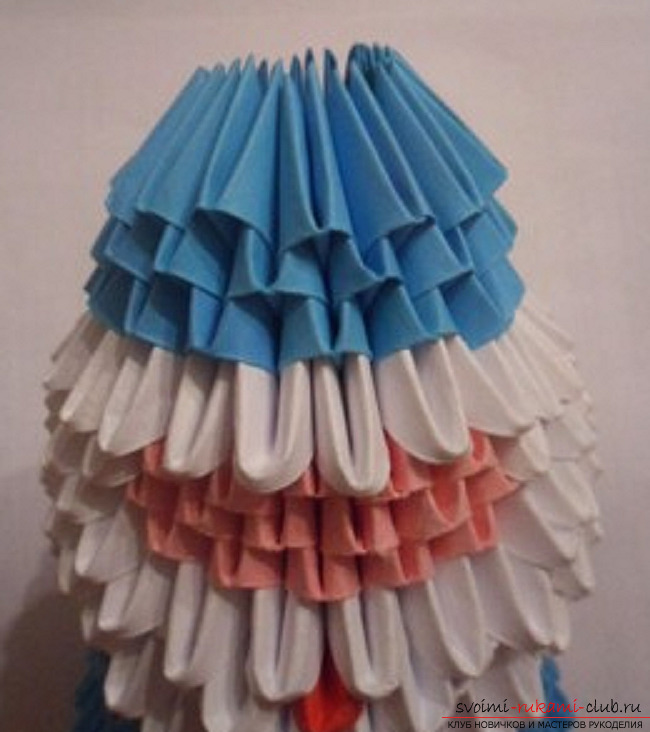 the thirty-ninth row - 11 blue long side outwards - 10 modules are put on each 3 corners, and 1 module, as usual, on 2 angles.
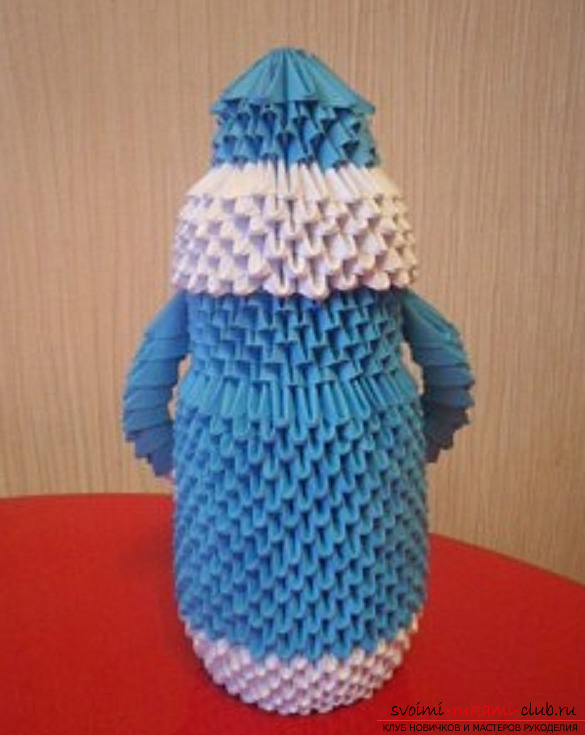
 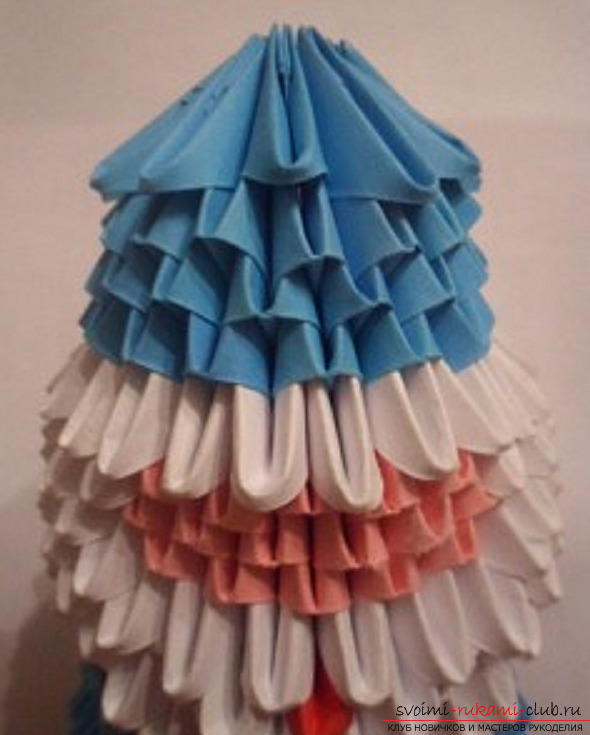 We assemble a sleeve from 16 rows of modules: 4 rows of white modules, 12 rows of blue modules. The number of modules in the rows is alternated: 3 - 2 modules.
 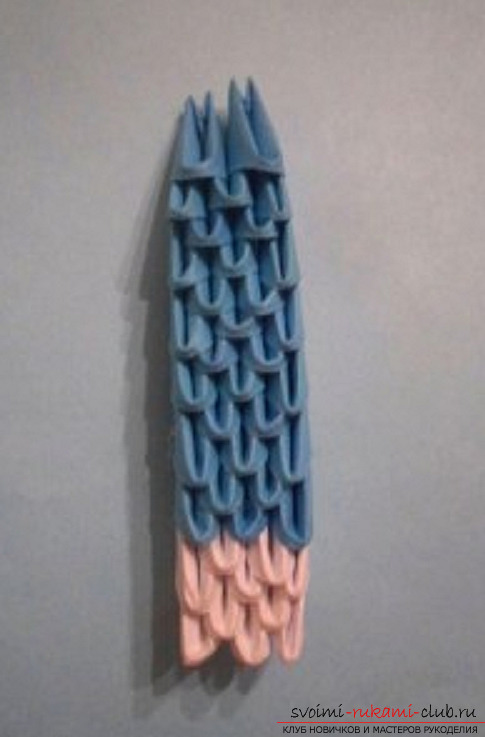 Blue gloves are glued into the pockets of white modules.
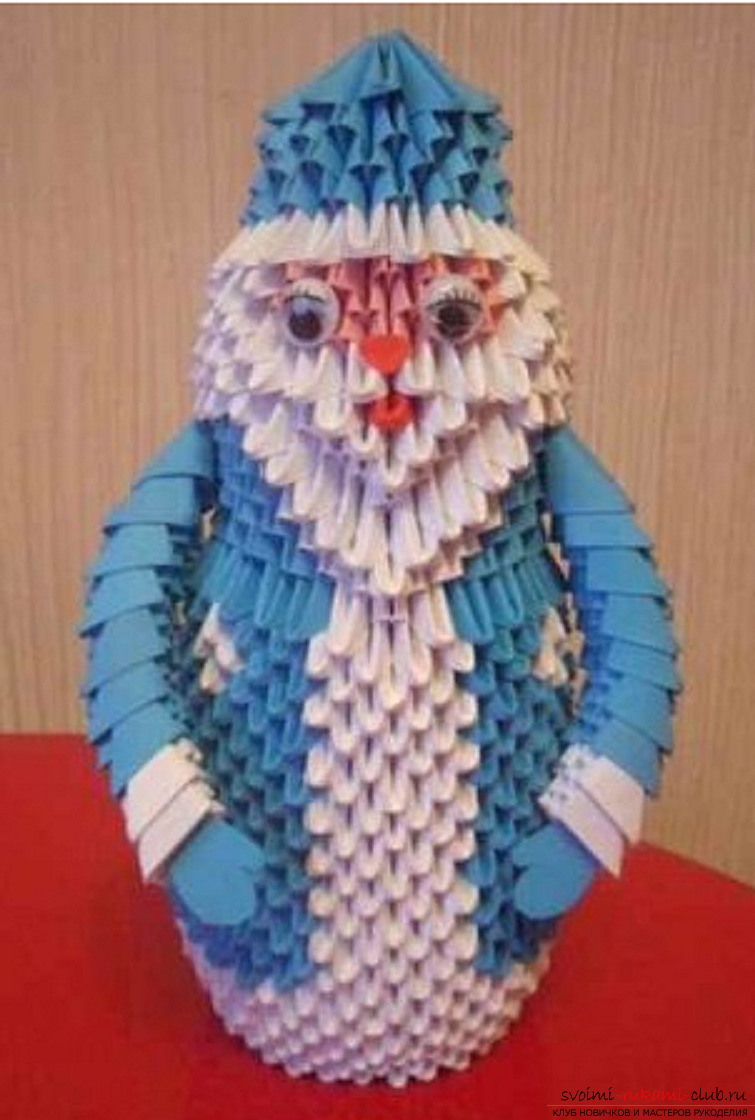
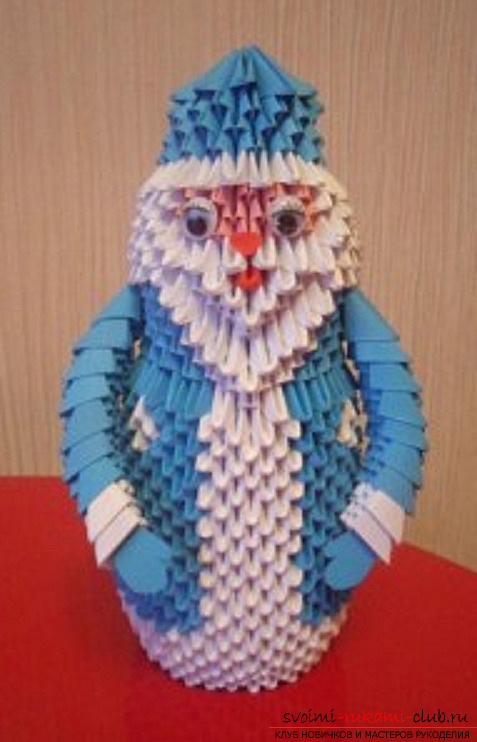
 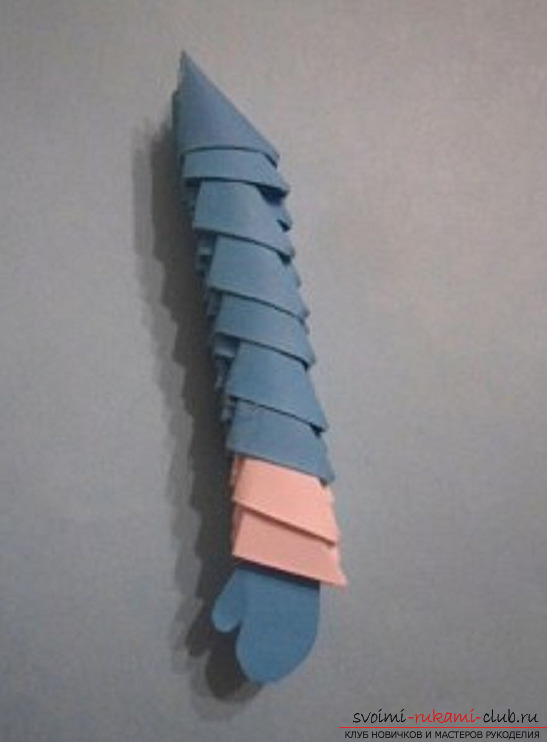 At the sides of the body we glue hands, glue the eyes, nose. Santa Claus from the modules is ready!
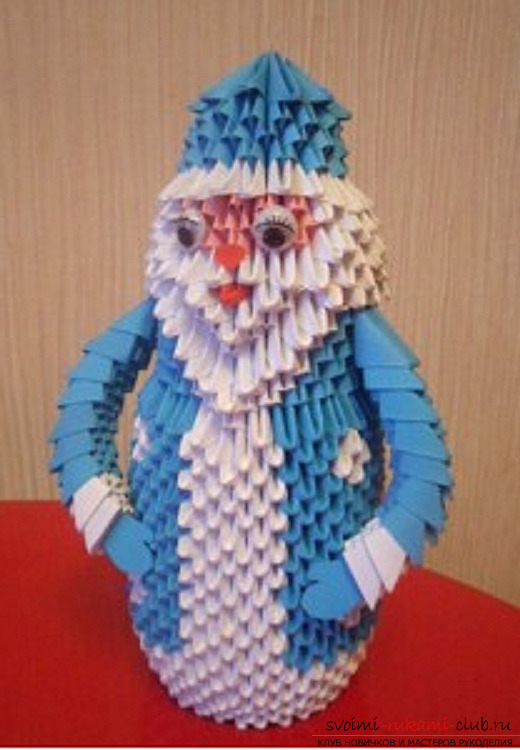

Comments
Related posts:
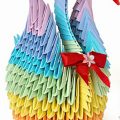
 The scheme for creating a modular origami peacock from paper for beginners. Detailed master-class with photo
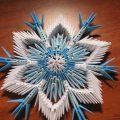 The scheme for creating modular origami snowflakes from paper for beginners. Detailed master-class with photo
 The scheme for creating a modular origami swan from paper for beginners. Detailed master-class with photo
 The scheme for creating a modular origami dragon from paper for beginners. Master class with photo
 The scheme for creating a modular origami snake from paper for beginners. Master class with photo