The scheme for creating a modular origami swan from paper for beginners. Detailed master-class with photo
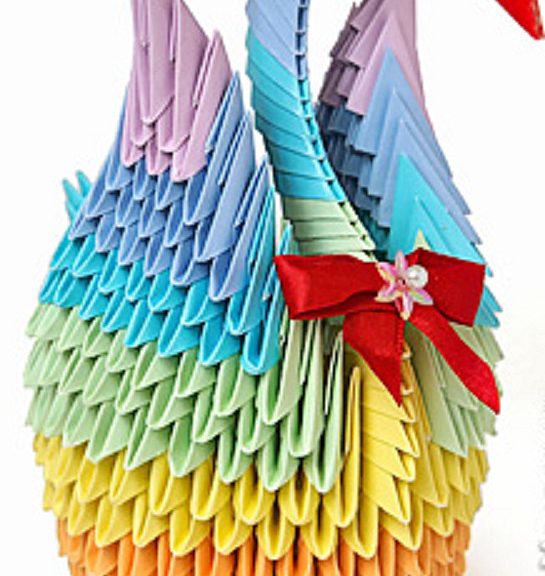
 An extravagant little thing, is not it? Such a rainbow swan will not only be the original element of the decor of your house, but can also be a magnificent gift. Create such a swan is not so difficult as for a long time, since it consists of a large number of elements (modules), and of course absolutely manual work. The step-by-step scheme of the modular origami swan will be shown below. This technology was invented by the Chinese, they were the first to start creating 3D shapes from triangle origami modules. The composition consists of a large number of similar elements (modules). Each module is composed of one sheet of paper, and then the modules are connected by the method of nesting them into each other. You can make such an origami swan without glue, the frictional force will not allow the folding to collapse, but it will be safer to glue the modules together, then the figure can be used as a toy and not be afraid that it will fall apart. To create a modular origami swan, you need to connect multiple modules of different colors, below is given their number. It would be nice to make such a complex figure together with friends or helpers. Paper needs to be taken as high-quality, color office paper or colored coated paper. Thin paper is best not to use. As mentioned above, the basis for all origami is the module, let's take a closer look at the scheme of its manufacture.
 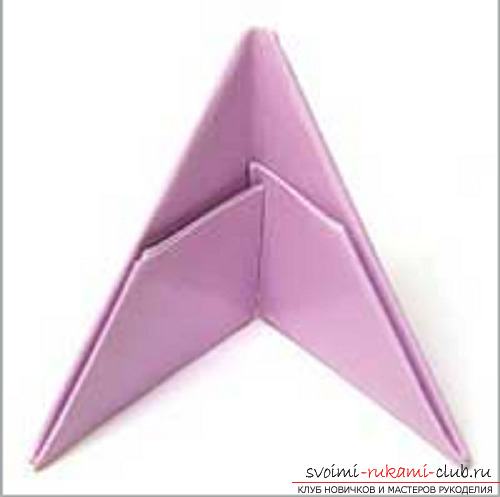 The module is made from a rectangle white orcolored paper. The ratio of the sides of the rectangle should be approximately 1: 1.5. You can obtain the required rectangles by dividing the A4 format into identical parts. It is necessary to divide the short and long sides of the A4 format into four equal parts and cut them along the indicated lines, then rectangles of approximately 53 × 74 mm are obtained.
 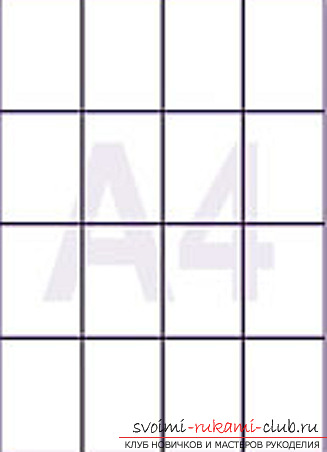 If the long side of the A4 format is divided into eight parts, and the short side into four parts, then we will get rectangles of 37 × 53 mm.
 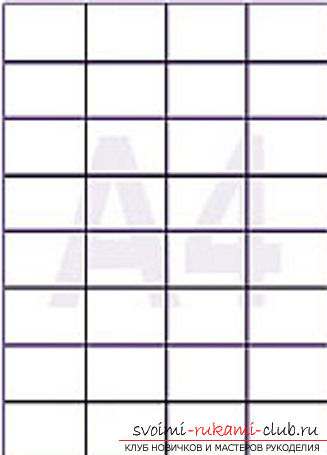 You can also collect modules from 1/2 square,using blocks for records, which you can purchase in office supplies. How to make a triangular origami module 1. Put the rectangle to itself with the back side. Fold in half.
 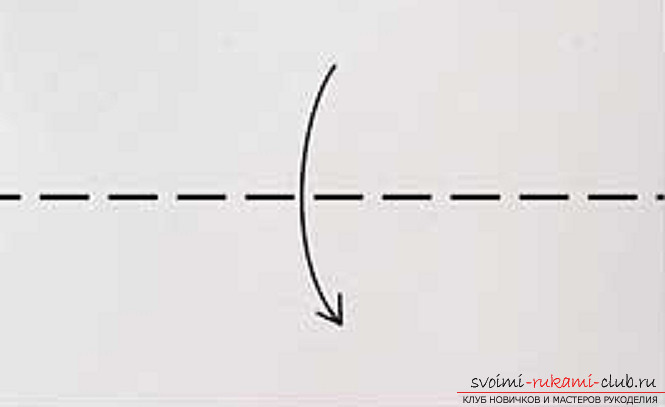 2. Bend and unbend to denote the center line.
 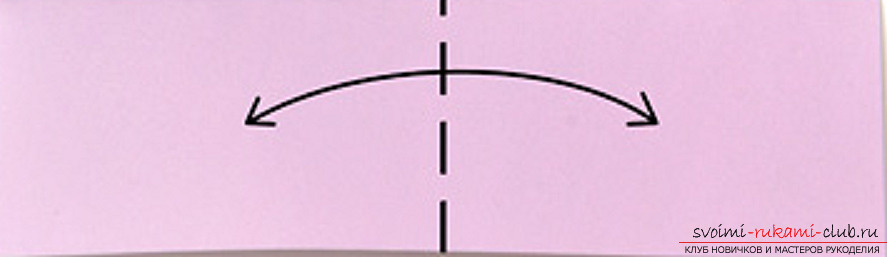 3. Bend the edges to the center. (At this point, turn the part "mountain" to yourself and add the edges to the center from the other side.) Everyone can find the most suitable method for himself).
 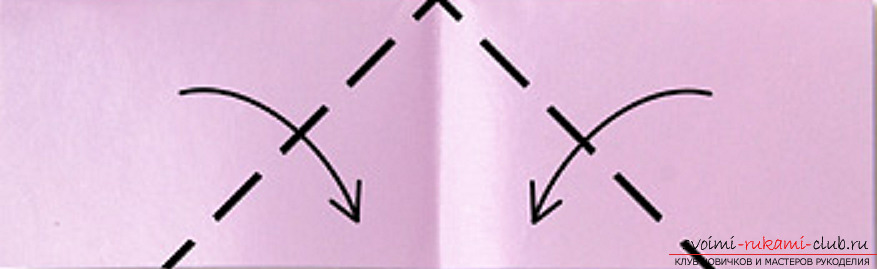 4. Turn the workpiece.
 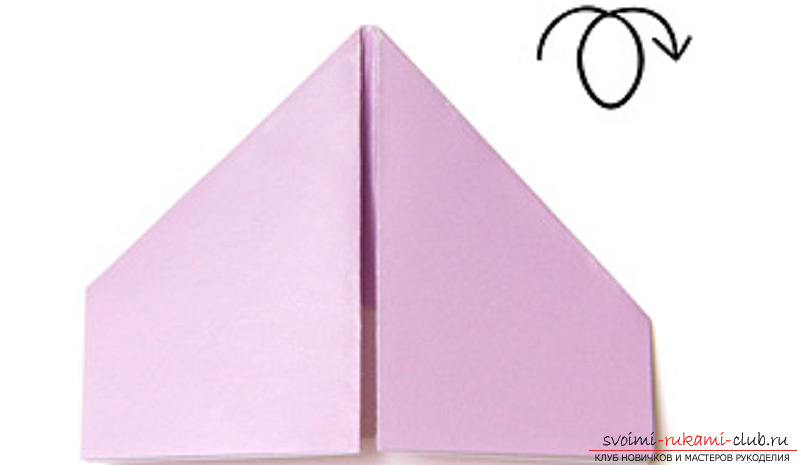 5. We bend the corners. (Note: it is necessary to leave a small gap between the folded corner and the upper triangle).
 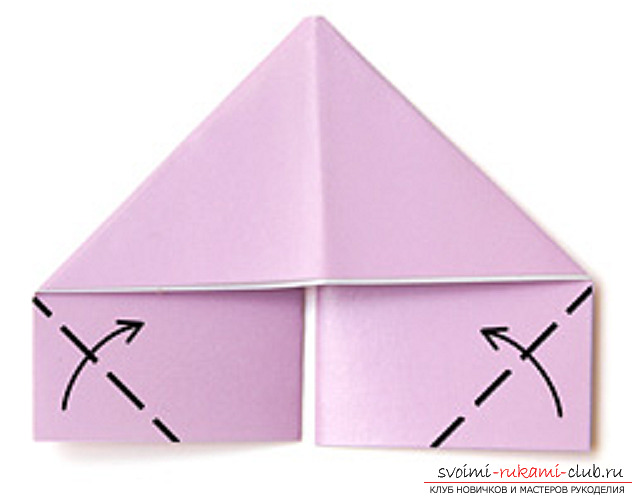 6. Lift up the edges.
 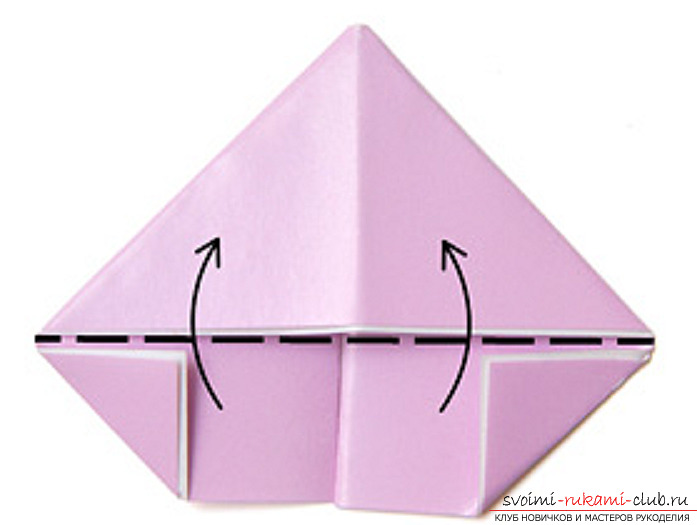 7. Fold the triangle.
 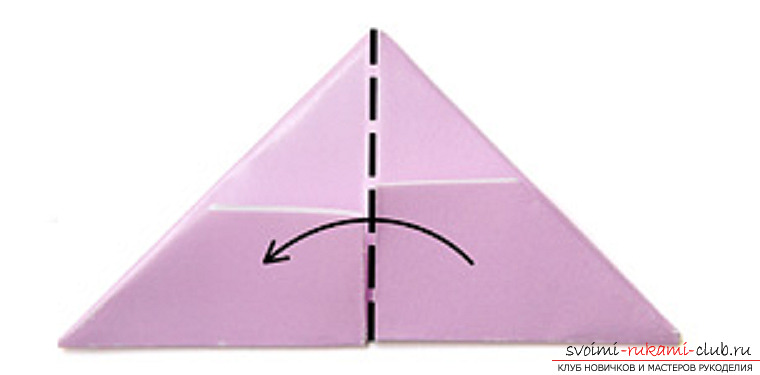 The resulting module has two corners and two pockets.
 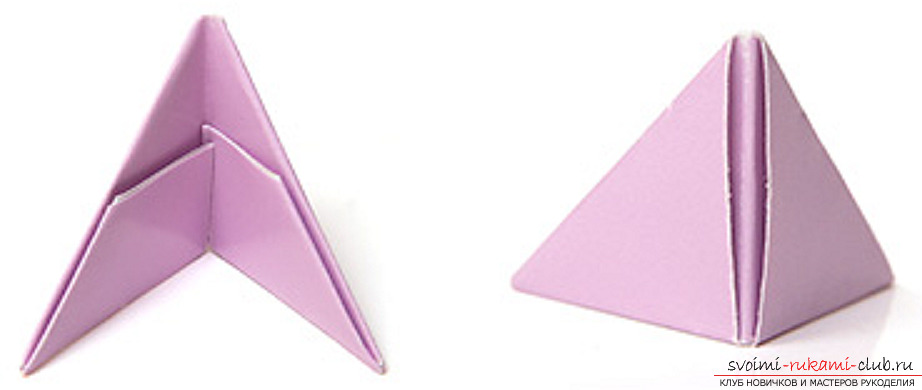 How to connect modules together? The modules, built according to the specified scheme, can be inserted into each other in various ways and we obtain three-dimensional figures. Here is one of the possible ways to connect:
 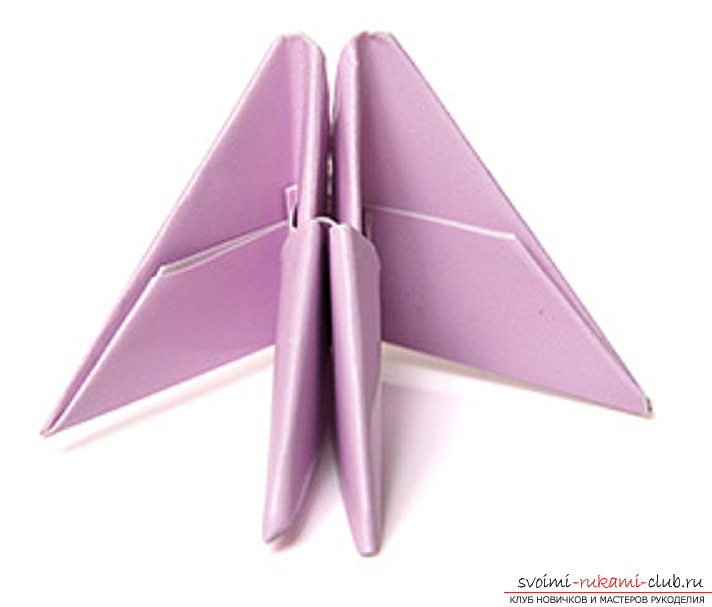 Assemblage of a figure of a swan 1 red;
  136 pink;
  90 orange;
  60 yellow;
  78 green;
  39 blue;
  36 blue;
 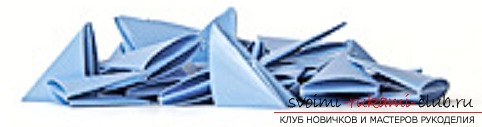 19 purple.
  If you have a desire, you can make a white swan with a red beak, for this prepare 1 red and 458 white rectangles. Take the three pink modules and place them as follows.
 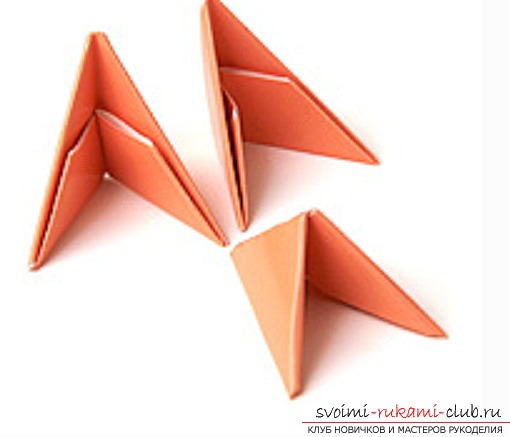 Insert the corners of the first two modules into the two pockets of the third module.
 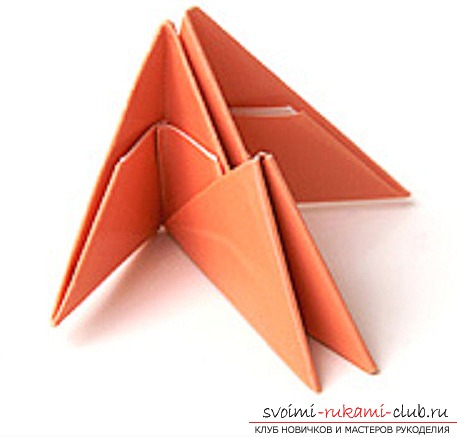 Take two more modules and attach them the sameway to the first group. This is how the first ring is made. It consists of two rows: an inner row, whose modules are on the short side, and an external row, the modules of which are on the long side.
 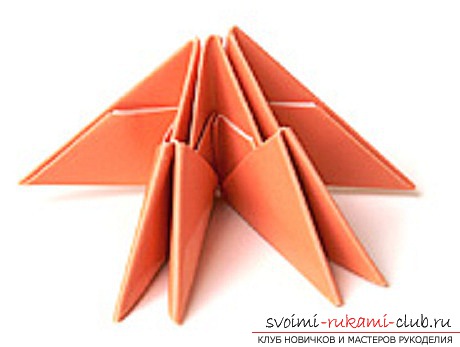 In each row we have 30 modules. We collect the ring by a chain, carefully holding it with our hands. We end the ends of the chain with the last module.
 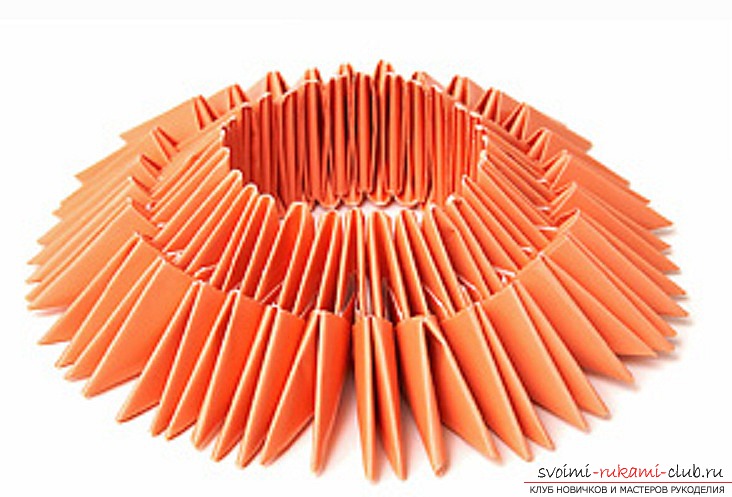 We take 30 orange modules and collect the third row. Pay attention to the fact that the modules are put on in staggered order.
  In the same way, we collect the fourth and fifth rows, which also consist of thirty orange modules.
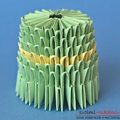
  Now, holding your fingers over the edges of the workpiece, we perform such a movement, as if we want to turn the ring inside out. It is necessary that we have this form. It looks like a stadium from above.
 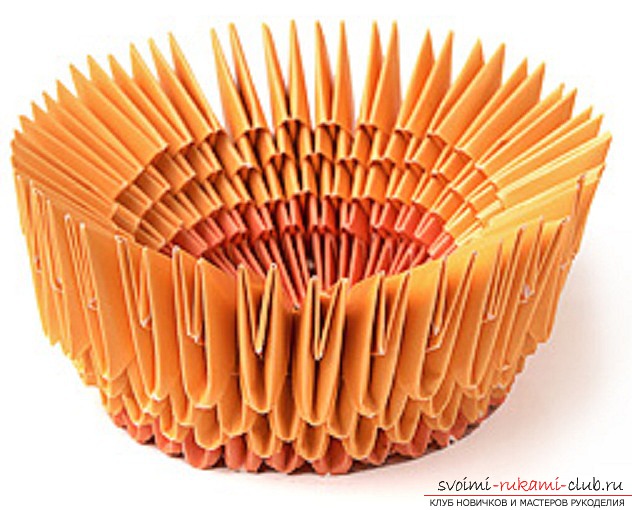 On the reverse side, the stadium looks like this:
  We collect the sixth row, which contains 30 yellow modules. Now put them on top. We check that the location of the modules was exactly the same as in the previous rows.
 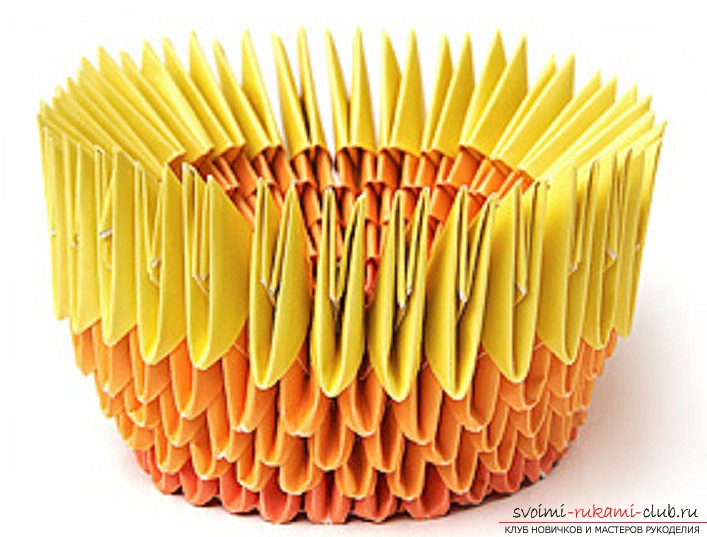 Beginning with the seventh row, we proceed to assemblywings. Choose the side on which will be the head of a swan. We choose one pair of angles (from two adjacent modules). This is the place of joining the neck. Left and right of this pair we do on a row of 12 yellow modules. Ie, the seventh row consists of 24 modules and has two gaps.
 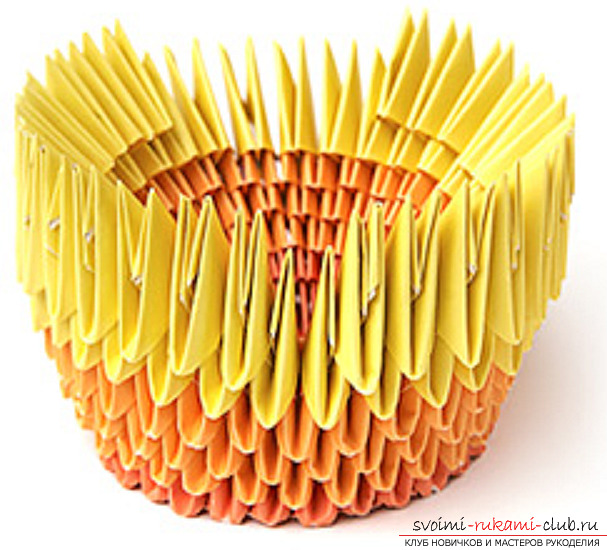 We continue to make wings, reducing each further row by one module. The eighth row: 22 green modules (two times 11). Ninth row: 20 green modules. Tenth row: 18 green modules.
  Eleventh row: 16 blue modules. Twelfth series: 14 blue modules.
 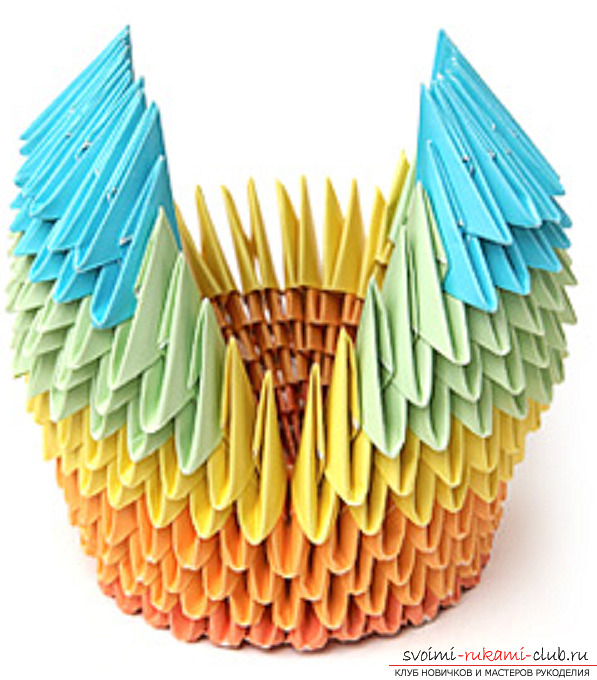 The thirteenth row: the blue modules. Fourteenth row: 10 blue modules. Fifteenth row: 8 blue modules.
 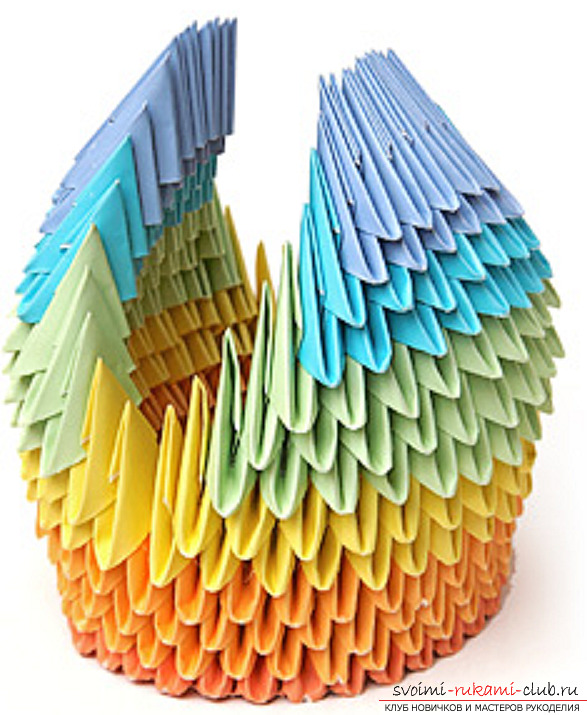 Sixteenth row: 6 purple modules. Seventeenth row: 4 violet modules. Eighteenth row: 2 violet modules. Wings ready. We give them such a form that they are convex from below and slightly turned away from above.
 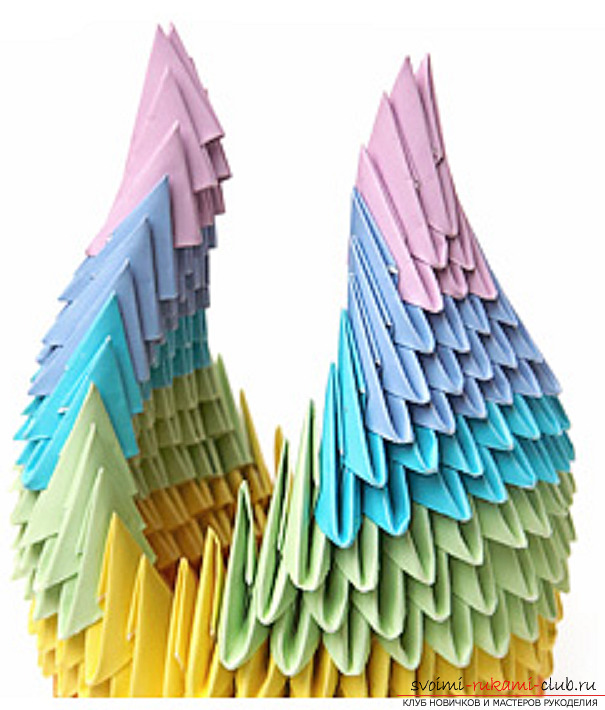 We collect the tail, which consists of five rows. In the same way, we reduce the number of modules by one in each row. The collection of the tail will go 12 green and 3 blue modules.
 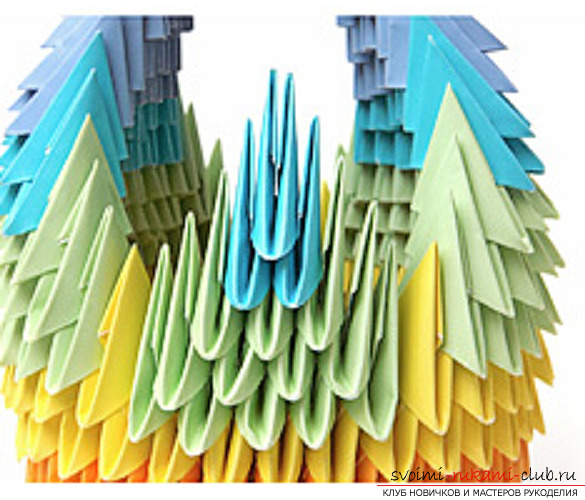 In order to collect the neck, the workpieces need to be connected by a different method. We insert two corners of one module into two pockets of the other.
 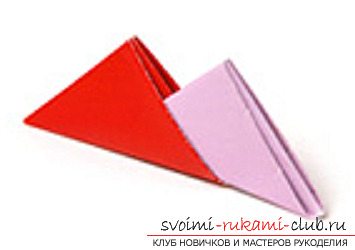 We attach to the red module 7 purple. We try to immediately give the neck the necessary bend. If you do not want the beak of the swan to be bifurcated, it's better to glue the corners of the red module.
 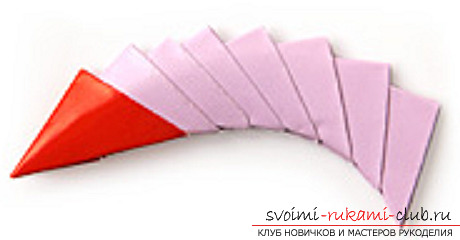 Then we attach 6 blue, 6 blue, 6 green and 6 yellow modules. We give the neck the desired shape.
 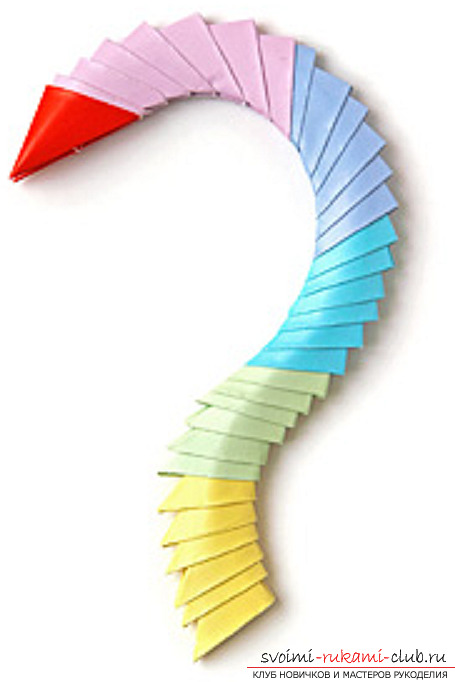 We strengthen the neck at the two corners between the wings. We add at will, details - eyes, a bow.
 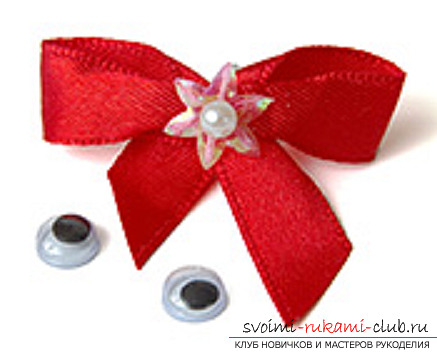 We collect in the form of two rings a support. It consists of 36 and 40 modules. We connect the modules in the same way as for the neck.
  If desired, glue the glue and the swan glue to the stand.
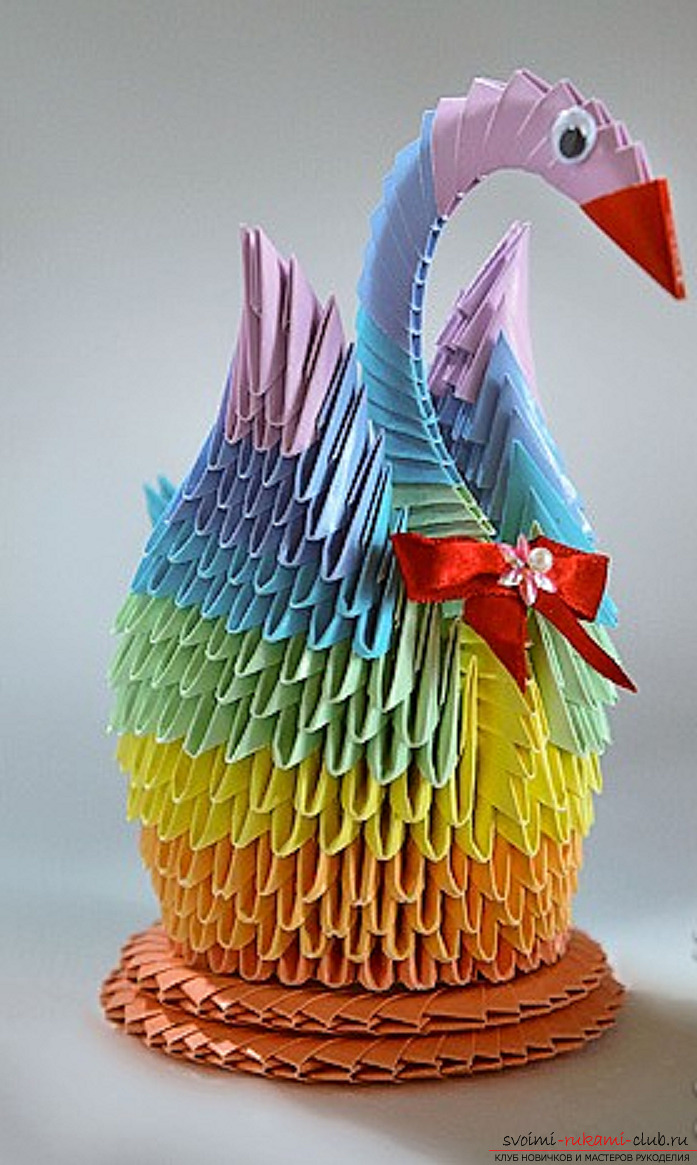
 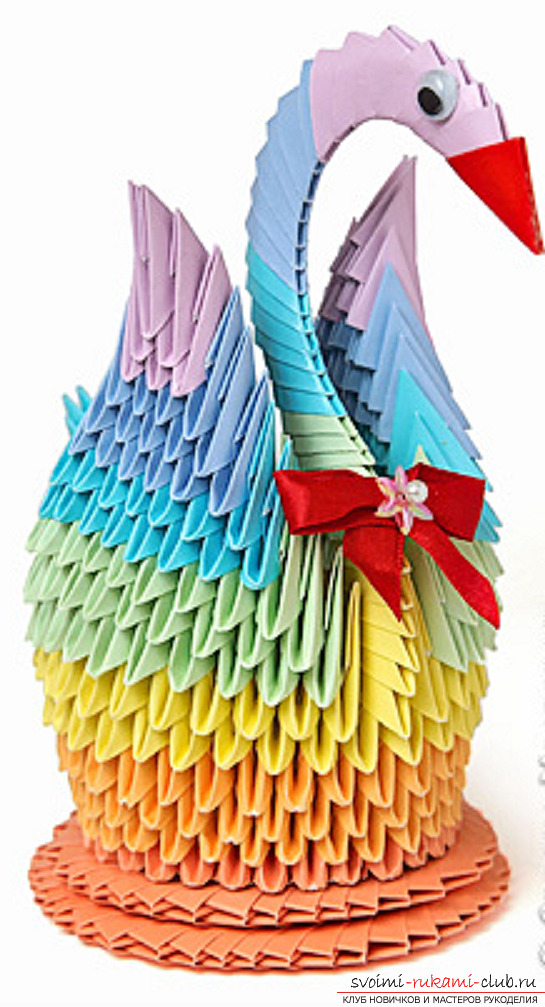 That's it, the origami swan is ready. The swan of paper as we see it looks very elegant and will please the eye for a long time. Having created myself such a swan, I think you will not regret the time spent.
Comments
Related posts:
 The scheme for creating a modular origami snowman from paper for beginners. Master class with photo
 The scheme for creating modular origami snowflakes from paper for beginners. Detailed master-class with photo
 The scheme for creating a modular origami peacock from paper for beginners. Detailed master-class with photo
 The scheme for creating a modular origami dragon from paper for beginners. Master class with photo