
Children's Christmas packaging for sweets do it yourself
 It would seem that something, and traditional candyKits for children can be bought in finished form. This method has a lot of advantages - in a fancy box or bag there are various delicacies. But there are cases when such packaging must be done by yourself. I want to please the child with an unusual gift, or maybe the baby has a strict diet, and he is allowed strictly defined sweets? Then there are two ways out: put the suitable sweets in the box from the finished gift or - which is much more interesting! - make Christmas packaging for sweets themselves. I made a box on a ready-made template, having increased it by one and a half times, because the printer allows printing only in A4 format. I will tell and show how I increased the pattern by one and a half times, and then I collected the children's New Year packaging for sweets and decorated it as an option for a girl (however, if you take other stickers and make the box not in red and white, but, for example, in blue and white , it will turn out to be quite a boy option. So, first you need to print the pattern on A4 sheet. This one (click on the photo to enlarge it):
 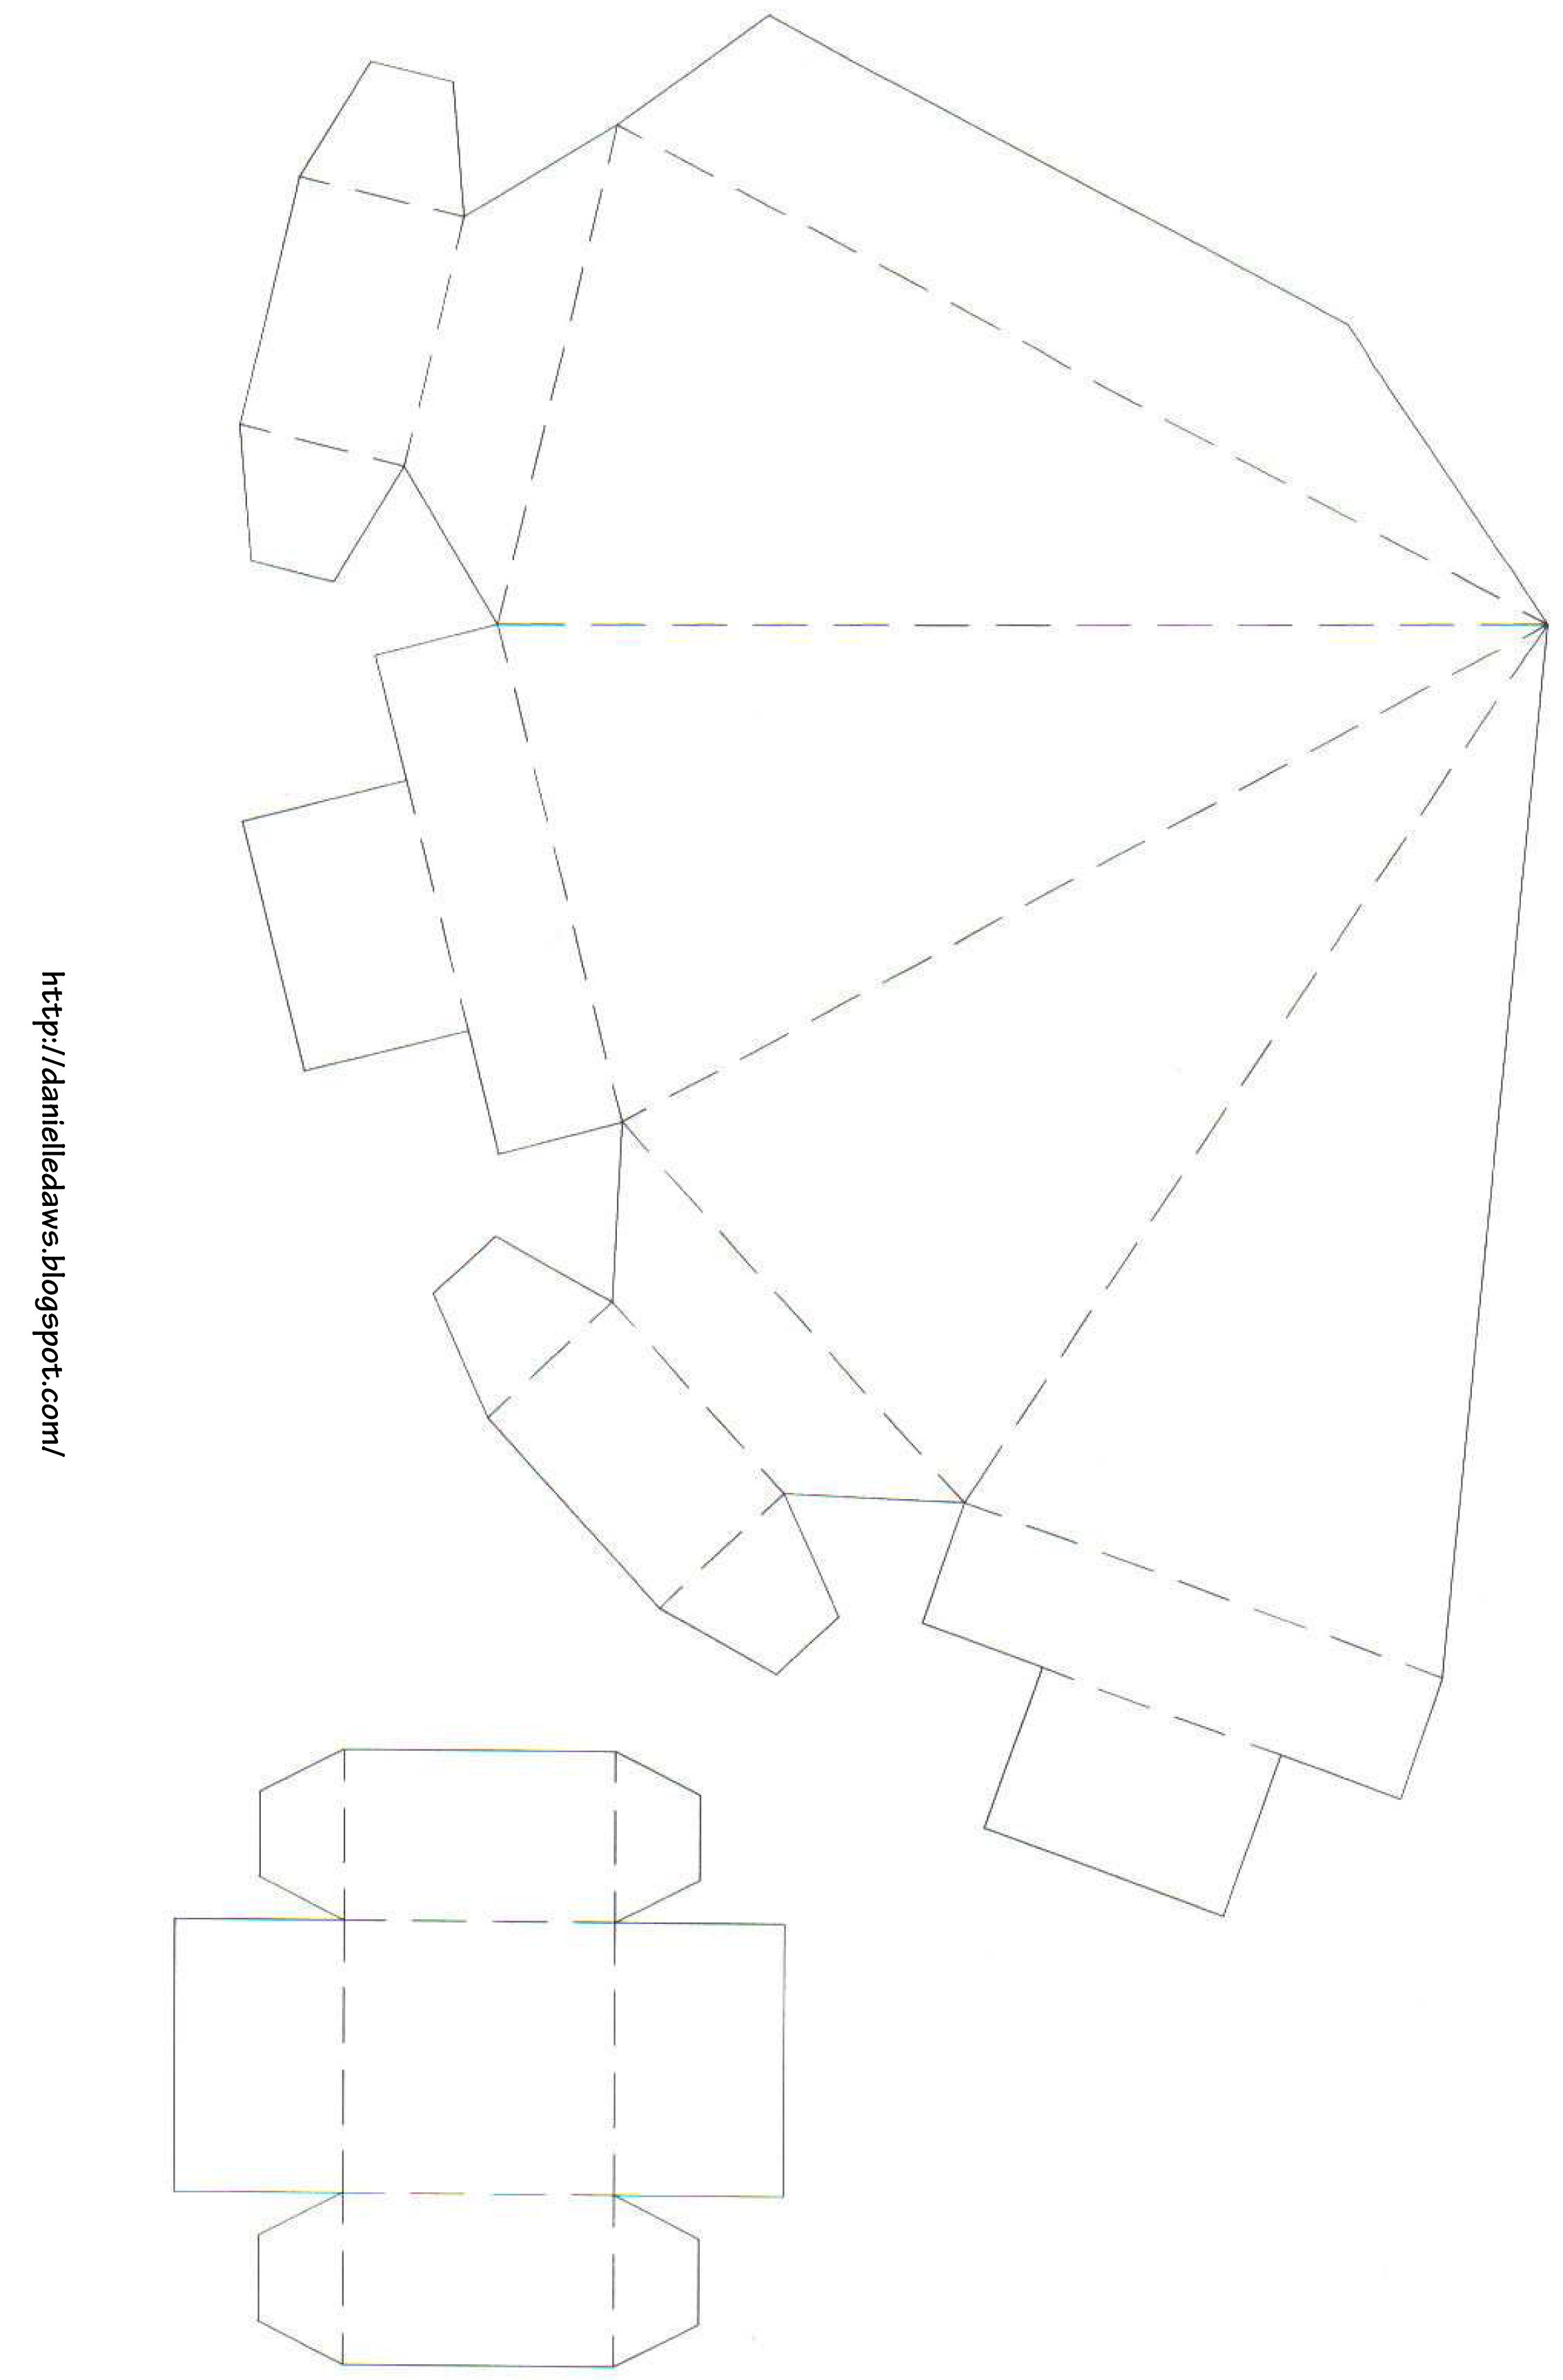 Let's get started
To make children's New Year's packaging with your own hands, you will need:
solid color cardboard is tighter (I have white);cardboard of a contrasting color (mine is red and gold); double sided tape; holiday stickers; printed box scan; PVA glue; glitter; gift wrapping tape; thread or wire to secure the packing tape; mock or stationery knife (can be replaced with nail scissors); scissors; ruler; simple pencil. 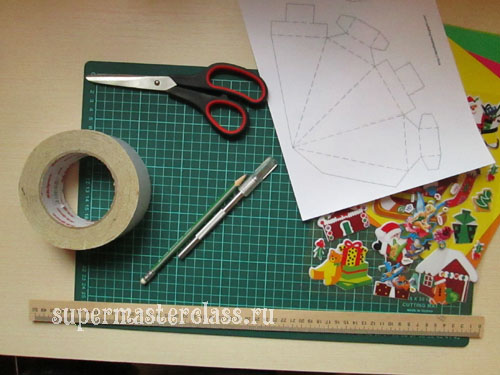
Christmas packaging for sweets do-it-yourself: master class
We print our scan and transfer it tothick white cardboard with a ruler and a simple pencil, while increasing the size of each side and a half or two times - depending on what size Christmas packaging for sweets you need. Our children's New Year's packaging consists of two parts: the top “fir tree” and the bottom — the trunk — is a box that closes the opening in the fir tree. Since the design does not close very securely, in the future it will be necessary to tie our Christmas tree with gift ribbon. Let's start with the trunk-box. For its production in the half-size relative to the sweep size, you will need one sheet of A4 cardboard.  Cutting along the perimeter with scissorsor mock knife. All bends are drawn with a needle or a non-writing pen on the wrong side - this is necessary so that along the fold lines the cardboard bends evenly and without kinks.
 Cut the double-sided tape into small pieces and glue them to the places where the box is glued.
  We collect our box for double-sided tape.
 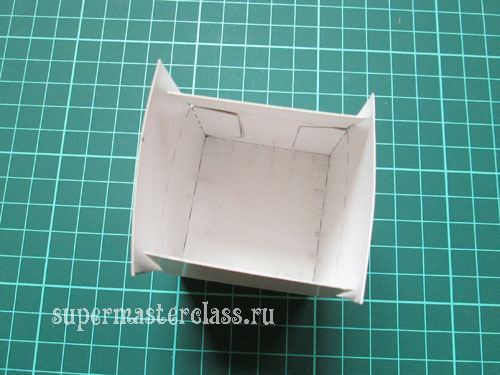 Is done.
 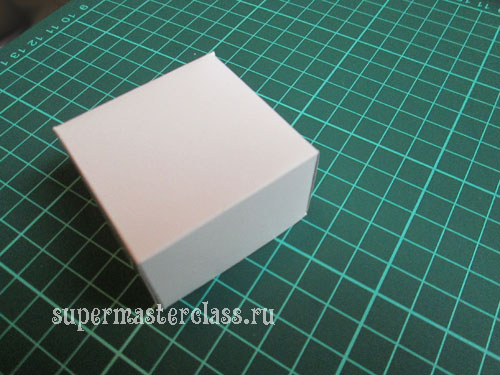 We proceed to the cutting of the "Christmas tree" itself. To do this, we cut out our printed scan and transfer it to sheets of cardboard at a size and a half. On one sheet of A4, the entire Christmas tree does not fit, so we make it on two A4 sheets: each will have half a scan. From the first we cut out such a figure (and work on the folds in the manner described above).


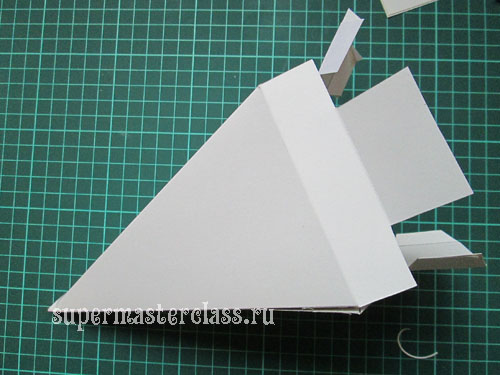
 From the second sheet - the same shape, but without “wings” for gluing in the upper (pyramidal) part of the “Christmas tree”. We attach double-sided tape to the bonding places and assemble our Christmas tree.
 Christmas candy packaging is ready - or rather, its preparation. Now - the most interesting: decor.
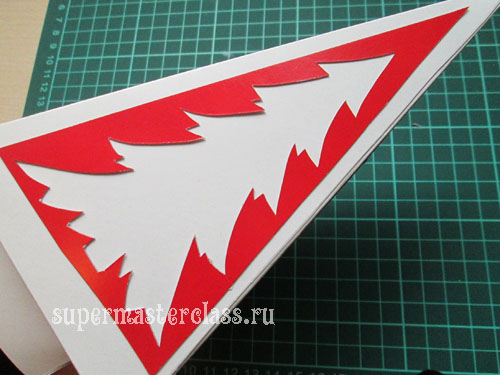
  Cut out of red cardboard 4 triangles with a size slightly smaller than the edges of the pyramid.
  Each of them we make out in any way. So, on one, I cut the silhouette of a Christmas tree with a mock knife:
 And on all the others she attached stickers - with her favorite fairies and New Year symbols.
  On triangles we glue pieces of double-sided tape, and then attach them to the pyramid.


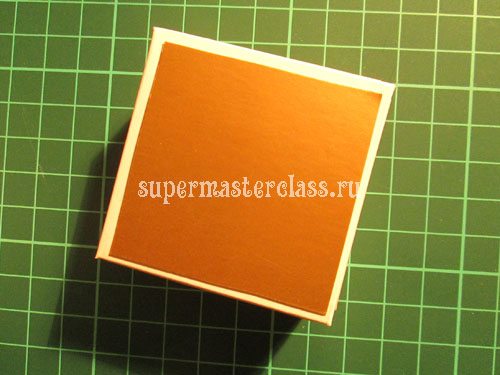
 Now we will deal with a barrel box. Cut out 4 rectangles from a brown or golden cardboard and a square is slightly smaller than the bottom and sides of the trunk-box, and with the help of double-sided tape we make a box.
 On this, in fact, it would be quite possiblestop ... But if for your child, as well as for my daughter, the words "beautiful" and "brilliant" are synonyms, there's nothing to be done: you have to work with glitter, and this is perhaps the most time-consuming part of the work. On the cut Christmas tree on the edge of the pyramid we draw thick lines with glue - this will be tinsel.
 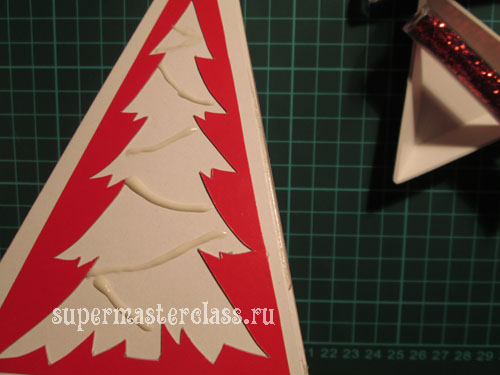 Then thickly sprinkle the tree with red glitter.
  And when the glue dries, brush away the extra glitter.
  Christmas tree is decorated for glory. We make out the corners of the "trunk". To do this, they are also thickly greased with glue and dropped into the "golden" glitter.
  Now all the white parts are covered with a thick layer of glue and sprinkled with silver glitter. Morally prepare for the fact that the sparkles are likely to be everywhere.
 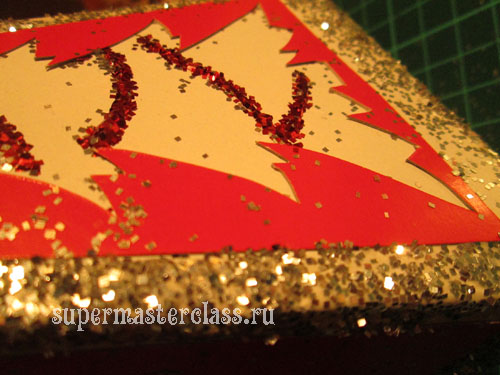 We wait until all the boxes are well dry. Then we fill them with the most delicious sweets in the world ... And do not forget about the surprise: they can be cute or stylish.
  Close and bandage with gift ribbon,forming from above a magnificent bow. Our New Year's children's packaging for sweets is made with your own hands and is ready to give a lot of joy to the child, who will get it.


 Eva Casio specifically for the site Previous article: Next article:
Comments
Related posts:
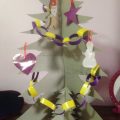
 New Year tree with their own hands, a Christmas tree made of fabric, how to make a New Year tree with their own hands, a Christmas tree made of candy, master classes for making Christmas trees.
 New Year's tree from improvised materials with their own hands.
 Your crafts. Christmas tree of branches by own hands
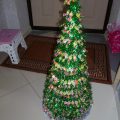 New Year tree of sweets for the 2015 contest, interesting crafts for the new year with their own hands
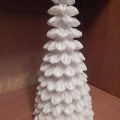 New Year's hand-craft: a Christmas tree made of cotton discs with your own hands for the 2015 contest, New Year's crafts by your own hands