
Children's striped hat knitting needles
 Knowing how to knit only the front and purlloop, you can already make a child's hat for your child with knitting needles, having spent on work one or two nights. And if you pick up a nice bright yarn - the result will please and warm the whole autumn or winter - if you take the strings warmer. How good knit baby hat? First, knitting - elastic. This means that plus or minus a few loops change nothing, so guessing with the size is much easier than, say, knitting, where each loop is important. Secondly, if the face is knitted with a rubber band, then the cap will firmly hold onto the child’s head and will not get out of sight, and the ears will not get bare. We chose soft acrylic for knitting. The hat turned out quite warm, but not "park". It looks nice, the child wears with pleasure. And the versatility of the model allows her to knit for both a boy and a girl.
For knitting children's knitting needles needed:
acrylic yarn of blue and white colors (I have - YarnArt Elite - 100 g / 300m); suitable size knitting needles; large eyelet or gypsy needle; tape measure.
Knitted baby hat knitting: job description
To calculate the number of loops for the cap, be sure to tie the sample! For the sample, I scored 20 loops, plus two edge loops and a 2x2 rubber band, knitted several rows. 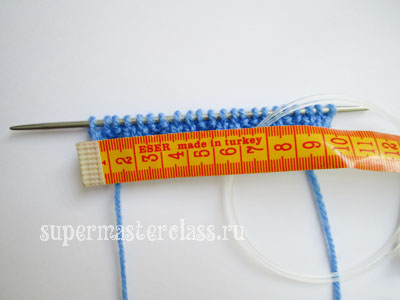
 The sample width was about 10 cm (someless if the gum is fully compressed). The volume of my child’s head is 50 cm. Therefore, based on a sample of 20 loops = 10 cm, to get a cap with a circumference of 50 cm, you need to dial 100 loops plus two edge loops. I started knitting in blue, having decided to make a striped hat for the child.
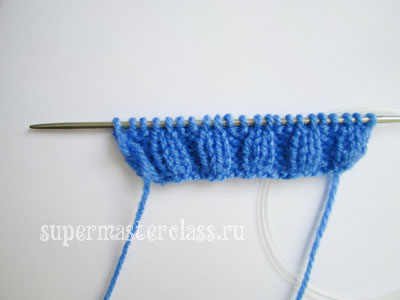
 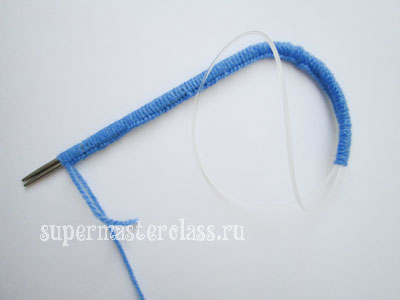 I knitted a rubber band 2x2: i.e. 2 facial, 2 purl, 2 facial, 2 purl, etc. The next row is according to the picture. Gum knit arbitrary width, 3-5 cm - quite enough.
 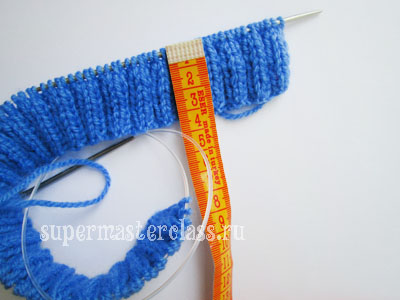 Next, change the color of the yarn to white. Knit a series of facial loops.
 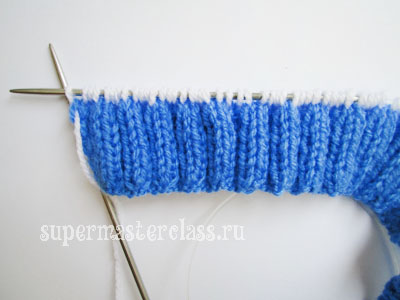 The next row is all purl, one thathim, - all facial, etc. Knit stocking satin several rows. I determined for myself the width of the strip in 4 rows, then I decided that I would do 6 anyway, but I didn’t tie the first strip - so I had a white strip 4 rows wide.
 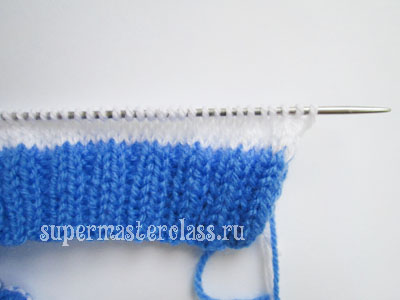 The following 6 rows of knit blue yarn.
  We alternate colors until we get the desired depth of the cap.
 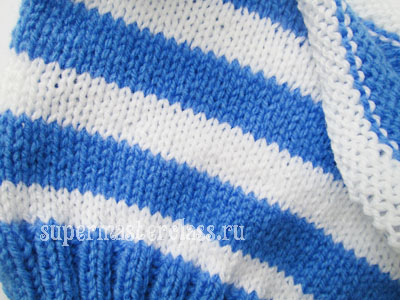 Tie another lane to the assembly - and you can close the loop. >
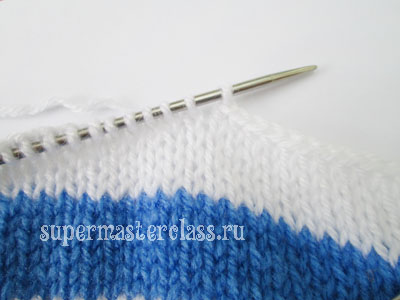 Assembly knitting needles baby caps begin with the back seam. Sew both webs knit stitch.
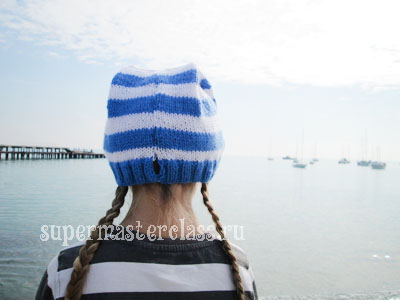
 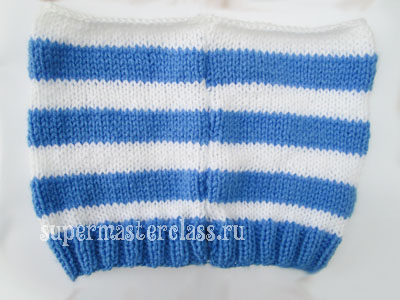 At the bottom I left a small hole - at myPrincess hair is long, and often I braid her braid. If the braid is one, then when the child in the cap lifts his head, this braid shifts the gum so that the ears can become bare. The hole in the back seam solves several problems: we skip the braid into it, as a result, no matter how the child turns the head, the cap will not rise and will not spin on the head. Solid benefits. If I braid two braids, the hole is unnoticeable.
 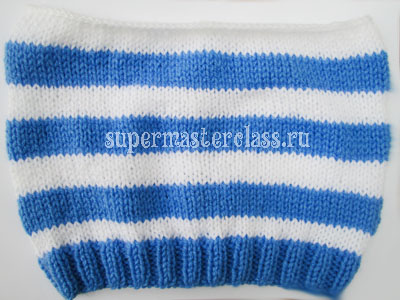 How to assemble a hat on top? You can sew it with one stitch, crochet two strings of yarn of the same colors and tie “ears” with them. But my girlfriend is already quite adult, so I did not consider this option. You can sew like this, crosswise, and fill the corners inside.
 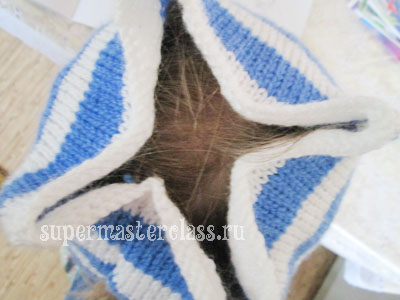 But I decided to collect a little differently.
 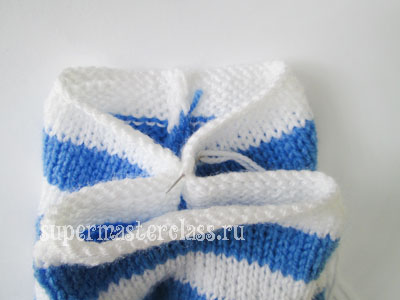 Folded the upper part like this, fixed the meeting place of all corners.
 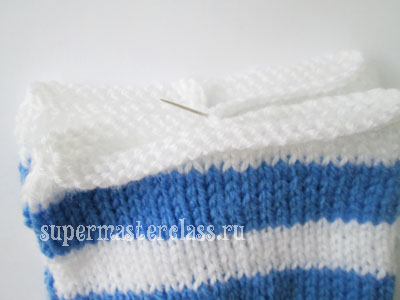 Then sewed inner shovchiki.
 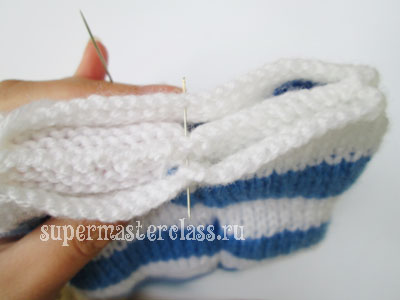 And finally - the outer outer seam.
  The assembly is a bit like a tetra-pack milk package, but it looks pretty nice. To make the hat not look quite like a cat Matroskin, it was decided to add the sea, i.e. - anchor.
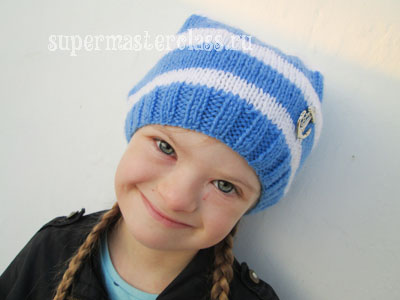
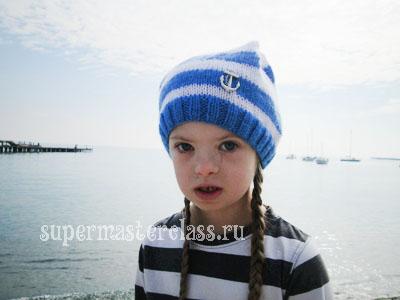
 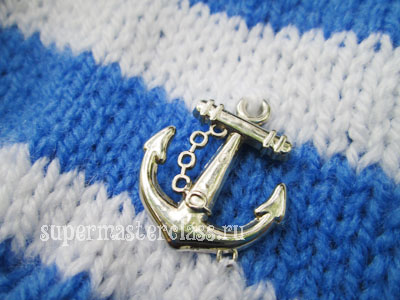 And here it is, our knitted baby hat, created by loving mother's hands!
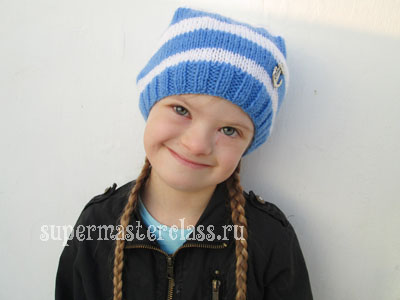
 Eva Casio specifically for the site Previous article: Next article:
Comments
Related posts:
 Knitted with a knitting hat-trumpet with a pattern of braids. Detailed diagram with photo and description for beginners
 Knitted knitting woolen winter hat for women. Detailed diagram with photo and description for beginners
 Children's cap with ears, knitted with their own hands, master class with photo.
 Hat children's hat - the work of Natalia Trusovoy
 Children's cap crochet - the work of Tatyana Tarasova