
The scheme for creating a modular origami Snow Maiden from paper for beginners. Master class with photo
 And again the New Year's idea - we will create the Snow Maiden. A figurine of such an original Snow Maiden, assembled in modular origami technique, will become a wonderful ornament of the New Year tree. Holidays are already around the corner, so let's start. We need 213 white and 436 blue modules for the assembly of the Snow Maiden.
 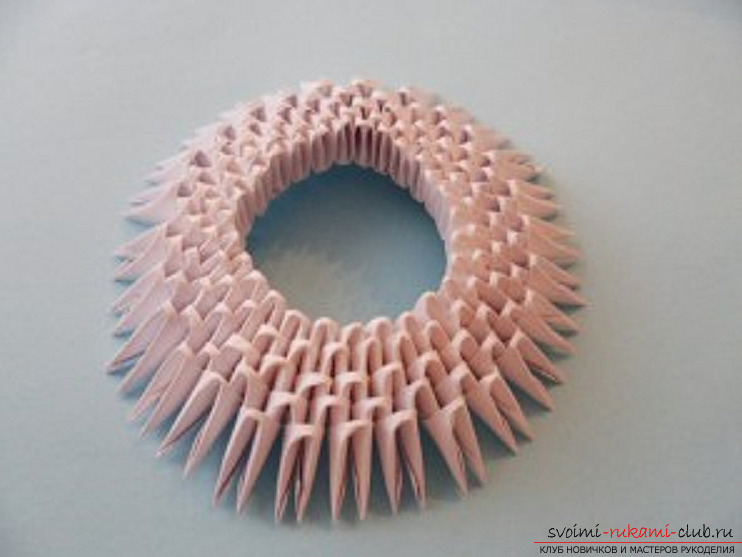 Skirt. All modules are in the long side. We collect a chain of two rows of white modules of 27 in each row, close it in a circle. Add 3 more rows of white modules. It turned out: 5 rows of white modules of 27 in each row.
 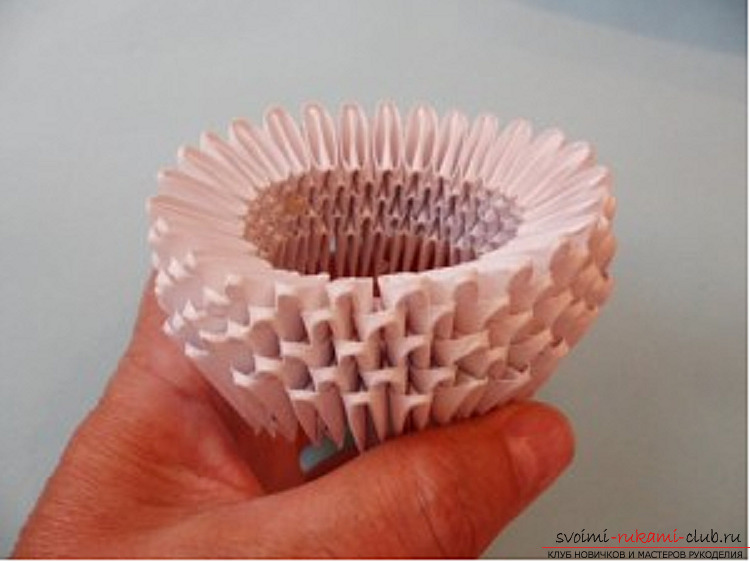 Bend the part for the last row of modules down, slightly arching the shape and guiding the corners of the modules of the last row down.
 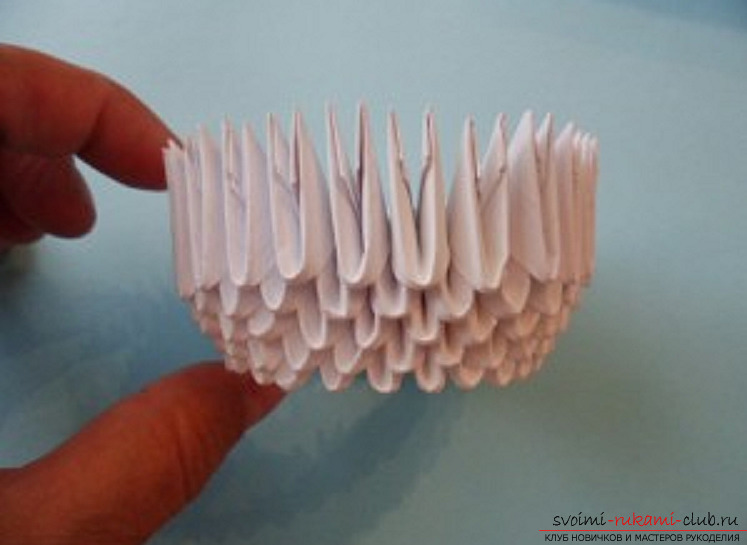 We turn it over.
 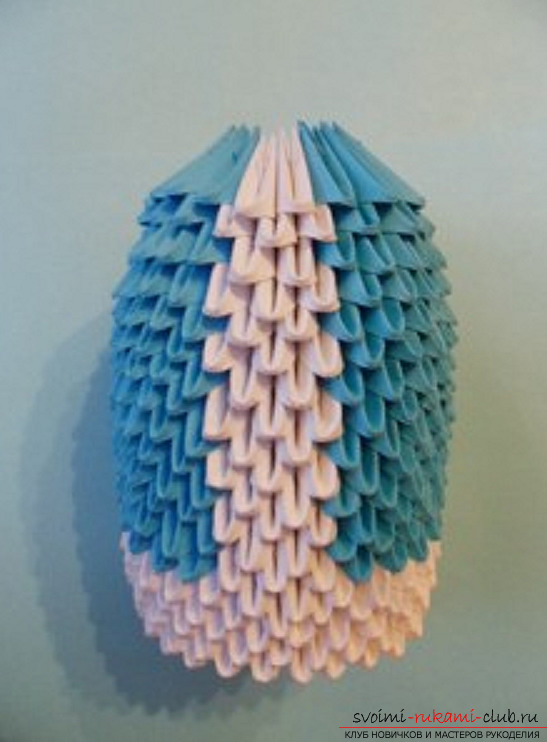 We put the modules on top, continuing to connect them instaggered and laying out in the indicated color sequence, as described below. Alternate rows: from 6 to 17 rows: (3 white, 24 blue) (2 white, 25 blue), each row, enclosed in parentheses, is repeated 6 times when alternating. Eighteenth row - 3 white, 16 blue (put each white module on 2 corners, and each blue - on 3 angles). The nineteenth row - 2 white, 17 blue (bring the corners of the modules closer to the center).
 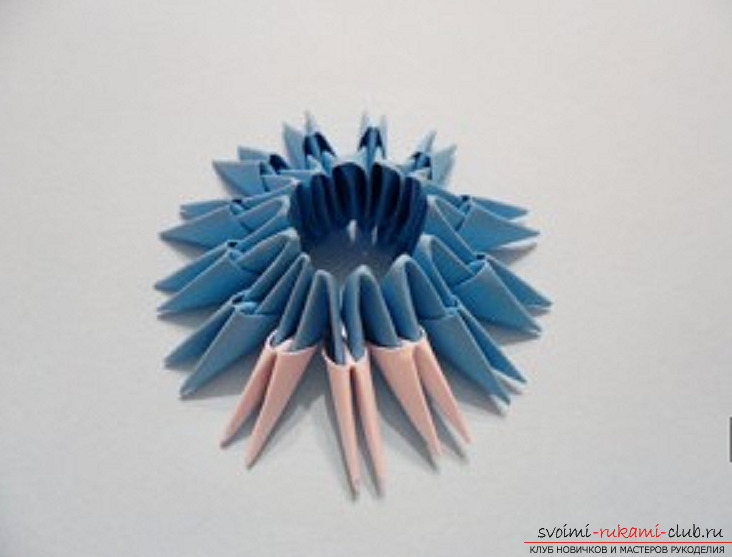 The upper part of the fur coat. We collect the modules in a chain: the first row - 13 blue long side ahead; second row - 3 white KV, 10 blue short side ahead;
  third row - 2 white DV, 11 blue long side ahead.
 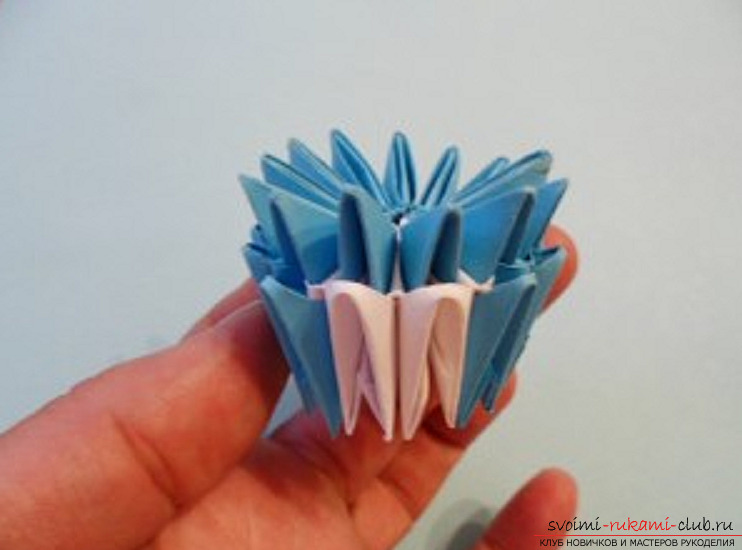 Slightly bend the shape of the part, squeezing it from the sides.
 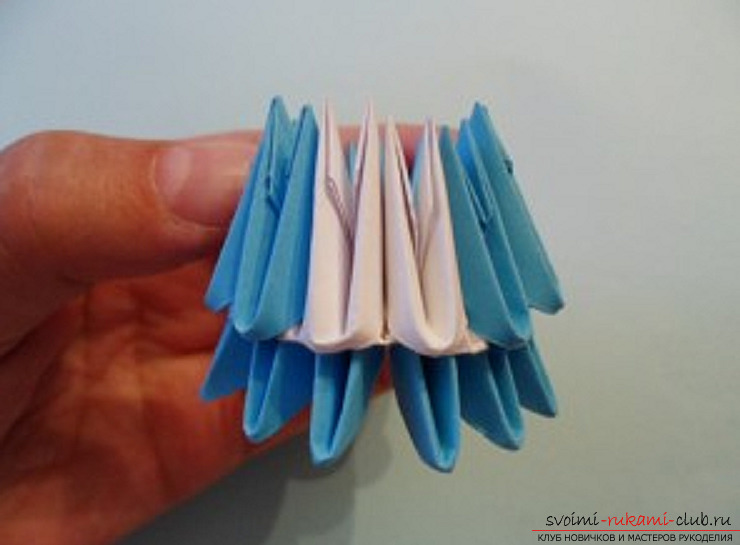 We turn the part.
 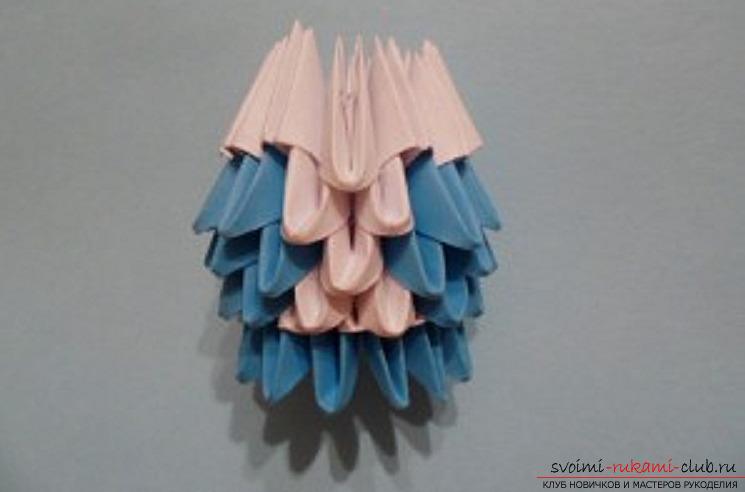 We continue to put on modules, connecting them instaggered order: the fourth row - 1 white long side forward, 12 blue long side forward; the fifth row - 2 white long side forward, 11 blue long side forward; the sixth row - 1 white long side forward, 12 white short side forward;
  the seventh row - 13 white long side ahead (angle the modules as close as possible to the center, this is the collar of the fur coat).
  Sleeves. We put the modules on each other with two pockets in a column (from the bottom up): 2 white, 11 blue, 2 white. Similarly we make the second sleeve. Cut out the white paper from the white paper, glue them into the pockets of the lower modules.
 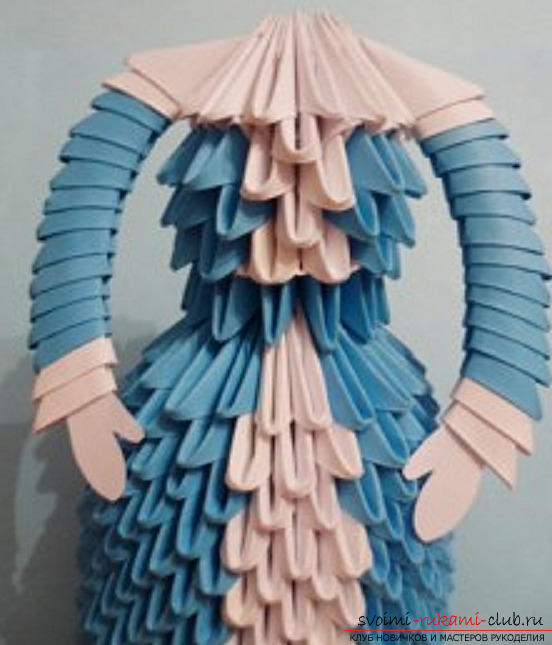 Glue the top of the coat to the skirt. We glue the sleeves. To do this, spread the short side of the upper white sleeve module with glue, apply the smoothed side on the side between the collar modules.
 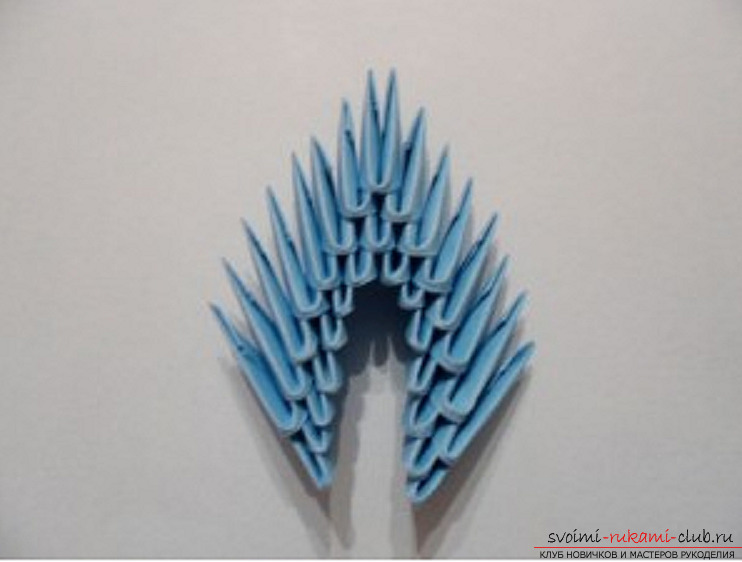 Crown. We make the crown. To do this, we collect an arch from 7 modules on each side and one securing from above. Lower 2 corners on each side of the "arch" we attach the blue module. Rising along the edge of the arch up, lay out the second row of modules, connecting the adjacent corners with blue modules.
  Head. To make a head, we use a ping-pong ball. We pierce the ball with an awl. We put into the resulting hole half from the bamboo skewer. Rectangles of white paper are cut slightly with scissors into small strips, not cutting them to the end. Screw the ends into a skewer. We glue the resulting curls with an uncircumcised end around the head along its lower edge, not filling the place where the face will be. Then, glue the locks along the upper edge of the head. We glue the bangs curls down. The lower side of the crown is spread with glue and glued to the head.
  We insert the skewer into the hole between the collar modules.
 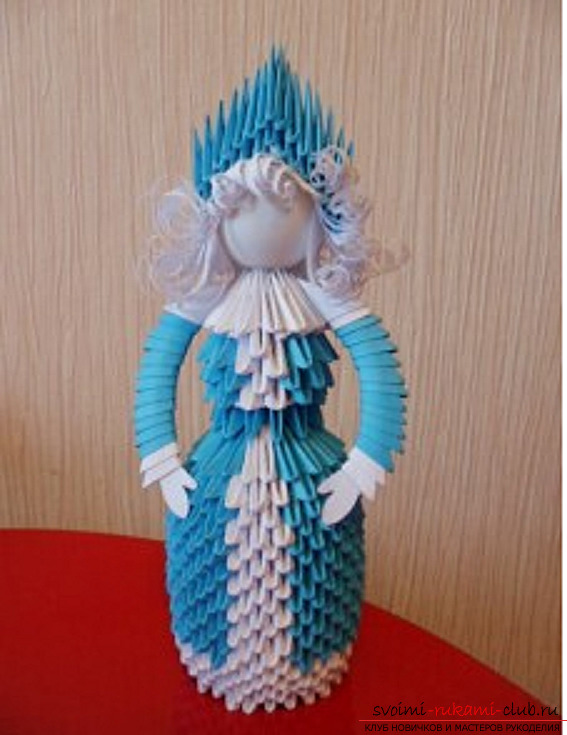 16. The work is ready.
Comments
Related posts:
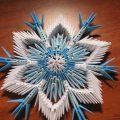 The scheme for creating modular origami snowflakes from paper for beginners. Detailed master-class with photo
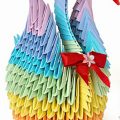 The scheme for creating a modular origami swan from paper for beginners. Detailed master-class with photo
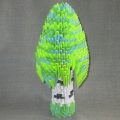 This detailed master-class modular origami with step-by-step photos contains a scheme for assembling birch from paper.
 This detailed master class with a photo and description will teach you how to make origami for beginners - an origami-crown made of paper.
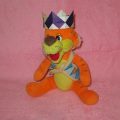
 This detailed master class with a photo and description will teach you how to make origami for beginners - an origami dog made of paper.