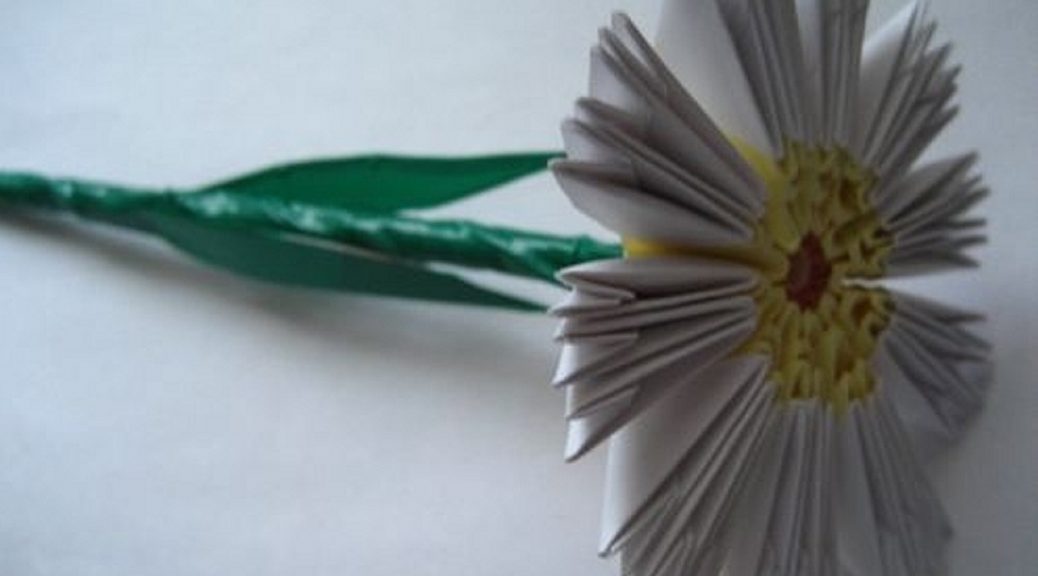
The scheme for creating modular origami chamomile from paper for beginners. Master class with photo
As a child, each of us collected crafts made of paper. Boats, airplanes, frogs are traditional paper toys. However, the hardy Japanese did not stop there. Origami is a whole culture, the art of paper plastic. In today's article I will introduce you to one of the forms of this art - modular origami. For some reason, I wanted to remember this summer and offer you an origami of daisy flowers. This very beautiful, pure flower will look great in the composition on your desktop. After all, he wails from the warm rays of the sun, looking at him, always want to vacation. At the moment I will offer you a chamomile origami scheme - the easiest to work with. When you master this amount of work, you will necessarily create another scheme, a heavier, but charming chamomile according to another scheme. Already from the title it is clear that at the heart of these crafts are modules that, when inserted into each other, are assembled as a designer. Therefore, the first thing we need to master is the creation of a module. To do this, we need a regular A4 sheet. We cut the sheet into 16 equal parts, as shown in the figure. 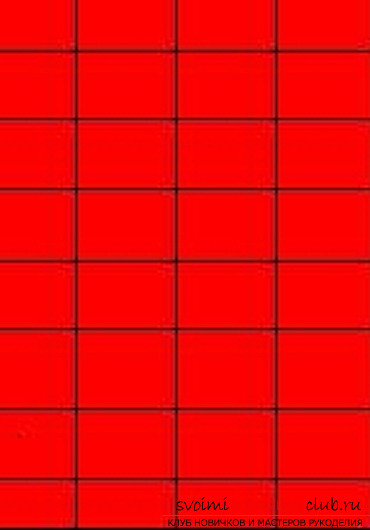 2. Take one sheet and bend it in half.
 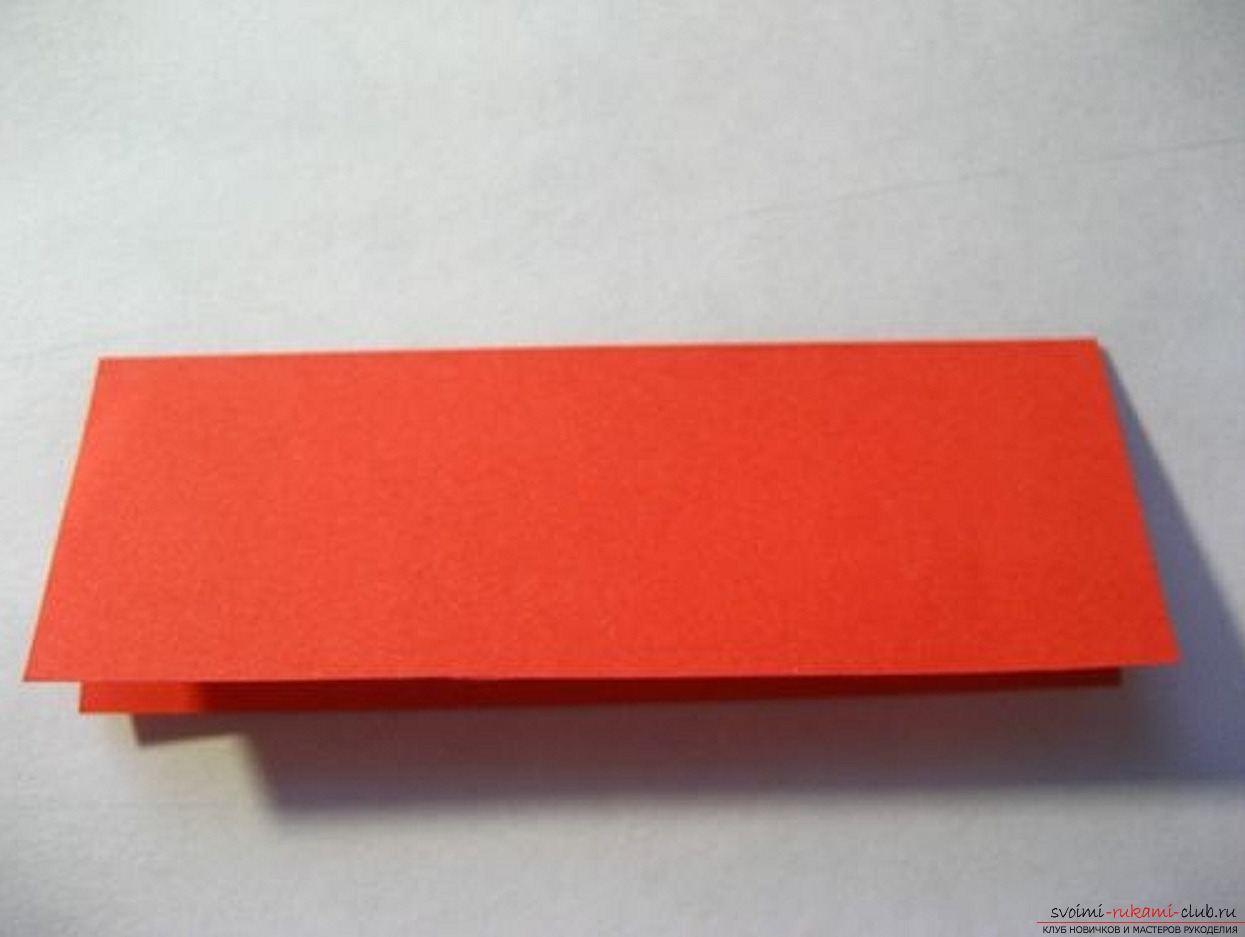 3. Once again in half and turn back. We turn the fold over to ourselves
 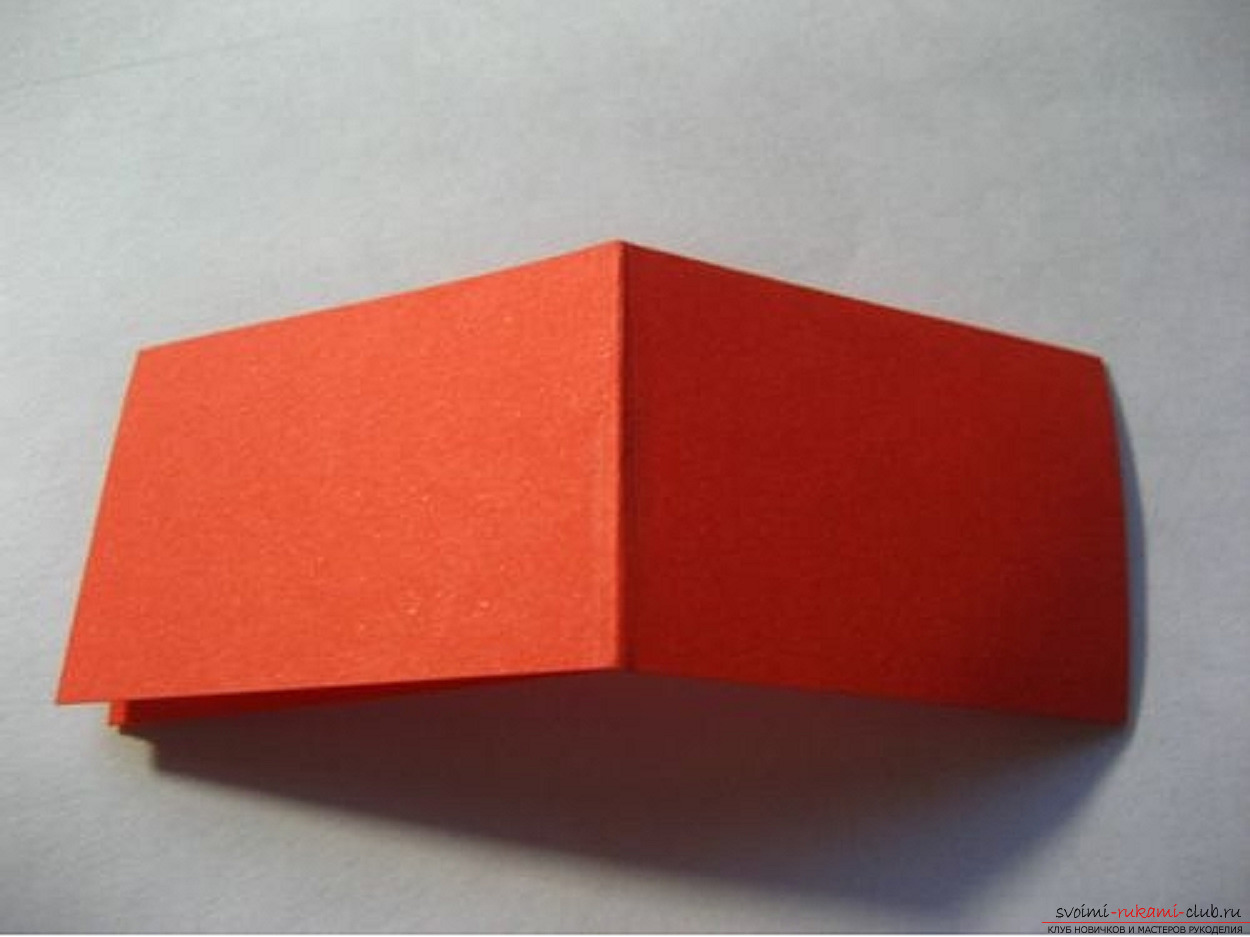 4. Follow the lines, turn the edges to the center.
 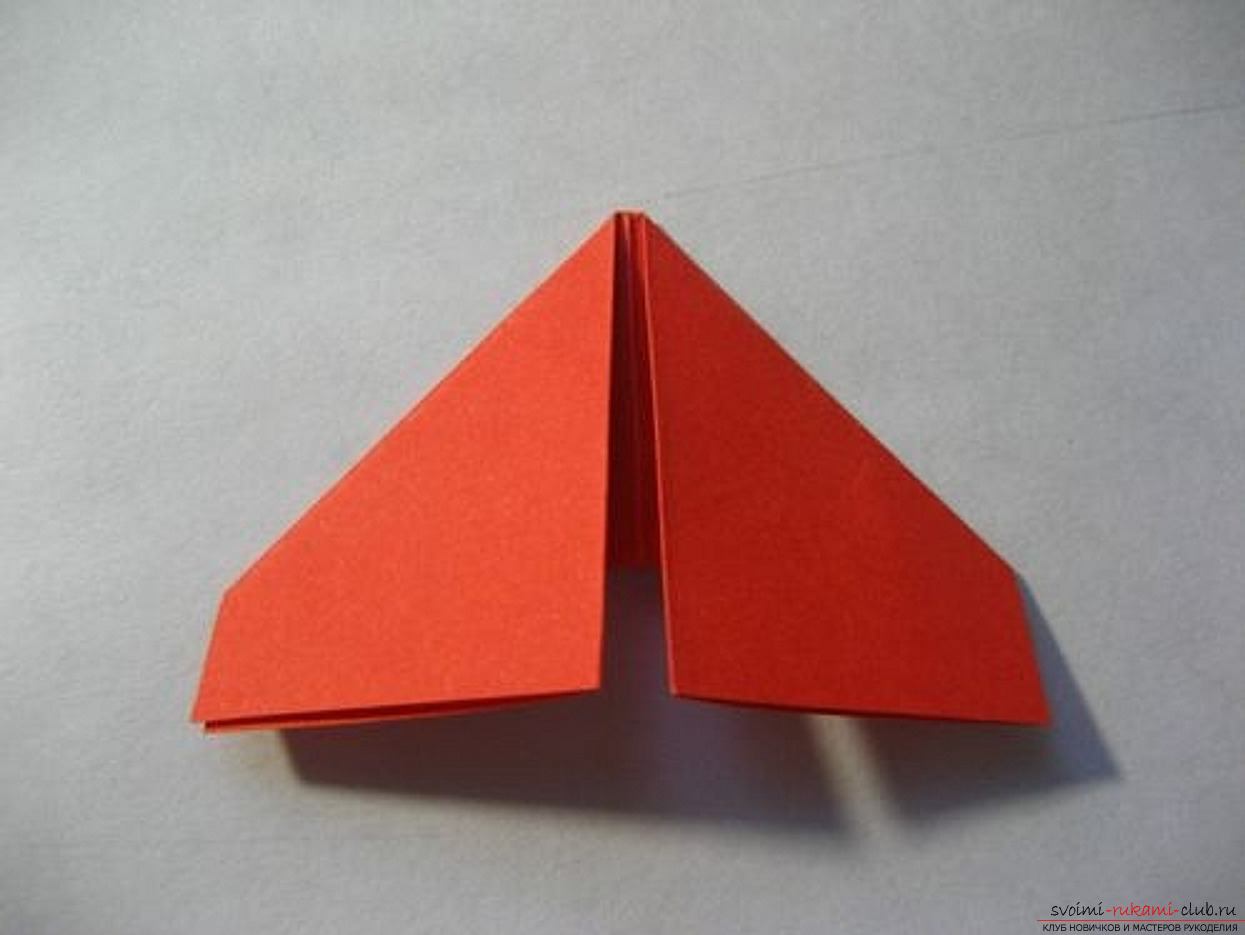 5. Turn and bend the lower lap top. In this case, the remaining corners are bent beyond the triangle.
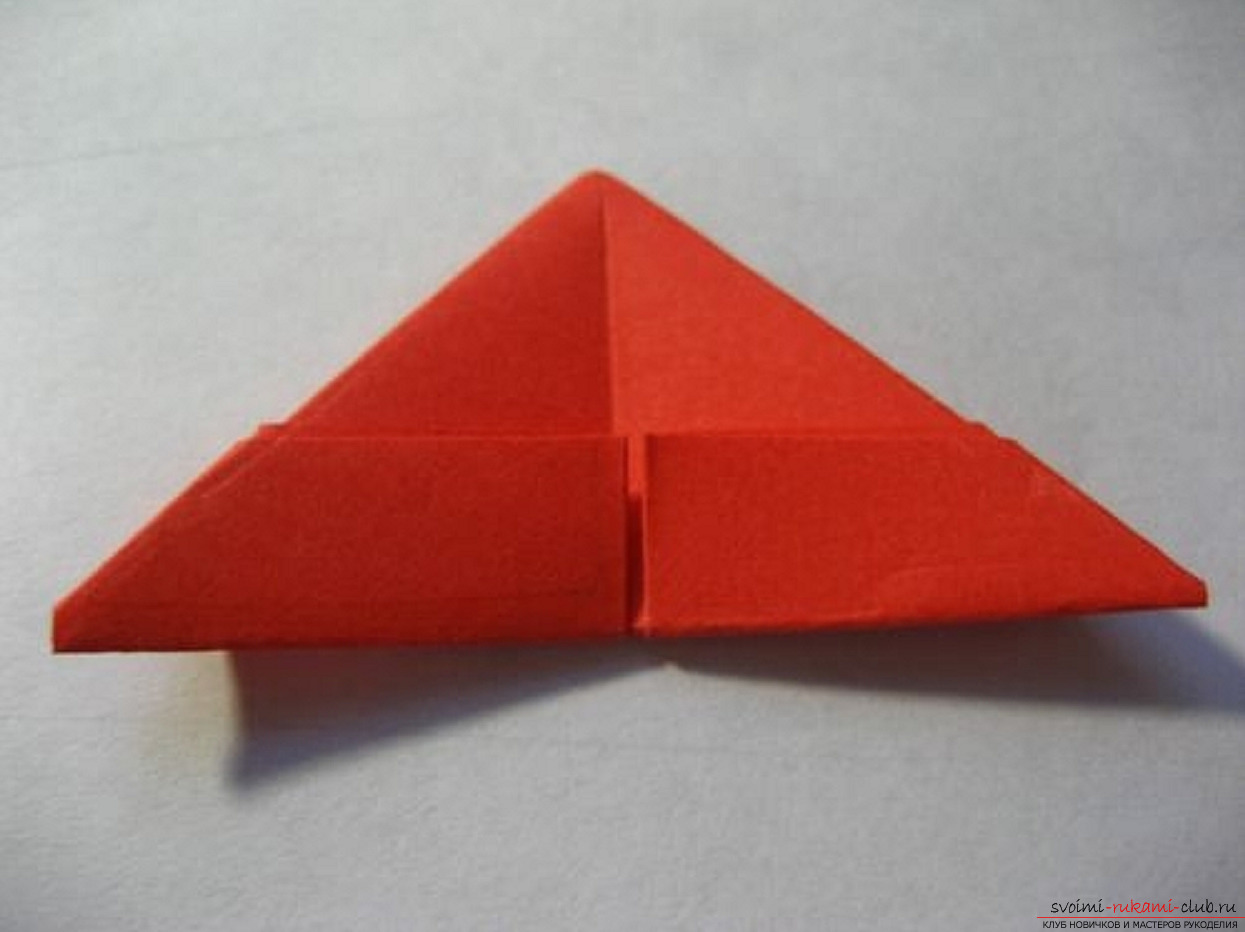 6. Unbend, folding the small triangles along the lines, and again bend the lapels upward. Fold in half.
 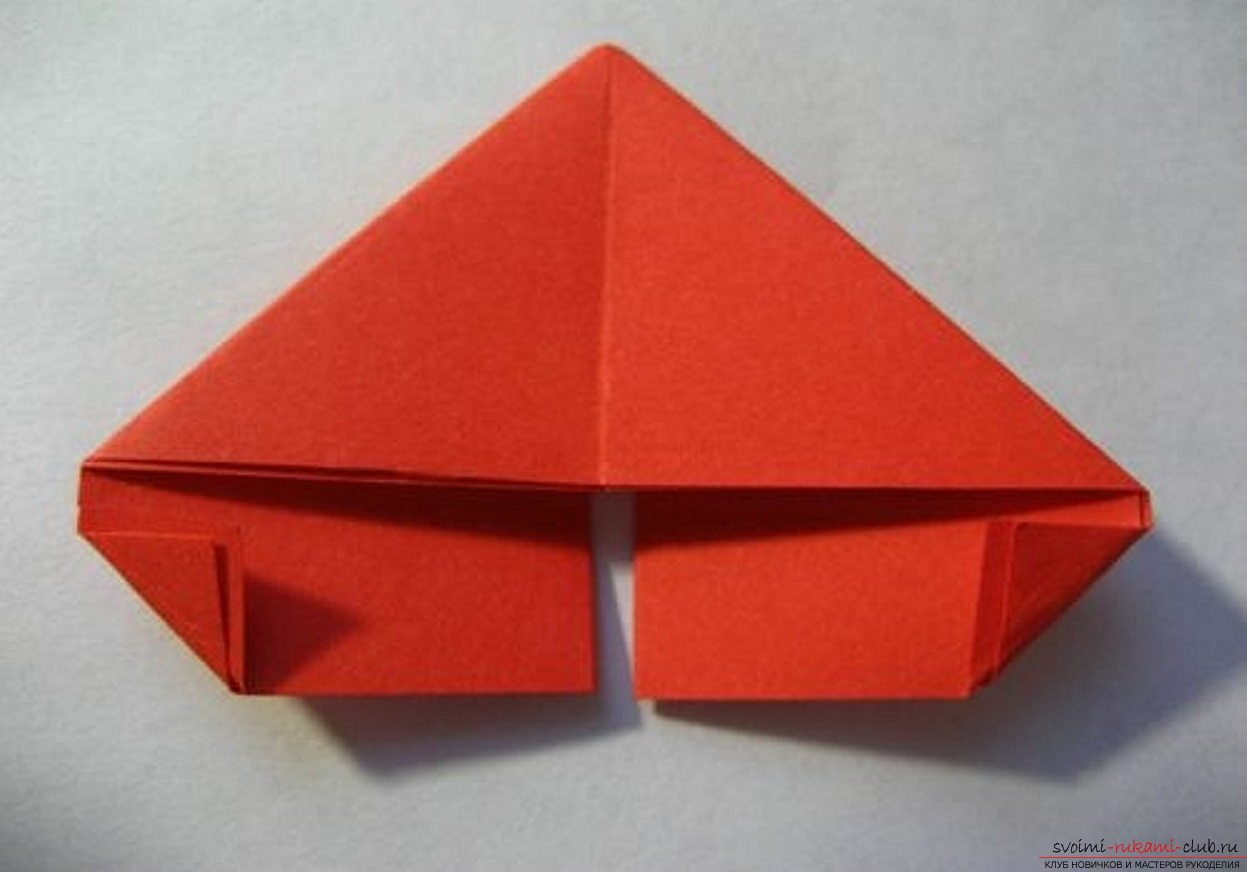 7. The module is ready.
  8. On the one hand, it has a pocket that we will need when assembling.
 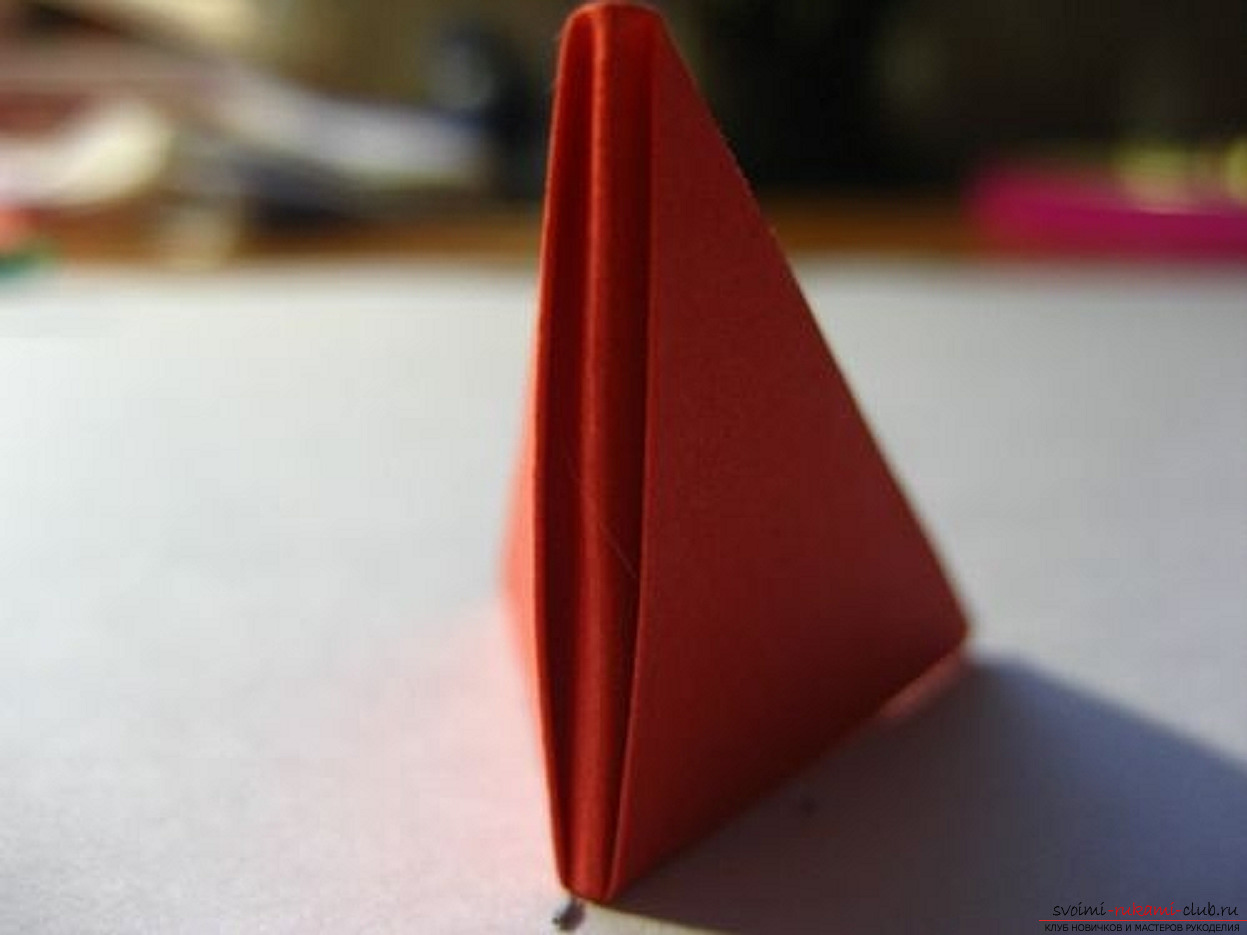 Do not be intimidated by such a long description. In fact, the module itself is collected elementary and very quickly. It is necessary to understand once, and further your hands will turn the modules by themselves. Further, what you need to know before proceeding with assembly - the module has 2 sides: Short:
 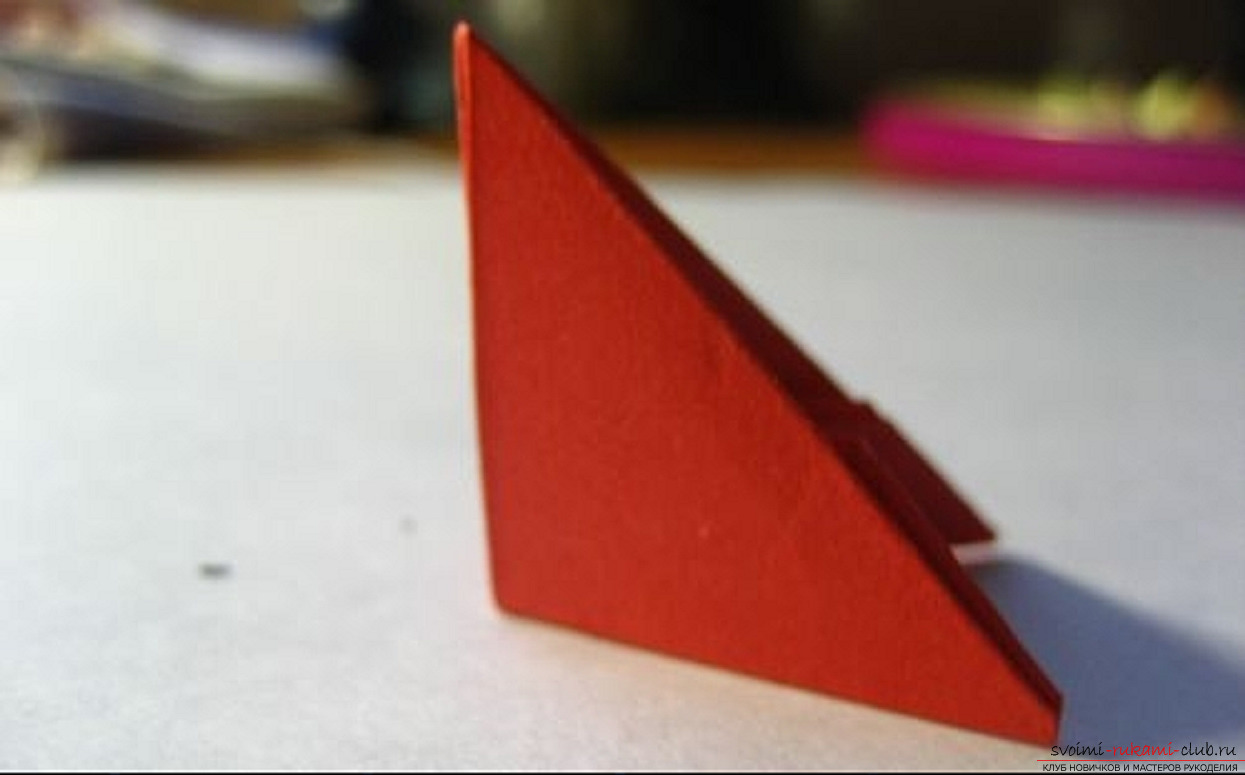 and long:
  This is important, because during the assembly we willconnect modules on the long or short side. And, at last, we pass to the very process of creation. I'll show you one simple outline from modular origami. Having mastered it, you can take on more complex models. The scheme "Camomile" first and second rows will be assembled from 20 modules of pink color. When assembling the module is put on the short side, as shown in the picture.
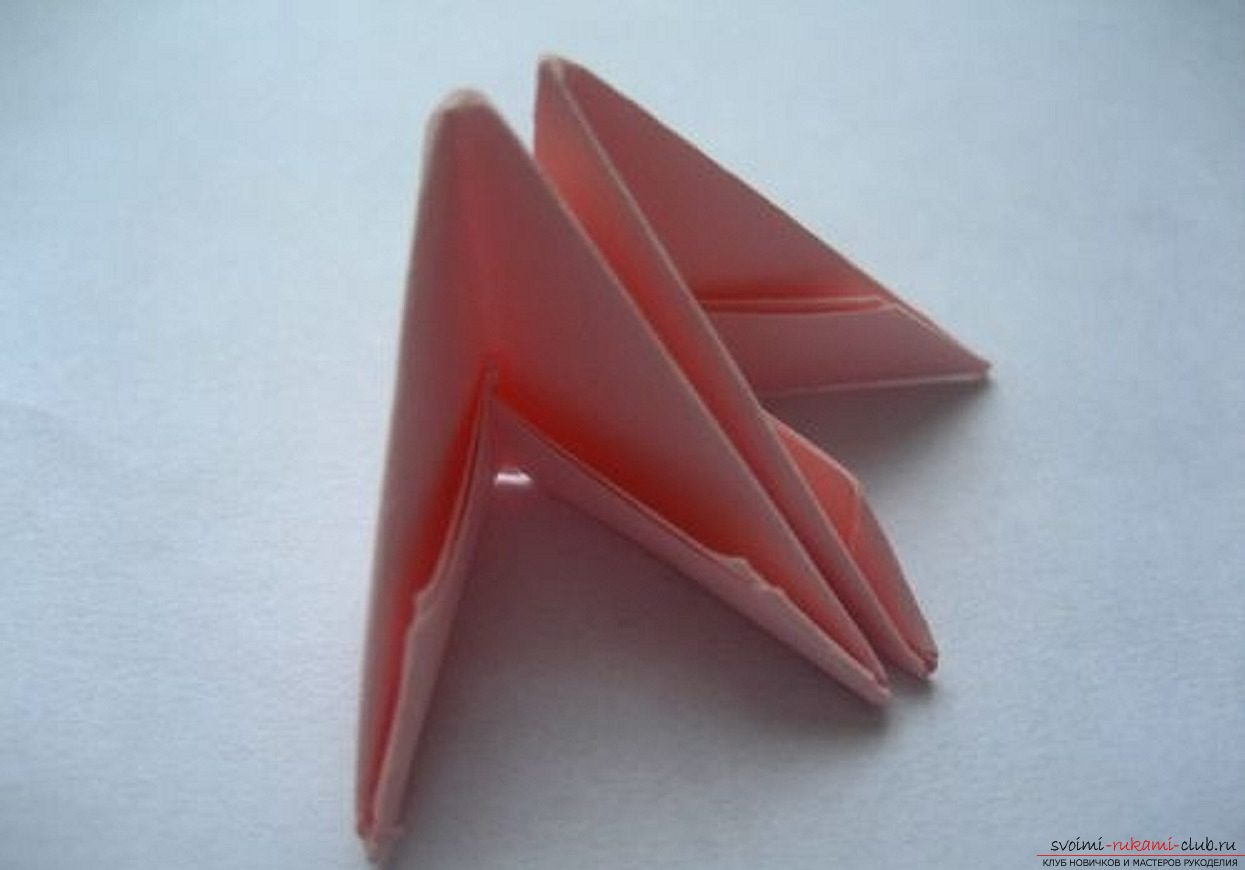

 The third row is composed of 10 yellow modules,we put the module on the long side. At this point, be careful, the tails of adjacent modules are connected. That is, we get a connection in checkerboard order.
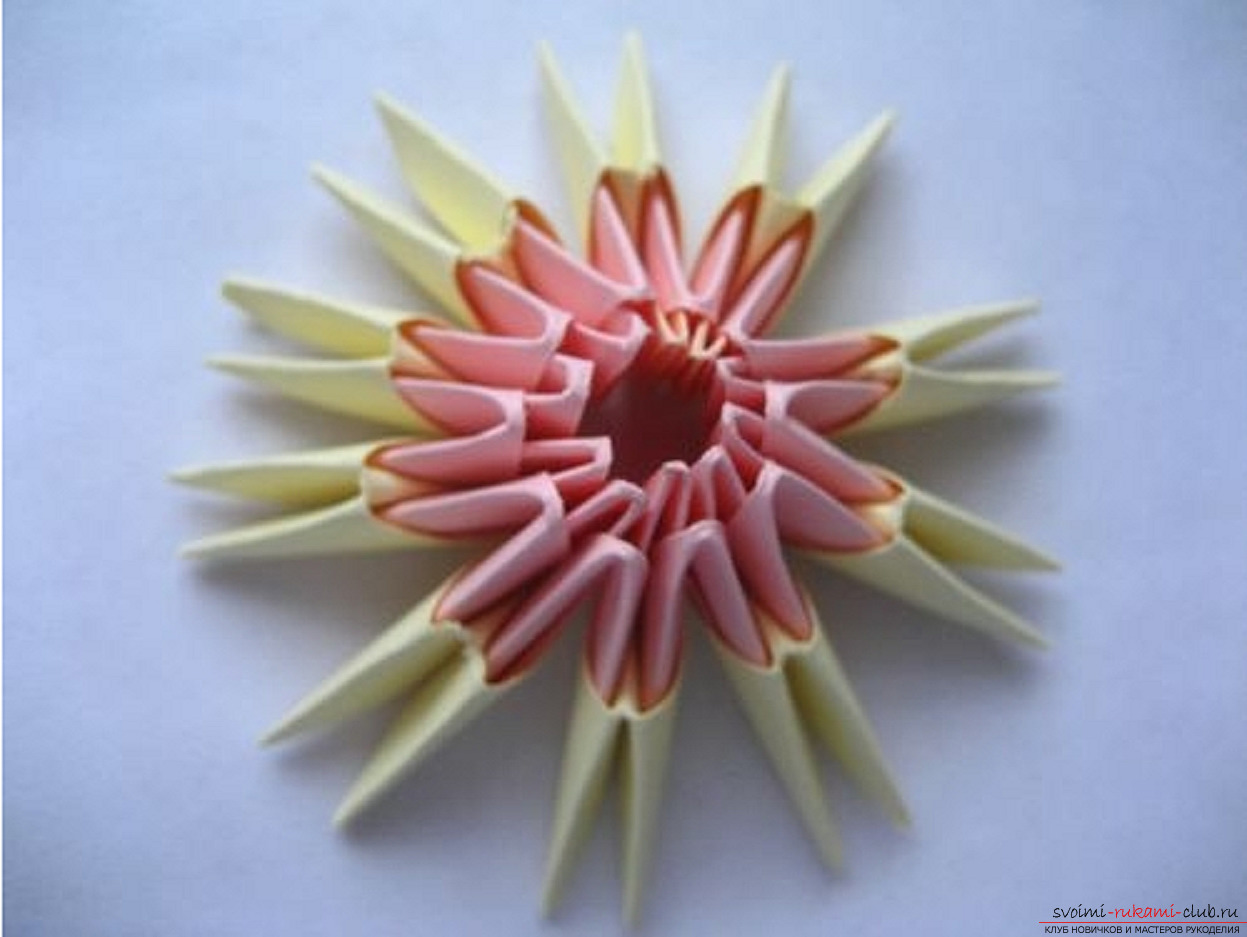 After that, turn our flower and turn the remaining rows into modules on the short side.
 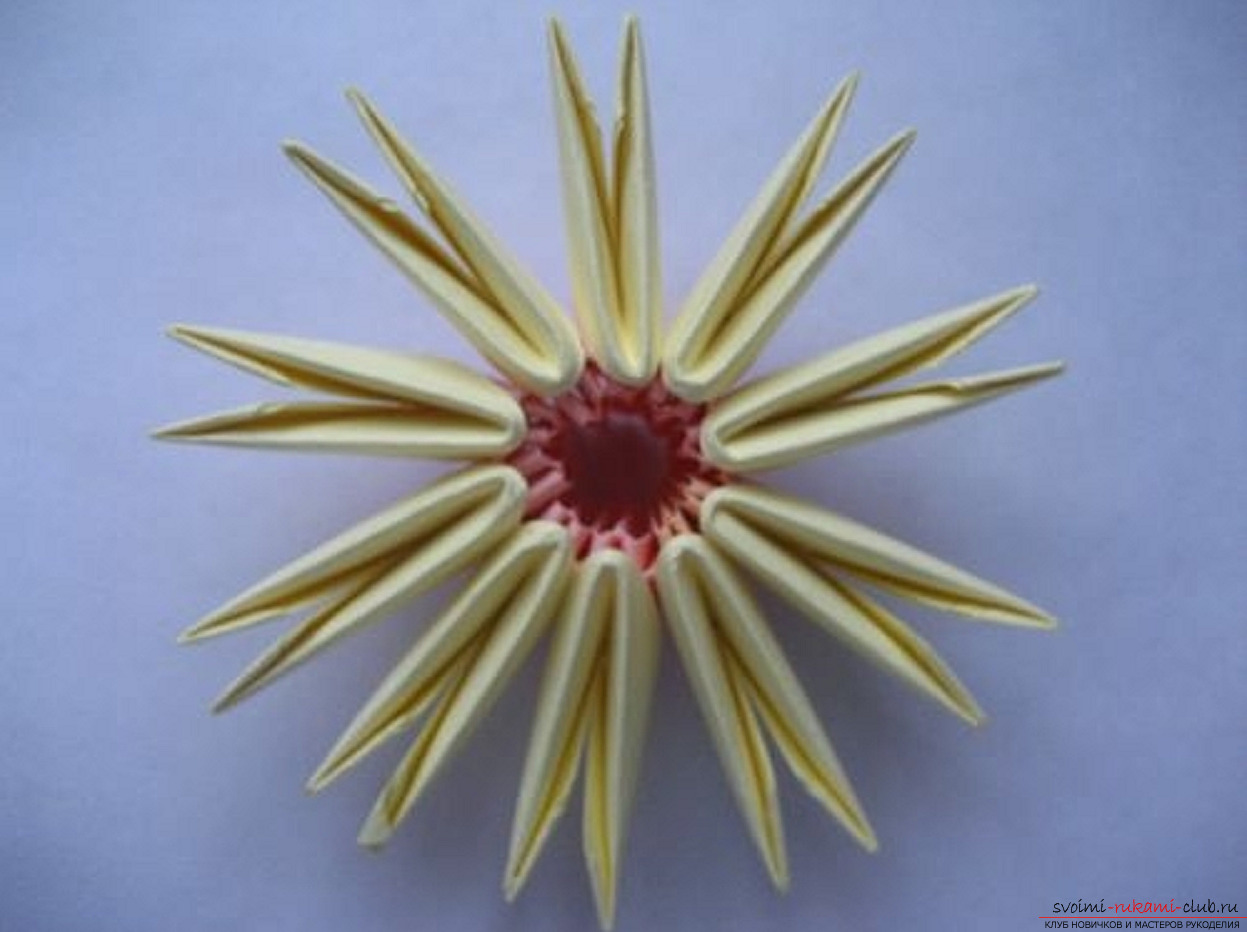 The fourth row is 10 yellow modules.
  The fifth row - for each module we dress 2 items each. The assembly takes place so that the free pocket is inside. So we need 20 white modules.
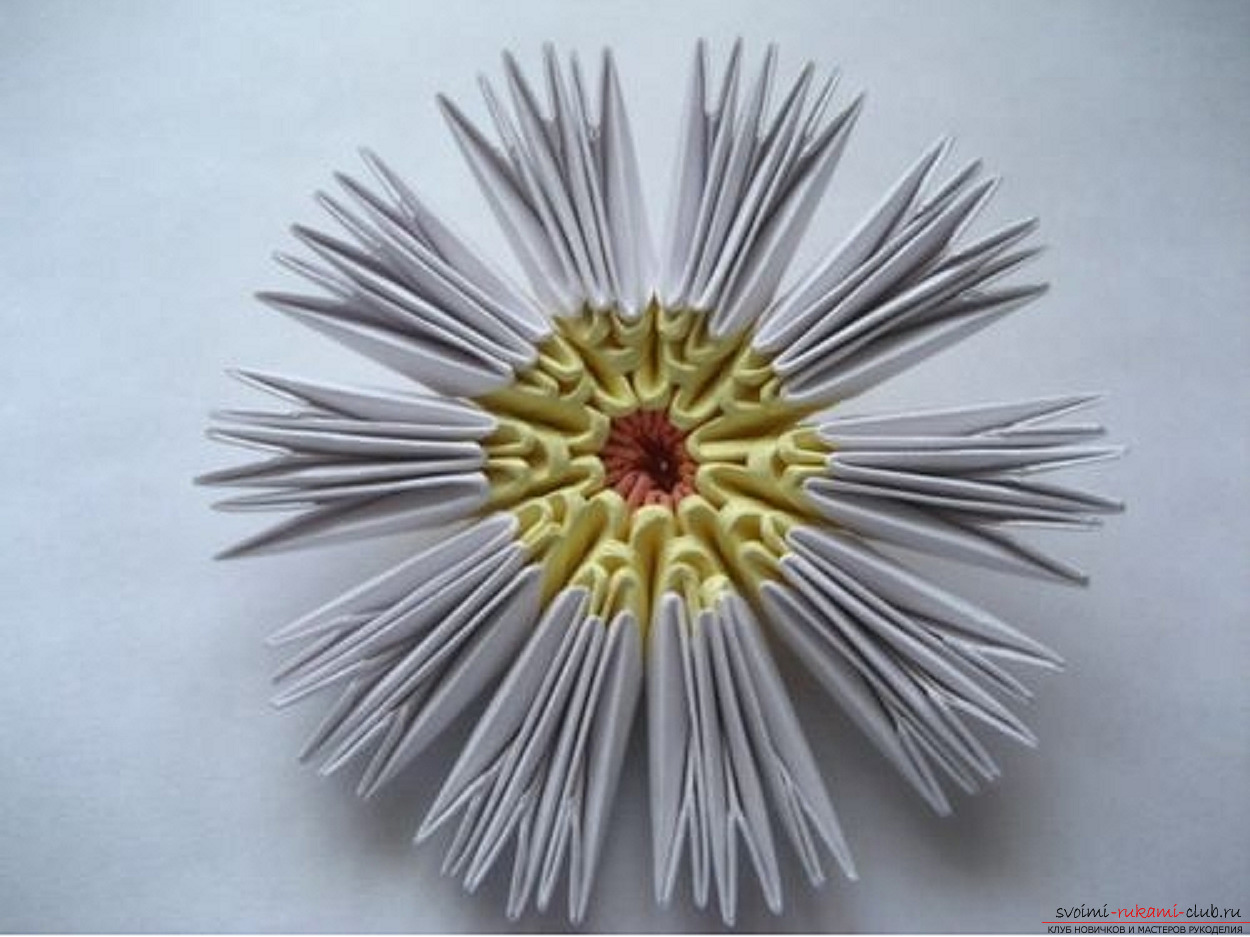
 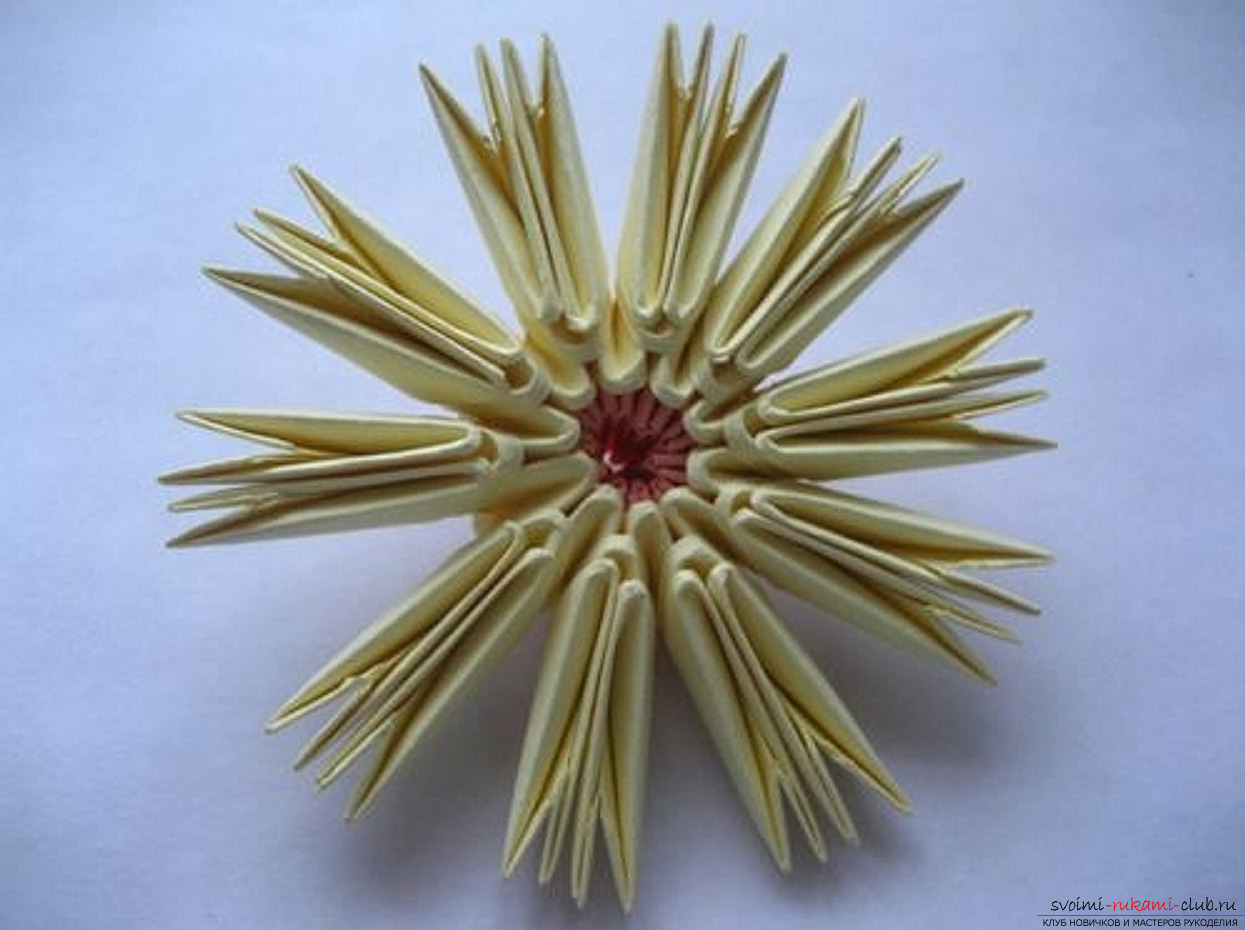 The last sixth row will consist of 30 white modules. For 2 modules we put on 3 elements, again free pockets should appear inside.
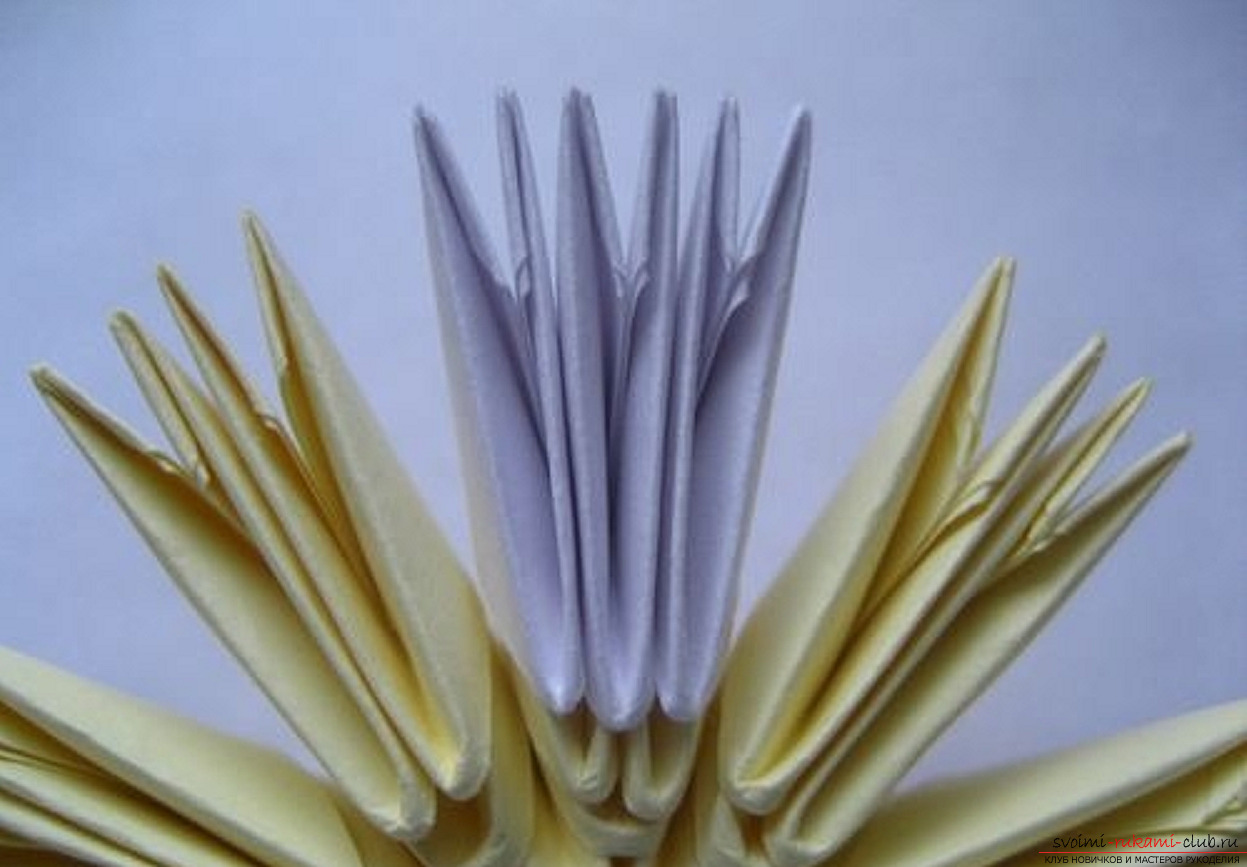
 The flower itself is ready, it remains to make the stem and leaves. For this we need a normal straw and green tape.
 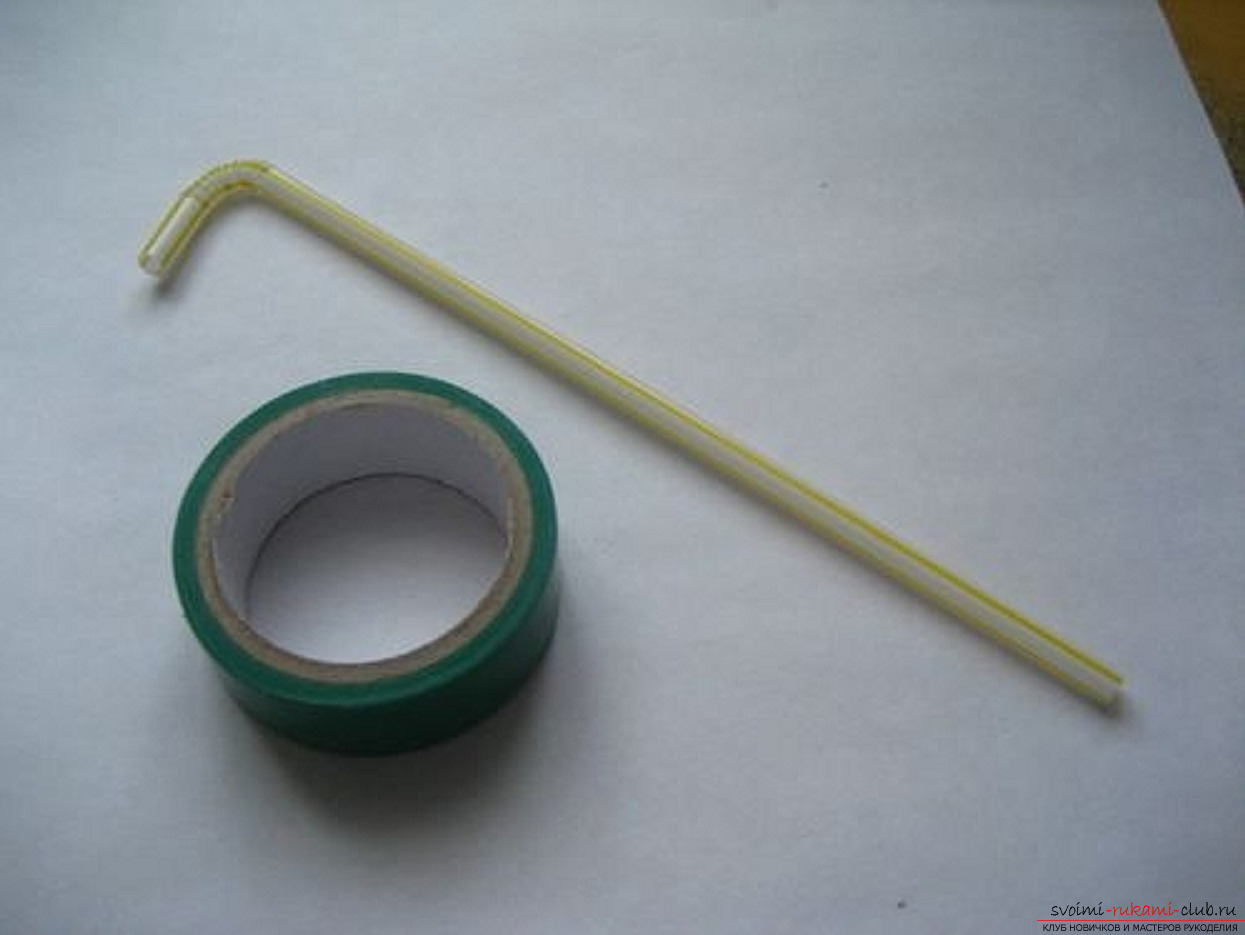 We wrap the straw with an insulating tape, make leaves fromColor paper or from all the same electrical tape. We put the stalk into the middle of the flower. To do this, we squeeze the petals of the daisy a little, and a hole for the straw is formed on the back side. It must be said that special fastening is not necessary, the stalk and so it will be fine to hold on.
 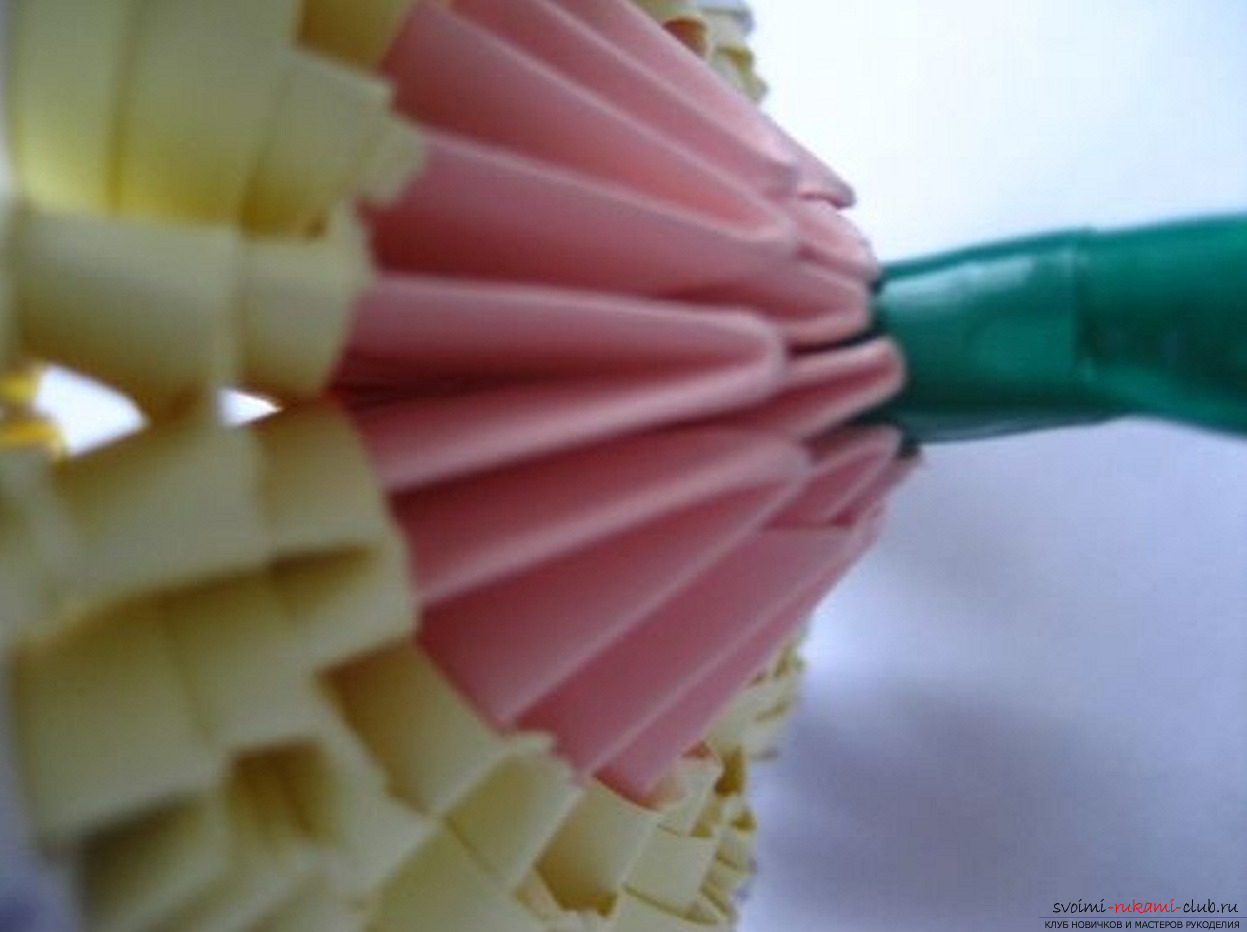 Make a few more of these chamomiles, and you will have a beautiful spring bouquet. This craft can become a good gift to friends and family.
Comments
Related posts:
 The scheme for creating a modular origami Snow Maiden from paper for beginners. Master class with photo
 The scheme for creating modular origami snowflakes from paper for beginners. Detailed master-class with photo
 The scheme for creating a modular origami swan from paper for beginners. Detailed master-class with photo
 This detailed master class with a photo and description will teach you how to make origami for beginners - origami-crow from paper.
 This detailed master-class modular origami with step-by-step photos contains a scheme for assembling birch from paper.