Diagrams of embroidery of cats with a cross, embroidery of cats with beads, free schemes of embroidery of cats
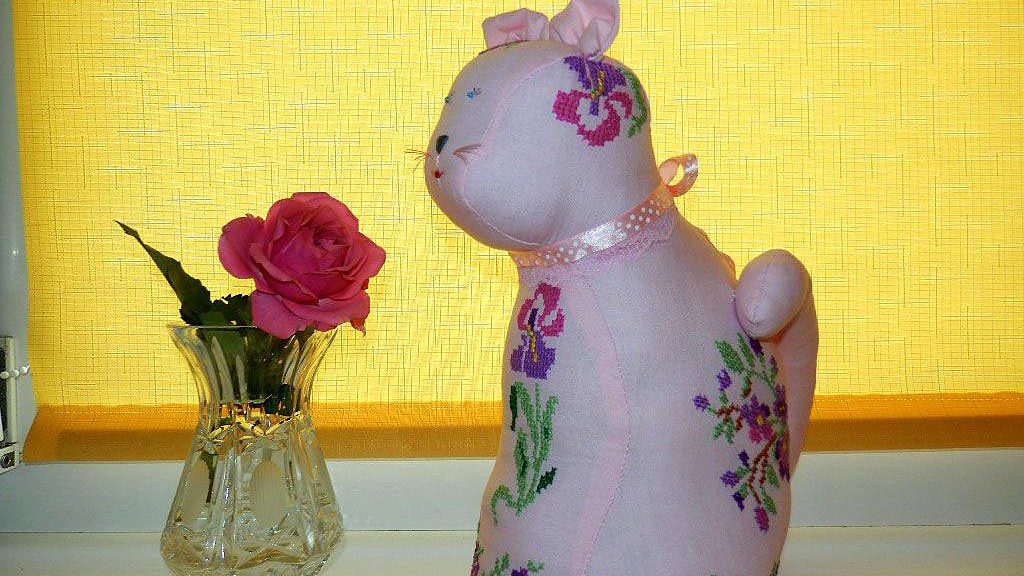
Create a fake cat with embroidery This master class will help you to create this nice cat: 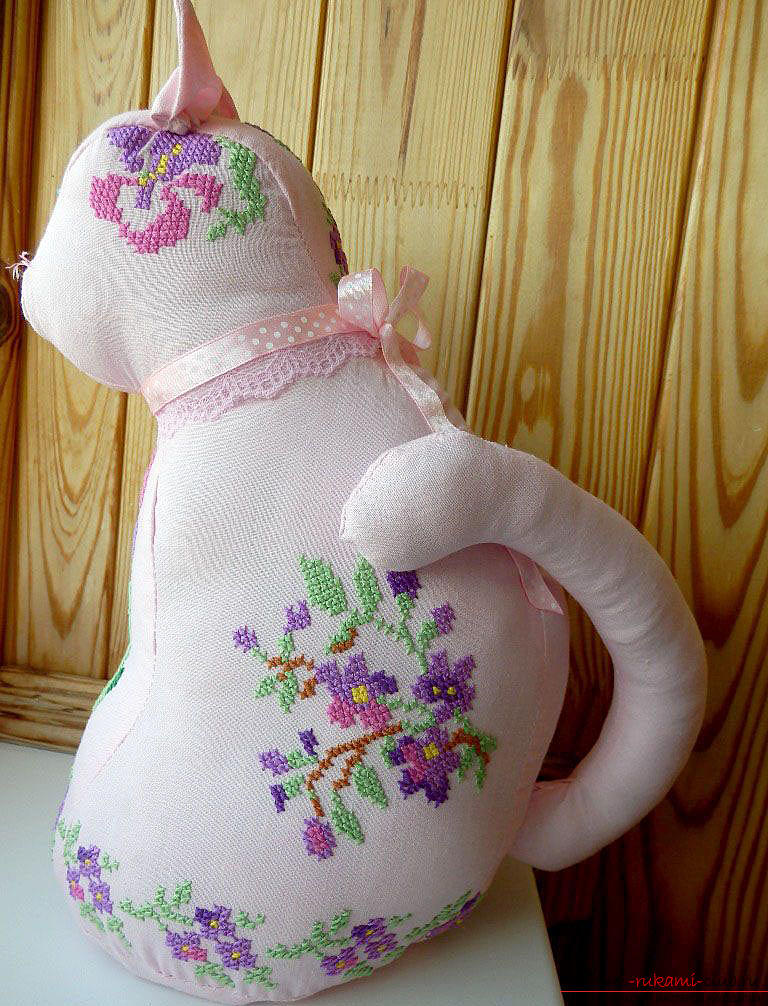 Before starting the needlework, you need to draw a drawingyour details on the fabric, only on the front side. Since in the beginning the patterns are embroidered, and then the cut-out takes place, and embroidery is certainly performed from the face. After that we make a choice of patterns and threads. We carried out the work of a cross and threads of a moulin. If you are a supporter of other techniques (beads or smoothness), you can add them to work.
 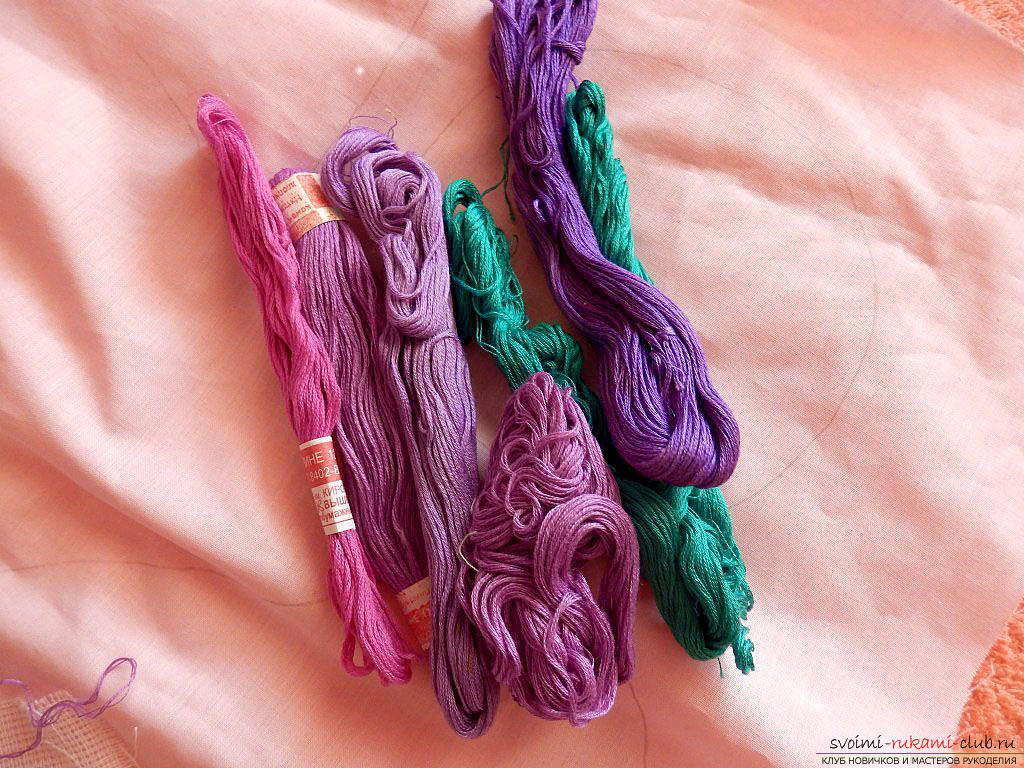 When choosing the original version of the embroidery,Please note that this scheme is for machine embroidery, not manual. However, we will create embroideries with our own hands. We advise you to use the canvas, so that the cross-stitch embroidery is neater and more elegant. To do this, we cut out a section of the desired size from the canvas. In order not to be mistaken, calculate the number of crosses on the diagram and the number of future crosses on the canvas. Then the canvas needs to be swept on the fabric from the side of the face.
 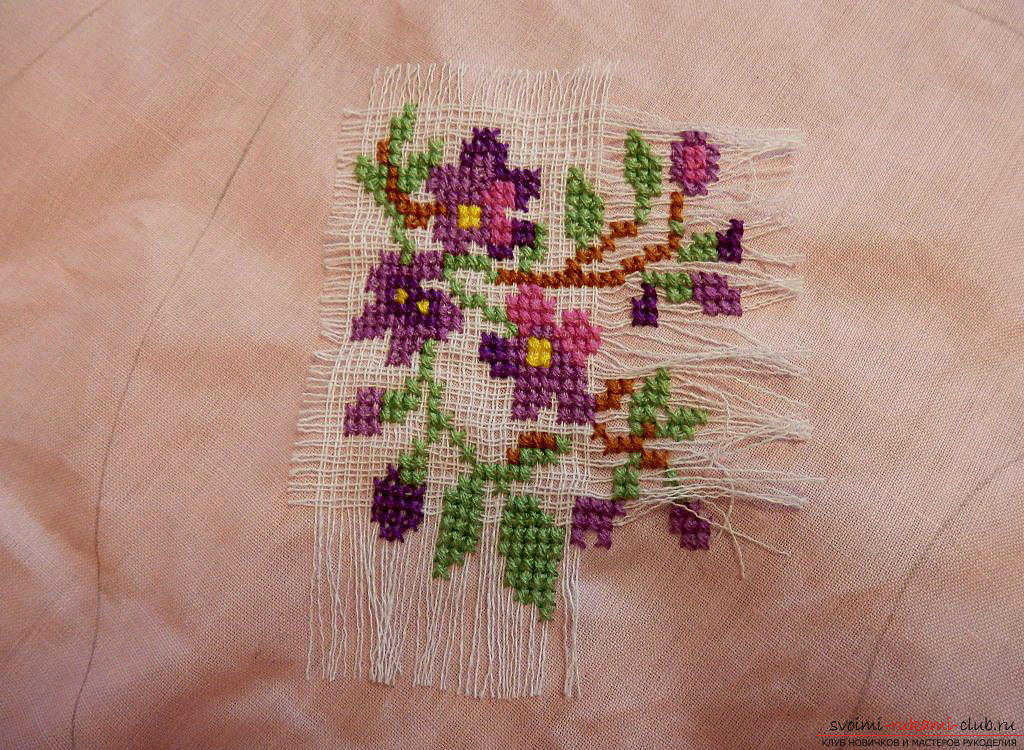 Once the embroidery is finished, the canvas must be carefully pulled out. Patterns we performed on the sides, and they are identical on both sides. Let's go to the embroidery on the head:
 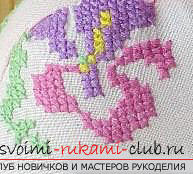 We embroider a tummy.
 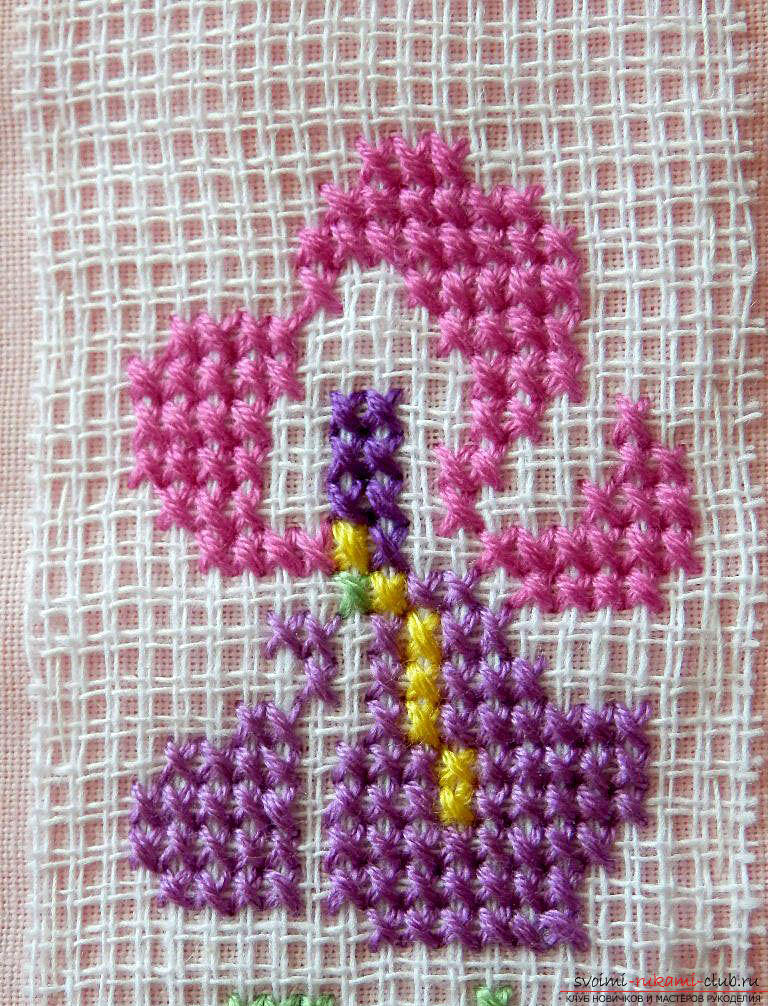 Try to embroider the pattern in such a way that the pattern remains as complete as possible and without bright color jumps.
 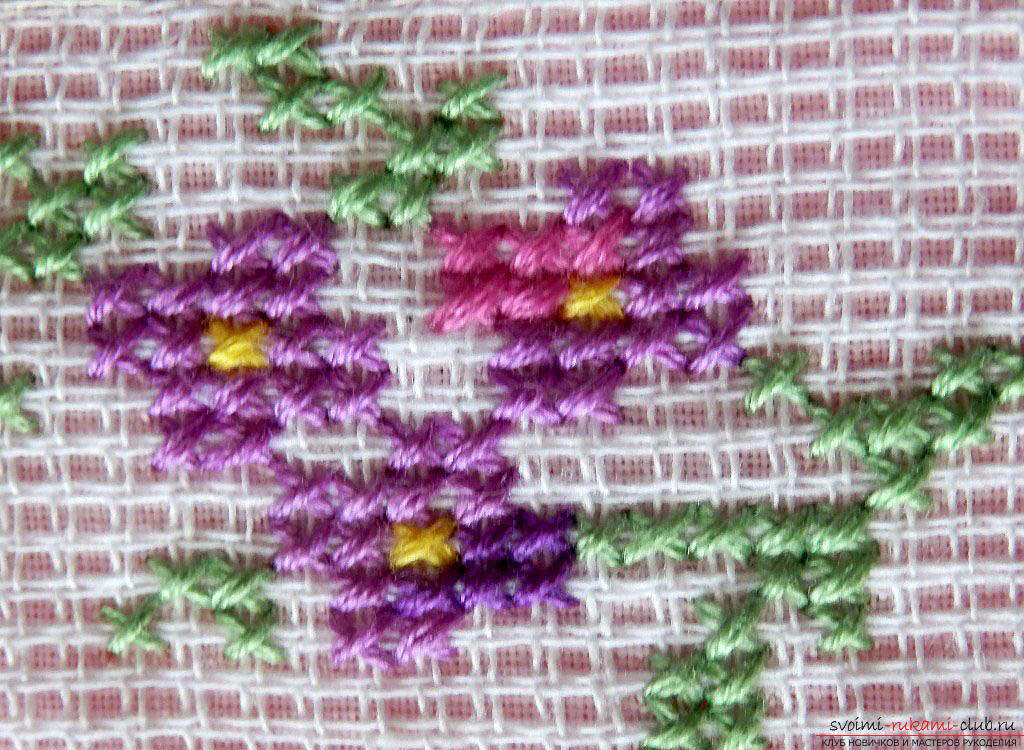 Having finished embroidering all the parts, we begin to sewcat. You can do this manually or with the help of a typewriter. If the product seems too big and you will be tempted to sew all the elements with the overlock, make sure that you have enough experience for this, otherwise there will be difficulties. We recommend to sew the complex elements manually. After that, we turn the cat out. If you decide to wash an embroidered cat, for example, to clean the fabric from a pencil, first wash the threads of a floss with a patch of white cloth. Thanks to this you will find out whether you are shedding the threads you selected or not. Next, fill all the elements and stitch.
 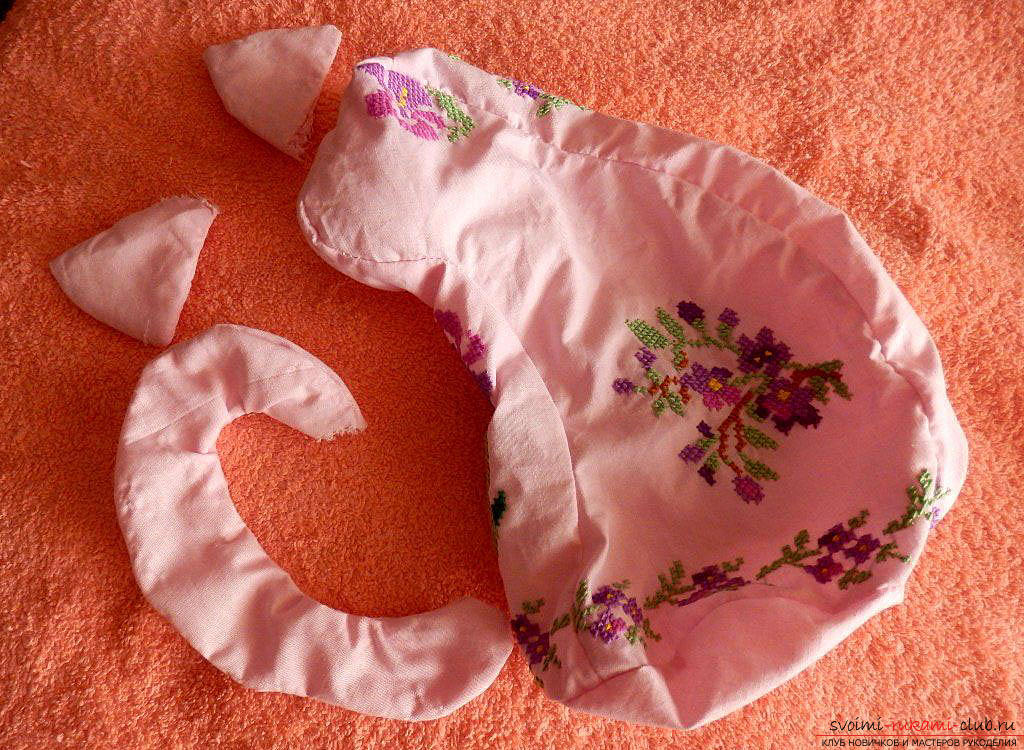 If after packing, the product has not exactly the sameThe form on which you counted, sew it in the field of a back and a neck. Ears can turn out a little big, so they can not be stuffed. If any flaws are found, you can try to close them with tape or lace. To keep the cat on the surface as flat as possible, it is worth investing in it a circle of cardboard before stitching. The resulting product should look something like this:
 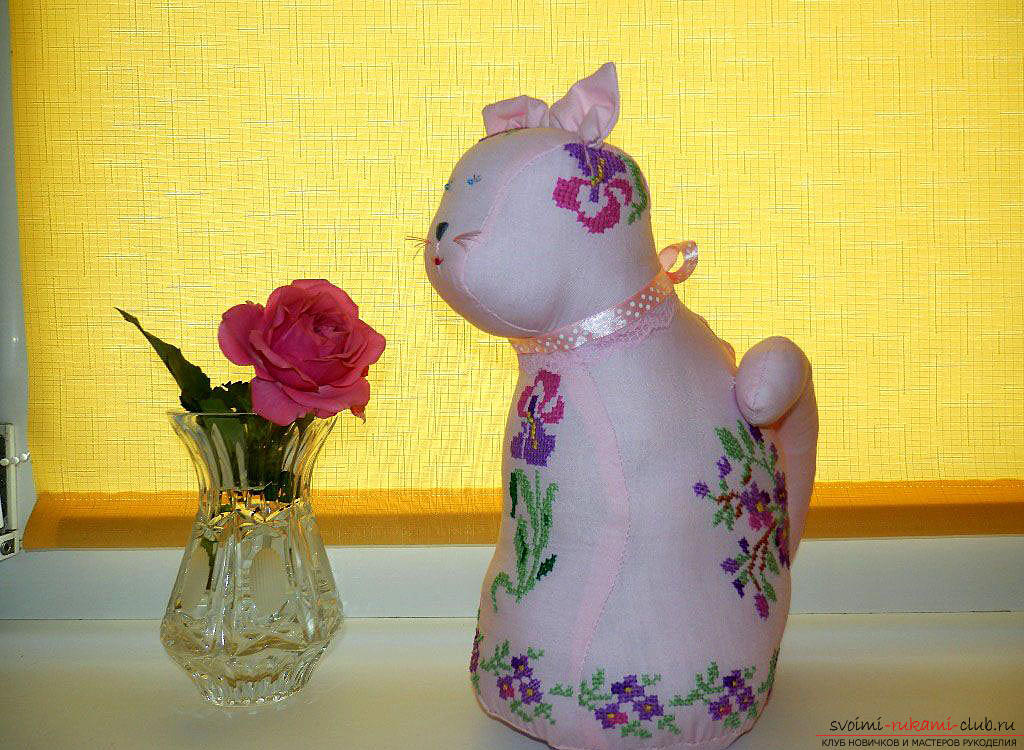 And remember that every needlewoman cat with embroidery will turn out to be unique!
Comments
Related posts:
 Diagrams of embroidery of cats with a cross, embroidery of cats by smoothness, free schemes of embroidery of cats
 Lessons of cross-stitch embroidery, cross-stitch for beginners free of charge, cross-stitch patterns, free cross-stitch patterns
 Cross-stitch embroidery designs for embroideries, cross-stitch embroidery on roses, free cross-stitch patterns for embroideries, a masterclass for embroidering pillows with roses according to the scheme
 Embroidery schemes for decorative pillows with a cross, embroidery of decorative cushions, smooth embroidery, embroidering pillows with beads, embroidering pillows with ribbons, free embroidery schemes for pillows
 Cross-stitch embroidery designs for embroideries, butterfly embroidery, free cross-stitch patterns for embroideries, a master-class for embroidering pillows according to the scheme