
A lesson on Kansas technique for beginners, creating flowers with sharp petals with their own hands
The unique technique of Kansas is to my likingmany skilled workers. Works in this technique are famous not only for their beauty, but also for their refinement, because the combination of different forms of petals and matter of more than one tone allows creating many ornaments: hair clips, hair bands, rims and even brooches and garters. In this technique, everyone will find a decent decoration for themselves. You can watch a video about creating a flower with sharp petals in Kansas technique. The main petals of Kansas are a round shape and an acute outline. In this master class, it is demonstrated in detail how to make a Kansas petal of an acute species. Multilayered elements in which bands of two or more kinds are combined are usually also created by the type of sharp petals, so it will be learned how to make these details very important. From the sharp petals it is possible to form an inflorescence not in one layer, but in several, combining contrasting hues. As a result, you will get a cute flower, the petals of which diverge sharp angles, like an asterisk. Demonstrated flower is suitable for decorating the hair of a girl of any age.  To create a flower from sharp petals you will need:
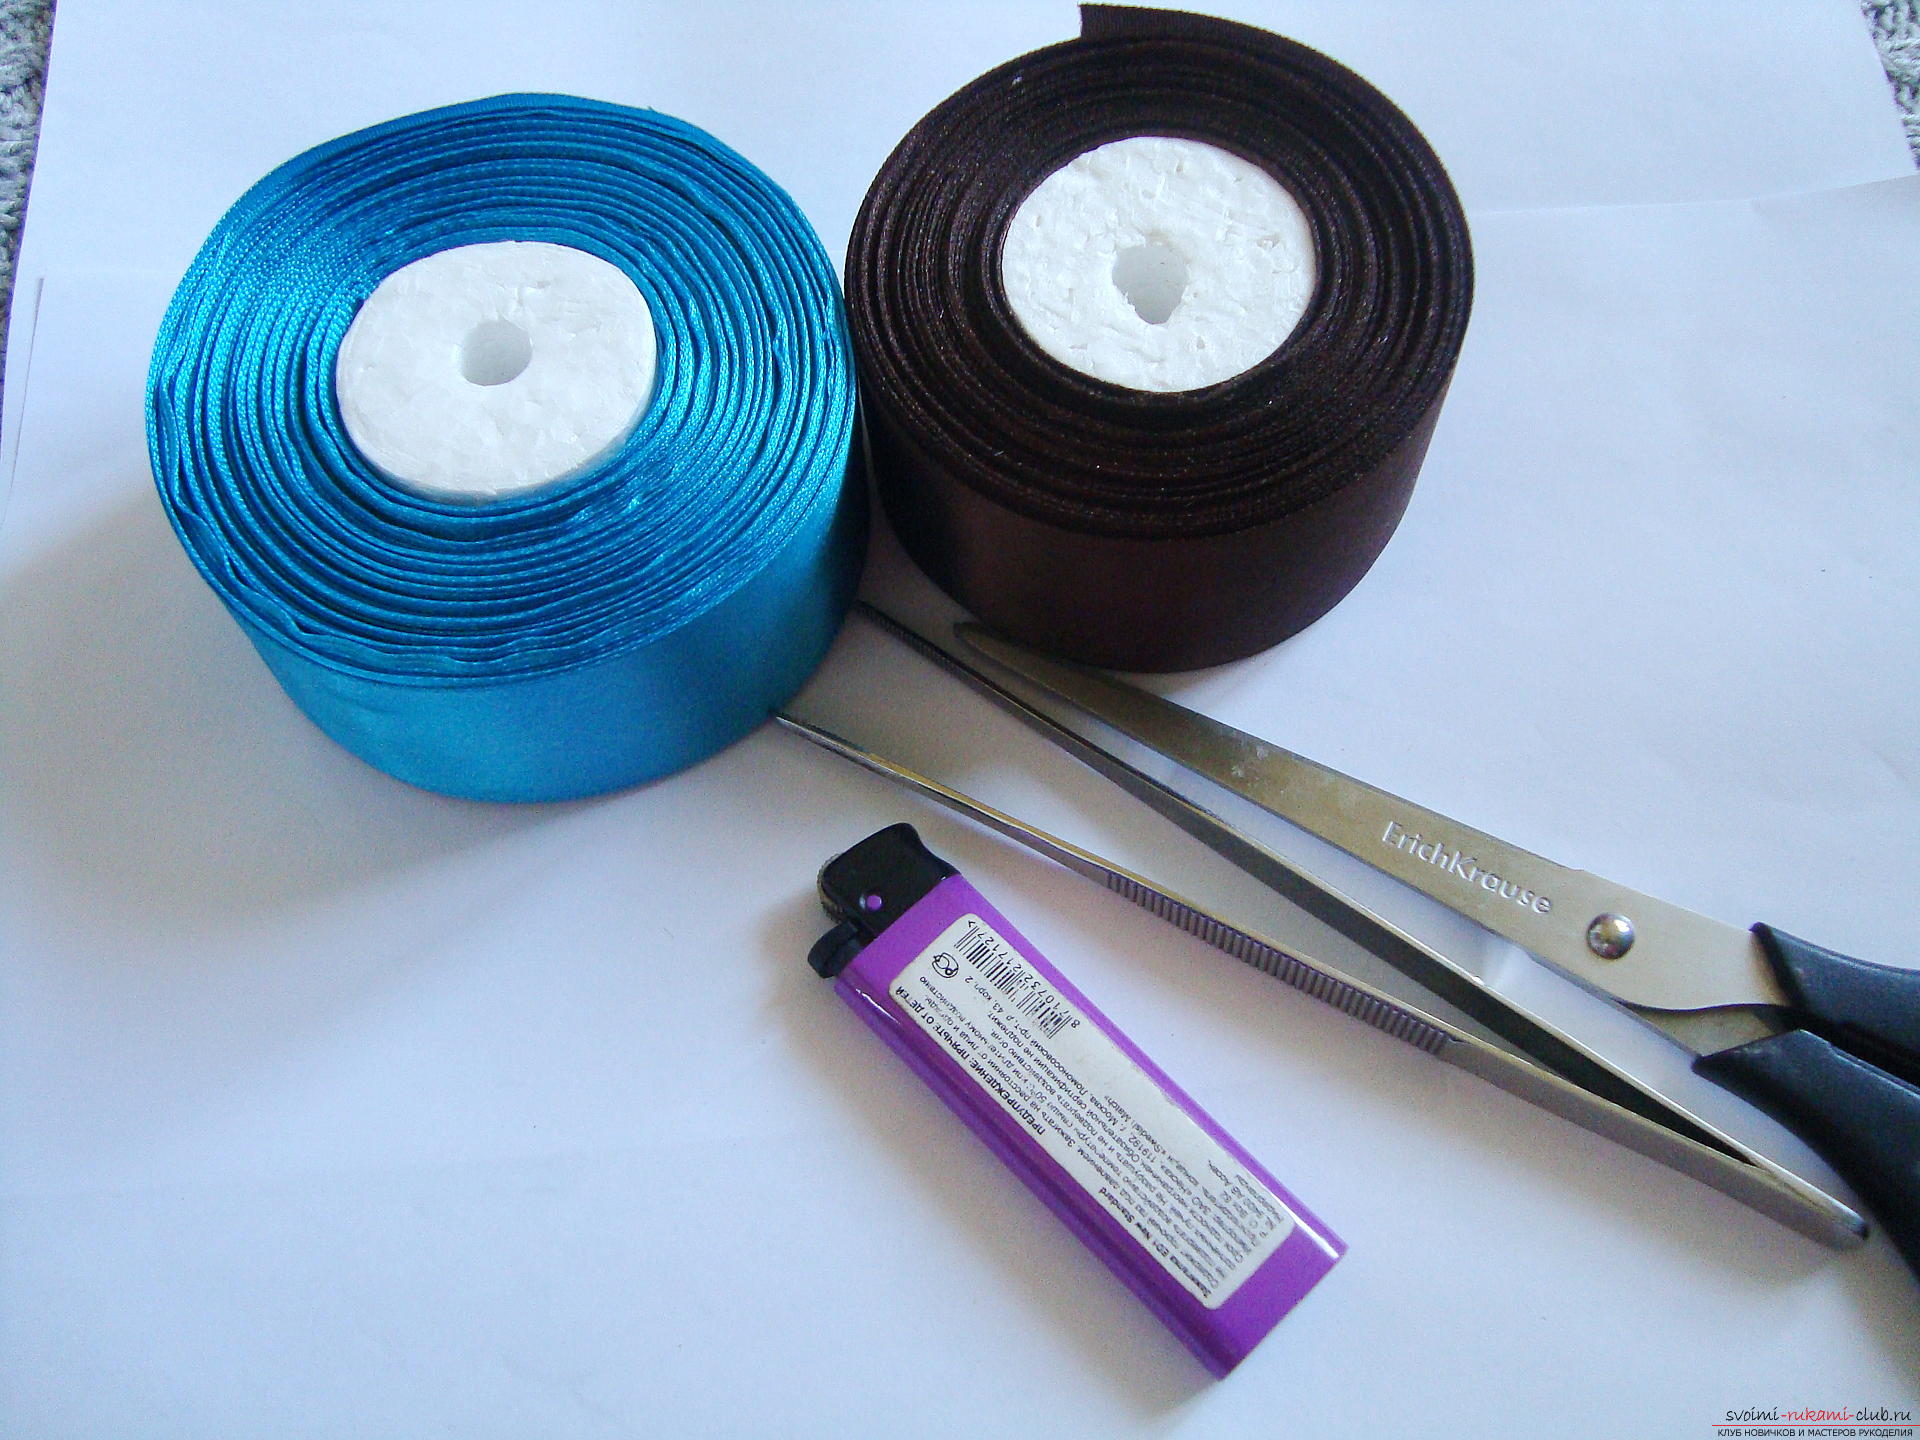
 At the first stage, allnecessary and begin to divide the tape into square blanks. The size of the square is determined by the width of the braid, that is, the ribbon has a width of 4 cm, and the length of the cuts will be 4 cm. It is important to lightly sing over the flame of the cutting line, otherwise the atlas will quickly begin to crumble and it will not be convenient to learn how to form sharp petals. The shape of the flower is determined by five petals of the same color and five elements from another atlas, so prepare 5 squares of each color.
 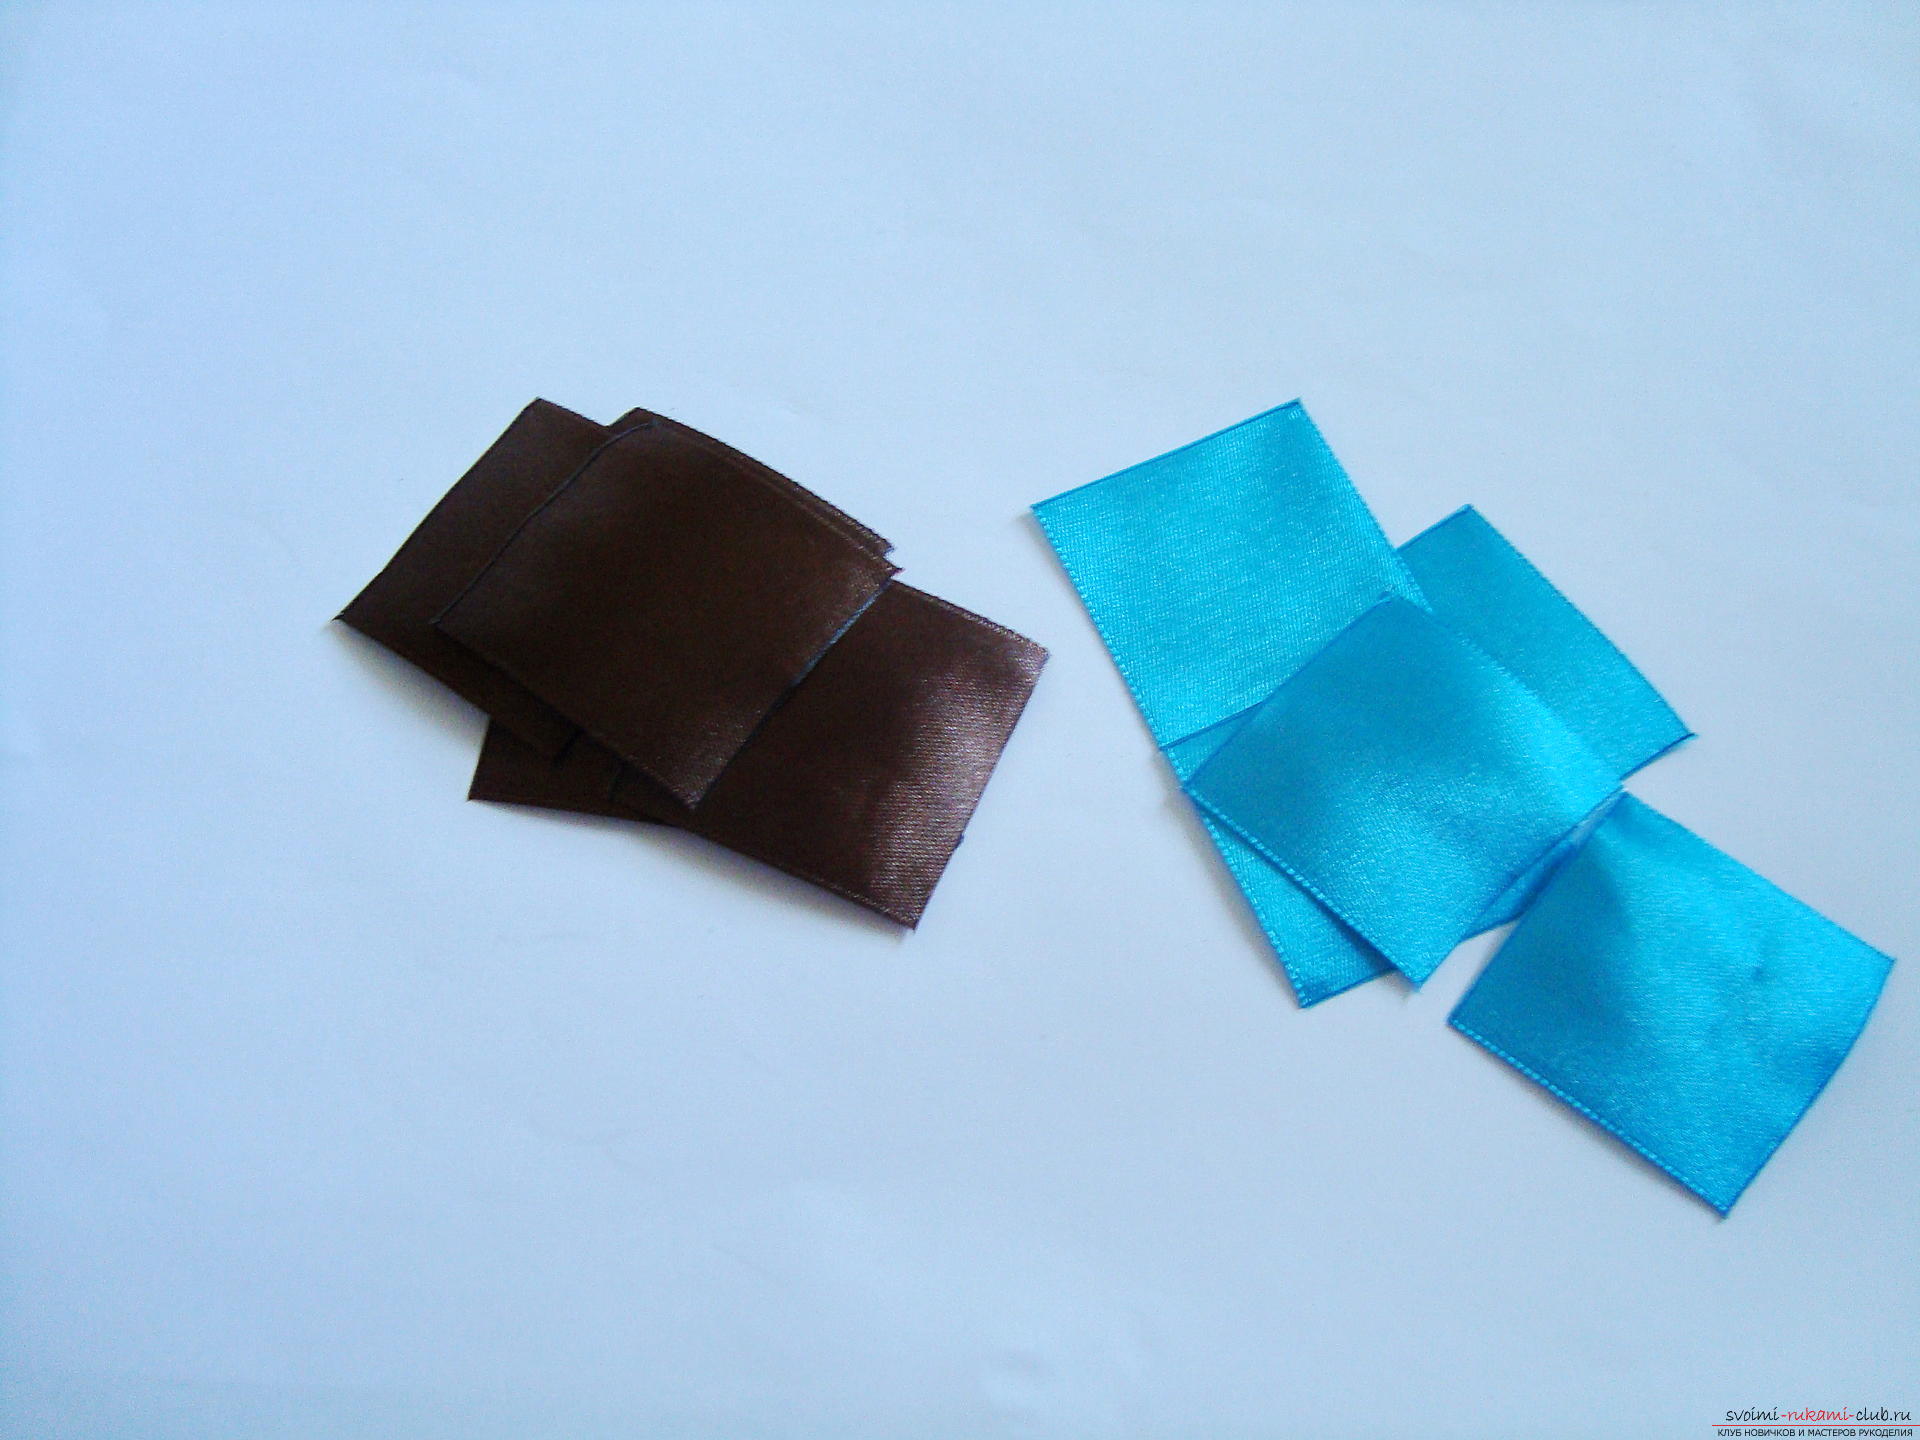 Now proceed to create the petals. To do this, it is necessary to bend the squares several times, the first fold passes along a diagonal line, from one corner to the other.
 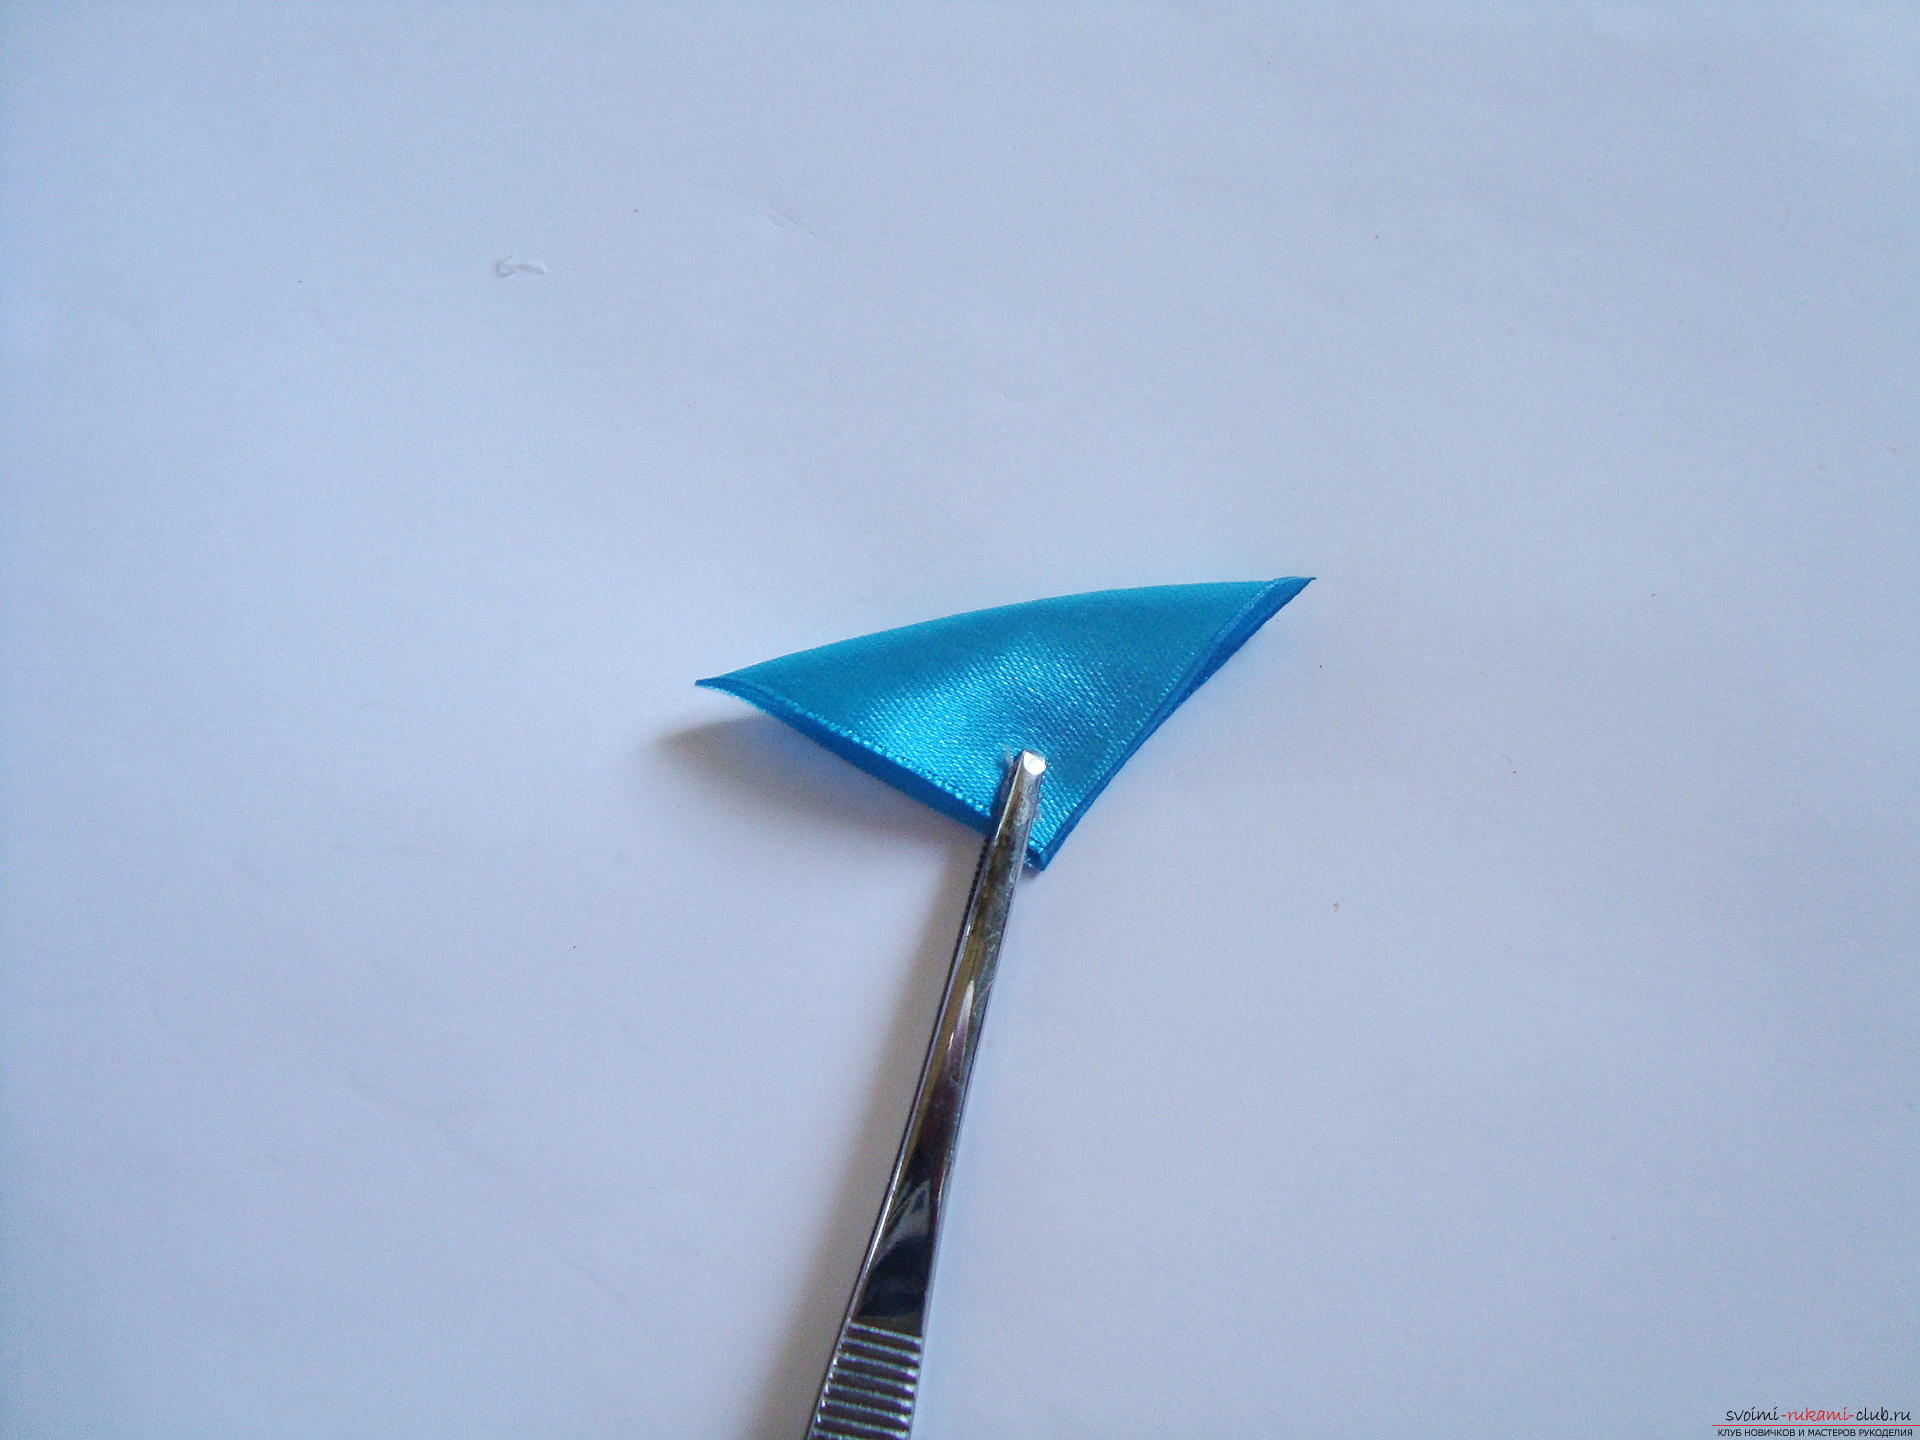 The second bend runs along the center of the part and divides the right angle in half, the line connects the center of the hypotenuse of the triangle and using a second crease creates a triangle in four layers.
 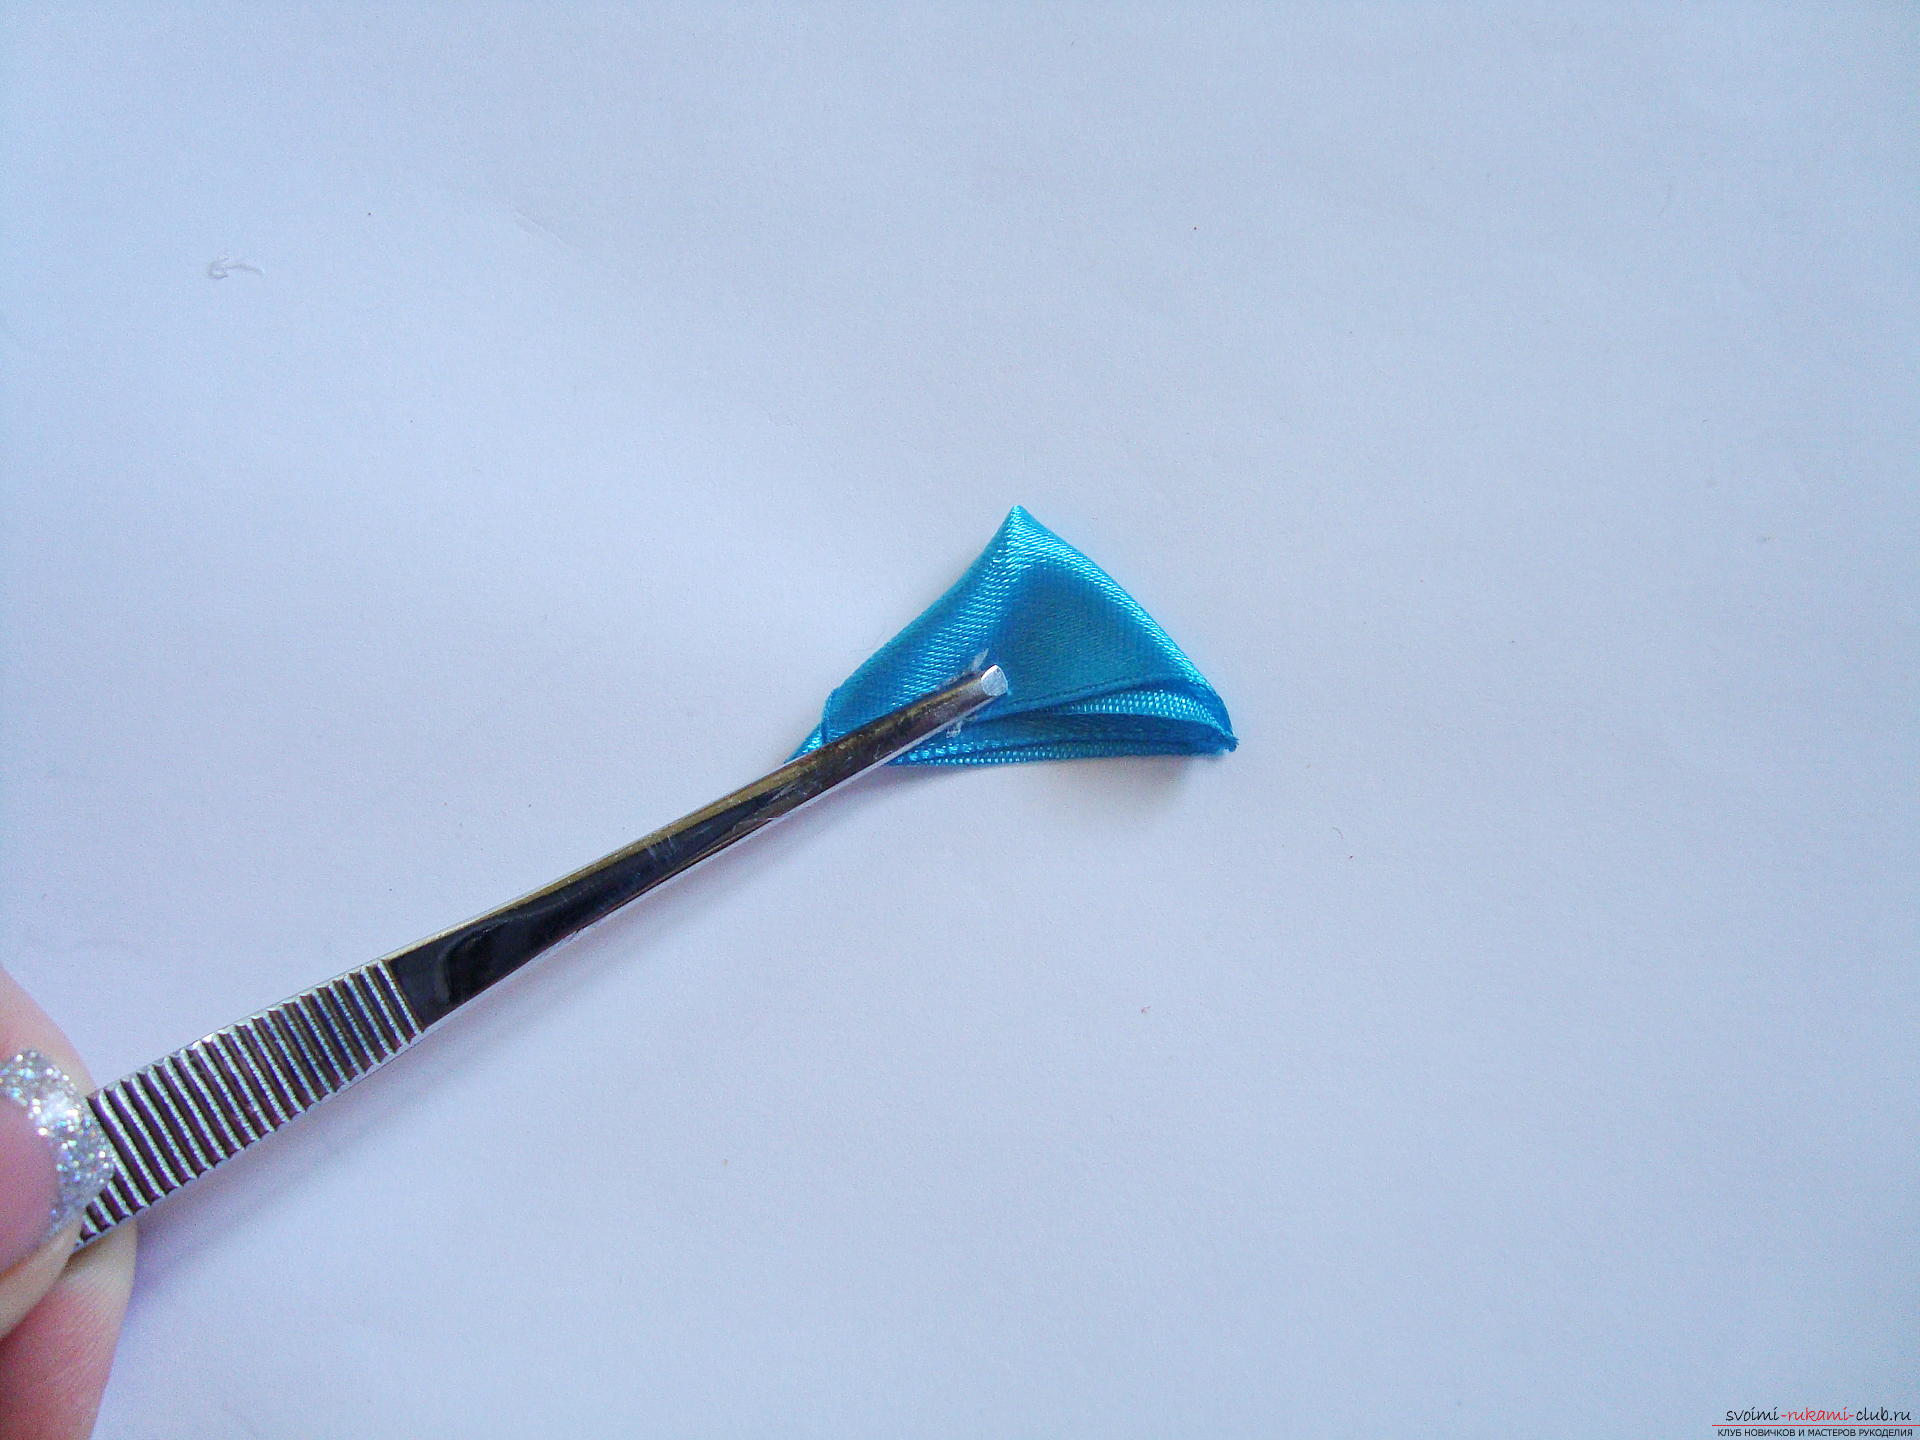 Now create the final bend, it runs along the line from the middle of the corner strictly to the center of the opposite edge. If you bend the element smoothly, the last line will determine the appearance of the beautiful sharp petal.
 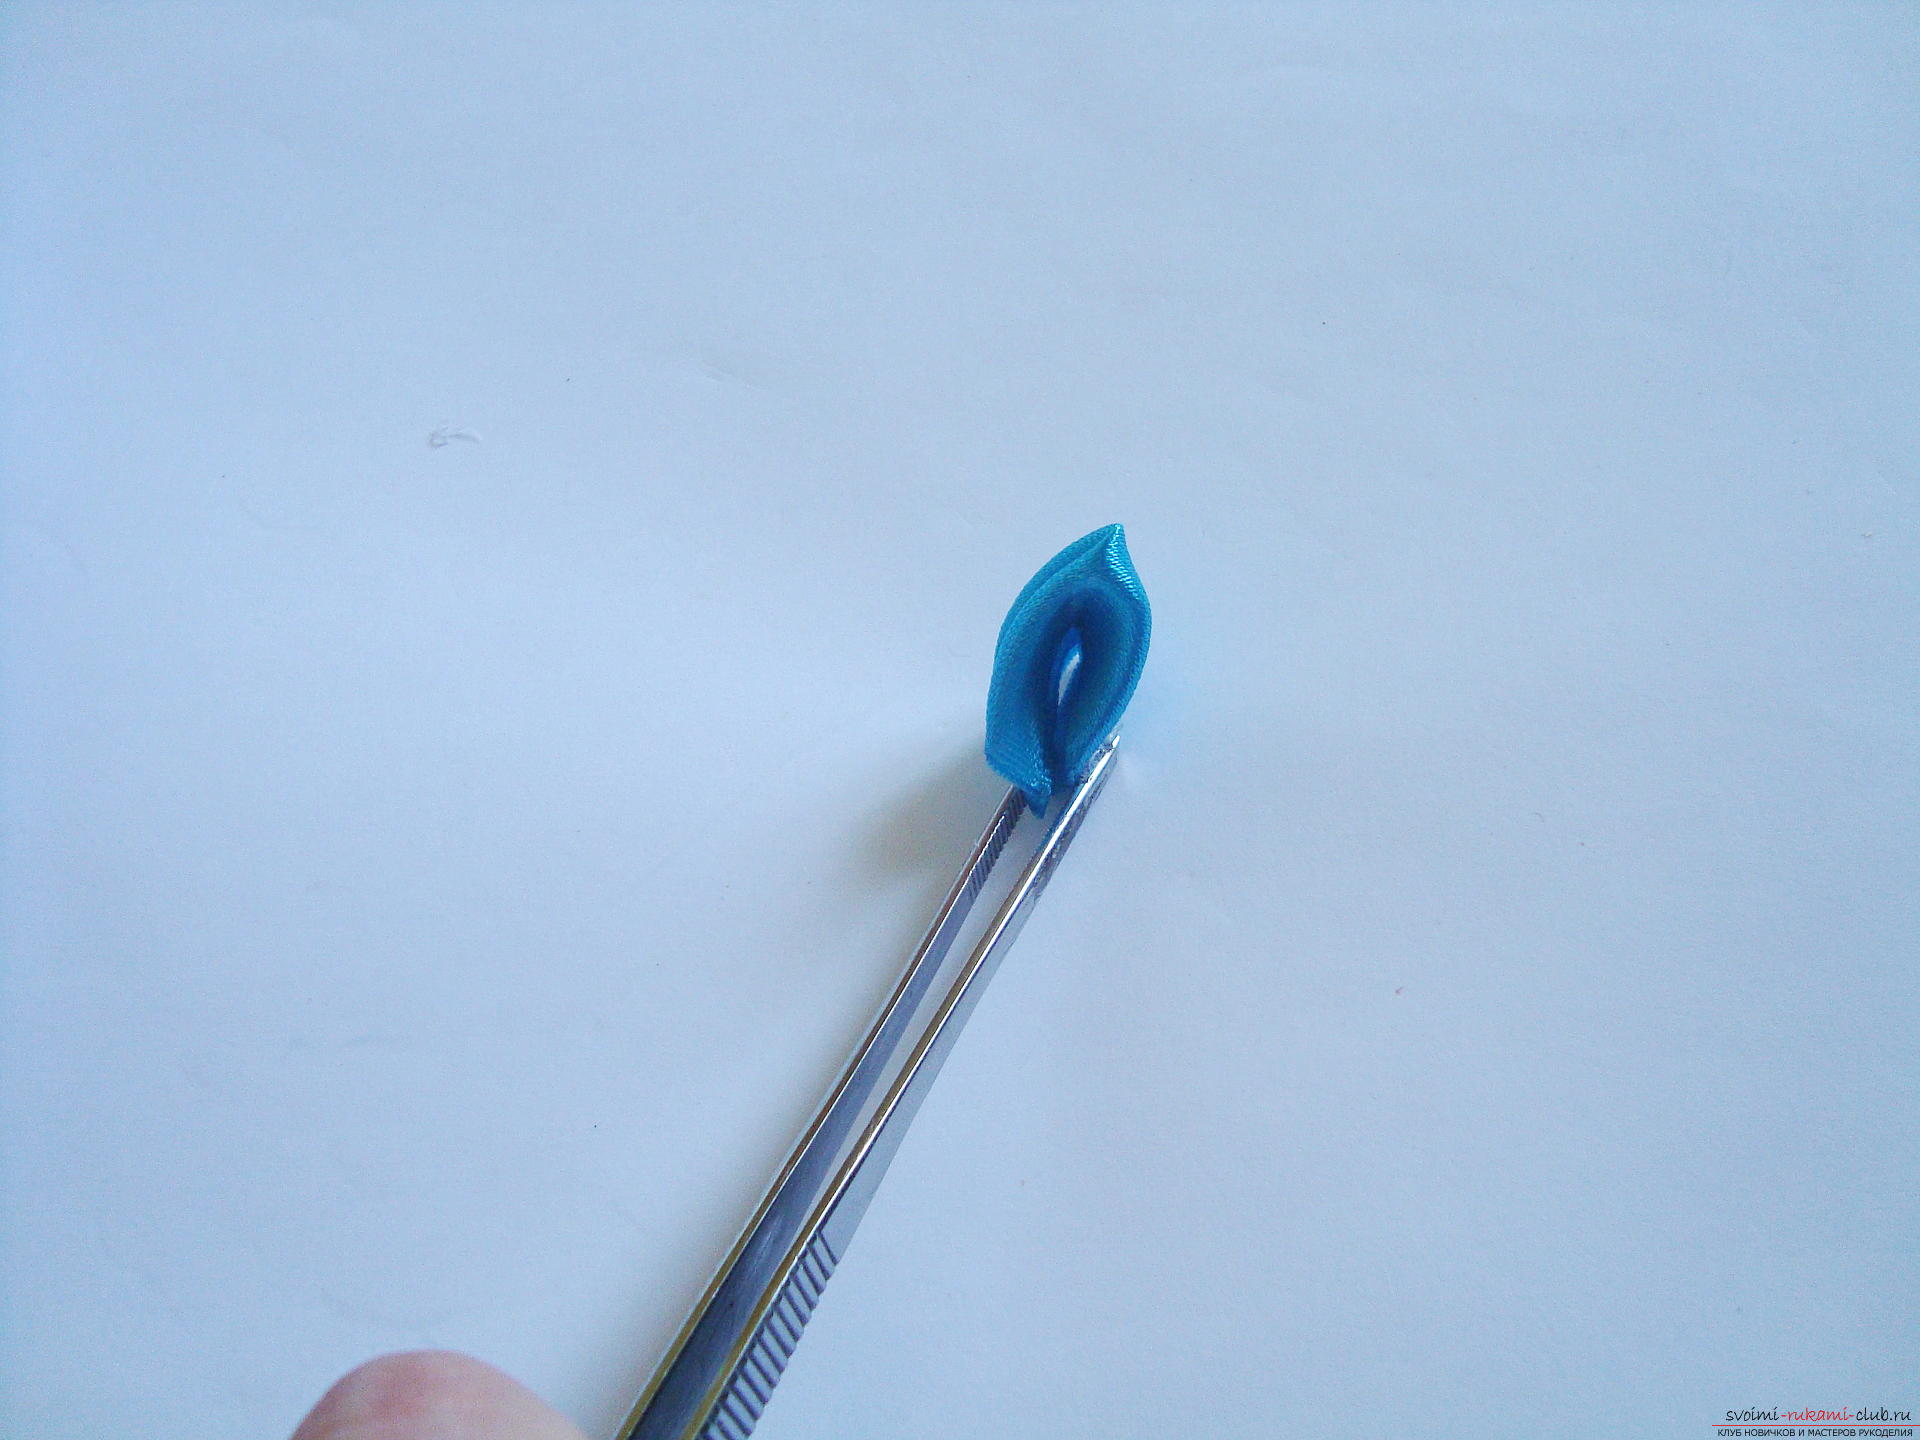 To fix the petal in this form,it is required to clamp it between the ruler and the glass surface, hold a hot burner line that cuts the base of the petal and solder all layers of the satin in a single seam. Similar manipulations are carried out with all the satin squares. With such simple, but neat bends, create five details in each color. All the petals must have a characteristic shape with a sharp end and be equal in size.
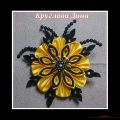
 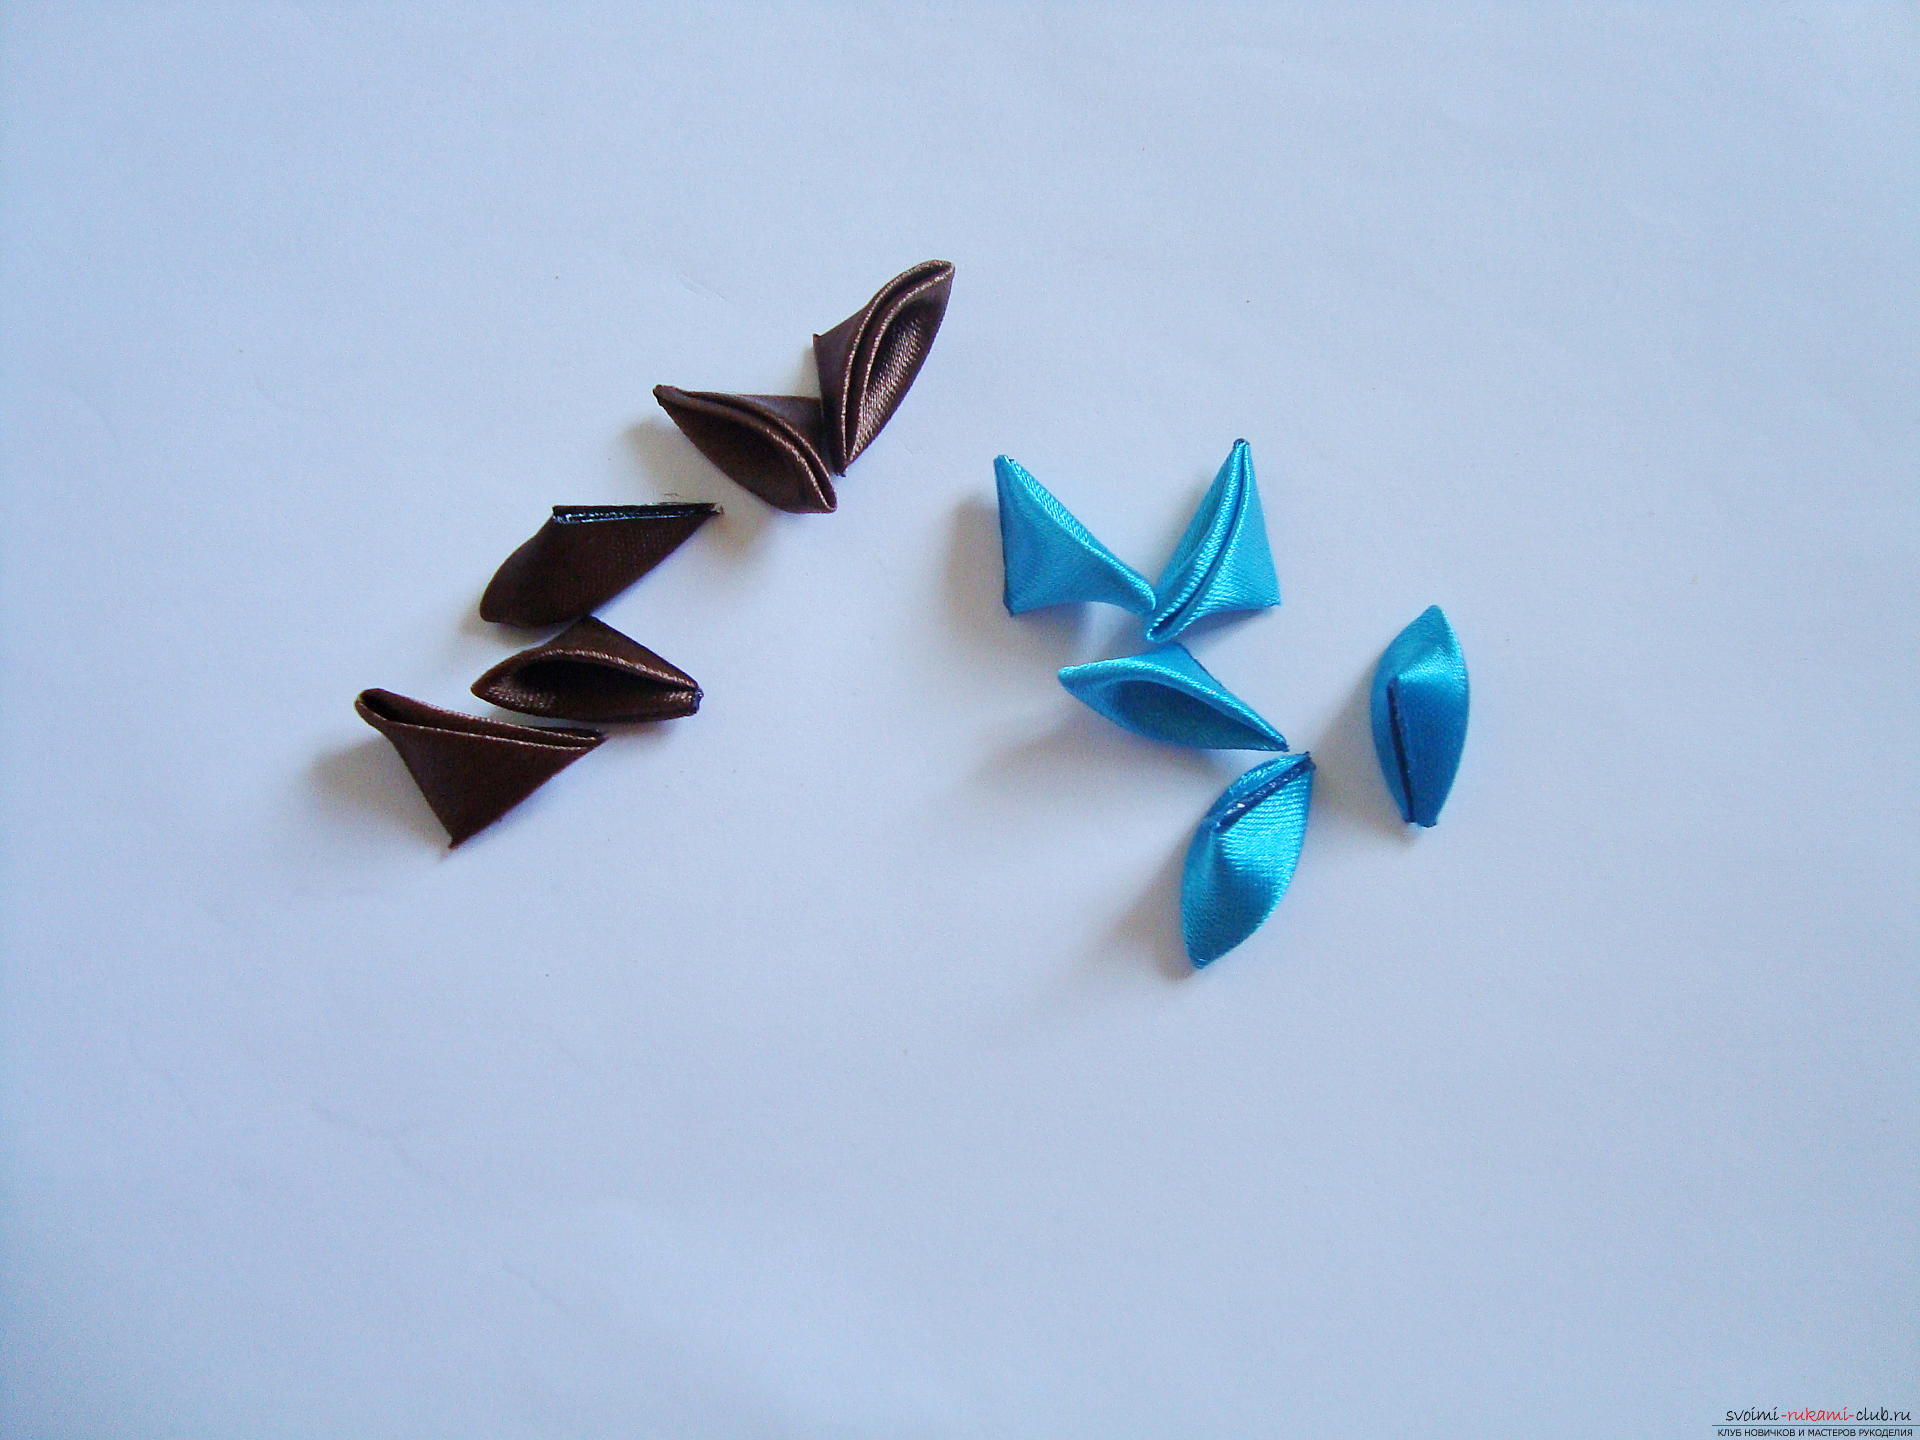 The next part of the work is the assembly of a flower. Brown elements form the interior of the product, so all the petals of this color are sewn with a needle on the dark thread. It is important to pierce the tip of the base of each petal without moving inside.
 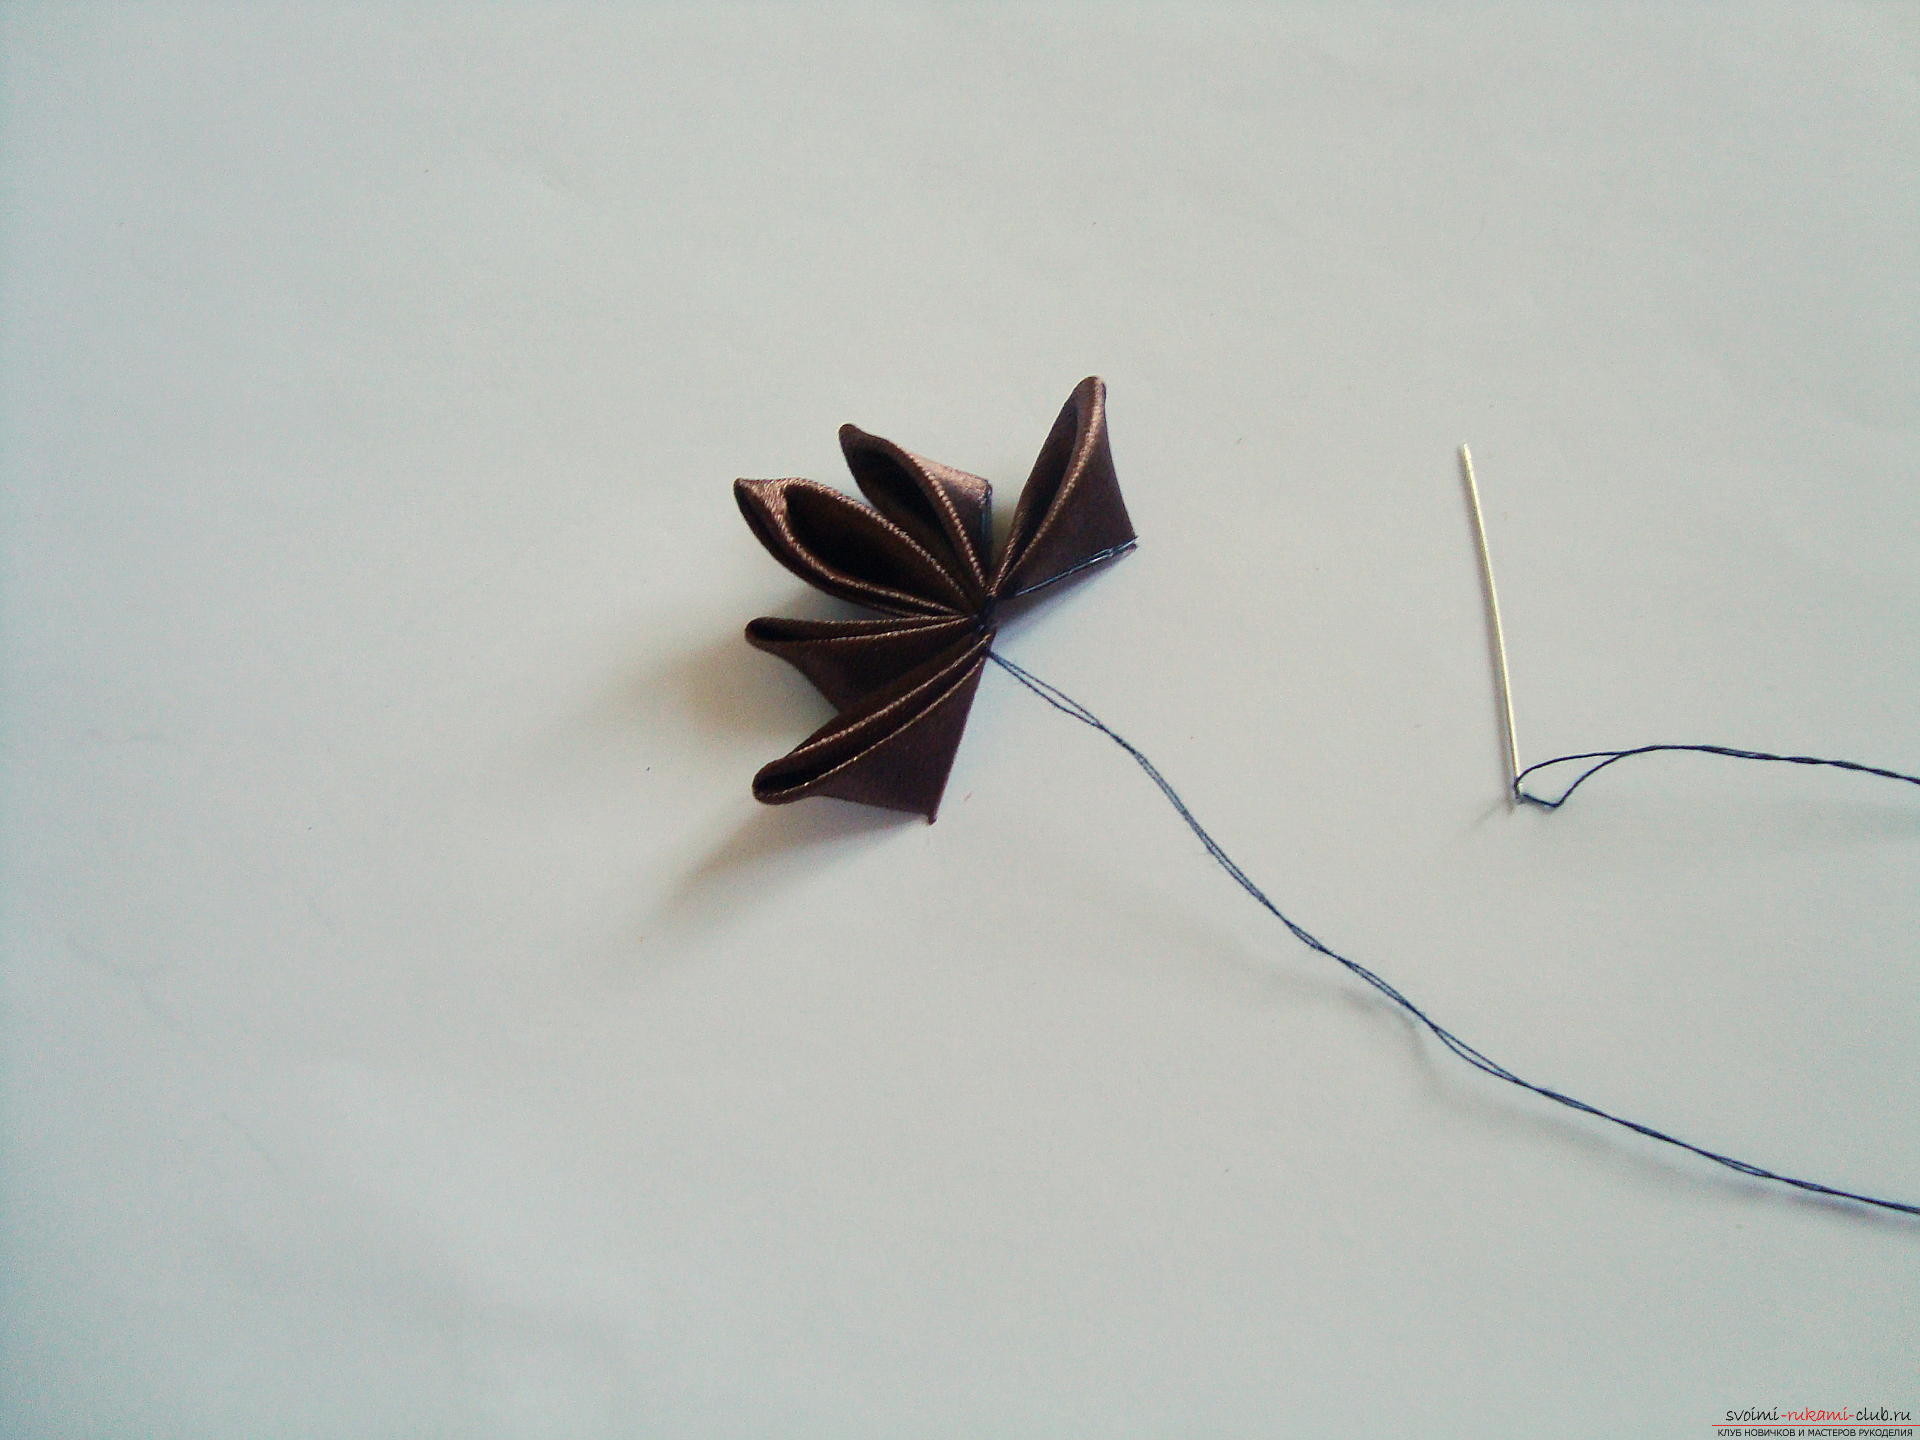 The needle re-passes through the first two petals and the thread is slowly tightened to form a five-pointed Kanzash flower with sharp petals. A knot is tied to the thread and it is cut off.
  From turquoise elements the second layer is formedpetals, each element is placed between two brown petals. But first prepare a round base with a diameter of 2 cm, and fix on it a brown flower on the center.
 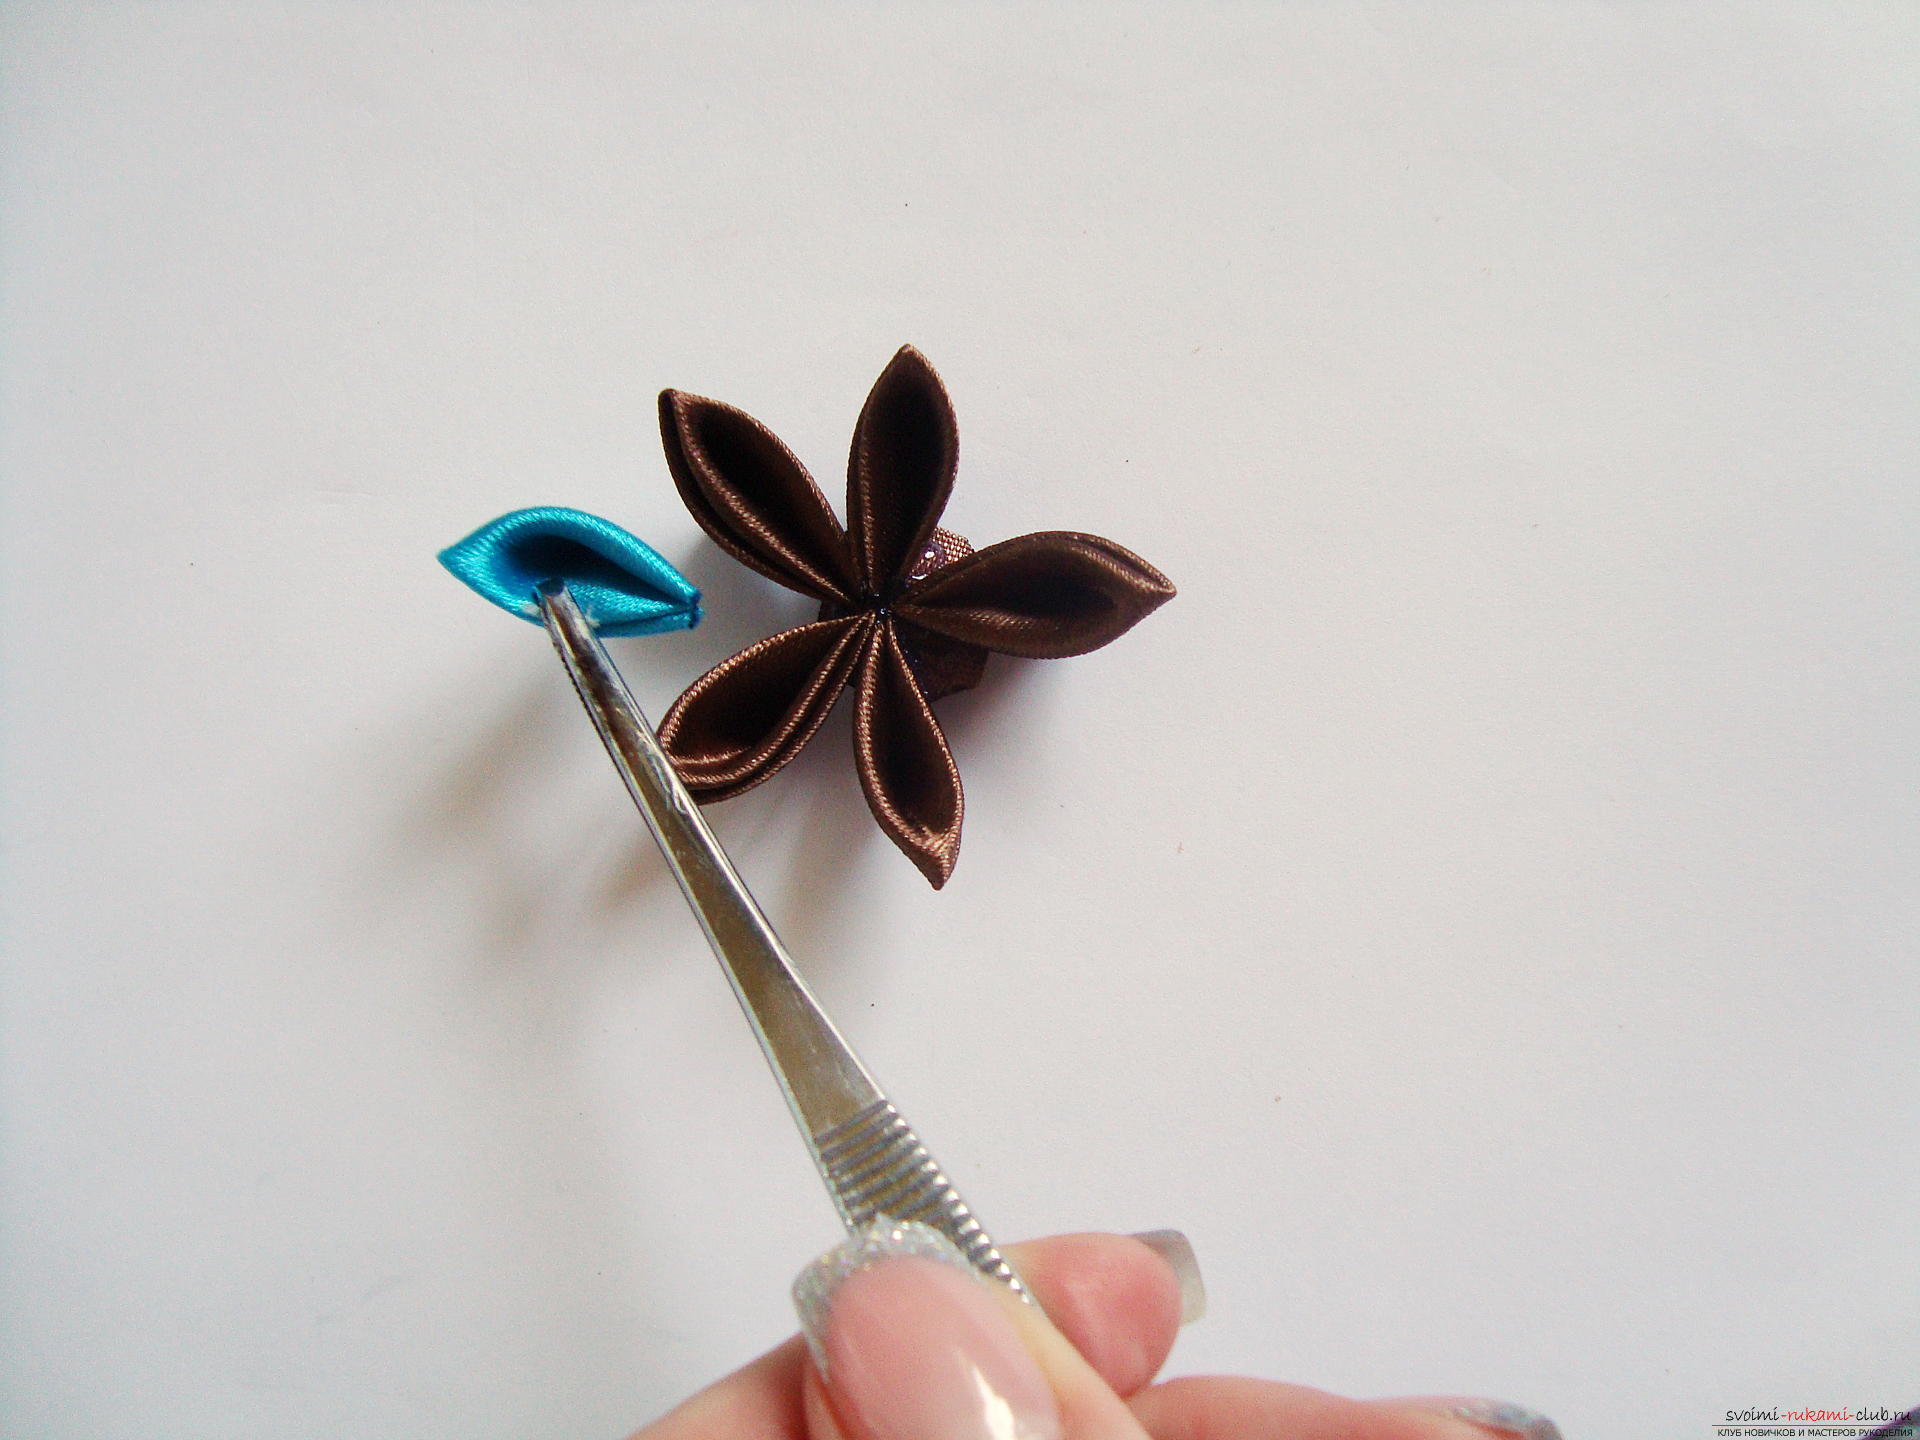 All turquoise petals are located between the brown parts. Each petal is adhered to the substrate and adheres to adjacent elements of the first layer.
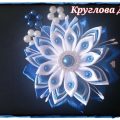
 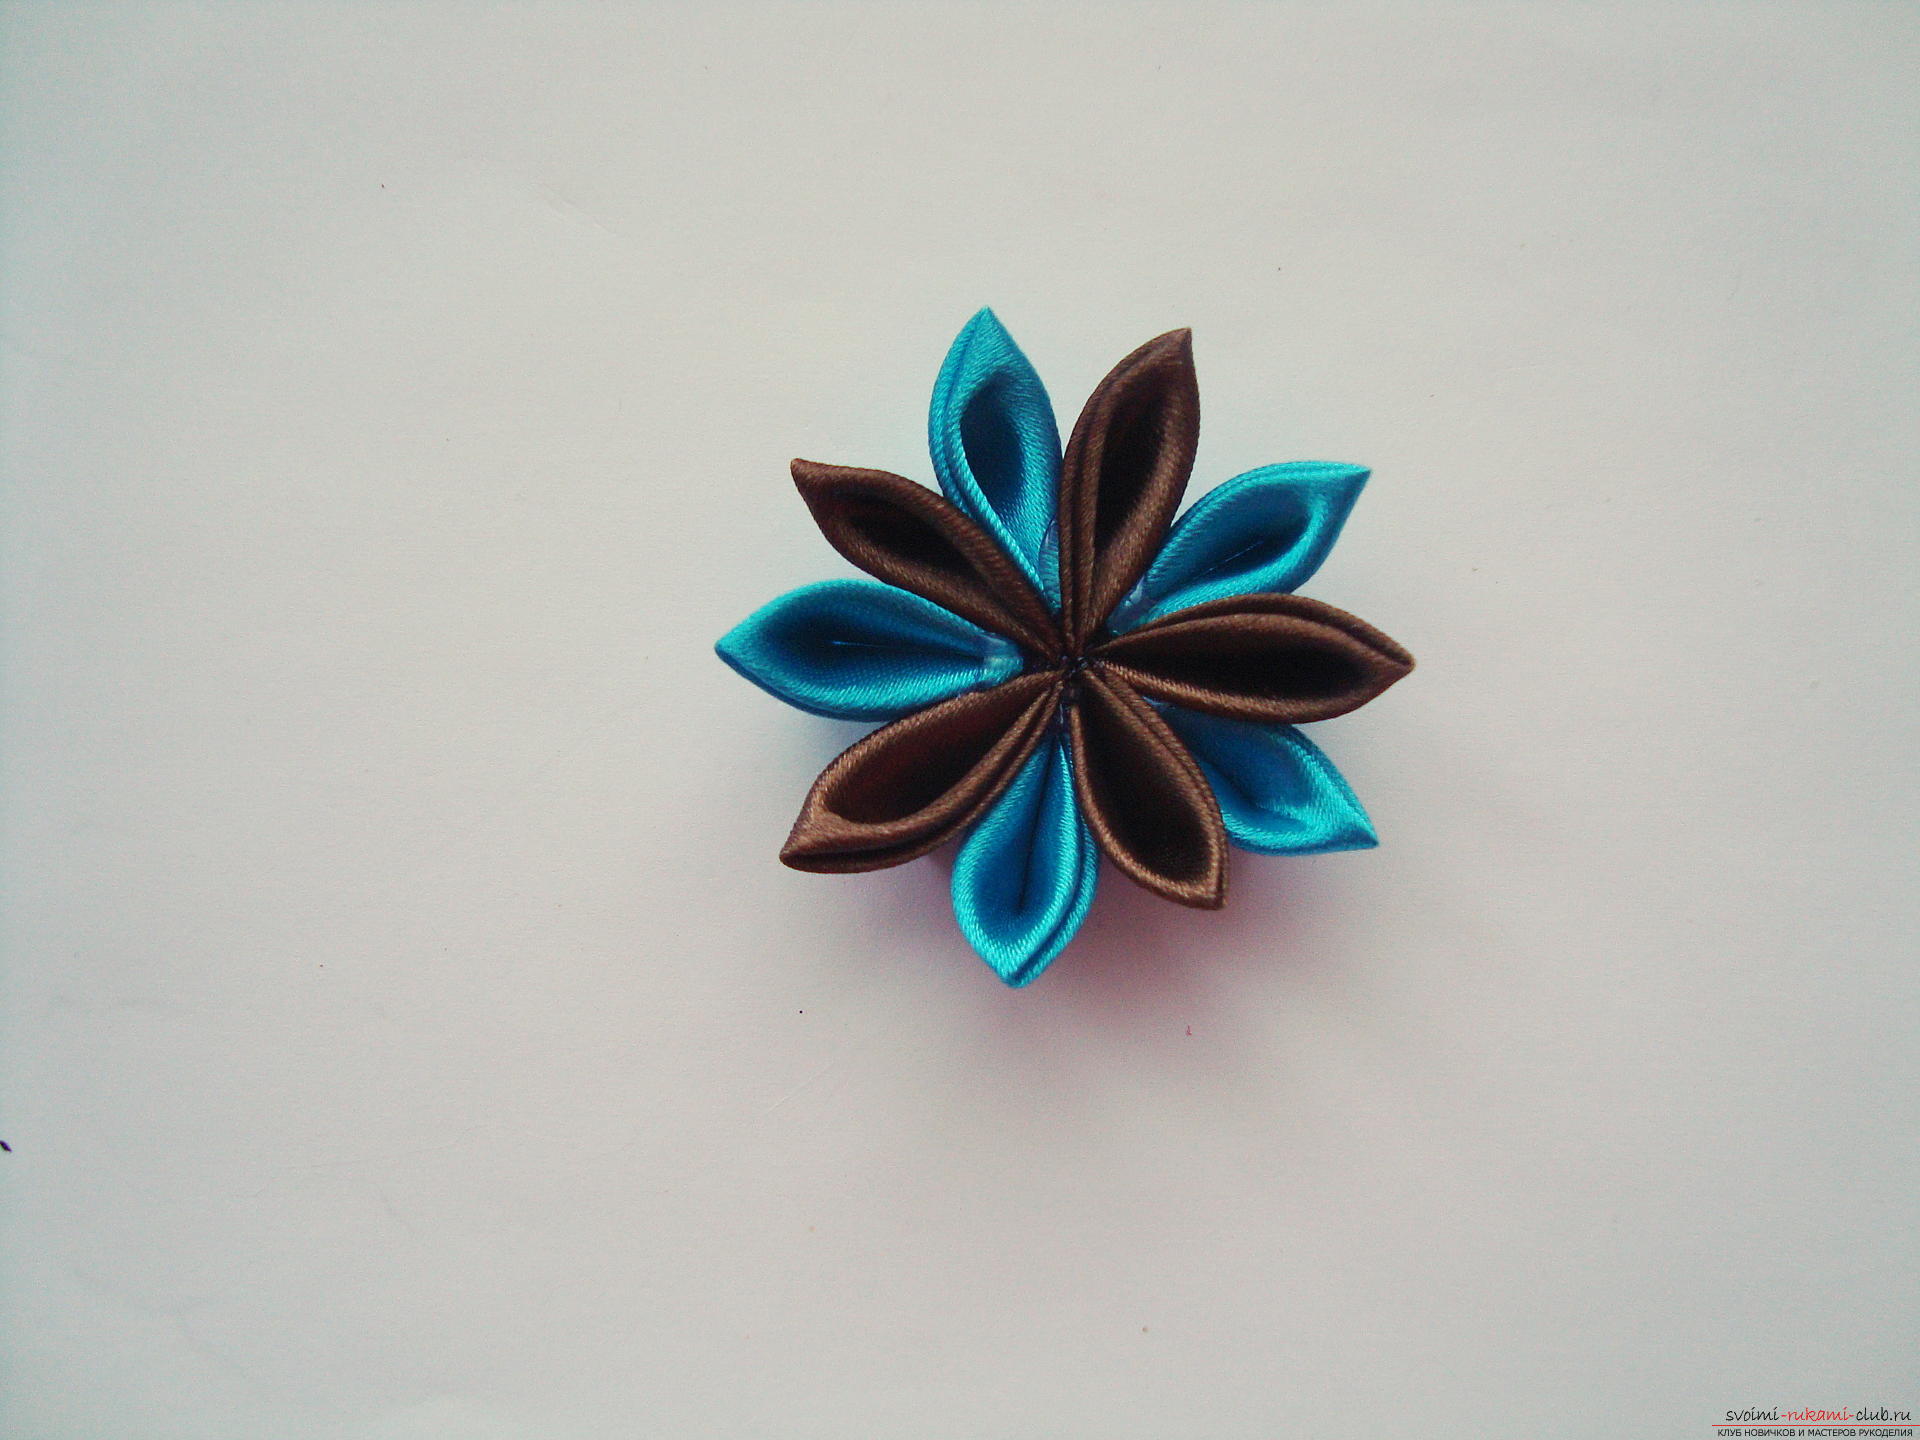 The middle of the product is decorated with a suitable element - rhinestone, bead, stamens, etc.
 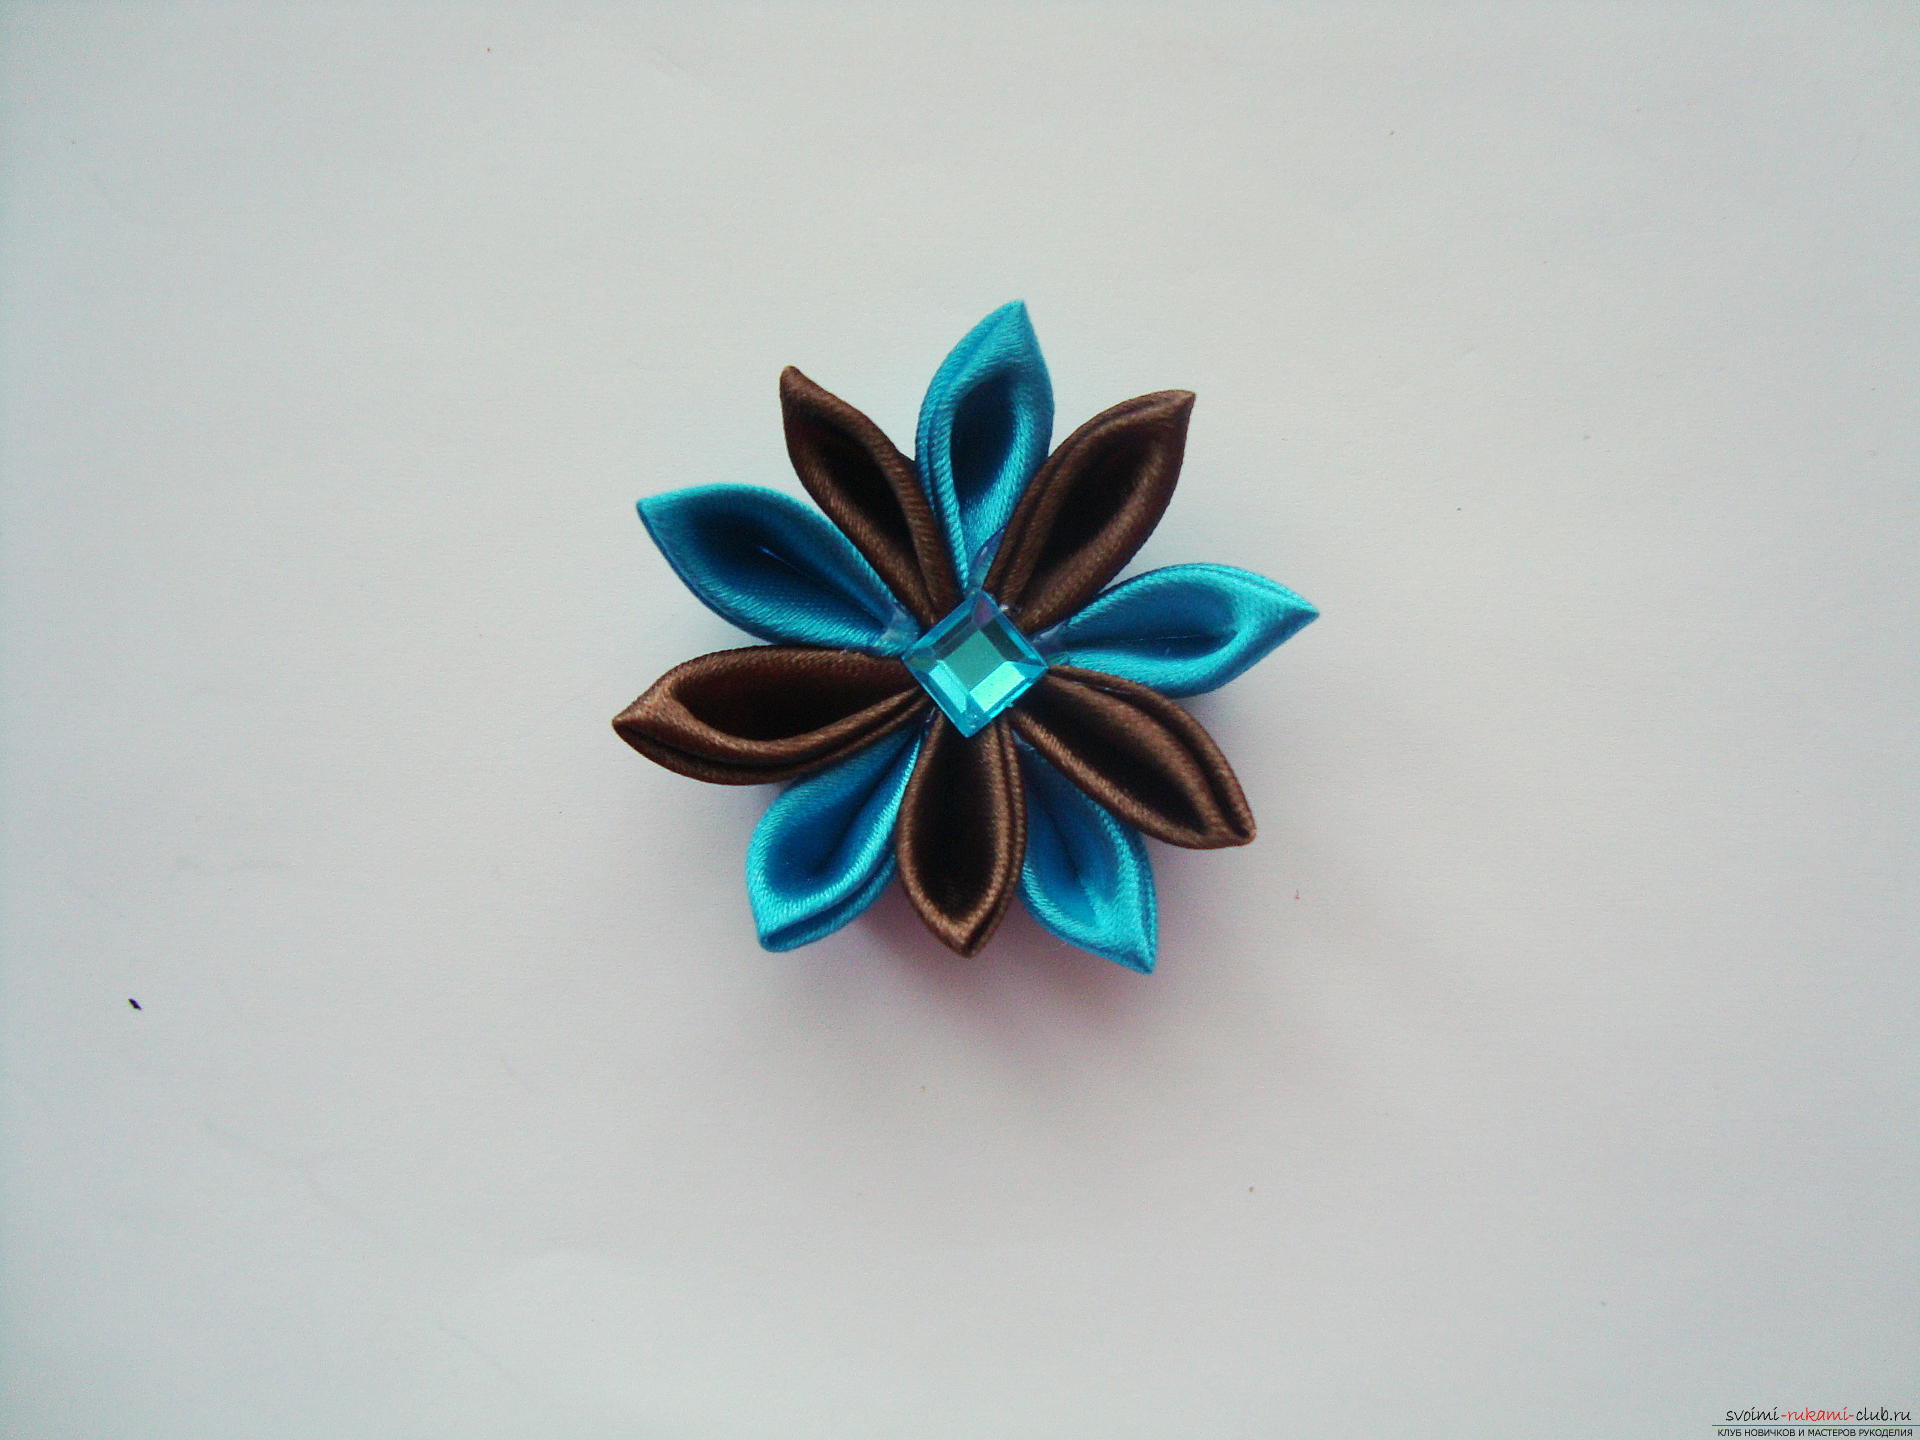 The reverse side of the work should have a smooth beautiful appearance. On the central basis in the form of a circle, a large drop of glue is applied.
  On the glue drop, the edge of the snapping prikolka is applied, and the article to the metal is pressed slightly to tighten everything.
 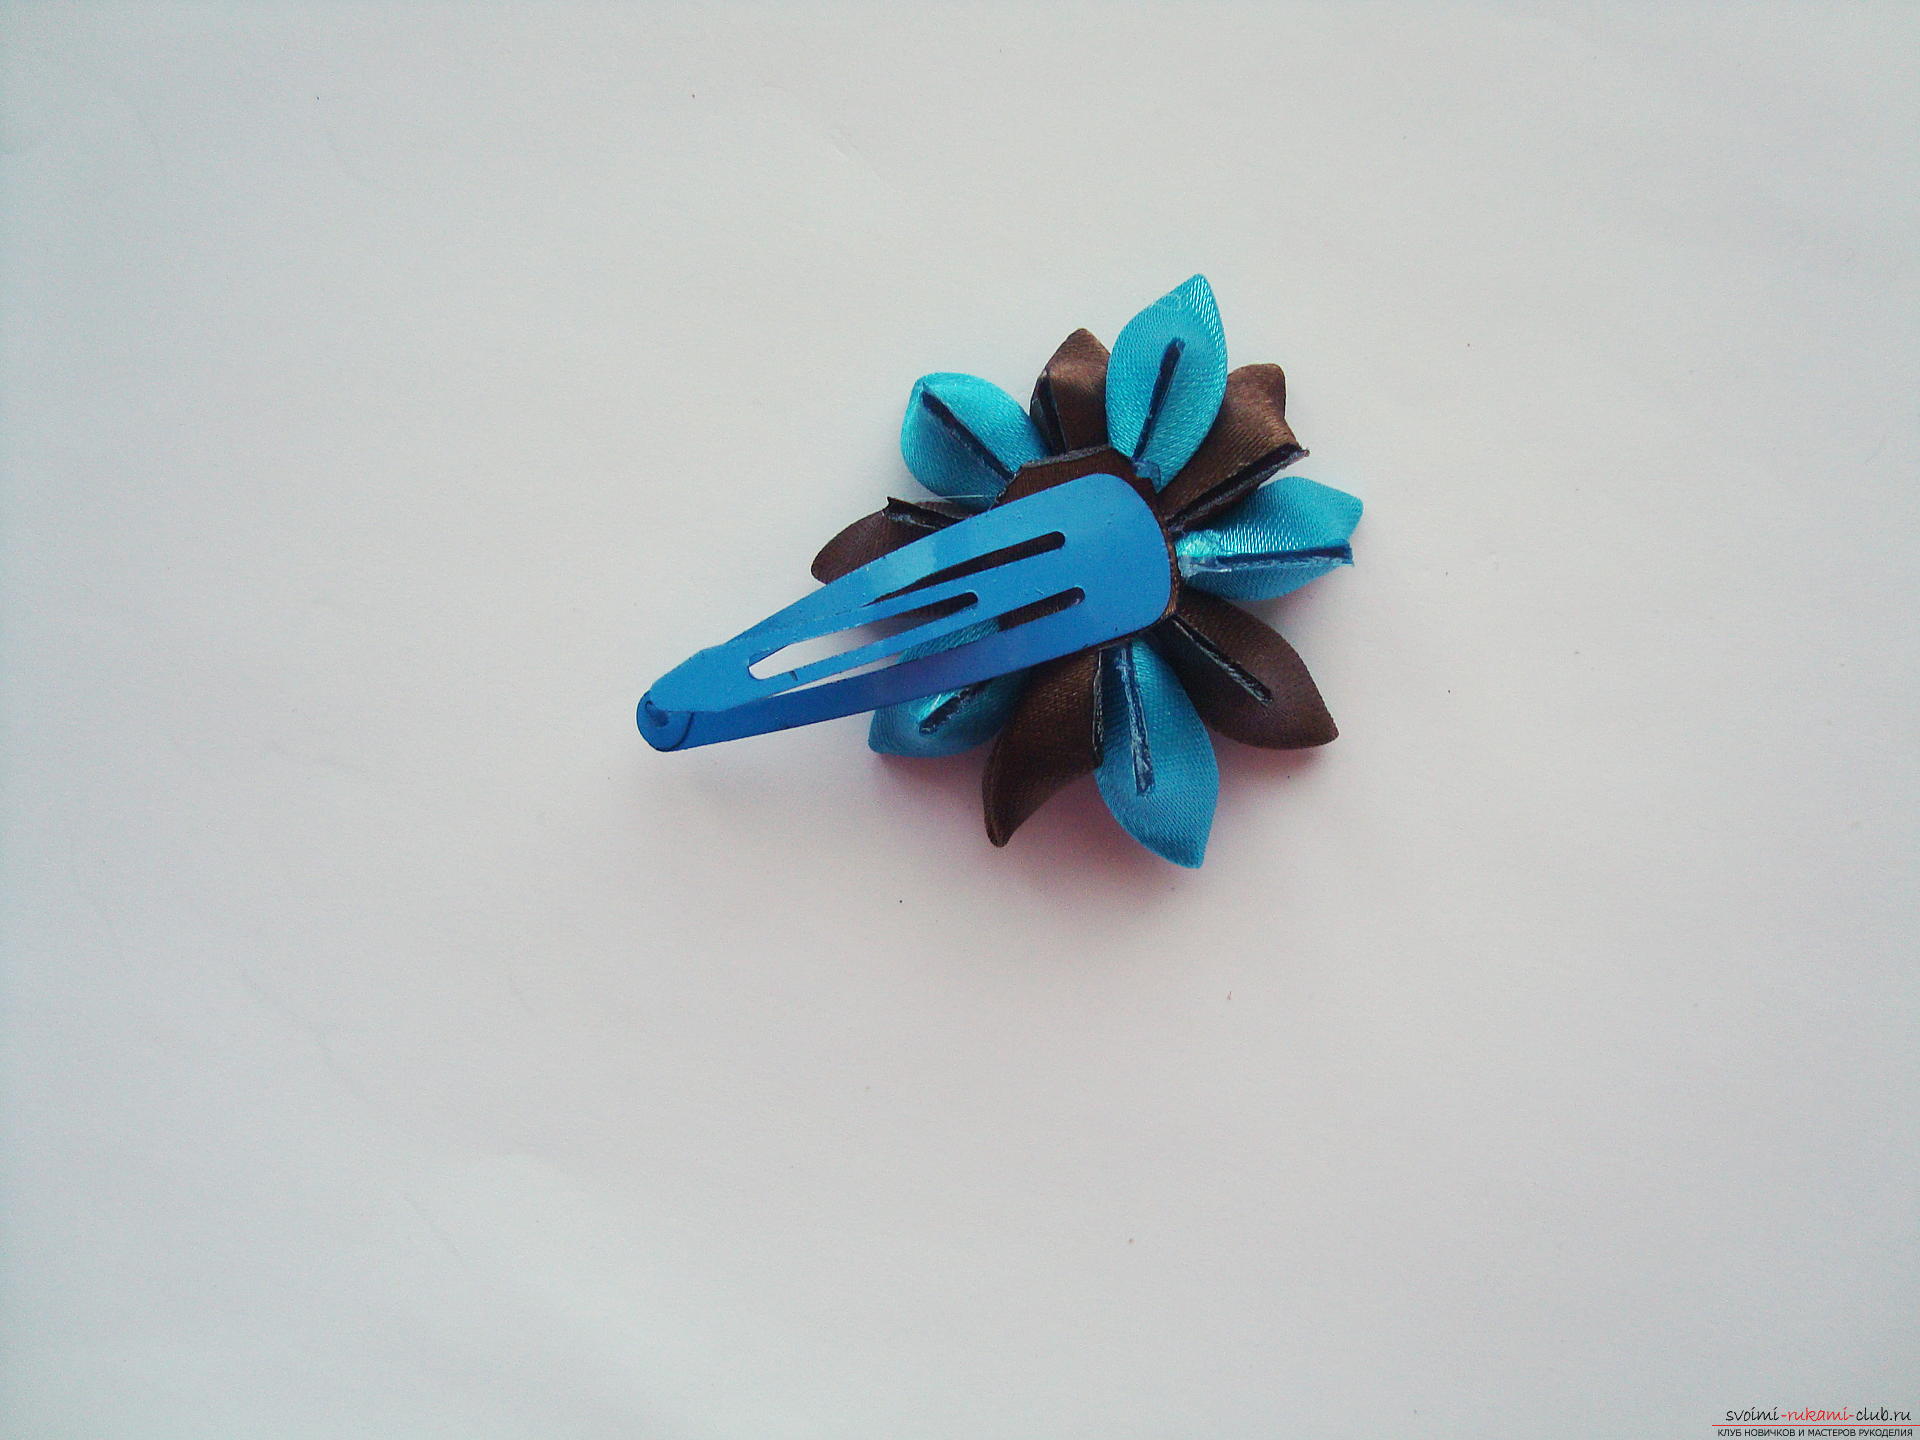 Charming kanzashi hairpin is ready, it will beautify the hair of the smallest princess.
 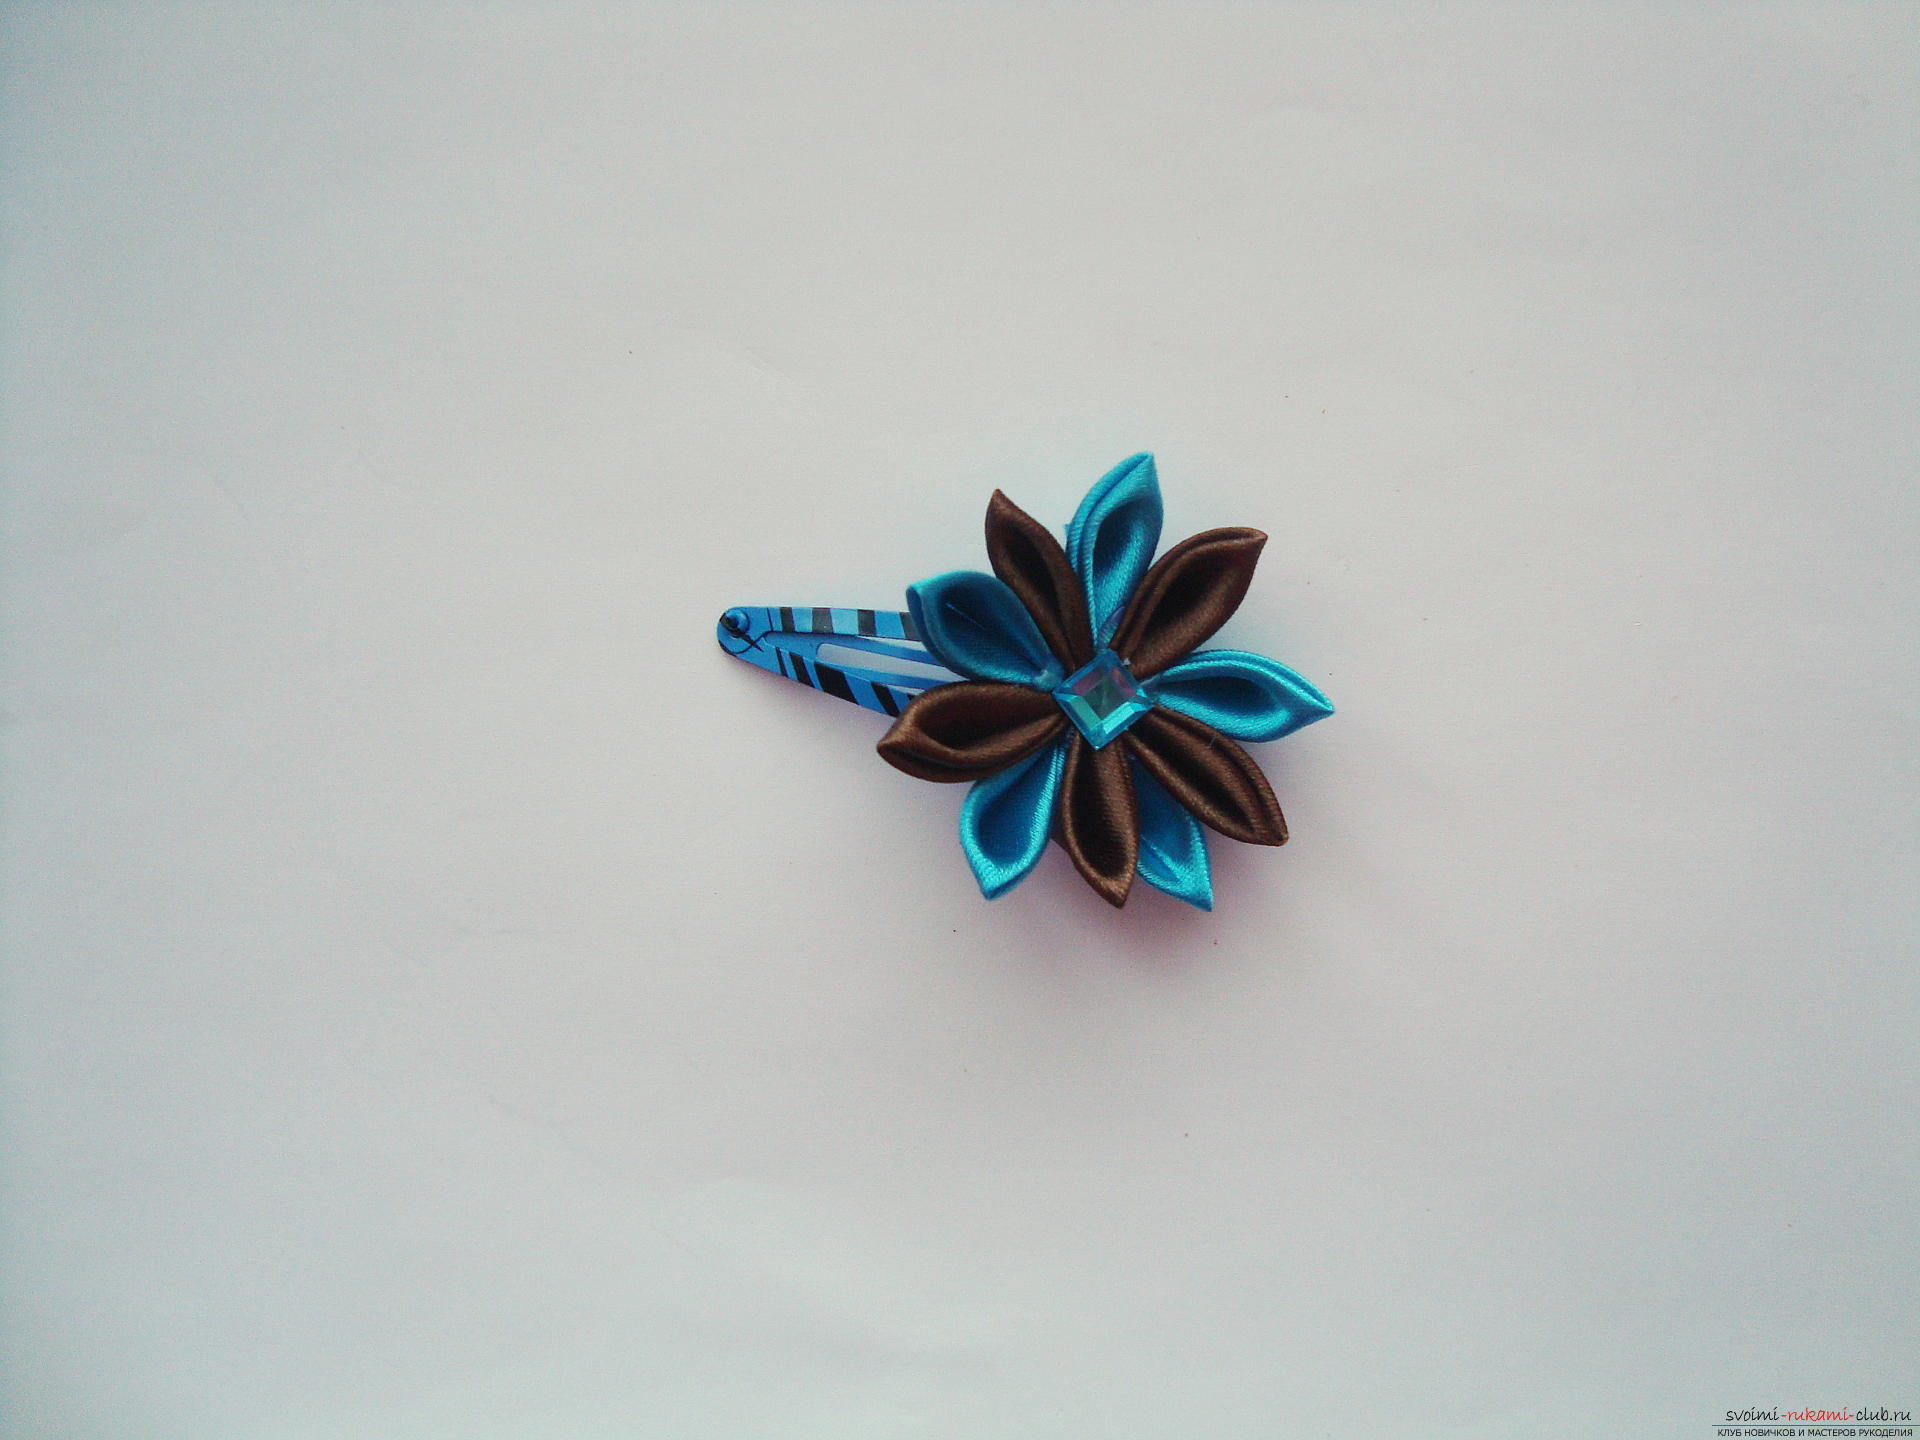 Changing the color of ribbons and the number of layers in the petals can create a variety of hairpins.
Comments
Related posts:
 Quilling technique, various flowers in technologyquilling with your own hands, creating compositions using colors, quilling techniques, tips, recommendations and instructions for creating them with phased photos.
 Hairpin in Kansas technique on the contest Spring 2016, Kanzashi flowers by own hands
 Hairpin-flower in Kansas technique on the contest Spring 2016, Kanzashi flowers by own hands
 Decorative barrette in Kansas technique on the contest Spring 2016, Kanzashi flowers by own hands
 Bezel in Kansas technique, decorated with snowflakes for the 2015 Competition, Kanzashi flowers by own hands