
Crochet crochet lesson for hot Kiwi with detailed instructions and photo steps
Every woman is the mistress of her house,the keeper of the family hearth. A woman always tries to bring something new and interesting to everyday life, and since the kitchen is the most beloved part of every woman's home, first of all, she makes changes there. Pothaking for a hot is in the kitchen of every mistress, but they very quickly become worthless. You always want something new and unusual, do not you? In this we will consider in detail how to make an unusual knitted tack for the hot, which will become a wonderful decoration of your kitchen. Materials:
The hot tack will consist of twohalves. In order to connect the first half, we take the yarn of white color and begin to knit the 1st row. We dial a chain of 8 air loops and connect them in a single ring. Next, we tie this ring with 14 air loops, pulling them out of the middle of the ring. Then the second row is also made of white yarn. In each second loop we pull plus one new air loop. So, the 2nd row consists of 21 air loops. 3rd row. We knit white yarn, pulling two air loops from each air loop. At the end of knitting of the third row you should get 42 loops.  Begin to knit the 4th and 5th rows, for thisIt is necessary to pull in each second loop plus one new air loop. On this use of white yarn is completed. Next we knit the 6th-17th rows of yarn of green color.
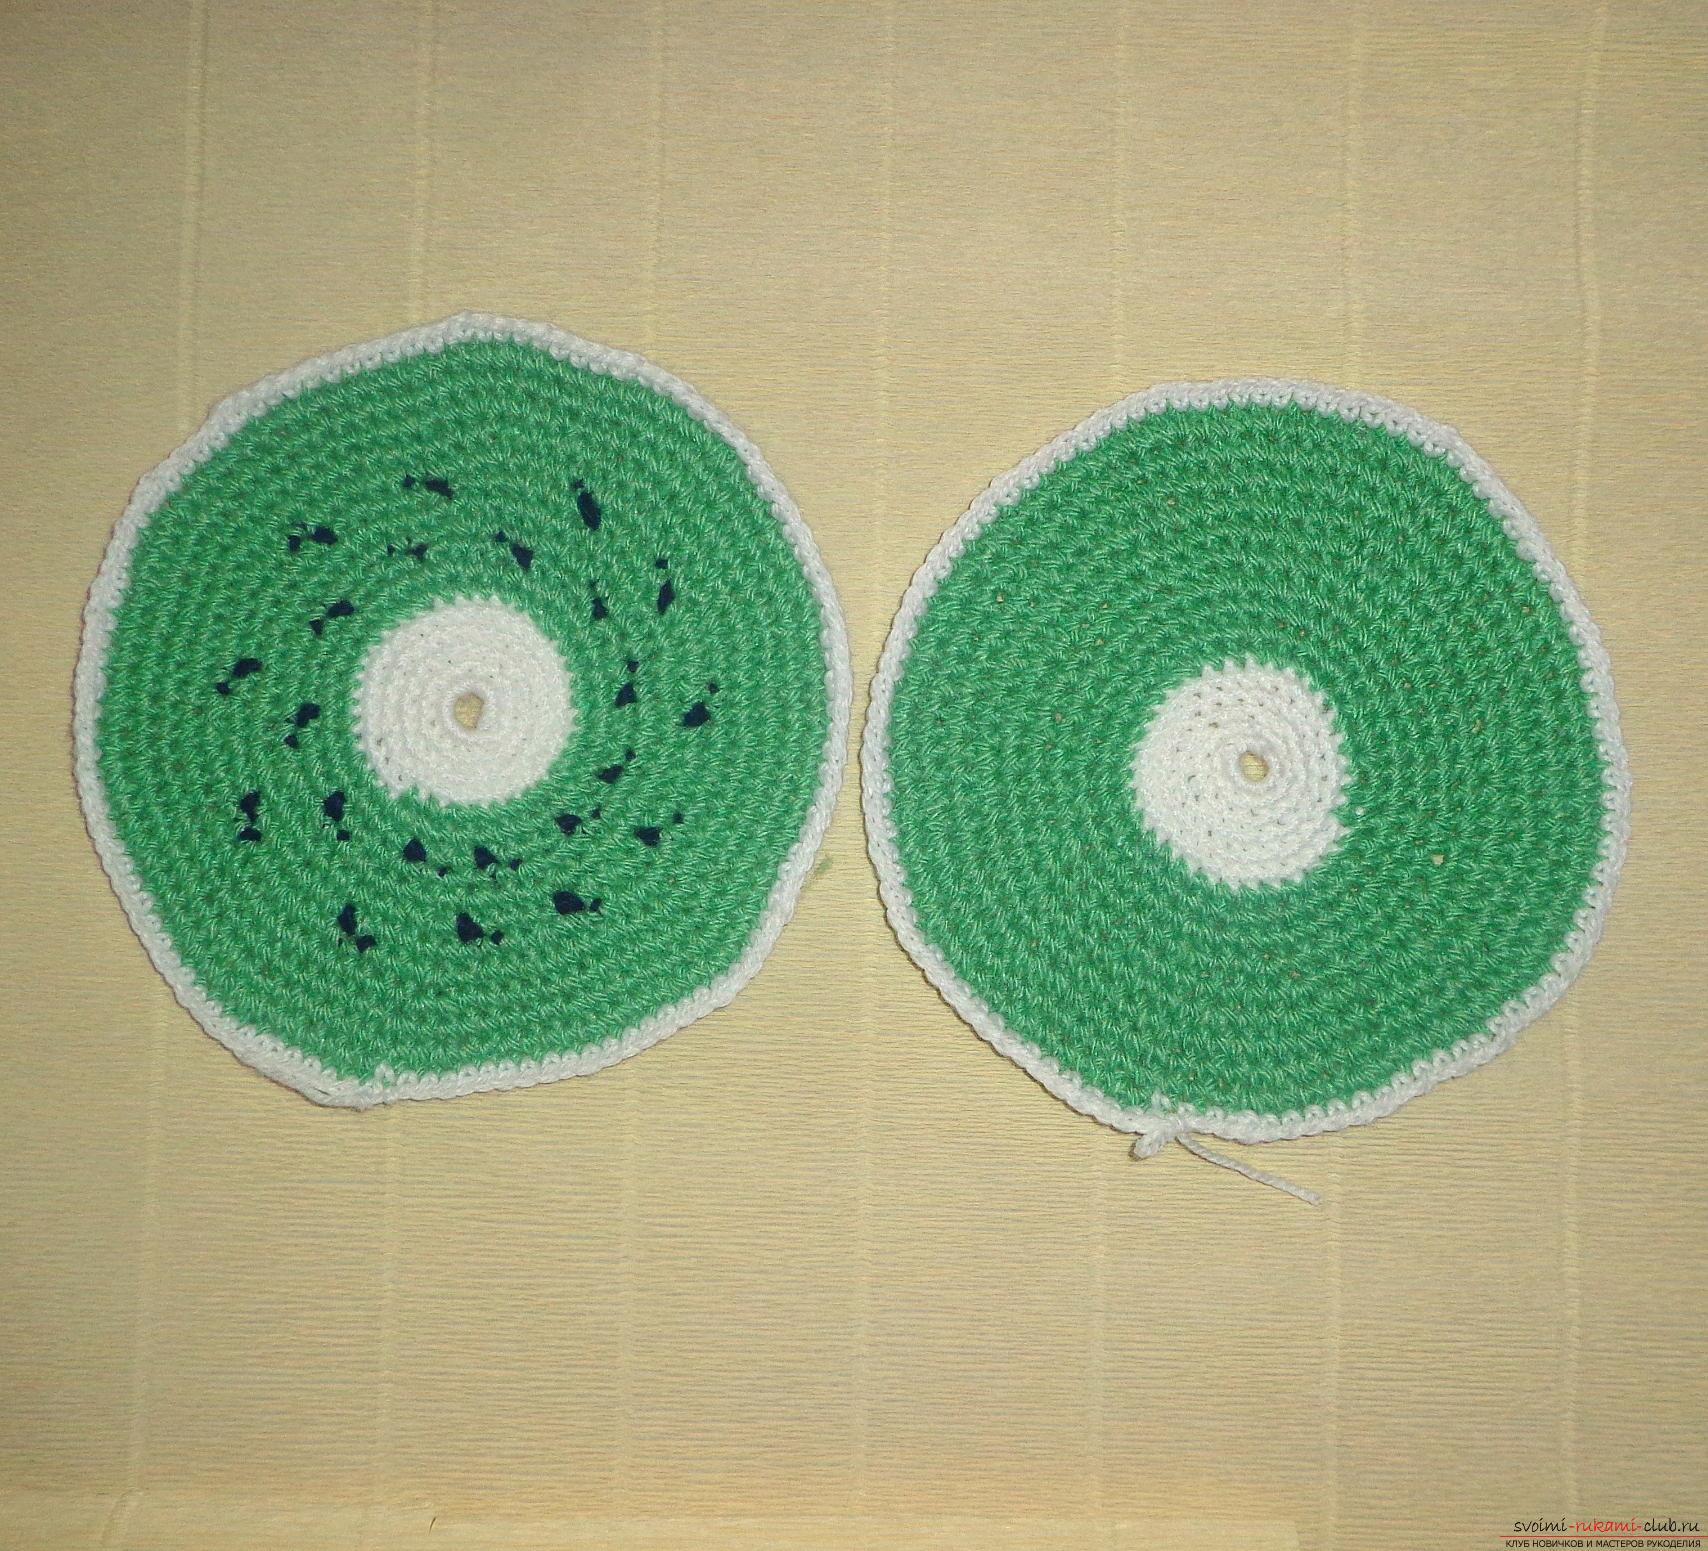
 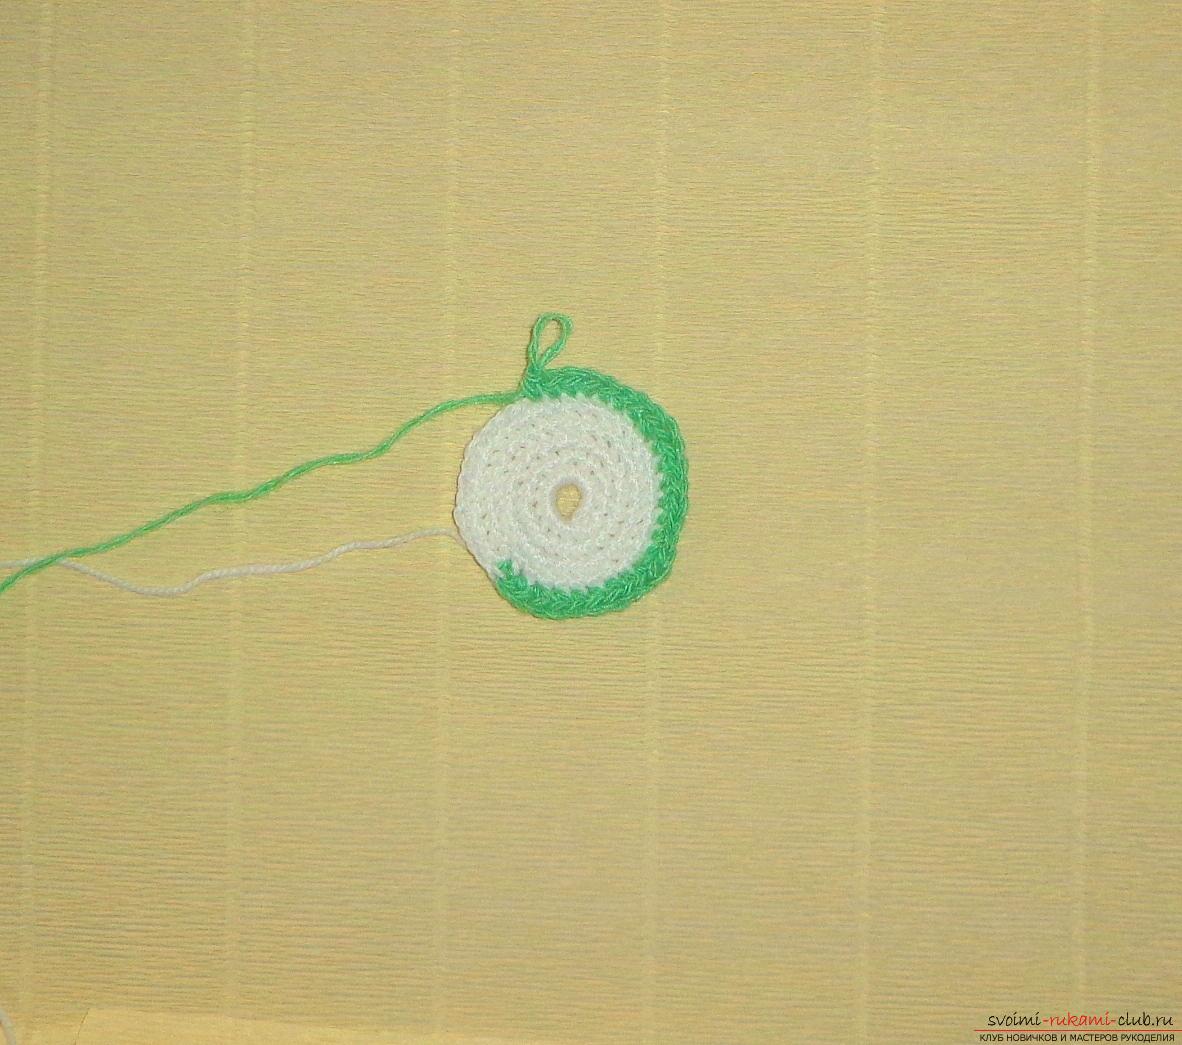 Begin to knit the 6th row, pulling from eachair loop two air loops. Next we knit the 7th row - pulling out of each second loop plus one new, additional loop. For knitting of the 8th row we will need not only yarn of light green color, but also black yarn to form "kiwi seeds". We start knitting, we sew 4 loops of green yarn, in each second add one extra loop, every fifth loop should be tied with black yarn. So alternate until the end of the 8th row. The 9th-10th rows will be made only of green lace yarn and knit according to one pattern: in each second loop one has to pull out plus one additional air loop. The 11th row is made from yarn of light green and black colors - this is the second row of forming "kiwi seeds". We knit this way: we sew 7 air loops, in the 1st, 4th and 7th stitches we add one additional loop, and each eighth loop is knitted with black yarn. And so we alternate seven loops of green yarn with one (eighth) loop of black yarn.
 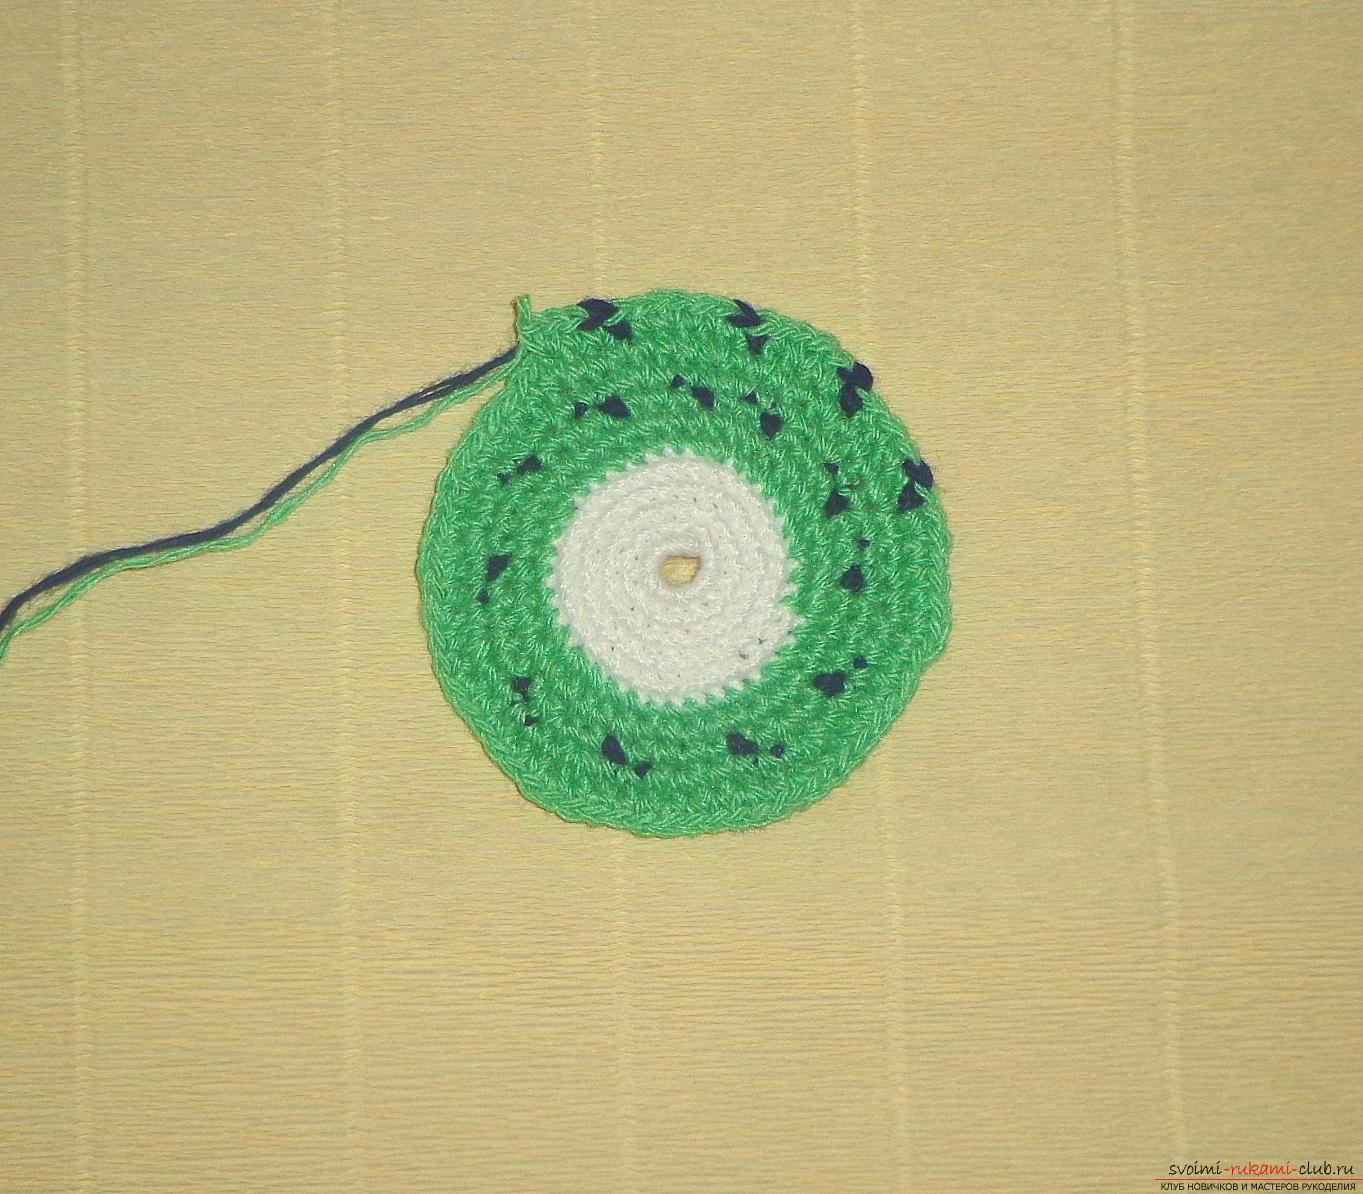 12th - 17th rows are knitted exclusively with green yarn, without the use of black yarn. 12th - 14th series - we sew by adding one additional loop in each second loop.
 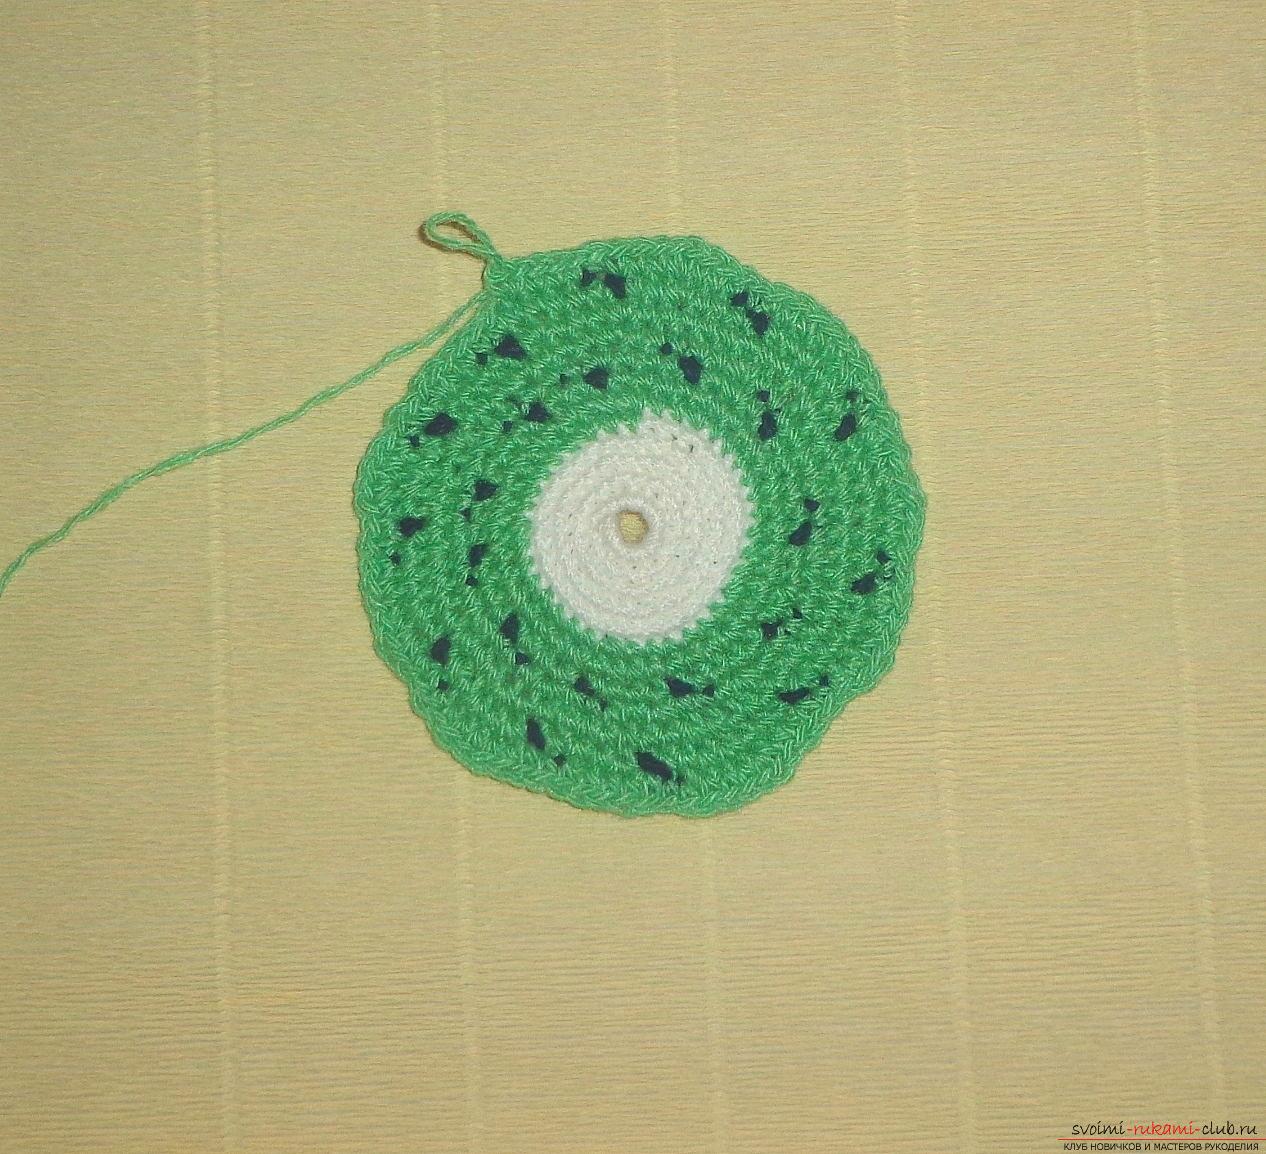 15th row - add one new loop in each eyelet. Next we knit the 16th row, we sew with the addition of one new eyelet in each second loop.
  17th row and it's final in useyarn of light green color. We impose it by adding one new loop in each eyelet, so we get two loops from each eyelet. For knitting the 18th row we need a white yarn. We knit it, pulling one loop from each eyelet, i.e. form the contour and knit without adding loops.
 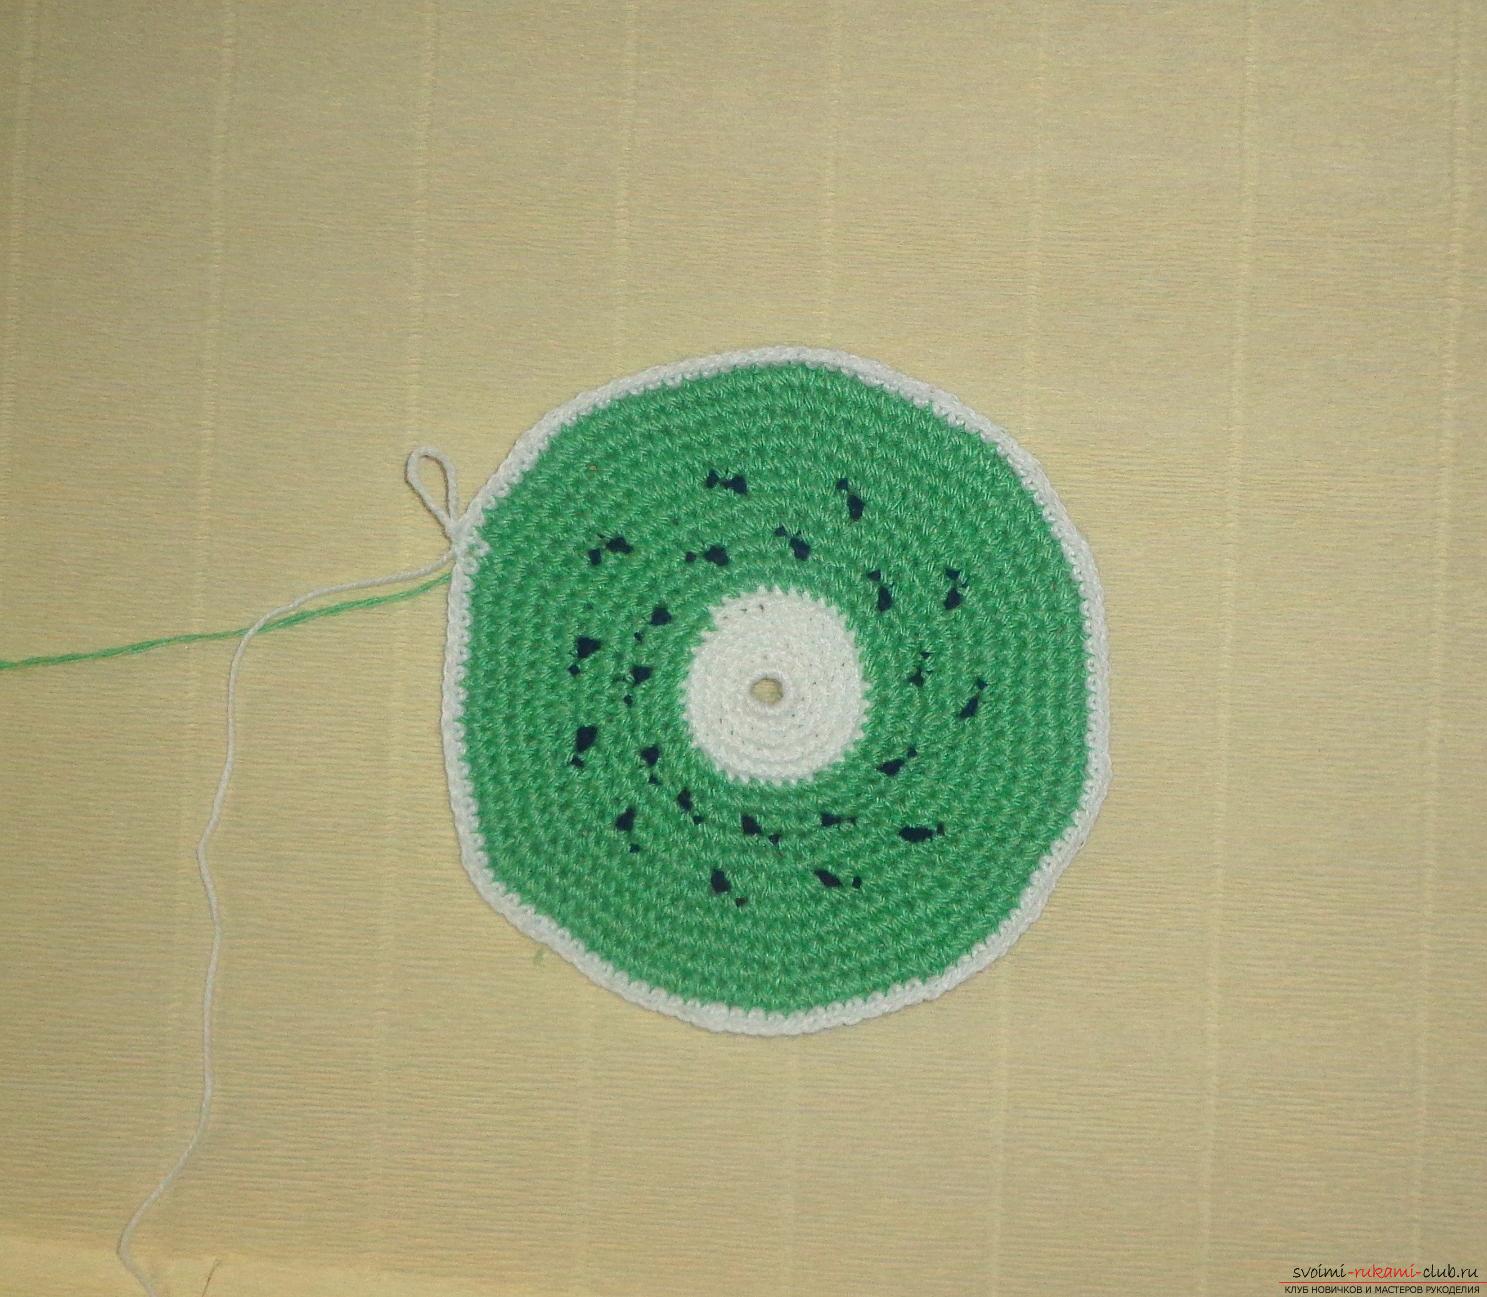 The 19th row is knitted with brown yarn, heIt is tied without adding and is the final row in the knitting of the first side of the tack. Now let's start knitting the second side. The 1st-6th rows are only tied with white yarn. 1st row - we take the yarn of white color and start knitting: We dial a chain of eight air loops and connect them into one single ring. Next, we tie this ring with 14 air loops, pulling them out of the middle of the ring. 2nd-3rd rows - in each second loop we pull plus one additional air loop. The 2nd row should consist of 21 air loops. 3rd row - must be made in 32 air loops. Begin to knit the 4th, for this we draw from each air loop two air loops. We knit the 5-th - 6-th series. It is necessary to pull in each second loop plus one new air loop. On this use of white yarn is completed. Next, we knit the 7th-17th rows of green yarn.
  Begin to knit the 7th row, pulling out from eachair loop two air loops. Next, we knit the 8th-9th series - pulling out of each second loop plus one new, additional loop. In the 10th row, it is necessary to add one eyelet in each eyelet. In the 11th-14th series we knit by adding one additional loop in each second loop. In the 15th row, we add one new loop in each eyelet. We sew the 16th row with the addition of one new eyelet in each second loop. The 17th row and it will be the final one in the use of light green yarn, as it was in knitting the first side of the potholders. We send the 17th row with the addition of one new loop in each eyelet, i. E. it turns out that from each loop we pull out two loops. For knitting the 18th row we need a white yarn. We knit it, pulling one loop from each eyelet, i.e. form the contour and knit without adding loops.
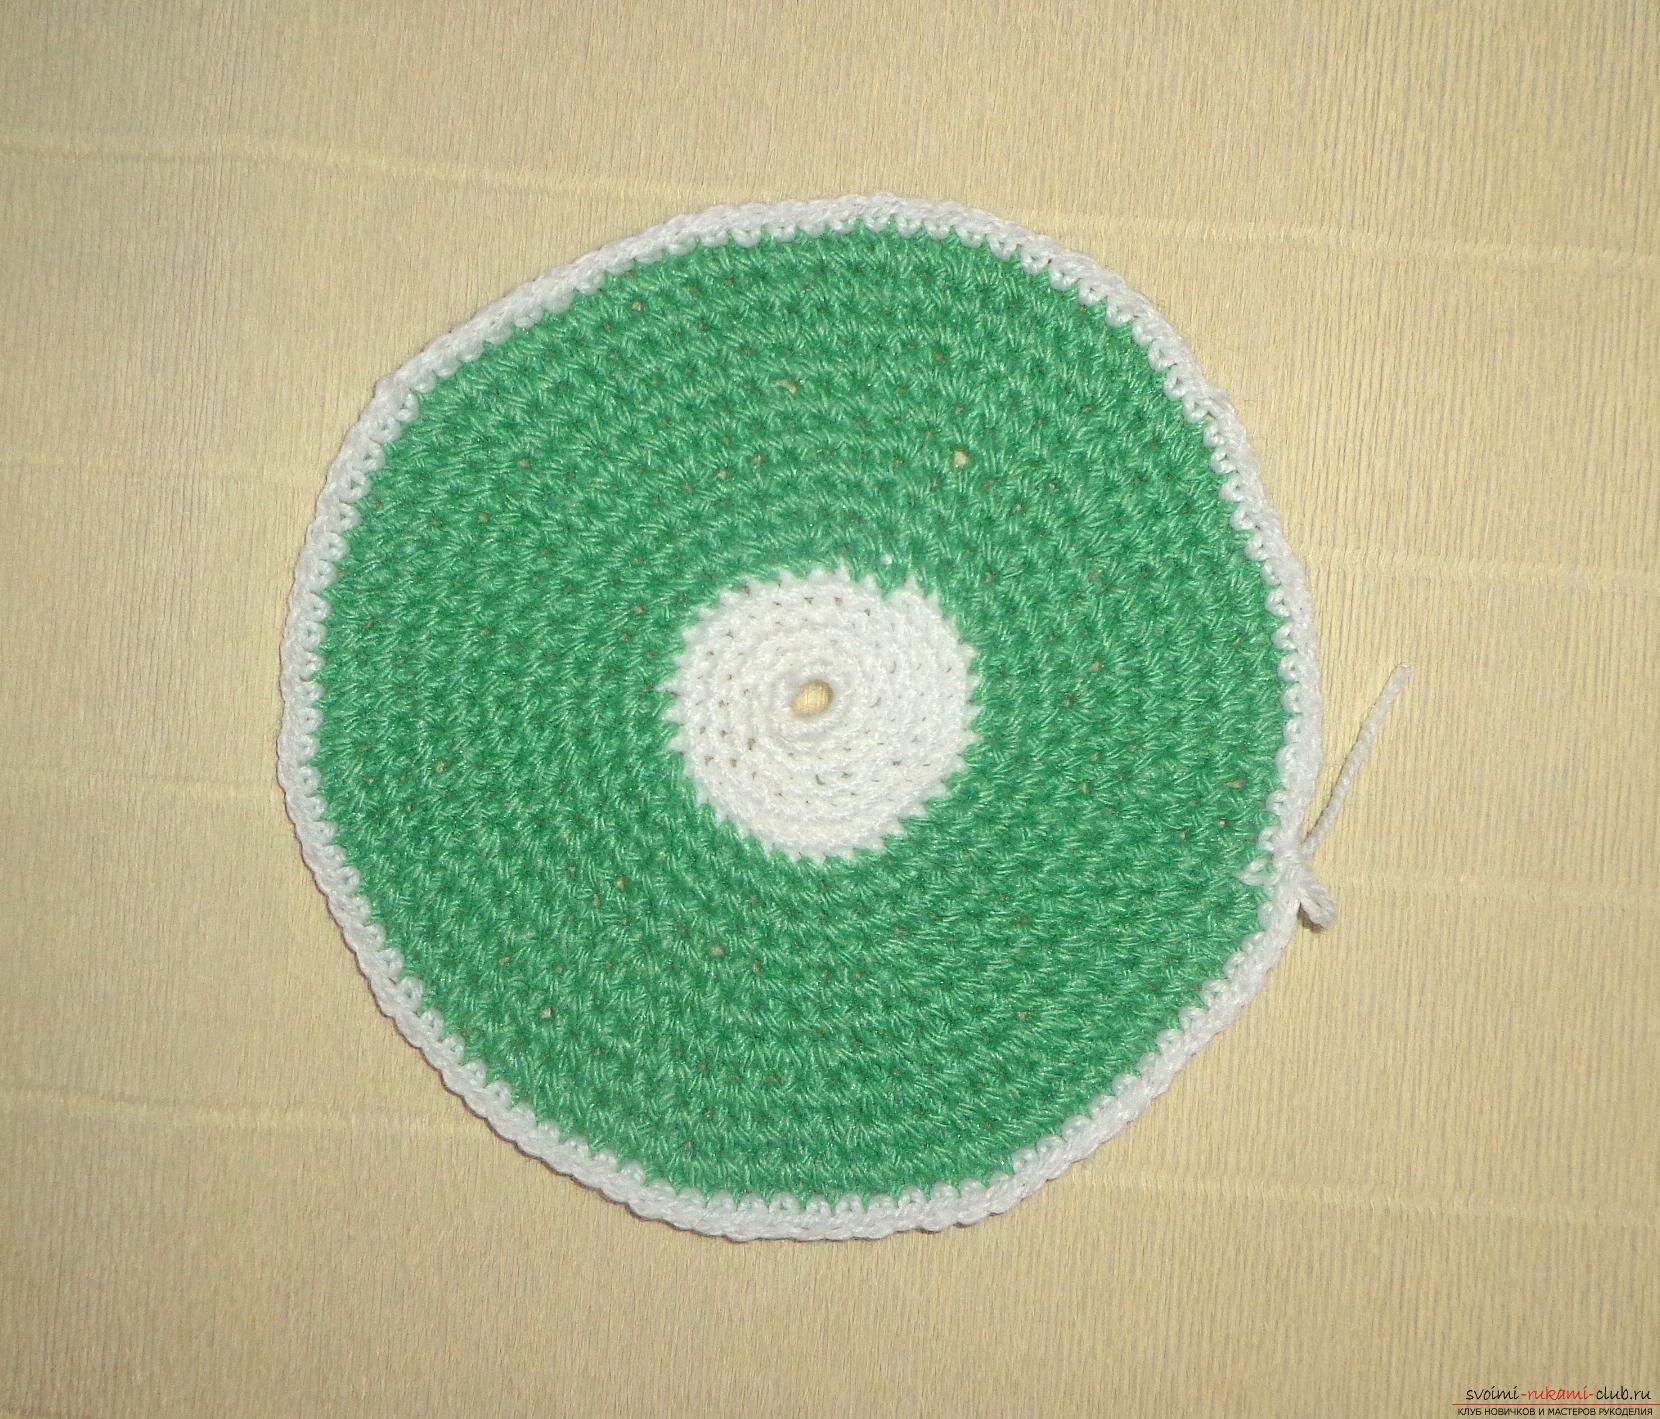
 19th row - we sew with yarnbrown, it is tied without adding and is the final row in the knitting of the second side of the tack, as it was with the knitting of the first side of the tack.
 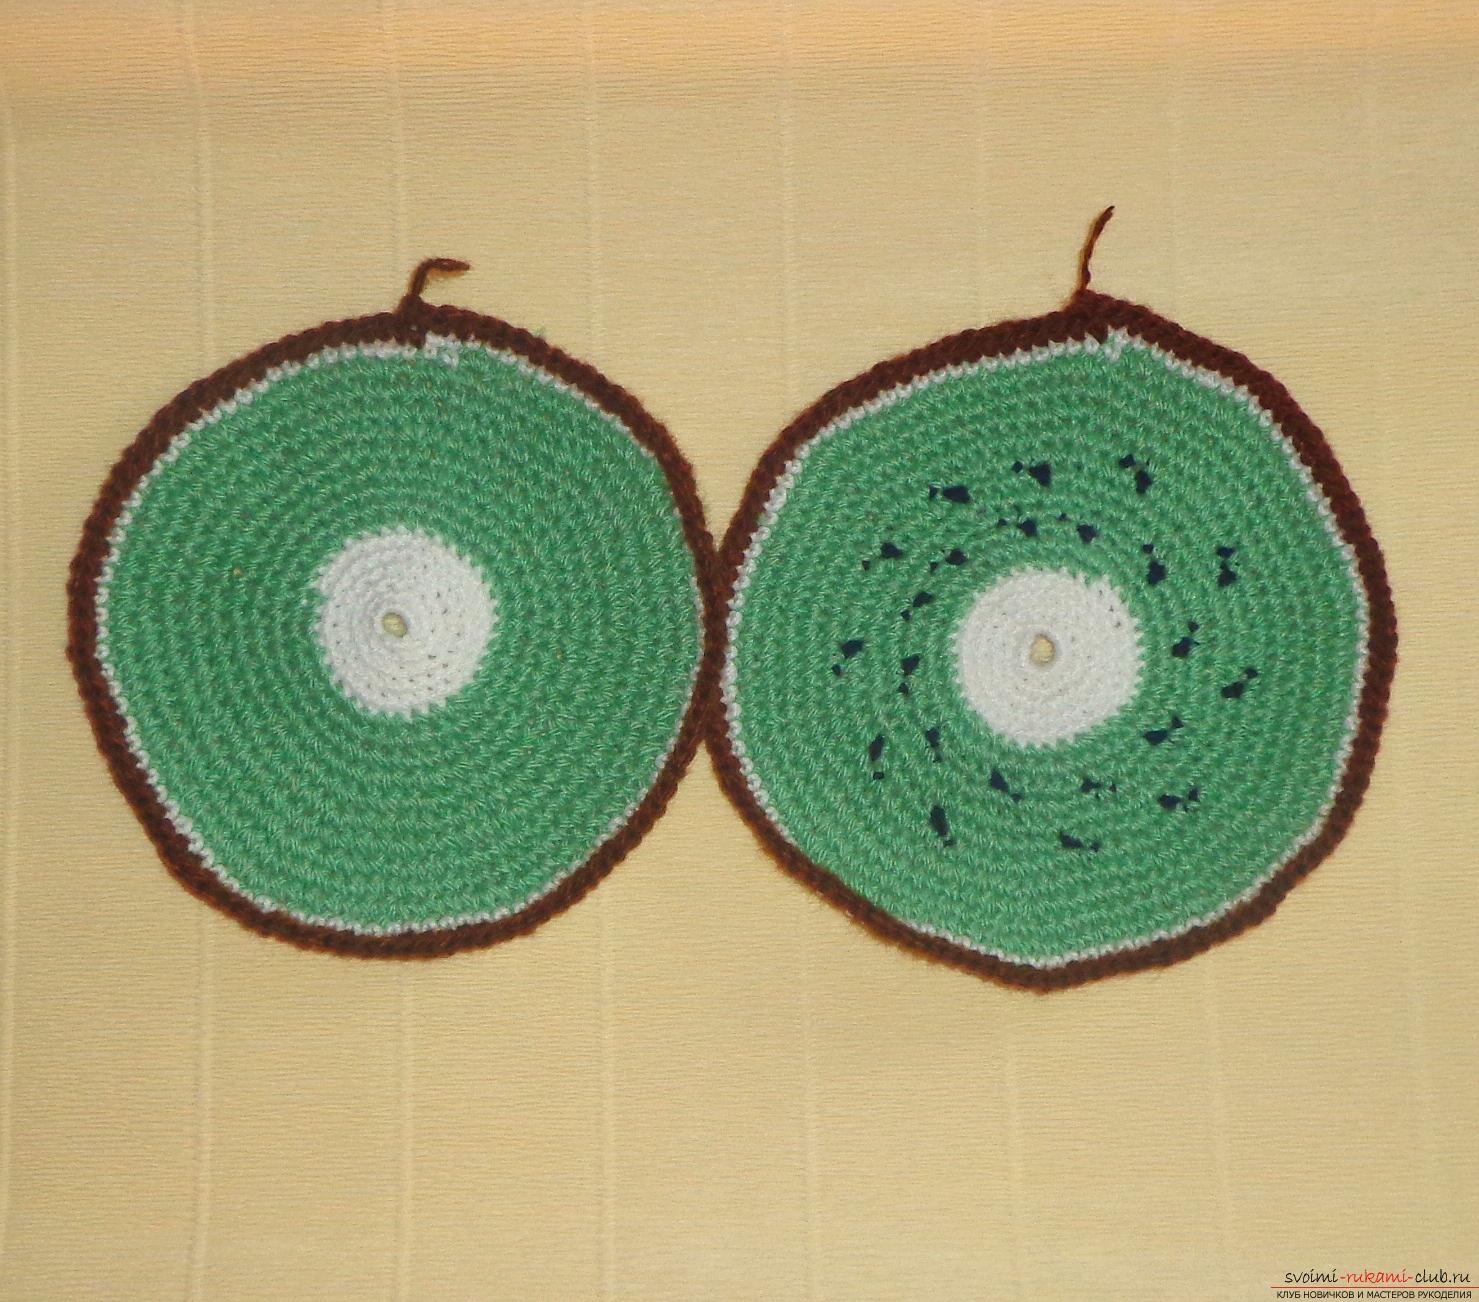 Next, it will be necessary to link the two sides betweenin one. To do this, we only need a brown yarn. The common 20th row for the two sides of the tack, we begin to knit, connecting the two sides from the inside to the inside, i.e. those are the sides where we beautifully leave from above. To do this, we connect the two sides of the tack with one air loop together. Then we dial a chain of 4 air loops (1,2,3,4) and connect them to the 1st loop, then we knit the next one eyelet to connect the two sides of the tack. Then we again dial a chain of 4 air loops and connect them to the first one and connect them with one eyelet, we connect the two sides of the tack with each other. So we knit until the end of the series, until there is room for the last loop. When they tied everything except one last eyelet, it is necessary to form a loop so that the pothole can be hung on the wall. To do this, you need to connect a string of 14 air loops and connect it to the very first loop in this row. If suddenly, the sides turned out to be slightly adjacent to each other, then the stitch can be ironed from two sides, then it will become more dense. The tack is ready!
  Pothaking for the hot always finds its placein the kitchen, but if it's also tied up with your own hands, like a tack for the hot Kiwi, then it will become a worthy decoration of your kitchen or it can become an excellent gift for a loved one.
Comments
Related posts:
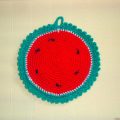 Crochet crochet tutorial for hot "Juicy Watermelon" with recommendations and step-by-step photos
 How to knit with cute mittens "Winter Tale"? A lesson on knitting winter mittens from acrylic on knitting needles, with a detailed description of steps and photos
 How to tie children's warm socks "Winter" with knitting needles? Lesson on knitting with children's socks "Winter" with detailed description of the technique of binding, recommendations and step-by-step photos
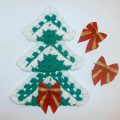 How to tie a Christmas tree crochet? Crochet crochet lesson with detailed instructions and photo
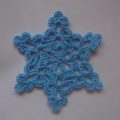 How to tie a snowflake with a crochet for the New Year's decor of the interior? A crochet lesson on the openwork snowflake with detailed recommendations and step-by-step photos